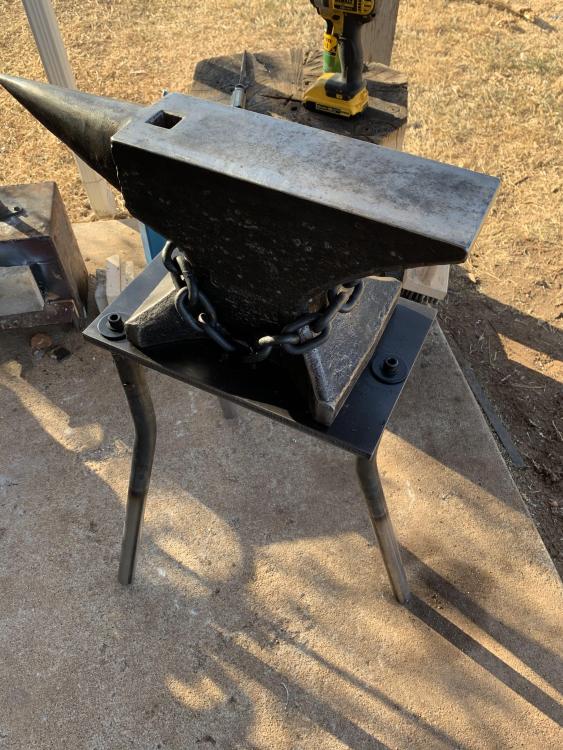
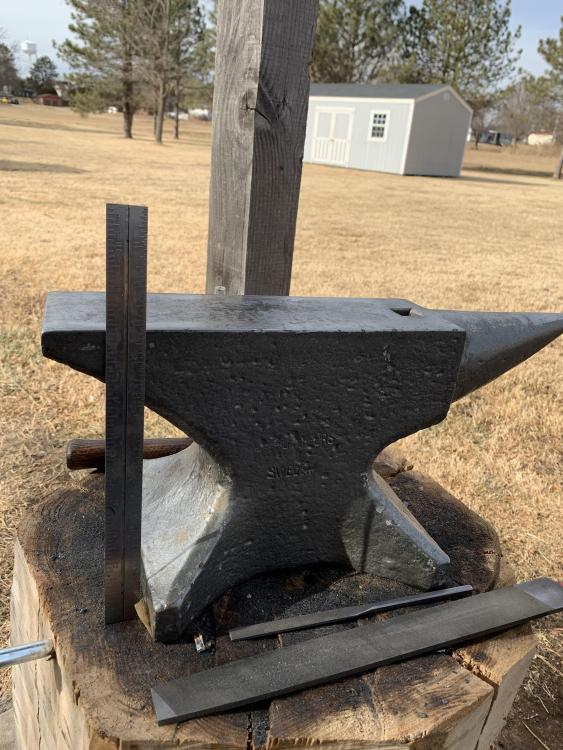
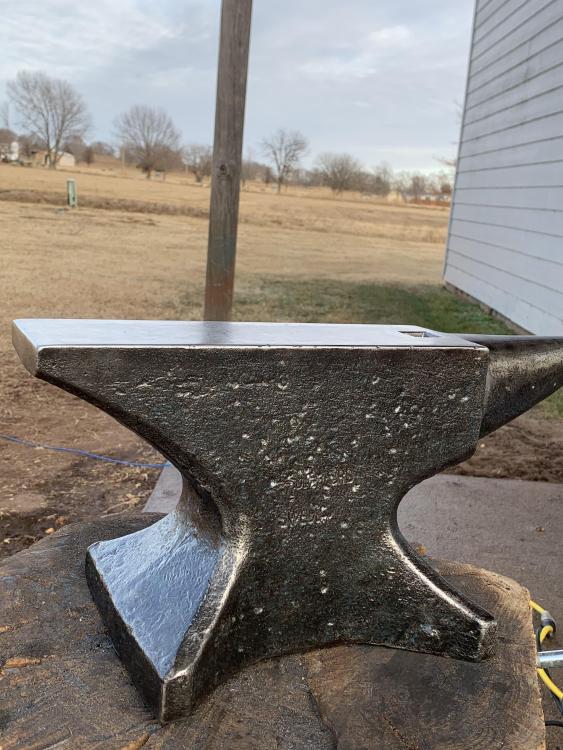
I made something I’ve never really seen on here. It’s a steel anvil tripod with no welding. Only tools I used was a Dewalt drill, and my forge and anvil for the rivets. Very simple to make, and very cost effective, I think I spent less than $150 for all the materials including the 3/8-16 tap and corresponding drill bit.
Materials Used:
1-1/4” OD .120 wall mild tubing(would recommend 1-1/2” OD .250” wall for anvils much heavier than 100lbs)- Legs
1” OD 1144 rod- Threaded rod insert for legs
1/4” 4140 rod- Rivets for legs
3/8-16x1-1/4” Grade 8 flange socket head screw- leg retention method
1.625” OD 3/8” washers- leg retention method
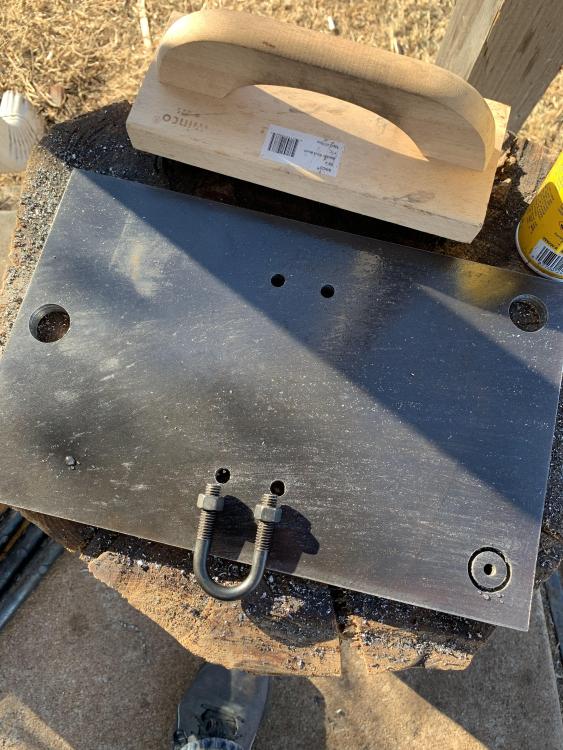
Black oxide 3/8x16 U bolt 1” ID- Chain tensioning
3/8” chain- anvil retention
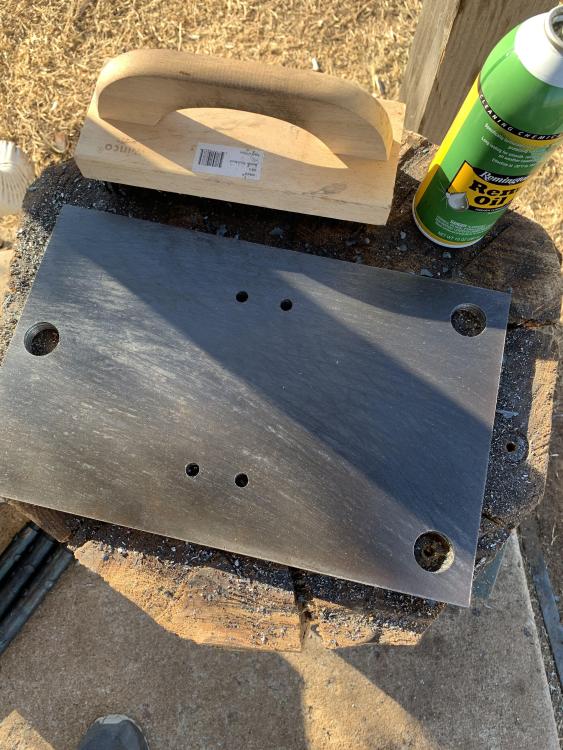
1/2” mild plate(would recommend 5/8” or 3/4” for anvils much heavier than 100lbs)- anvil mounting base
How I constructed it:
The legs
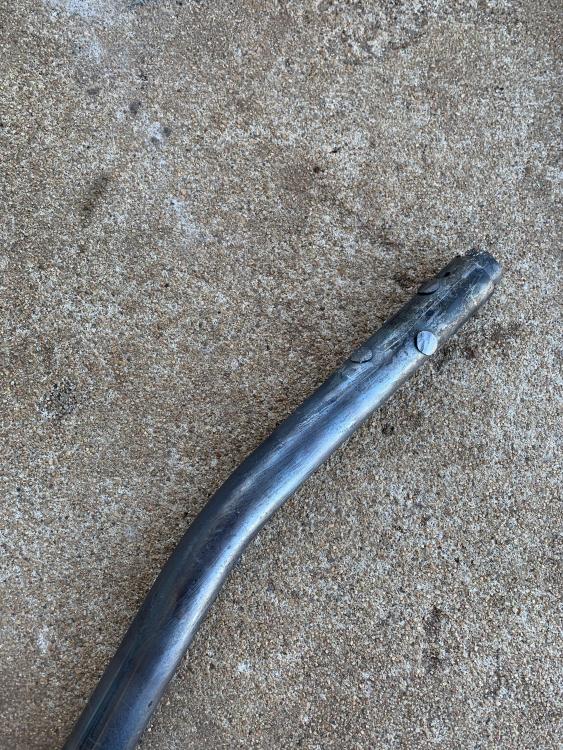
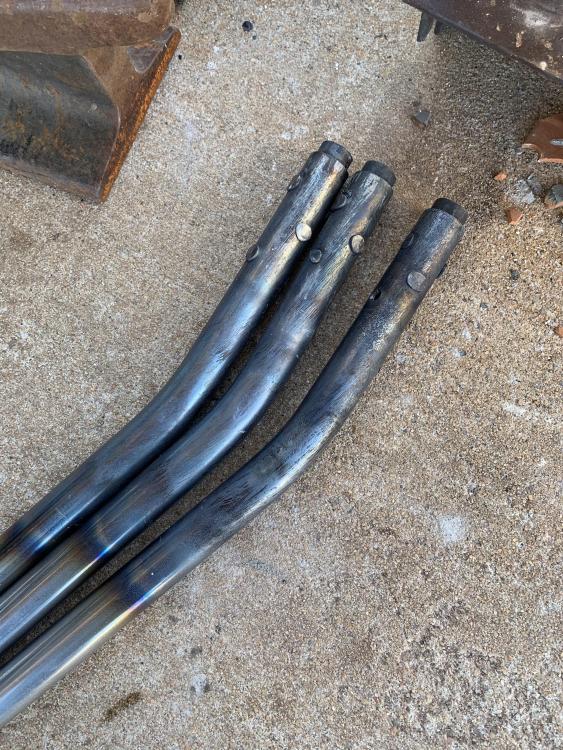
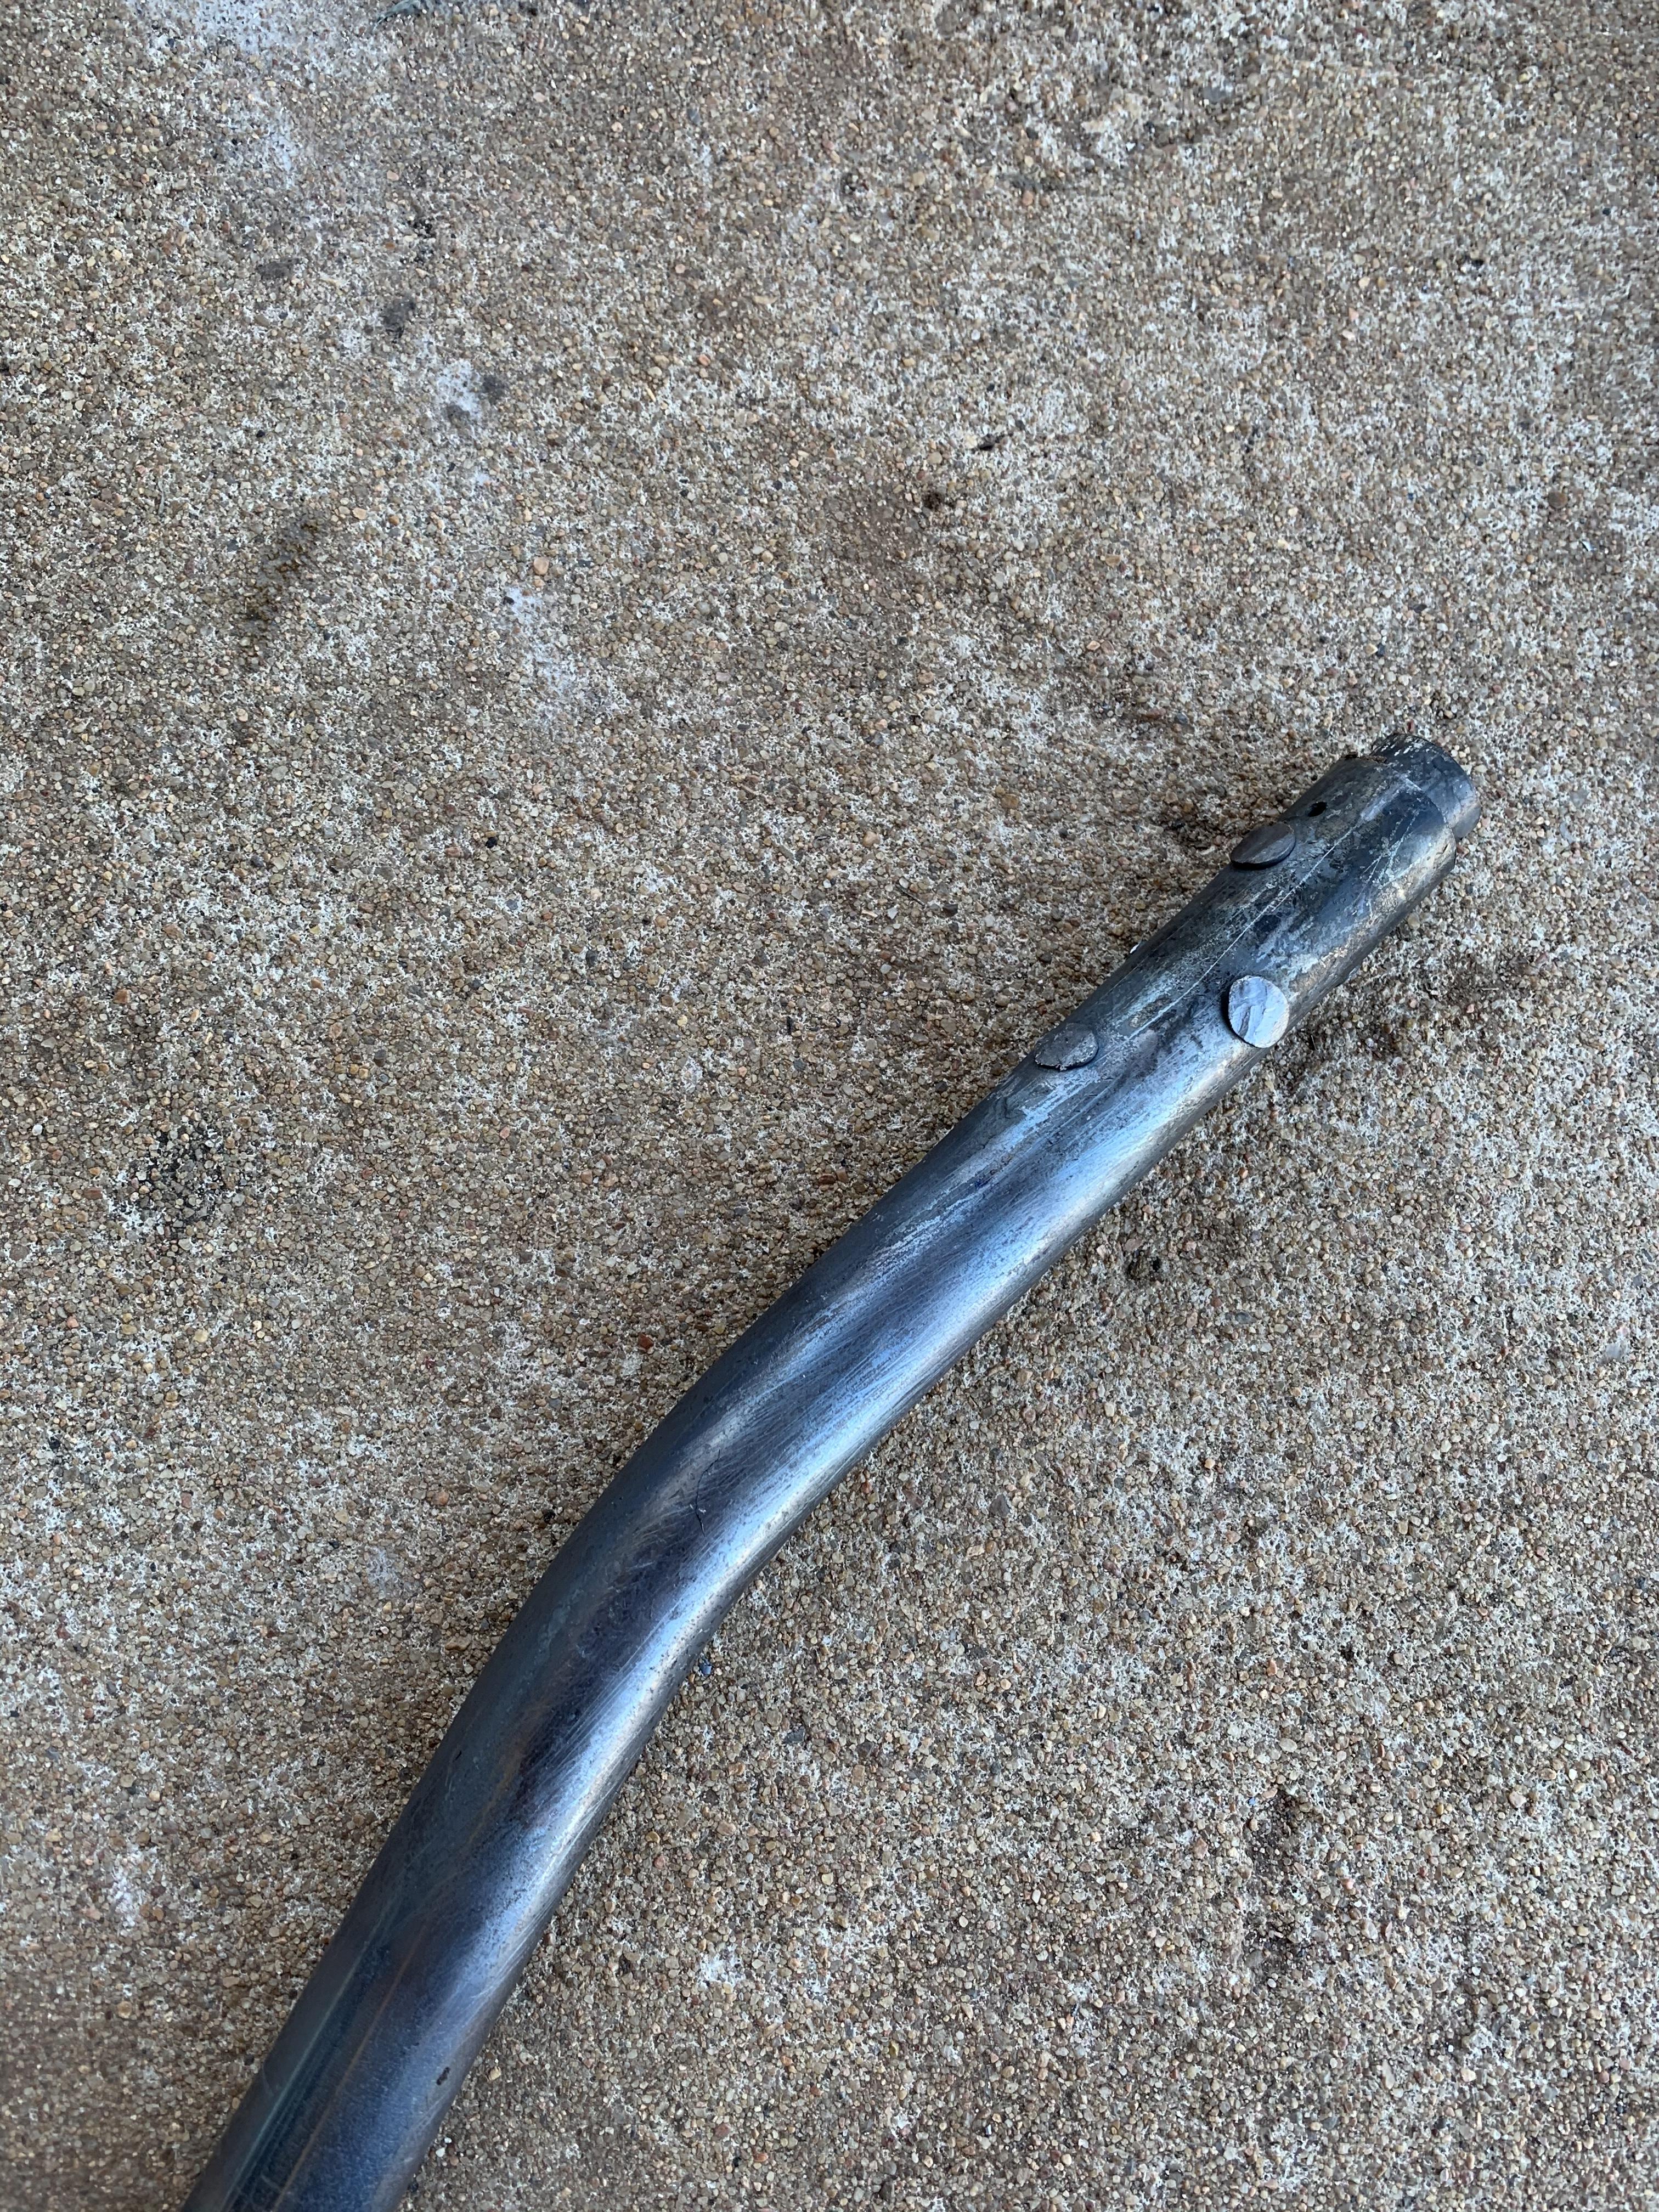
I cut the 1144 rods into 4” lengths since I ordered a 1’ length. Then, I drilled and threaded the rod for 3/8-16 bolts. Once that was done, I drilled the holes in the leg and 1144 rod for the 1/4” rivets. To do this, I had about .450” of the rod protruding from the leg tubing so it would countersink into the base for a better fit, while still allowing the bolt to be only pulling the leg material into the base.(different thickness plates will require different lengths protruding) To keep everything tight so nothing moves will I am drilling, I just clamped it in the vise tight enough so the rod would not shift. After I drilled one hole, I put some 1/4” rod in the hole to make sure everything would stay lined up. Next I put 2” length of 1/4” 4140 into the forge(3/8” protruding on either side for the 1.5D rule for rivet heads). I started the rivet on the first heat, got the other two started, and then put the whole assembly in the forge and got it hot enough to finish all 3 rivets in one heat. After all of those were assembled, I bent the legs. Nothing too this part. Just got the section below where the 4” rod ended a little above a dull red heat, clamped the end in the vise, and bent them all to the same angle, about 15 degree. Immediately after the bed was completed, I took it to the anvil and hammered down where the bend was to make sure there was no folding or creases happening on the tubing.
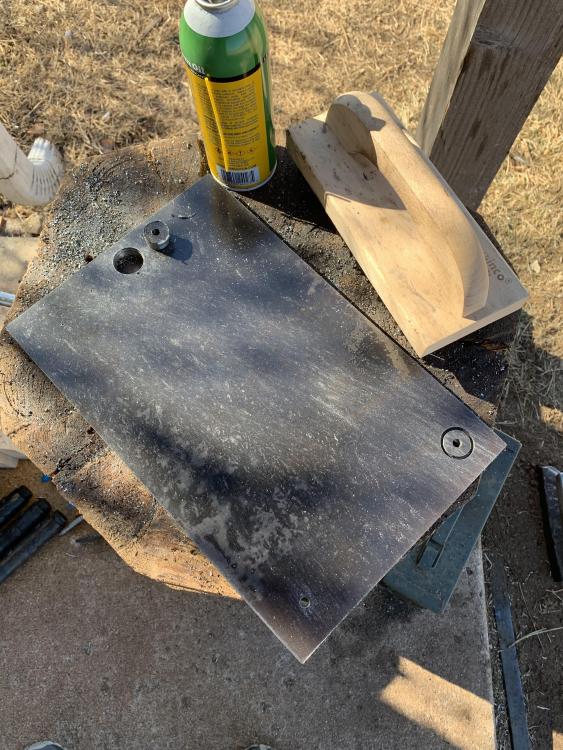
The base
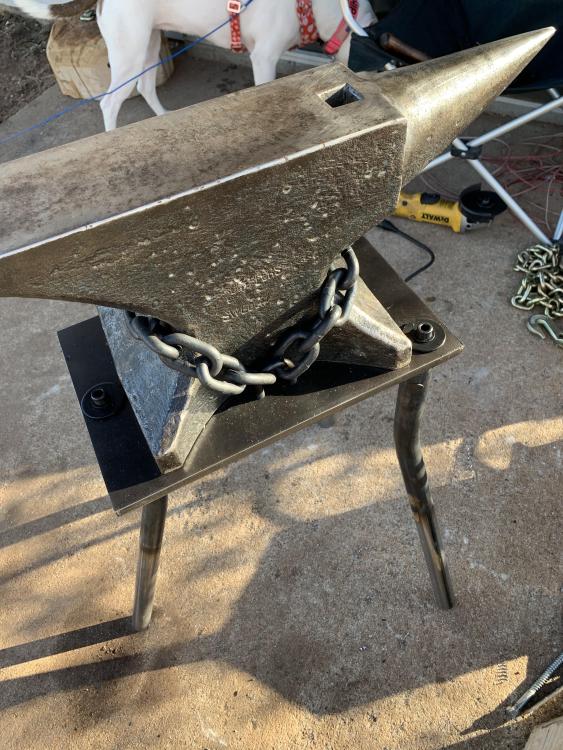
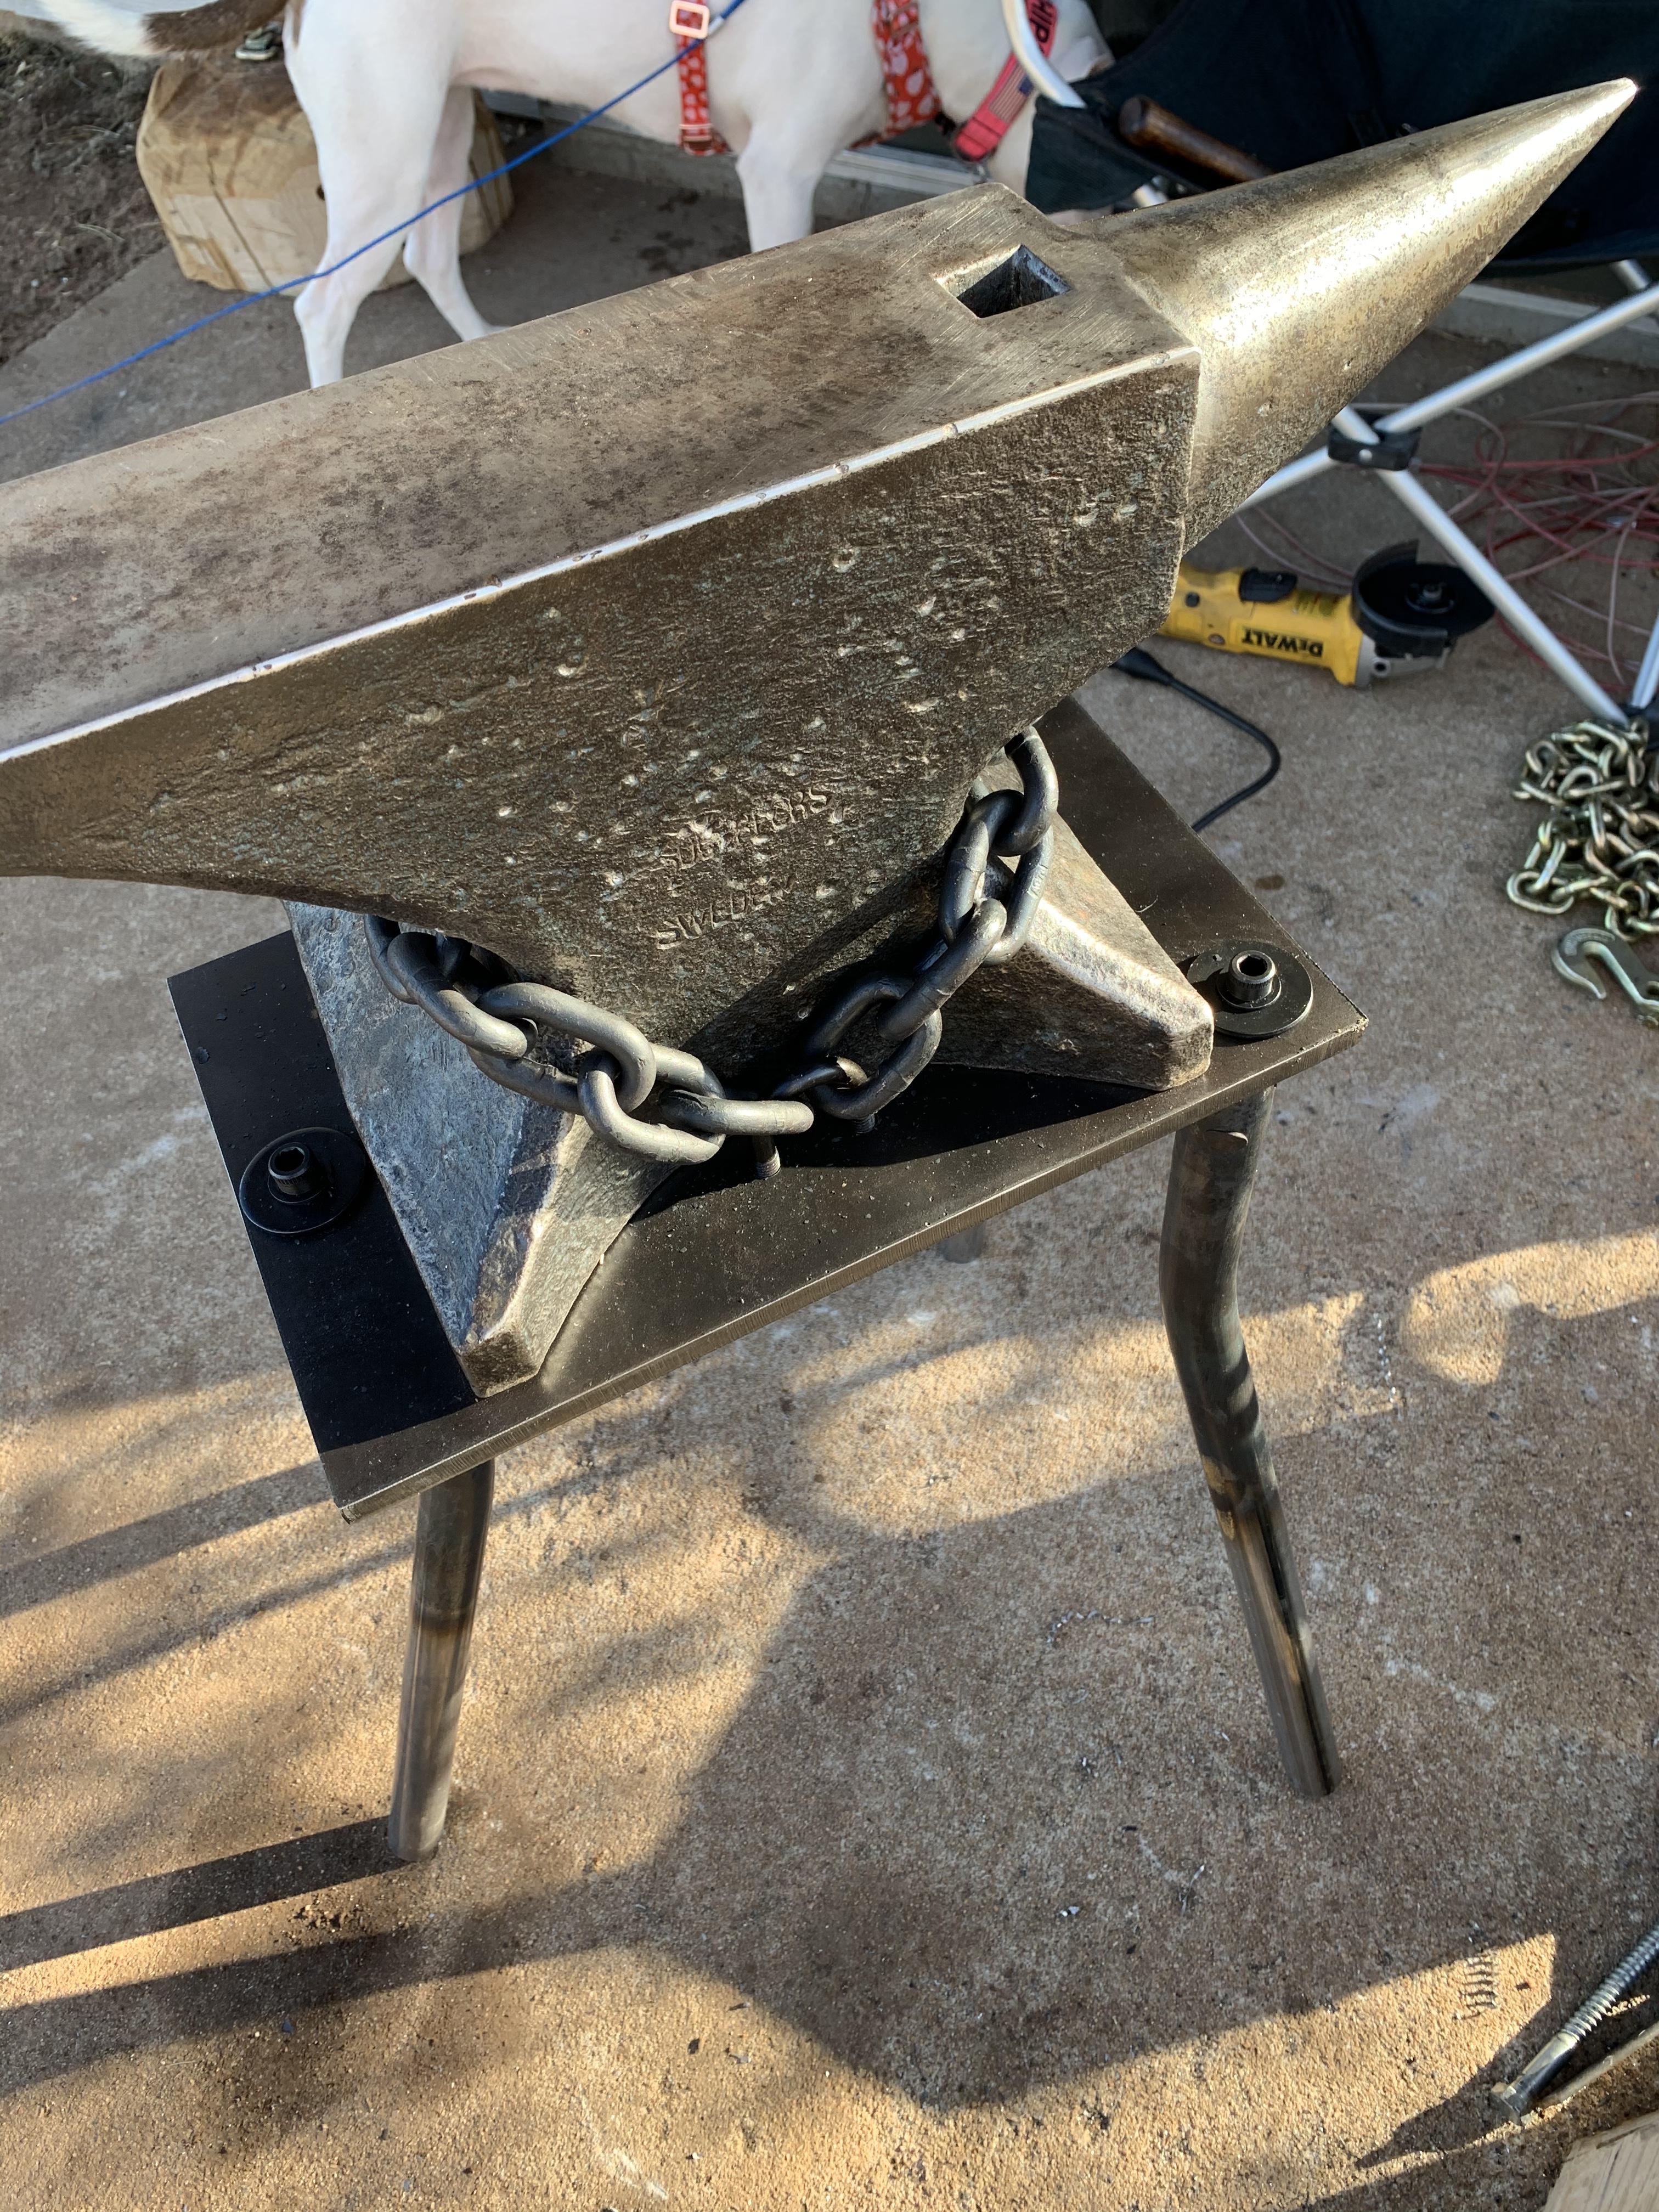
The base on mine is 1/2”x9”x14” mild steel. Every anvil will require slightly different dimensions, so this part is most depending on the anvil you’re wanting to mount. If you are using 3/8” chain, the U bolts should be about 7/16” away from the side of the anvil, to allow room for the 3/8” chain to fit in between there. You’ll have to cut two pieces of chain, length depending on how large the base of the anvil is. Mine required 9 links per piece to reach around to the U bolts equally. Start with more than you need, and you can cut links off as you go to get the right length.
Assembly is very straight forward. You bolt the legs to the base. I find it to balance best with the single leg pointing straight out from the horn or heel, and the two legs that are together pointing almost straight out from the side, this will prevent it from easily being pushed over. (If you are making the legs longer than mine(24”), I would make the bends closer to 20 degrees to add stability) When you’re securing the anvil to the base with the chain and U bolts, make sure to tighten the U bolts evenly, so the chain is tight. Once you think it’s tight, tap on the chain to make sure all the slack is out of it, and it’s all the way against the anvil, and then tighten them a bit more.
I will be dressing the edges and corners of the steel plate to make it less sharp and more appealing to the eye, and would recommend others do the same. I will also probably add a couple loops for tongs and hammers.
Hopefully this helps anyone who doesn’t have a welder, or wants an easily disassembled for travel stand. I am very impressed with the rigidity of the .120 wall tubes, but I think .250” wall would work a little better since it would be more stiff and add more weight to the bottom end of it. I will be adding sand to my legs to further dampen sound and add some weight.
Bryce