Patrick Kelly
Members
-
Joined
-
Last visited
Everything posted by Patrick Kelly
-
Perfect, thank you again for the advice much appreciated. I'm just learning from scratch so any advice is a huge help. I'll post my results in a new thread when I've finished making a few things
-
That's some sound advice from the New Zealand chain supplier, especially the last sentence! I've got a big ol chunk of natural bees wax, would this work as a wax coating?
-
That's a great idea and thanks for the etch tip, I'll probably make some sort of key ring as well. I actually haven't made many things so far so this will be a fun learning project. I know this material has to be worked really hot.
-
Thanks for the swift replies. I just cut a link in half and the sparks were kinda dead and reddish so that link is WI and hopefully the rest are. I'll be sure to make my neighbour something nice in return.
-
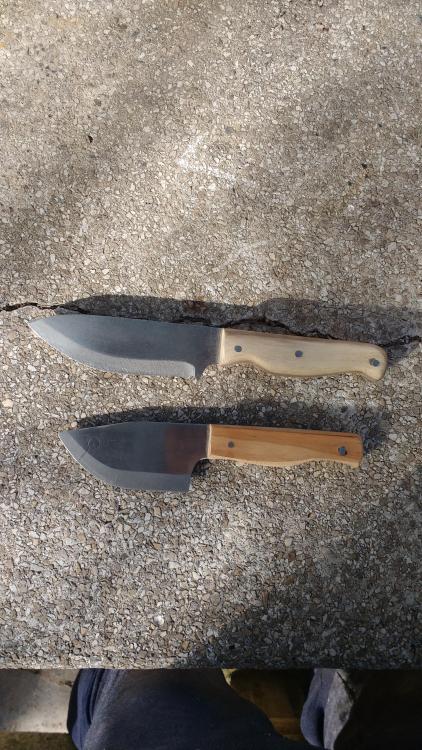
Finished off a couple of knives that I started earlier this week. These are the first knives I've ever made, they're not perfect but I'm happy with them. The pins proved a challenge just using a hand drill, time to invest in a column drill methinks
-
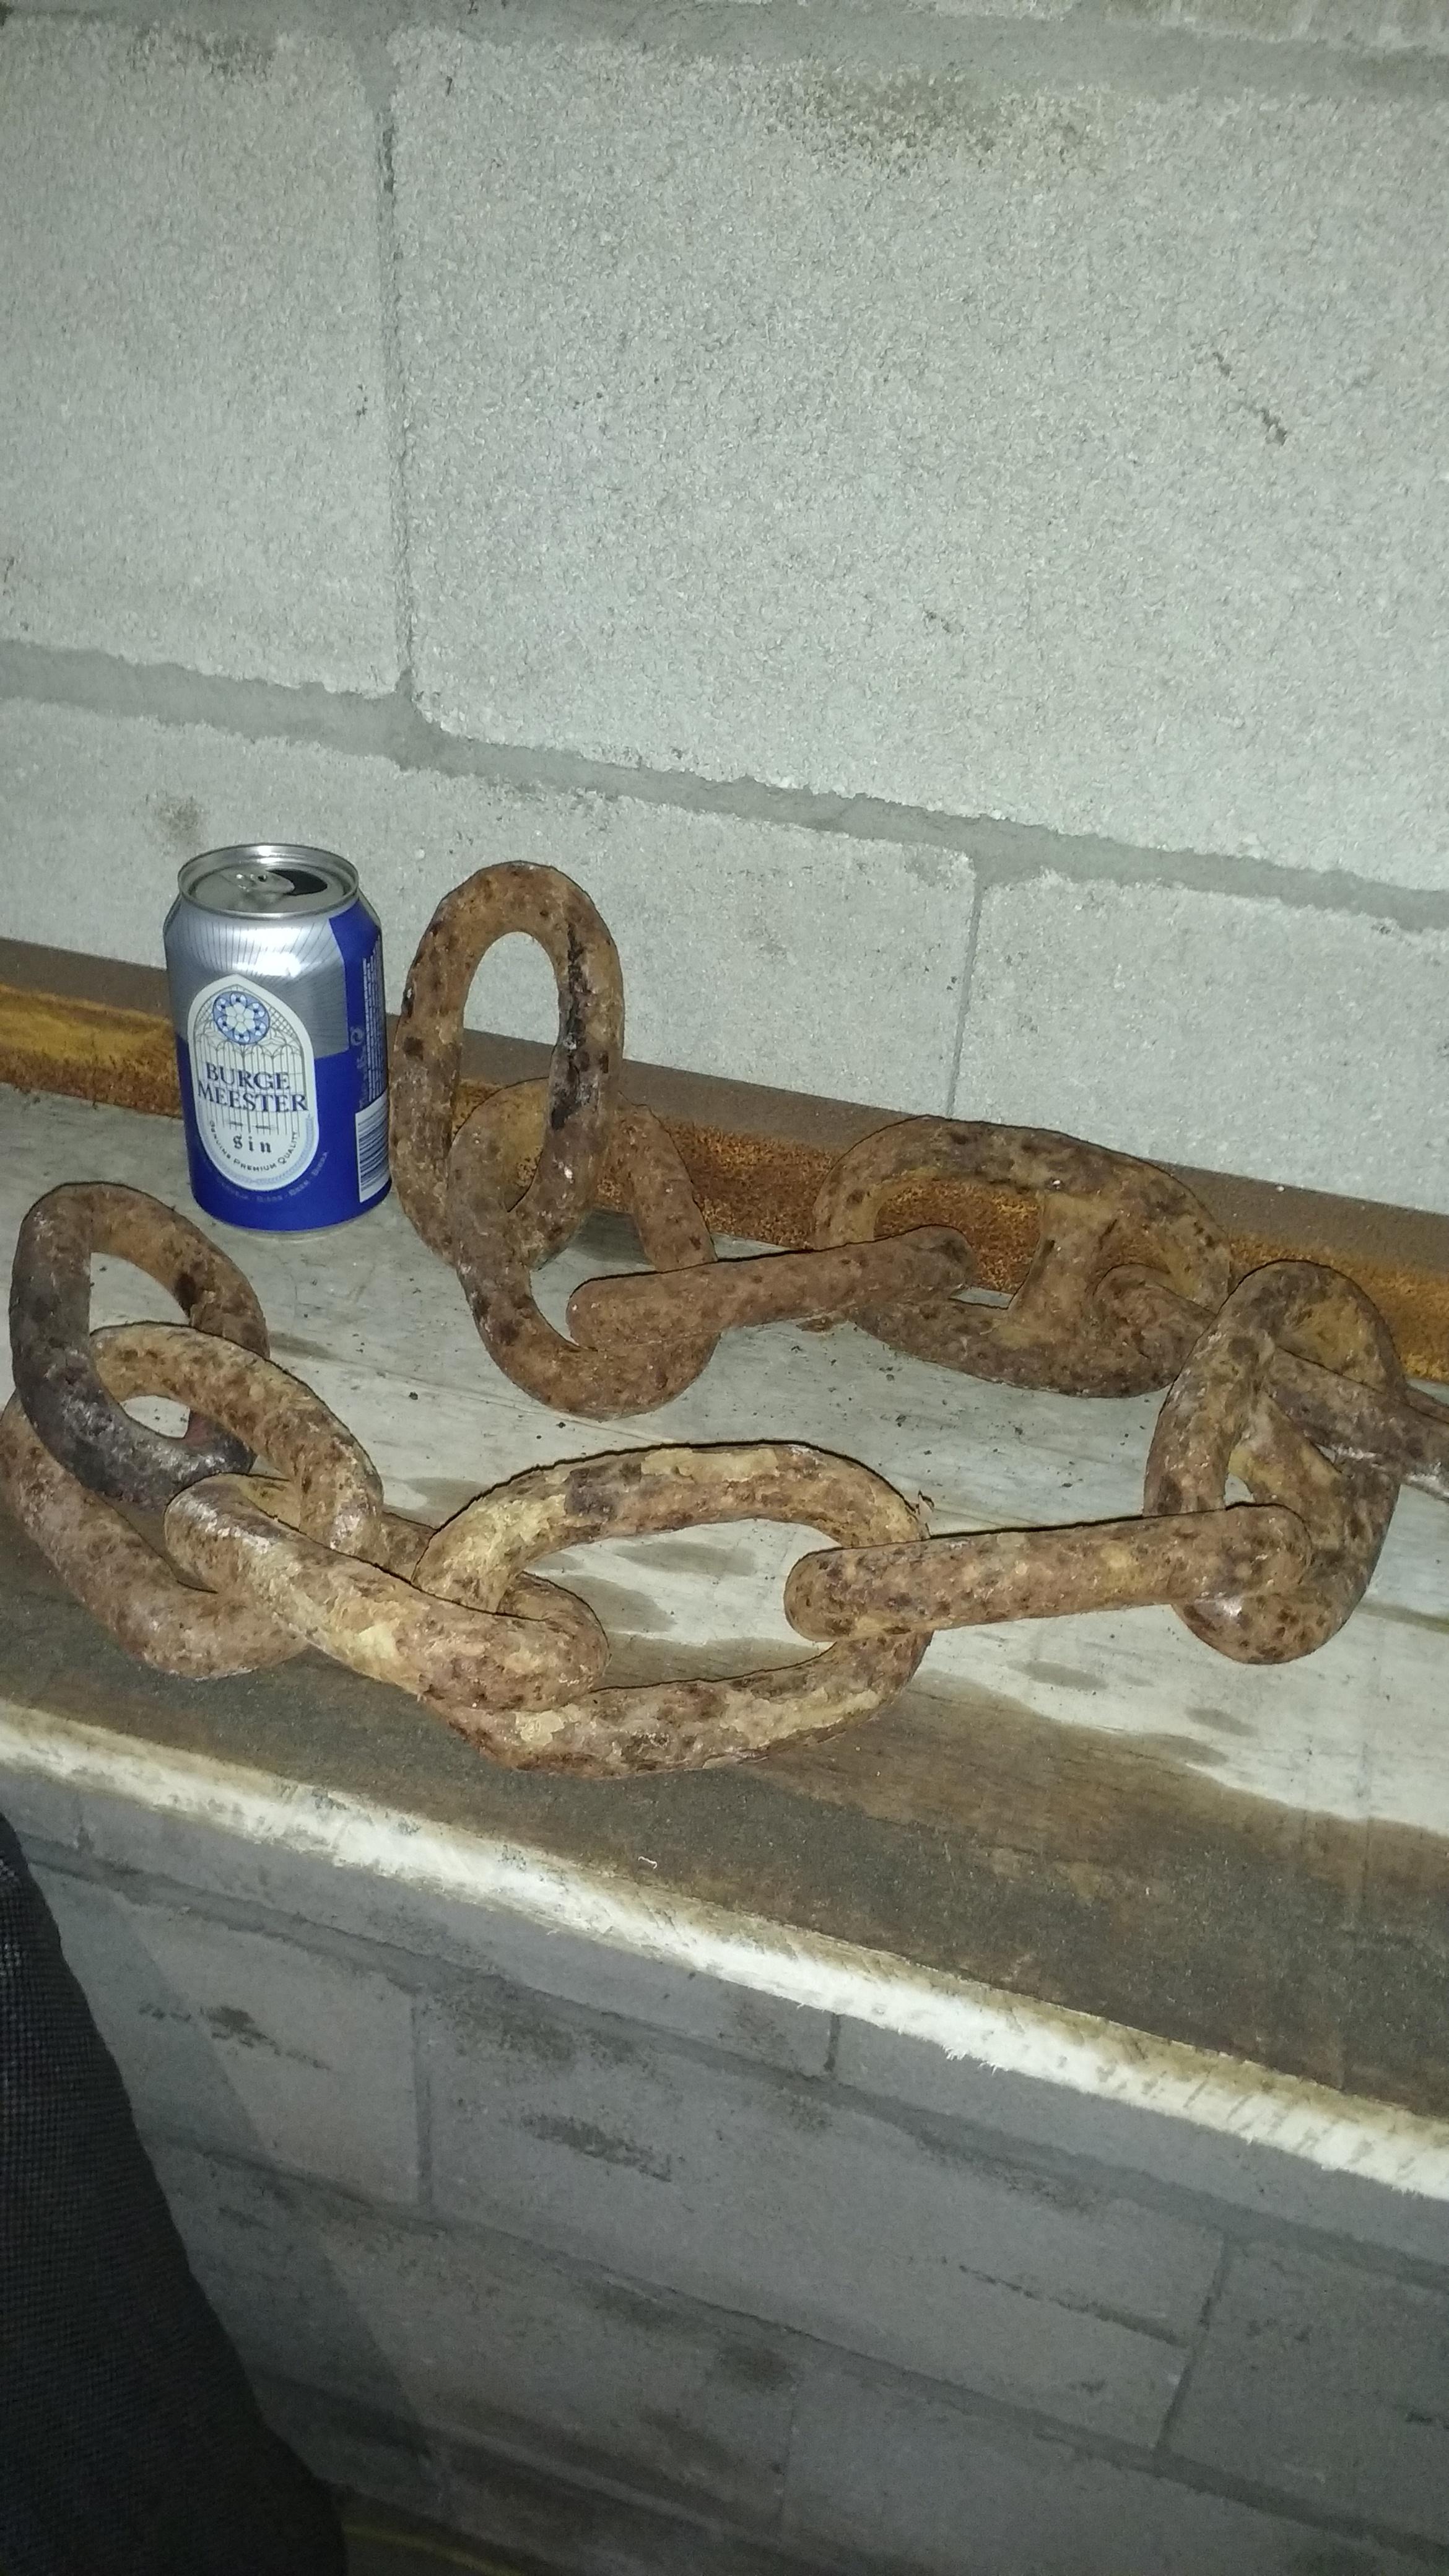
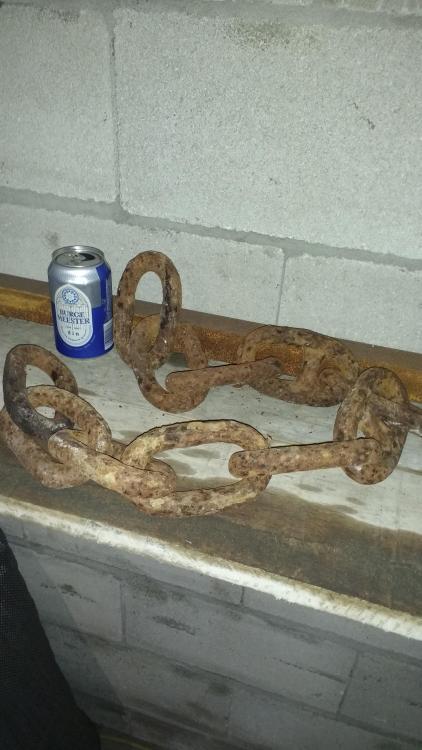
A gift from my generous neighbor, he has a LOT of it laying around his garden for decoration. Would I be correct in assuming it's wrought iron?
-
I had my suspicions the stones were already in the charcoal, thank you JHCC for clarifying this. Good advice also to check for the stones when filling up from a bucket.
-
Thanks for the reply Glenn that is certainly I shall bear in mind your advice and rearrange, great thing about the the jabod is it's versatility. With regards to the clinker I didn't have one with my previous attempt bearing in mind I'm using charchoal, I did however find some stone like pieces during forging that when cooled and I broke them with a hammer looked like chalk.
-
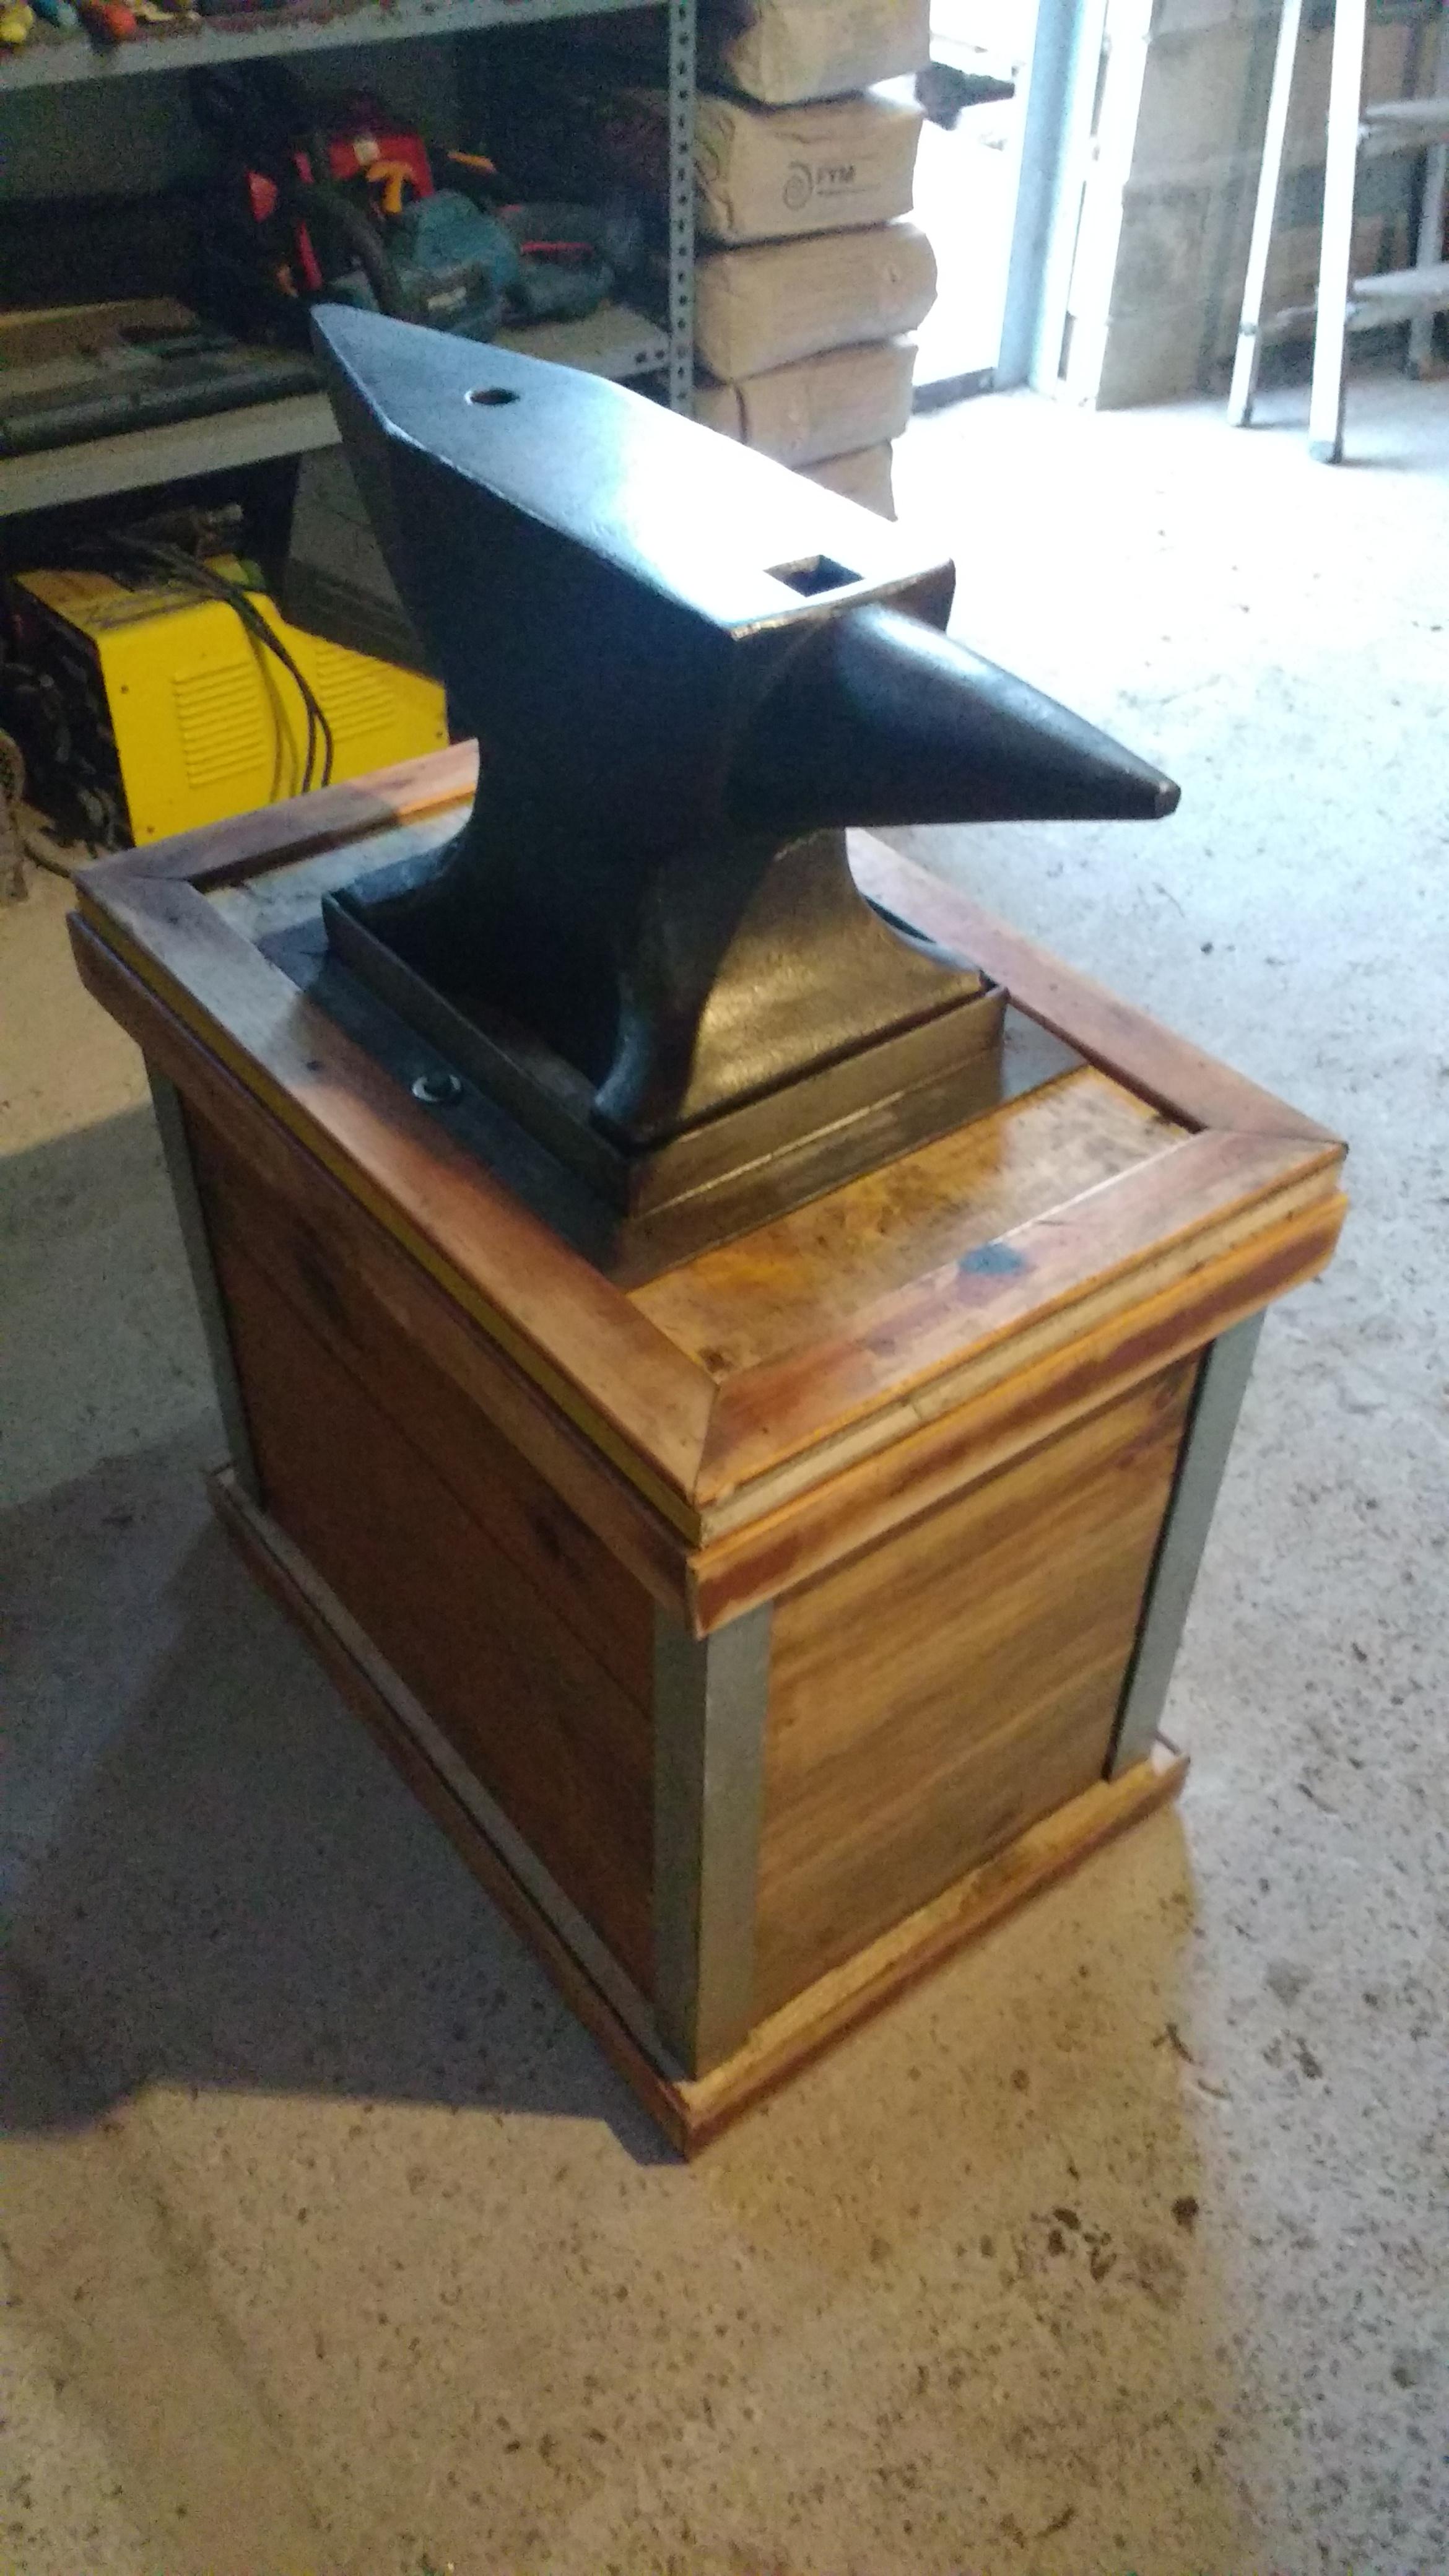
Here's my stand, it's basically a really sturdy frame with 4" x 4" legs then clad with tongue and groove 1" thick reclaim pine which was reversed to hide the groove. Then filled with two bags of sharp sand to add stability, it weighs a lot more than my anvil and is really stable. It's anchored into the frame with an angle iron plate that is a really tight fit to the anvil and then held down with two four inch bolts.


-
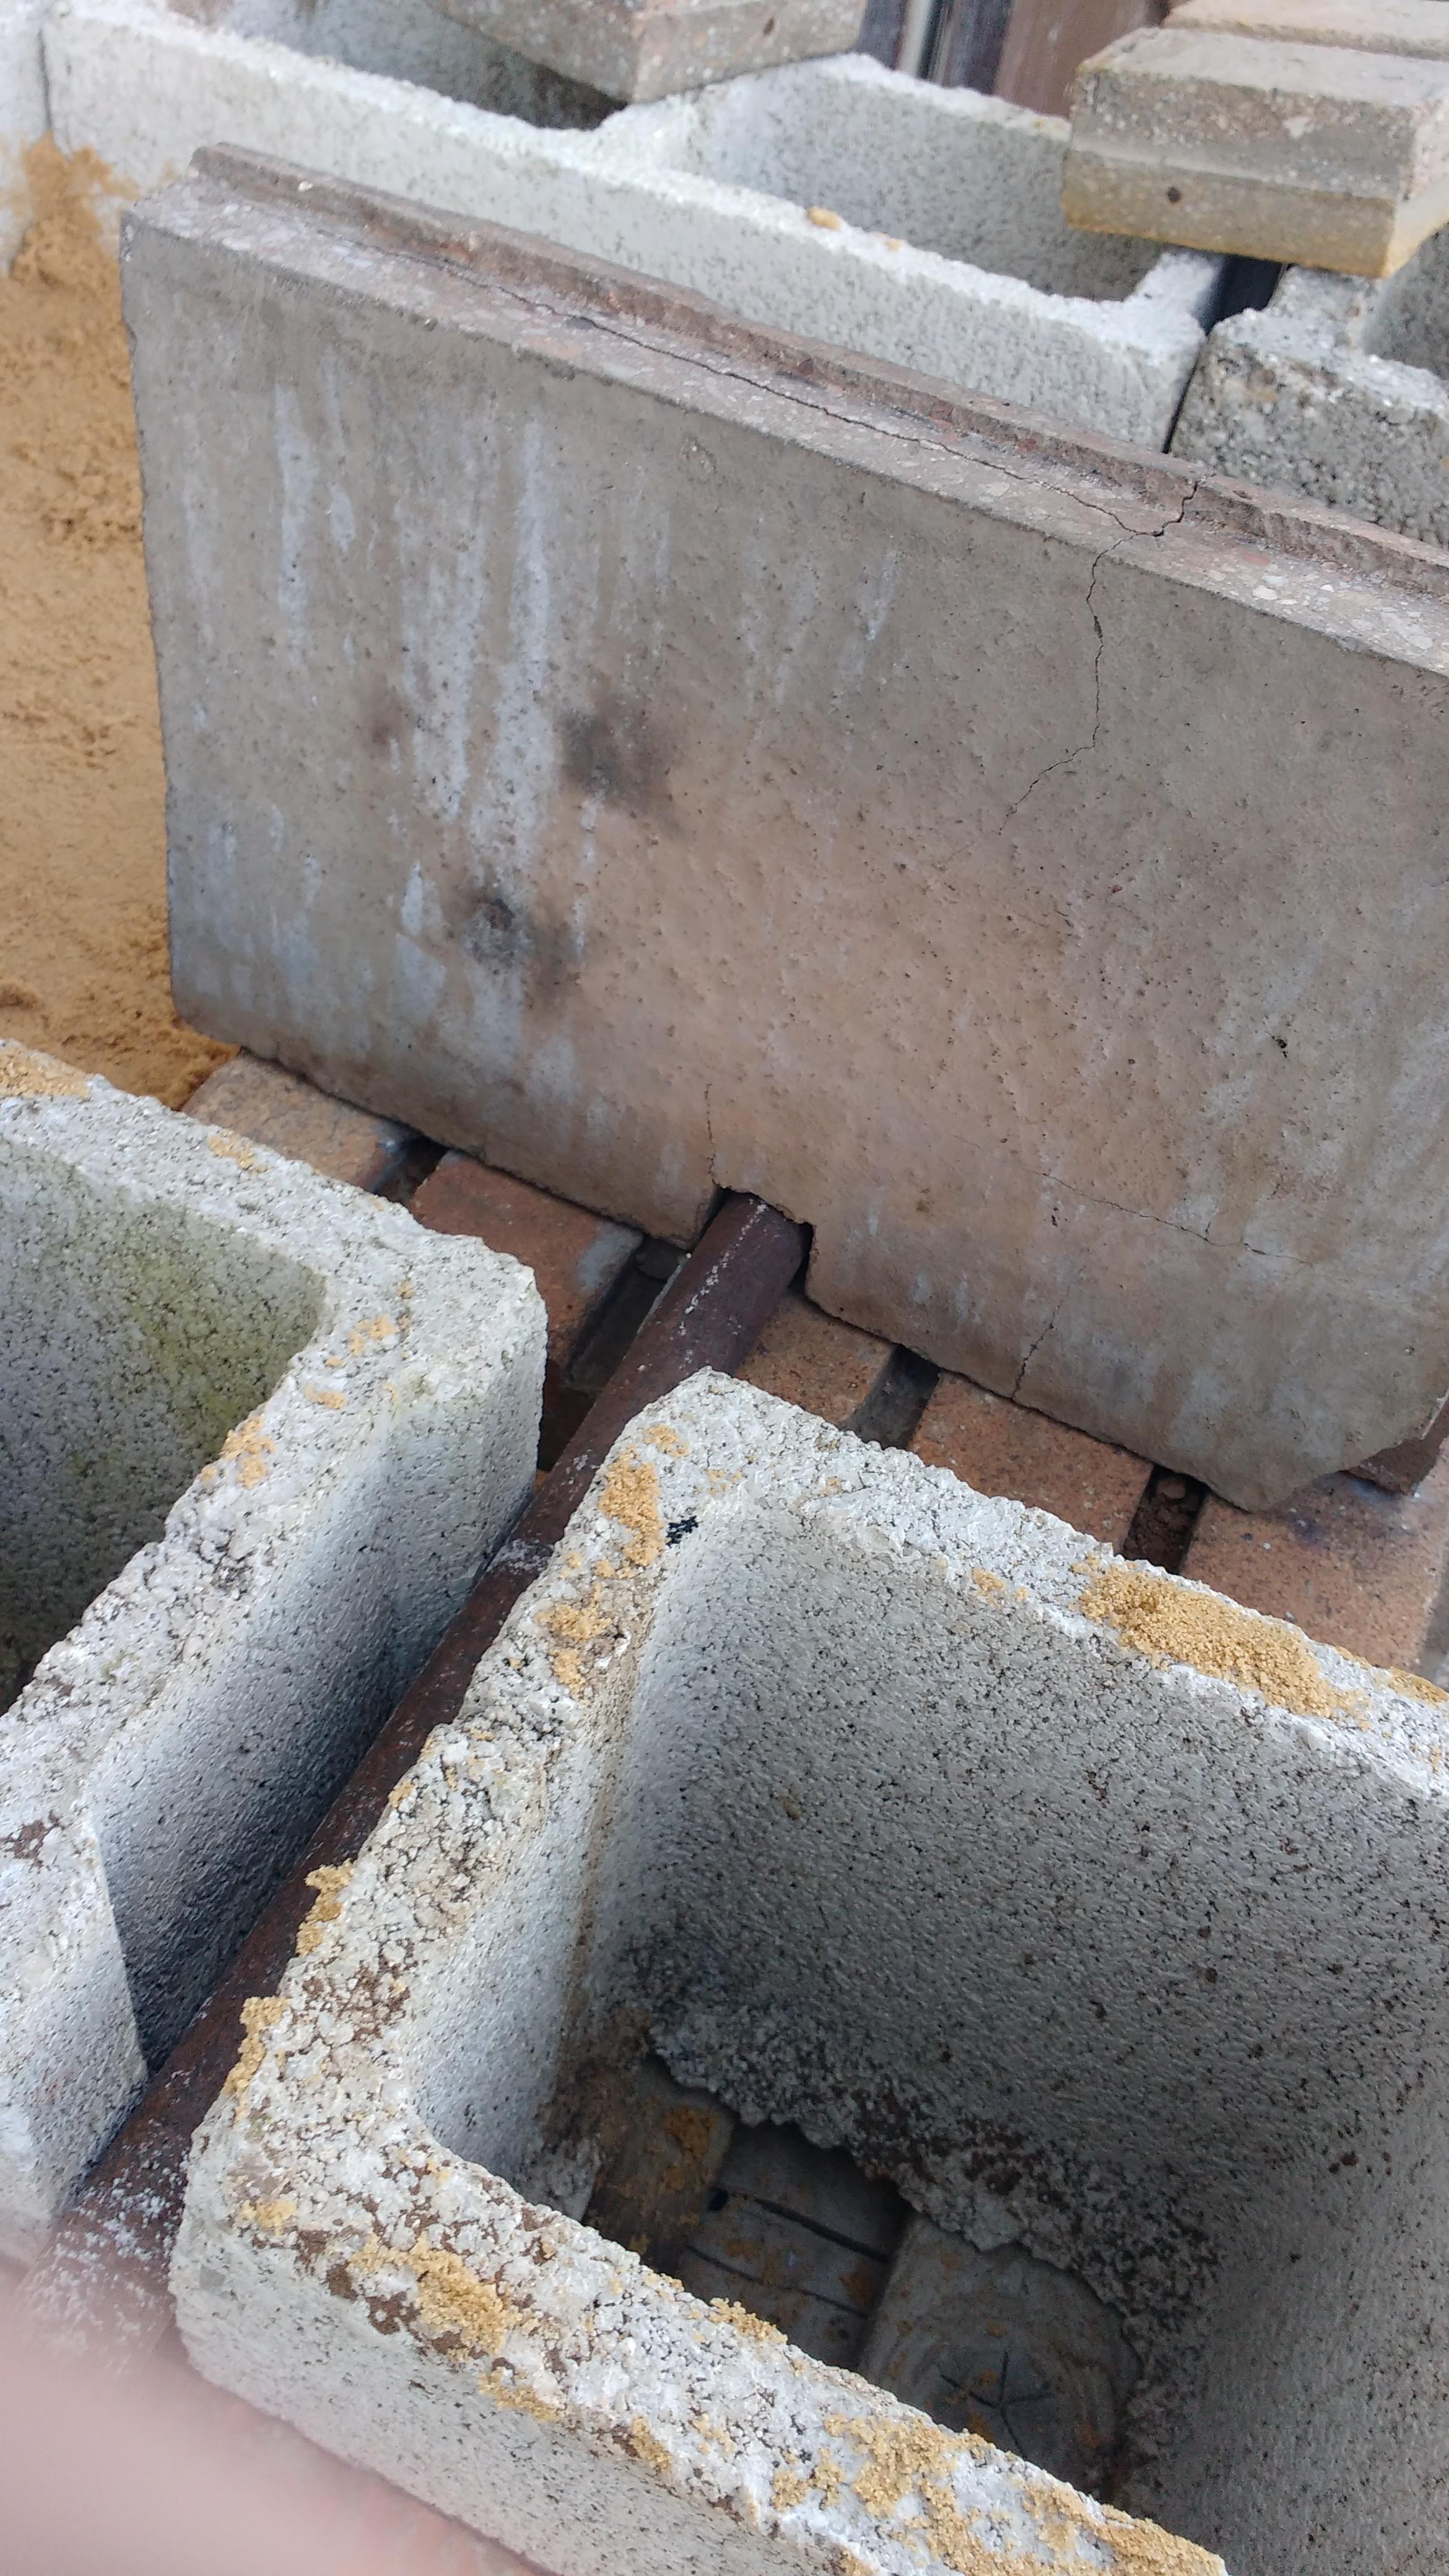
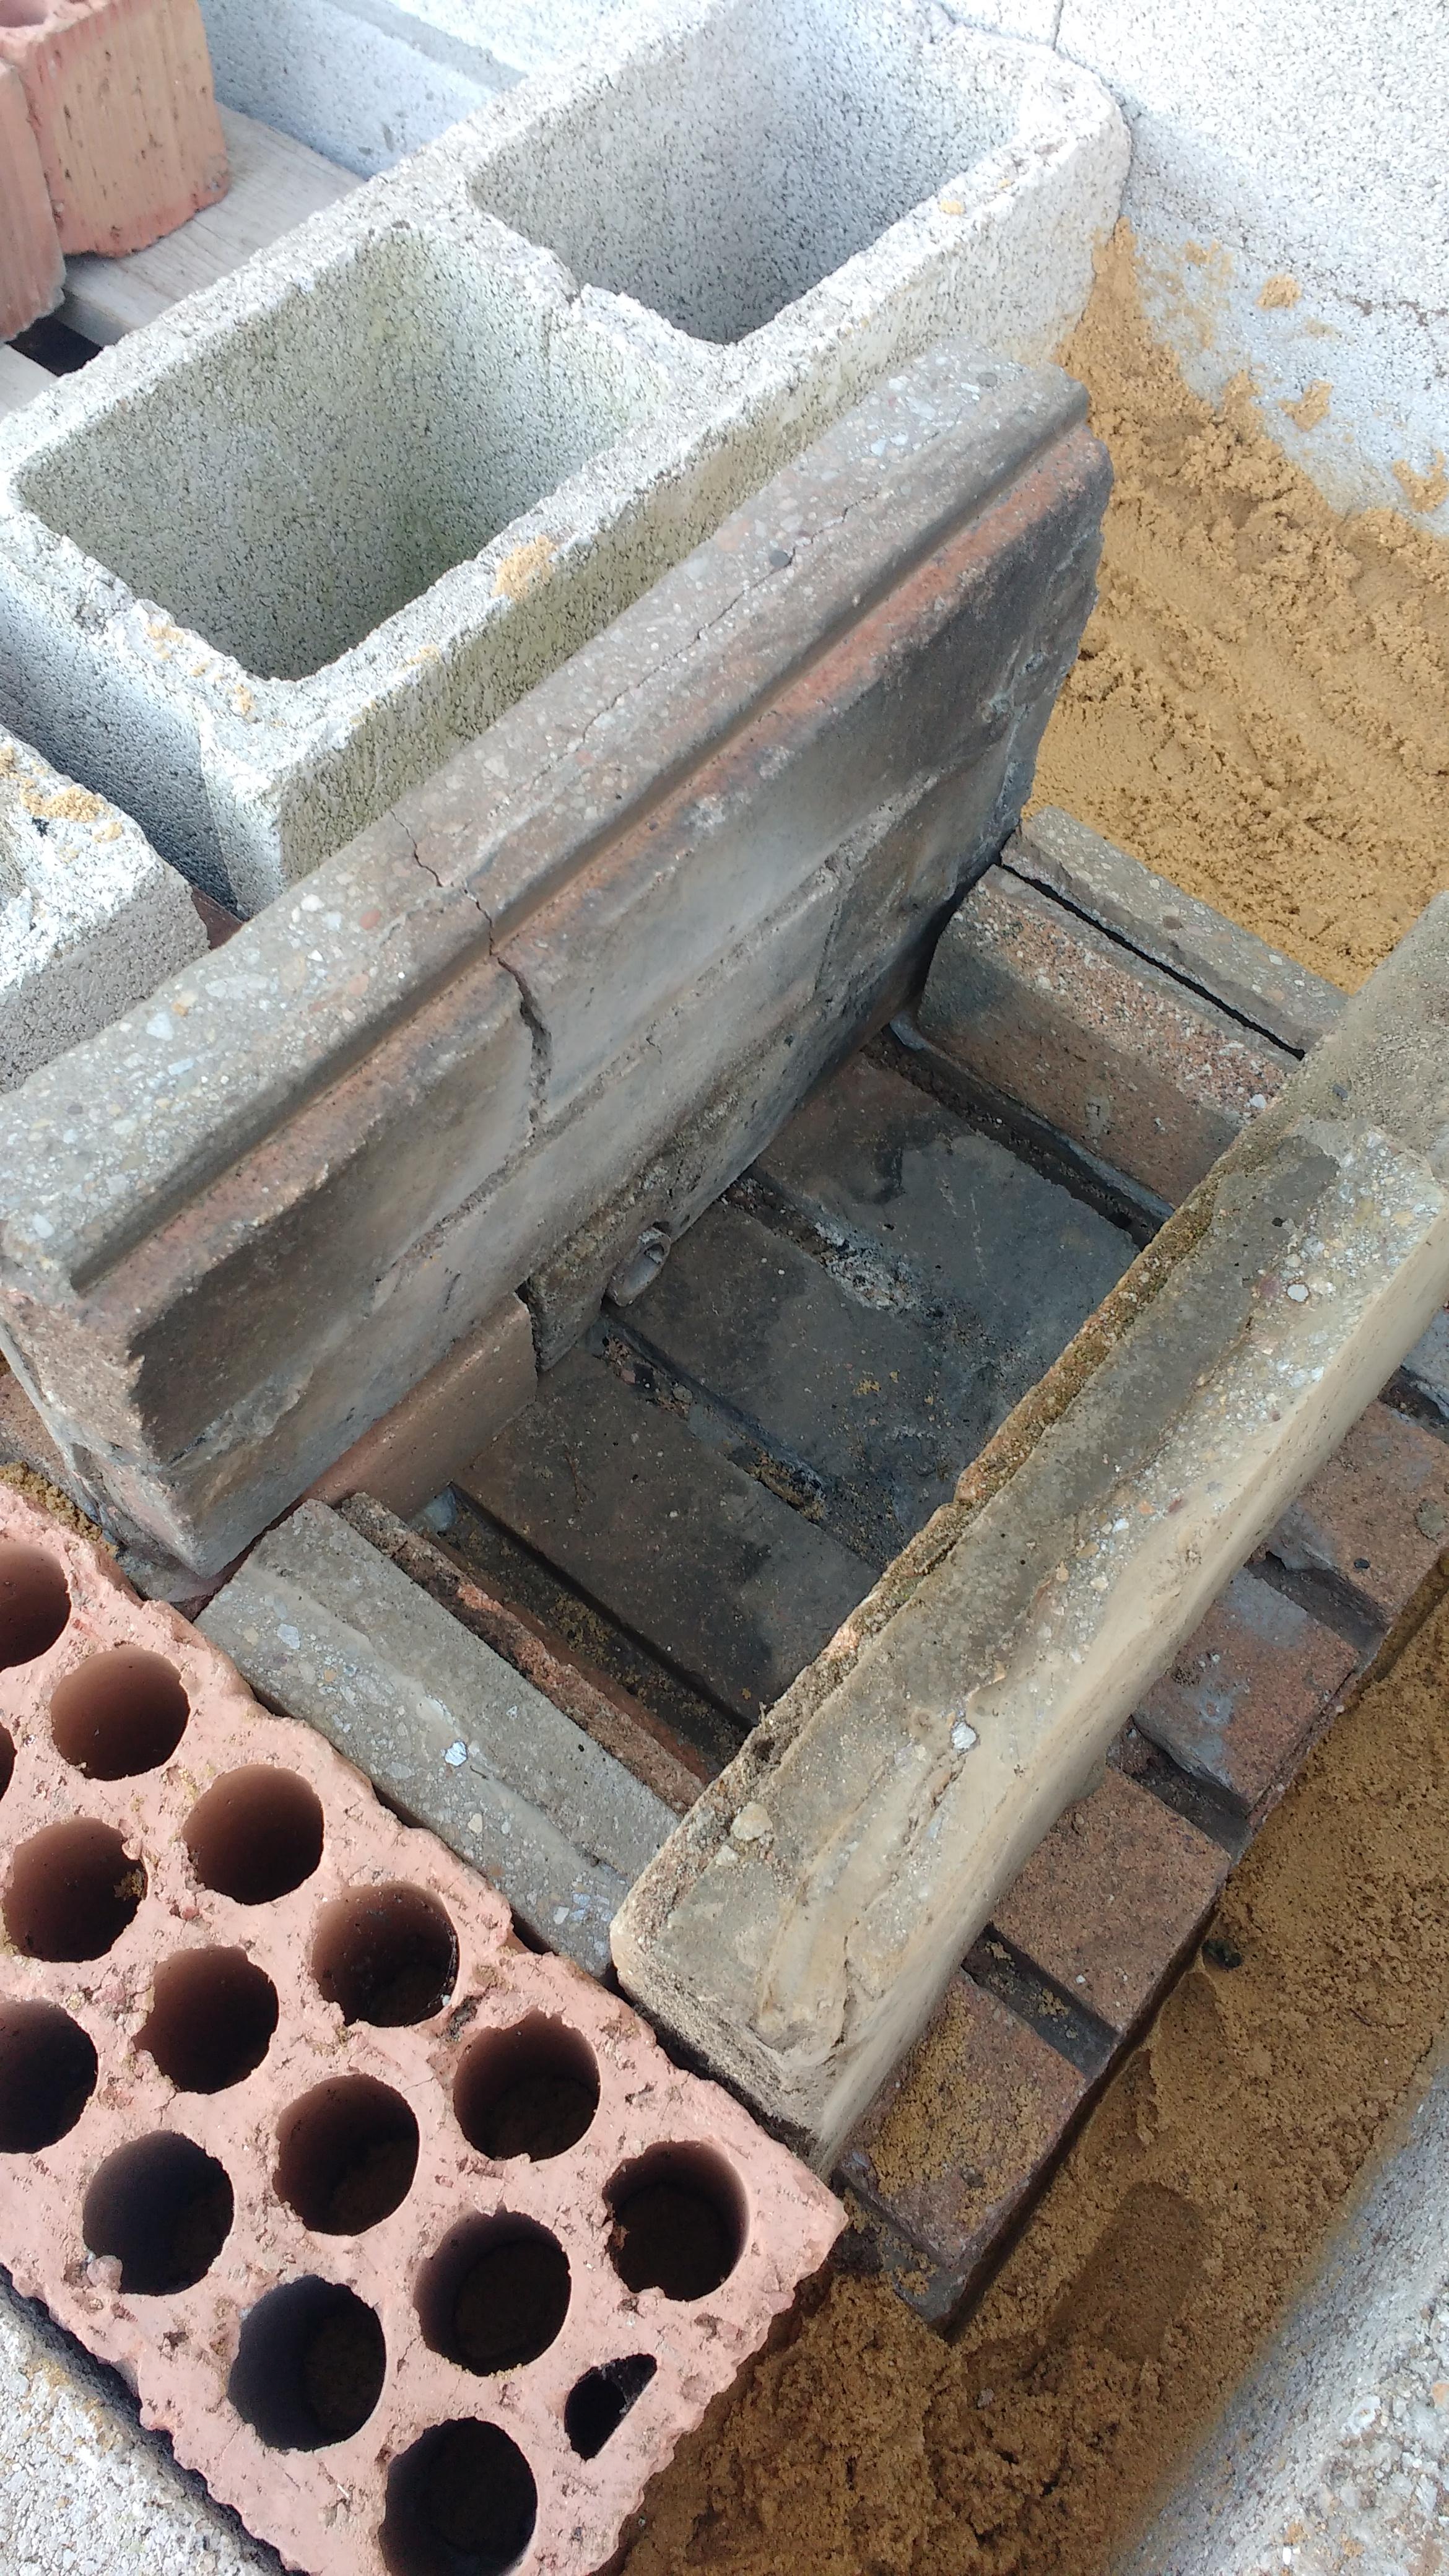
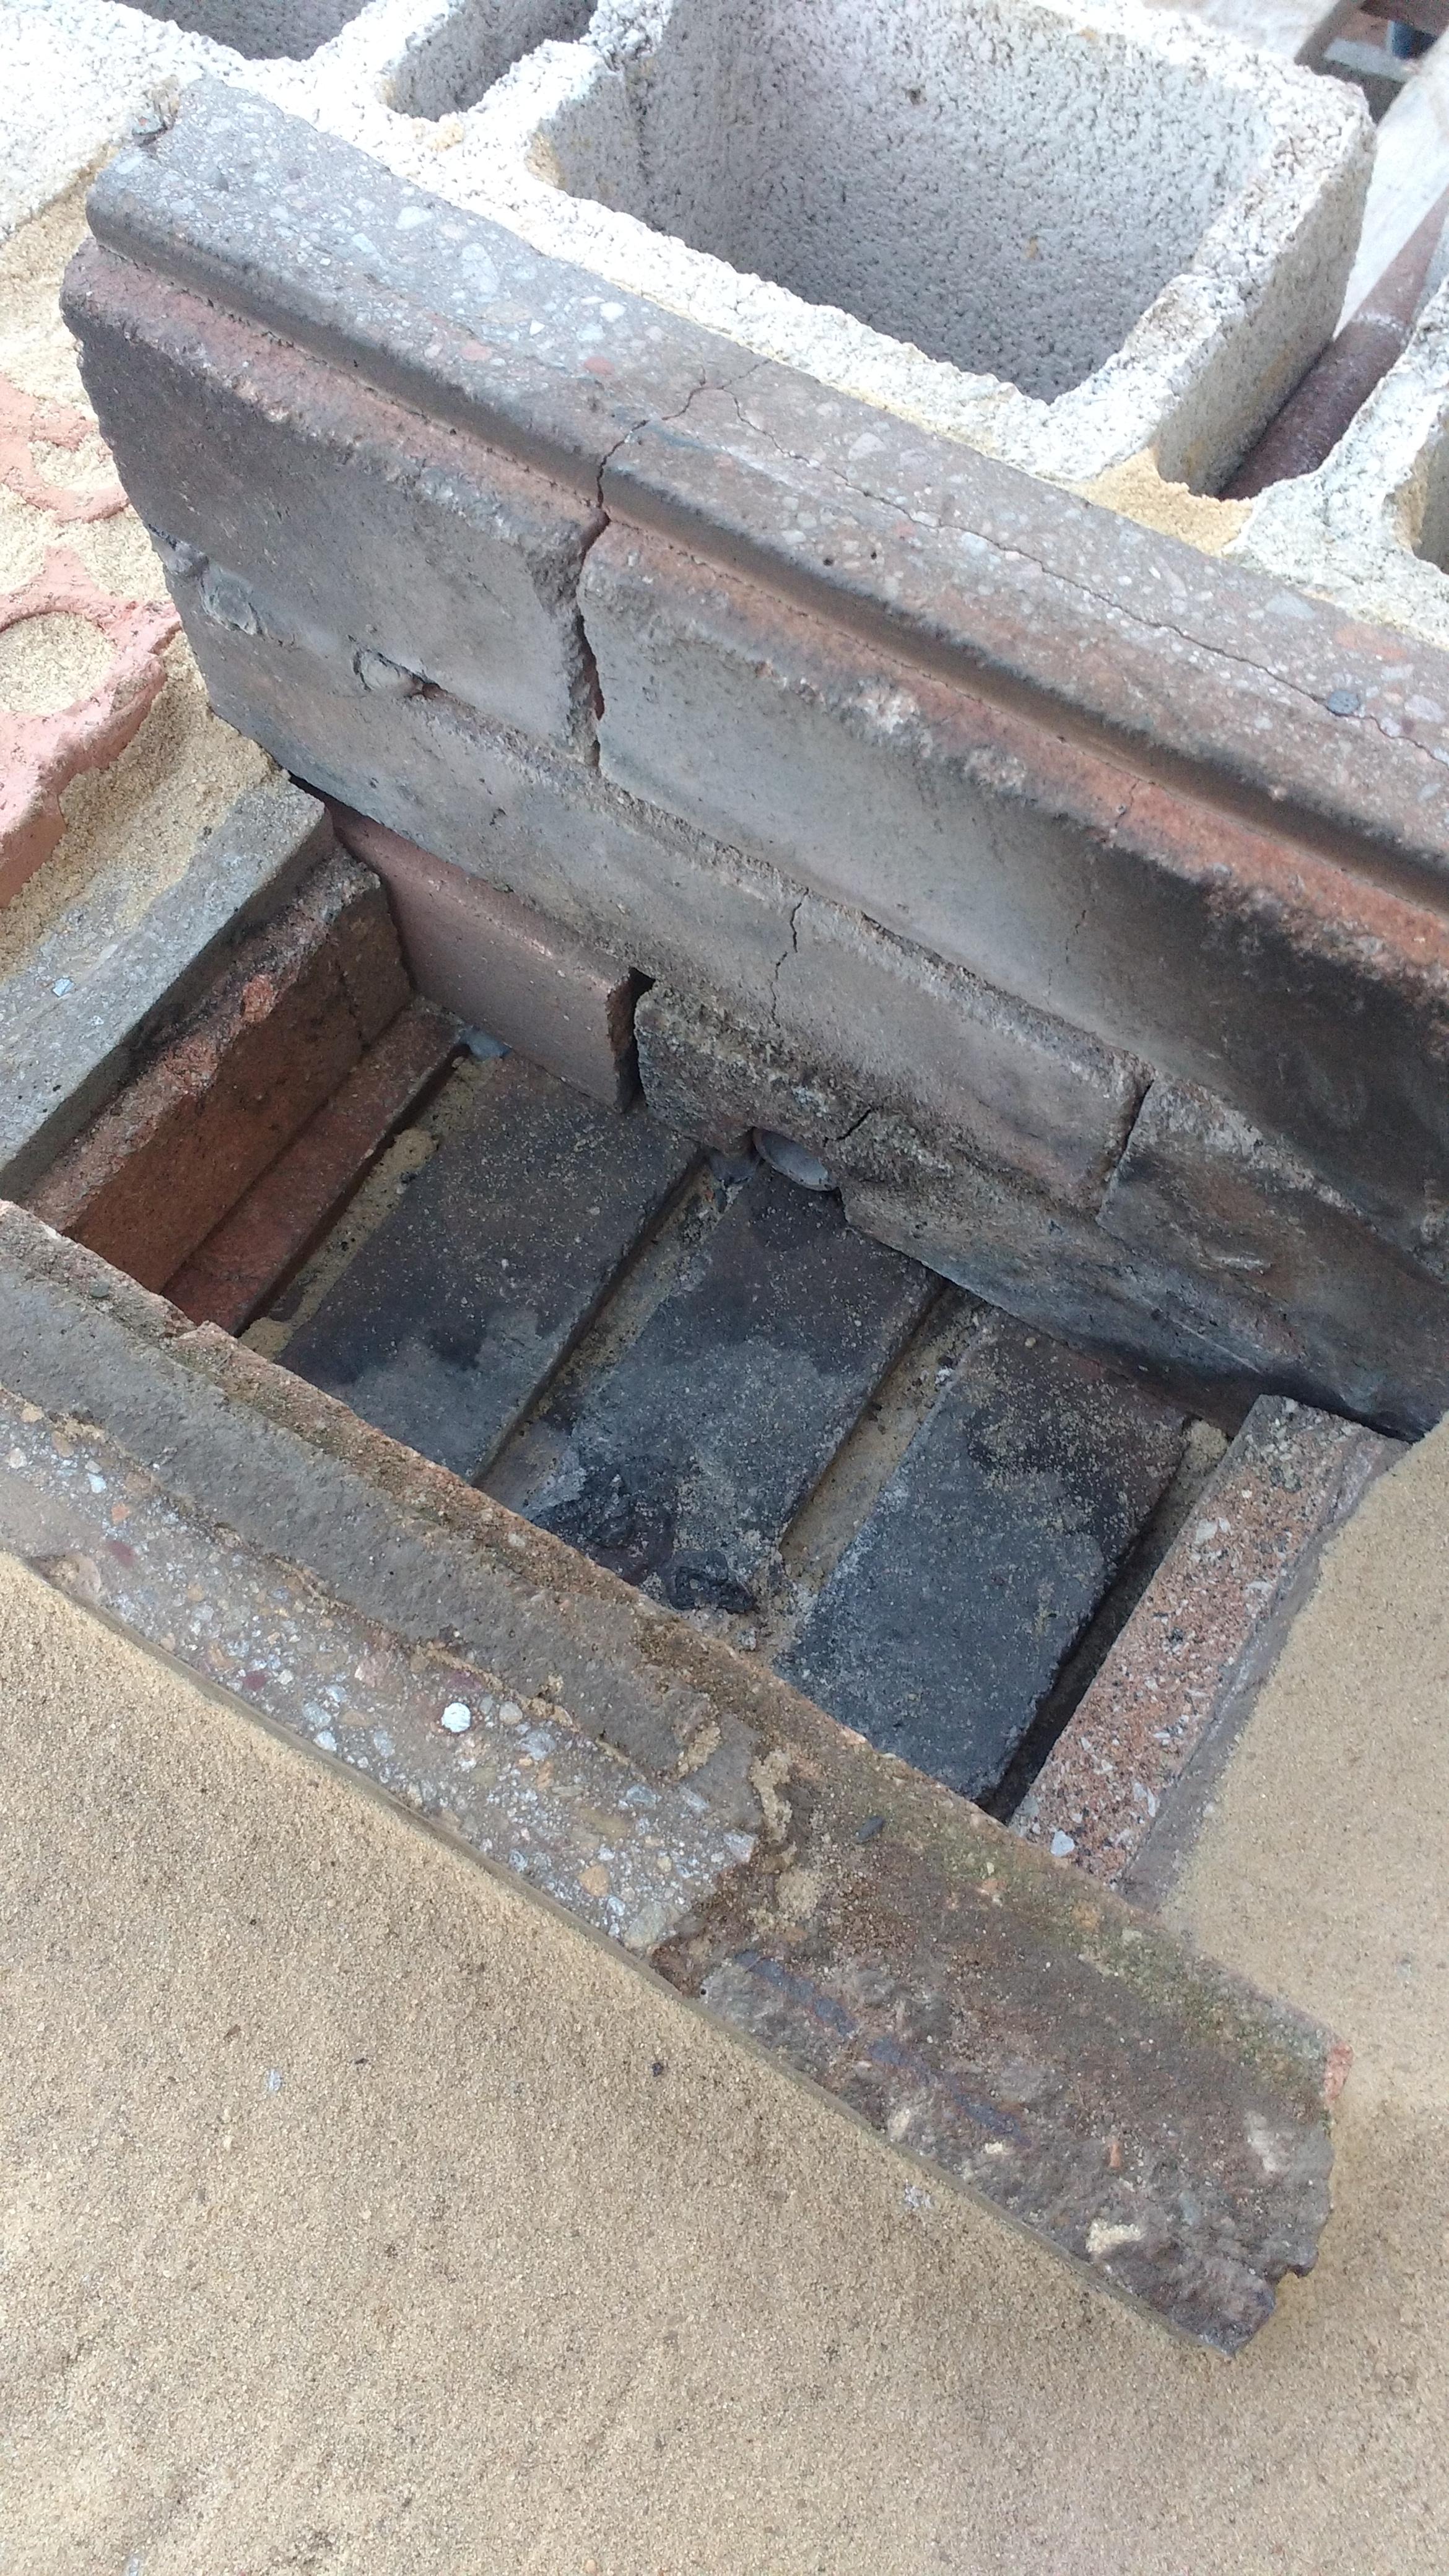
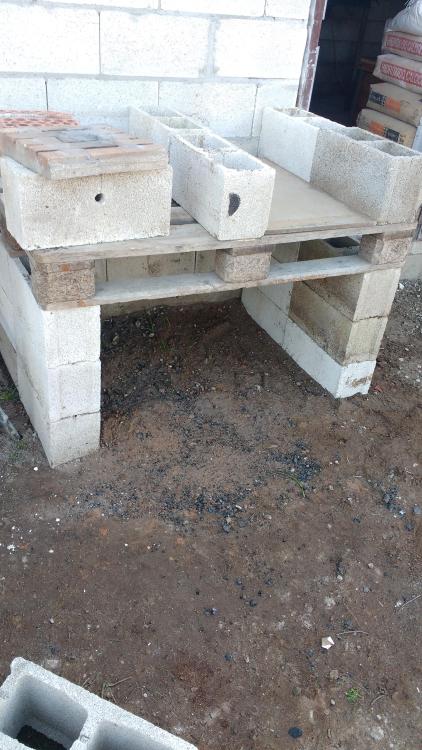
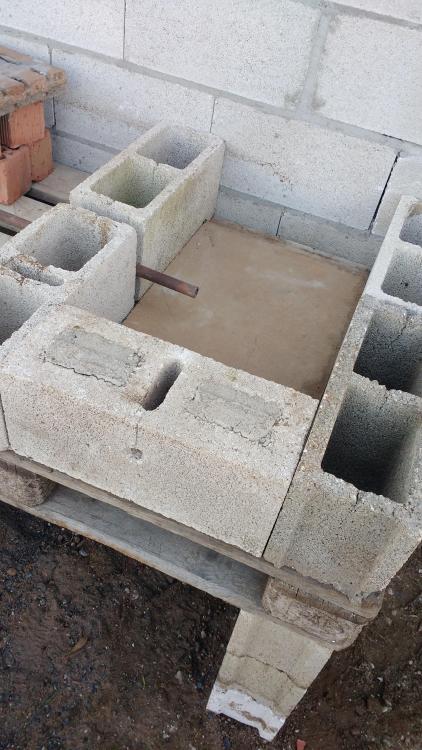
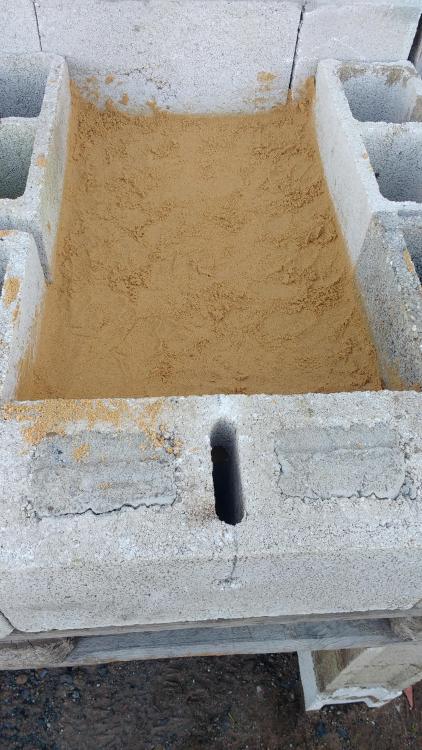
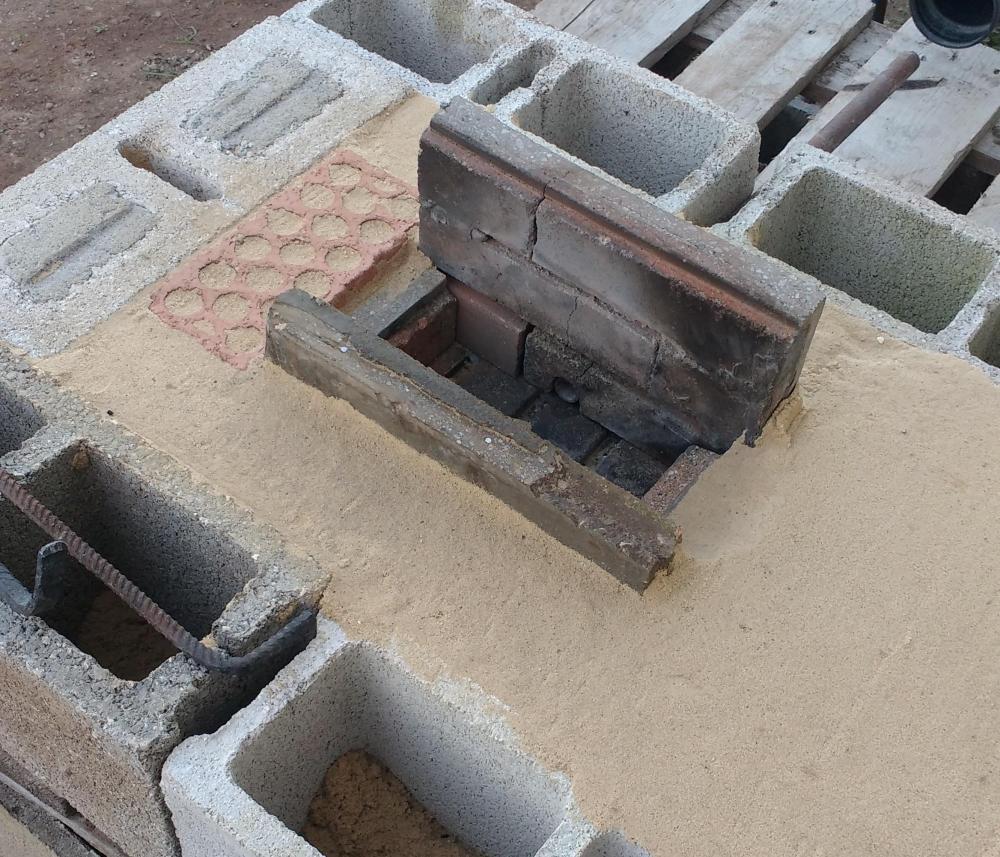
Here's my take on a JABOD, thanks everyone for sharing your valued knowledge which gave me the insight for my creation. I took all my inspiration from this awesome site. My initial thoughts were to keep everything as simple as possible and using materials I had at hand or that can be sourced easily. It may not be the prettiest but it's easy to erect and dismantle without the need for cutting or screwing timber together. The basic idea is to stand a pallet on top of some blocks to create the platform at the desired height and then arrange blocks to hold the dirt, sand or whatever material you choose to hold everything in place. I went with a 2 x 1 block formation which leaves plenty room to move stock around comfortably. The blocks to the left have a slight gap to enable the tuyere to be inserted. Ideally a block should be placed at the back but I'm just butting up against my workshop for now. A scrap piece of ply stops the dirt falling through the slats in the pallet. I didn't have any fire bricks or regular bricks to hand to make the sides which would most likely be used. I found a slab of refractory fireplace bricks that had been reinforced with some sort of mortar and steel at my local refuse site so cut this to size. I've used this several times already in my first attempt at a jabod and so far it's holding up fine but will no doubt have to be replaced in the near future. Instead of having the bottom of the forge just dirt I used a piece of the refractory which is sat on a 2" bed of sand. Next was to add the sand, but dirt will do just as well. It's basically to hold the sides together. The dimensions of the pot are roughly 8" long by 4" wide and 2" deep. I've been using a mattress inflator for air feed aimed at the tuyere from a distance of a few inches which works great but it's noisy and a pain to drag a cable outside. I'm going to try using my battery operated leaf blower which has a neat setting to adjust the 'revs' from low to high and anywhere in between and leave it running hands free. It barely whispers at low setting and is no way near as noisy as the mattress inflator. I'm new to this in every respect so any feedback or suggestions for improvement are more than welcome. Gonna fire her up tomorrow!


-
Thank you for the feedback and advice. I'm going to ditch my original plan and settle for something more traditional and safer. I've found some really cool ideas for a proper stand just browsing this site. Seasons greetings all
-
Yeah the cinder blocks are a bit fragile but I'm going to beef them up with rebar and then fill them with concrete then later clad with wood. The materials I have kicking around after building my man cave so won't cost me anything. Hopefully it will hold up
-
Thanks for the welcome and yes JHCC I got real lucky on this one. Couldn't say no to this offer even if it mean't going over my budget, got lots of other ongoing projects at the moment. Going to make a custom stand for it next out of cinder blocks, rebar and concrete
-
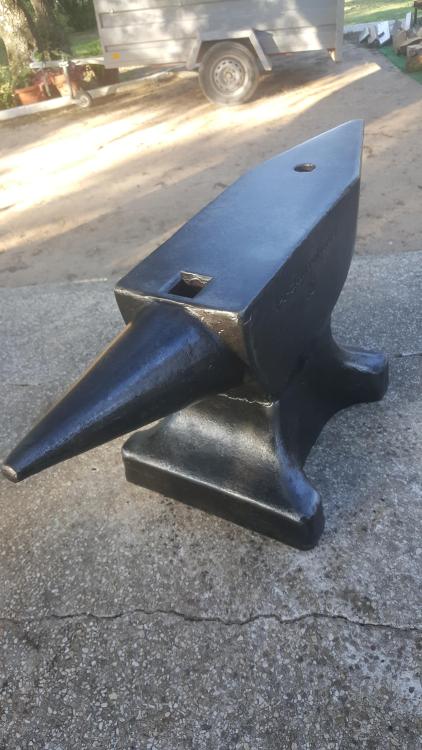
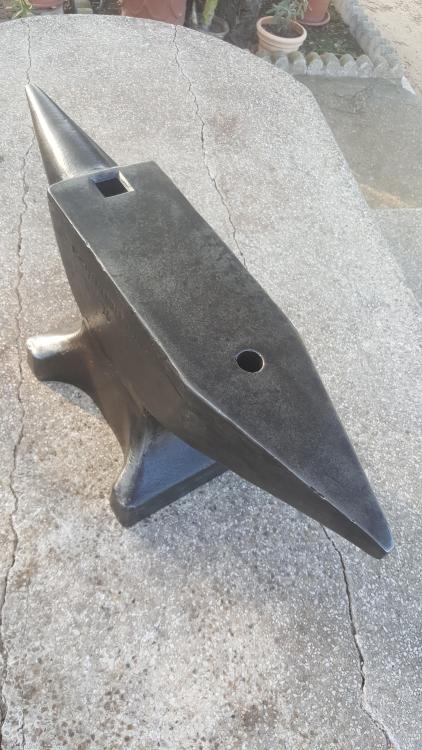
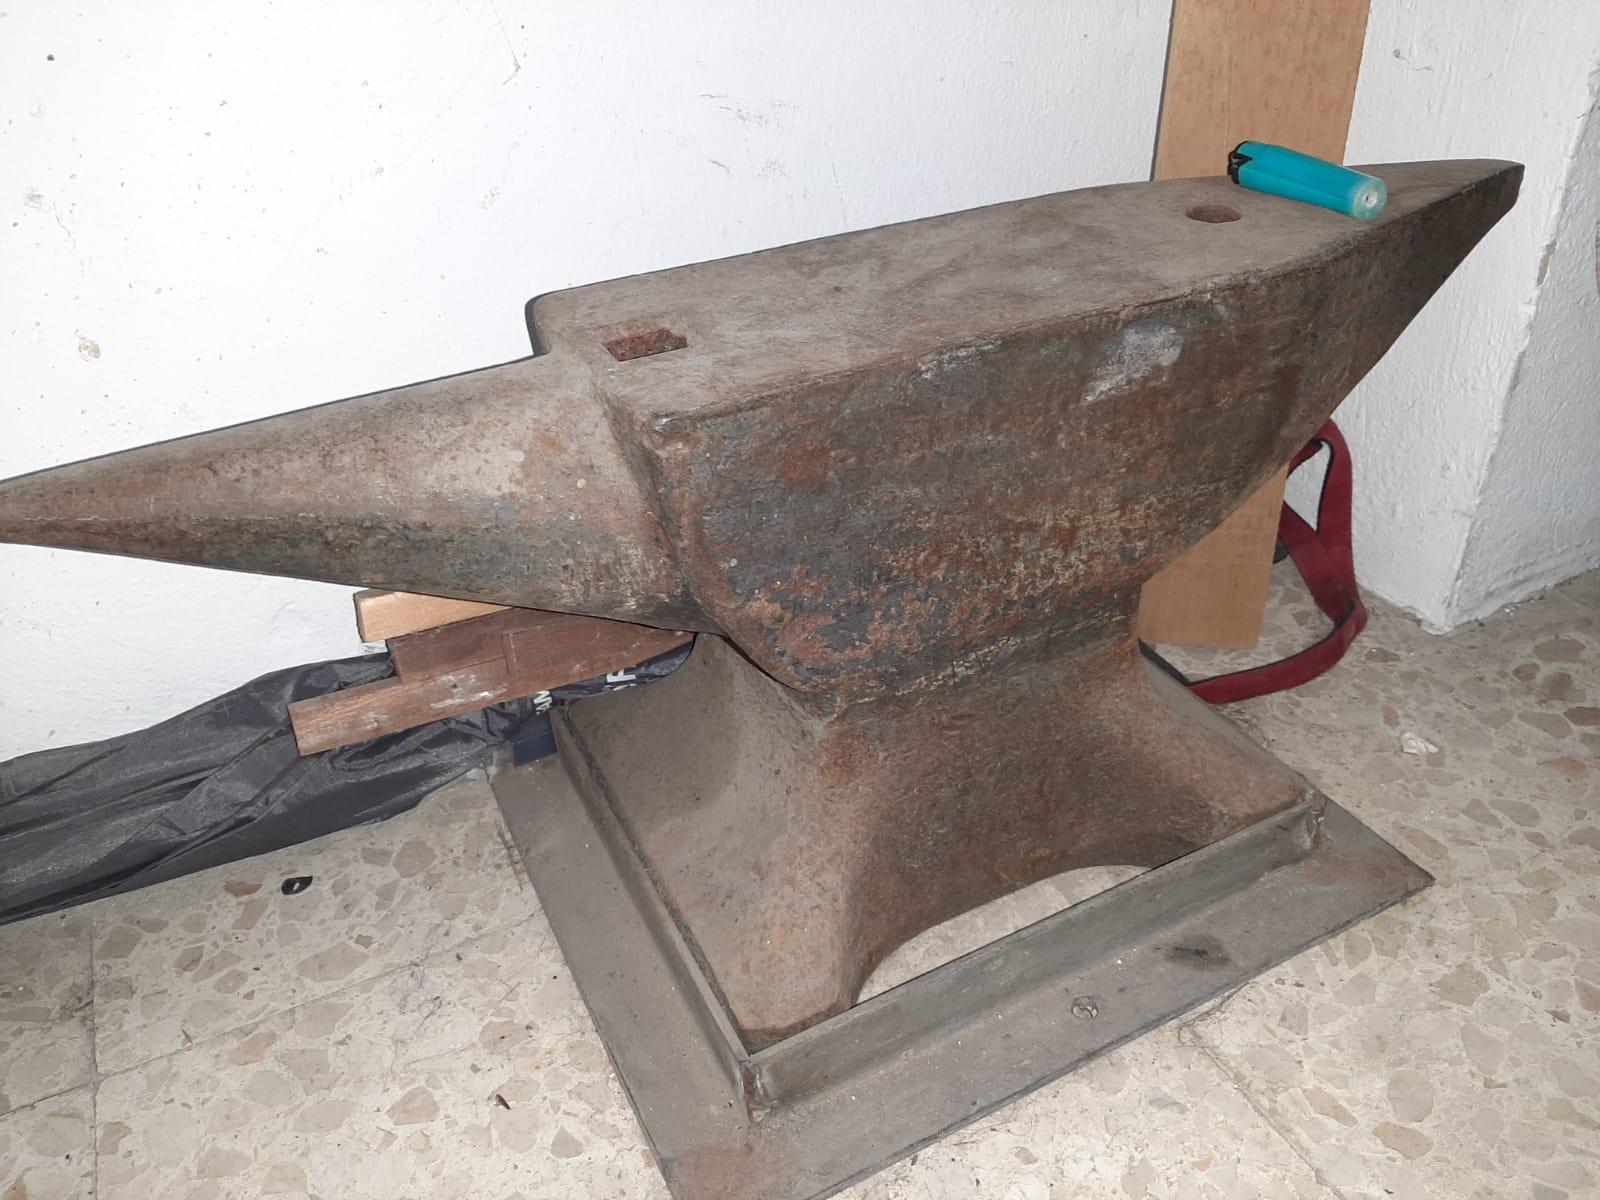
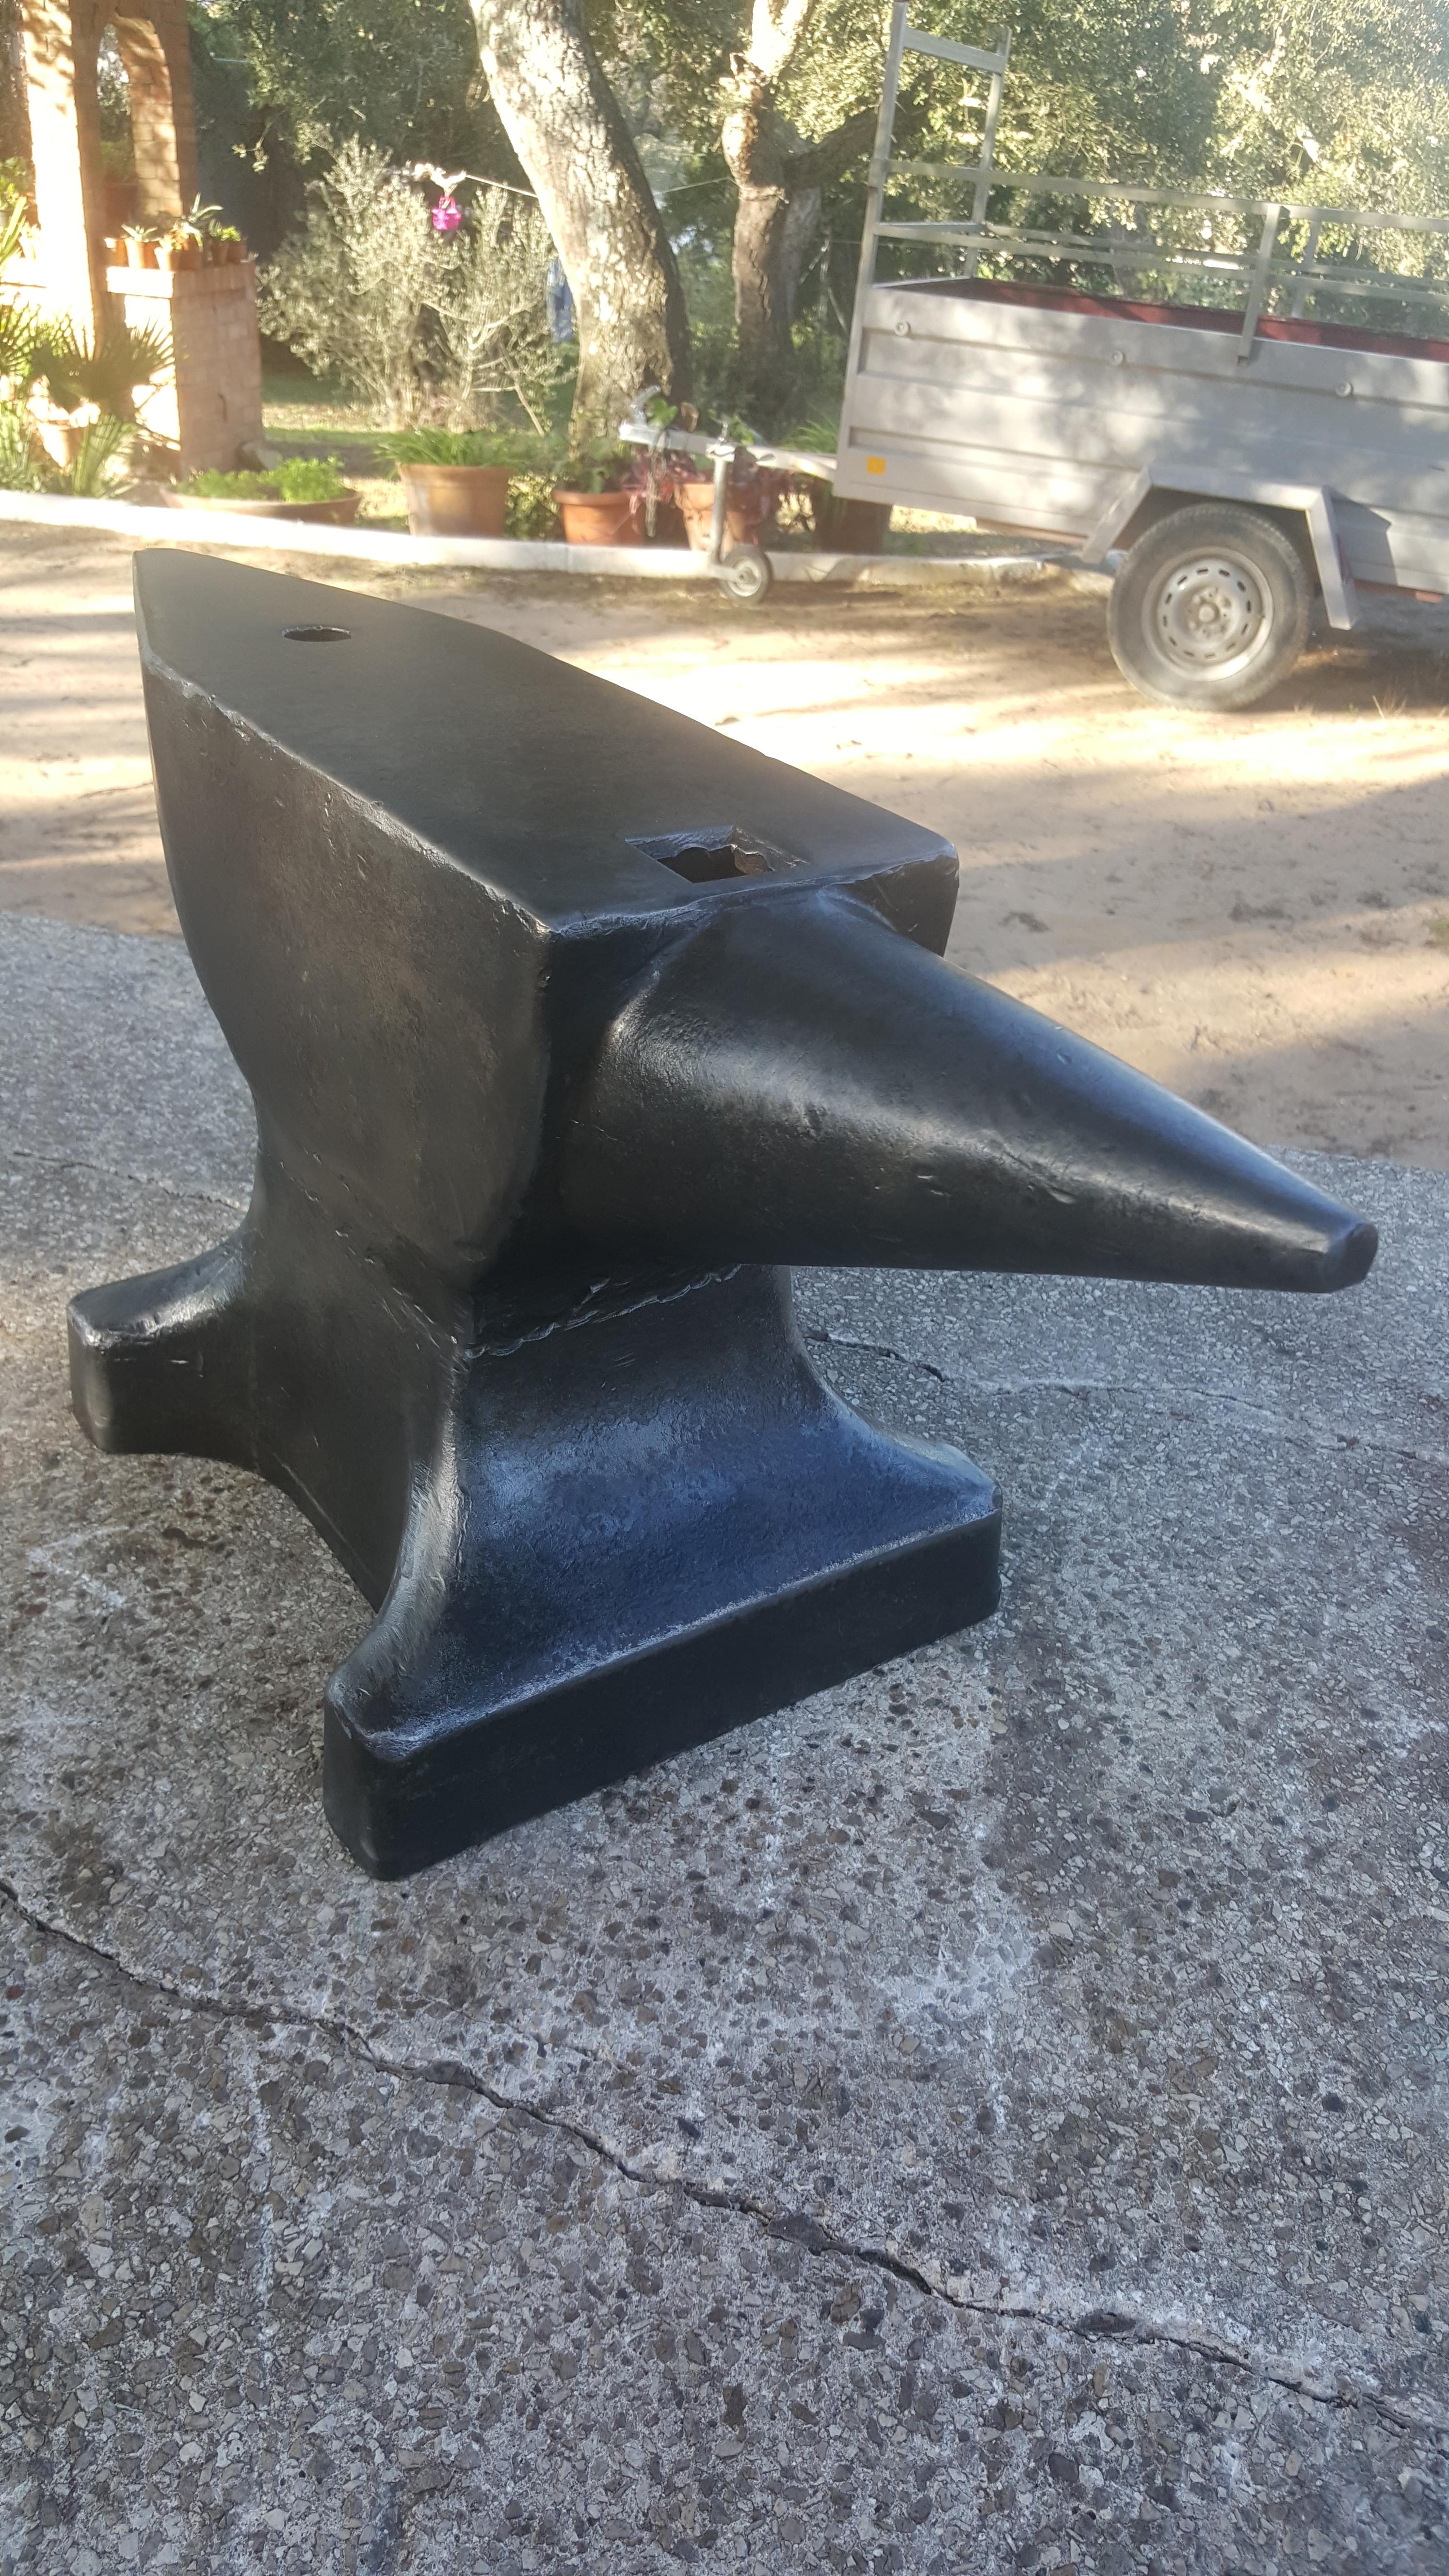
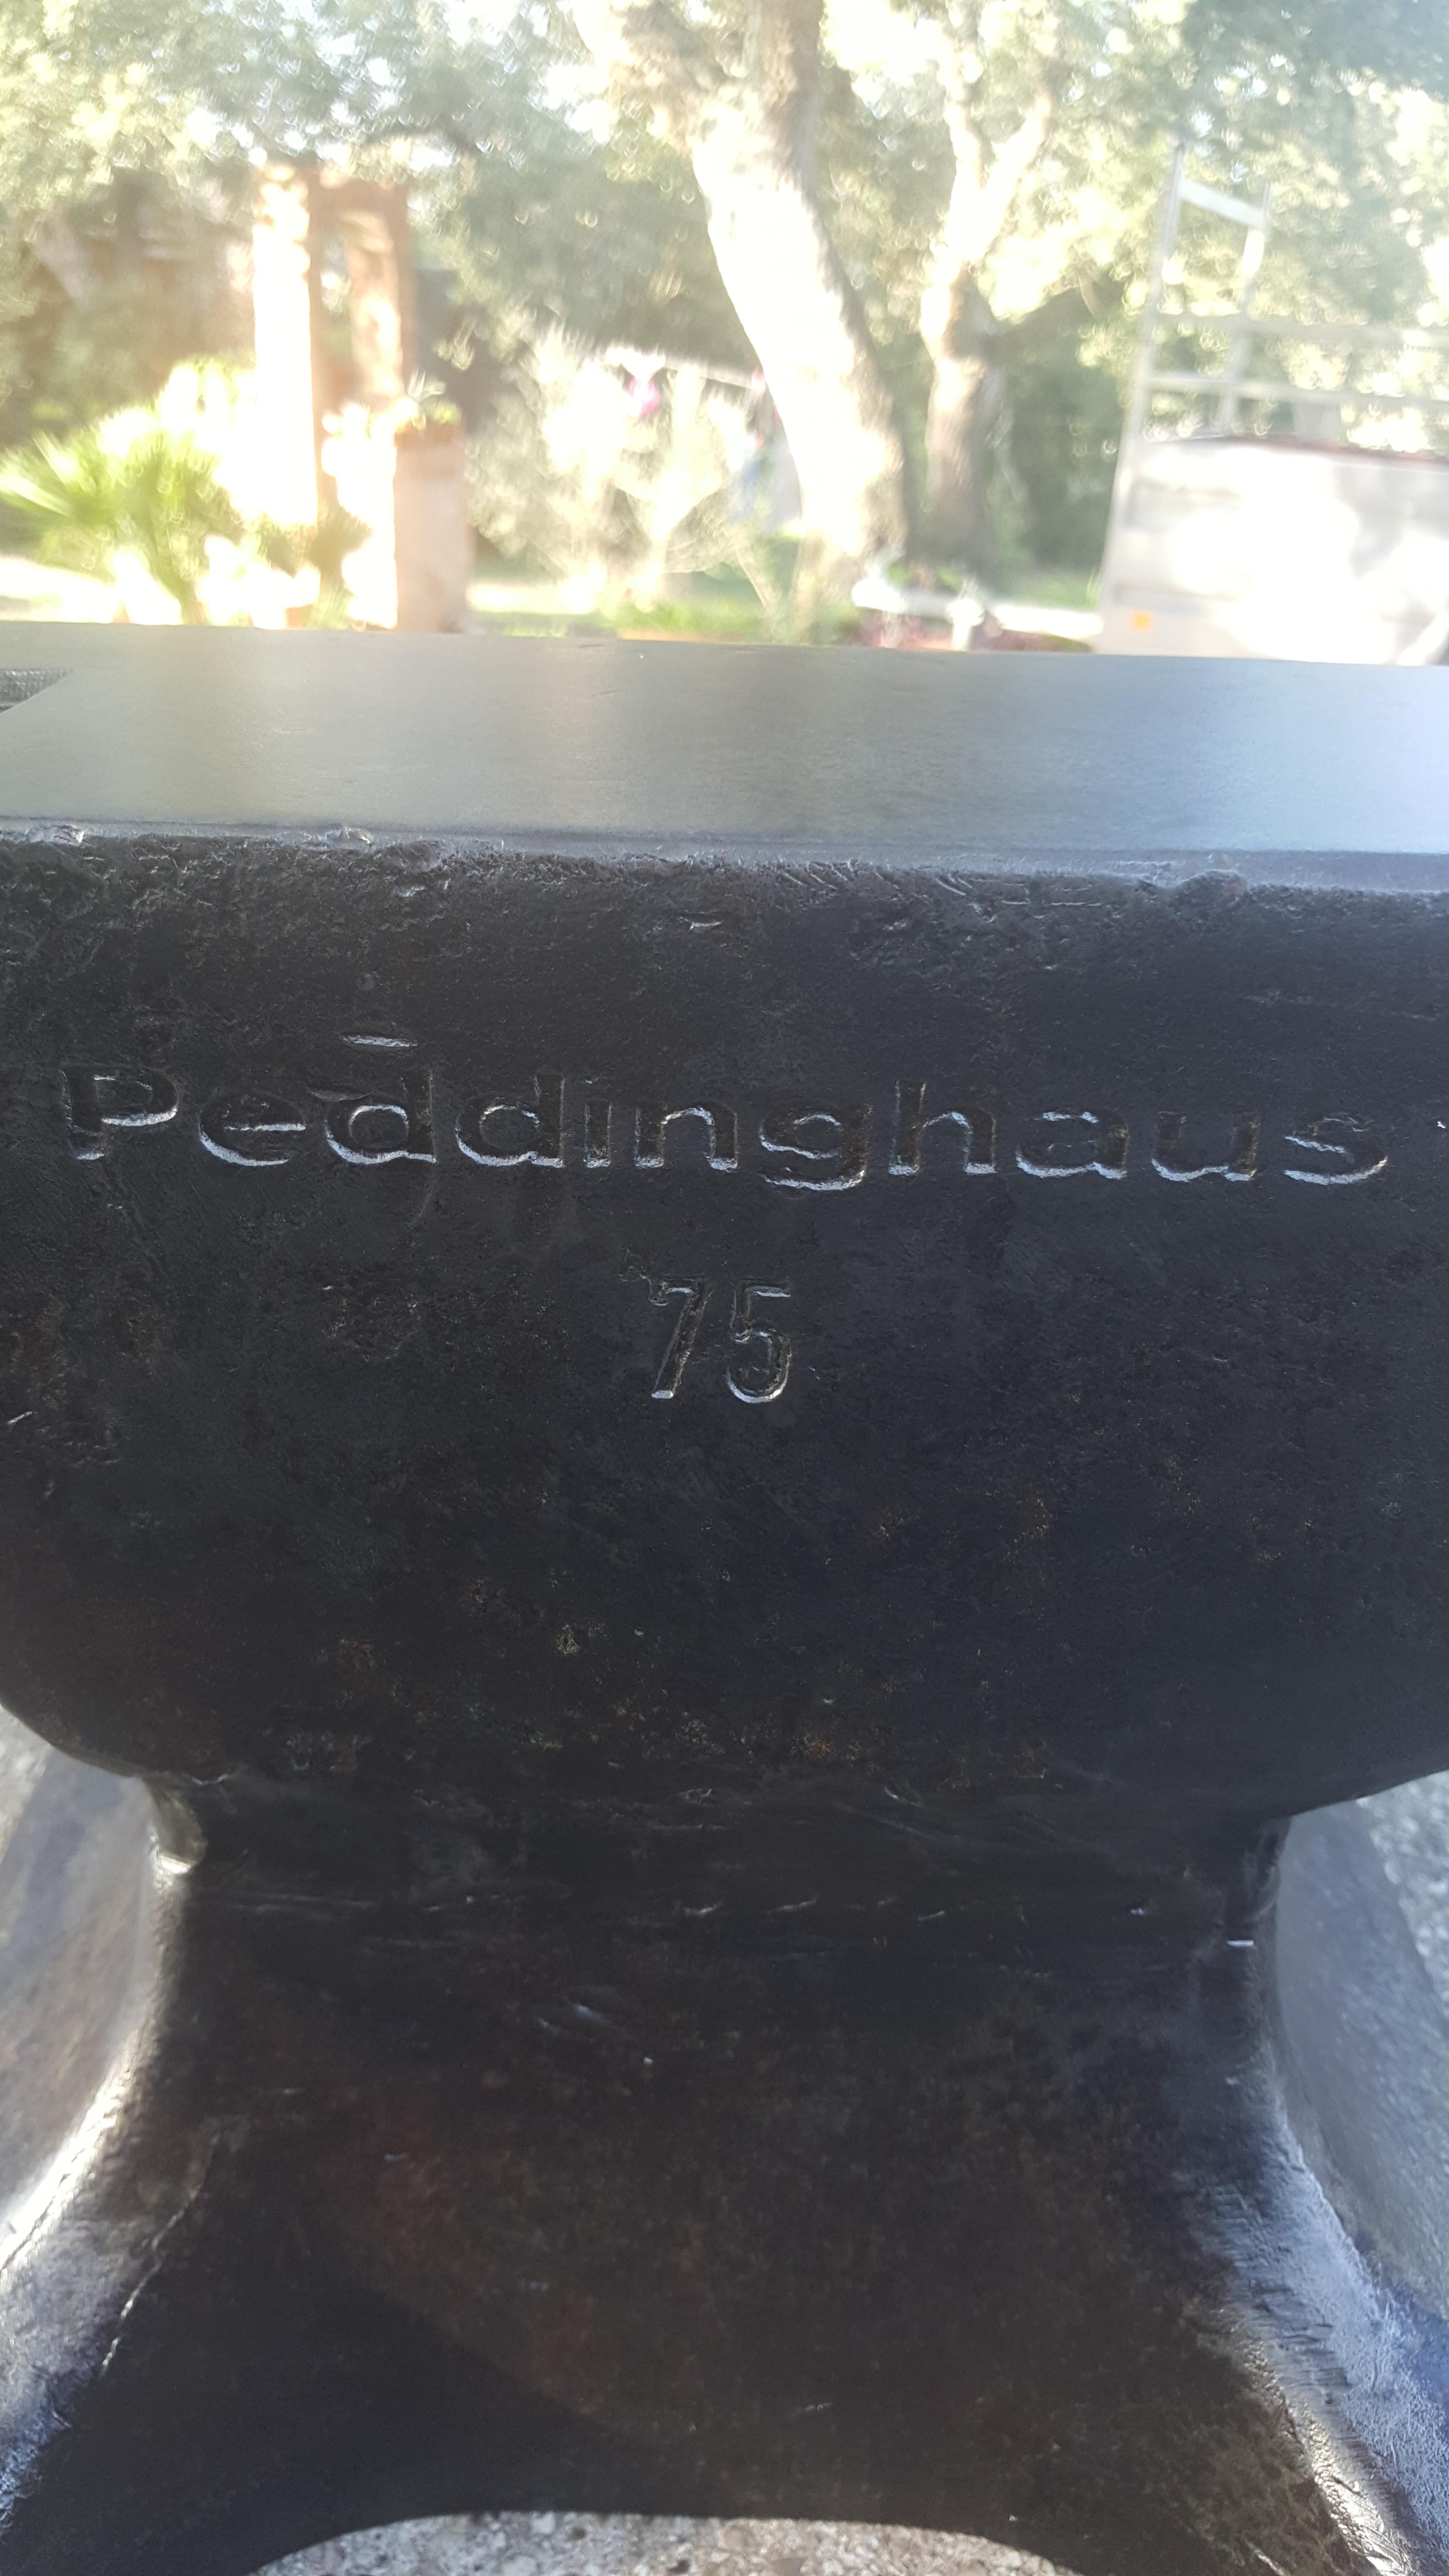
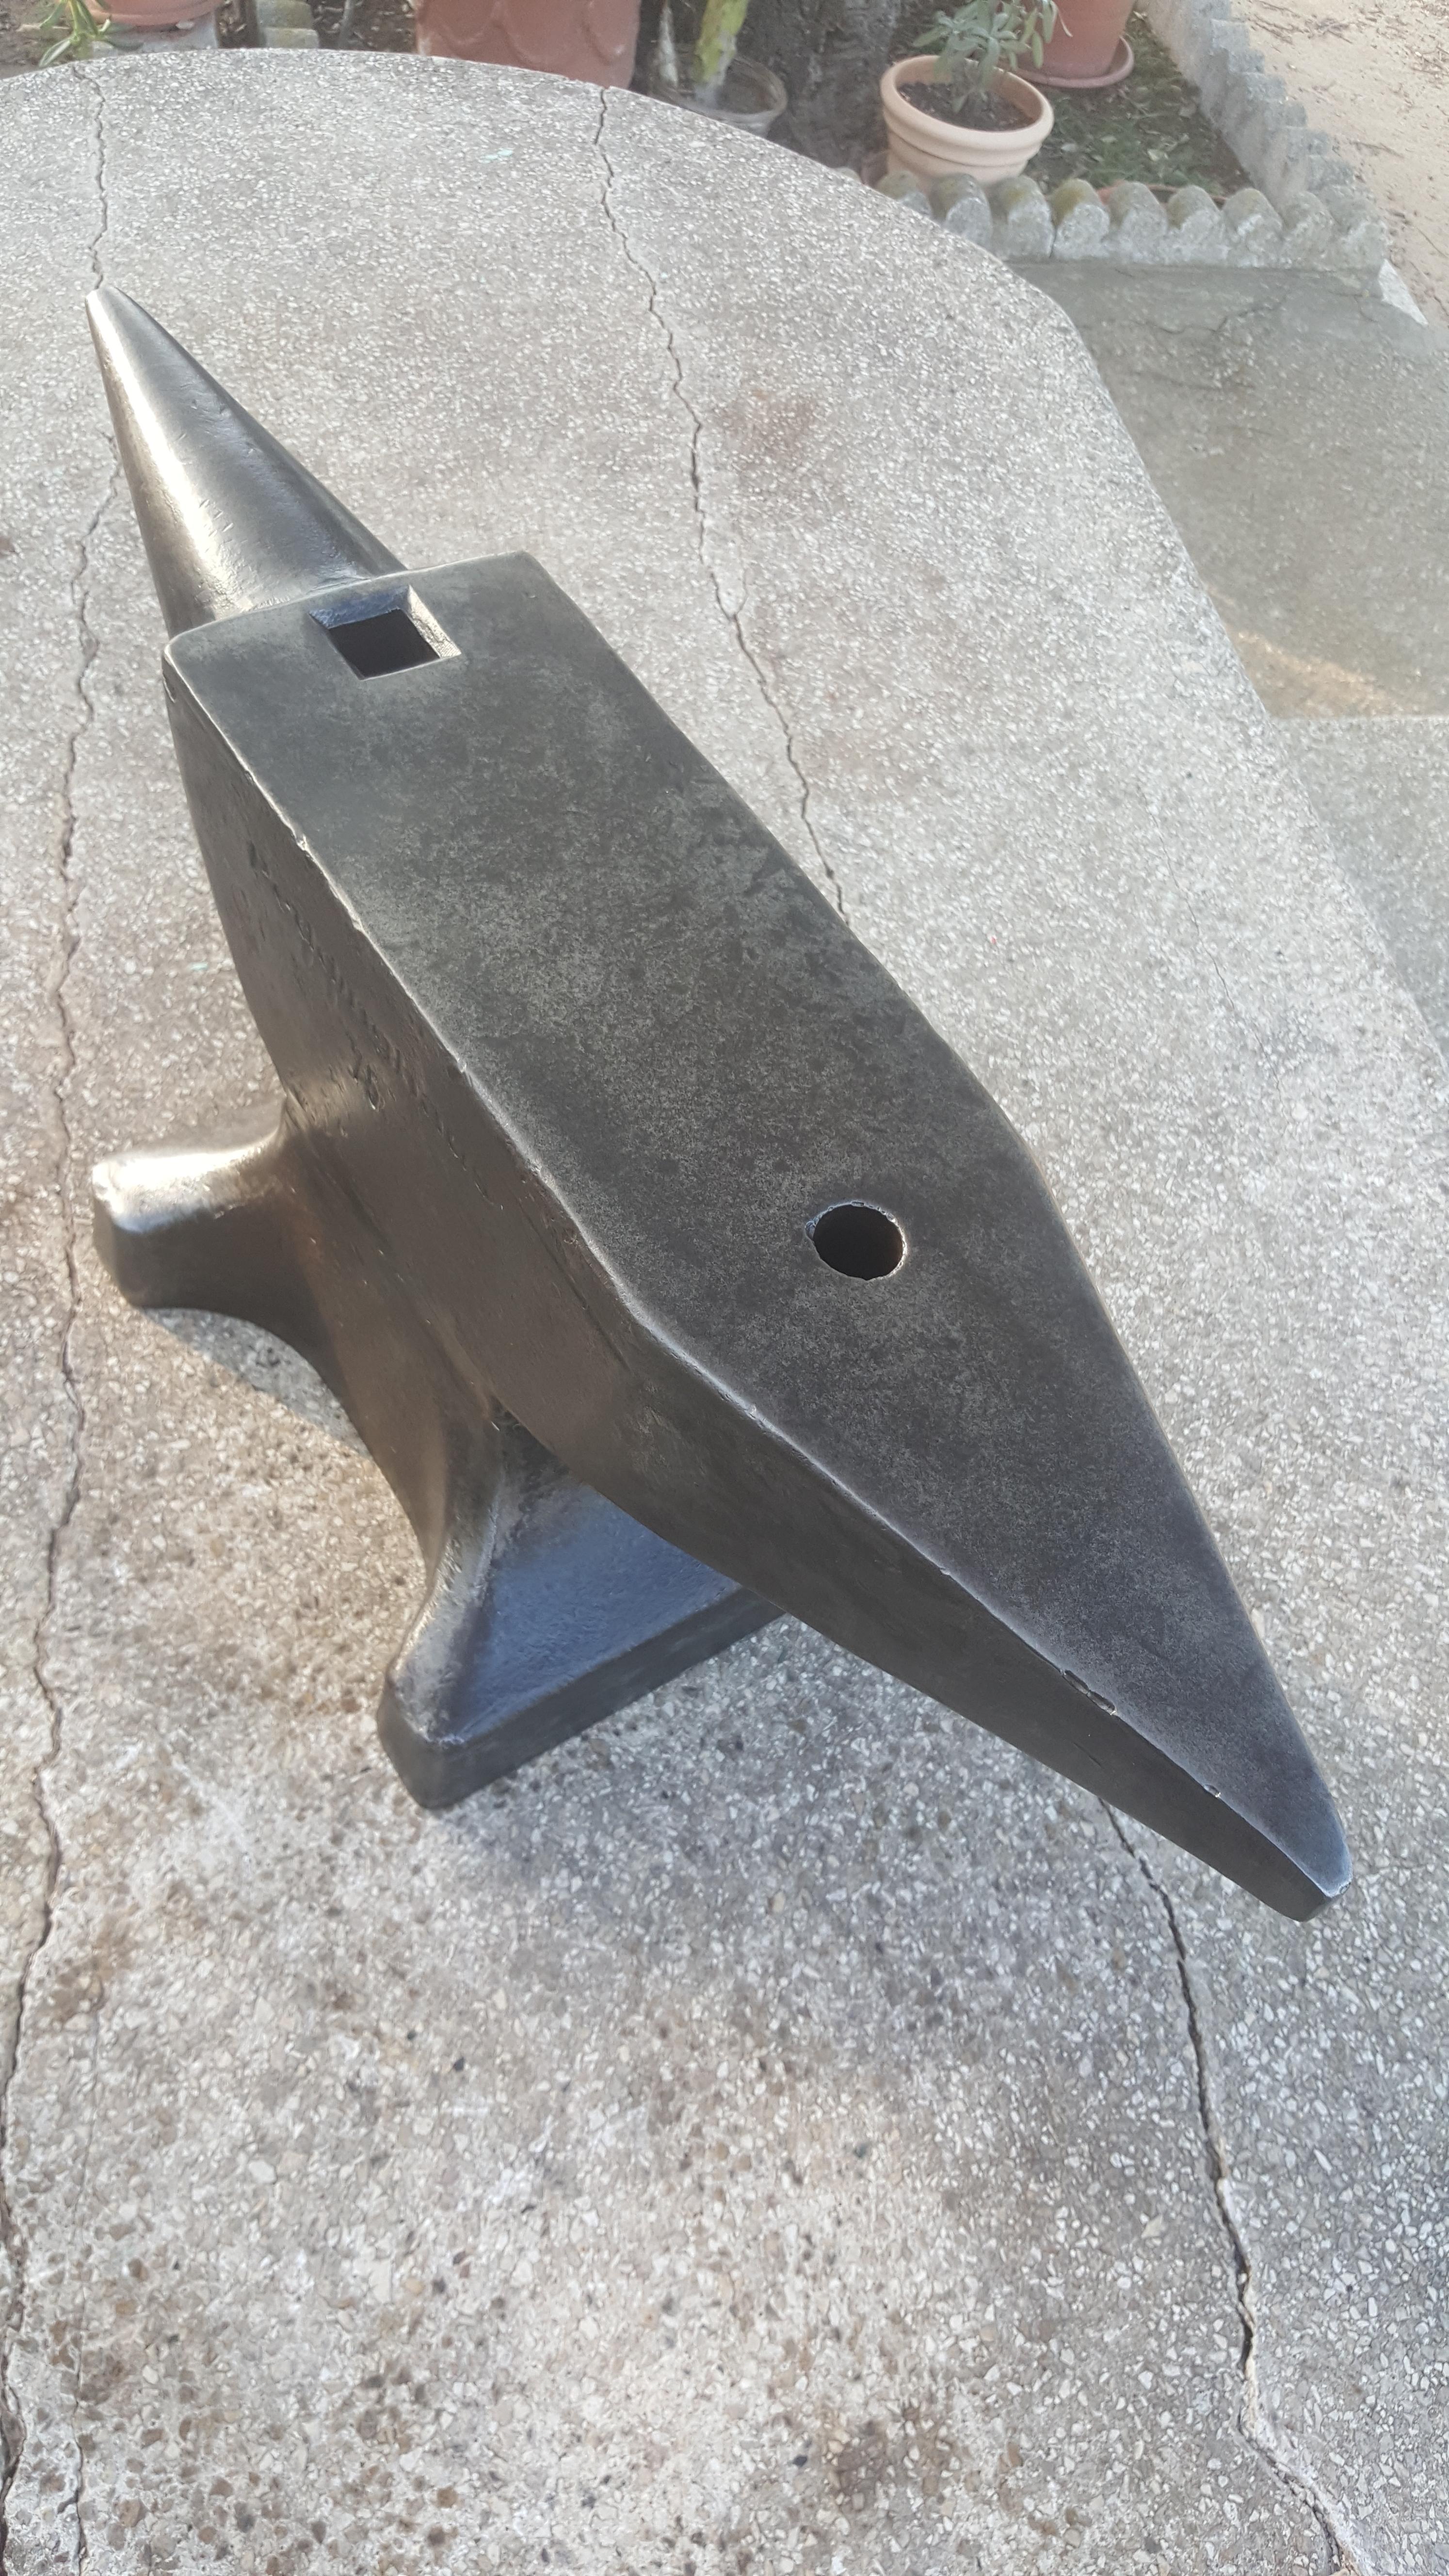
Hello good people! Some pictures of my 75kg Peddinghaus that I bought yesterday. Cleaned up nicely with a wire wheel, she's in good shape I was originally after an ASO and found one locally really cheap but the seller told me he also had a real anvil for sale and wouldn't accept no less than 350 euros. I asked for a few pics and jumped at the offer. It's my first anvil and should serve me well. Is there any way of telling what year it was roughly manufactured?