Calkidd
Members
-
Joined
-
Last visited
Everything posted by Calkidd
-
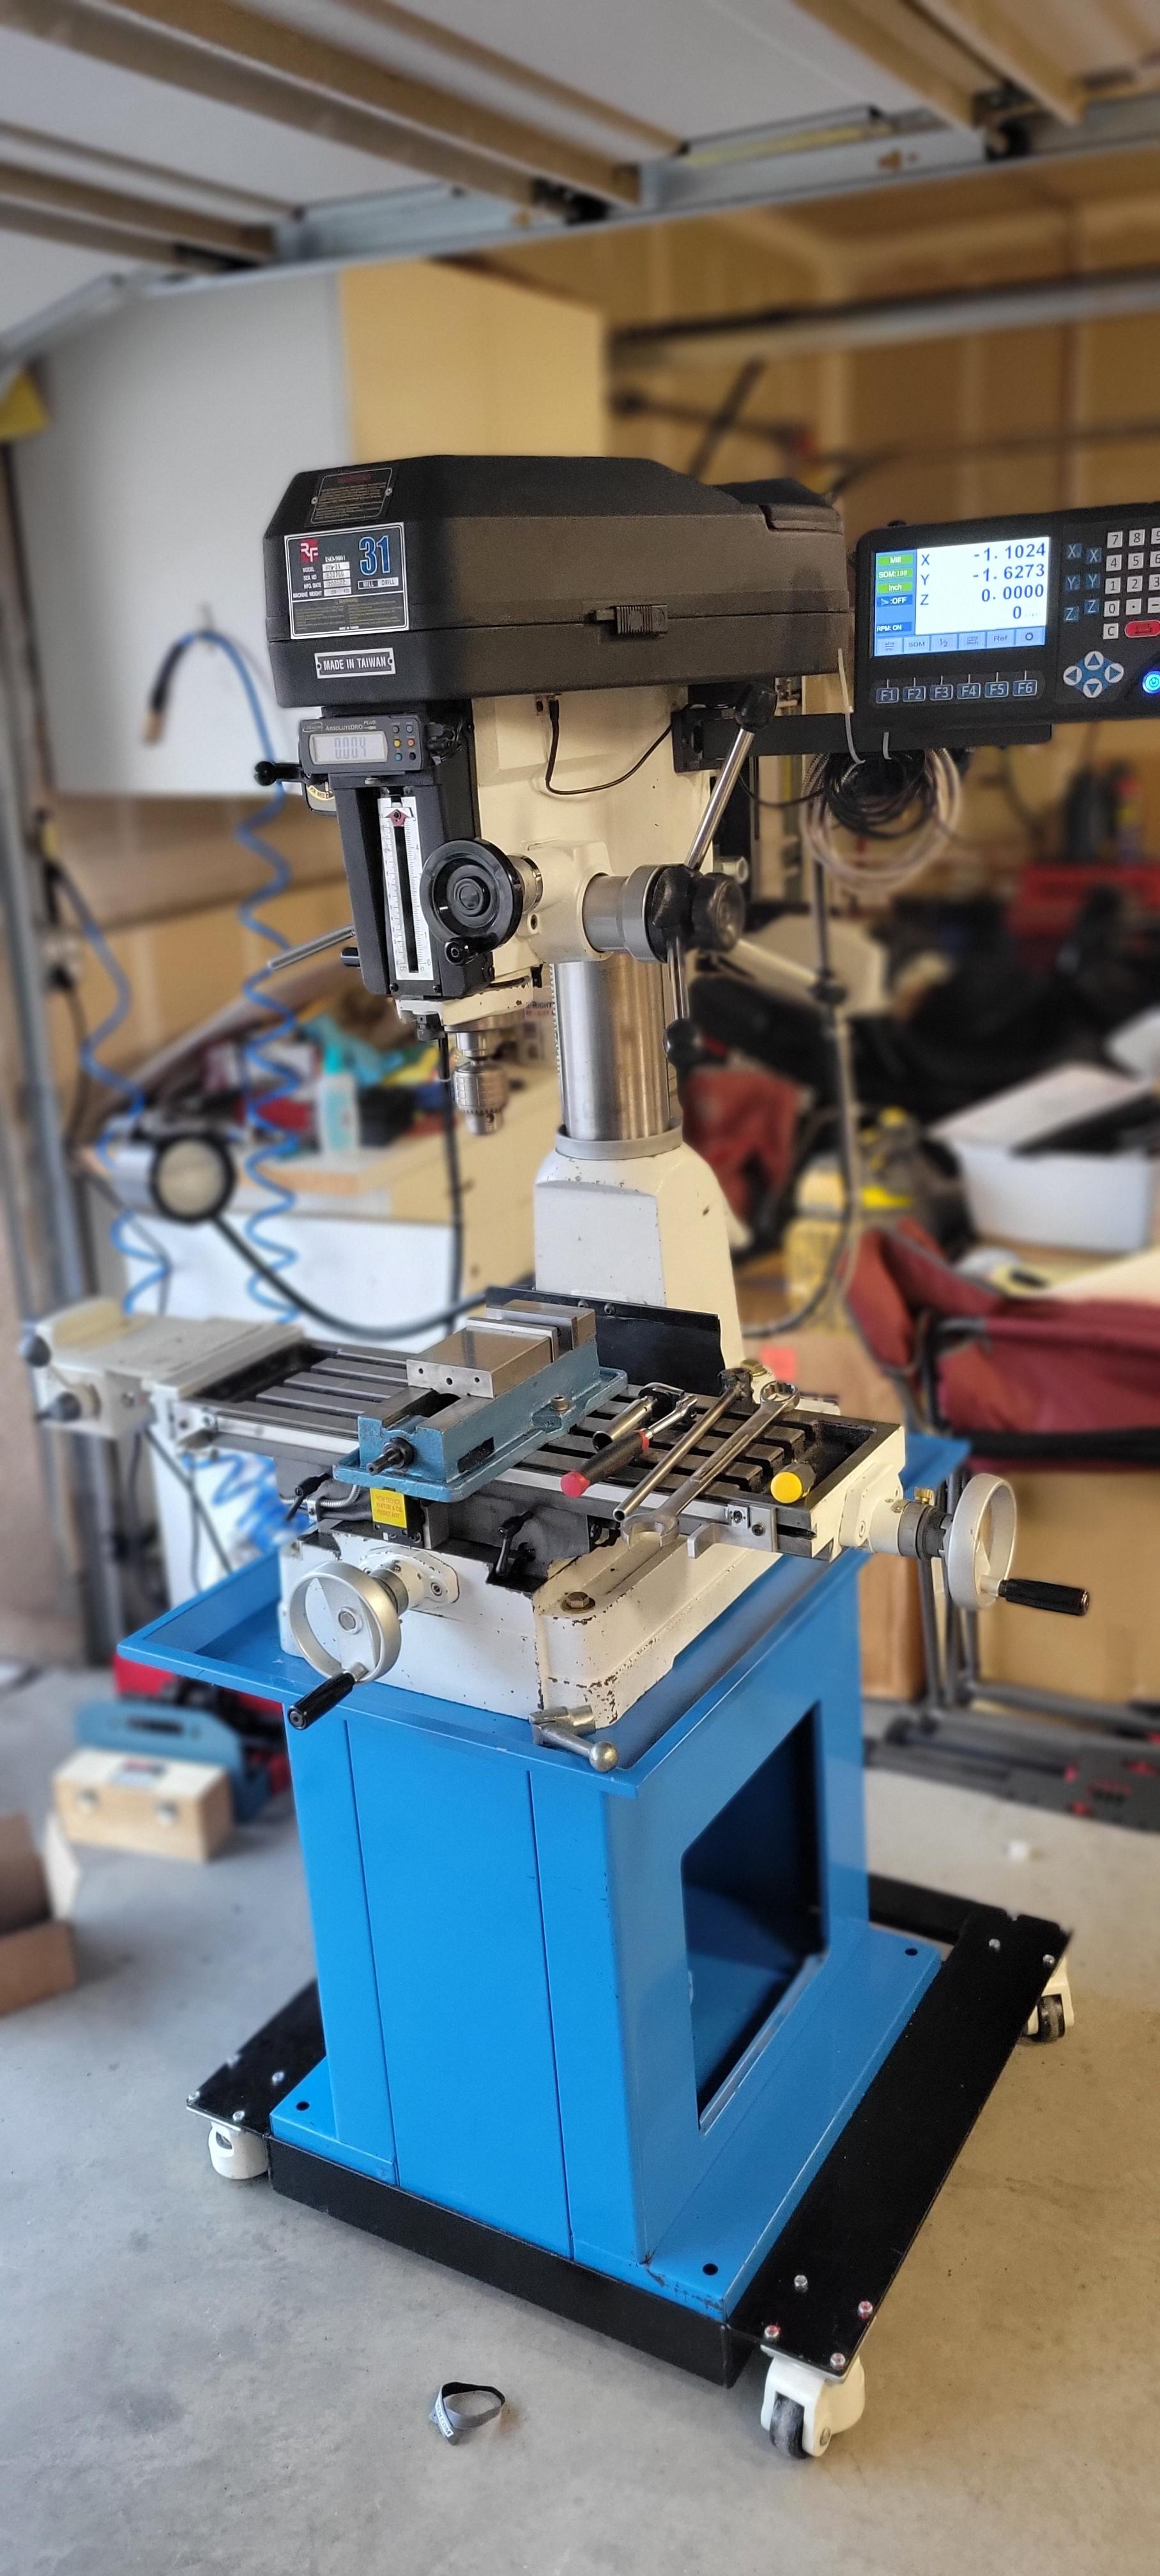
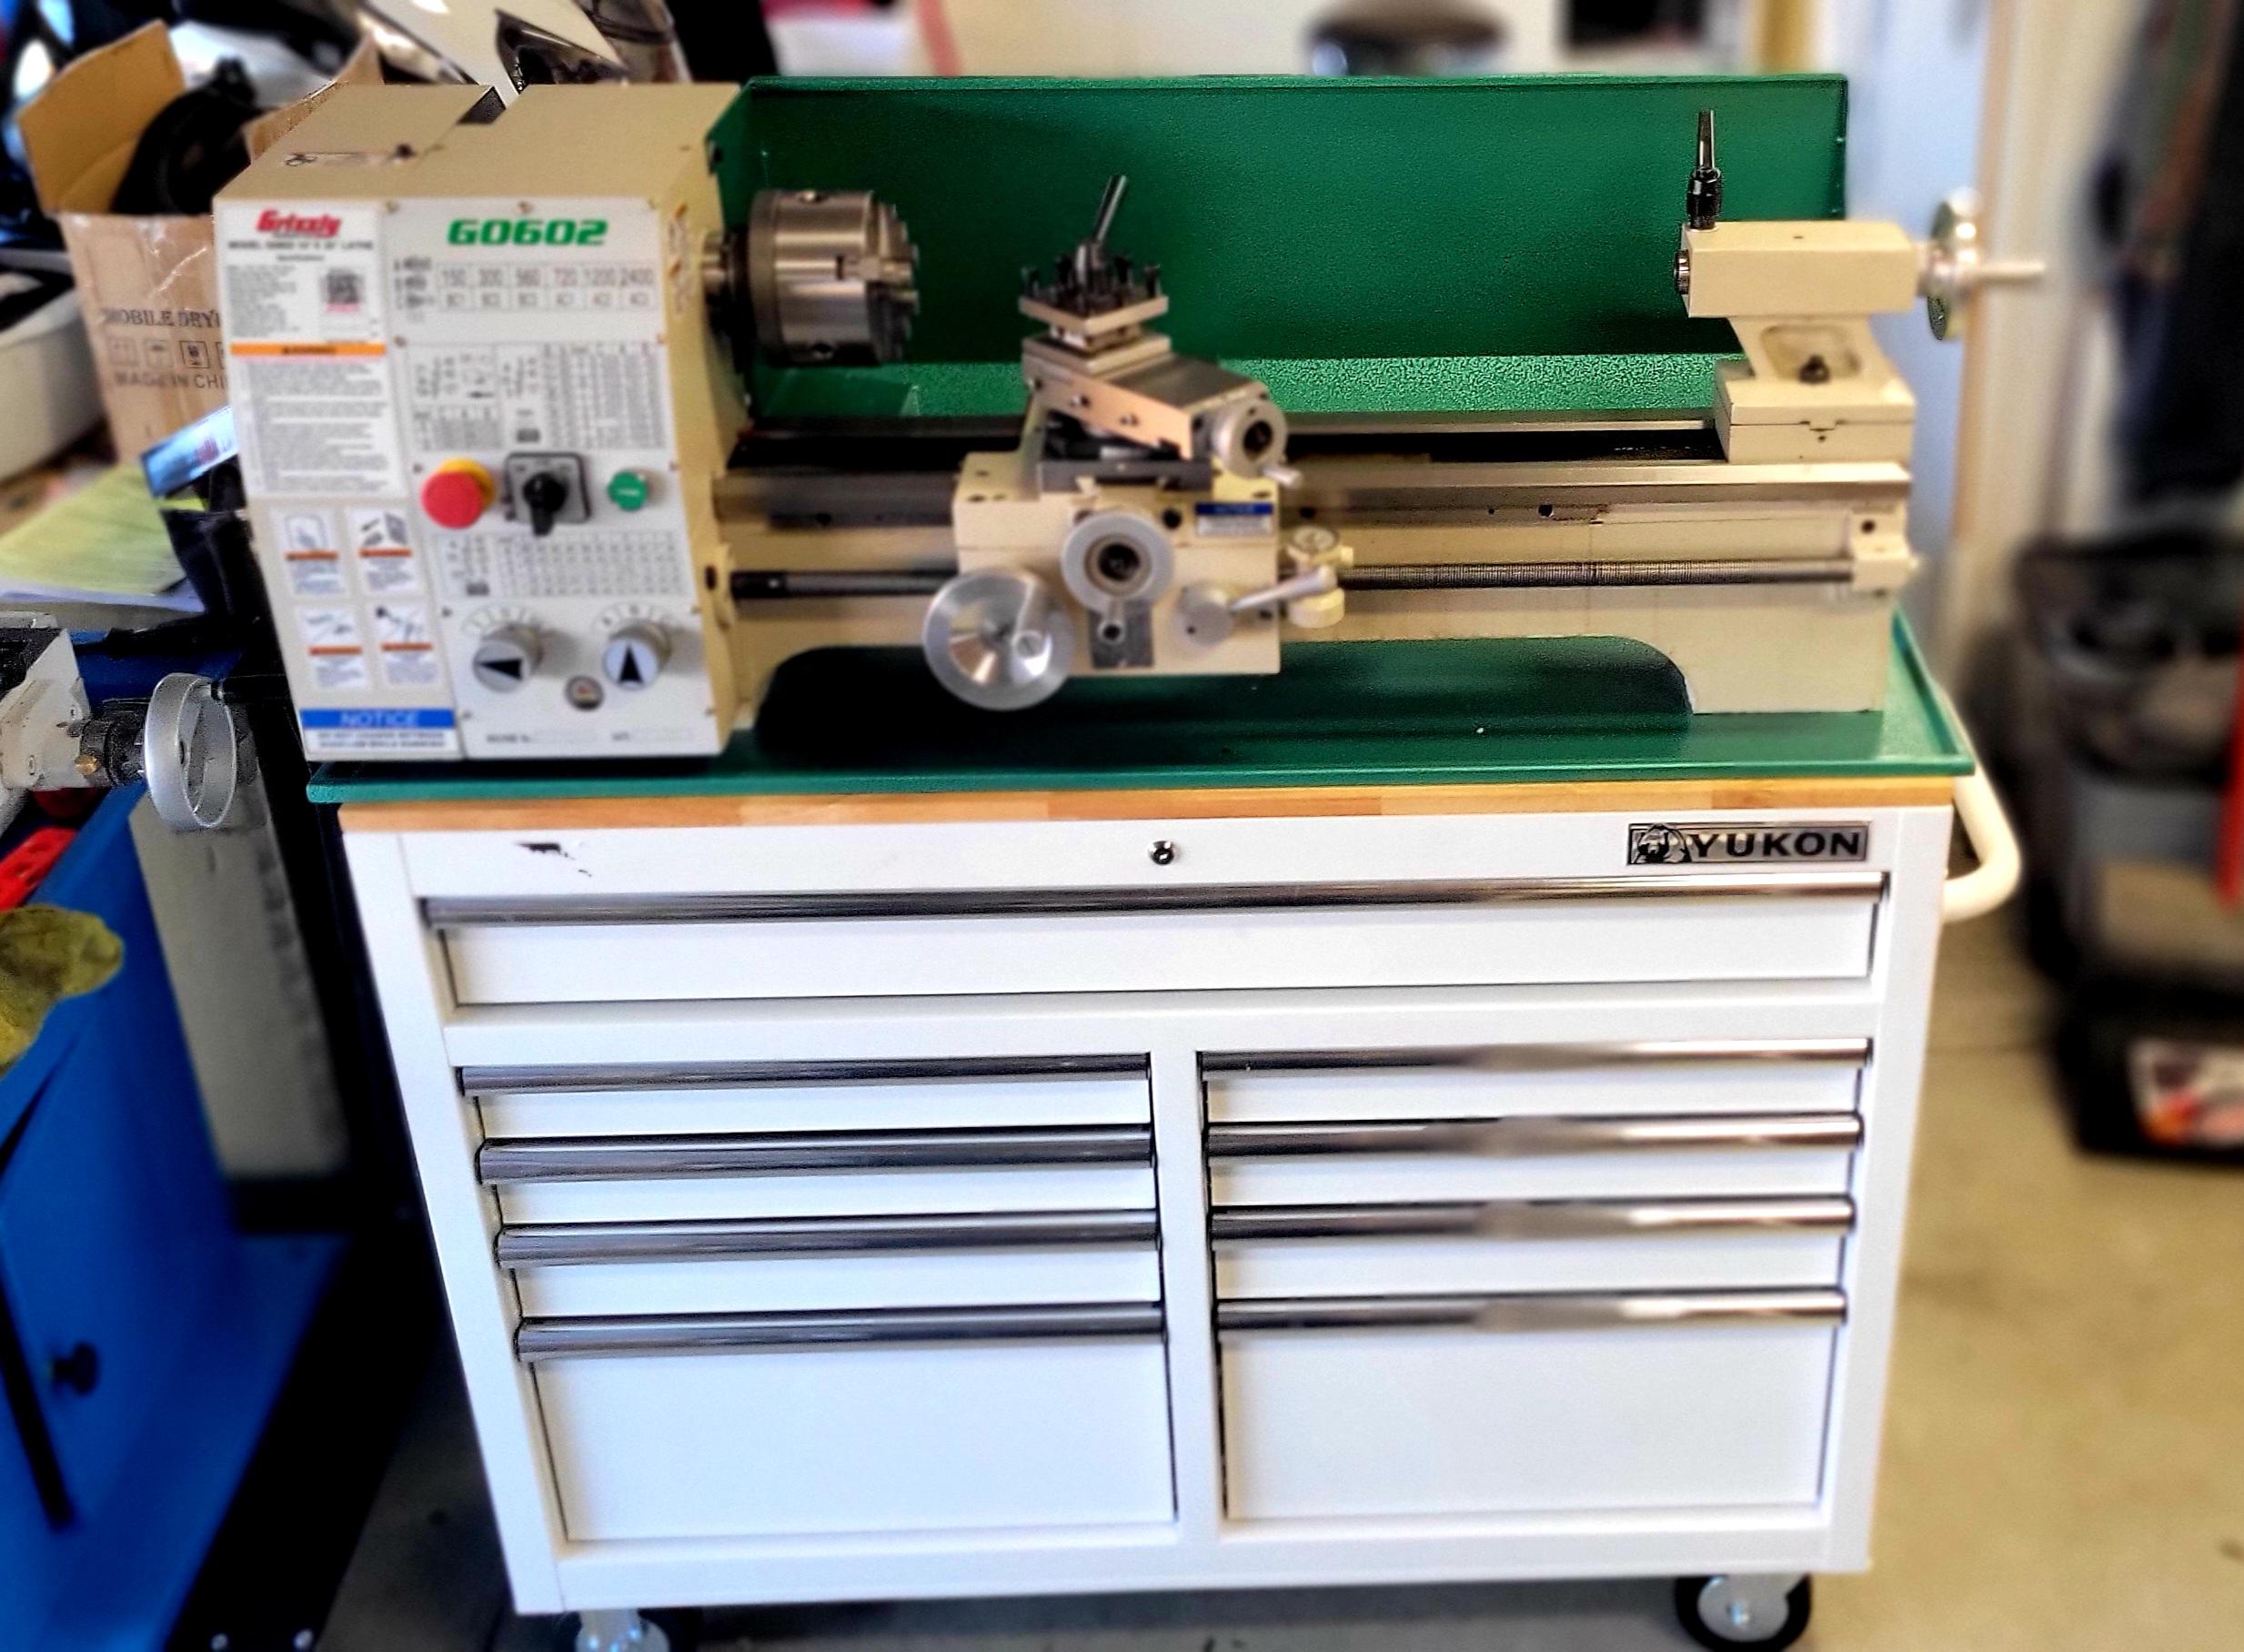
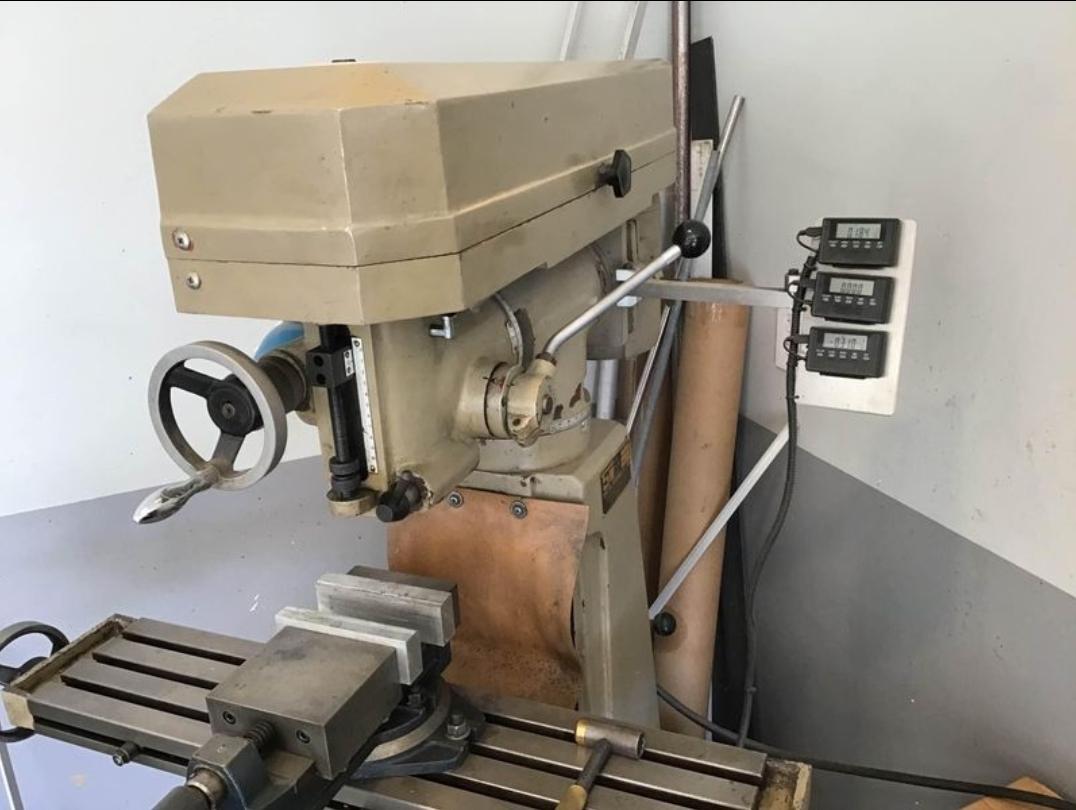
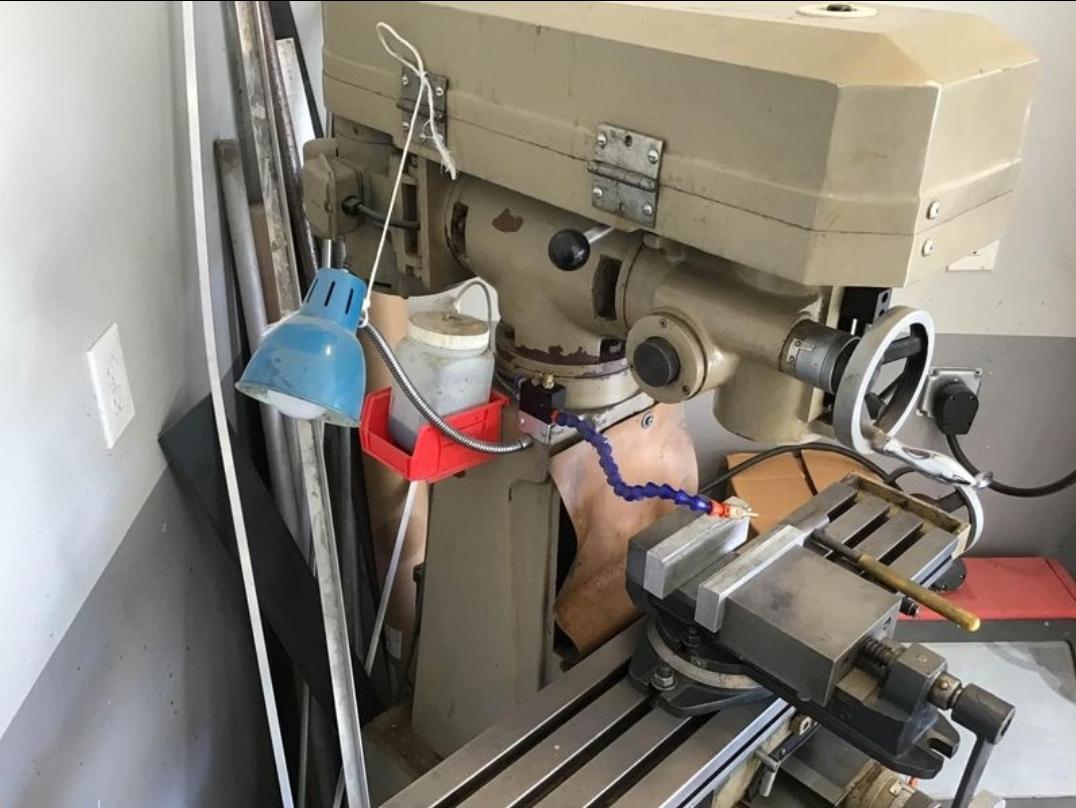
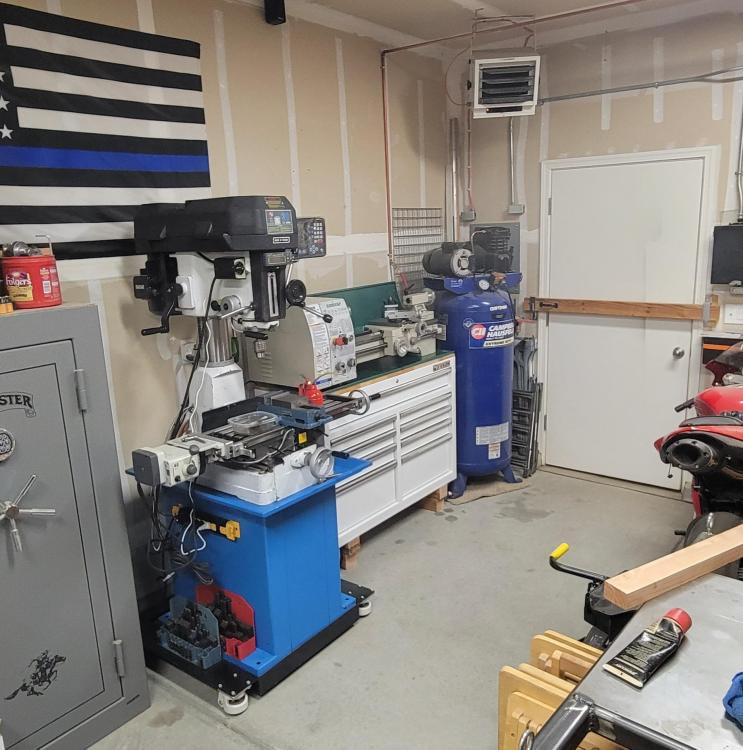
I ended up finding a very nice Rong-Fu RF-31, with a Ditron D80 DRO, AL500 power feed and some tooling for a really reasonable price. I also found a brand new still in the crate Grizzly 10x22 lathe a little later too.
-
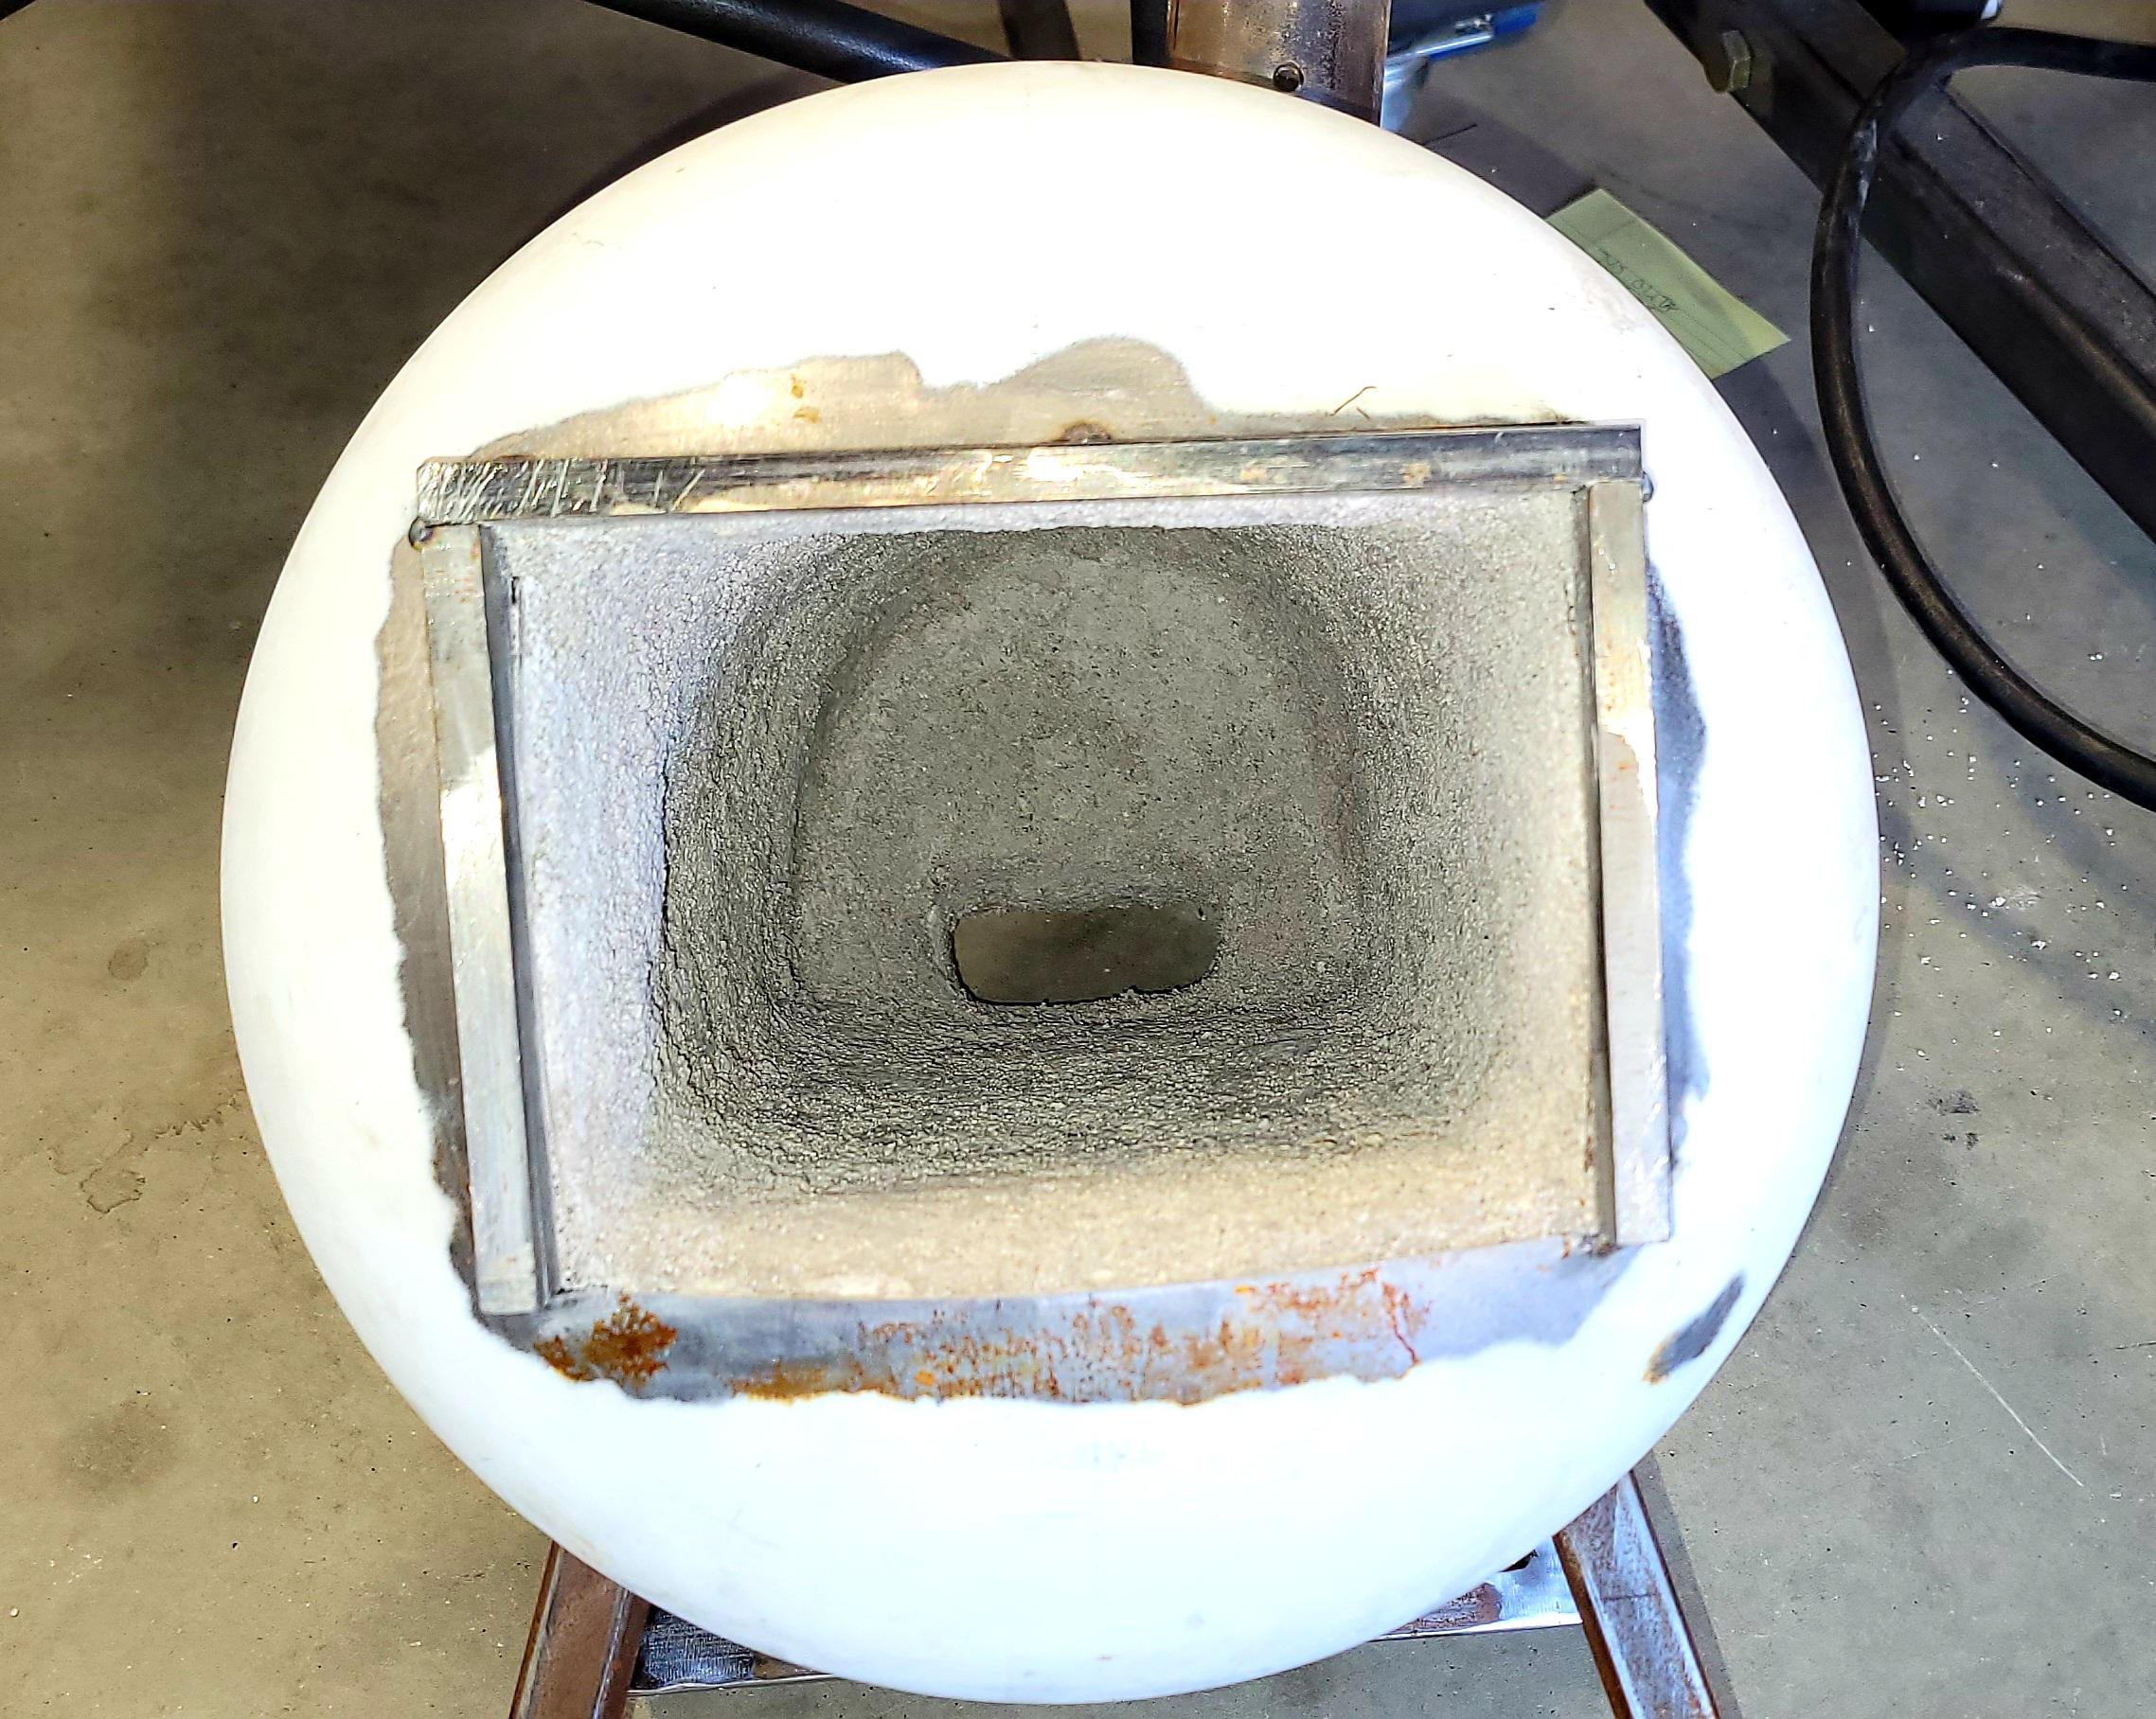
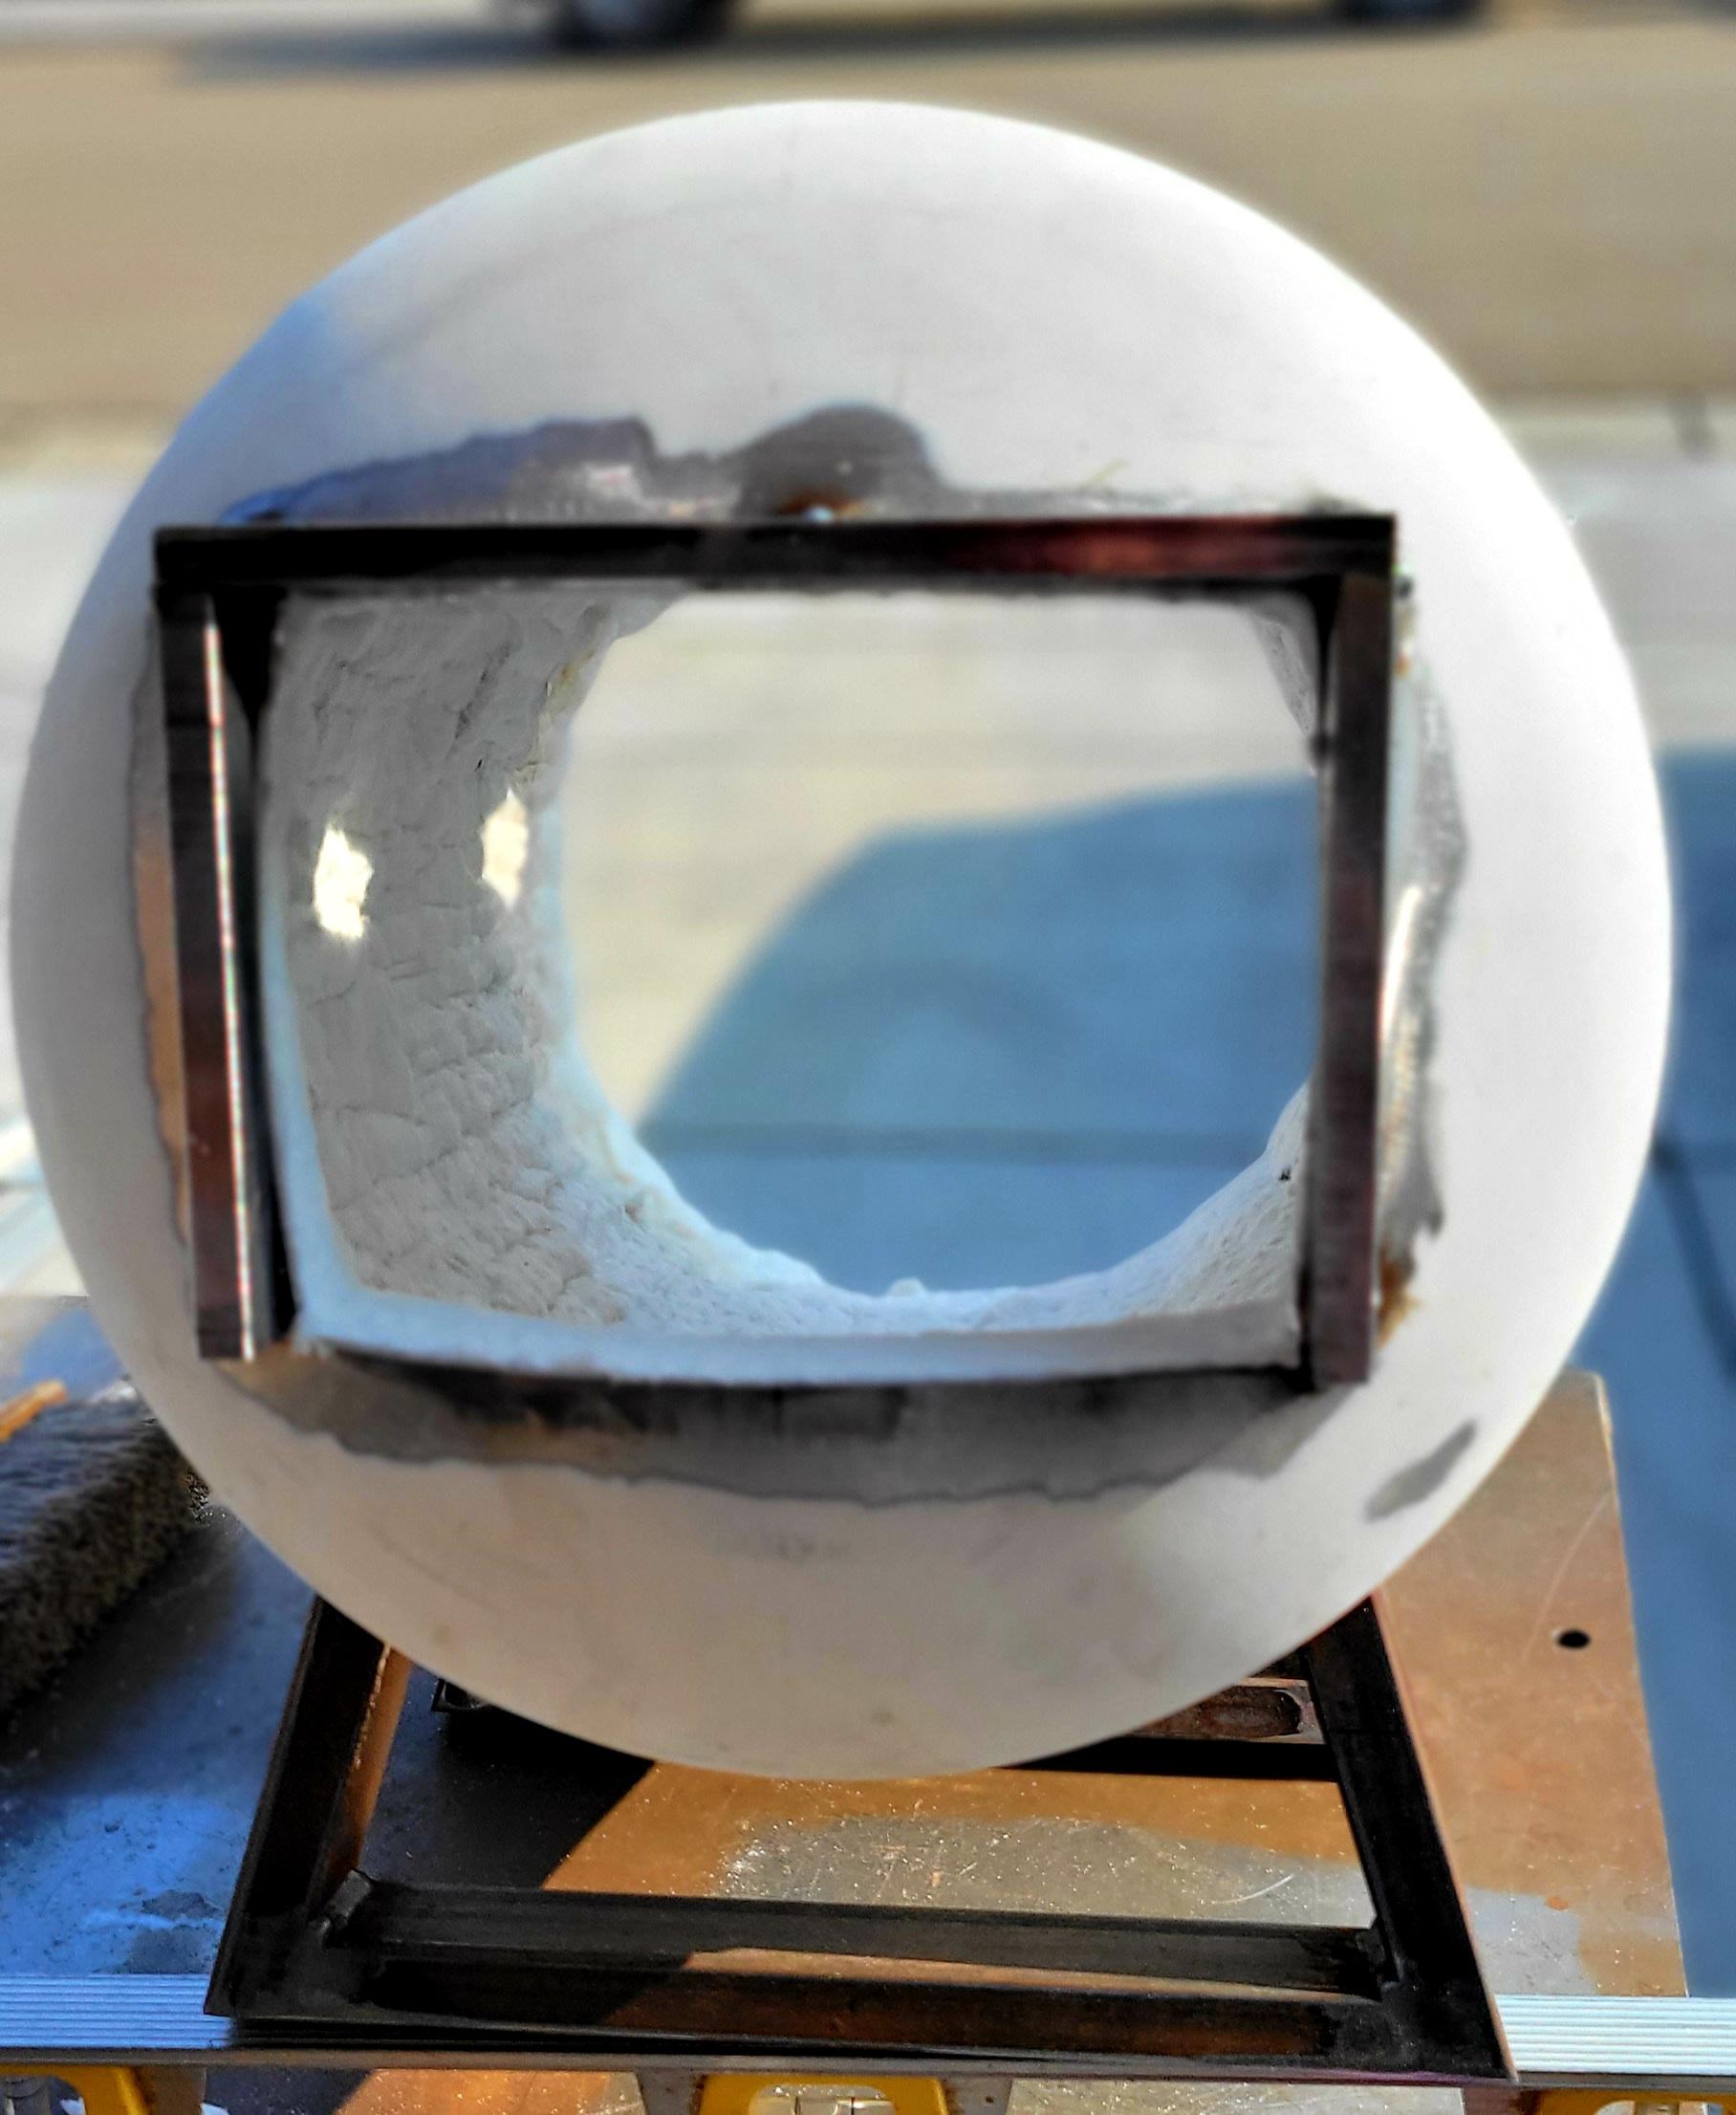
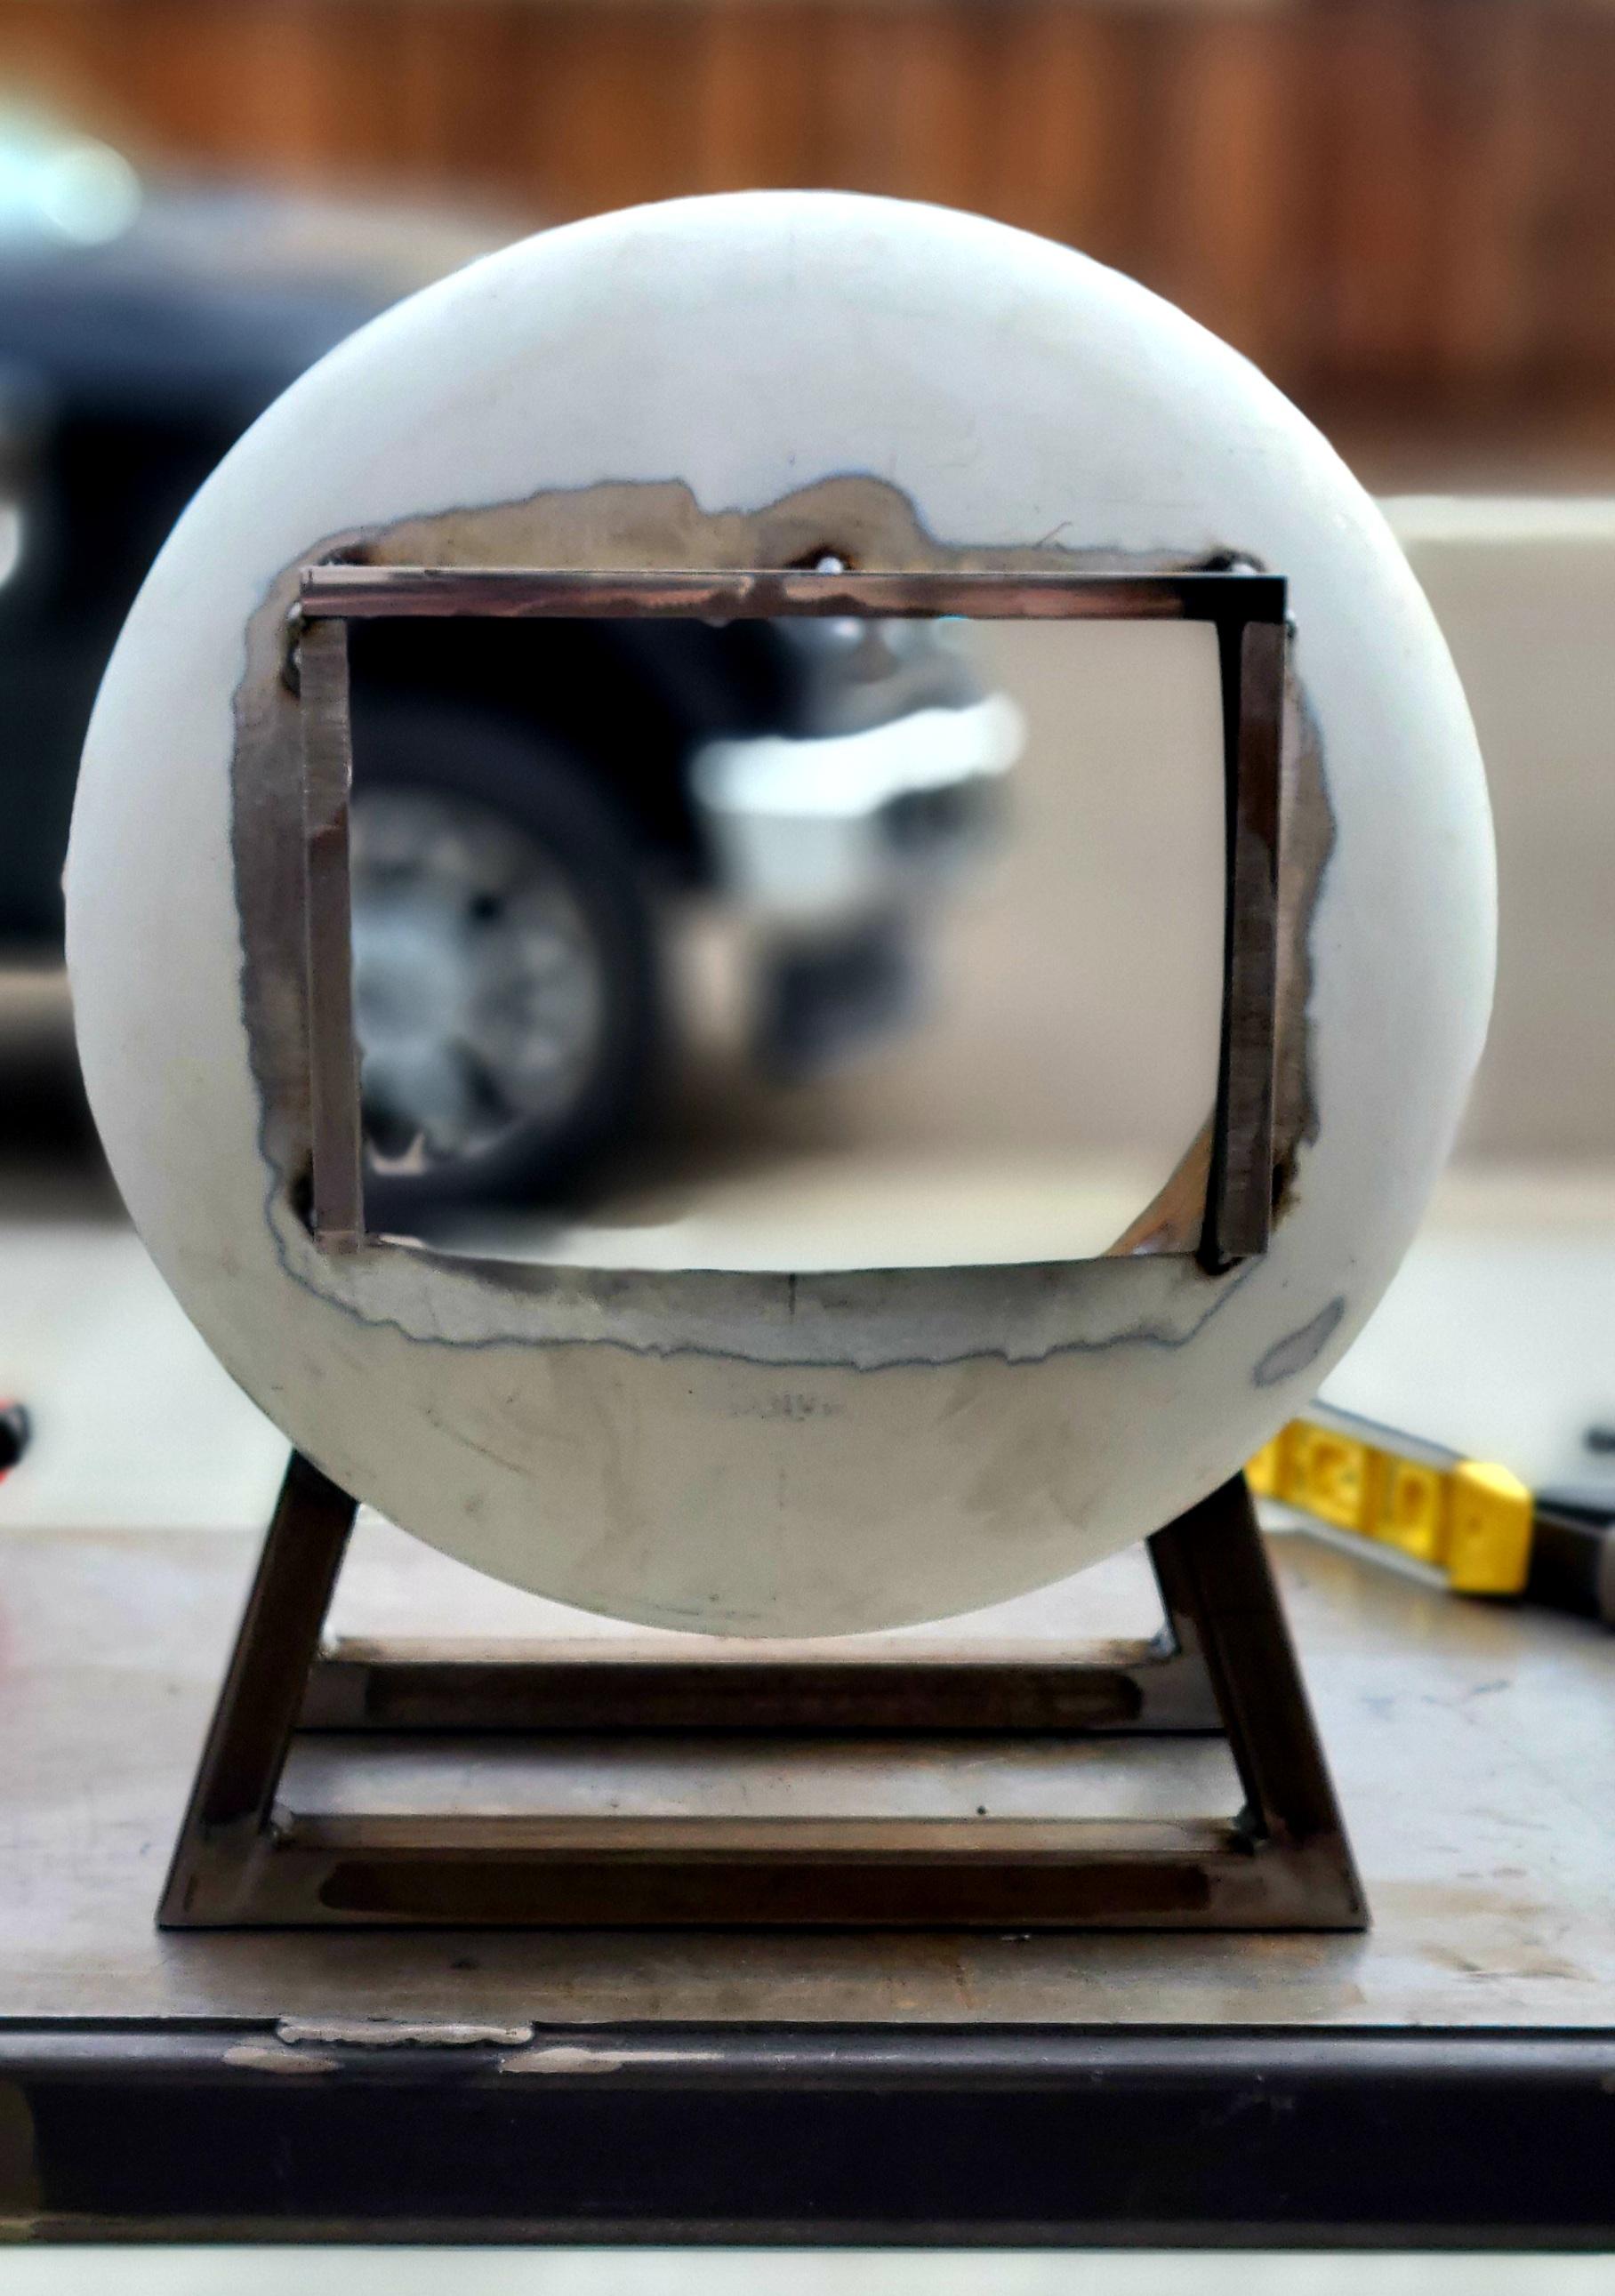
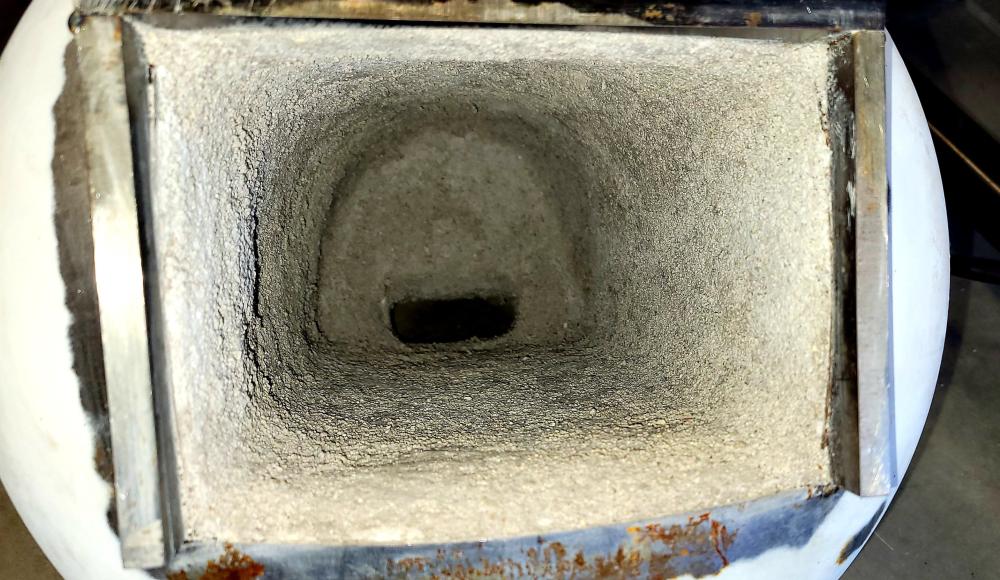
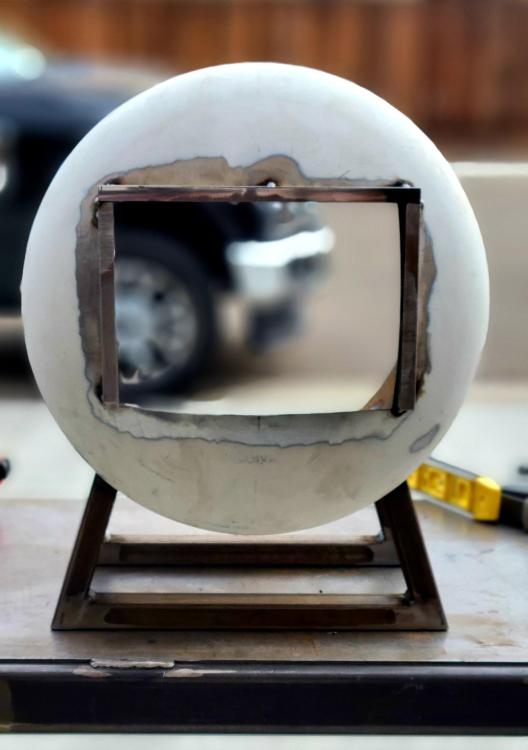
I have lined the interior with KOL-30. It took a about 9 lbs to coat the forge at probably ¼ thick. I didn't want to reduce my interior space. I need to coat it with Plistex now. I just need to get off my rear and get it ordered. The picture makes it seem it's choked down towards the back, but it's not.

-
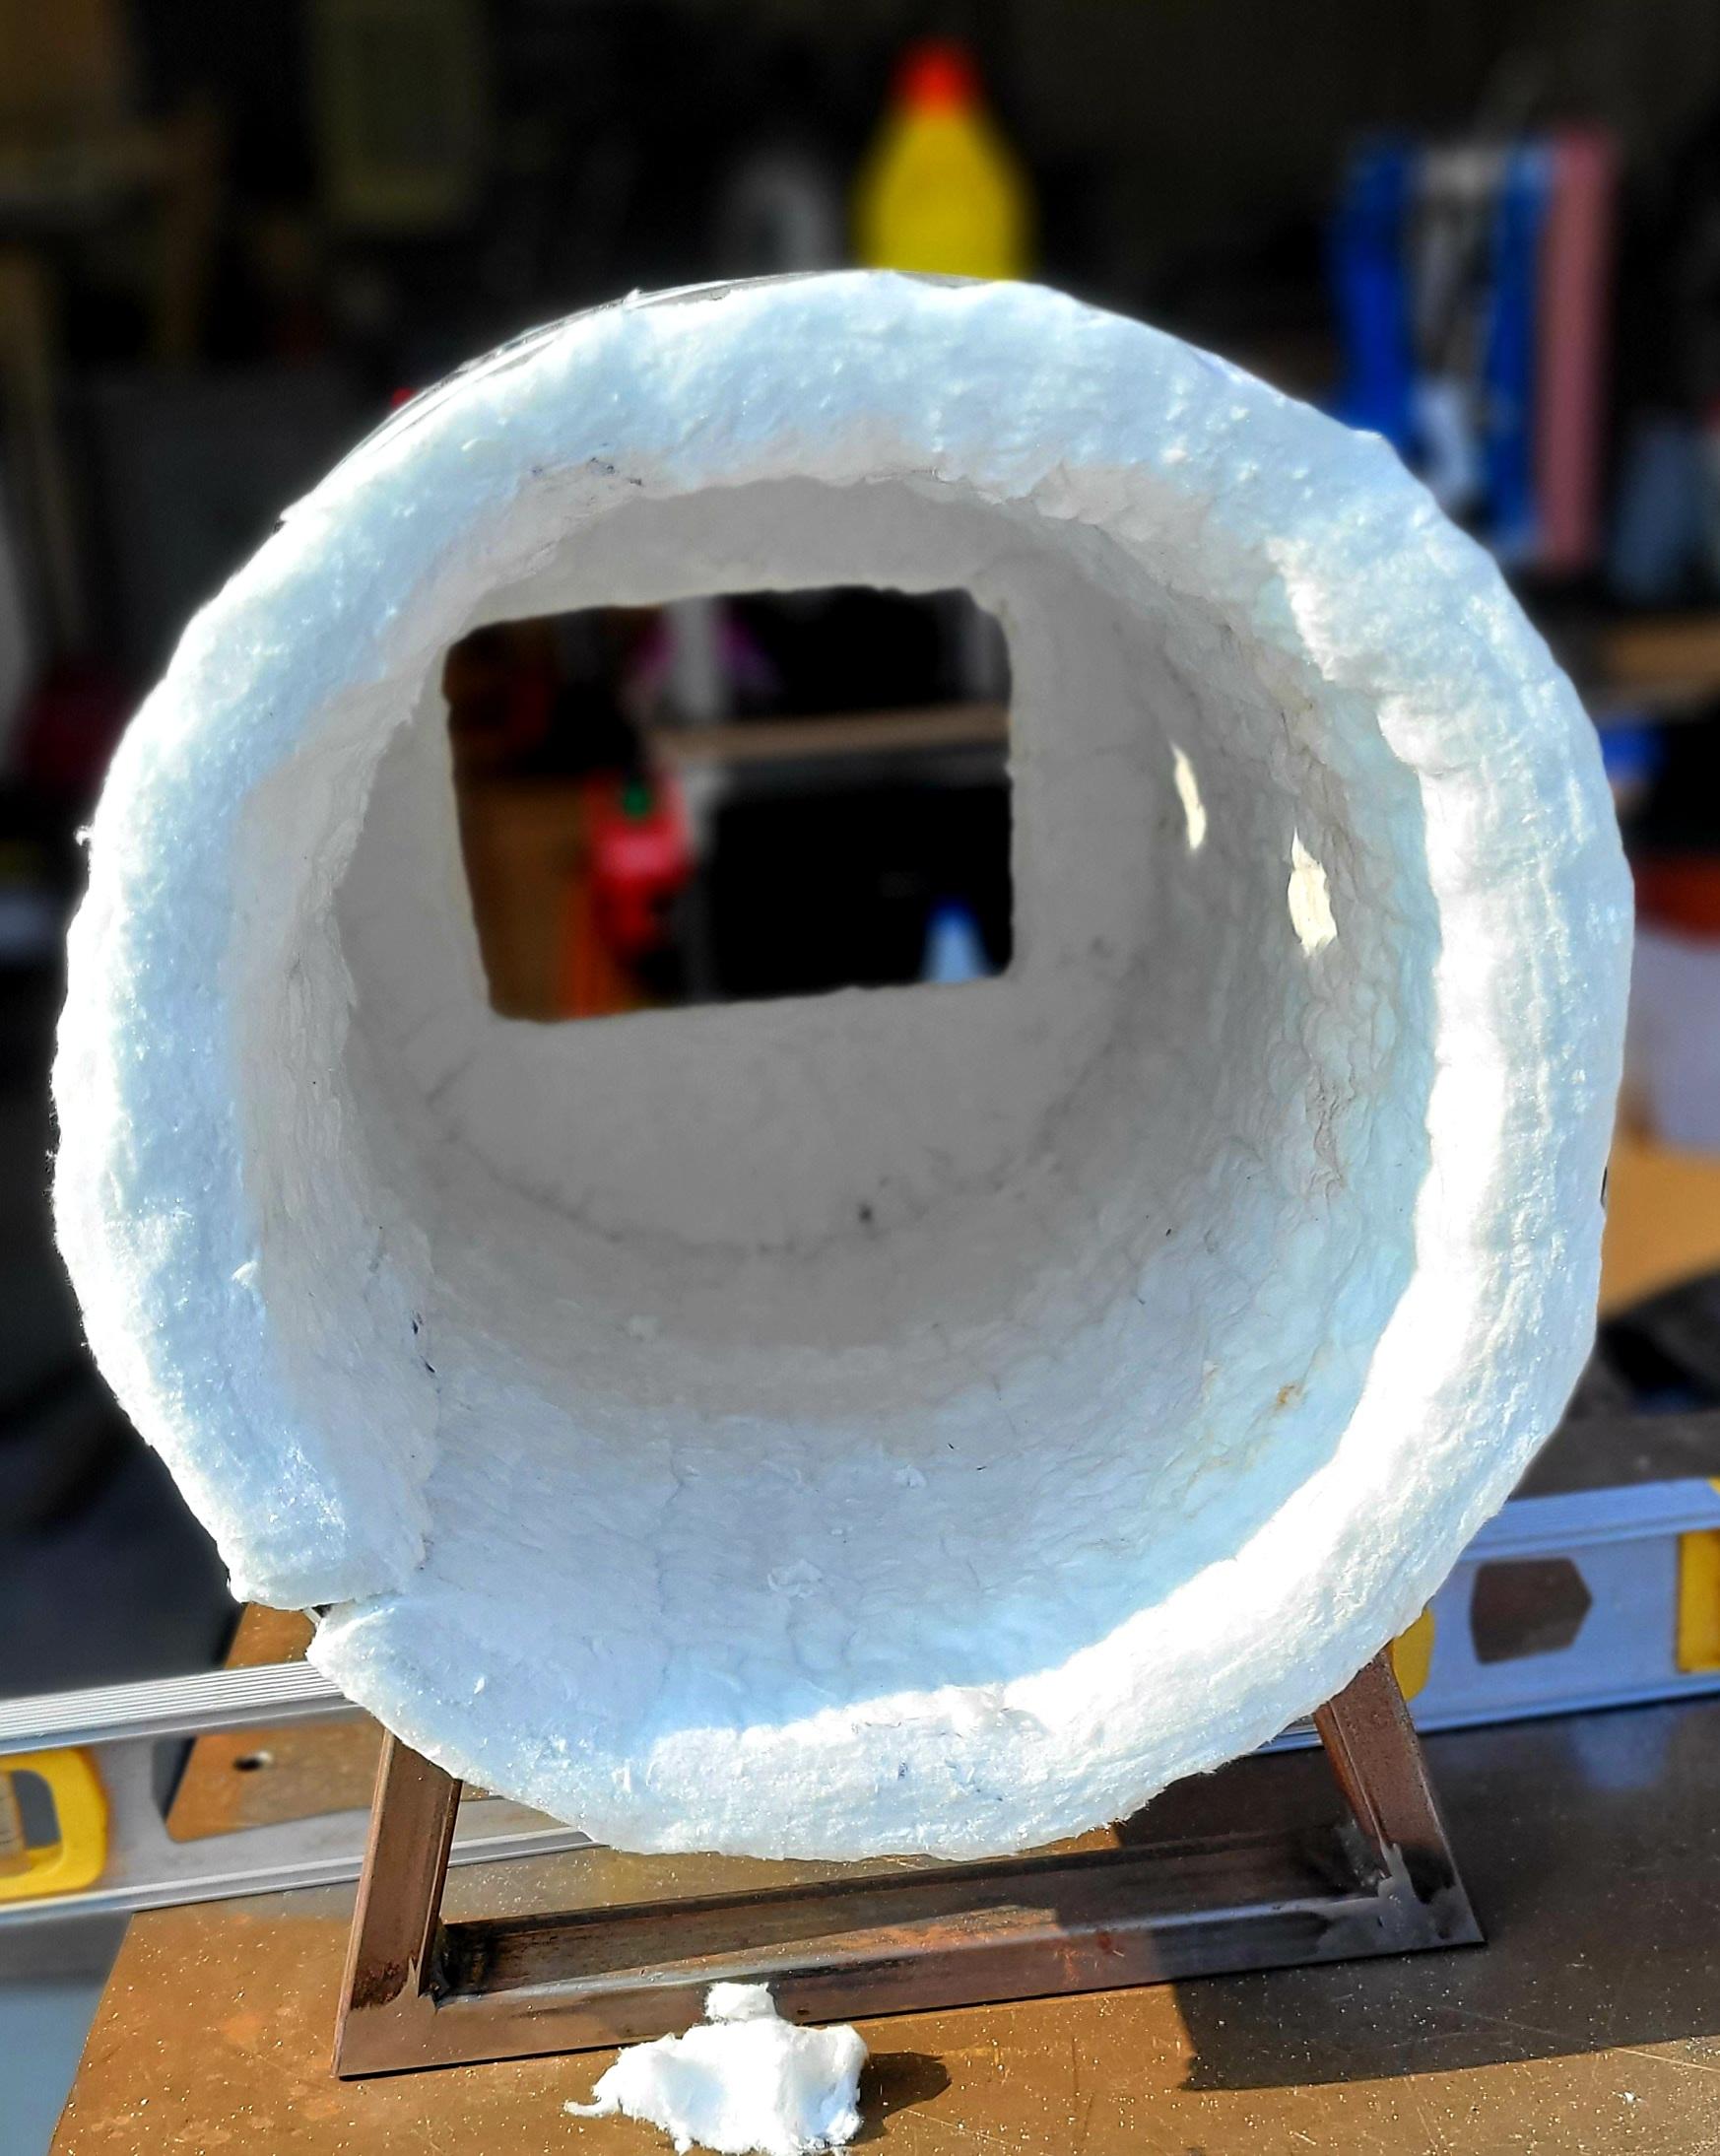
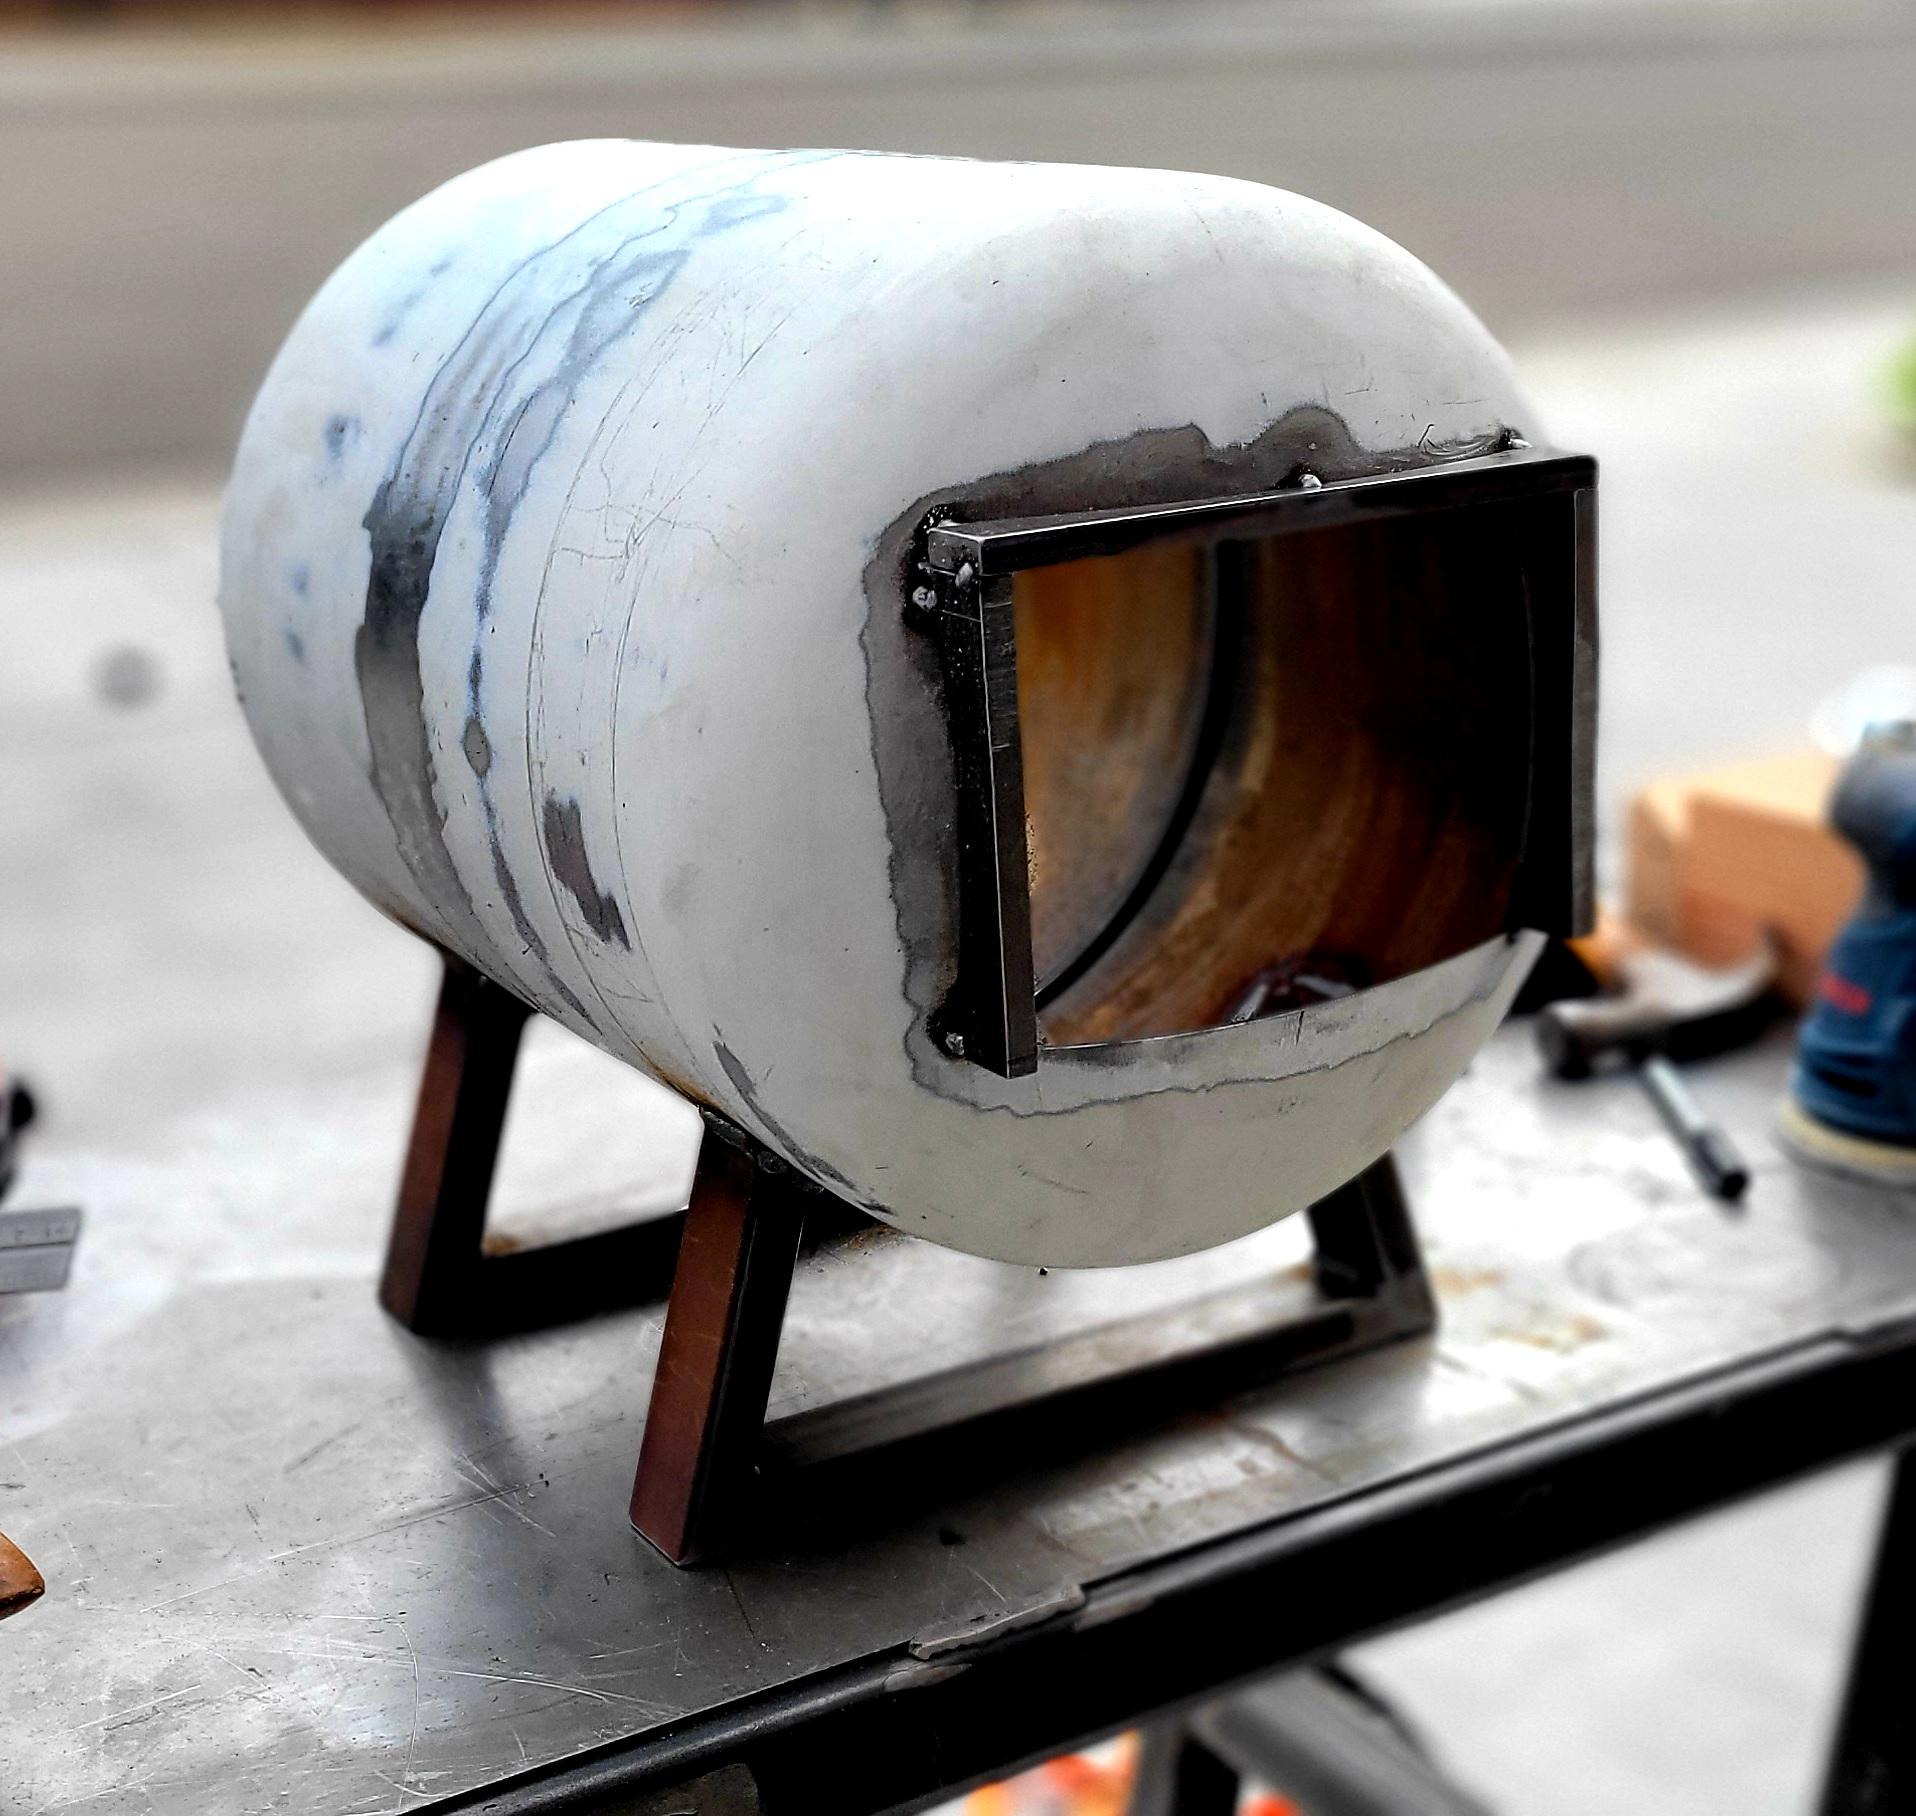
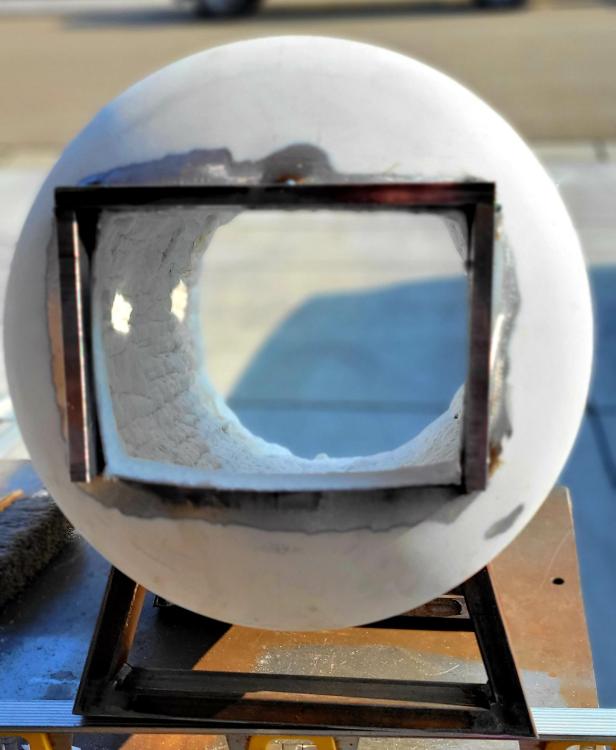
I went ahead and welded everything on and installed the second layer of wool and ridigized. The first layer I fire with one burner because the second one was blowing itself out. Once I replaced the trimmed gas jet (MIG tip) it lit. After the second layer I fired it up. Holy cow does this thing heat up fast. It went bright orange in less than a minute at 6lbs of pressure. Next is Kast-o-lite 30. I bought 10 lbs, hopefully that will be able to coat the interior and pour a floor.

-
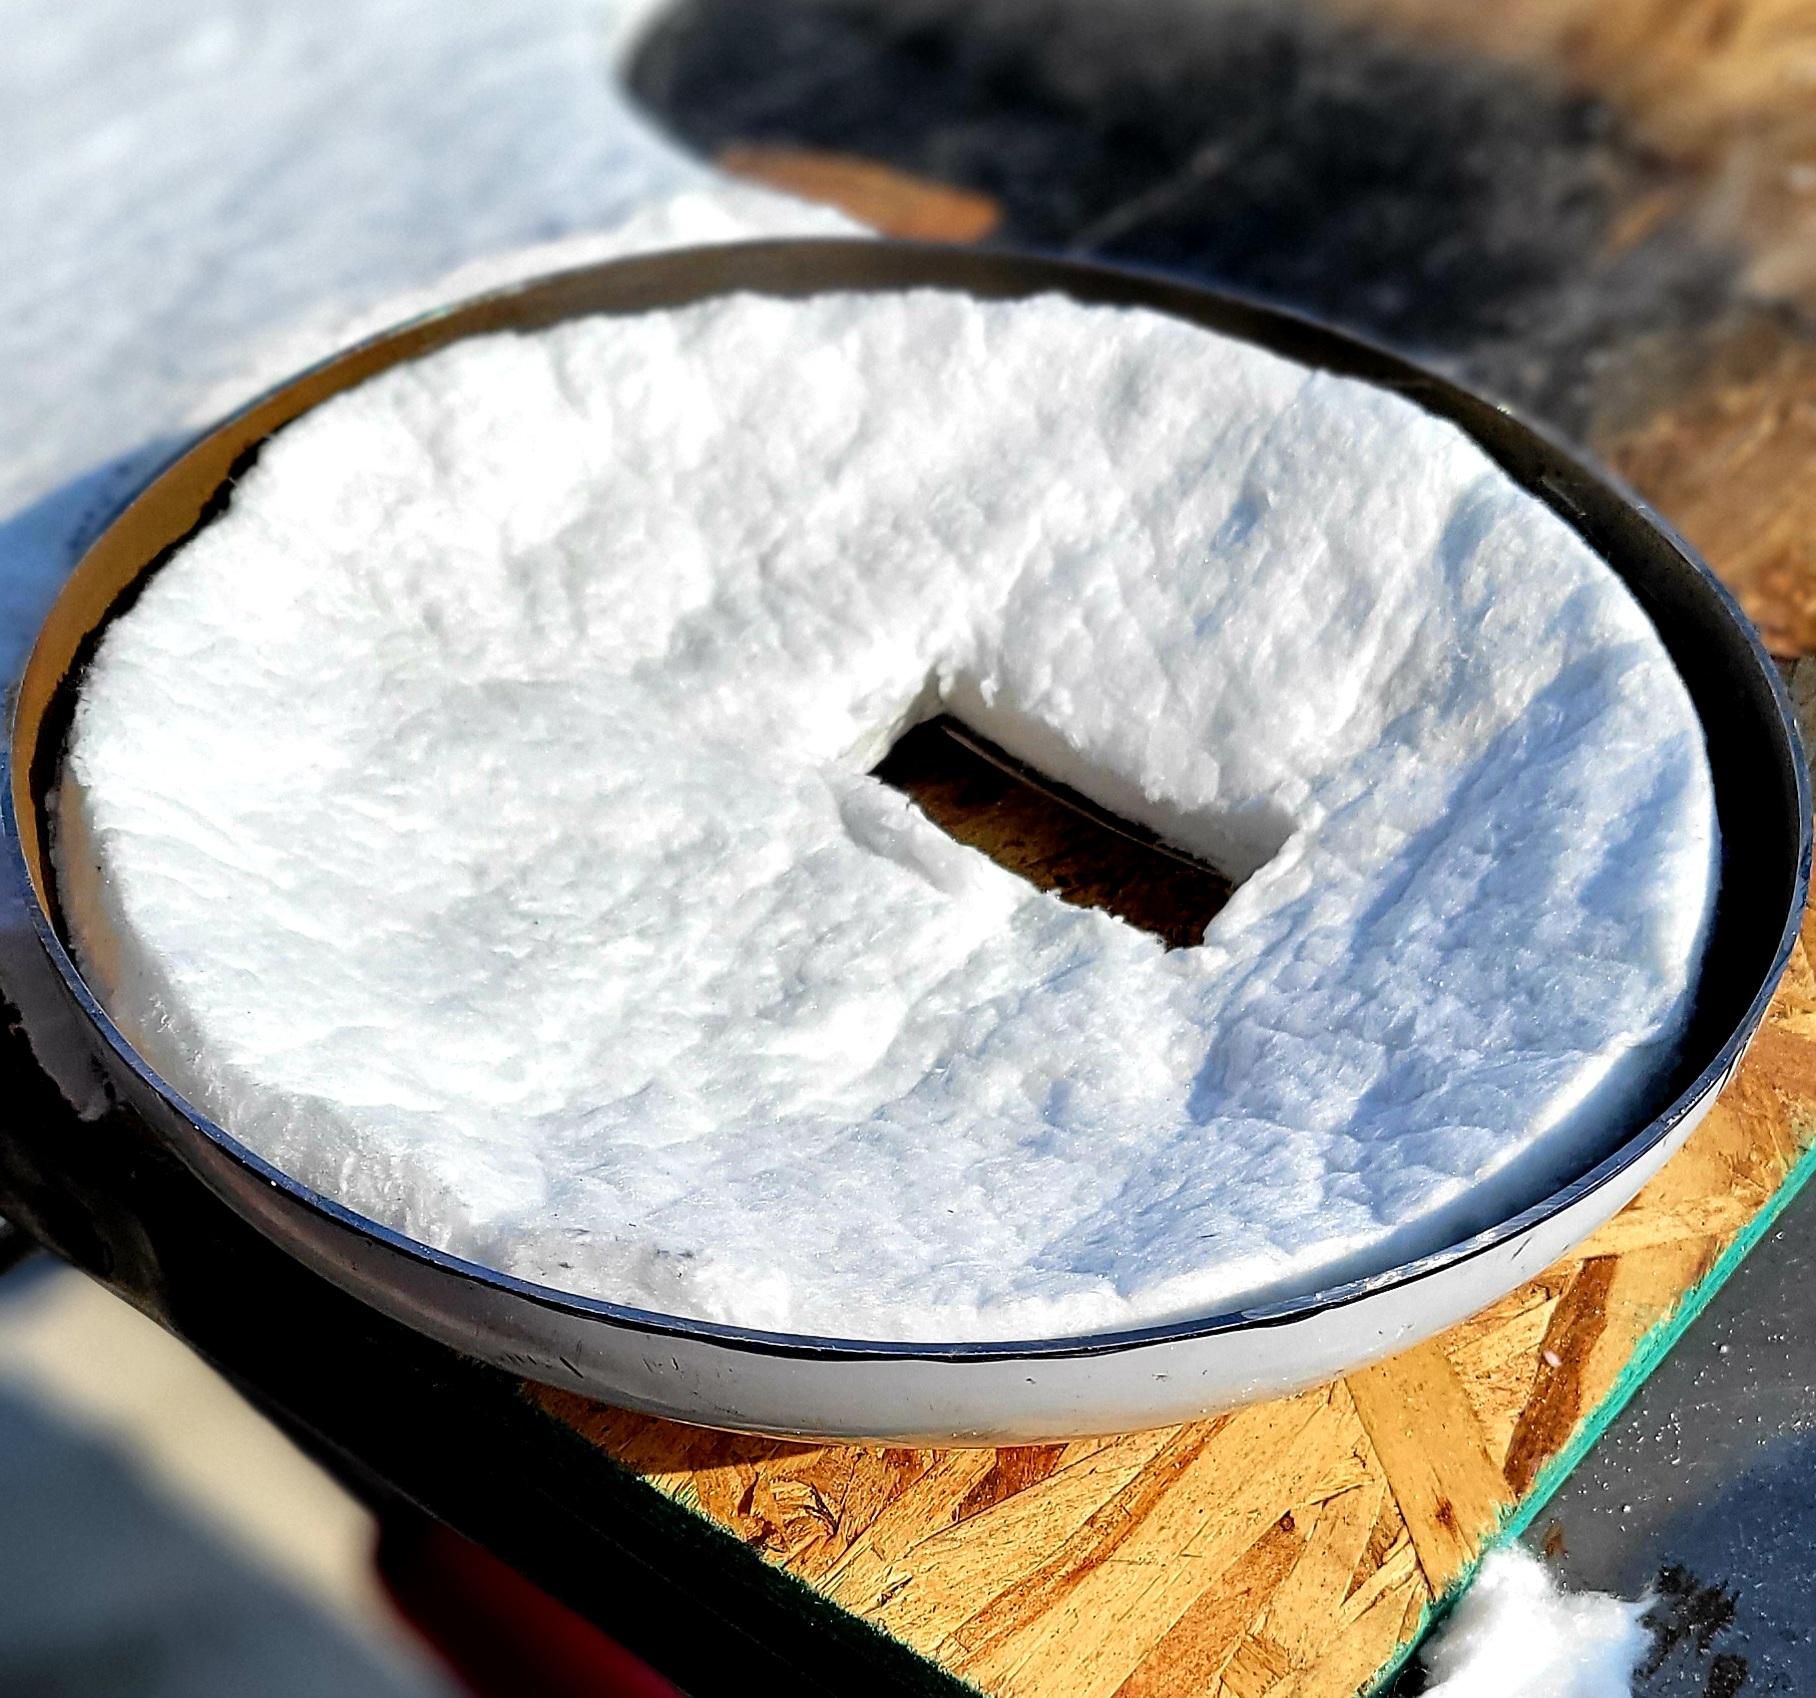
I am starting to install the insulation. Shout out to Frosty for the help with my questions. I was waiting to install the burner holders, but if I need to fire the ridigizer I guess I'll need to. Question; should I go ahead and weld on the back and then feed and install the second 1" layer of wool via the inlet? Or install all layers, assemble and fire it all at once? I would assume this is necessary in order to fire the ridigizer for the first layer.


-
I understand. I saw the sub-forum here while I was milling about (pun intended). I'll check around. Thanks for the reply.
-
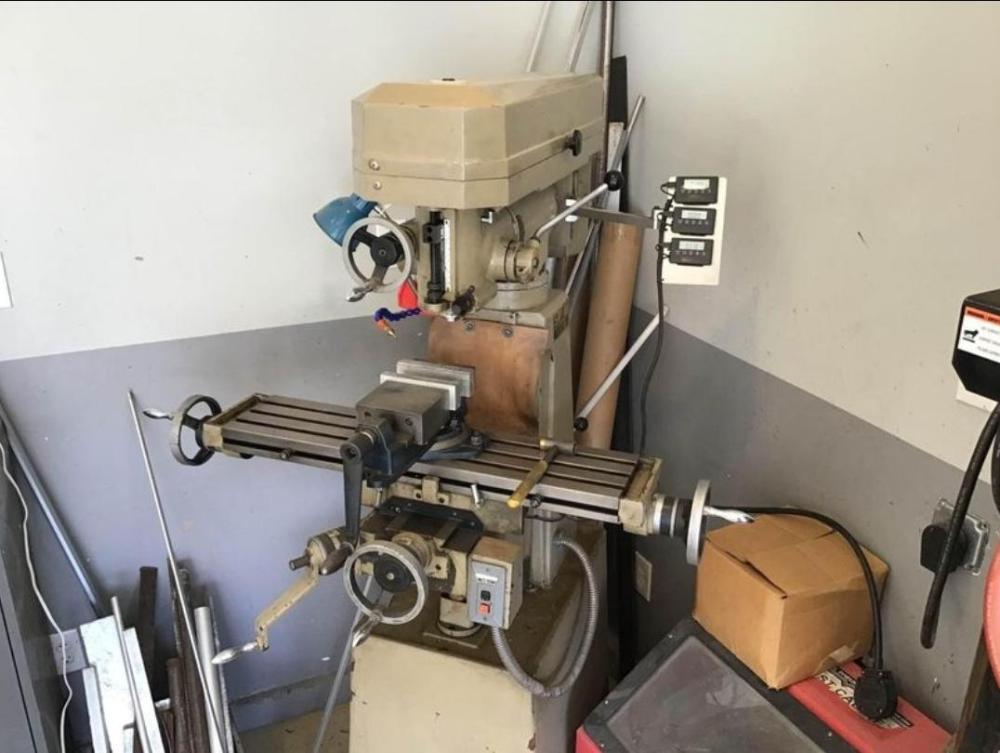
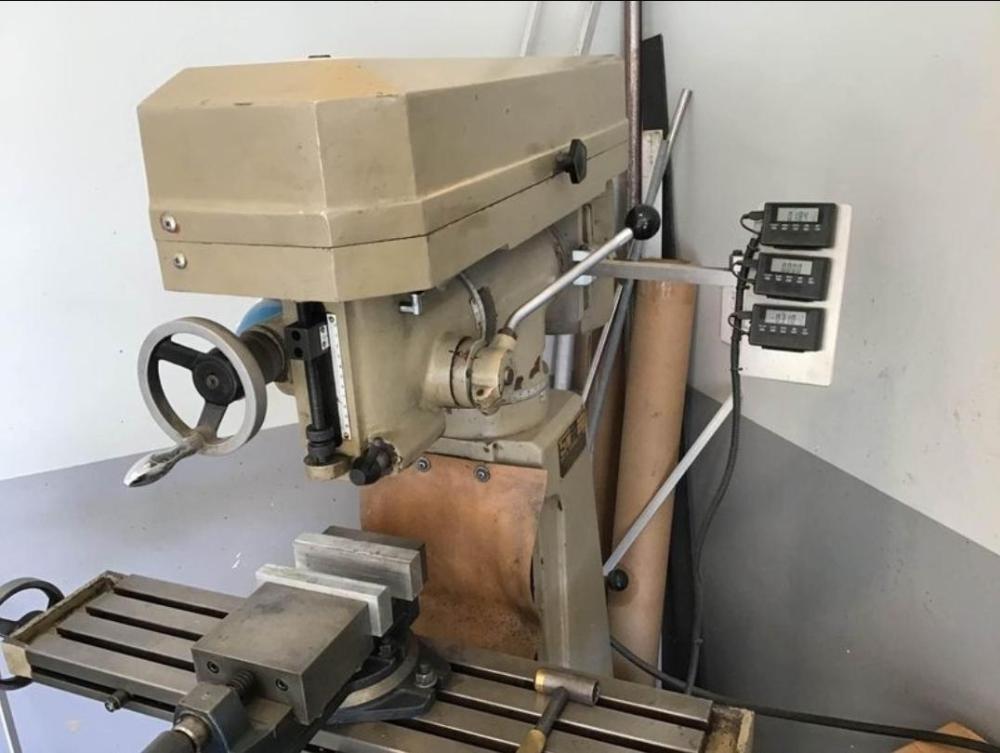
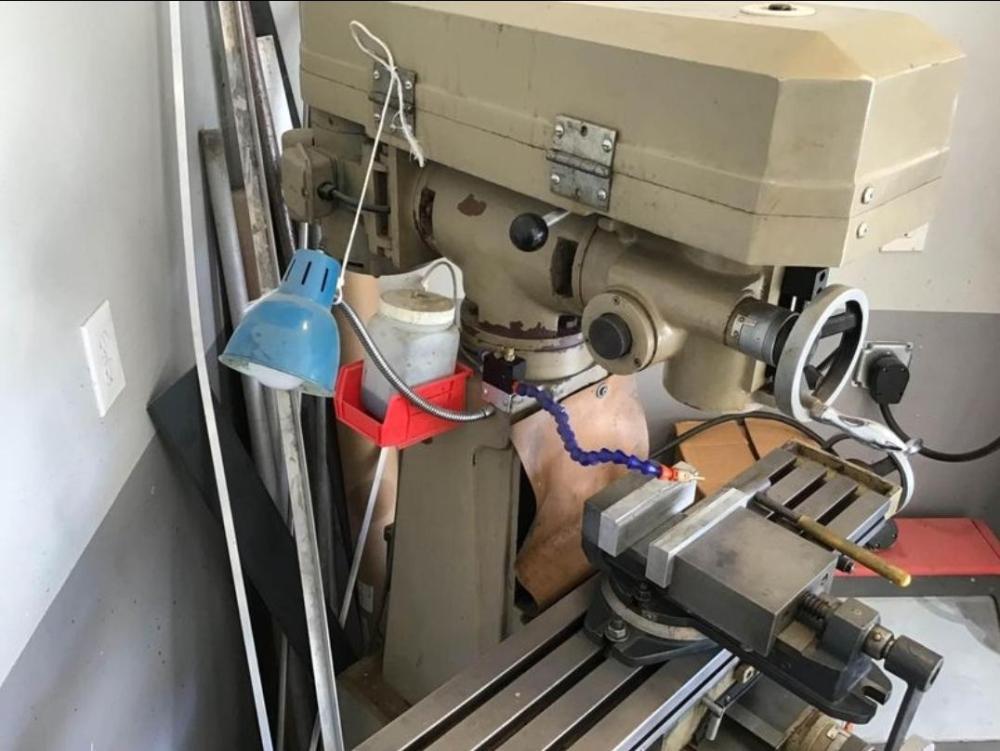
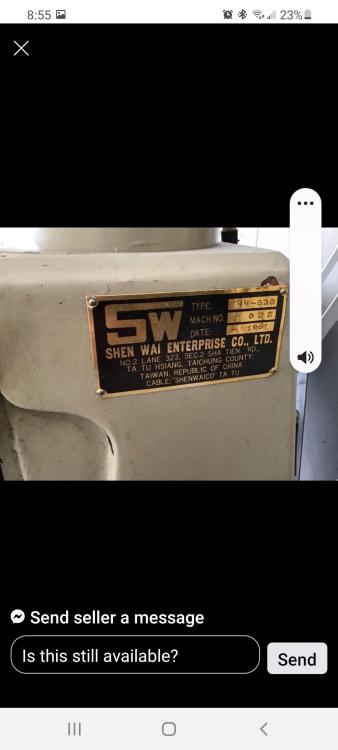
I have been looking for a mill and lost out on a Milrite. However I came across this. I did a search and couldn't find any info on it. Any opinions or suggestions would be helpful. I don't have a lot of space and all of my larger tools are on wheels. This appears to be an ideal mill. The sellers description says it is very similar to a Grizzly GS0731.
-
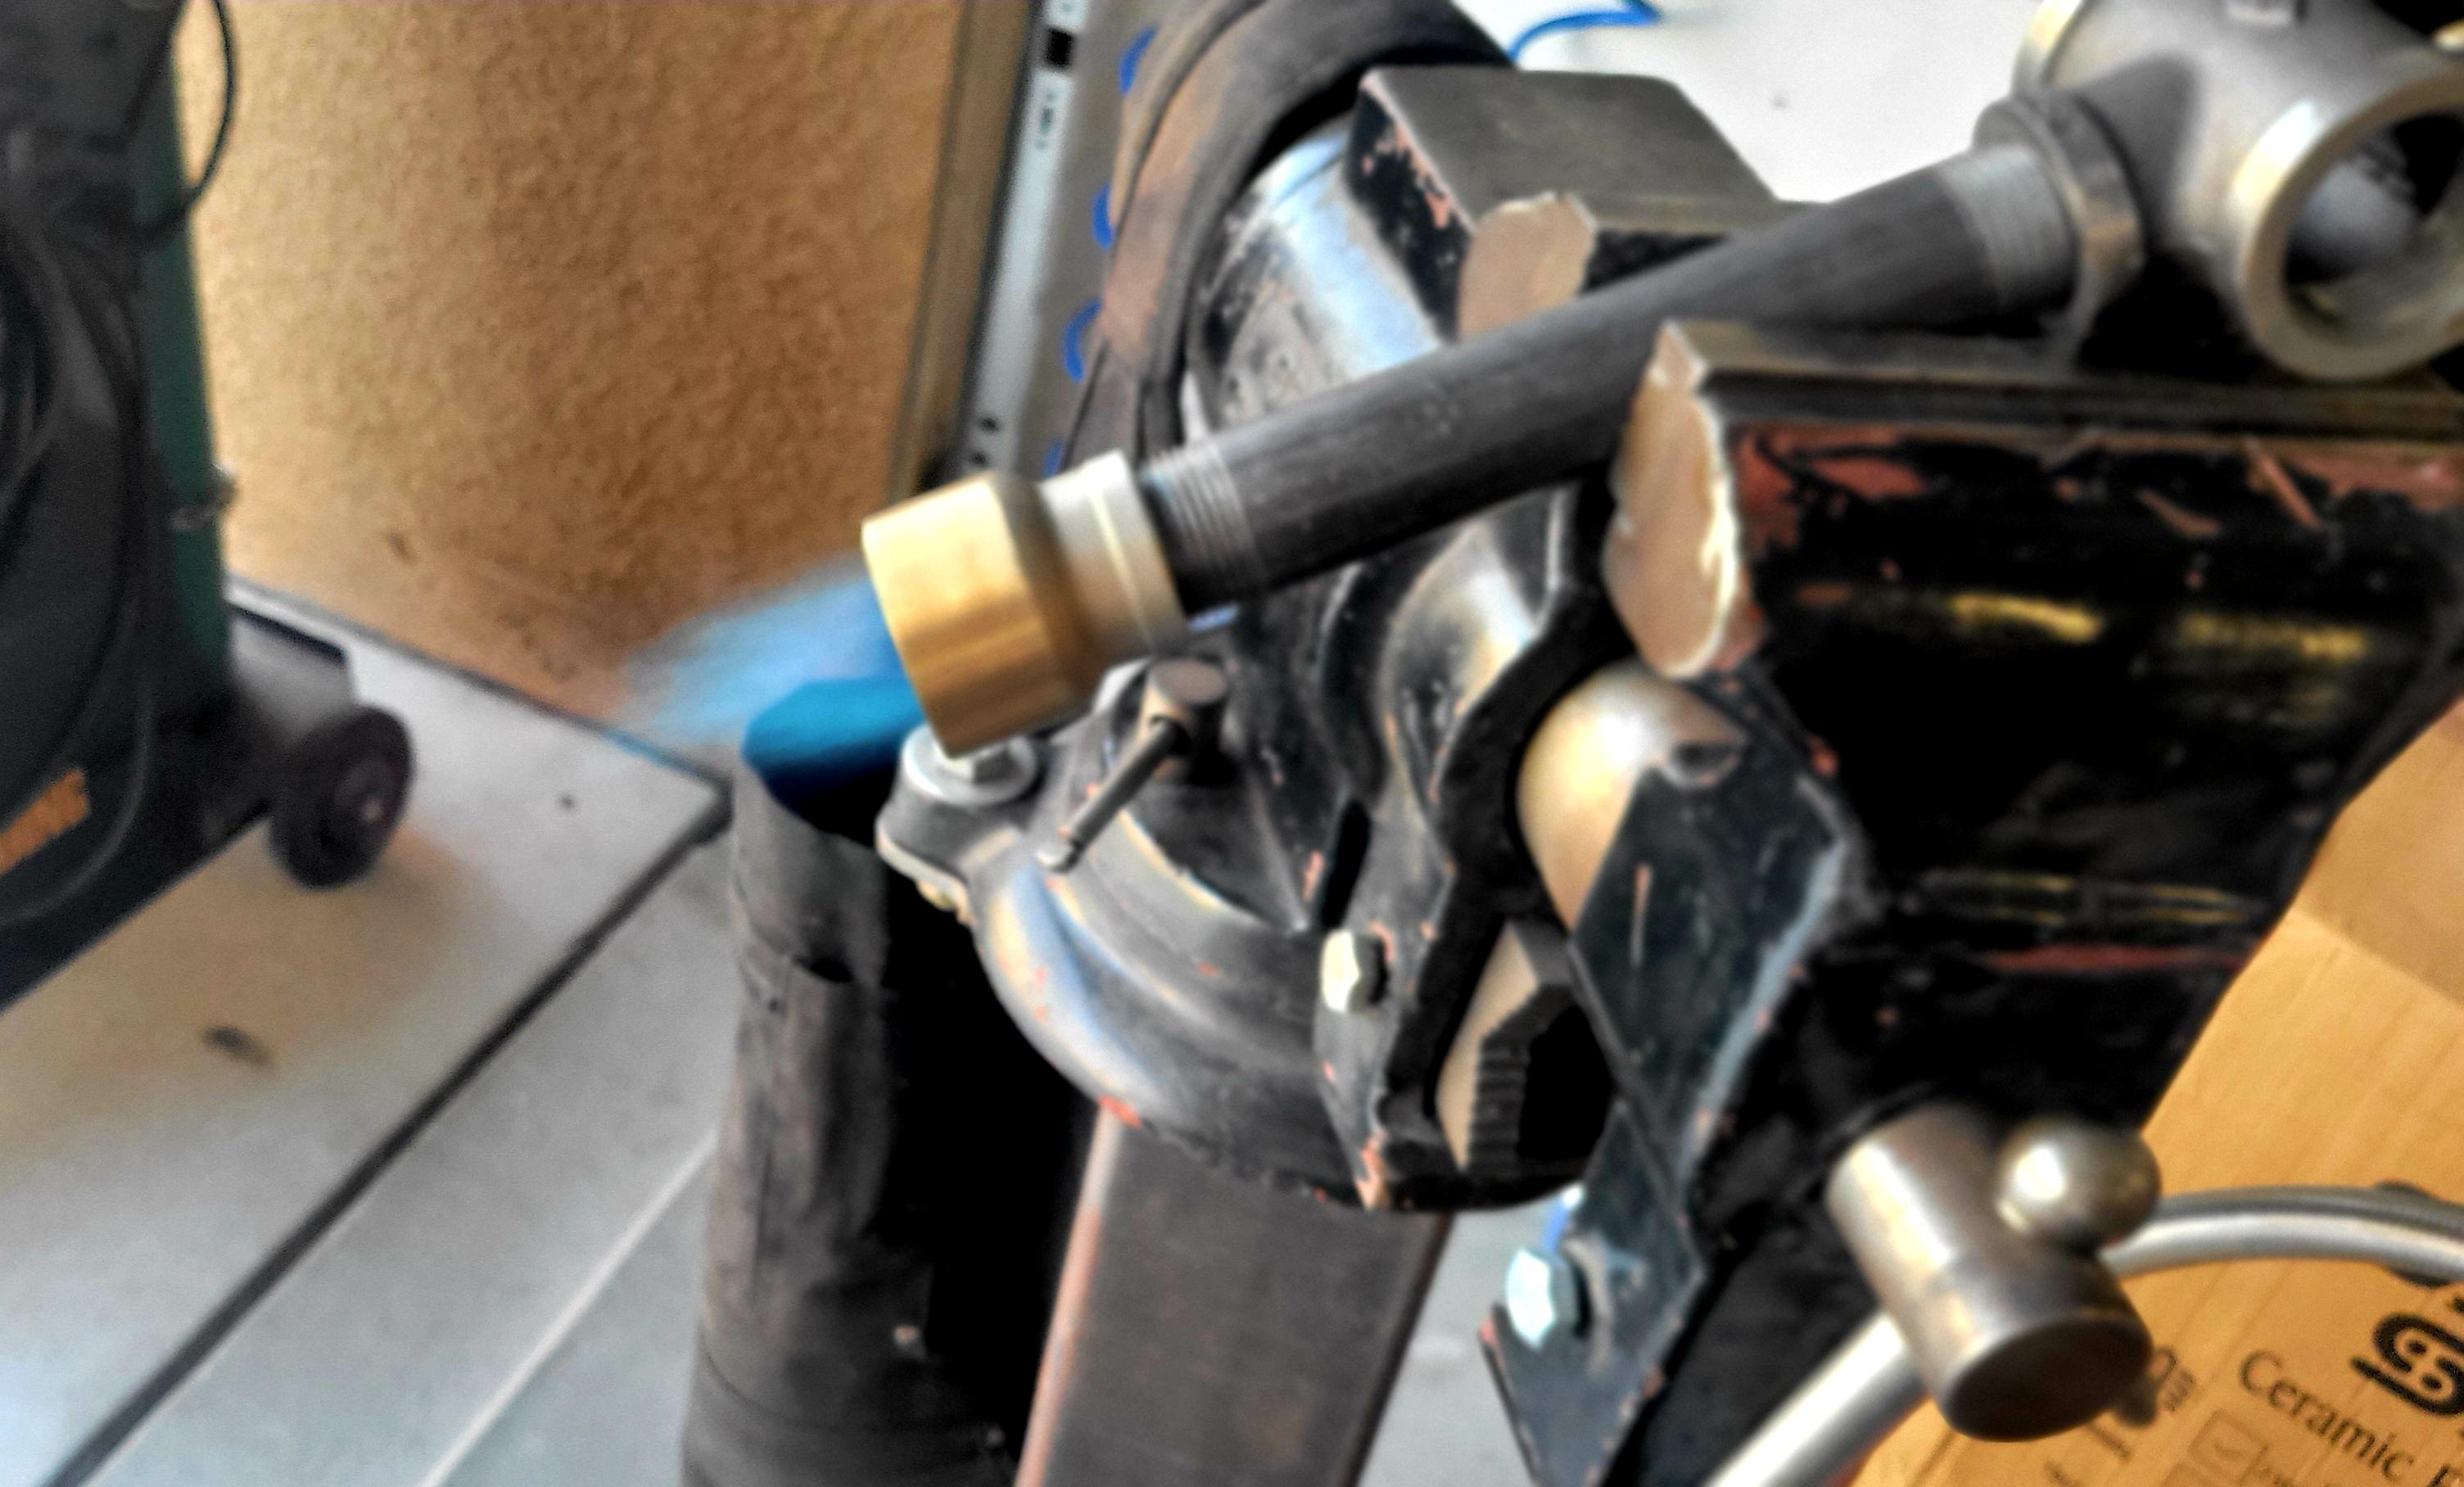
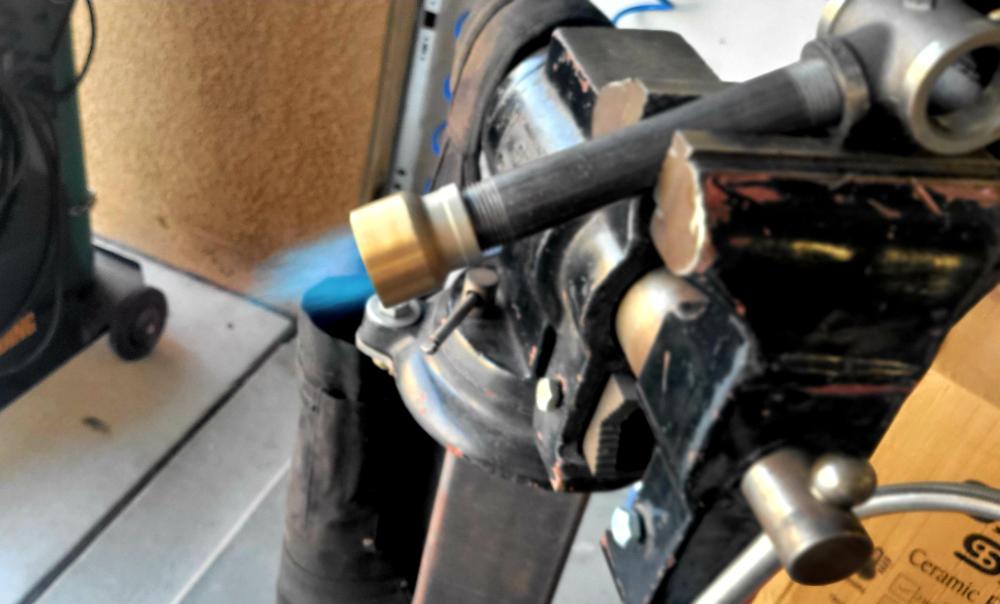
Day off and got a little bit done. Welded on some legs for the forge. I had some extra ¾ x 1 ½ square tubing. I like the the simplistic but yet effective design. Got both burners built. At first I was getting a crazy whistle and chugging plus it wouldn't ignite very well. I cut an ⅛ off the tip and viola. I think I am good and may or may not need to trim more off the tip. Frosty, how much taking off the tip makes a difference? Are we talking few thousands or tenths? I mean if I file the tip is that enough to fine tune? I would assume if it was lean placing my hand or fingers over the air inlet would clean up the flame. Thus meaning too much tip was cut. Wish I had a lathe. I could make different lengths and just test. Then again I do not have any sealer (tape or dope) on the burner tube. I don't think there is enough force to pull air from around the threads and cause a lean issue. Some photos of today progress.

-
I just need to be careful not to melt the plastic push stick. Well right now I am thinking of doing blades around 8" overall. But like you said for $100, if it works, heck yeah.
-
See, thus the reason I am here. Thank you for the clarification. I figured if the kiln will get my higher temp heat treat then I could use an Easy Bake oven to temper.
-
Are you referingn to tempering? Heat treat is at a much higher temp. It looks like this might be the ticket. Now if I can get the seller to reply to my messages
-
Ok, I thought this kiln being digital would allow to set the temperature. Are you saying the temperature can not be set low enough? Excuse the ignorance, IIRC?
-
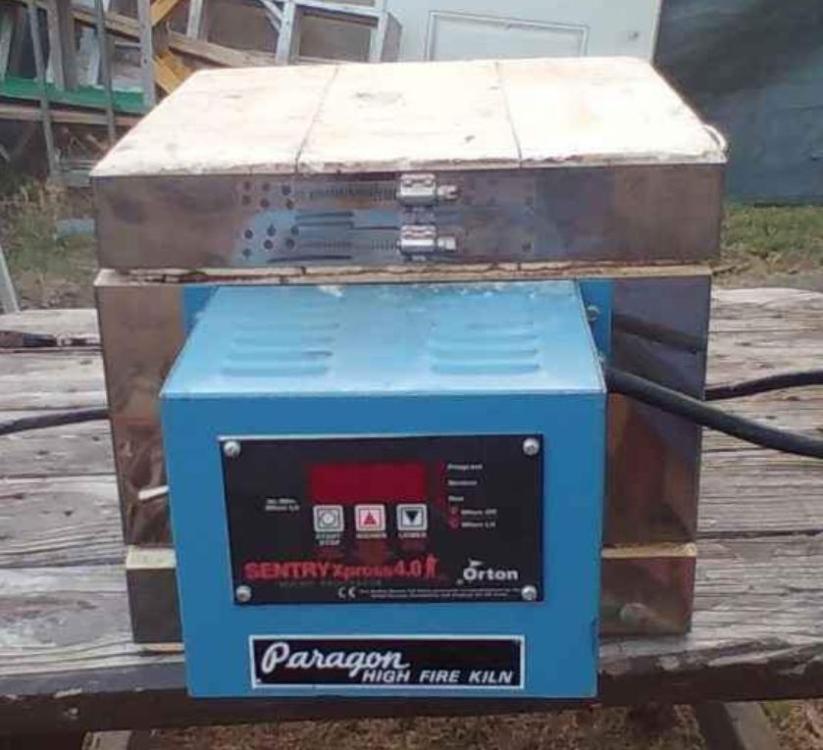
I found this locally and they are asking $100. Will this work to heat treat knives, granted if it works? I am so new at knife making I am trying to learn.
-
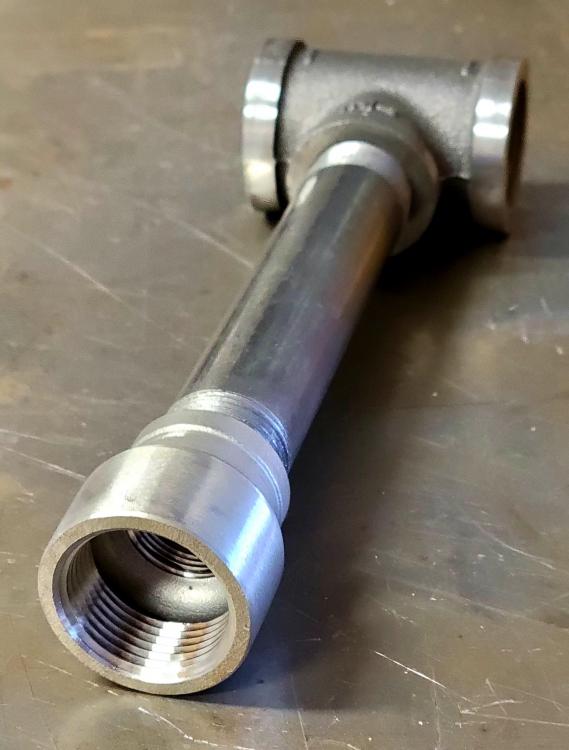
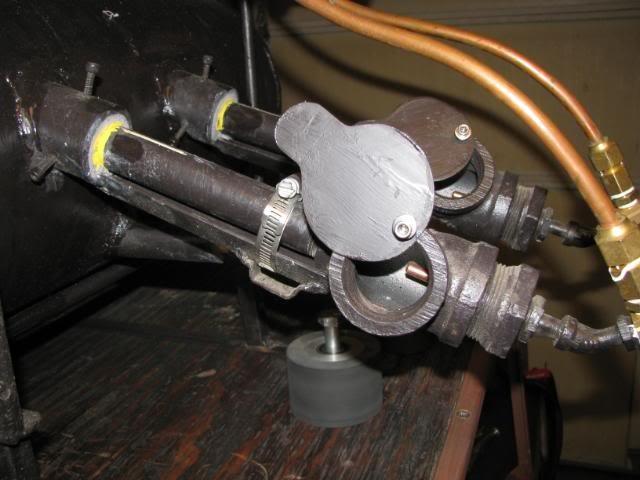
Thanks Frosty, yeah I have been researching the best I can and taking from others who have built a propane tank forge along with information I got from here, especially burner alignment. Mikey98118 helped with that. I honestly don't know if I have made any mistakes, but well see once it is up and running I am using your design and printed out your instructions hoping to build them as well as I can. I have HF (Vulcan) MIG tips and found out they are metric, but I have metric taps. Exactly, once again really thinking in to it too much, its not furniture its a tool. But yes I have settled on 3/4 or 1" square tubing. I am going to have to read this a few more times. I am not sure what you're saying. However, you gave me an idea to use angle iron attached to opening where I have the 3/8 plate along the edges of the opening. I don't have a "porch" installed yet, because I am figuring out how big to make the porch. The opening is 7"x5", therefore I was thinking extending the porch out to about 6". I have plenty of 3/8 plate so I can make it a big as necessary. I have an opening at the back, again this is a design I have seen around, and thought this was standard. I was under the impression if I had another opening as big as the front, the forge would be inefficient. However, just like you said I can add a brick on the back to shut the opening. Bingo! I will need to do more research how to tune these burners. I know one of the important aspects is the distance in relation to the tip of the gas jet (MIG tip) to the entrance of the air in the T plumbing. Taking my experience in porting cylinder heads, I may try to radius the bottom edge of the T to aid in the smoother flow of air. Additionally, I came across a propane tank build where they installed a draft on the ends of the T, kind of like the photo I have attached ( I can't find the exact thread), but this other builder put a rod between two ends so the draft moved together on both ends of the T. ------------------ Frosty, I asked this earlier, but what are your thoughts smoothing out the threads on the burner end? Will that help with a better flame? I know from working in the automotive machining industry, smoothing out the intake ports to allow the air to flow smoother keeping down the turbulence. Frosty and Mikey98118 thank you for taking the time to post on my thread with your suggestions. They will always be welcomed.
-
Thanks for the insight. I see the flaw in my idea. I sometimes over think it and look for being more aesthetic rather than function.
-
My first post everyone. I am a little late in the knife making game at...*cough*... 50. However, then again it's never too late. I want to get started in a hobby that I can do when I retire along with woodworking I do now. In the meantime I plan on making knives for my coworkers that retire. Right now I am building my first forge from a 7 gal propane tank. I'll end up using 2 inches of ceramic insulation and Kast-o-lite 30 for the floor. I was going to use a fire half brick, but this forum showed me its better with a floor casted in. Coupled with 2 venturi Frosty burners. The burners were a challenge since it made my brain hurt reading how to properly set up the angle. Using info Mikey98118 provided I think I got it some what close. I went 2" from TDC, but I probably could have maybe gone 2¼-2½" to get a tiny bit more angle towards the edge of the floor. Also instead of shoving Koawool in the gaps of the venturi and the holder I have some 2" washers I would drill out to 1" and weld them on the burner holders, actually then how would I remove the venturi burner? Question; on the stainless steel end of the burner, a 3/4" x 1" reducer, would it help or make the flame more efficient if I ground down the threads and smoothed out the bell? I am debating to make the back, I had cut off, a door so I can access the inside to replace the consumables. I would weld a strip of flat stock for the door to seat against the body. Also, I am figuring out a design to make the legs, or carriage as Mikey would say, and a handle on the top. I am thinking rebar for the handle, we'll see. In the photos I have tacked welded the holders on. Well, I am going to have to cut them out so I can cut the holes in the insulation. Of course the long pipes are just for fitment purposes. Thanks for reading through my drivel. Bryan