SlimW
Members
-
Joined
-
Last visited
Everything posted by SlimW
-
I really like the knives you post, templehound. They're always great - I like that the designs have high attention to detail but are never pretentious or glitzy. They have the precision of factory knives but they still say "hand-made". I hope I can get my own knives in that class someday. Gonna have to work on my patience for sanding a lot, though, lol
-
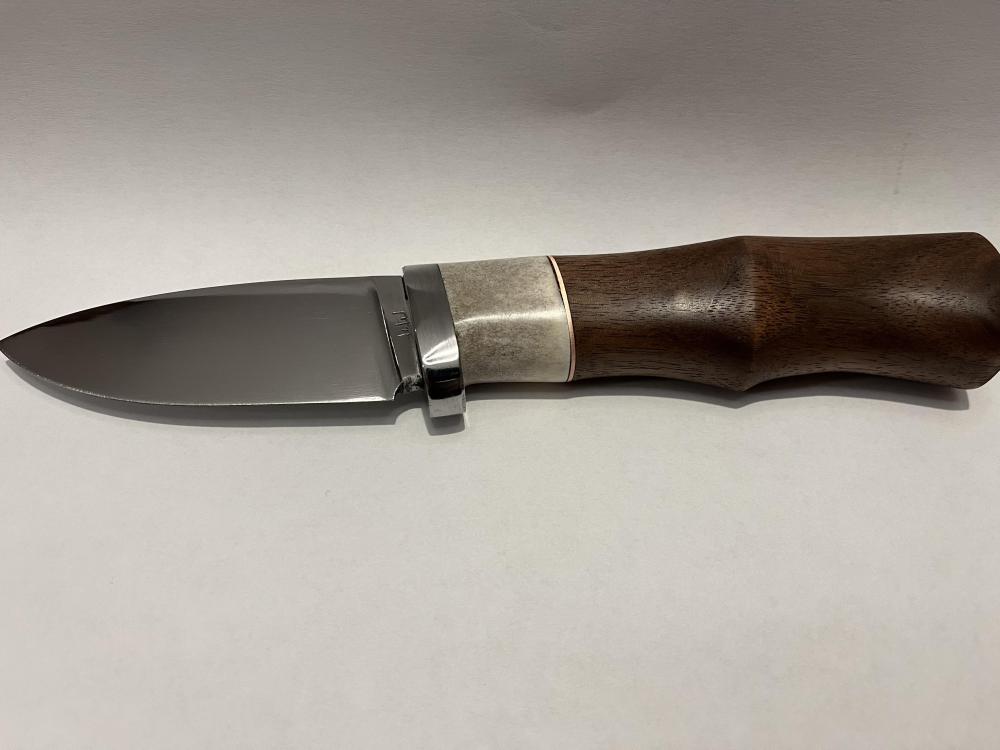
Aaaand finished! thank you for the well wishes for my wife, I’ll pass them on. George, my condolences to you. Removed due to language
-
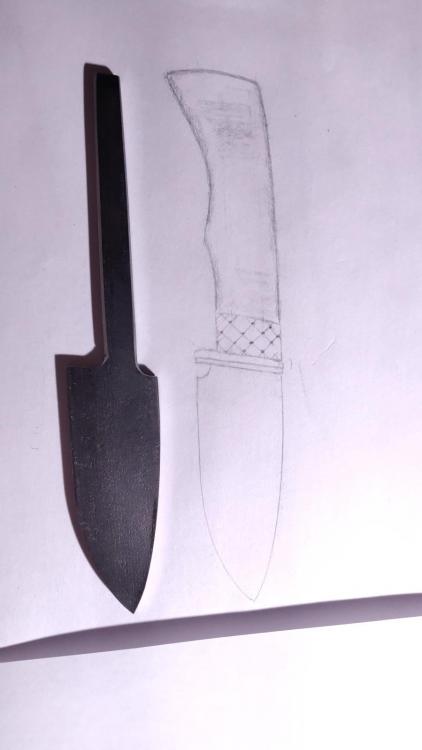
so, I am going to necropost my own thread. Its been two years and a whole lot got in my way - I changed jobs, my kids went through some things, and my wife had cancer (she’s recovering!). This knife sat on my desk the whole time and I just couldn’t bring myself to work on it, but now I am back! I have a bunch of sanding to do on the blade, but I think it’s coming along nicely now… Here’s another one I whipped out just for fun last week:


-
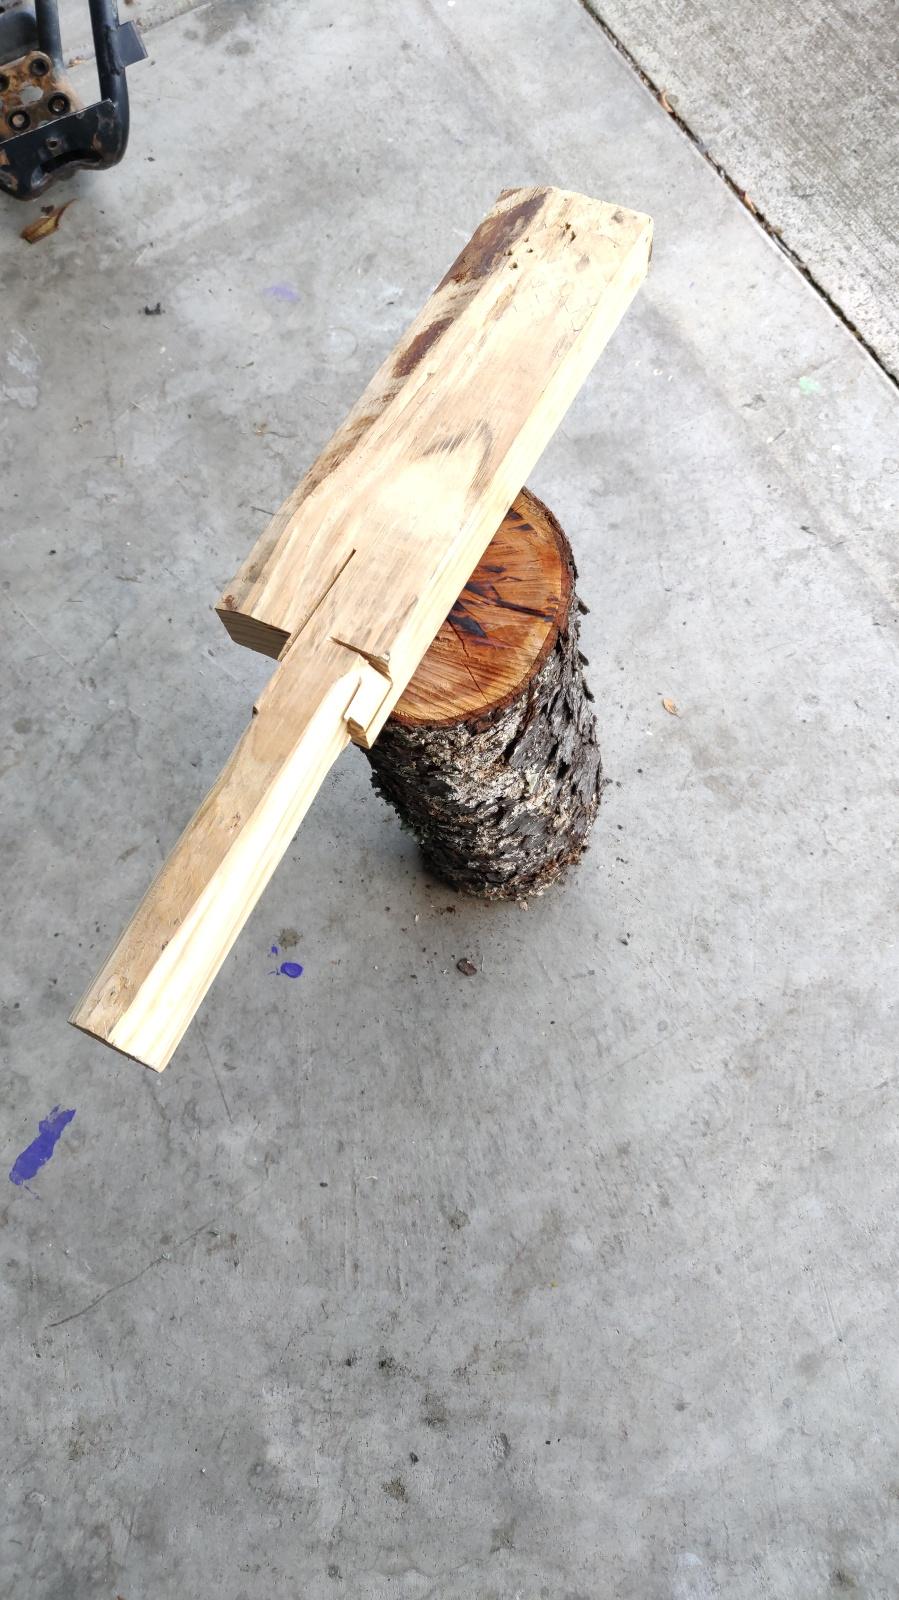
I am certainly going to make a broach for the handle. Filing took far too long. I have some sawsall blades laying around that should work. Thanks for the pic!
-
I definitely wore a respirator, I've read enough about how bad that dust is for your lungs. It helps cut down on the smell somewhat, also. There will be no gap between the ricasso and the antler, I am making a guard that will fit in that gap. I was going to use that hunk of brass, but it's too thick for this design, and I don't want to waste the material, so I will use some mild steel, I think. After I cut the antler with my bandsaw, and ground it into basic shape with my belt sander, I cut the hole for the tang by starting with a drill, then hand-filing with a square file. It took a long time and didn't smell much better Wish I'd had a broach.
-
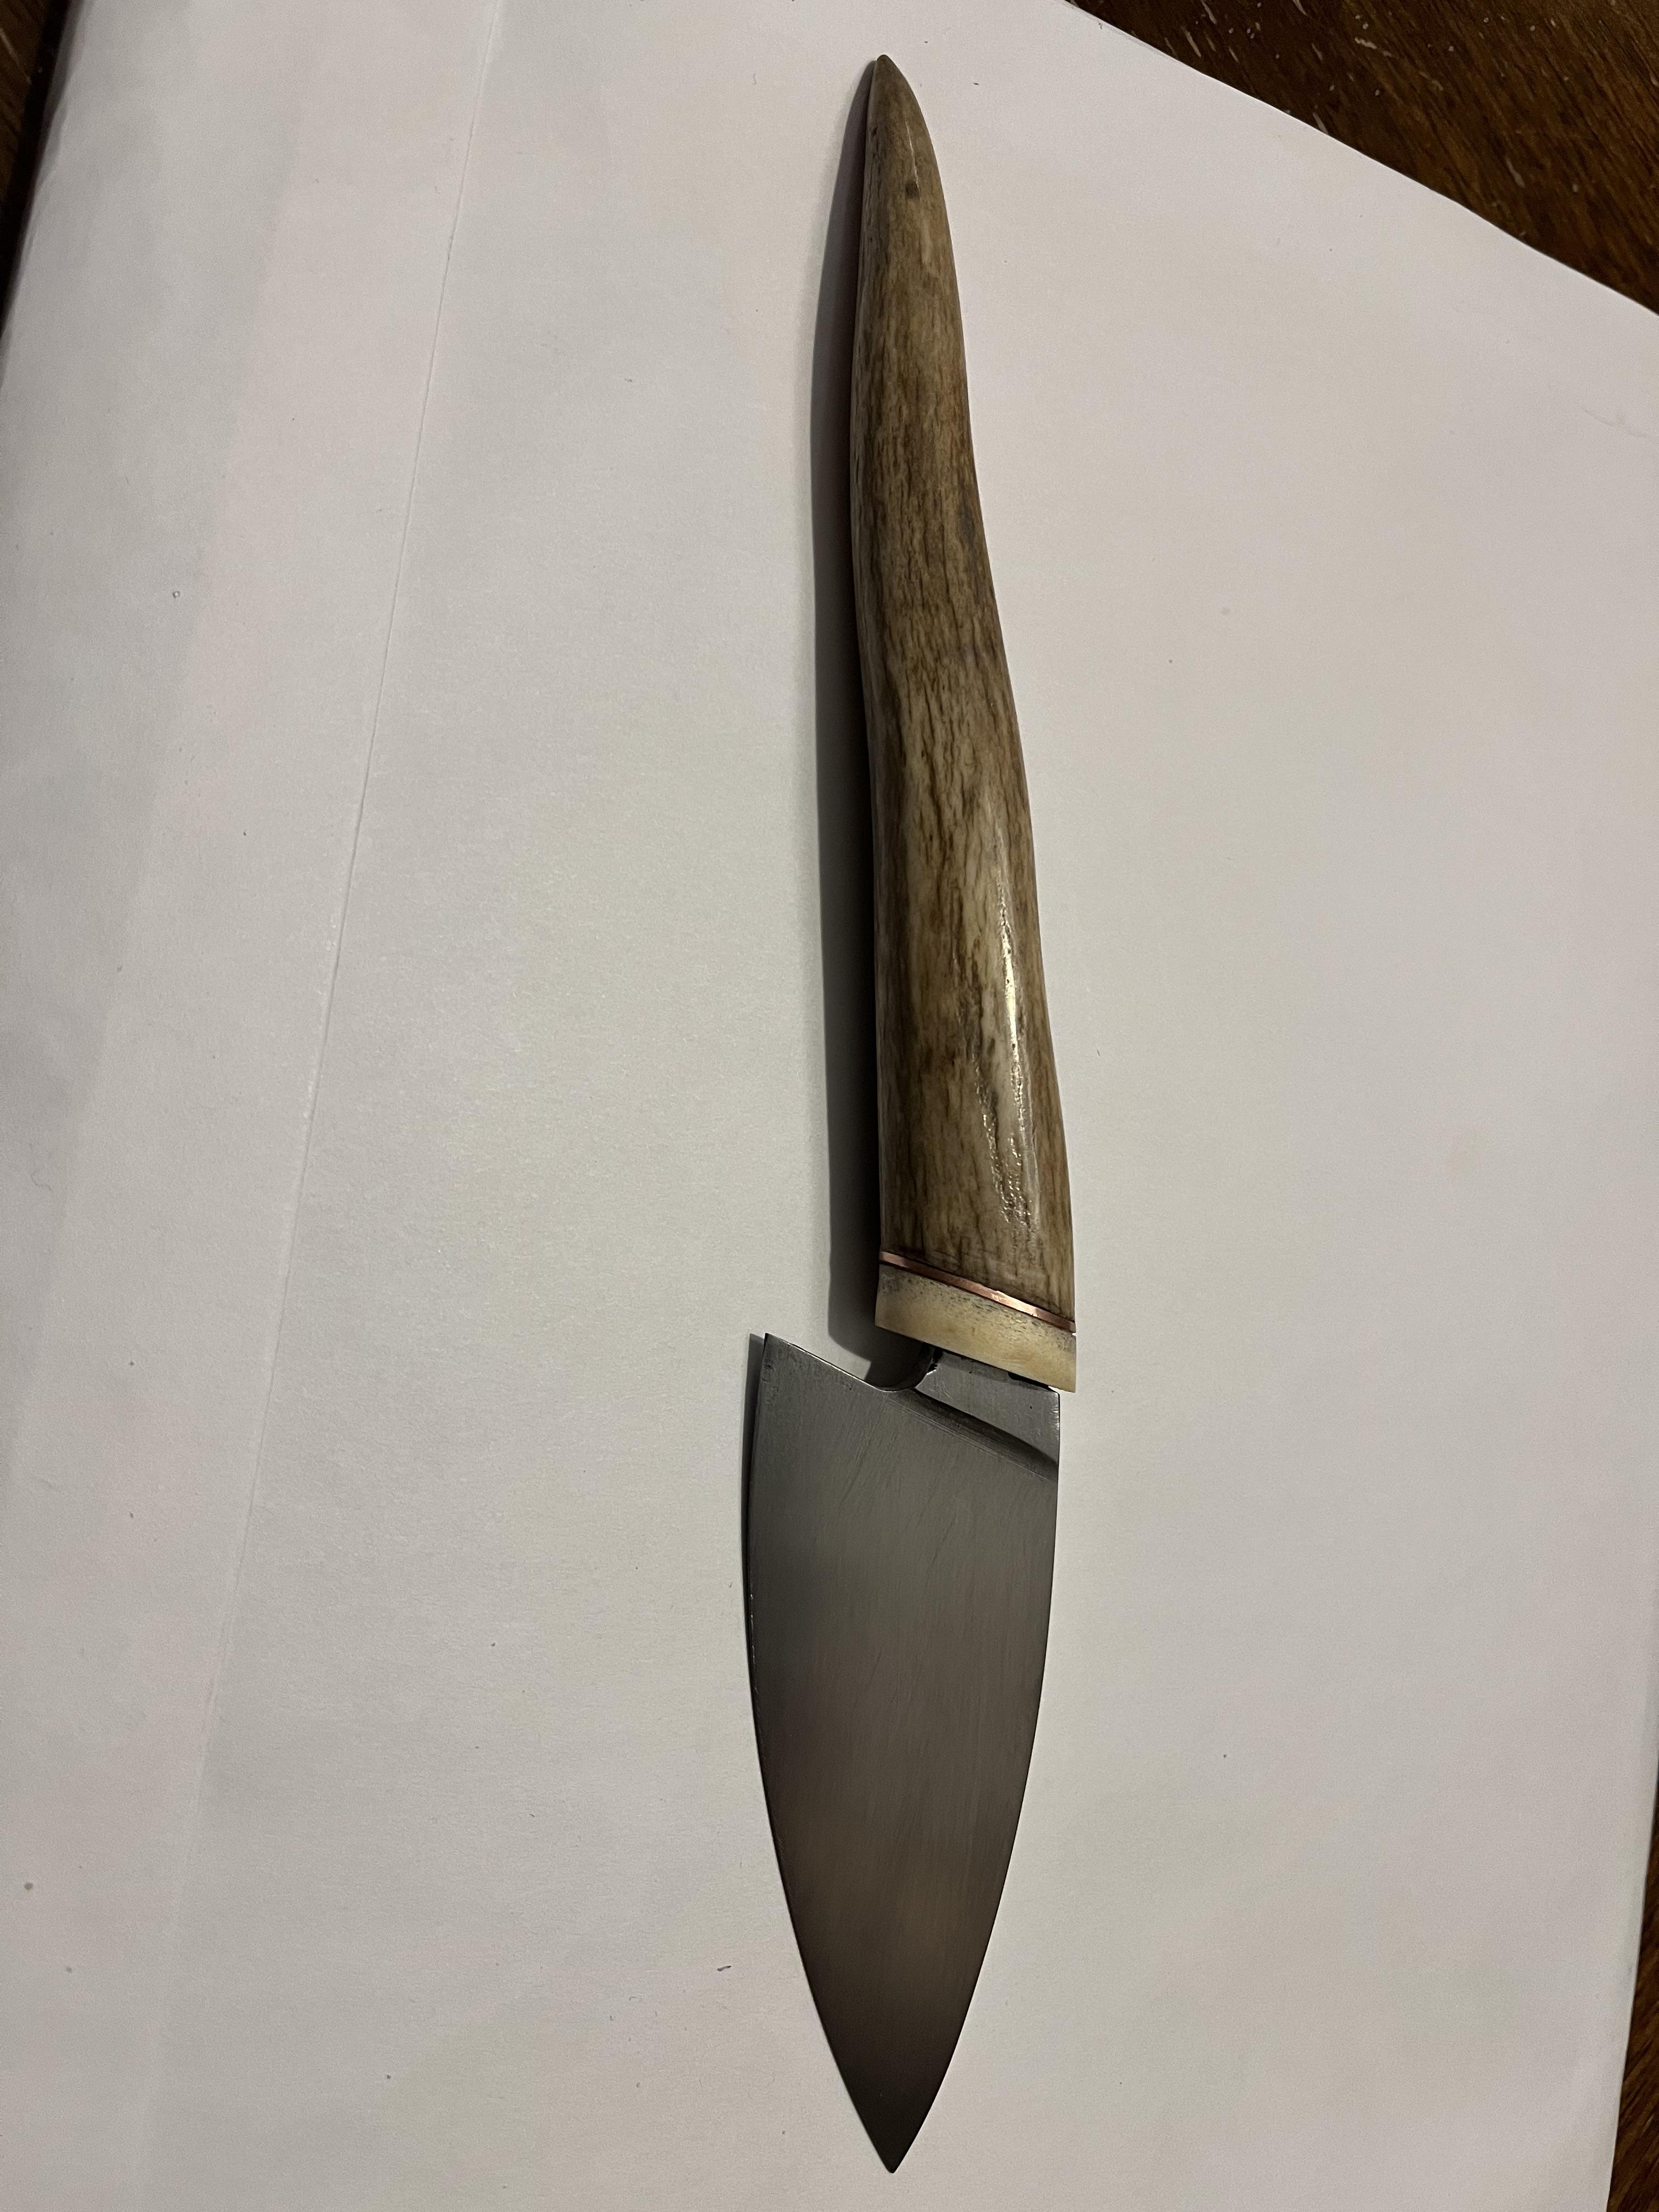
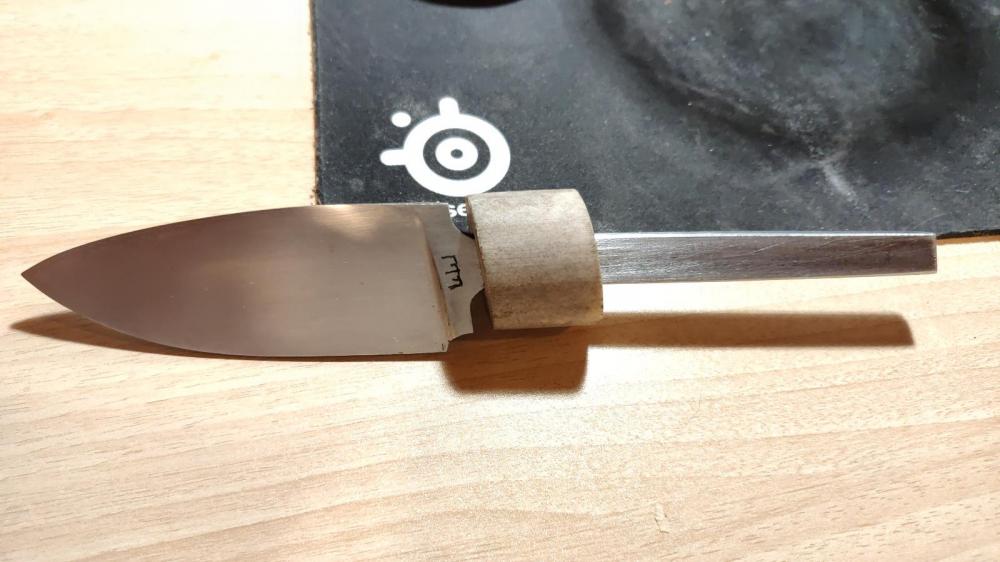
the antler is fitted to tang. Having never used antler before, I was not prepared for just how much stink cutting antler makes.
-
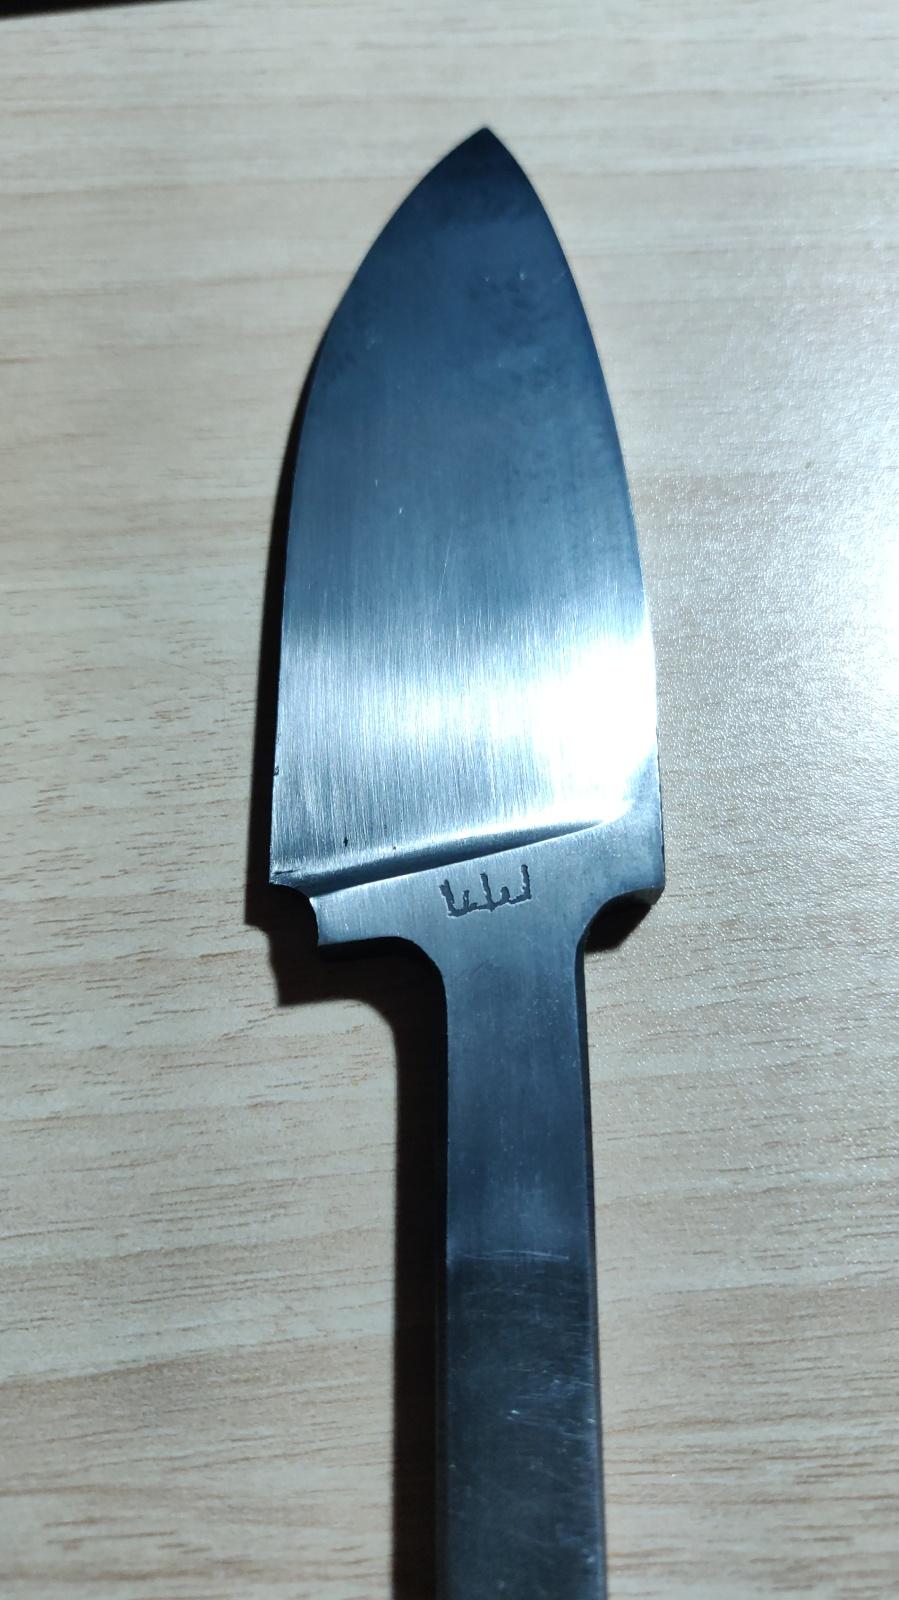
the very first thing I've ever put a makers mark on:

-
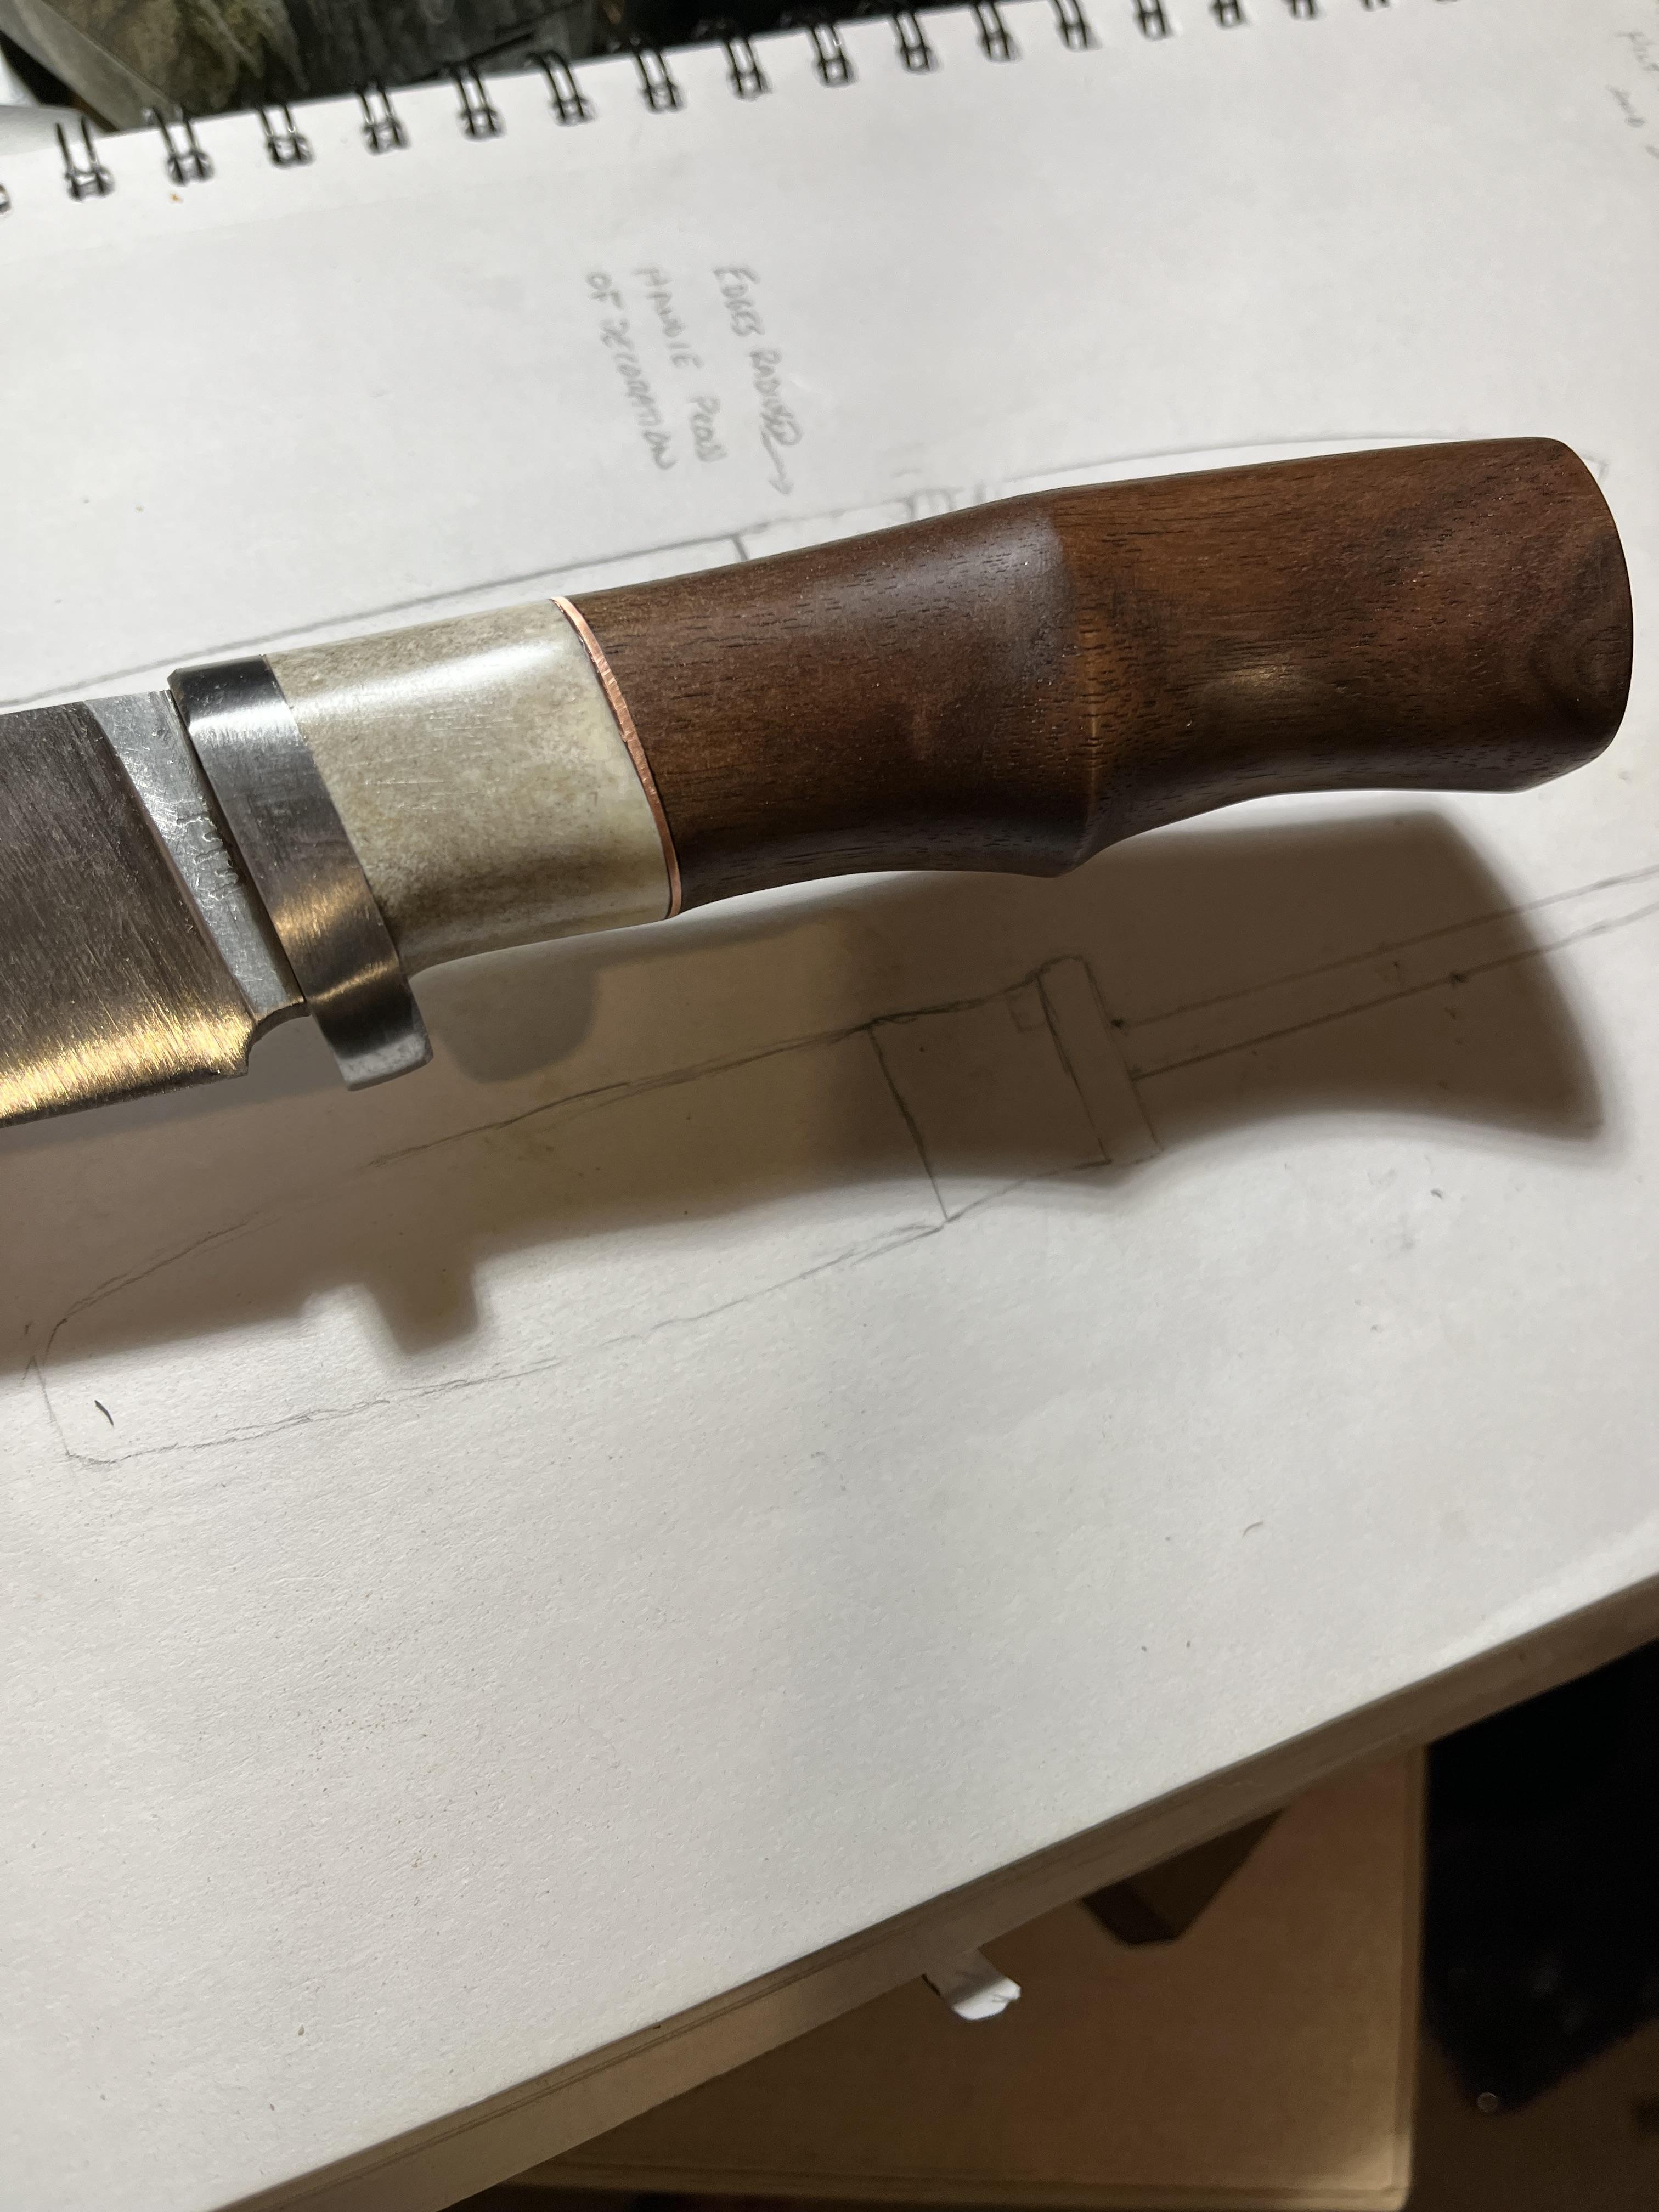
knife handle. (some assembly required. warranty not included) The pieces are: deer antler, a chunk of coppery brass I found somewhere, a sheet of brass, a chunk of walnut, and a 3/8-24 screw cap.

-
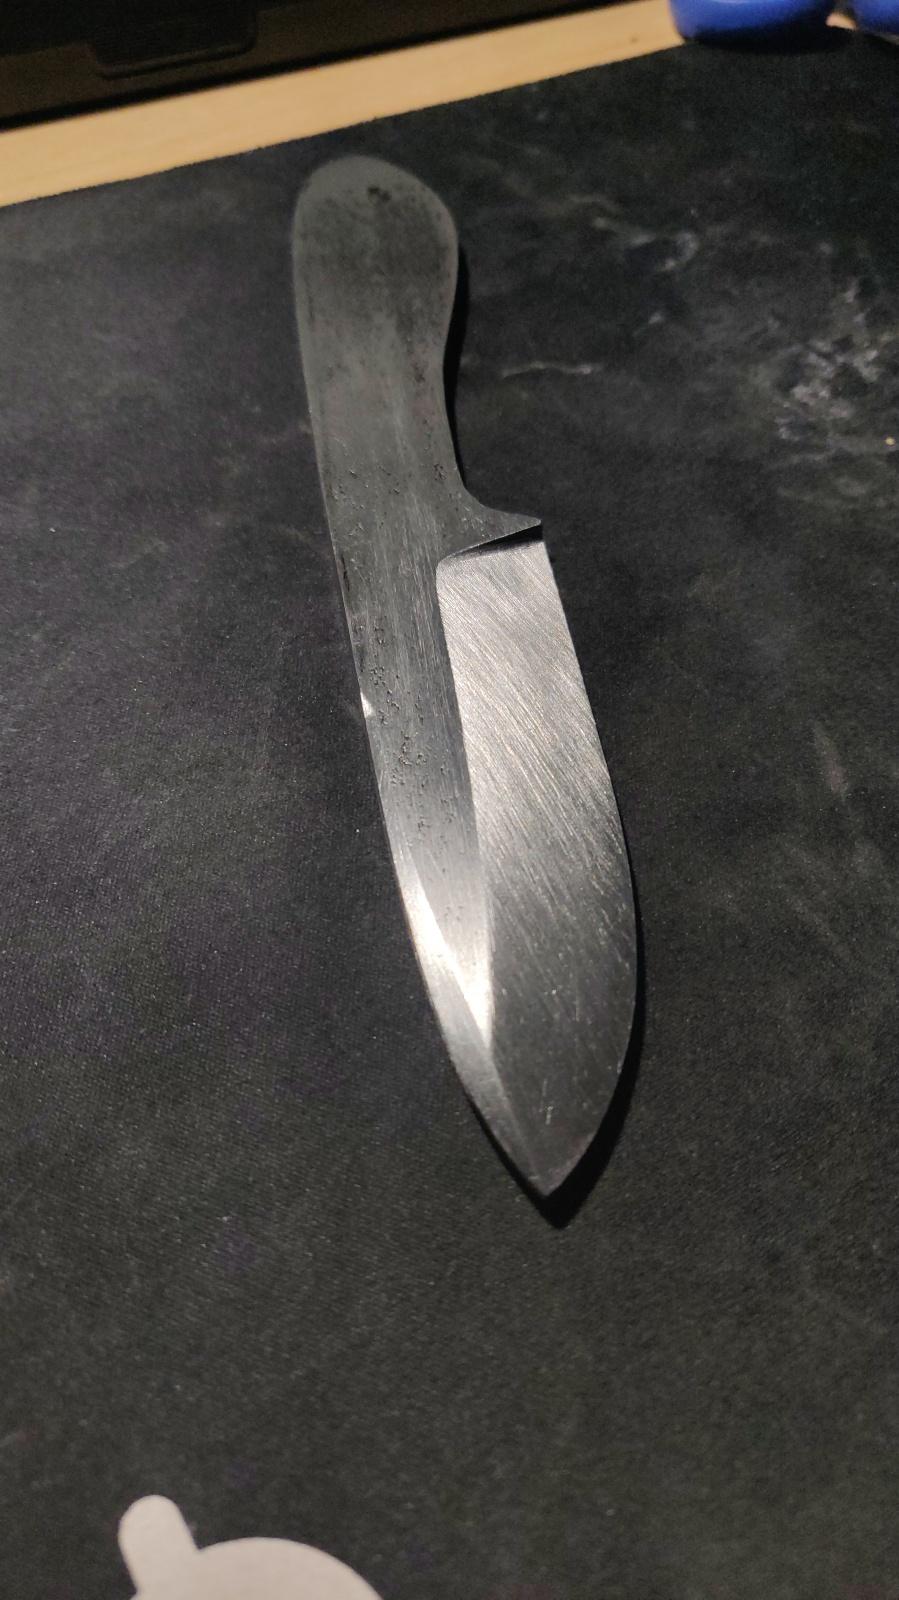
the blade survived heat treat. it did warp, though, so I used my precision warp remover while the blade was hot: this worked pretty well. I had to heat the blade twice, the first try didn't harden. I suspect I didn't have it quite high enough or evenly hot prior to quenching. thats what I get for using an acetylene torch.
-
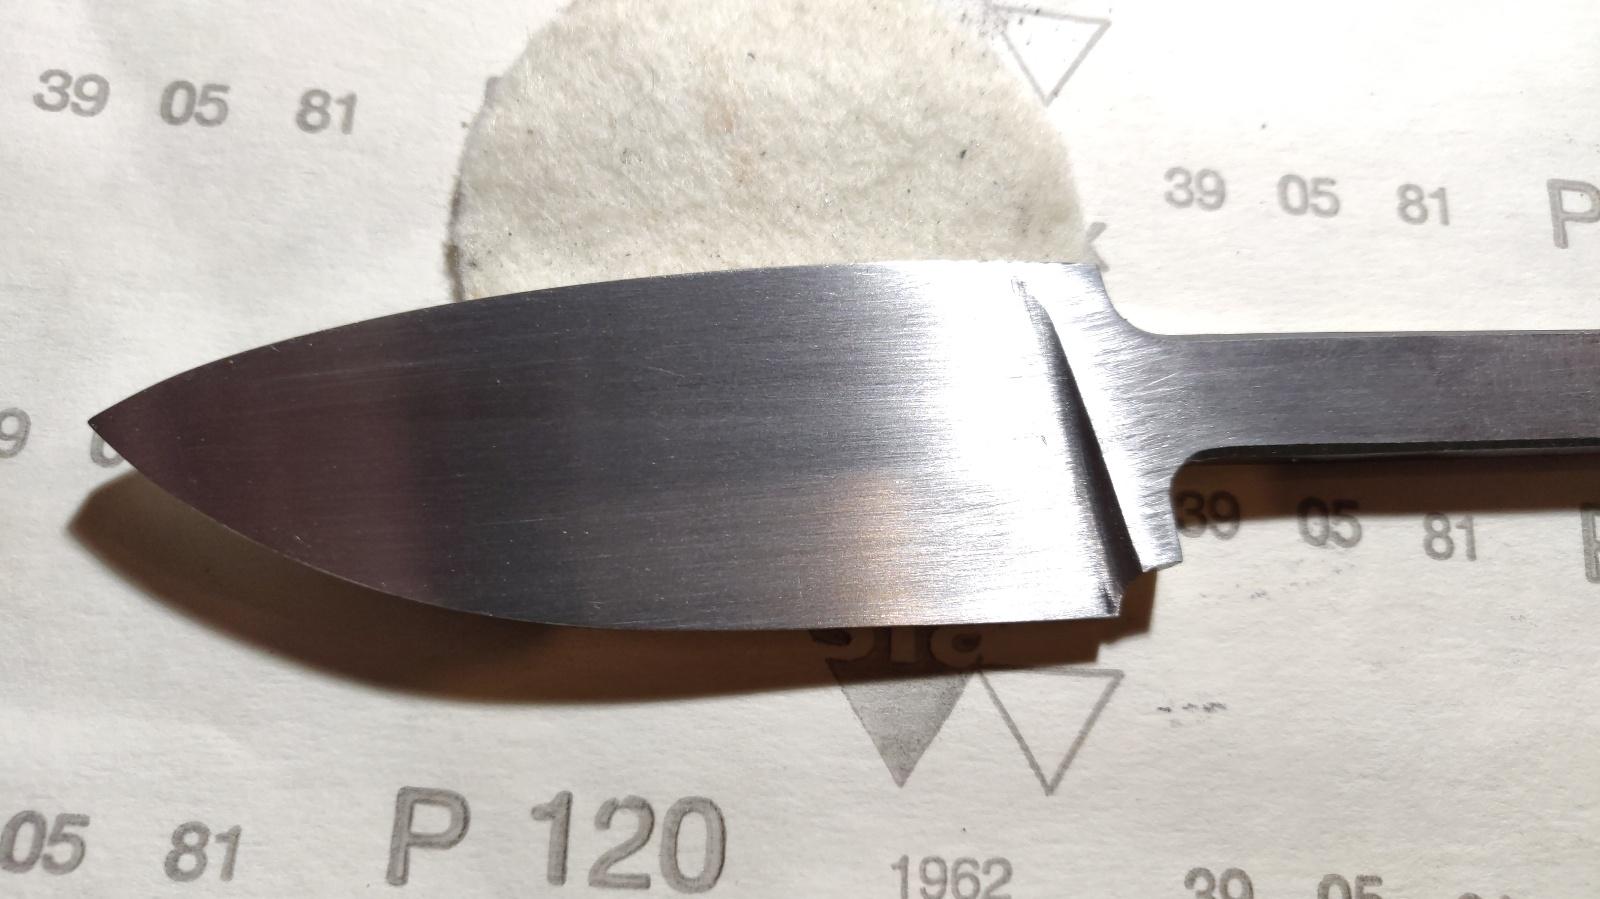
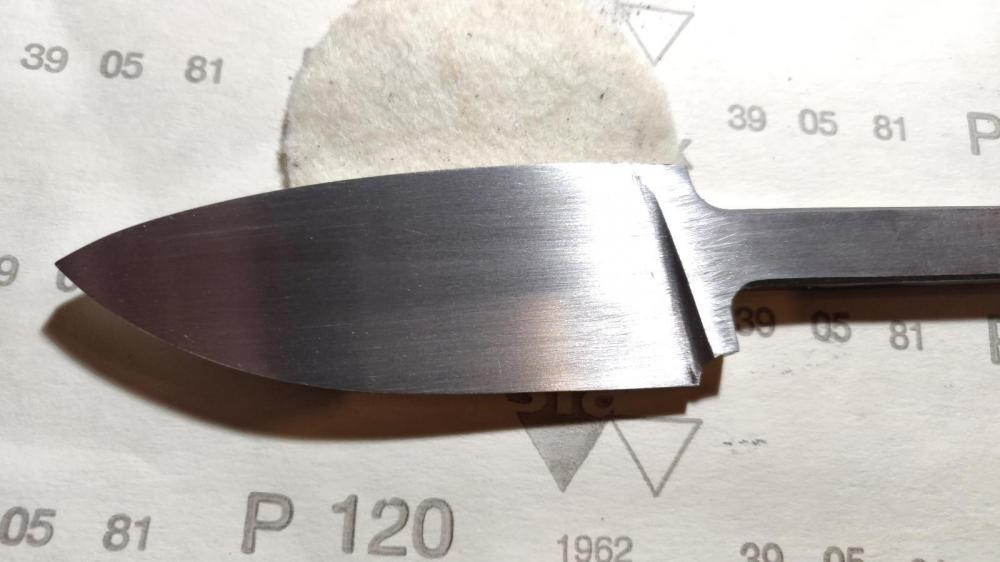
one side all shaped to 120. new files are wonderful.
-
why yes, how did you know I stack all my files in a pile in an old toolbox? it does indeed look like I have a lot of future knife stock.
-
I just picked up a couple of fine-toothed files, flat and chainsaw, to finish the first bevel. What an astounding difference a new, quality file makes! I've been using files from buckets of files I picked up at yard sales, and Harbor Freight specials. There is simply no comparison. I've been working much harder than I needed to.
-
I filed in the sharpening choil first, then used a round file to cut the plunge. I then drew a line down the middle of the plunge and am using that to line up my file stop. Now comes lots of filing. I didn't consider that the round plunge lined up at an angle, so my ricasso will be angled, but I guess it will be ok.
-
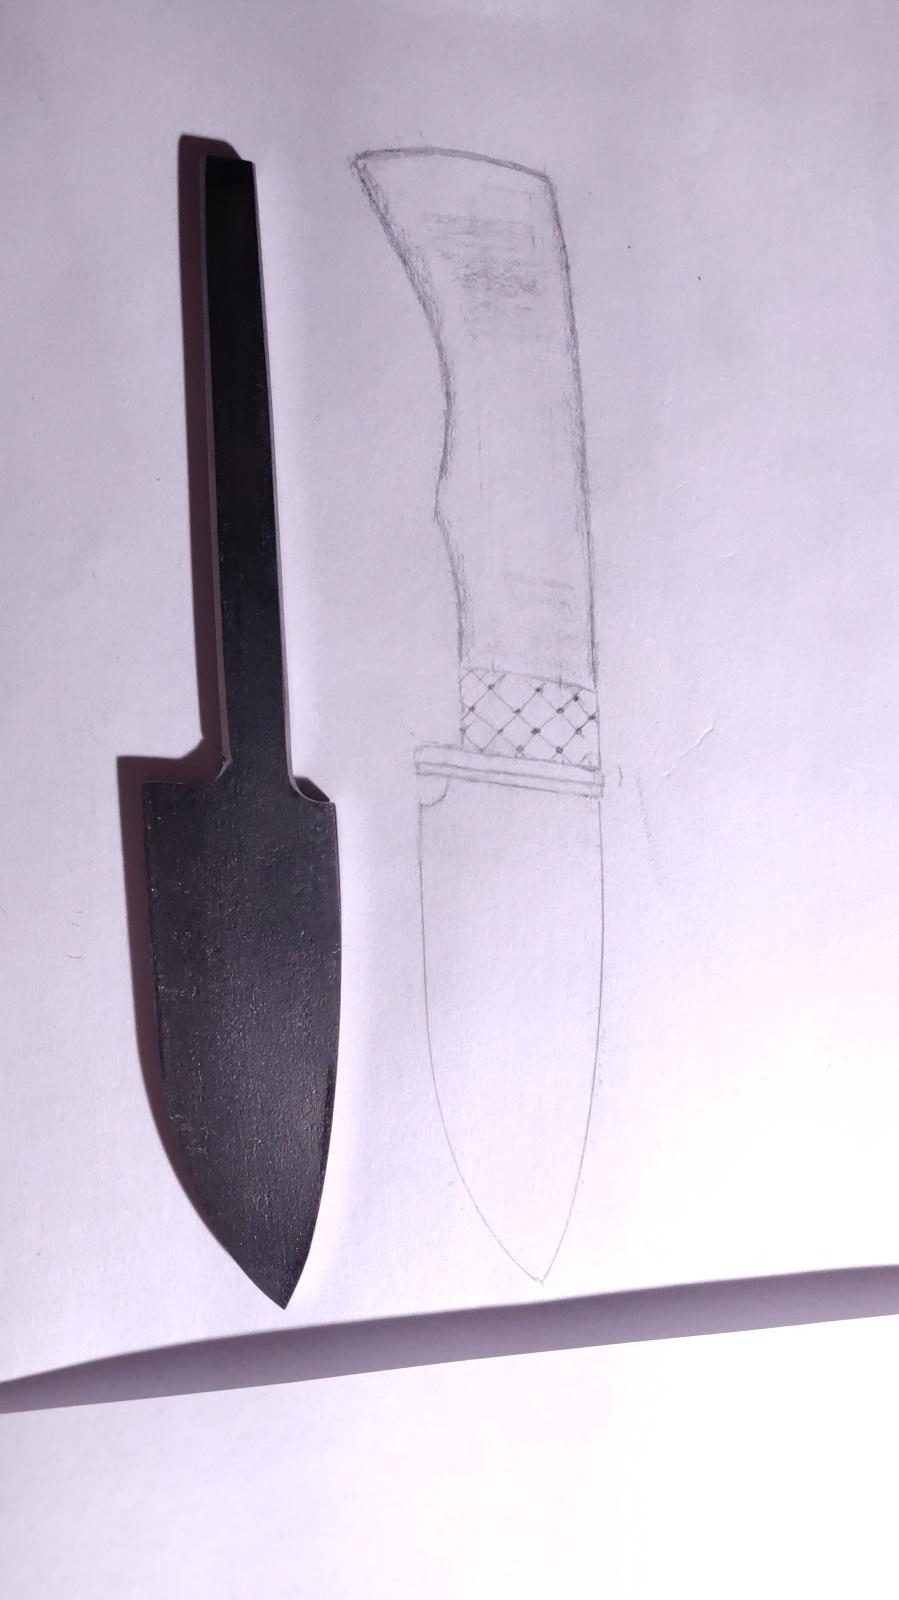
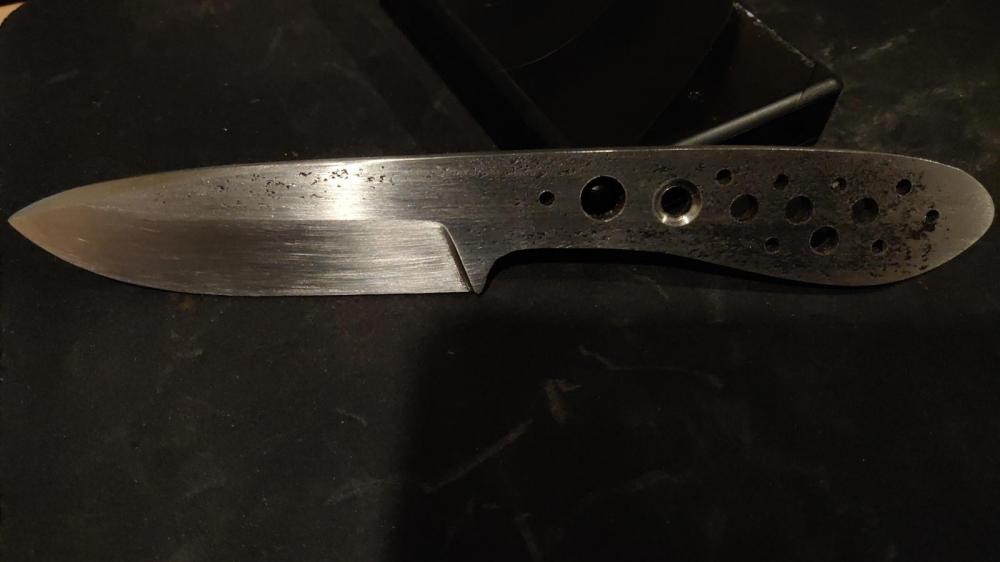
Knife #6. I have read that you need to make 40 knives before you should start selling them, so I have a few more to go. I want this one to be good enough to put a maker mark on it, though. Same metal as #5, hidden tang, skinner. Stock removal (still don't have time to finish my forge). Filing the inside corners of the tang was somehow very satisfying, as I've never really done that before. There is a nick on the one side as the angle grinder got away from me, but that will be hidden by the handle, and I'll polish it down later.
-
Well, I didn't end up making a sheath, but I did give to the guy I made it for, he was quite happy with it. It was a good trade, I got enough nice walnut out of the deal to make like 700 knives, and some good practice. On to the next project!
-
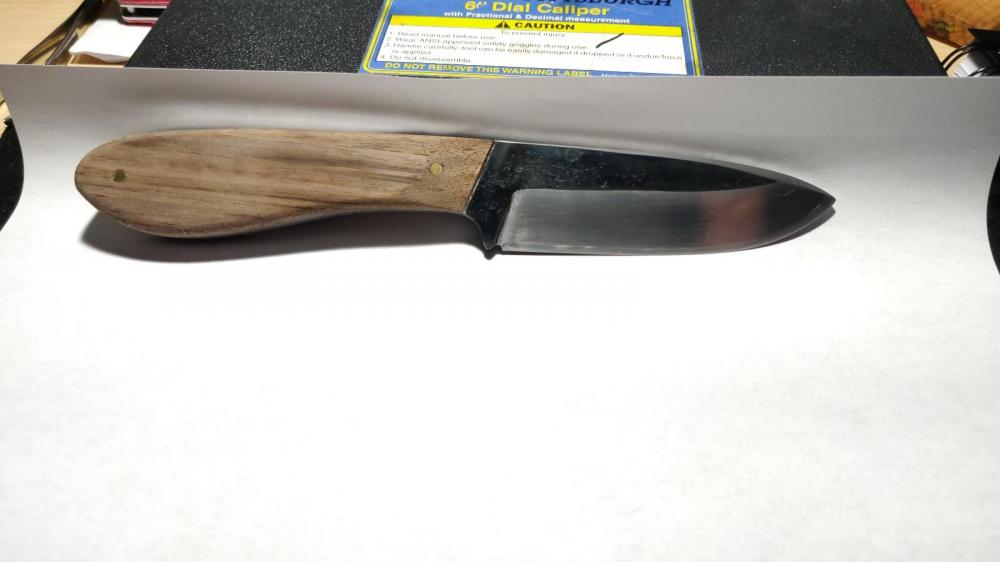
now with wood finish. on to a sheath!
-
you make it look easy. if only it actually was. I mean, the grinding alone...beautiful work.
-
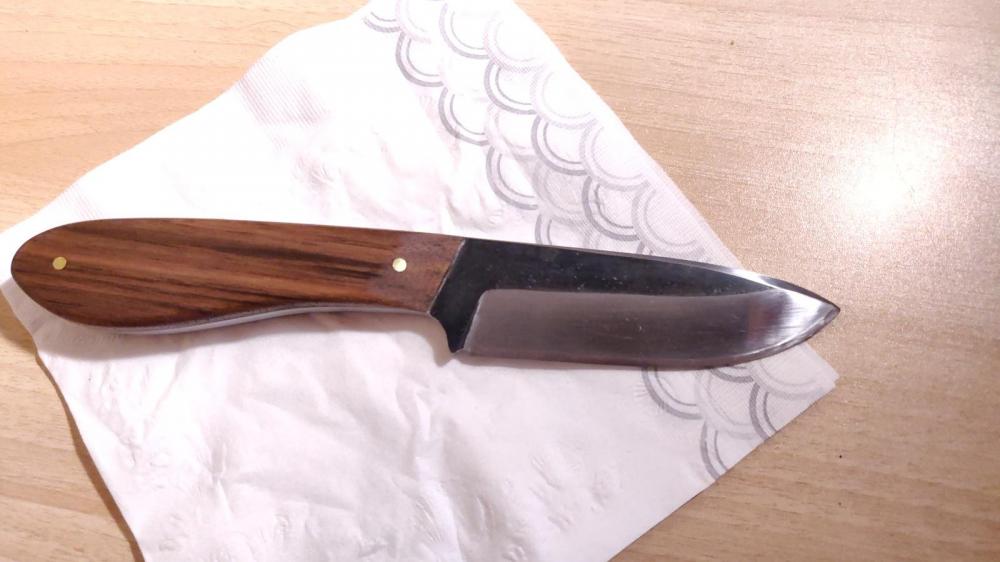
Thank you. I had sanded off the original quench oil finish, it wasn't too durable, and instead I tried cold blue. I used alcohol and acetone to clean the blade before I did it, but it still ended being a little blotchy. I carded it, reapplied, then polished the faces again to get the nice lines on the edges. The scales are walnut, pinned on with the brass rod, and glued with epoxy. I applied some Formby's Tung oil to the scales and I'm letting it dry before I resand with 1000 grit and reapply. The wood does look nicer now, I'll post an updated pic when I'm done.
-
a little more. I'm not happy with the reshape, now it looks like a steak knife, but oh well.
-
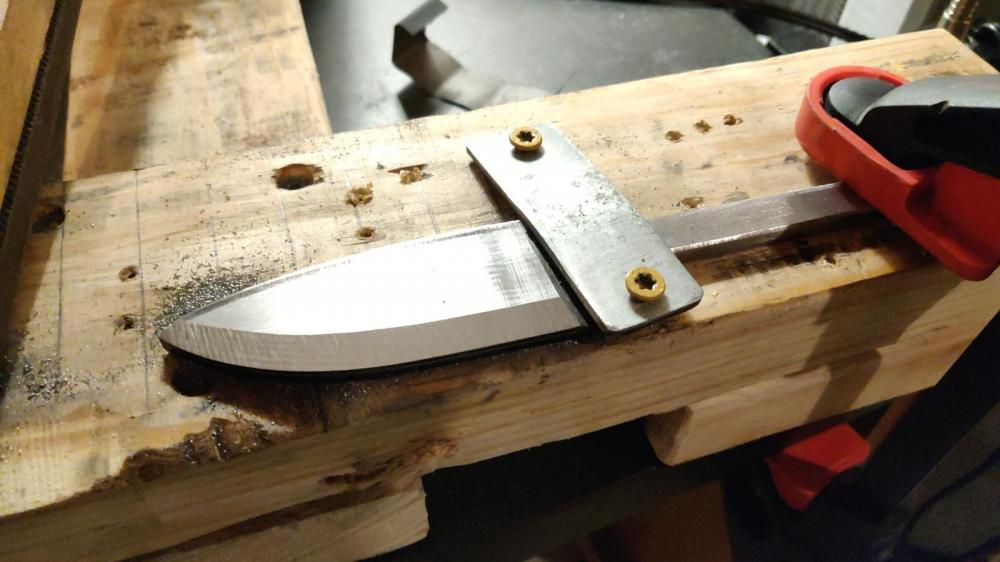
choil ground, and sharpened. handle next. boy did this take a long time to sharpen. I need a better method. The edge was pretty thick, and I used a sharpening stone attached to my filing jig. It worked, and its precise, but it took me quite a while. I'd appreciate constructive criticism - aside from "mystery metal", what would you guys do differently?

-
My son and daughter voted to leave the black on the faces, they said "Sick knife, dad!"
-
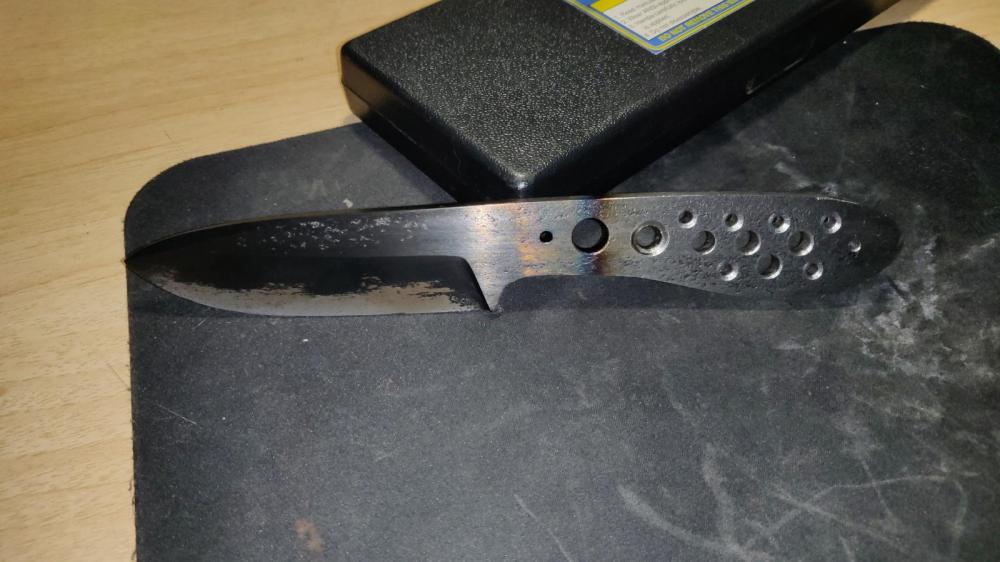
I'm pleased to report that heat treat went well, or at least as well as can be expected. As this was scrap steel, I only knew it was a carbon steel from a spark test against a known carbon steel. I didn't know if it would harden much, or the correct treatment, or if it would warp or crack when I quenched it, and all my work would be wasted. Mea culpa. I decided on a canola oil quench. I tested a few scraps of the same steel, and got promising results. My good file skated on the test pieces after a heat, so I went for it.
-
perfect Thanks, Frazer and Frosty. This is exactly what I observed. It's a shame, because my smaller bits were making such nice long chips...it's a good thing my friend runs a tool store and gives me a discount
-
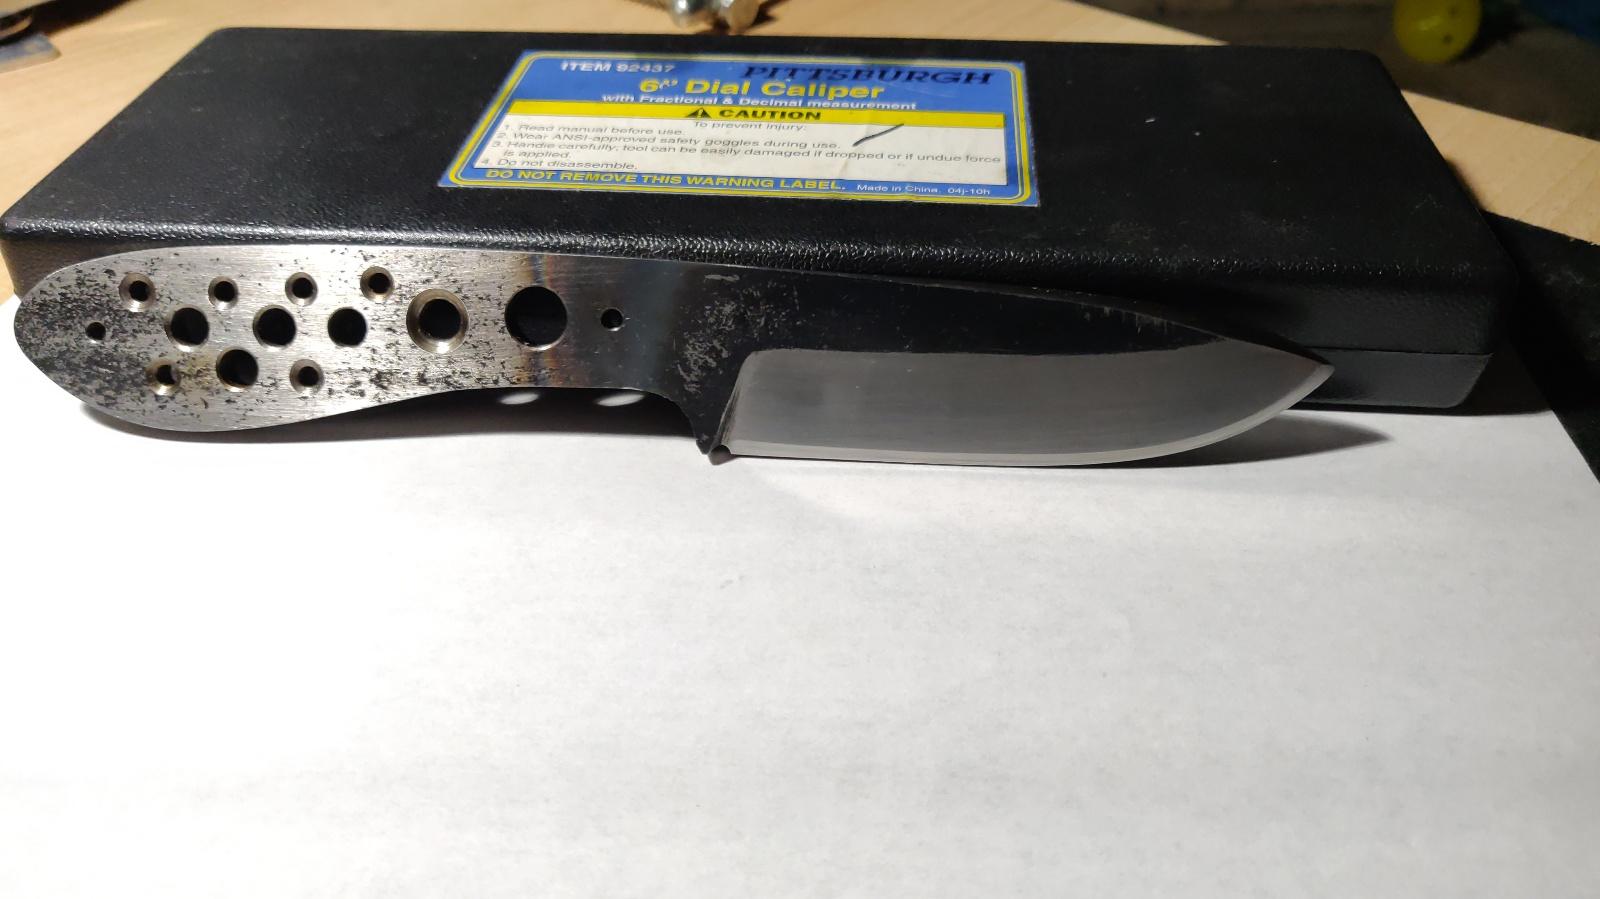
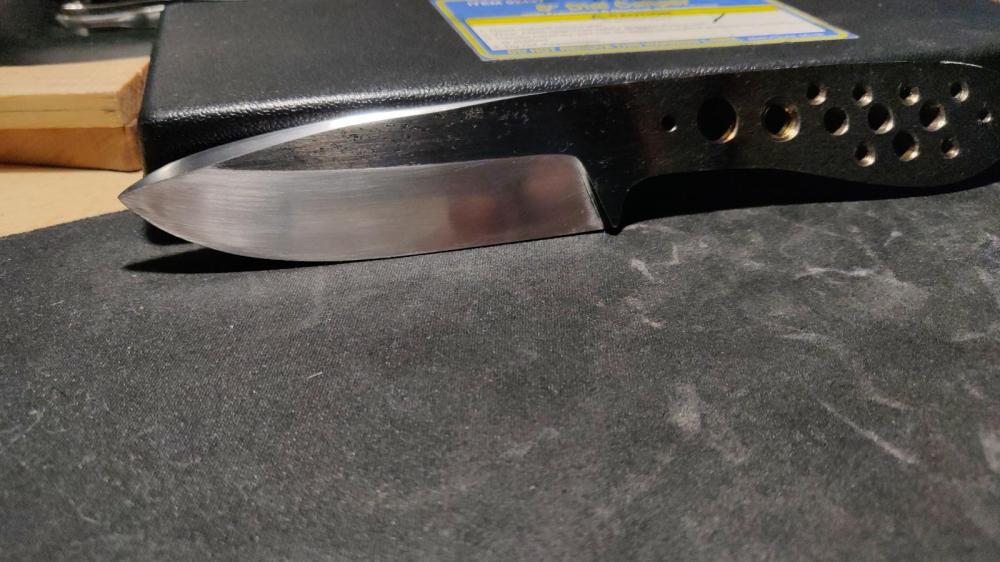
I got the blade sanded to 220, stopped there since I'm going to heat treat it. Decided to drill some holes in the tang to lighten things up. This stuff work hardens very easily, even though I used my drill press at its slowest speed, and stepped through the bit sizes. I have one hole that just wont drill anymore. Oh well. I'll finish the other holes tomorrow.
-
Well, i screwed up. I was trying to feather in the swedge and scored too deep and ruined the top profile. my only recourse was to reprofile the top. I guess trying to reprofile a bevel is a bad idea. I think I rescued it, though.