ymber
Members
-
Joined
-
Last visited
-
Thanks, that's an easy enough design. Now you've got me looking at heat treat oven designs though and that's a whole new thing for me to overbuild. It would let me do the hardening and tempering in the same oven too. I hadn't thought of building one yet but now I'm tempted.
-
Thanks guys, I'll buy it in 1" then. So if I lay the first layer, spray it with water to butter it, spray it with rigidizer, then fire the forge up until the blanket is red hot, then do the same thing with the second layer then the layers will end up fused together by the rigidizer?
-
Is there any substantial benefit to using 2 layers of 1" ceramic fibre insulation instead of a single 2" layer? I've seen it recommended around this forum but the only reason I've seen is that it might crinkle slightly less.
-
I'm planning to use the INS1300-H refractory on the sheet here. The floor of the forge is going to be replaceable fire brick and I'm not expecting the castable to get gouged much. I'm considering using this zircon paint instead of making my own. It's hard firing, good up to 1750C, and resistant to fluxes so it seems ideal. I'll paint the whole inside of the castable and the top of the floor bricks with 1-2mm of it. As far as I can tell it's very similar to the Plistix 900 that people usually use in America.
-
I've seen recommendations in a few places to cap one end to prevent it being a wind tunnel and leave the other end open. Capping both ends makes more sense to me intuitively when the point is to retain heat and keep oxygen out. What do you make of the idea of only capping one end? Seems like there's a reason people do it but I can't figure out what it is. You reckon the temperature of the muffle itself will be close enough to the temperature of the blade inside it that it's not worth running a thermocouple through to the inside? I've seen the foil method, it looks pretty good. I'll definitely try it when I've got the thing up and running. I'd not heard of kiln furniture before but it looks like exactly what I need, I'll get my hands on some.
-
I've been figuring out how best to build a baffle to use for hardening knives in a propane forge. I need to get the heat as even as possible across the blade and since I'll have a PID controller connected to a thermocouple and the main gas valve I want to be able to control the heat quite accurately. I'm thinking a 1/4" thick, 3" internal diameter round black iron pipe section should give me decent thermal mass and help even out the heat. I've seen a few people mention that the blade shouldn't be touching the inside of the pipe. Has anyone done this before and got an idea for how best to support the blade off the bottom of the pipe? The main things I've seen people talk about to reduce oxidation and decarb are welding a cap onto one end of the pipe, making the whole thing about 3" longer than the forge, and putting charcoal down the tube at the capped end when it's being heated. As far as I understand the charcoal will partly combust when it's heated, consuming some of the oxygen that would be reacting with the blade otherwise and the inside of the tube will be filled with CO and CO2 so the blade is in a reducing atmosphere. If I run a thermocouple through the cap on the back end of the pipe it should give a temperature for the PID controller to work with that's very close to the actual temperature of the steel. Is there anything else I can do to make it work better?
-
For heat treatment I really just want to be able to hold accurate hardening temperatures for a given length of time. I hadn't thought of the tempering issue. We've got an electric kiln in the works already down at the shop, it's only meant for melting aluminium so it won't go up to steel hardening temperatures but it should be good for tempering. I've been looking around information on using a baffle in a forge to get an even heat in a reducing atmosphere for hardening and I reckon it's pretty promising. I'm planning to build a smaller 300in^3 single burner design first now. When I need the bigger one down the line I'll have plenty of materials left to build it. Going to get building next week. If I increase the castable thickness to 1/2" I get a 6"x12" cylinder, minus floor gives marginally under 300in^3. For one this size would it be worth doing 3/4" thick castable?
-
I think I'm settling on the low pressure bypass design with a open/shut valve on the main line. Looking at some of the builds people have done like that they're getting +-5C at welding temperatures from it and I reckon there's more precision to be had from it with good tuning. Thanks guys, changing the design early will save me a while messing with hardware that isn't meant to do this. Mangling an analogue valve into a digital system described the original plan pretty well. Now I'm looking at building the forge before I start on the electronics. I want to do mostly bladesmithing in this forge and some smaller general blacksmithing. The largest things it will need to fit are axe heads or large knives and hopefully damascus billets down the line. I'm planning to run a dual burner setup with a pair of 3/4" T burners so I'm thinking 500in^3 is a good volume for the forge interior. That should be able to get up to welding temperature running 15PSI or less of gas from the tank so fuel efficiency should be alright. It's a quite similar design as in the video at https://www.youtube.com/watch?v=QuoKVMZgLgo. I'm planning to use a 12" diameter 15" long water pressure vessel for the shell. With the ends sawn off, 2" thick ceramic wool insulation, and a 1/4" layer of castable refractory over the top of that I get 7.5" internal diameter and 13.5" long for 596in^3 total internal volume. I expect to lose 100in^3 of volume on the bottom for fire bricks to make it D shaped which gives me about 500in^3 in the end. I'm planning to use the MonkeyForge kiln wash recipe since I can't get Plistix in this country. I'm thinking since I want to use this for precise heat treatment as well as forging the dual burner design is the way to go since it will heat the forge more evenly. If I have a blade in a pipe in the forge while it's holding a steady temperature I should be able to get precise soaks for heat treating stainless steels. That's my plan, does anything there sound wrong?
-
It looks like what I'm looking for is called a proportional solenoid valve. They're the right size, spring return NC, they have a signal input for partial opening, and they're designed to take fuel gases. There are other kinds of modulating valves but all the ones I can see with propane safe seals are big expensive ones for way bigger fuel lines than I'm working with so it looks like proportional solenoid valves are the way to go. Now I'm trying to work out how the control input works. It says the control signal is PWM but the graph on that data sheet shows a DC analogue signal as the control variable, not a PWM duty cycle. If I can control a proportional solenoid valve from the DC analogue output of a 3 state PID controller that's ideal. Otherwise I might look at running the valve off a microcontroller board and just write my own control algorithm for it. I'd have to connect the thermocouple through an amp circuit or something that way but I could probably make it work. Looking at this stuff I increasingly understand why people just rig a gas bypass.
-
I'm getting around to building a new forge and I've got a notion to build one that can hold precise target temperatures so it can double as a heat treat furnace. I want to use a PID controller with an S type thermocouple on the input and a modulating valve on the gas line connected to the controller output. I'm not very familiar with PID controllers but looking at most of the existing solutions for this, people are using solenoid valves connected to the controller through a solid state relay. I don't like that solution because it doesn't allow for throttling the gas, only turning it off completely so oscillation around the target temperature is quite high and you have to deal with the non ignition hazard. I see Denis Tyrell's solution to that and the non ignition problem where he has the low pressure gas bypass around the solenoid valve and his results are decent but I'm sure a modulating valve is a cleaner solution and with a well tuned controller it could reduce oscillation to near zero. I'm currently trying to work out a controller and valve combination to do it with. Most PID controllers I see are relay output but I'll probably need something with DC output to control a modulating valve. It's the valves I'm having trouble looking for. I need something that's 1/2" BSP, can take propane, and takes some kind of control input that I can get out of a PID controller. Is anyone familiar with these kind of setups? My plan is to put the valve on the main gas line before it splits to a pair of 1/2" T burners. NA burners seemed like the way to go here since the fuel/air mixture is somewhat self regulating as the fuel line pressure reduces which simplifies the whole setup as I don't have to throttle separate fuel and air lines proportionally. I've had good success with my previous 1/2" T burner and I reckon the tuning range on them is good enough to work for what I'm trying to do here.
-
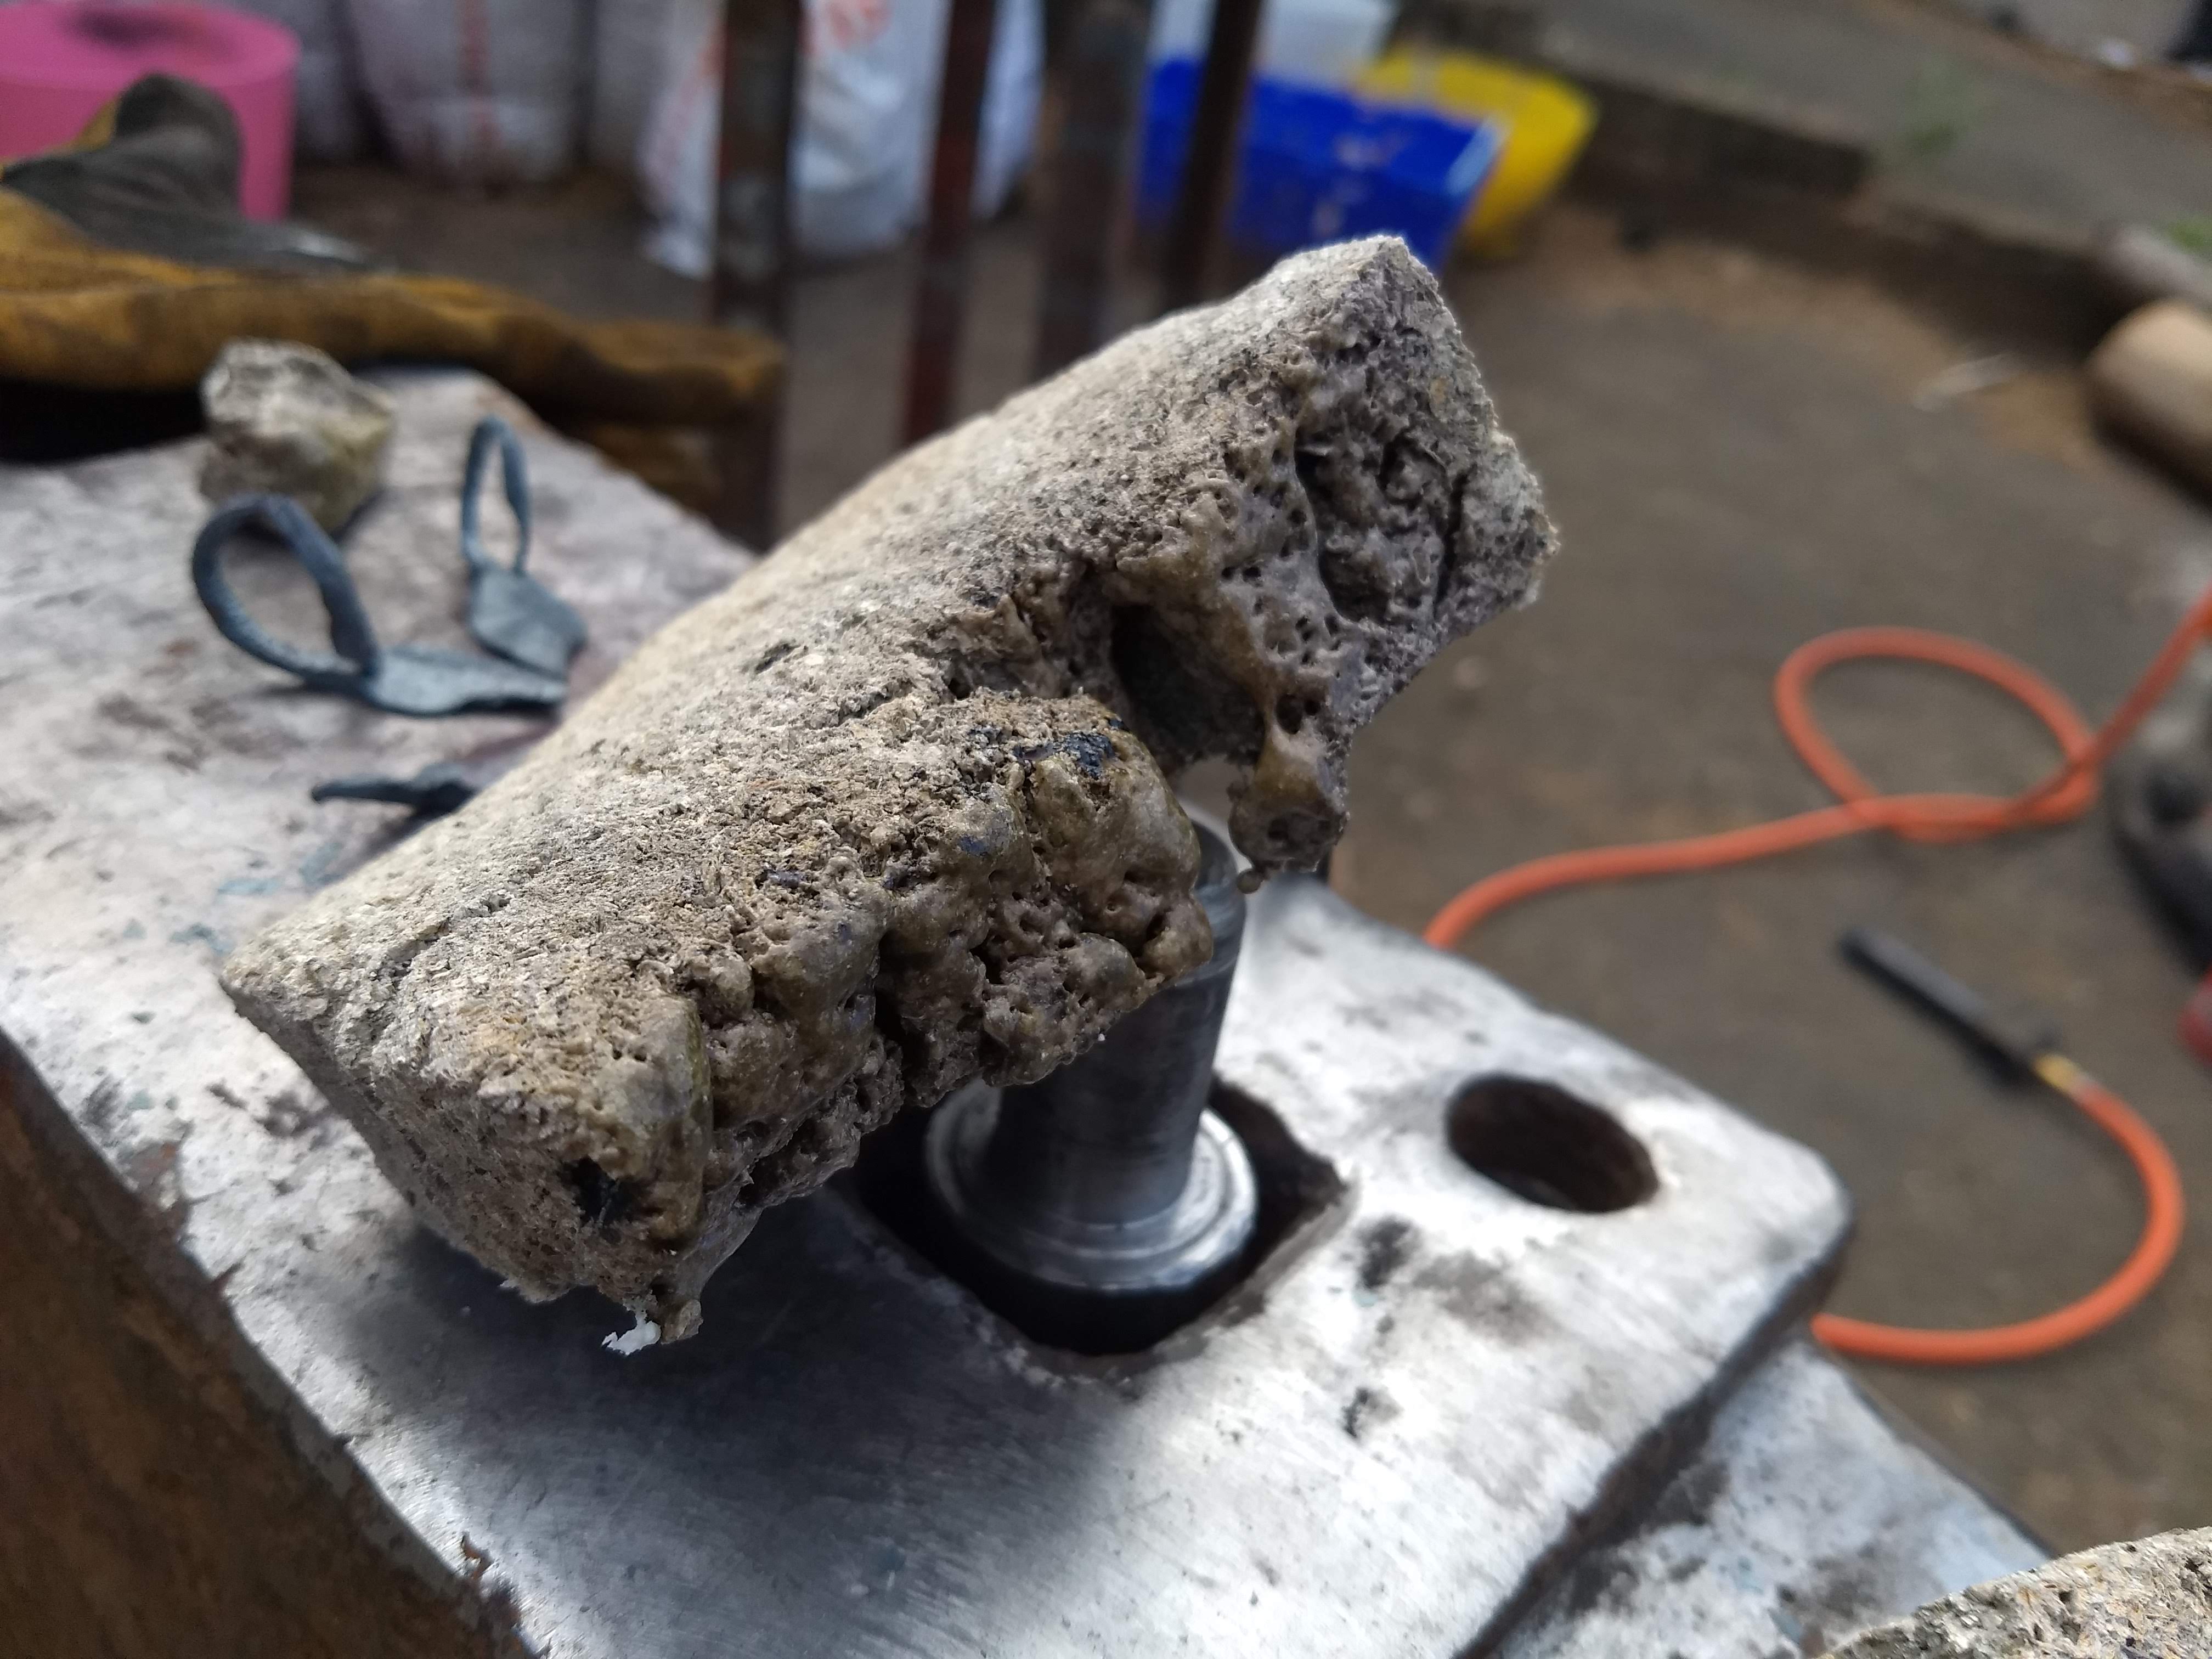
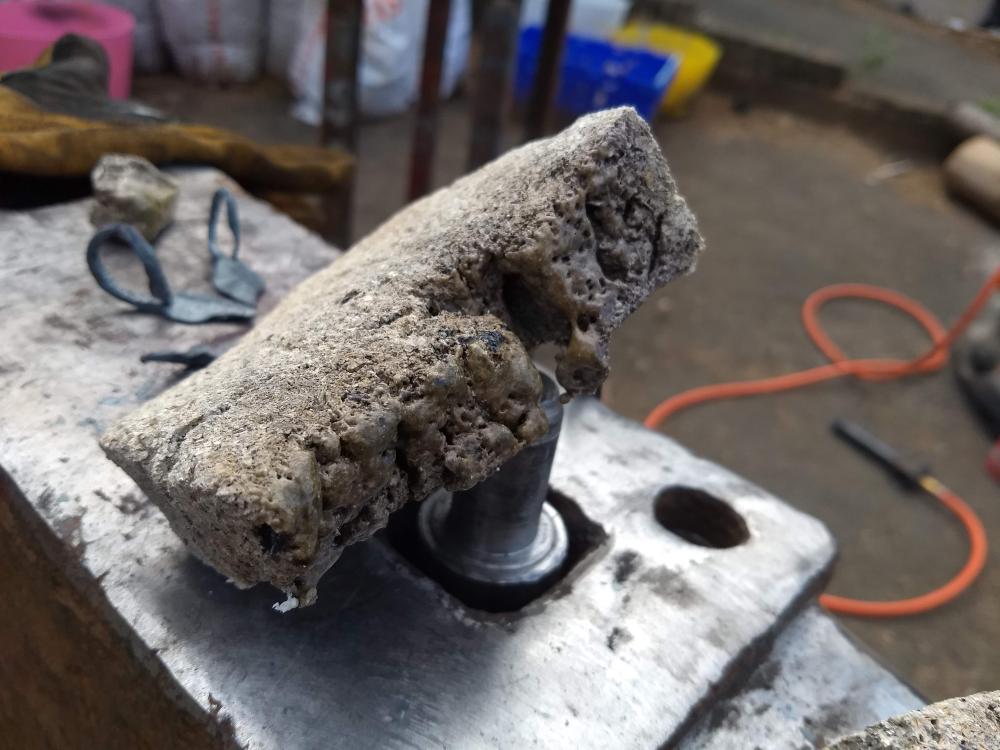
I can't find anyone selling matrikote in Britain. At this point I think I'm going to have to mix my own kiln wash. I'll call the Morgan distributor and see if they have a list of smaller retailers when they're open again next week. It looks like I was wrong about what happened to the fire bricks. I thought they were cracking from getting hit with tongs but the burner is actually melting them. I guess if it can turn refractory bricks to liquid it's burning hot enough.
-
There is a Morgan distributor in Merseyside but they don't take small orders and as far as I can find they're the only UK distributor for Morgan. I can easily get Vitcas bricks though and they should perform pretty much the same. Martikote isn't giving me any hits either. I did find another kiln manufacturer and ceramic supplies distributor to ask while I was looking though. There's something called Batt wash that's high alumina but it doesn't look like it fires hard. Apart from that it looks like people in this country mostly mix their own kiln washes.
-
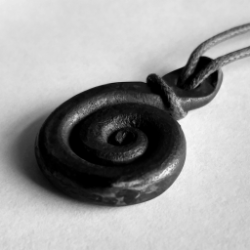
It's been working pretty well for me. On thin (~5mm) stock it will heat it up to pale yellow in 15 seconds if I remember to put a fire brick over the front. Just made that last night. The ends were supposed to be more fishtail looking but I was using an oversized cross peen hammer and I couldn't get a good angle with it. It turns out there's a box of old rusty hammer heads at this shop and one of them is ideal for what I needed so I'm fixing it up. I just need to sand, fit, and oil the new handle. The next project is tongs because none of the ones already here are very good. I need to make some big enough to hold a hammer head and then I want to turn another one of the old hammer heads into a hot cut hardy. That should be a good test of how this forge handles bigger chunks of metal. I've not been able to source any Morgan bricks in this country but I've found some that will do the job just as well. My sticking point is kiln wash. I've asked around a bunch of different ceramics suppliers and nobody can source Plistix and none of them know of any similar hard firing, high alumina kiln washes that you can get here.

-
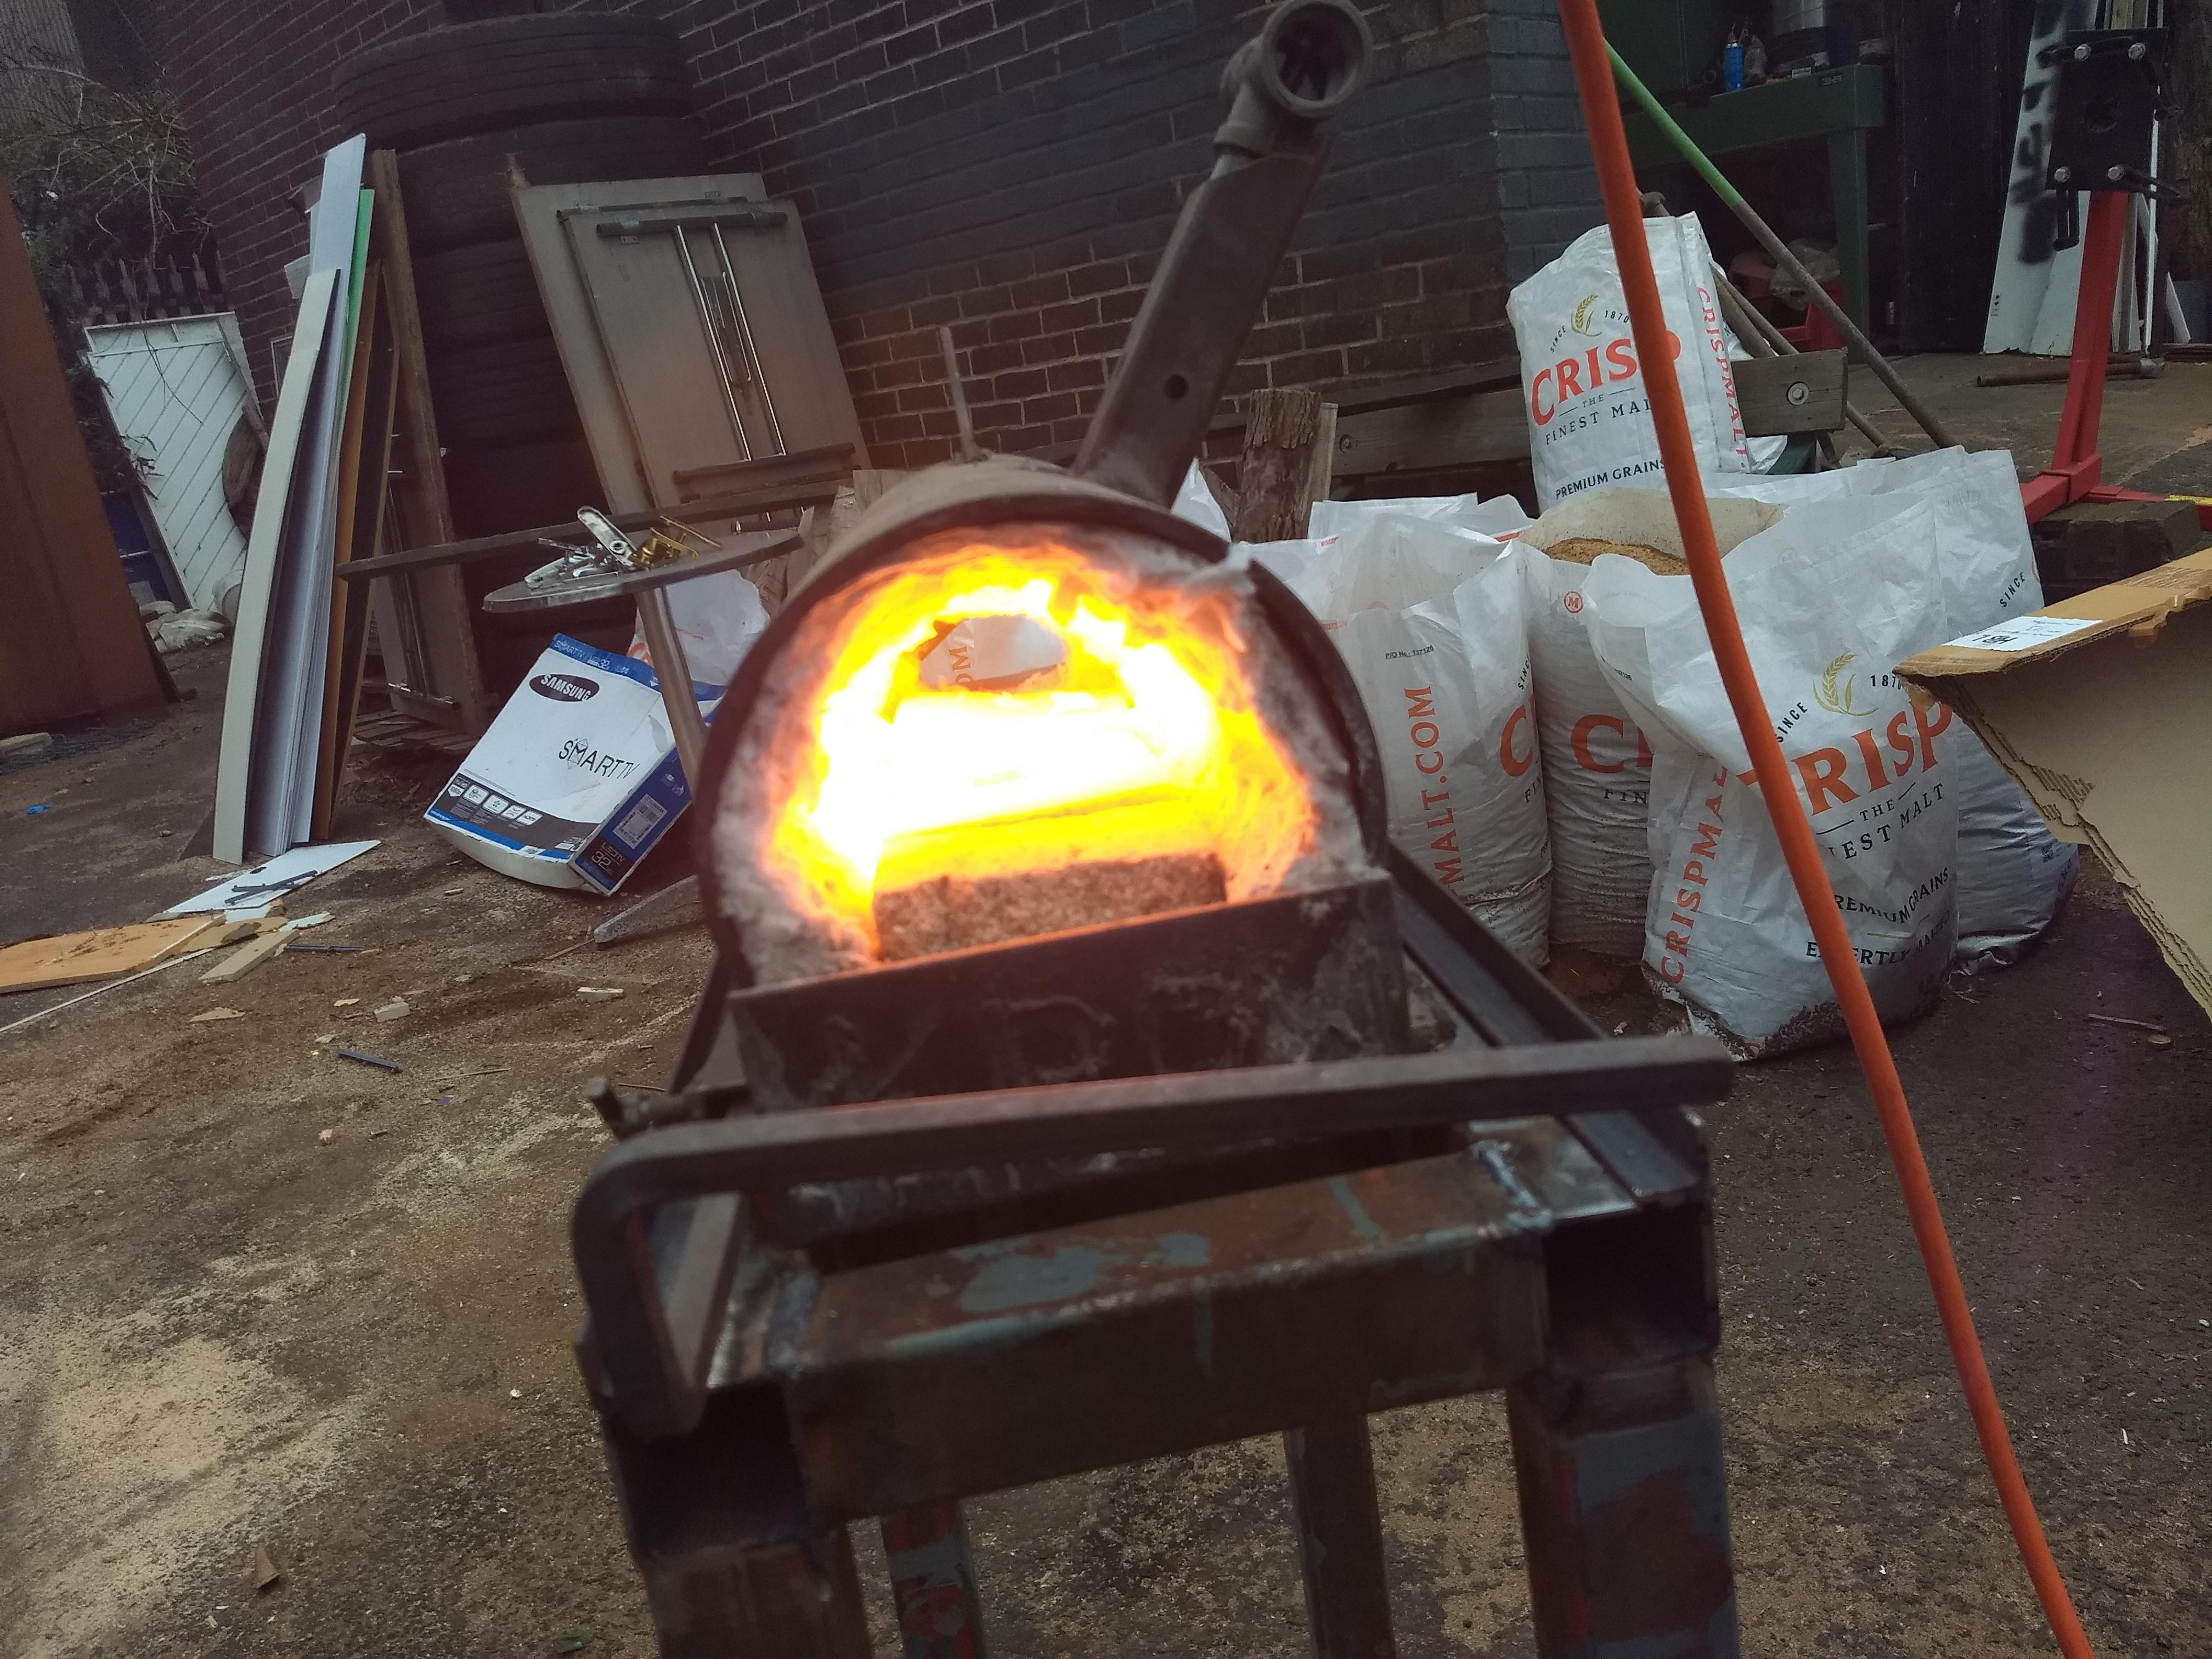
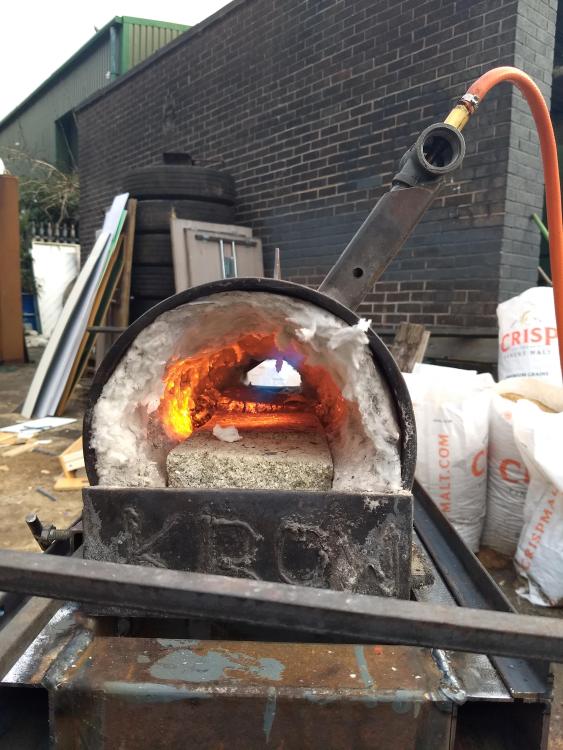
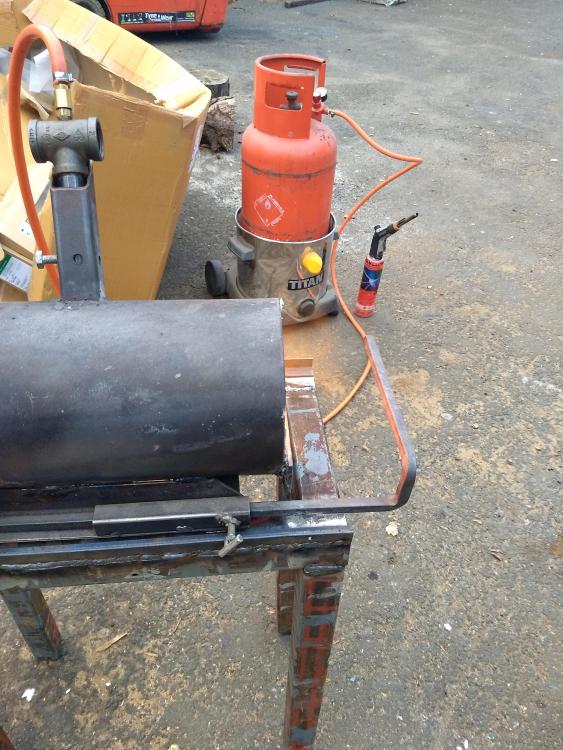
I finally got the forge fired up again and I got some photos in better lighting. There actually is some visible dragon's breath, I just couldn't see it in the bright sun. That's just after I lit it. Looks like a pretty good flame to me. Not exactly in focus but you can see how hot it's getting and there's still some blue flame visible in there. That's the dragon's breath. There's a similar amount coming out of the back vent. Fairly minimal and pale orange. That means it's running pretty well, right? I'd have some photos of it running in the dark but I stopped early because the soft fire brick floor of the forge started breaking to pieces from my tongs hitting it. I'll have to move redoing the insulation in there up the priority list.

-
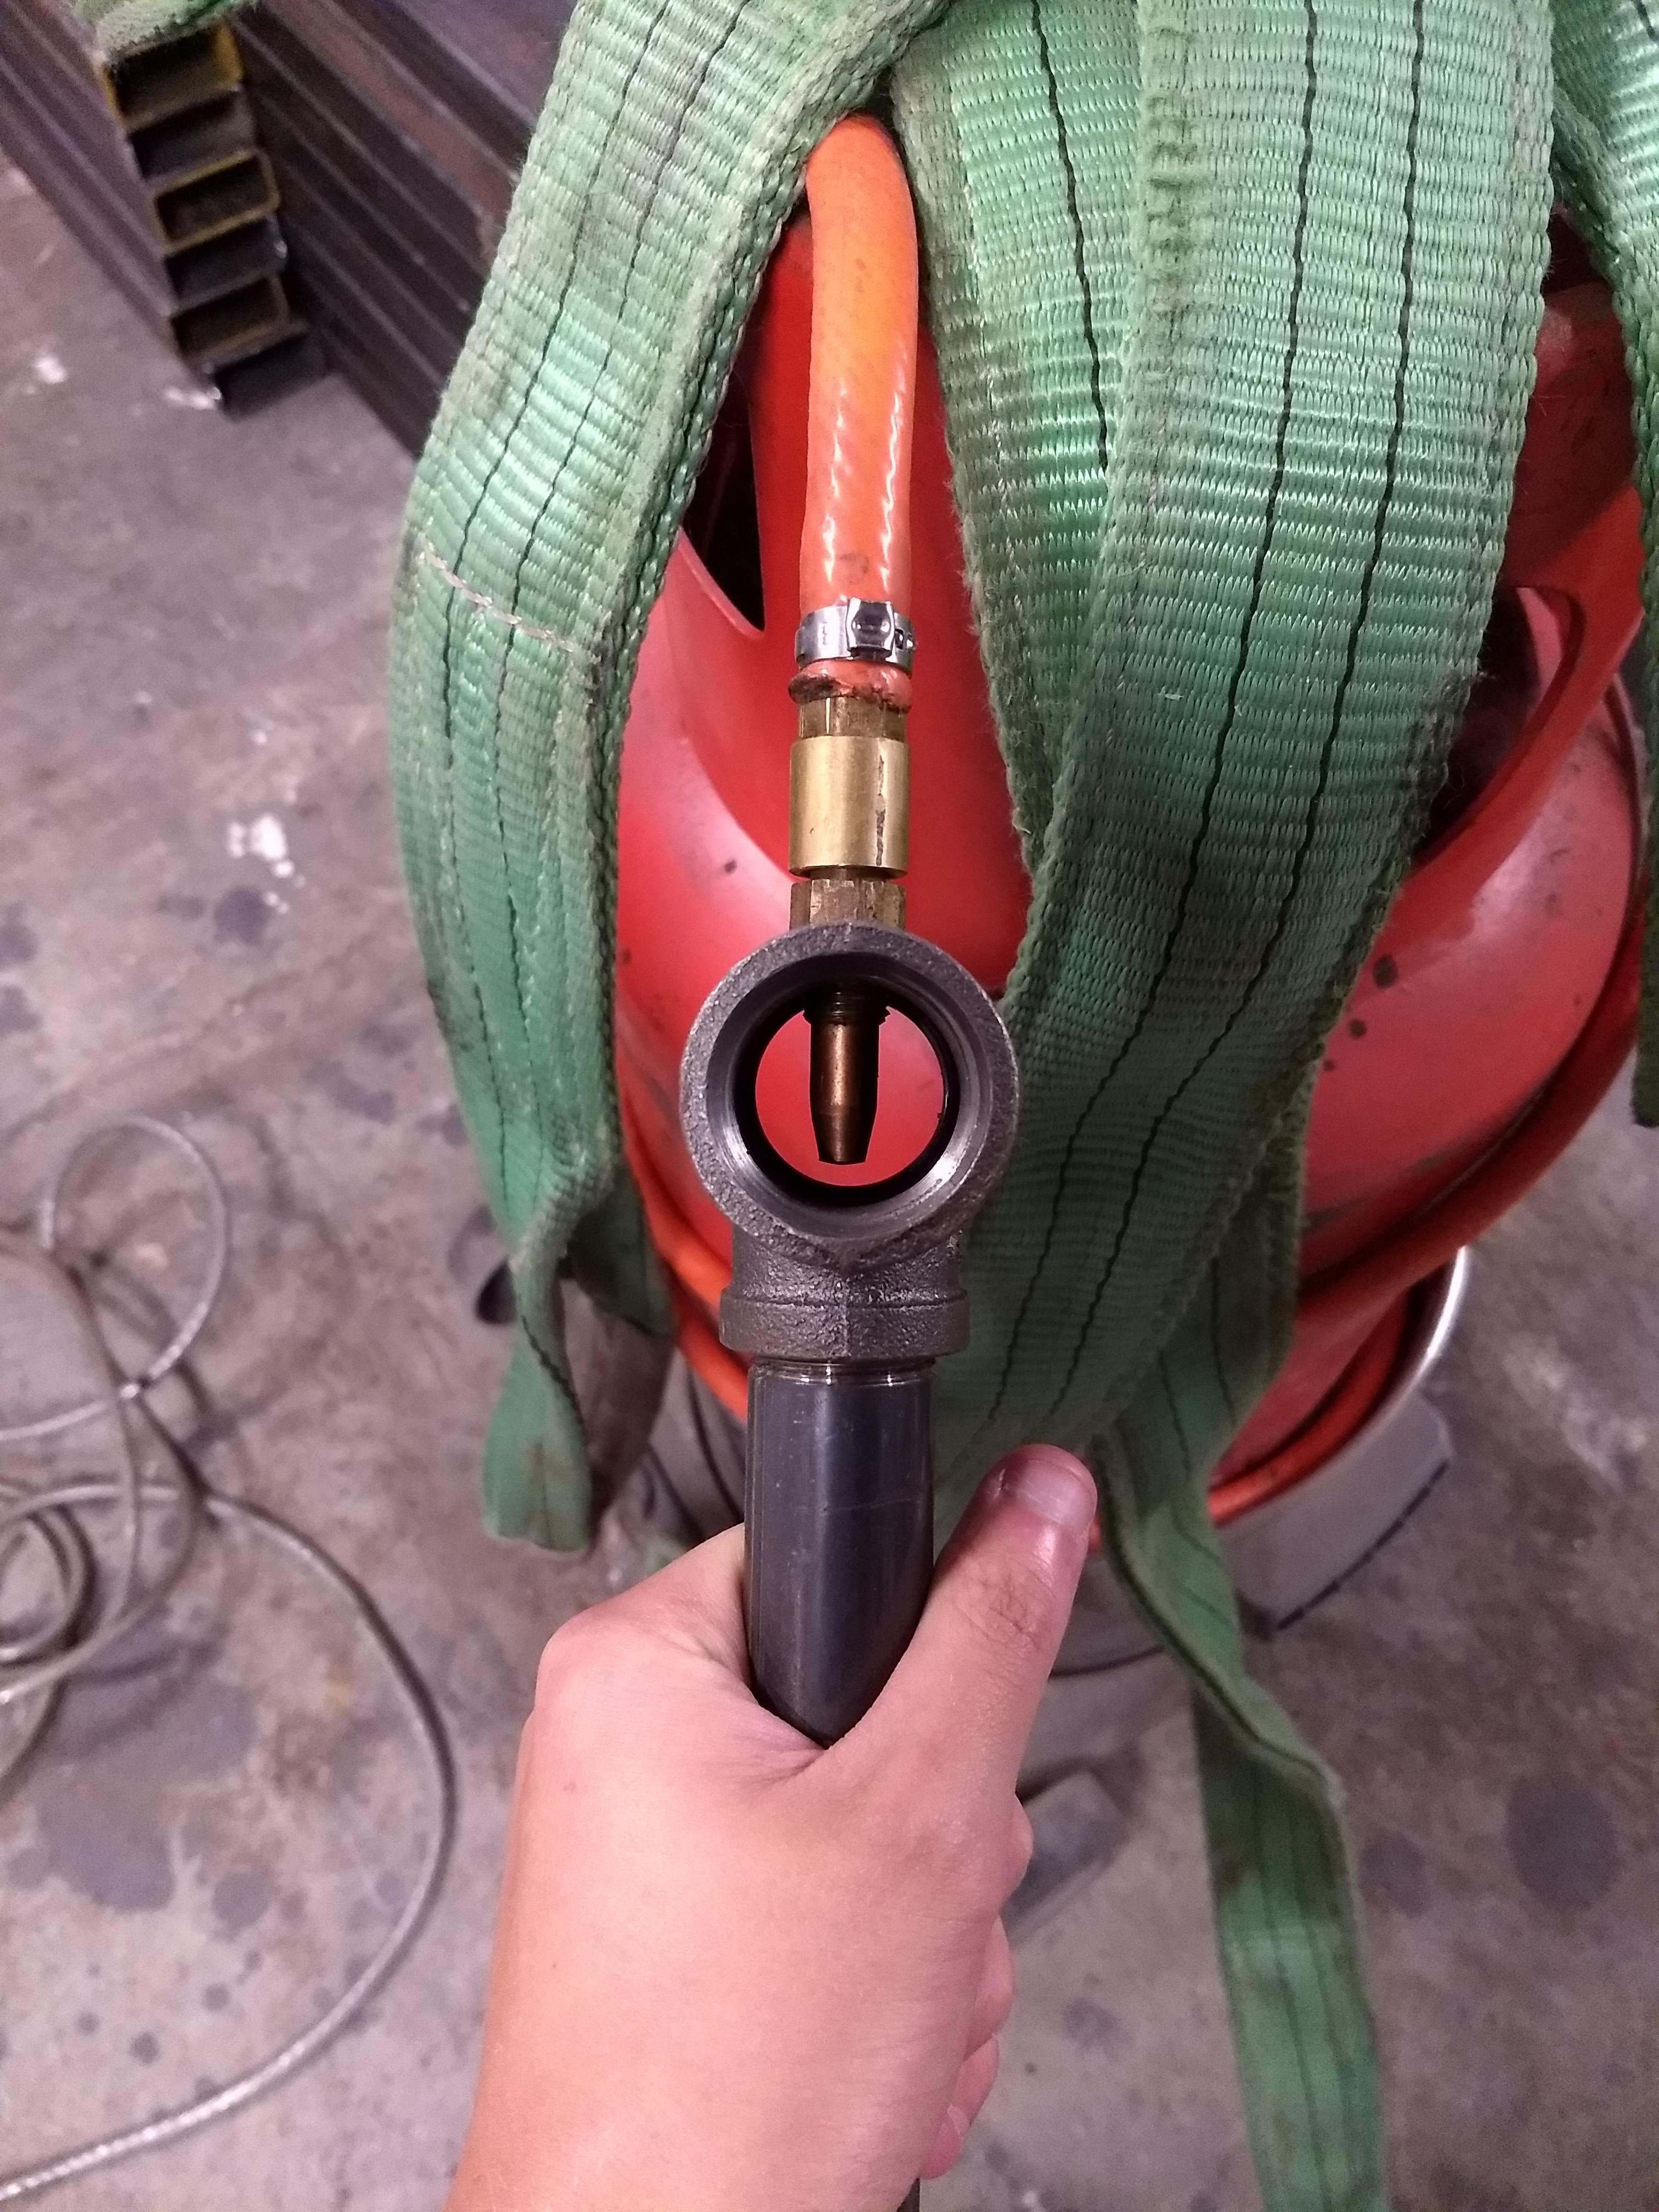
I didn't get a chance to fire up the forge last night but I did get a better photo of the jet gap. Next time I've got it running I'll try and get a better forge photo. It should be easy now that it's getting dark in the evenings again, I've just got a list of stuff that needs welding first. The jet gap looks like it's about 1/2D like the document says. It did seem to be burning pretty well. I had that problem working with BSP parts. I ended up using a cone seat union. They're mostly for pneumatics and fuel lines I think but they're widely available and the walls are thick enough that you've got plenty of material to drill and tap.