TRR1143
Members
-
Joined
-
Last visited
Everything posted by TRR1143
-
Cutting a hole would likely be the best solution practically, but it's also quite permanent. In the event that I don't bring this shed if we move, the new owner likely wouldn't see the use in it haha. At present I have a few concrete blocks leveled out underneath where the anvil sits and I have a wide deck jack bridging the gap. The improvement is actually quite decent, definitely better than I expected, but I'll be curious to see how it holds up to repeated abuse. It's fairly easy to access the underside to check though. If it ends up failing I'll probably end up using some cribbing.
-
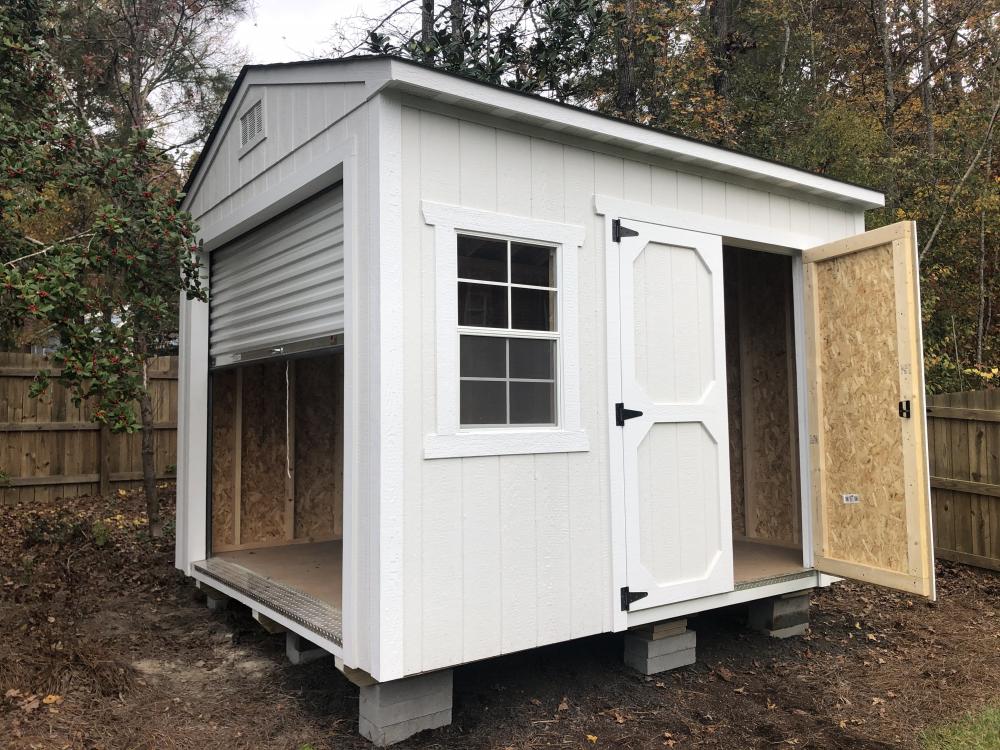
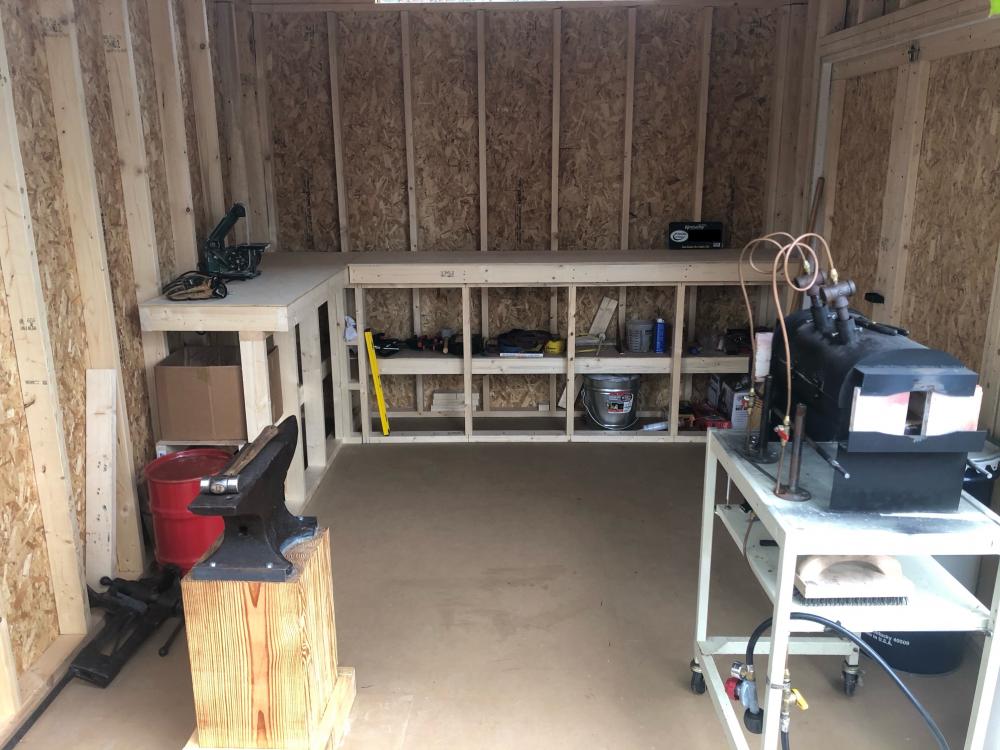
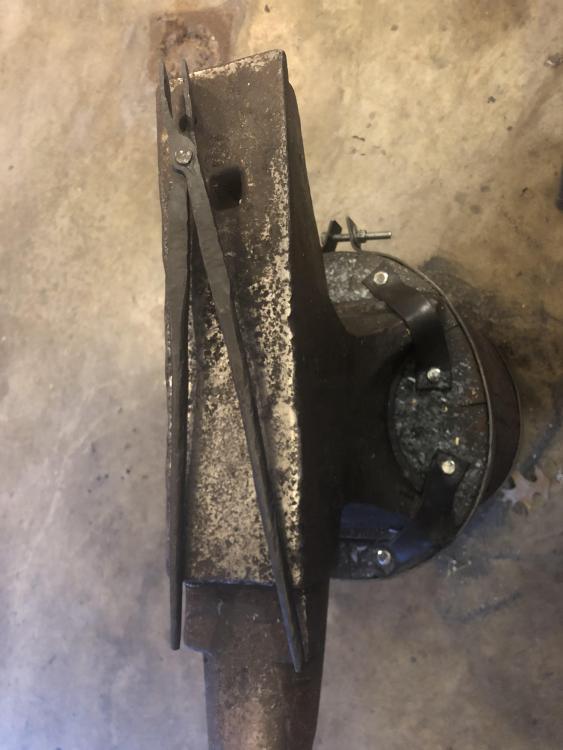
Hi everyone, I moved about a year ago for work and initially lived in an apartment without much room for forging. This past summer I finally was able to move into a house with enough room for a small shed shop to primarily use for forging. After working through HOA requirements I was able to get a 10x12 building (pre-built) to get started. I'm not so much concerned about that size of the space, I've worked previously in part of a garage that was that size or smaller. I just wanted to run my progress by some more experienced folks on here and seek some advice on a few topics that I am encountering during the shop set up. My chief concern, that was either an oversight or an overestimation of the shed stability, is its connection to the ground for forge work. The yard is somewhat sloped and the building was setup on blocks for leveling. I realize that a concrete slab would be a much better foundation than block piers but that option is currently unavailable due to cost and accessibility for now. Regardless I am looking for another solution to improve the connection to the ground under my anvil. Without any additions, setting the anvil stand up over one of the block piers supporting the runners offers the best support, but these are not located in great spots for working around the shop as you could imagine. I am curious as to other solutions that people might be able to think up. I'm currently tossing around the idea of using a wide deck jack (suitable for working on motorcycles, ATVs, etc.) under the location of my anvil to improve the connection. I'm not looking for it to support the load of the building, rather to help transmit force through the floor into the ground. The jack would be adjustable so it could get a "perfect" fit under the building, and I could still move it as I'm adjusting the locations of everything in the shop as I work more with it. Just my current thoughts. Additionally I was curious on methods for fire/sound proofing. The interior is of course wooden and I was considering armoring up the forging area with something to help with this. I'm honestly mostly concerned with dropping hot steel on the floor, but I might as well cover the walls in the area while I'm at it. I've seen mentions of cement board, sheet metal and more and was curious what people would recommend. I'm near Raleigh, NC for location purposes. The above picture is just for spacial reference. You can see that the area is roughly split in two for a forging space and then a recently built workbench area. The forge and anvil move around easy enough until I find out where I like them and there are plenty of openings for ventilation. I've also just installed my CO monitor and got a fire extinguisher brought in as well. I'm planning on building a support on the short leg of the work bench for the post vise in the future and will eventually run power over for lights and outlets. I just wanted to share my progress so far and get some advice on a few issues coming up, as well as any other suggestions for improvements, setup, etc in the future. Thanks for looking!
-
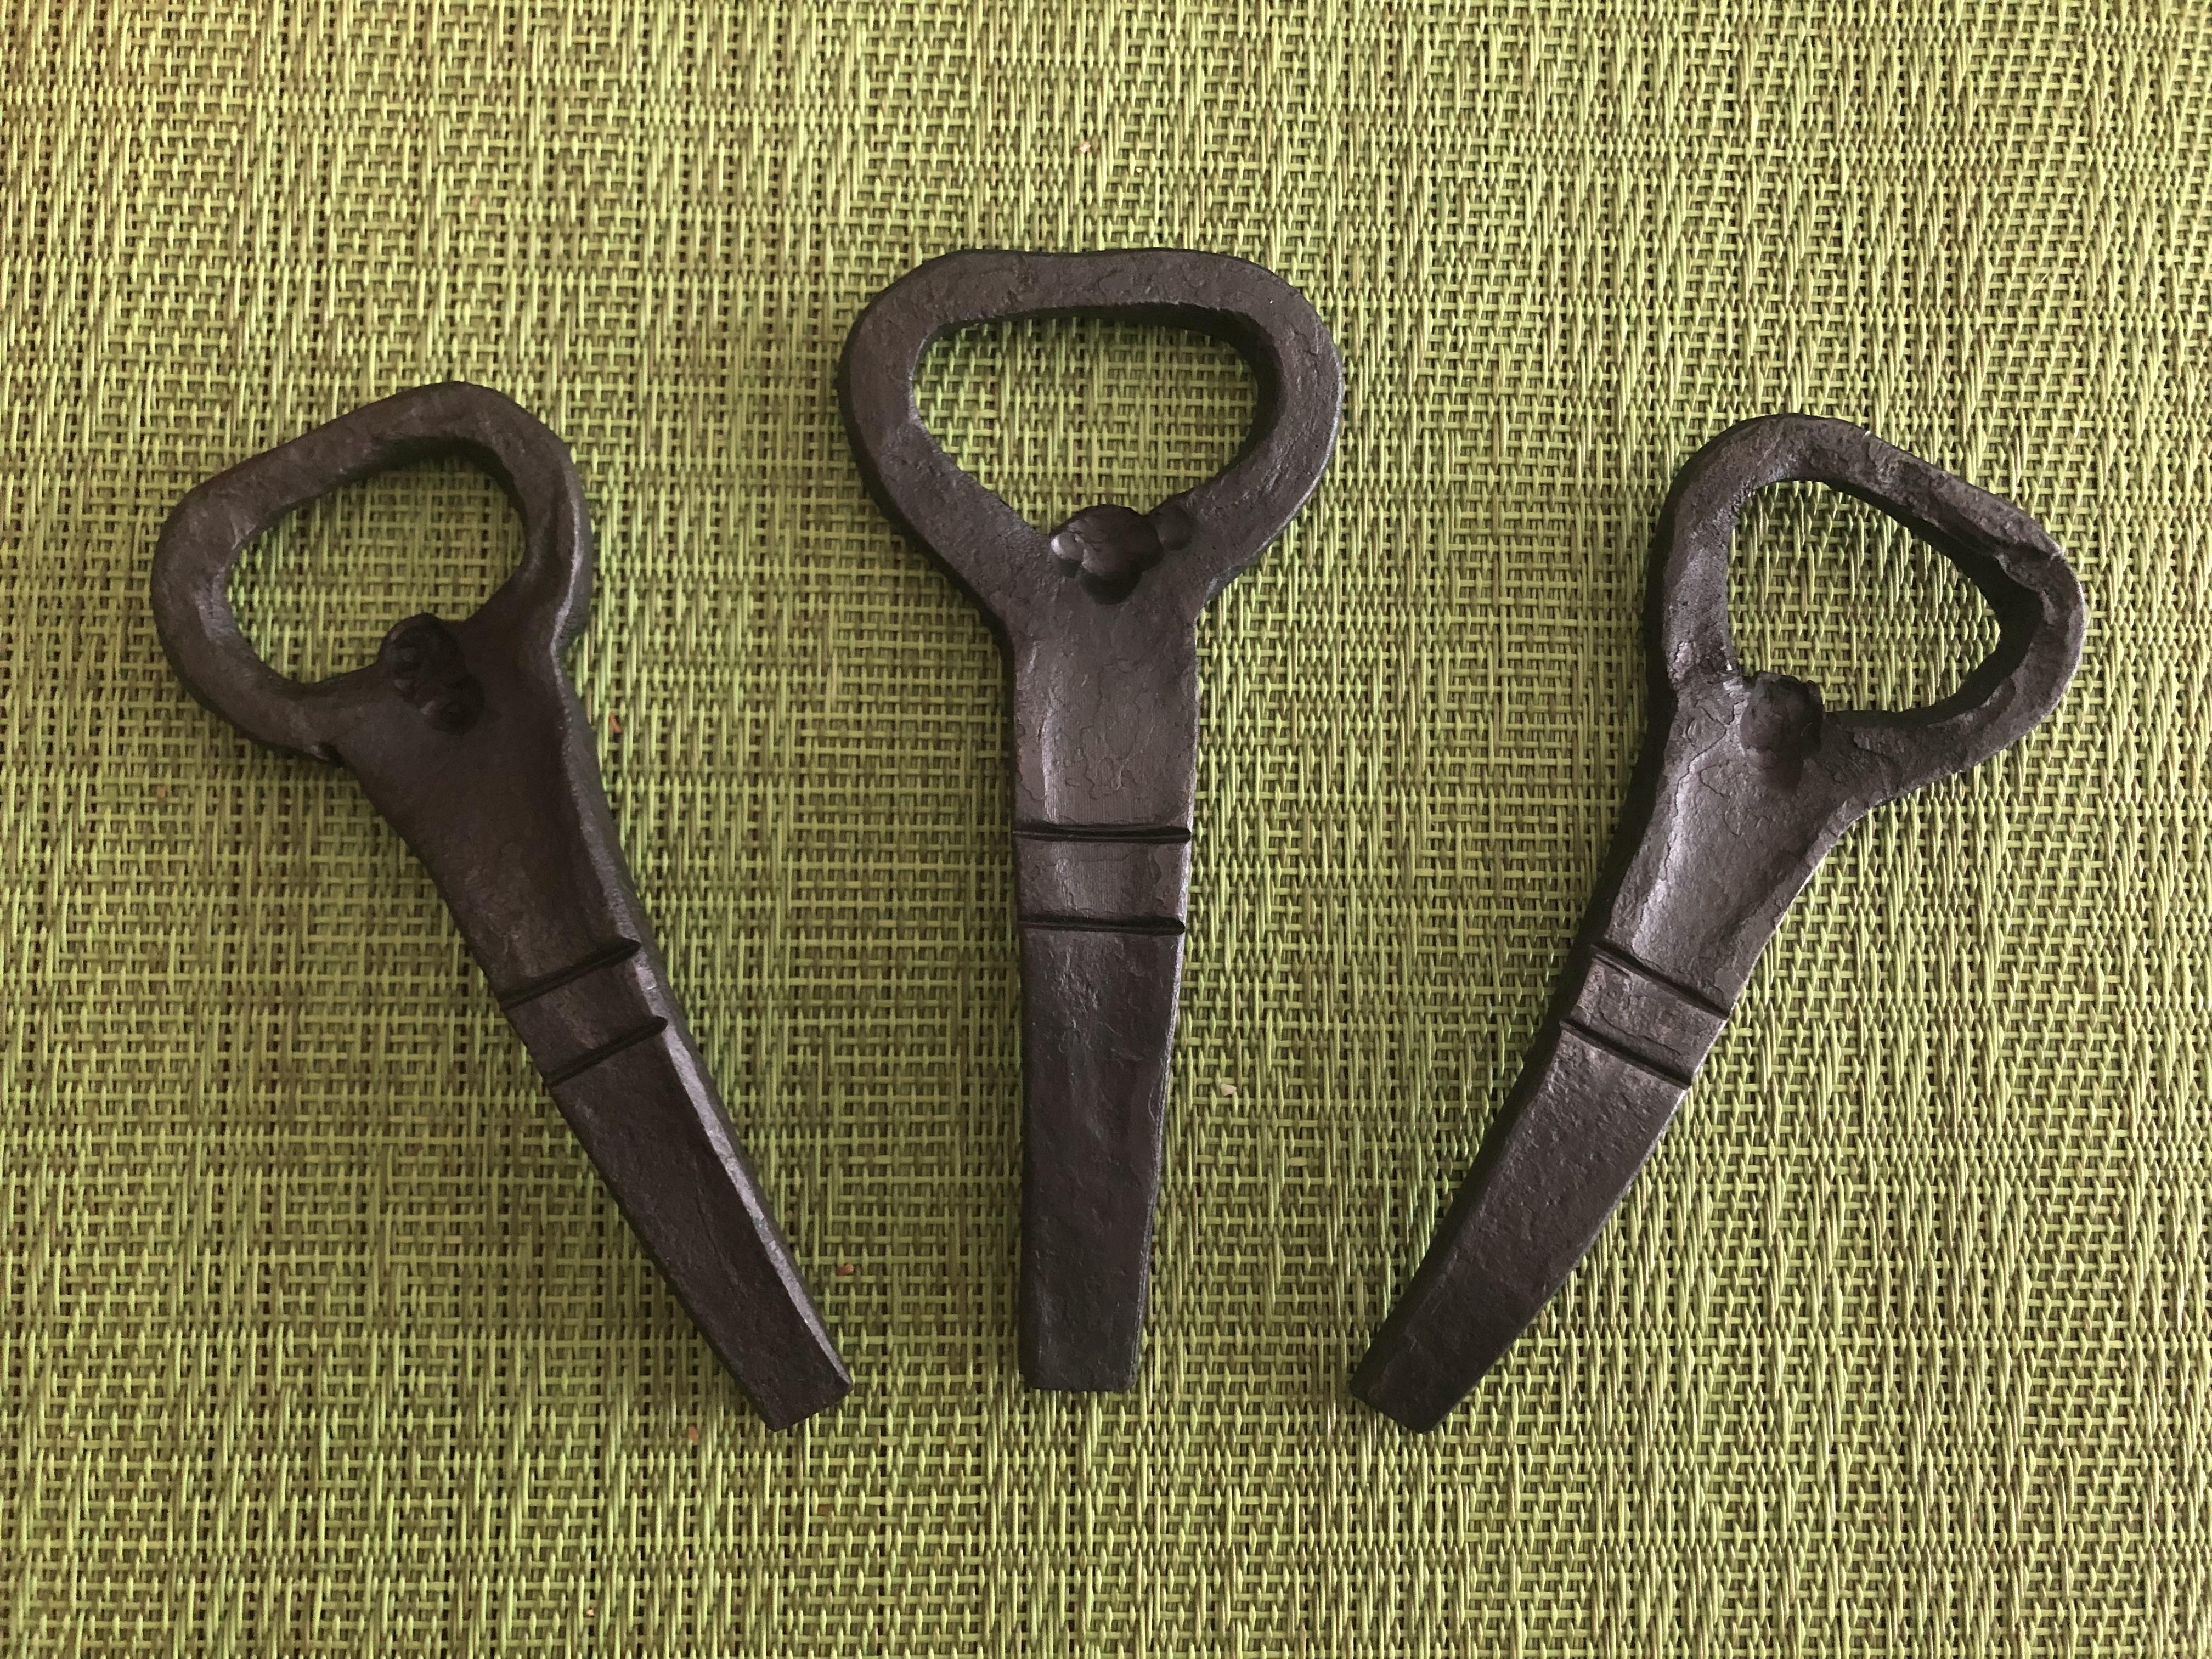
Made my first set of bottle openers yesterday. Fairly simple, but they work. Made the punches last week, they get the job done.

-
Finished a set of Poz Tongs today for 3/8" stock, derived from the instruction from Black Bear Forge. I really like the style and they turned out decent enough. I'll make another set sized for 1/4" soon.
-
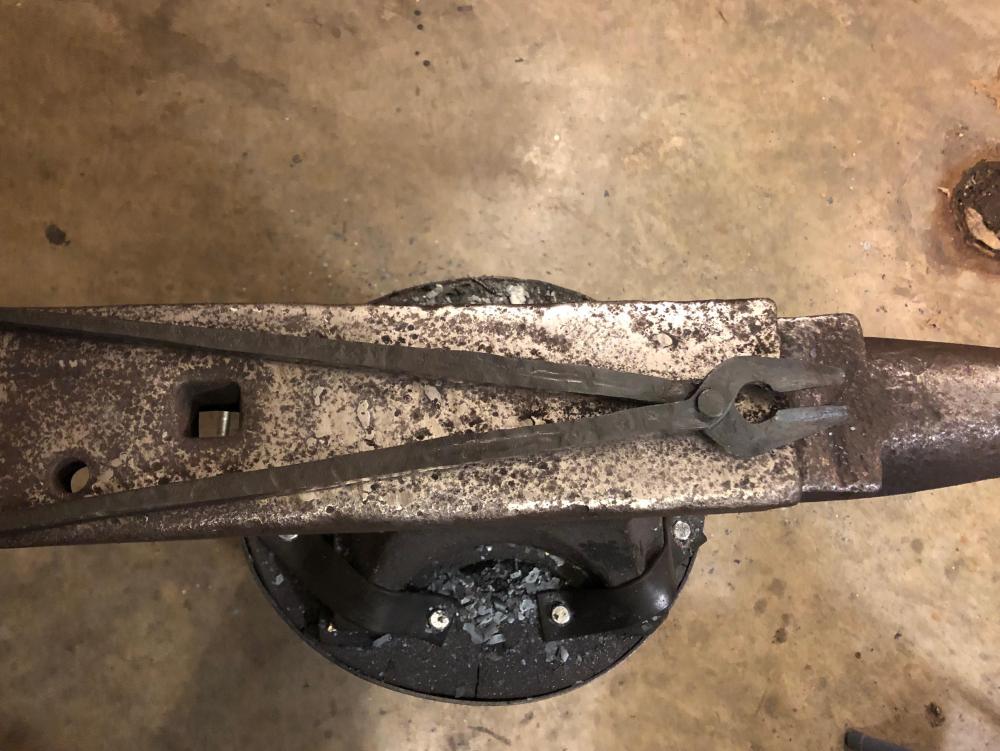
Finished my first set of tongs today, flat jaw tongs following the demo by Black Bear Forge starting with 5/8" square stock, I found a large nail laying around and used the head for the rivet. They're pretty rough but they'll hold things, learned a lot from the process too.
-
Welcome to IForgeIron Nathan, you may want to add your location so people have a general idea of where you are located. I'll go ahead and share the prevailing initial advice for this forum, go ahead and read some more through the Forges and Burners 101 threads on here. There are a great list of instructions and recommendations on how to build a great forge. Many other more experienced members on here are also usually more than happy to help, they gave me great advice and help on my own build. You'll tend to find that 2x 1" thick layers of a kaowool material, ridigized is the go to first layer, followed by ~1/2" of a castable refractory like Kast-O-Lite 30 and a coating of Metrikote or Plistix works great, curing the materials before adding the next layer, working your way towards the inside with these layers to be clear. Fire bricks are durable but will take much more fuel to heat and hurt efficiency in the long run. They usually aren't the best choice if you desire welding heat and expect to use flux. High alumina kiln shelf is what I use for my floor and I love it. Burners are another topic all together but these forums have great experts to help with those. Keep in mind that the number and size of burners is heavily related to the volume you are trying to heat. 350 cubic inches for a well tuned 3/4" burner is a good rule to start with. Take an evening or two and get to reading, you'll end up building something great.
-
The cast nozzles were made using 3D printed forms that mimic the 1:12 taper spec that seem to be the standard. The taper starts approximately 1/2” into the lining measured from the shell. Once up to temperature the forge is only running around 8-10 psi. I’ve tried cranking up the pressure some but it doesn’t do much besides speed up the sputtering sound.
-
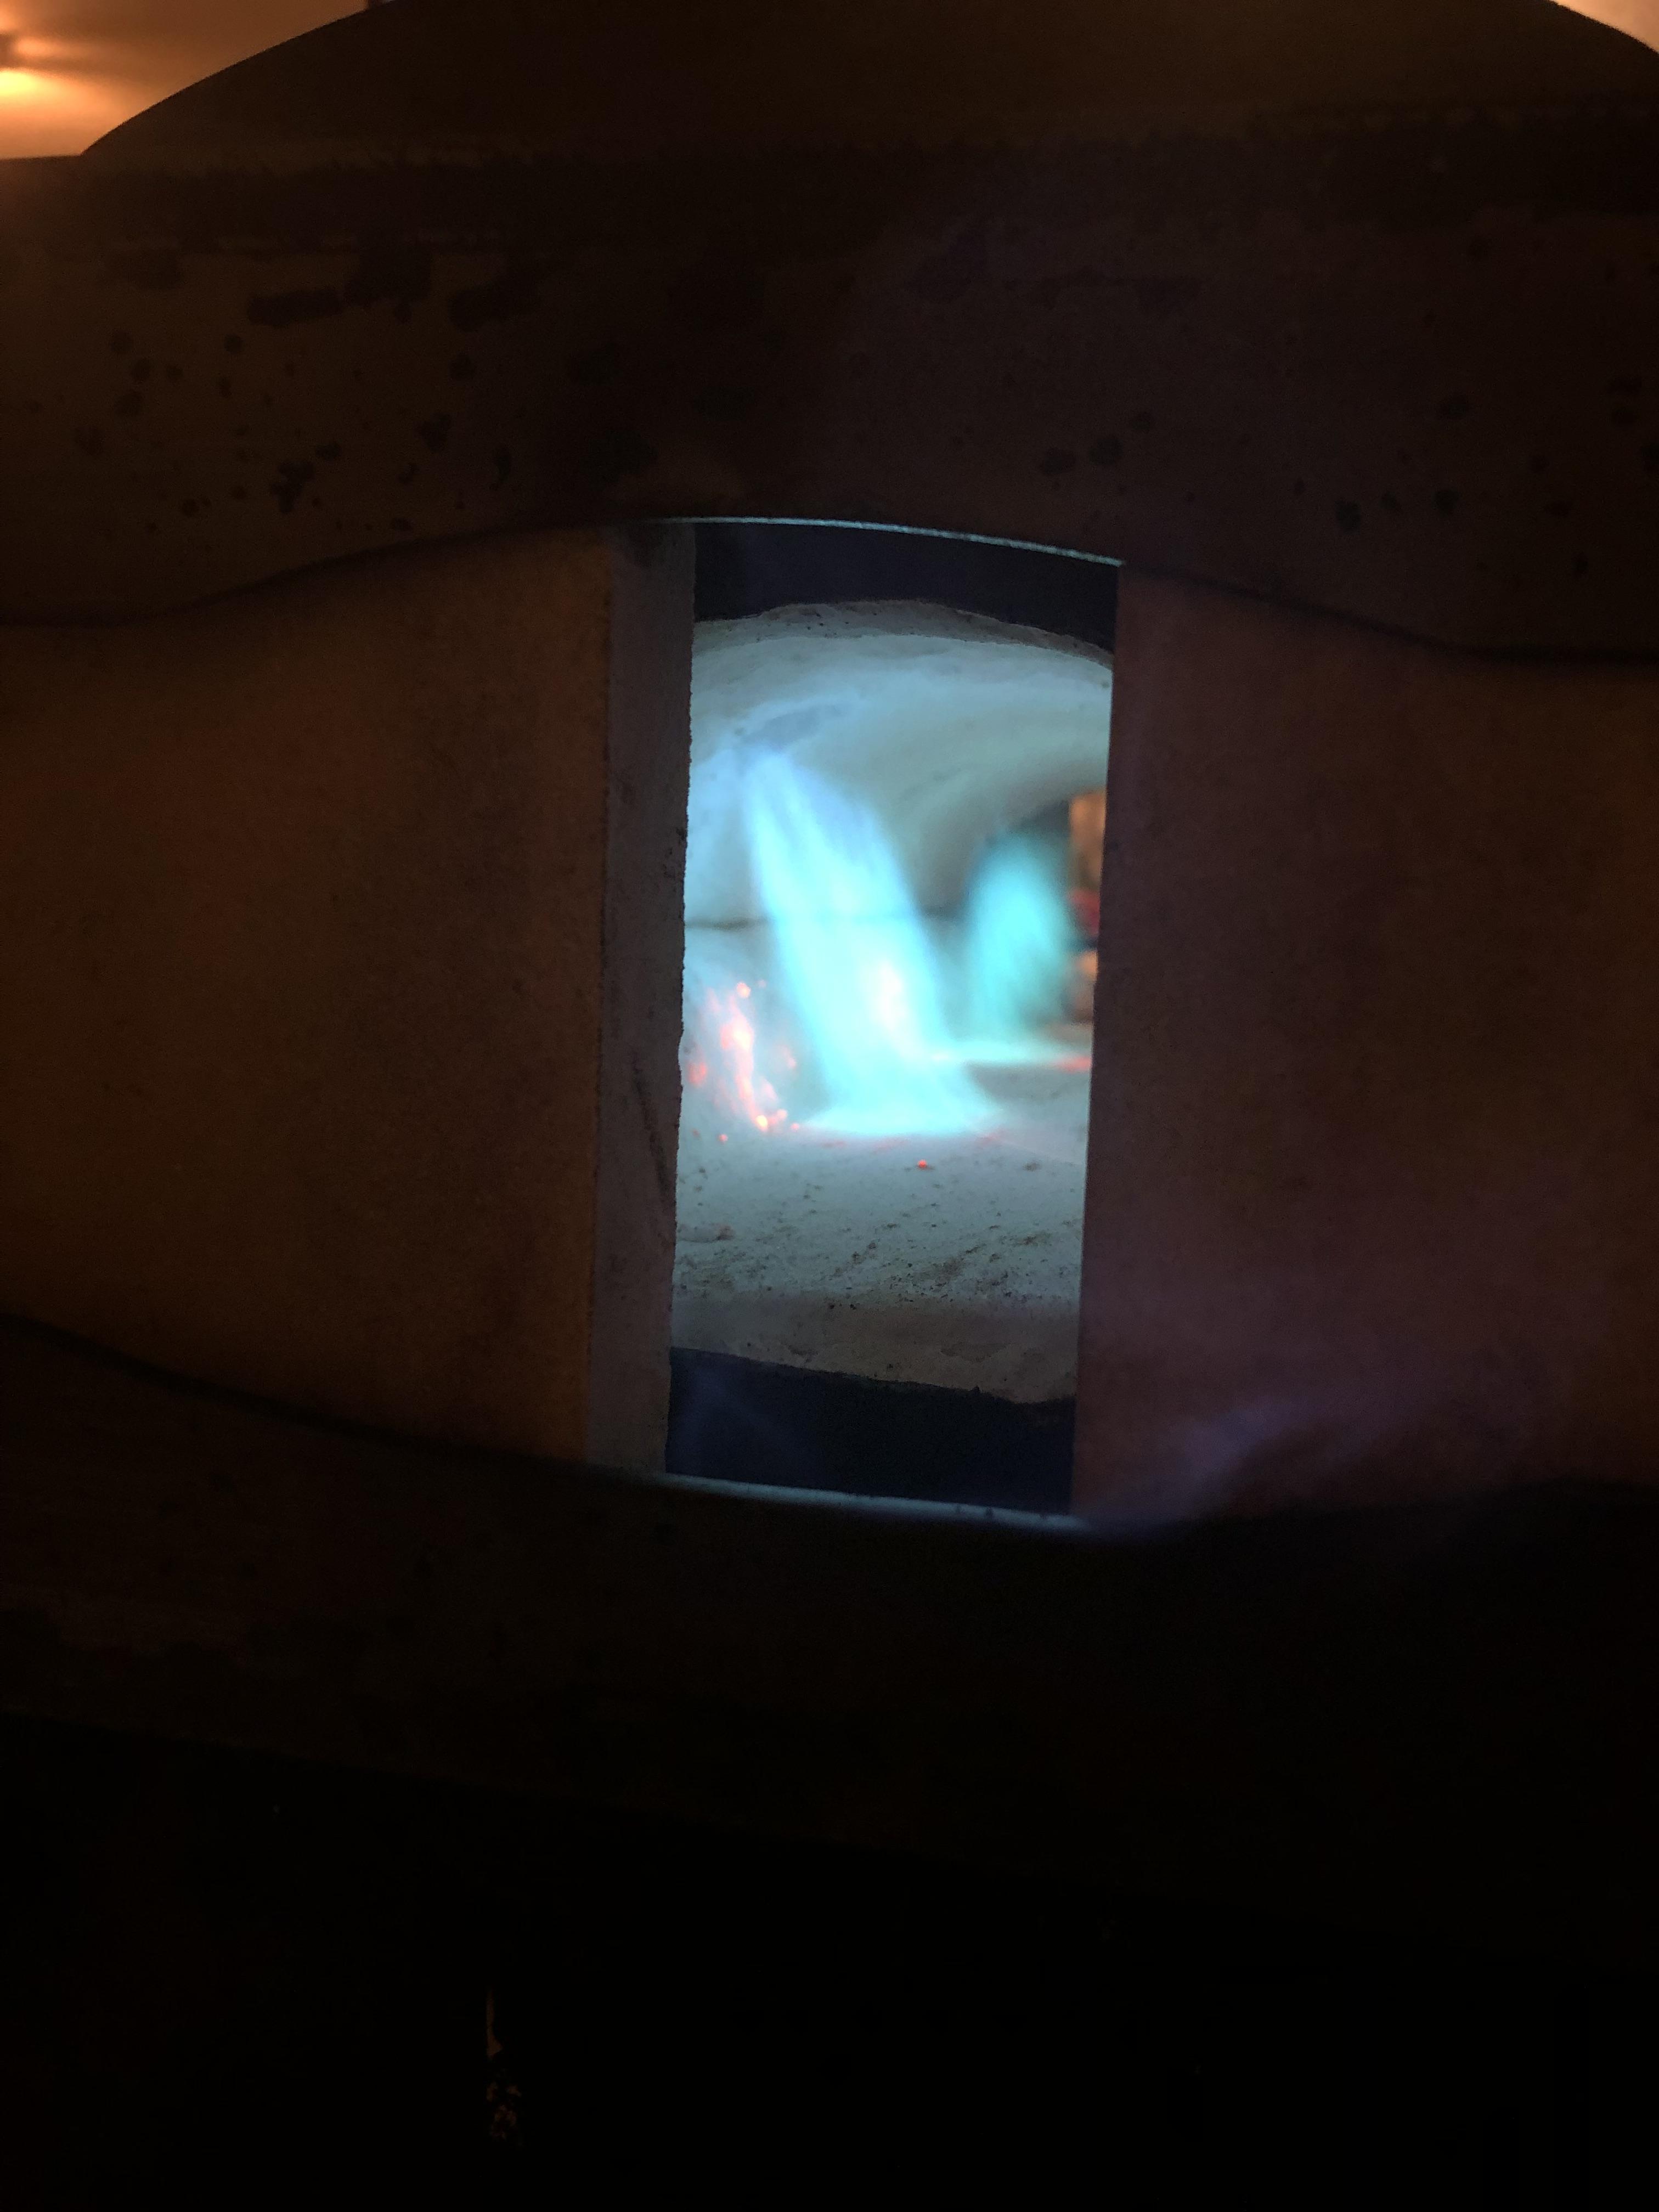
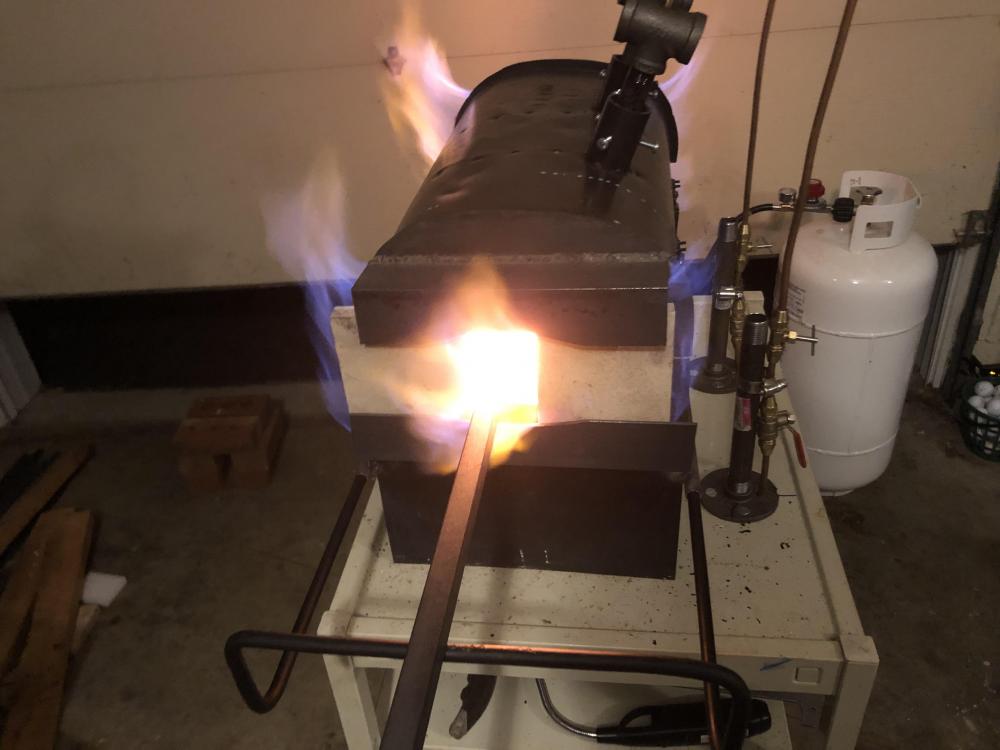
Cleaned out the tips this morning and the forge worked fine again. Tested the temperature with a small piece of copper, which melted readily when the forge was up to temperature. Copper melts around 1980-1990 F or so, so I’d guess I’m north of 2000F somewhat. Pleased with that. I was then working on a set of tongs and that front burner started sputtering rapidly again. I’ll clean the tip out again, maybe some tape from a fitting is coming through but I can’t help but wonder if it’s due to the heat or something. I also noticed that the top door tracks were glowing a dull red on either side when I shut the forge off. Maybe unrelated but I figured I’d share anyway. Overall the build has improved a lot, thanks to everyone helping me out on here. Thanks a ton to Mikey, Frosty, and Irondragon for all of the help and tips during the process. There’s a great community here.
-
And by "heat issue" I mean for the burner components, sorry.
-
After trimming more tips for these burners they're pretty close to even with each other, but the front burner is still running hotter. A new tip on the back burner took care of the excessive "richness" that it was showing. The flames themselves also look fairly similar. I decided to run the forge up to temperature and stick some steel in there to see how it performs, and, given that I was under more optimal lighting, I might dare to say that it's looking rather yellow to me, although I kind of want to order a thermocouple or something to measure the temperature so I know for sure. The dragon's breath is mostly blue with some orange in there, but it would change to green every now and again, probably due to some copper that wound up in the chamber from fiddling with the copper tubing and sanding down mig tips all day. The forge worked wonderfully for an hour or so and then both burners began suffering at almost the same time. I heard the change first and then small pops/poofs at the tip itself would happen occasionally and the burners began sputtering rapidly, even with the doors wide open. I shut it down right after. During the cool down I flipped them back on and they would only sputter the same way. I'll check/clean them out for debris tomorrow, but I'm curious if this could be a heat issue as well? Let me know what you guys think, thanks!
-
Bending the tip didn't seem to do much, and I went ahead and replaced the tip on the back burner, as filing it down some more didn't do much. I was too aggressive with the tip file. I went ahead and made another pair of T's, making sure that they line up with the mixing tube. I'll swap those out and see how it goes.
-
I guess I'll find some more T fittings and try and do a better job at centering up that hole for the MIG tip just right. And by "lifting off" you mean how the flame tends to wander from the flare opening, which looks to be a problem with both burners, correct?
-
I run tip cleaners through them pretty thoroughly after I sand each little bit down, I saw what you meant and ran the cleaner through again. Shaped up a bit better.
-
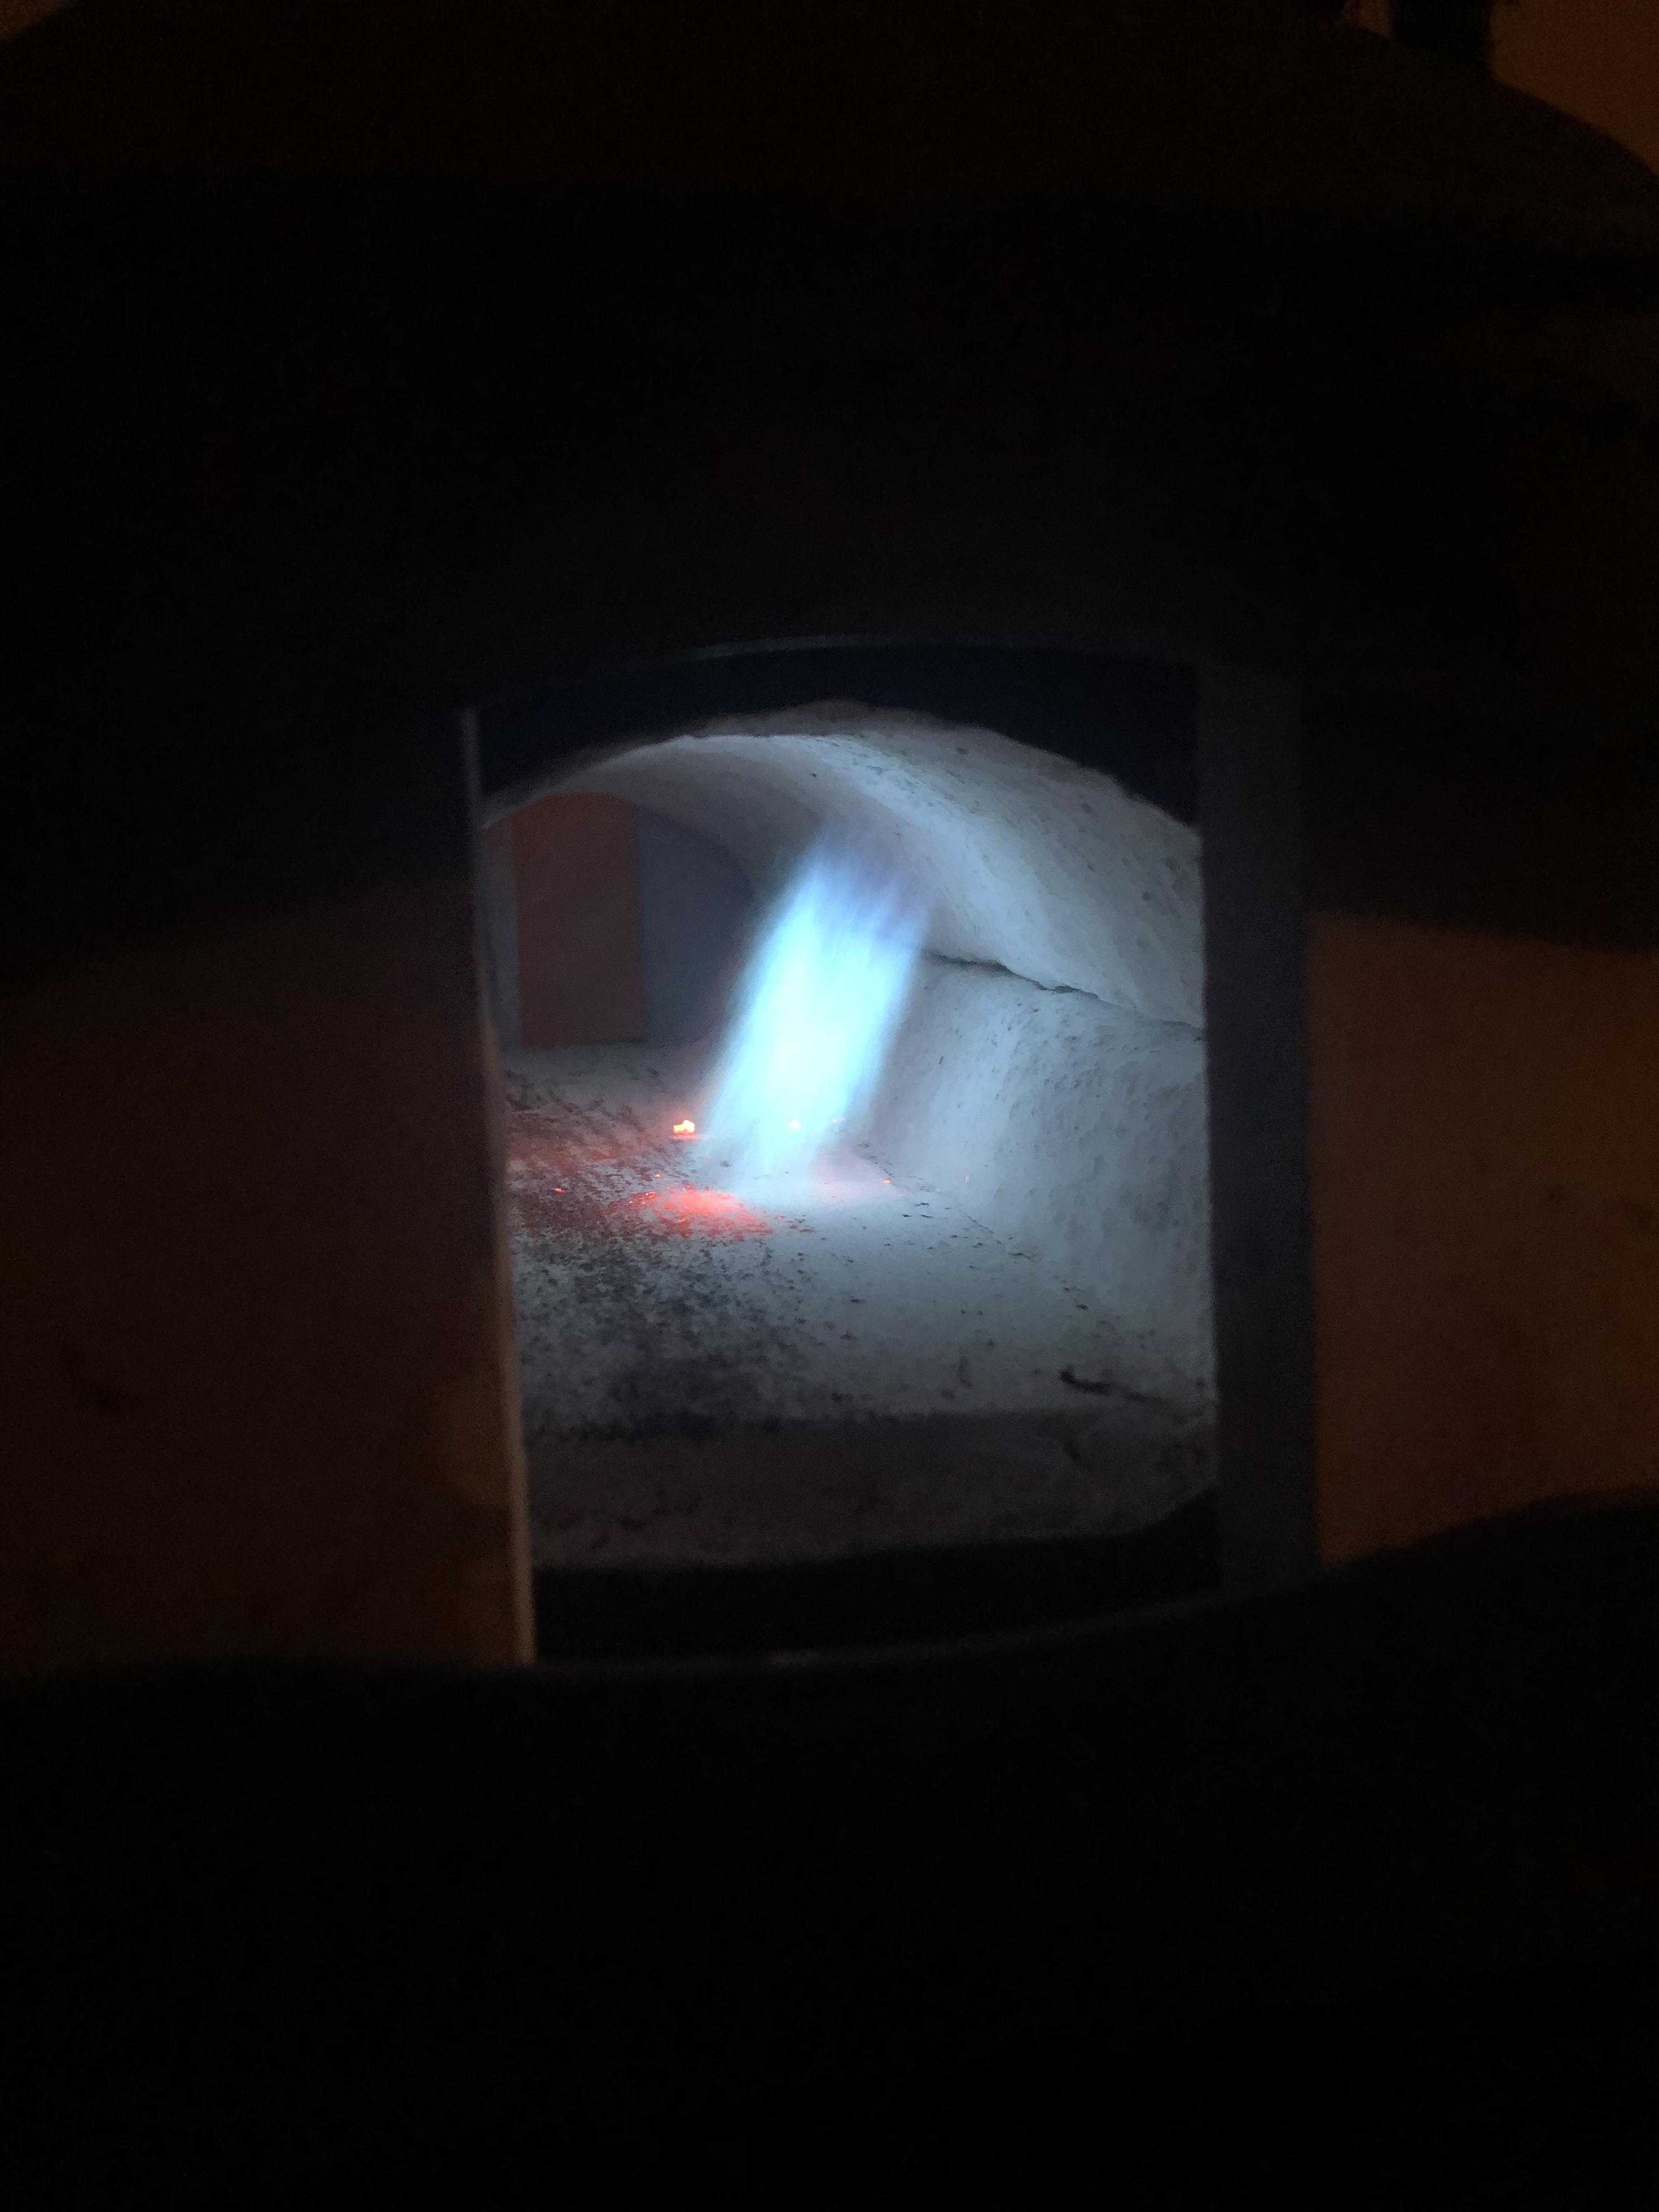
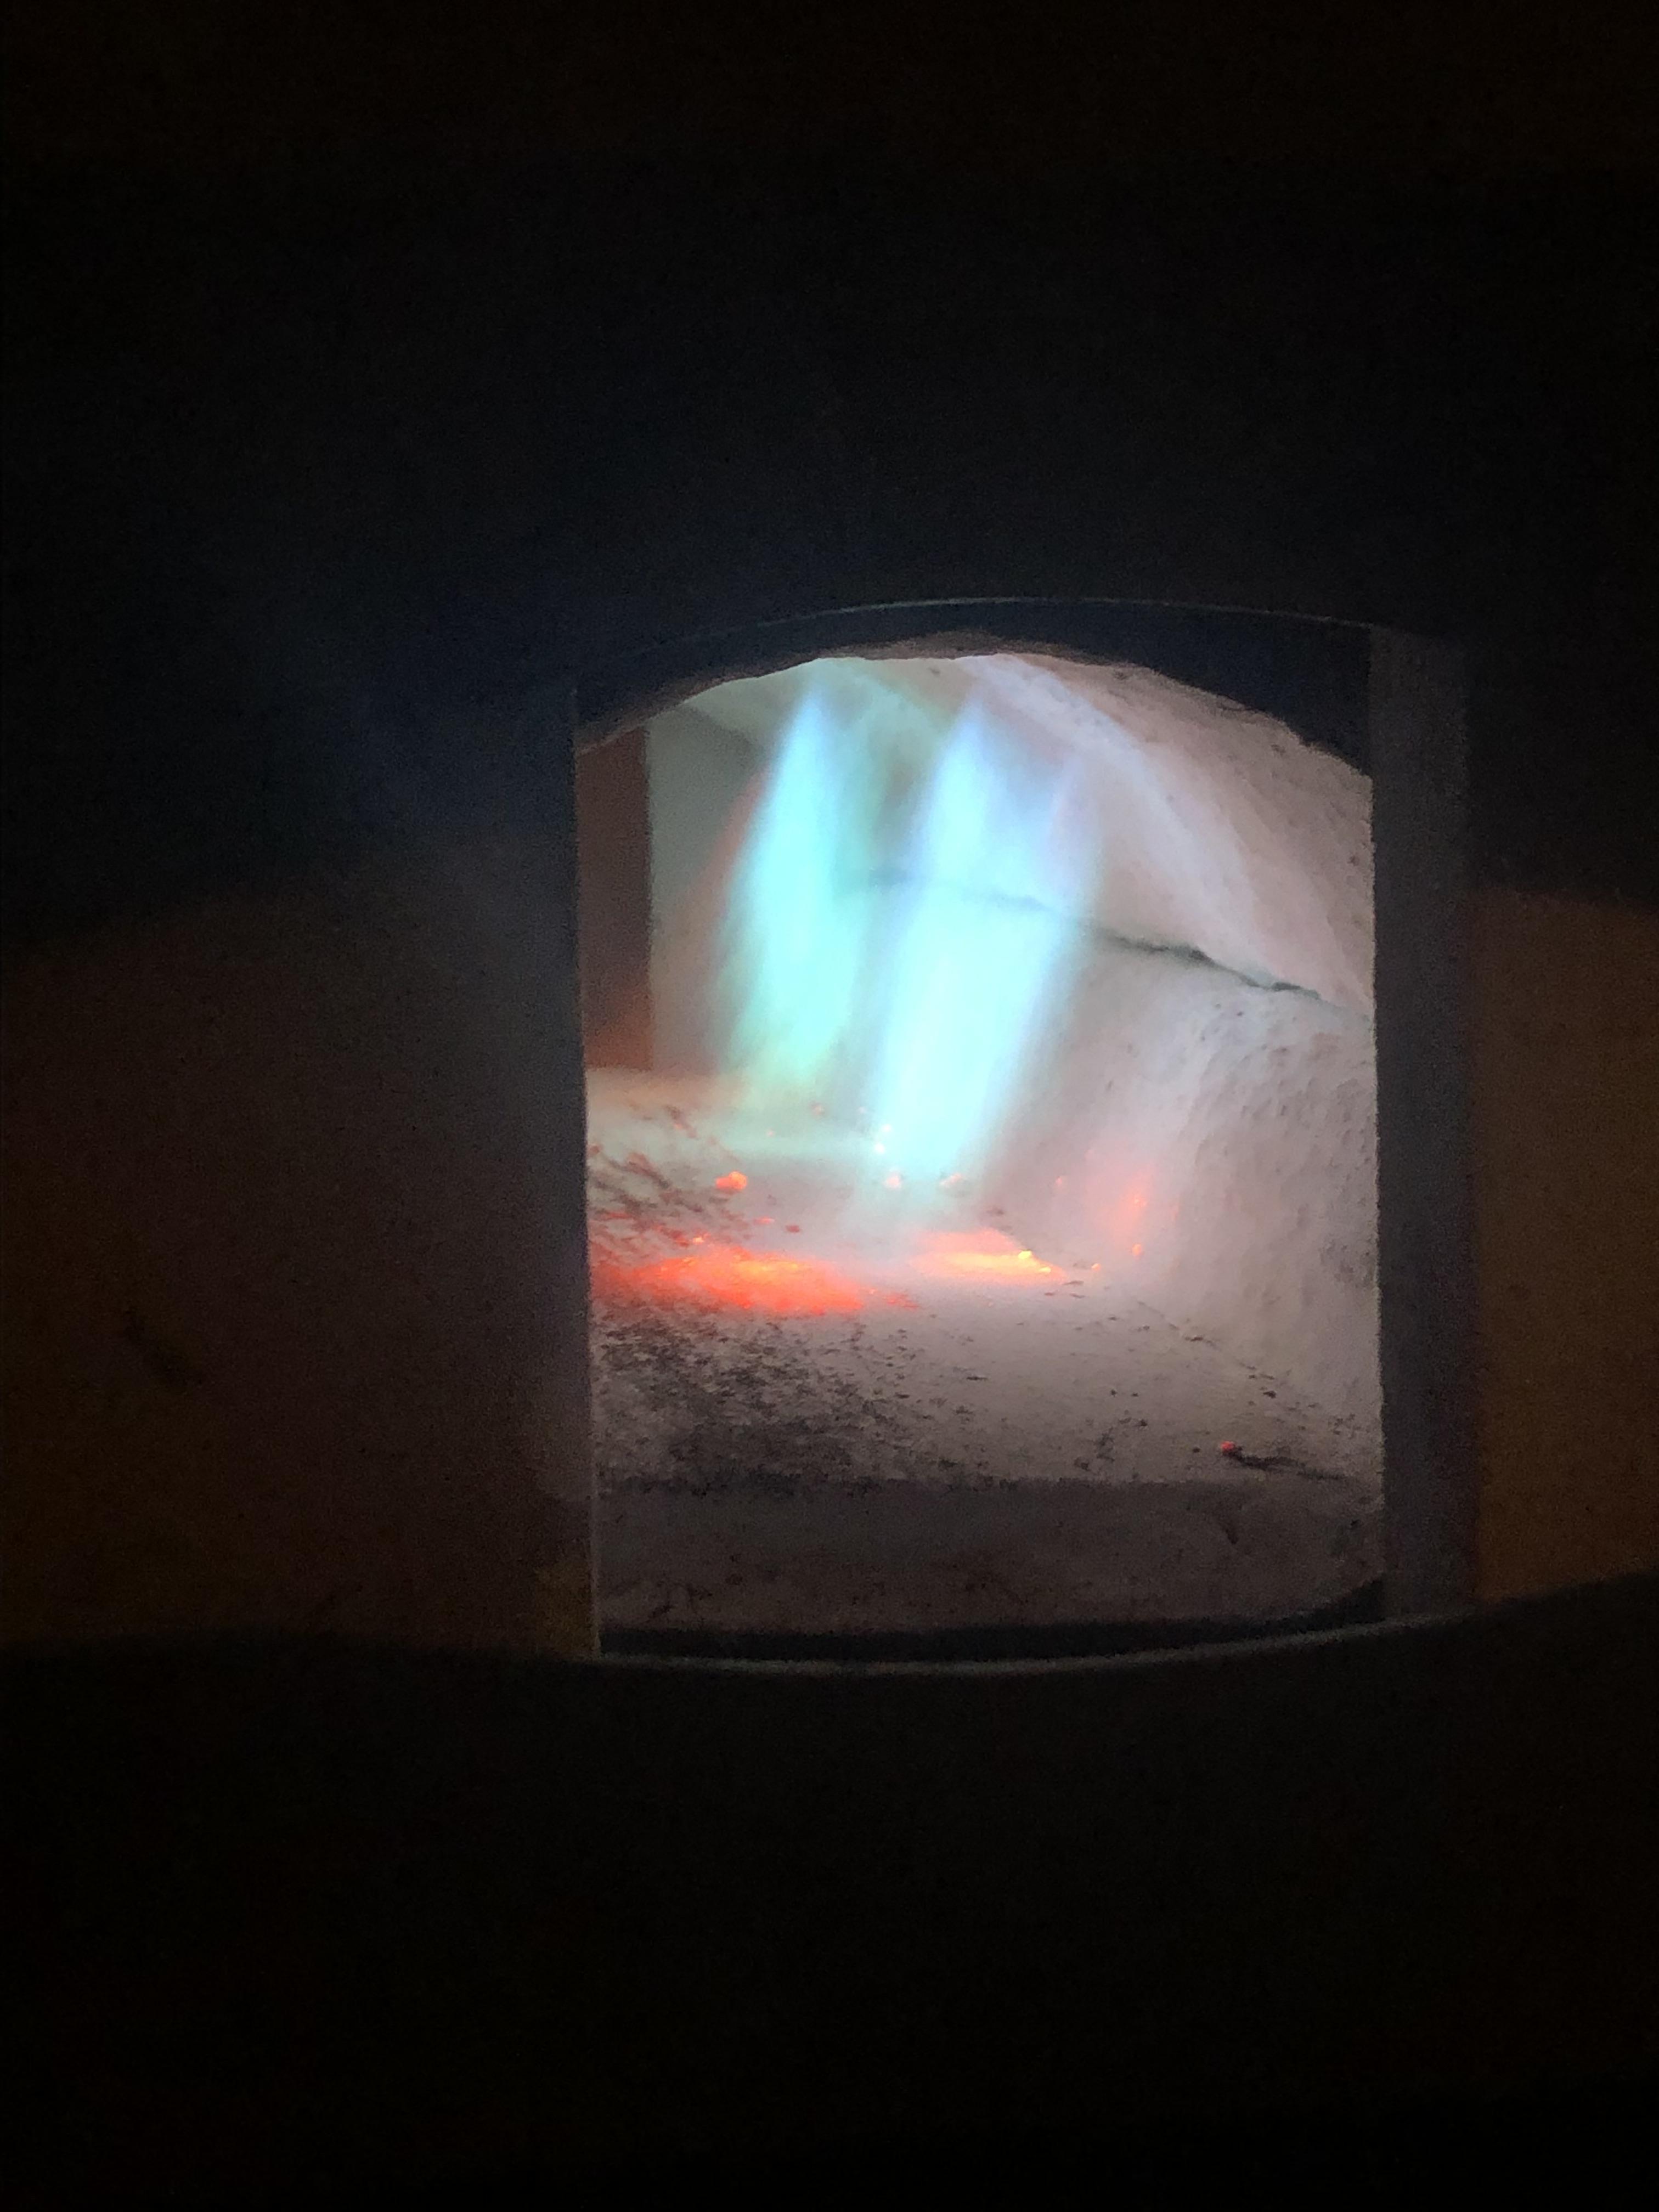
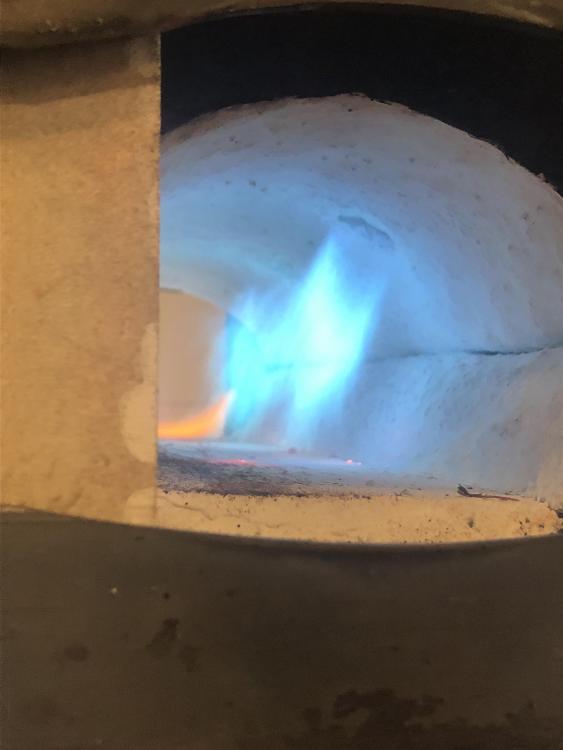
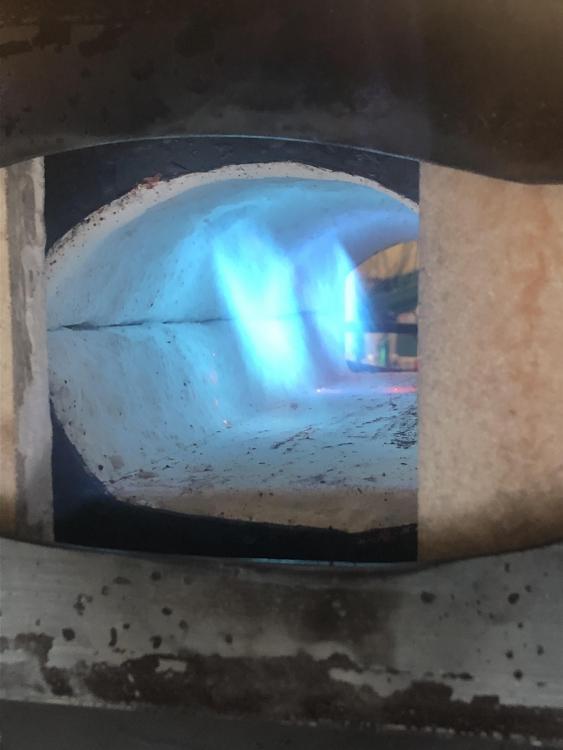
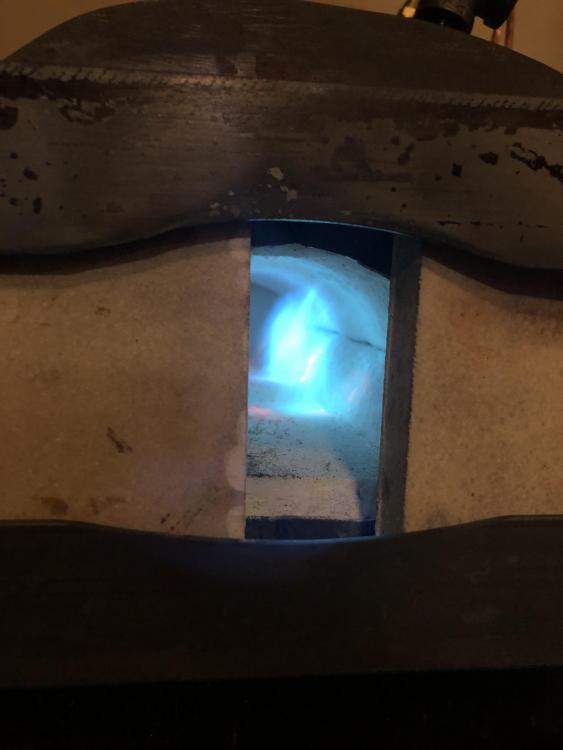
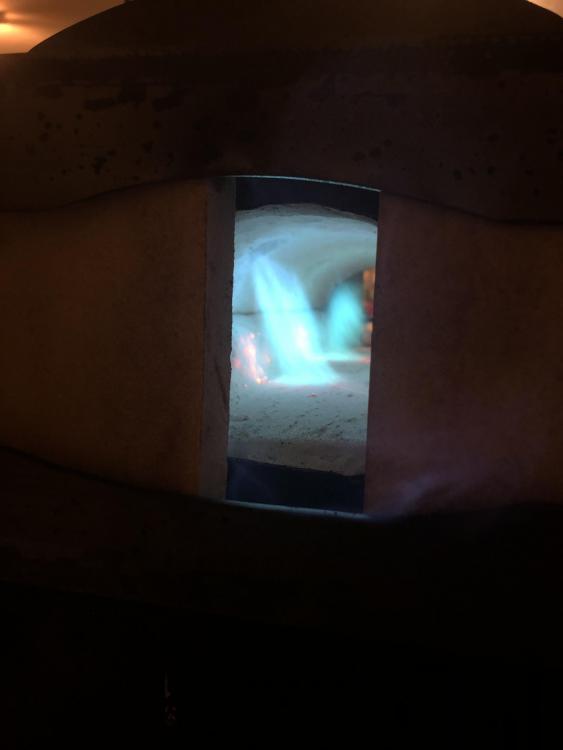
I've since placed the burners back in the forge. I started tuning the front one and I think it's pretty close, definitely improved. I've been working on the back burner and have trimmed off quite a bit of the tip, but it still appear to be weaker than the front one and tinged green, but it's shape improves whenever both burners are running. I'll post pictures below. YouTube link here. Front Burner Back one, not as clean a cone. Likes to smoosh into the floor initially, cleans up when both are running. Both running together, front one is clearly hotter. Frosty, my mig tips are 0.023". In terms of determining alignment I've basically just eyeballed it. I had help making these with a bridgeport and they look pretty good. I left the front burner in the forge because it seemed to be running very well, but the rear one had issues so I took it out and took some pictures of the tube.
-
Got it. I'll stick the burner back in the forge and start testing. Thank you for your help Mikey, I appreciate it.
-
I should sand off a little bit and test the flames inside the forge correct?
-
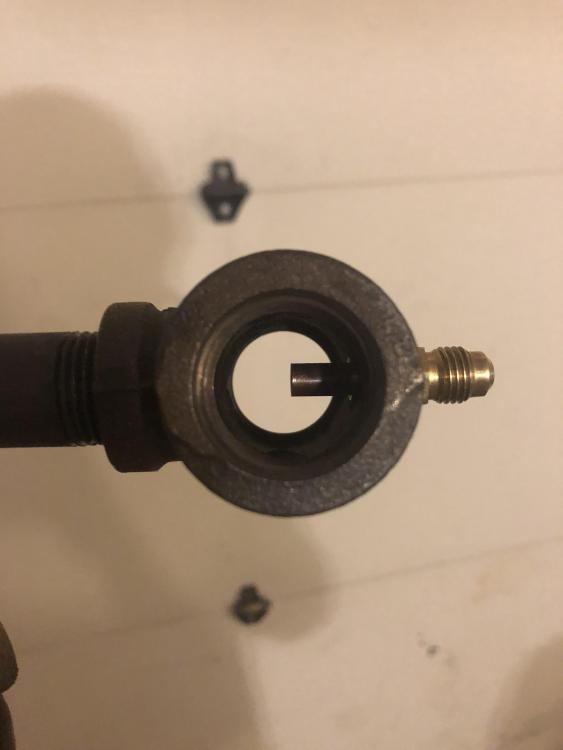
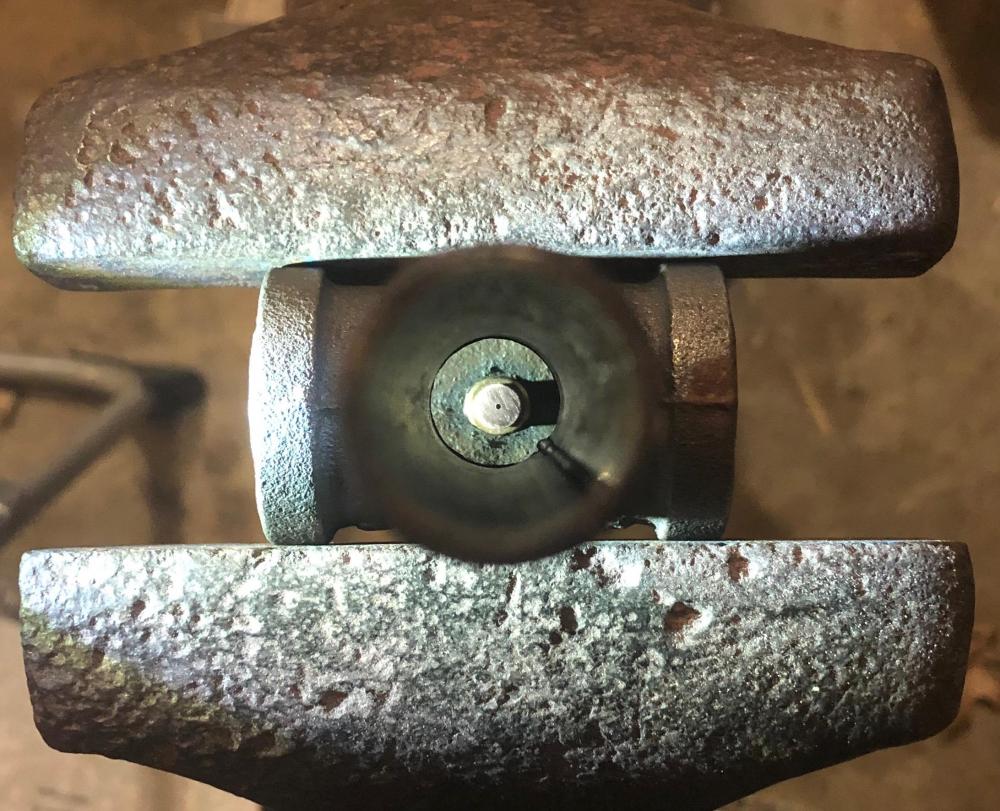
Mikey, All of the parts are the right size, the T is 3/4" run and 1/2" branch. Everything looks bang on centered and parallel to the mixing tube. I've never trimmed back the mig tips before because the flames didn't look rich inside the forge. Along with that, my burner flares were cast into the refractory so I don't have a physical flare to attached to the burner and it won't sustain a flame outside of the forge. Should I just go pick up a small reducer fitting for this purpose?
-
Where would you suggest looking? I’ve taken them apart and cleaned out the mig tips several times. Everything looks pretty well centered to me. The flames aren’t running rich are they? I thought they were decent.
-
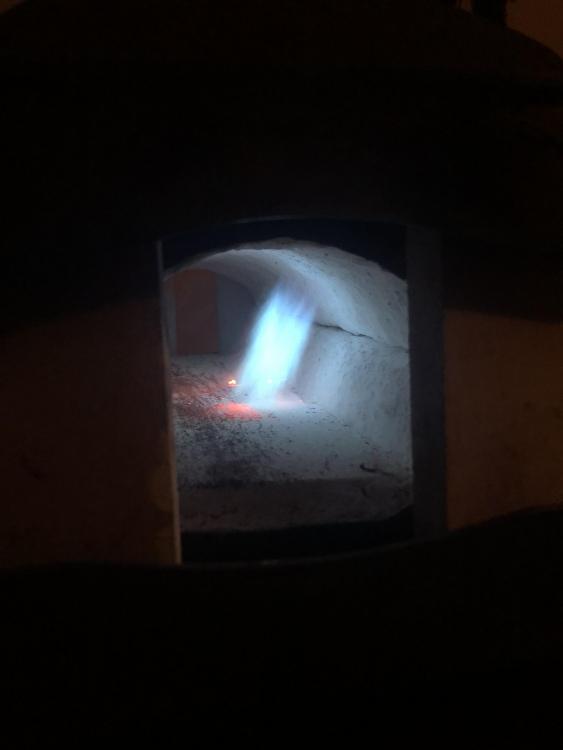
I haven't noticed a huge difference either way I space the doors from the openings, certainly not any major temperature improvements. I've fiddled more and more with the burner tube alignments in the casted flares and I think the flames look pretty decent (pictures at the end). I'm trying to figure out what else can be done. Some of my current thoughts: 1. The forge chamber is somehow too small and is causing pressure issues that are limiting the capabilities of the burners/flames. Not really sure this can be fixed if it is the case. 2. When I applied the metrikote, it was probably a tad too watery. I made sure to keep the material in suspension when I was brushing on it though, all of the powder definitely got brushed on. Could this have caused anything? I would think this would just harm efficiency/time to heat rather than reduce the attainable operating temperature, but correct me if I'm wrong. 3. When adjusting the burner tube alignments, several small chunks of the KastOLite that were loose in the casted burner flare fell through. This actually seemed to improve the flames and also produced a notable increase in the volume of the roaring that the burners produce. Figured this was worth mentioning, but not likely to be the problem. Not quite sure what else to consider, I can run the burners at over 15 psi and I just get into the bright orange range, no sign of yellow Any advice is welcome, thanks!
-
I like that idea quite a bit. I don't see my self working anything long enough to need a rest on both sides for a while, but the versatility of that option sounds great.
-
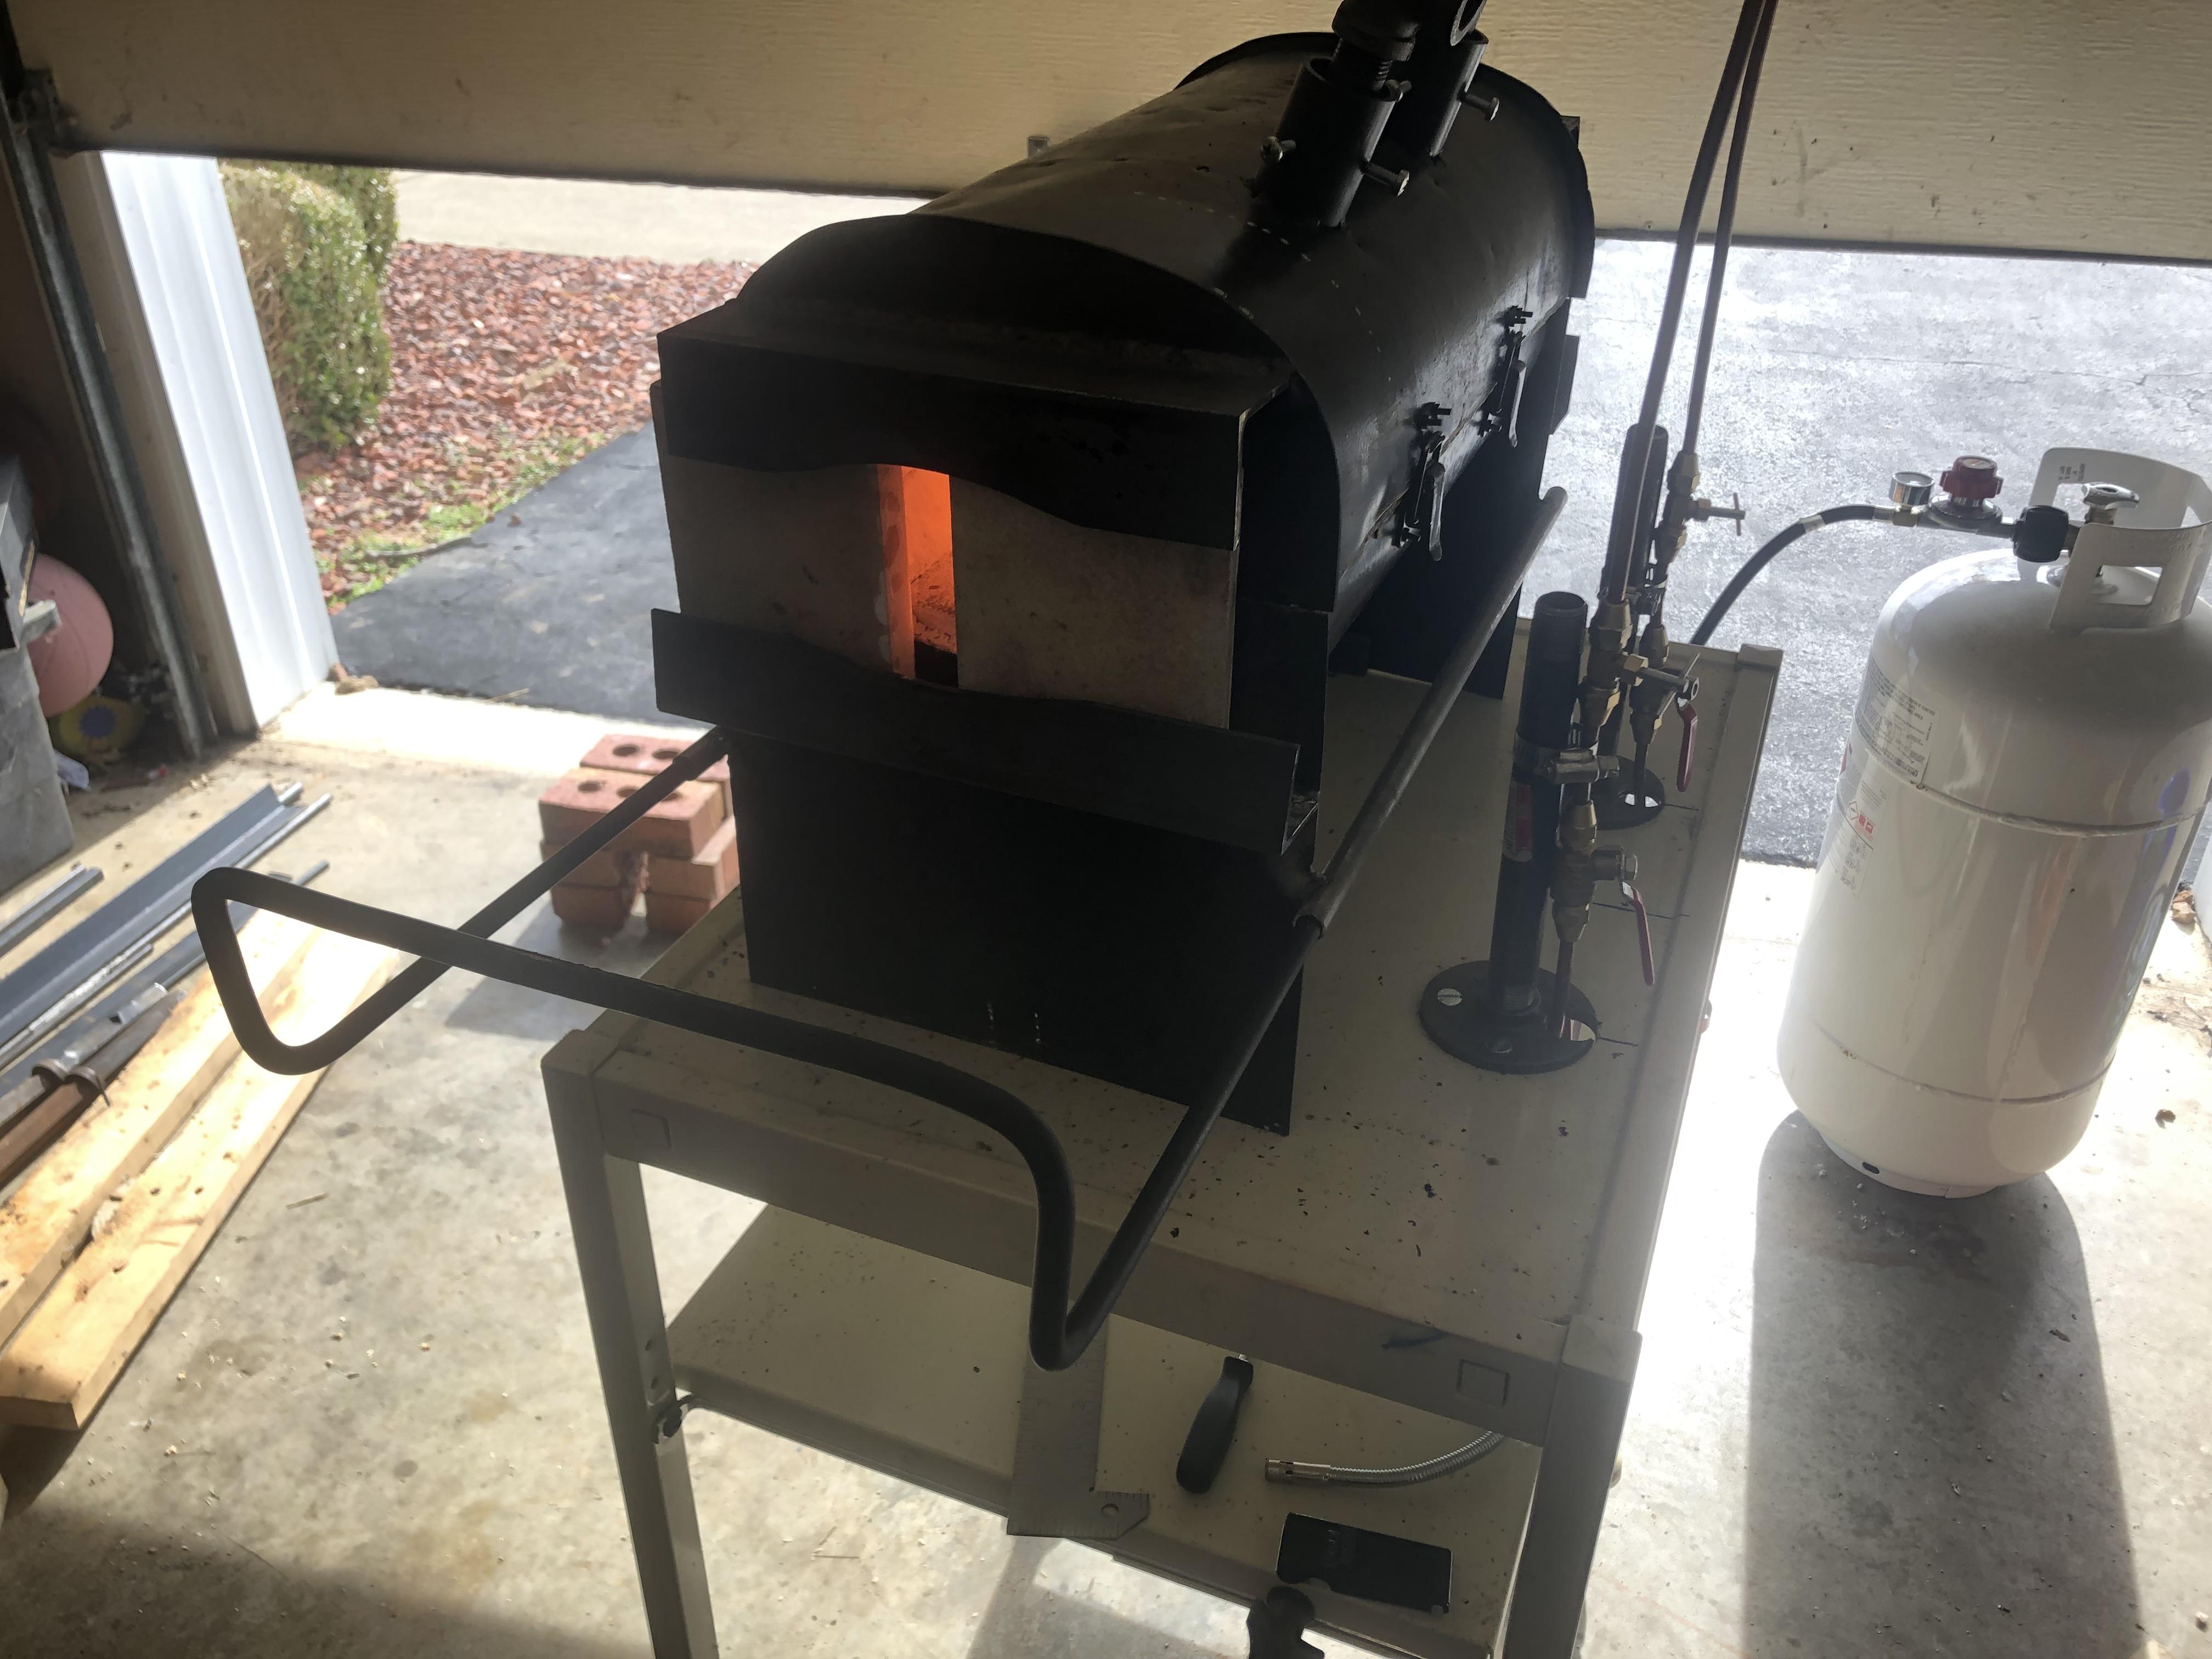
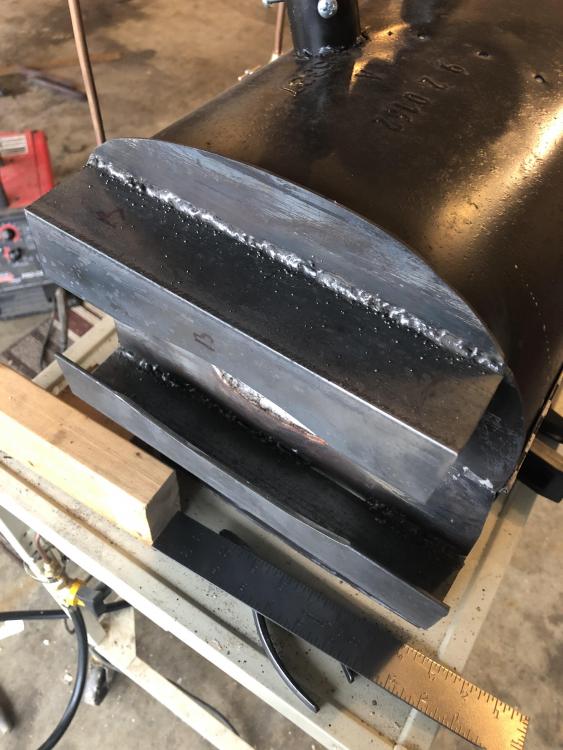
Learned how to weld the other day, not pretty but it works well enough for sticking metal together. Welded some scrap tubing I had to the sides of the forge and bent an adjustable work rest out of some round stock to fit, turned out better than I thought. Huge quality of life improvement there, still working on optimizing burning performance though (picture is during cool down).

-
Mikey, I ordered some Metrikote with the rest of my materials and applied that on top of the KastOLite.
-
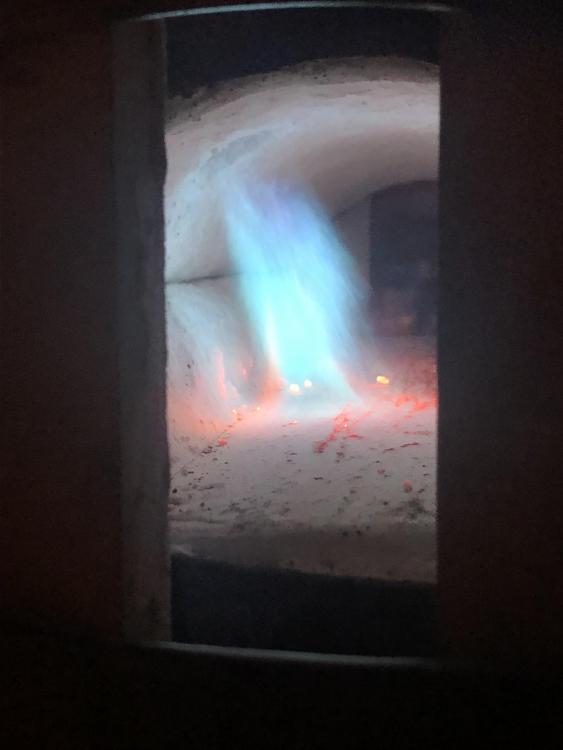
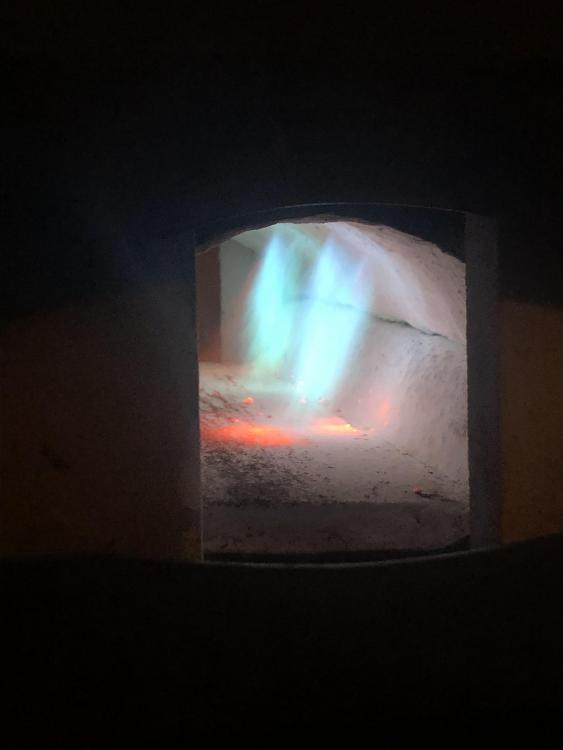
I was able to weld up some angle iron to form a track for my wall blocks so they sit about an inch away from the openings now. It seemed to help some with the sputtering and after adjusting the alignment of the burners in the forge and cleaning the castable in the flares out some (some loose pieces were in the way) the rear burner is running much better and louder, and the front one is still sputtering just a little, not as loud either. The forge heats well but still only gets into the orange range, closer to yellow than red, but definitely orange still. I'll attach more pictures of the flames below. I don't know what else needs to happen to get more performance out of these things, and they definitely aren't as loud as other examples I've seen on this site. I just read another series of posts by a member who used a similar setup with two 1/2" T burners and basically melted a jack hammer bit at 12 psi in what seems like a similar forge volume. I want to be able to get there but I'm wondering if I may need to rebuild the burners (maybe the mig tip is just ever so slightly off center?) or if my forge volume/shape is too small and bad for pressure. I would appreciate further advice here. On another note, after having the forge running for an hour or so the front flame started sputtering rather rapidly and the flame would creep up through the gap between the forge shell and the burner tube, igniting at the gas jet. My suspicion is debris in the mig tip and I'll clean that out in the morning, hopefully that's the culprit.
-
I'll likely use steel bands to fasten on top later, yeah. I just wanted to avoid digging into the anvil anymore than needed. And yes, a little linseed oil really darkened the stump up and I'm pretty happy with how it looks now.
-
That's good to hear Irondragon, thanks!