cedarghost
Members
-
Joined
-
Last visited
Everything posted by cedarghost
-
Hey Turkeyman, You're not from Kentucky are you?
-
Makes sense. Will do! Please don't say dial up. It makes my skin crawl! the edit button is missing or I would remove the pics for the above reply. Thanks Frosty
-
Holy Cow! That is one thick piece of spring! I'd hate to have to beat that into bar stock!
-
Noted! Thanks Steve.
-
Yes! Lesson learned. My biggest mistake here was that I left too much meat on the spine and didn't go deep enough with the fullers. So when I started grinding to finish, one of the fullers all but disappeared and had to be recut. Live and learn! Agreed. This is an opportunity to create and refine a setup.. I wouldn't call myself a bladesmith just yet but I am working on it. I found some interesting designs online that I think I can manage and I have an idea for a smaller spring fuller that I am going to forge this weekend that should be more suitable for smaller blades like this. Thanks for the compliment on the blade design. My 12 year old designed it himself and I helped him refine it.
-
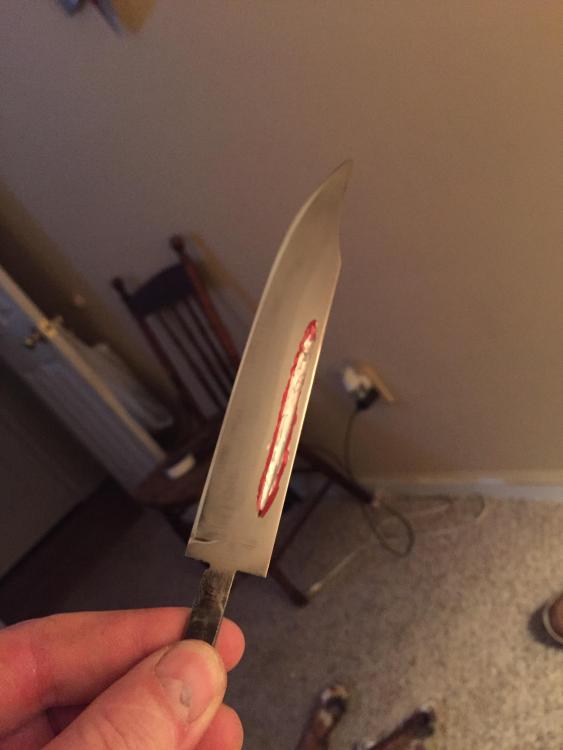
Best looking blade so far as finish. Far from perfect but my best so far. I have now learned I should have finished the fullers before polishing he blade! the only thing I can think of to finish them out is to make a jig that will only allow me to go to a certain depth and no deeper, then use a dremel to clear the channel. Ive seen the grooving tools on here, and they look like the easiest option, but I don't think I could make one. Here's what I've cut so far and the red line is where I need to cut to in order to make it even. any suggestions sure are welcome! on a good note, my new forge with the Frosty burner gets hot enough to melt brass in less than ten minutes! I melted some brass and outed into a styrofoam form in sand to make a brass bolster guard!

-
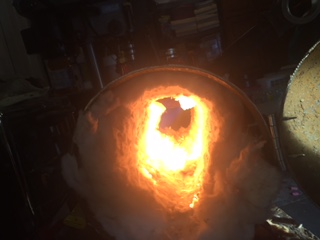
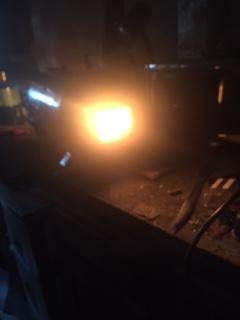
That's a great idea!BOOM! Thanks! I was way overthinking it....as usual. Thanks,Here are the best pics I have right now. This was during the test burn. I have since relined it to make the interior more even and smooth, but nothing has changed with the burner. I'm not getting scaling in the fire, so that's good. I'll try to get some video for you as soon as I can if you want to take a look at it.
 Let me check out those projects then. I thought about something simple like this for a fuller jig small enough for small to medium size knives: Just a piece of square stock that will fit in the hardy hole, with a couple of pieces of round run through it flattened a little at one then rounded of on those flat parts. Just off the top of my head. I'll look around here and on youtube too and see what I find. I'm just now doing a knife with my first fuller and I made a jig and cut it with an angle grinder and that just didn't make me happy. Going to try some stone attachments in my Dremel to clean it up than make a jig for the next one. I did see a youtube video to make a spring fuller tool using only round bar stock, but I know that would be way beyond me right now. Going to go pour over these projects now. Thanks again Frosty!
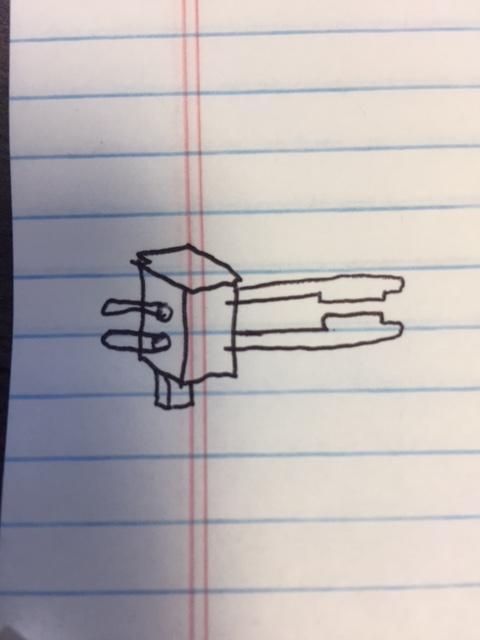 I didn't time it, but it didn't take really long. Now previously I was using a paint can forge so "not really long" is relative to that. I'll have to record the time it takes the next time I do it. Now that you mention using pipe, I think I will get a bigger floor flange and mount it to the concrete floor and put a piece of pipe on it and use that for bending! Thanks Thomas!I've been at blade smithing for all of 6 weeks. I built a paint can forge, and while it was great for heat treating, I know I could never forge weld with it. Not with the one I built anyway. So I built a new forge out of a 2 1/2 gallon air tank. Built a 3/4 T-burner and with a little help from Frosty, it is a little dragon. Then I decided I needed a set of tongs instead of vice grips because, MAN, this new forge gets hot! I decided to make a set and it took me about 3 hours of hard sweaty labor. They ain't pretty, but they work and I'm more proud of them than any knife I've made so far. Let's just say that new found respect for blacksmithing was born. Before making these tongs, my forge was just a means to the end of bladesmithing. Now I think I have "the bug" and I want to make some more useful tools and want to move into other areas eventually, like cabinet pulls, bottle openers, small things like that. The next thing I want to make is a fuller jig and I know I need chisels and punches. What else should I look into, being just a beginner?Posting results after feedback. I switched to a 6 inch pipe, put a 6 inch x 1 1/4" pipe as the chimney into the forge and dropped the burner in there and backed it up just a little where it was right to the beginning of the ceramic blanket. Then I put a uncut .030 mig tip in and fired her up. I don't have a regulator with a gauge, but I think it is running less than 5 psi and roaring like a dragon! I soon figured out that my channel locks were too short for this baby and after 2 Peddler's Mall's without finding a set of tongs, I decided to make a set. It heated up the bar stock to white hot just fine and pretty quickly and I soon had a very ugly set of tongs that feel pretty good. I used it to heat treat two knife blades as well and it made REALLY short work of those, WAY faster than the paint can forge that I was using. I may still try a .035 tip just to see the difference just as soon as I can find some for less than $10 around here. I'll just have to hit the welding supply store instead of Lowe's. Thanks again Frosty!Thanks Frosty. I'll update my profile tomorrow and get a measurement on that spring but it's definitely 1" plus. i cut a piece off and beat it out into a nice little square stock. Im really green at this and this site is a great learning resource. I started knife making about a month ago with a coffee can forge and just upgraded to a 2 1/2 gallon air tank with a burner I built using your PDF. I took your suggestions and put a full length .030 tip in there and she roars like a dragon and gets stock real hot, real fast! I'll definitely be able to try forge welding in there sometime down the road! I'm going to try a .035 tip as soon as I can pick one up.Thanks fellas.Picked it up at a Peddler's Mall. It is coiled much tighter that a normal coil spring and it is thicker. i cut a piece of and beat it into a bar. It seemed really tough to shape but a lot of that could be me since I'm pretty new. Can anyone tell me what it might be off of and if I should anneal or anything before I forge? I know you typically don't need to with coil springs, right? Thanks!
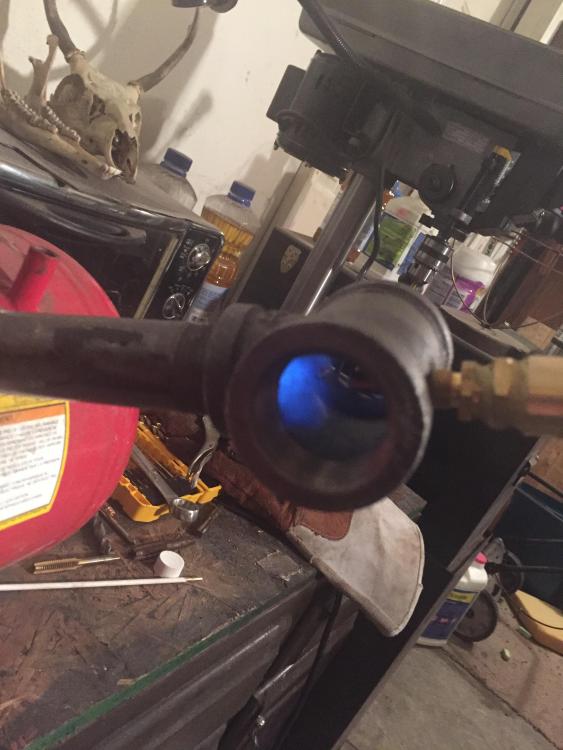
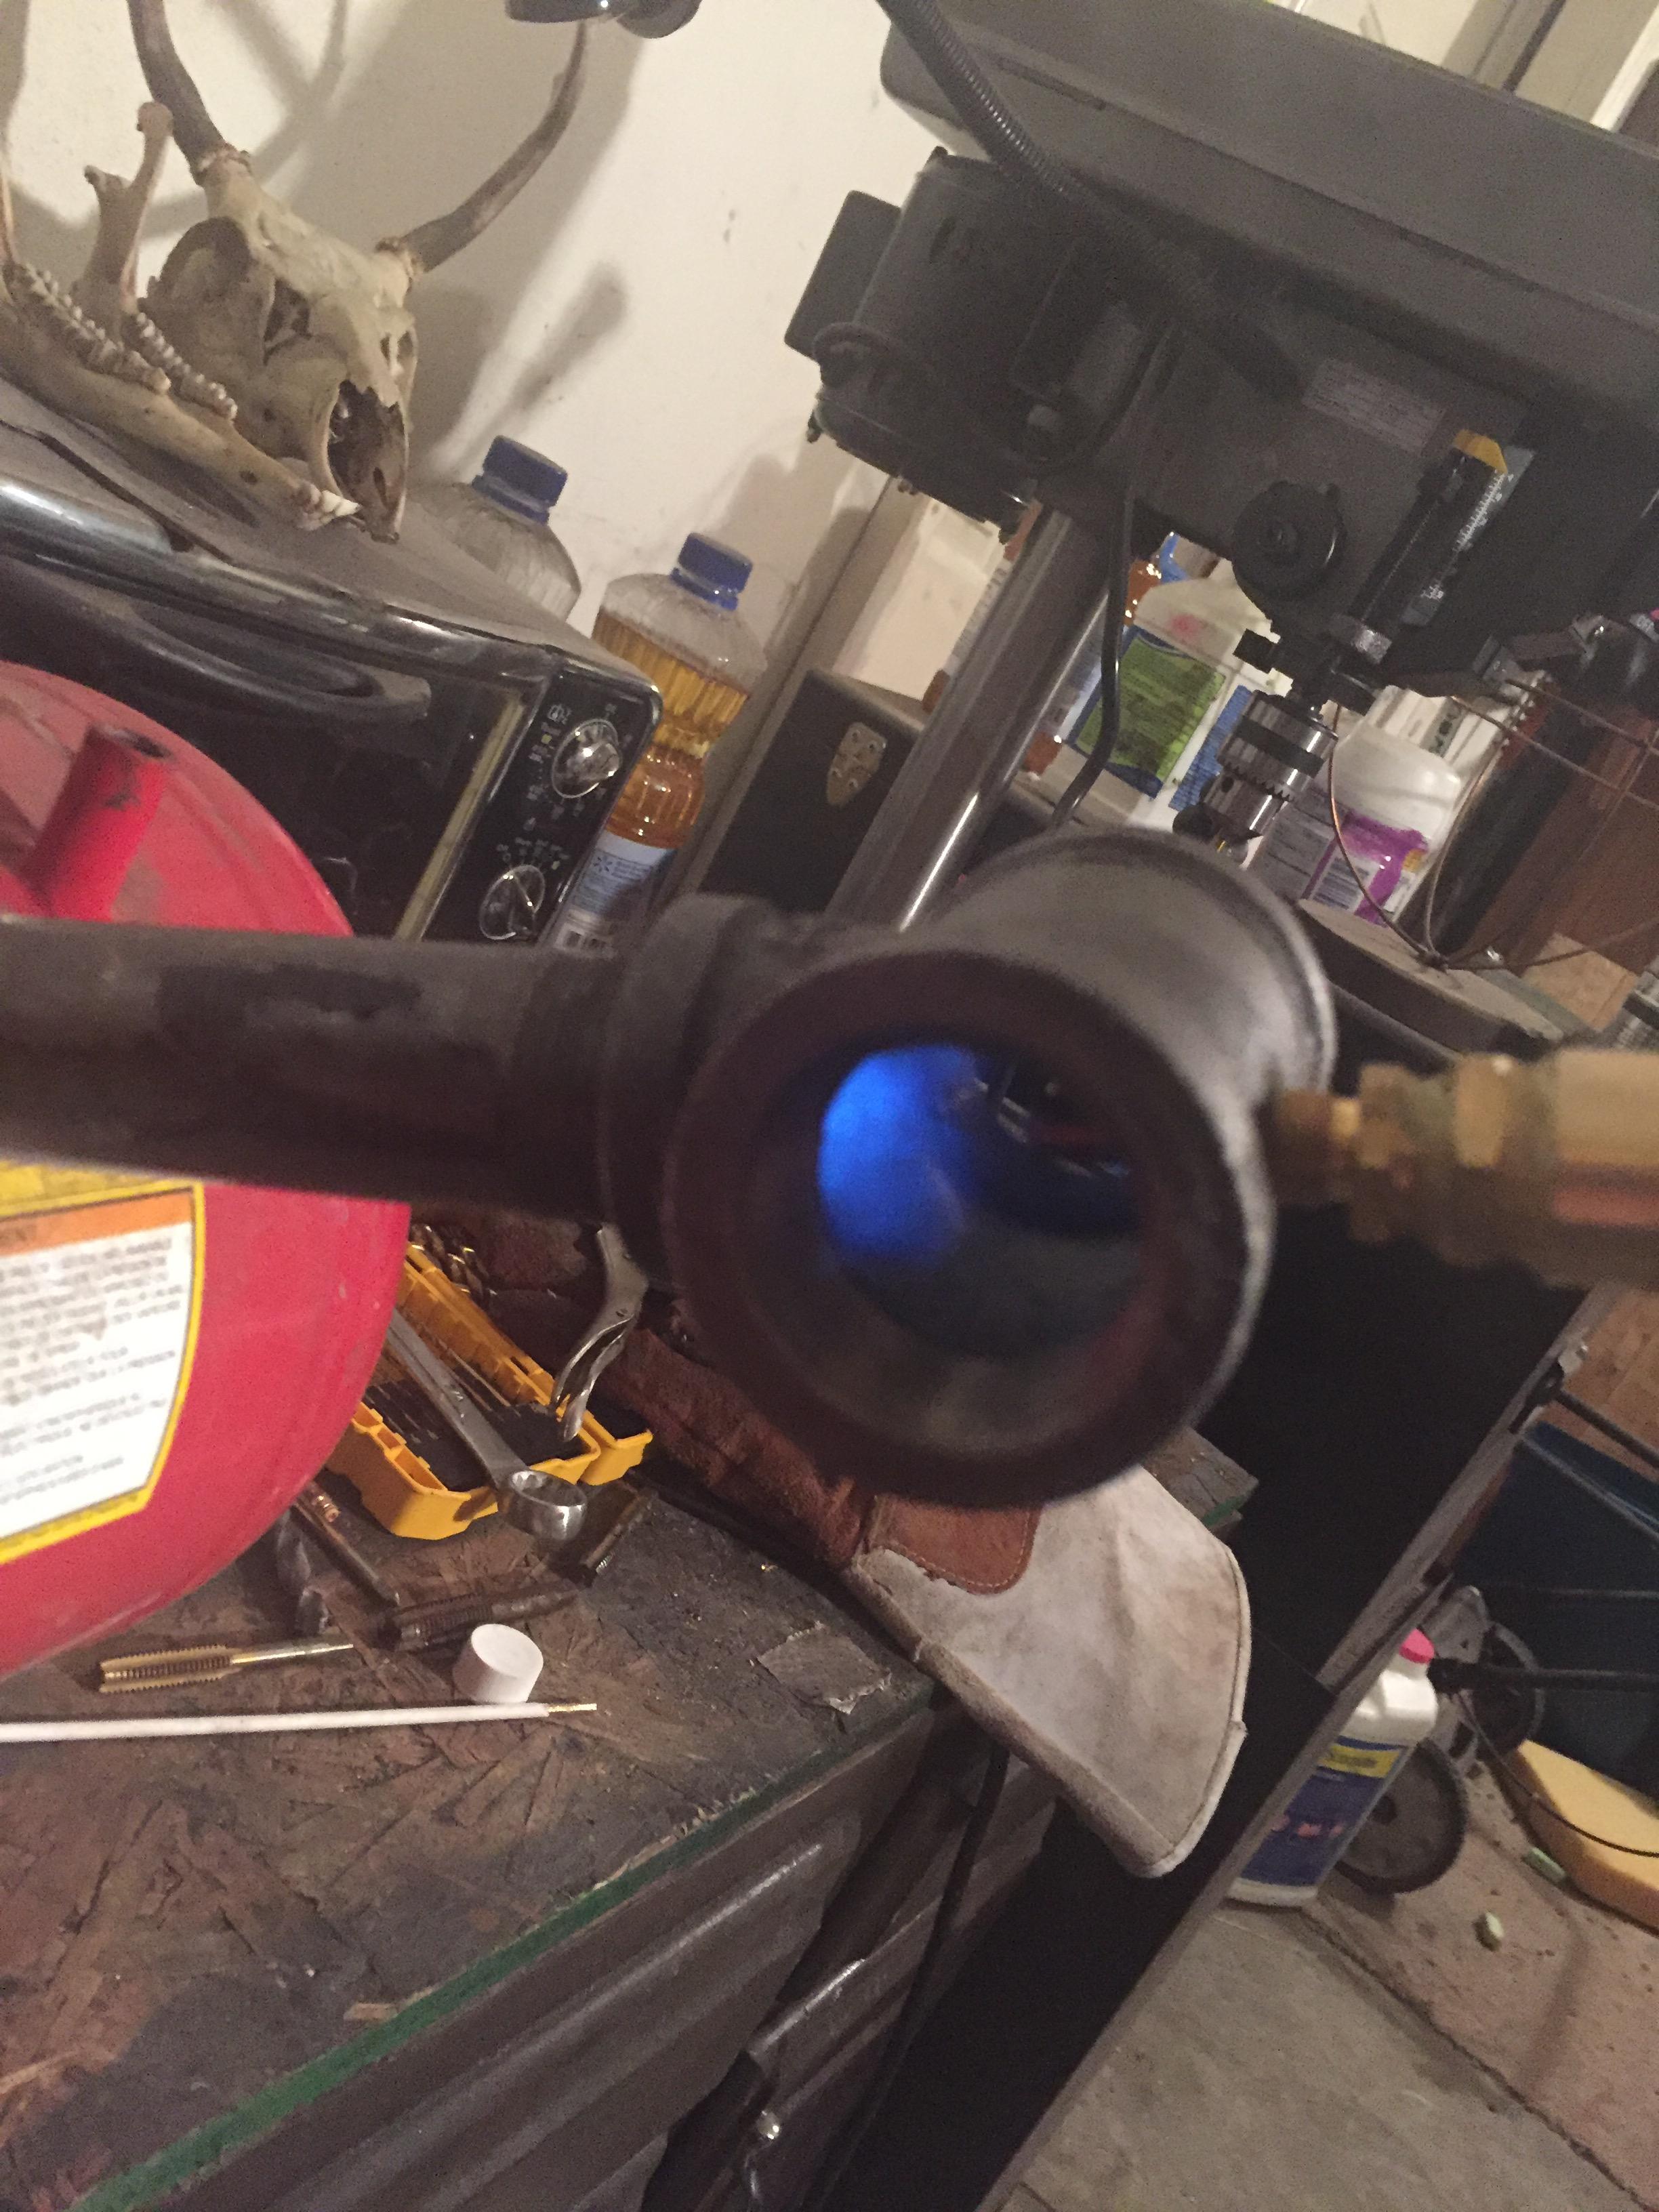
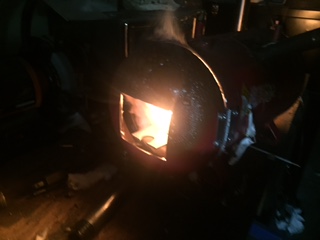
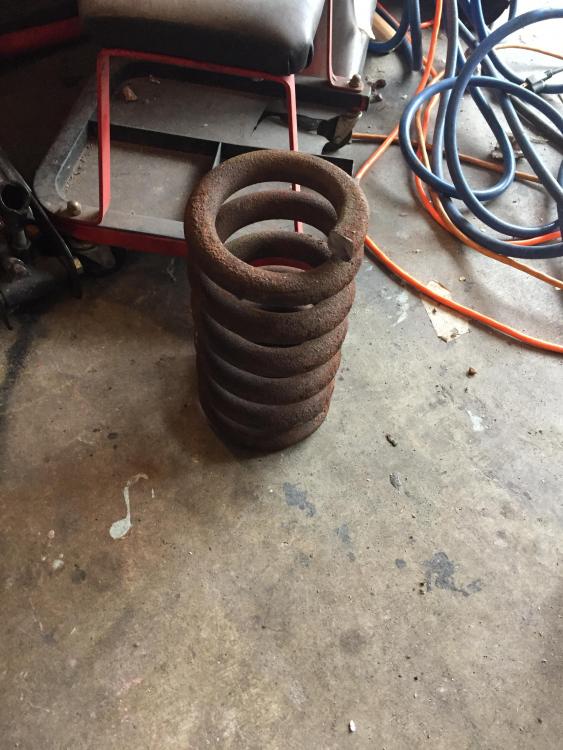 Thank you sir for the reply. I will take this information and put it to use! I did use the flange to drill the T and it worked great!I built a t-burner today to Frosty's specs with the exception of using a .030 mig tip and I don't have a thread protector. I am running a 0-20 regulator and will be heating around 250 cubic inches. I read a lot of posts from others tuning this style of burner and there was another guy using a .030 tip and Frosty suggested the amount that got cut off would vary from a .035, but it should work. At first I couldn't get the burner to stay lit outside the forge. I wasn't too concerned as I understand this is normal and it should be tuned in its environment. I slid a piece of bigger pipe over the end and BAM...it would stay lit. That was a great feeling. Next I stuck the end of it into the forge where it is going to live (without the extra pipe on the end) and I had a hard time lighting it and getting it to stay lit. I had to turn the regulator way open and then adjust it down until the flame started to roar. I noticed a coupld of issues. 1. It is difficult to light. I think a ball valve will help and maybe I just need to light it then adjust the pressure as it heats up. 2. I am getting flame back into the burner tube. It is my understanding that everything behind the burner head should not have flame in it. I cut off 1/8 " of the mig tip and the problem with the flame was lessened but still there. So tomorrow, my plan of attack is this: 1. go ahead and mount the burner tube as it will be mounted on the forge. I am going to use a floor mount flange like I saw on one of Frosty's forges in his pictures 2. go ahead and line the forge with inswool and create a "flange in the inswool at the burner port 3. Install a ball valve for quick shut off and turn on ability. 4. let the forge heat a little before turning down the regulator to get the roaring flame. 5. cut off another 1/6th to 1/8" on the mig tip I keep getting backdraft (not sure if that's the right term) try again. Does this sound like a feasible plan of attack? I'm attaching a picture of the backdraft I was seeing in the "T" area Thanks for any suggestions. In the meantime I will do a lot of research tonight. You know what? I just double-checked the plans, and I used an 8 inch black pipe nipple instead of a 6 inch. Would this make a huge difference? I think I answered my own question. Seems like I remember reading in the Burners 101 thread that the length needed to be between 8 and 9 times the diameter of the pipe. That, combined with a smaller jet size wouldn't be able to push the gas down the tube fast enough. Am I right?