cedarghost
Members
-
Joined
-
Last visited
-
EXACTLY what I wanted to know. Thank you sir!
-
I use good steel for all my customer knives. I'm not trying to cheap out on steel. That's not the point here. Also forging good steel into a spike would not be authentic. I'd like to leave the RR markings in the butt of it, etc. I saw a spike that was forged into a cleaver with high carbon as the edge and want to try it. Call it a learning experience. Also, it should be MUCH easier to do a san mai than to forge something like 5160 into a railroad spike shape. At least for me anyway with no press or power hammer.
-
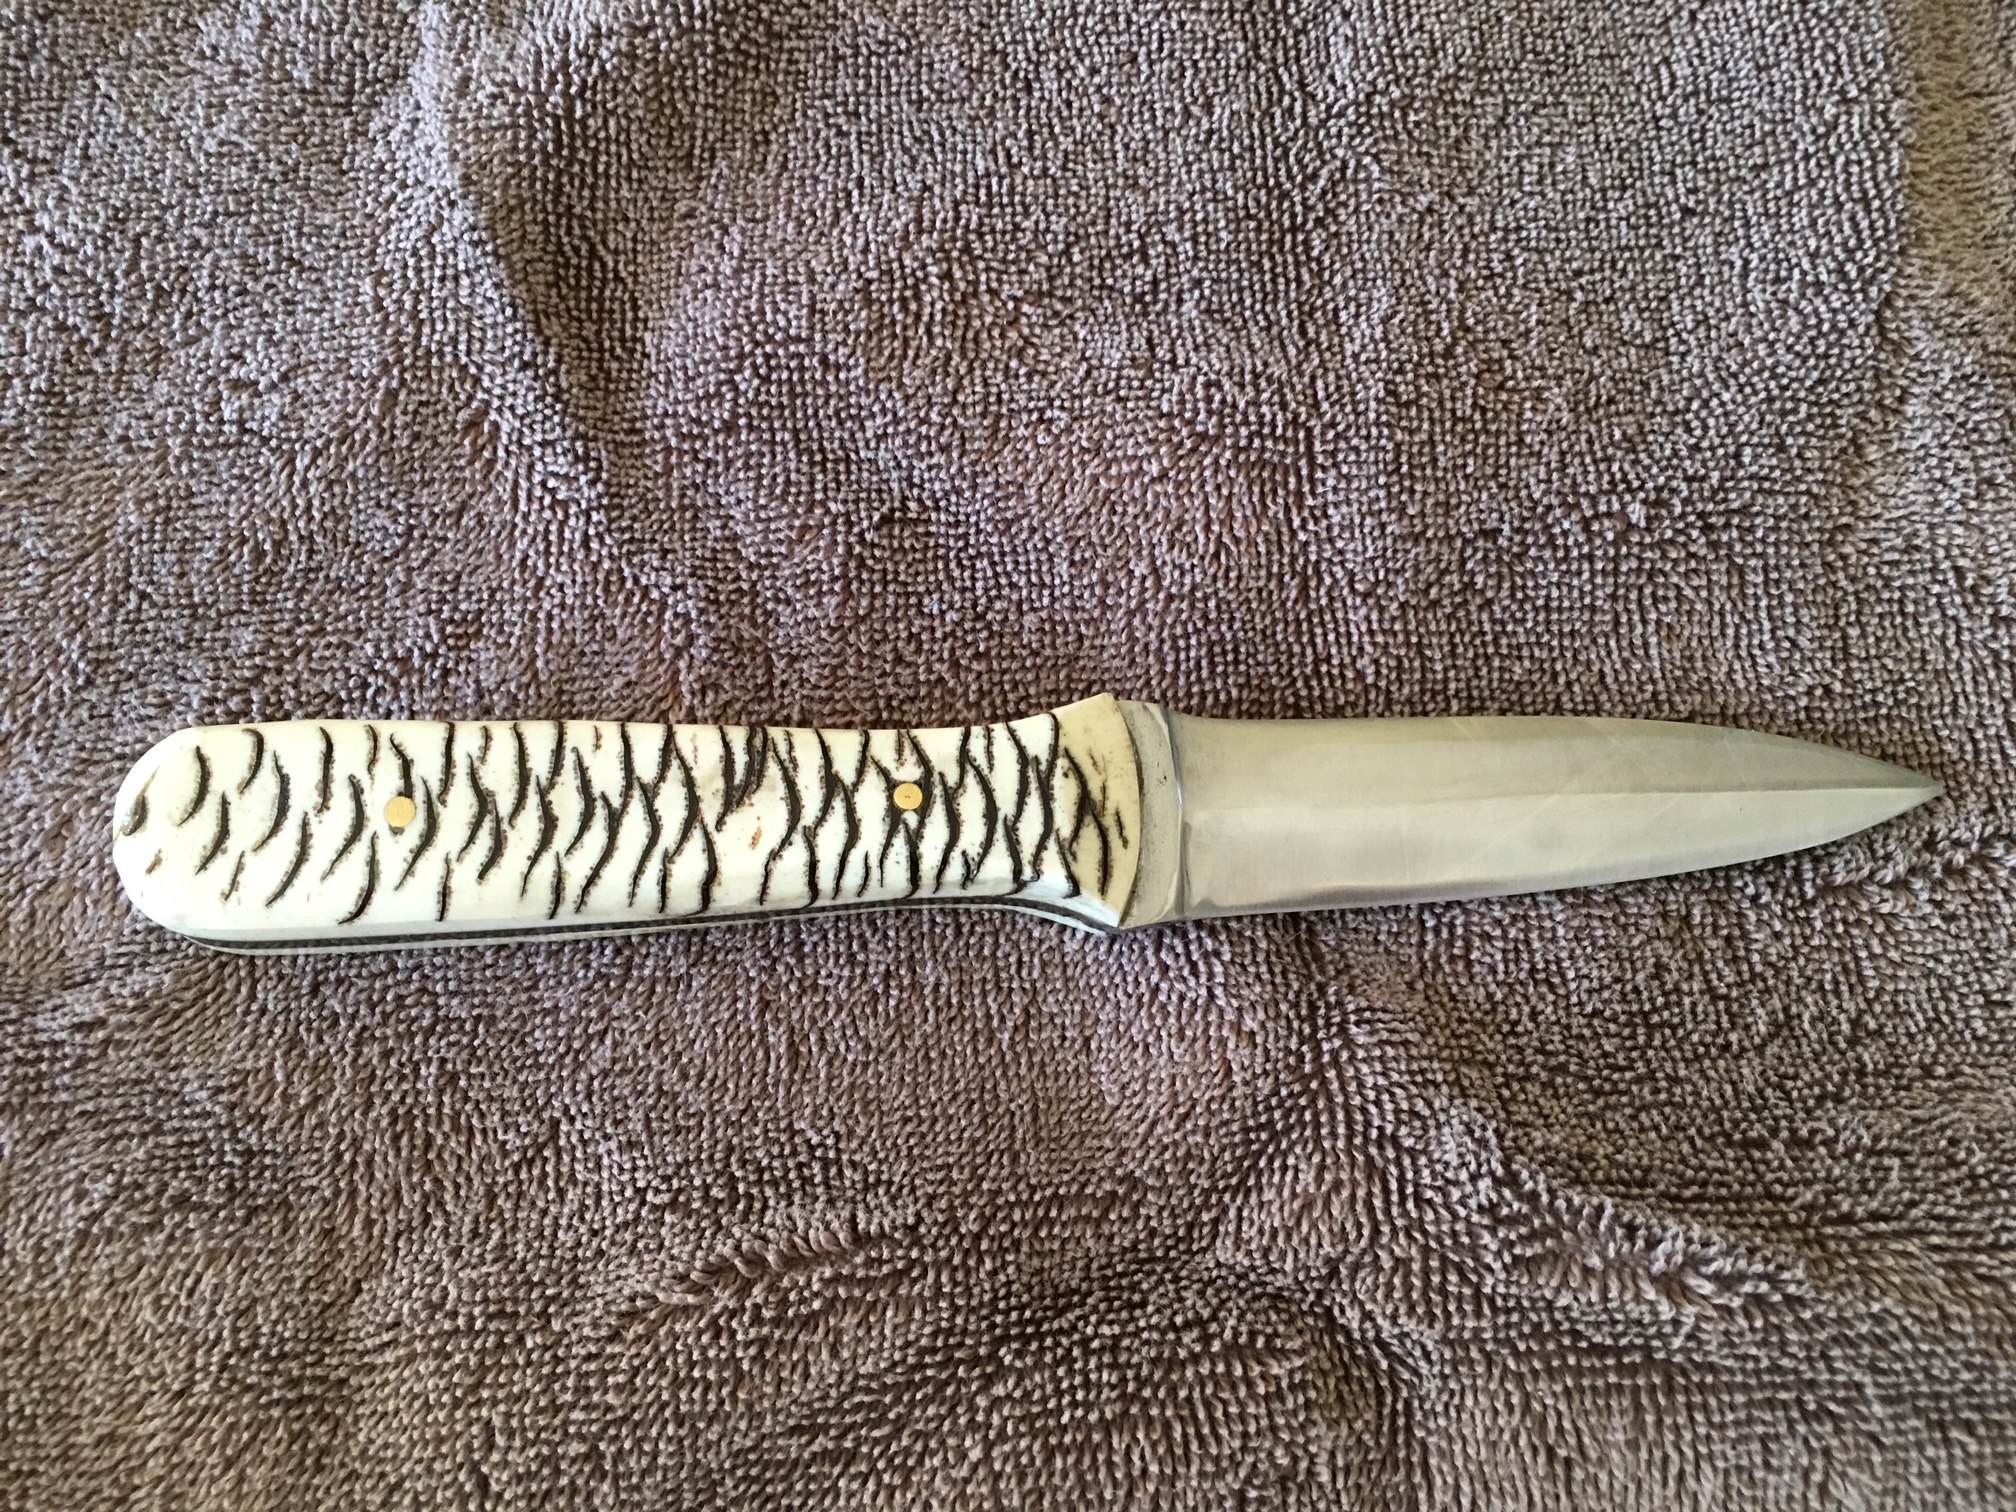
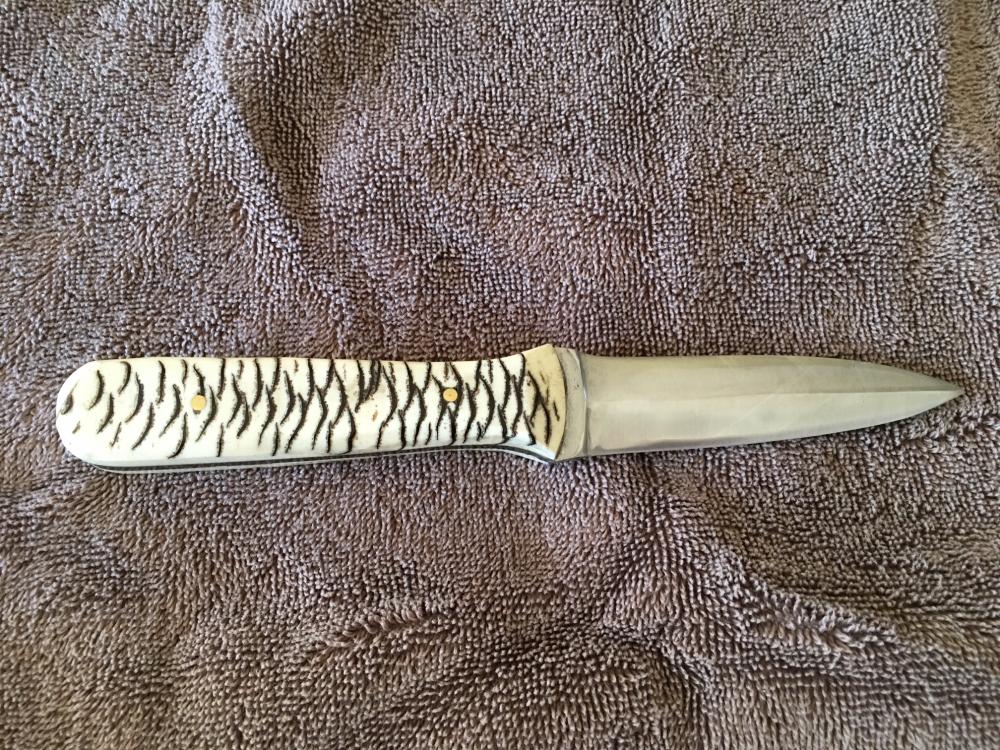
I have seen railroad spike knives with good steel for the edge, san mai style. My question is, is the spike the hot dog or bun? If it is the bun, how would I go about folding it? I was thinking forging it out flat with the butt of the spike pointed down, then folding it together and inserting a piece of 1095. Is there an easier way to do this? Thanks!
-
I have been sealing them with CA glue to fill voids then finishing with wipe on poly. I have also completely finished them using CA glue, but I don't prefer to do it that way. These are made using the instant cast resin without a pressure pot. Any of you wood guys have suggestions for other types of finish to put on them?
-
Thanks for the info. I am definitely going to look into it.
-
Thanks guys
-
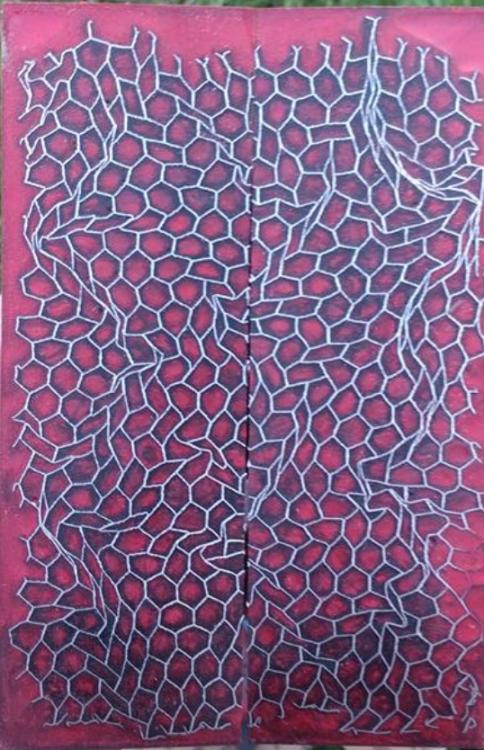
These look really cool. I'd like to figure out what's in them and make some.
-
It does look like chicken wire. At least that's what we call it here.
-
It's definitely colored epoxy. Not sure what the mesh is.
-
Anyone know what these scales are made of?
-
Guess I tested it too soon!
-
Good to know it may be salvageable. I will give it a try. Do you think my above approach to finish setting the weld looks sound? Thanks again Steve.
-
Going to give it a try Steve before I just dump it. Any tips? Or just heat to red, reflux, heat to welding temp and set? I have read that once your initial weld fails its hard, if not impossible, to correct it.
-
Sounds like sound advice. Thank you.
-
Yes! I thought I was patient but I was not patient enough. I started hammering too hard, too quickly, I should have taken it to welding heat a couple more times with lighter blows to get everything set good. Great learning experience though. I have another billet just like this one stacked up and ready to go. So we will have round 2 tonight or tomorrow. On a good note, I am using a single Frosty t-burner in my little forge and it works great! I think I probably left it on the anvil too long as well.