

Lou L
-
Posts
1,180 -
Joined
-
Last visited
Content Type
Profiles
Forums
Articles
Gallery
Downloads
Events
Posts posted by Lou L
-
-
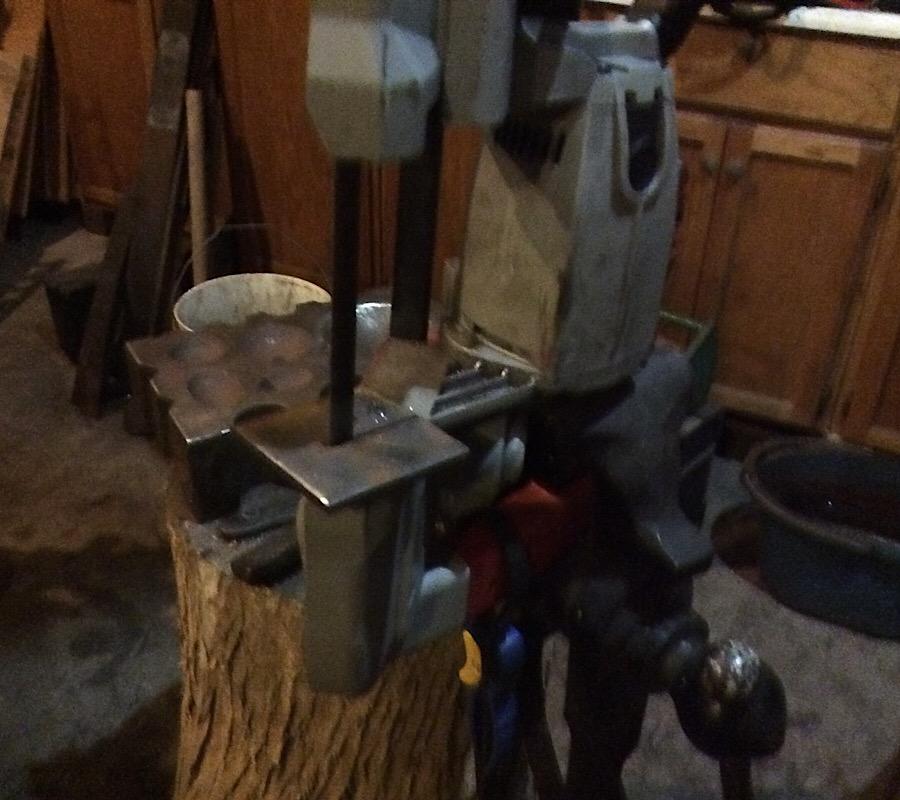
Nothing ground breaking here, but I got tired of using my porta band by hand because ive needed to use it like a regular band saw to cut plate. I keep nearly buying the Swag Off-road Portland table because it is awesome and I hate to waste the time making my own. My frugal nature didn’t allow me to buy one...but my unwillingness to fabricate a whole table impeded progress in the shop. The two prediLections gave birth to this idea. A 3” plate cutting table and my post vise that fits the saw perfectly.

it works like a dream, still works b6 hand, and still packs away in its container when I’m done.
-
Tornado chimes...because regular wind won’t do.
-
In that case my shop is loaded with antiques. I should get an estate sales guy in there!
-
“The bigger the gob, the better the job!”
Clearly that is someone’s mantra. Hilarious stuff.
-
Thanks, that was the picture I need. Cool axe with a cool history. What you need to know I said here http://www.yesteryearstools.com/Yesteryears Tools/Bradley Axe Co..html
Lou
-
That’s a great price on a “collctors’ item”. Did they add “antique” in there as well? Gotta love it...
-
I only have a threaded merchant coupling on the end. It was my understanding that those were Frosty’s version of a flare. They don’t really taper, though, and I was wondering if the threading inside could cause issues. Thanks for your insights. It seems I’m headed in the right direction and I only need to forge ahead and follow some logical reasoning. Best I figure it out on my own so I can actually understand.
-
Another “need help tuning” question. Just built my t-burner and it blows the flame off the end of the burner at anything past 3psi. When I have the psi low enough it chuffs and burns up into the mixing tube. If I partially cover the the air intakes on the Tee it burns beautifully with a nice blue flame and a blue corona. It is super sensitive, though, and if I move my fingers covering the intake at all it blows the flame out. I’ve read that burners tend to do that until they get some back pressure from being inside a forge and I intend to connect this to a ribbon burner. My first thought was to get the ribbon complete first and then tune it when the NARB is complete. Is that a good direction or should I get it burning correctly prior to adding the ribbon? Finally, which variable should I start playing with first?
Thanks for any input all.
Lou
-
Awesome work both of you. I’m hitting the shop tomorrow morning. Hope to have a cool thing or two to show....not certain it will be as nice.
-
A fool is born every day. Deep down I hope they get their sale. The pain from that episode will result in one wiser person on this planet. So how about I give it a “bar laugh”. In my years of nightclub bartending I did lots of observing. I found that, while people were loosened up, laughing, frolicking, and socializing they always seemed so genuinely joyous. But, in the moment they would raise their glass to their mouth the real, unhappy version of themselves would be writ on their face...in their eyes. I realized that the moment of taking a swig was their break from the effort of “fitting in with the happy moment”. I call it the “bar laugh”....and that’s what I offer here.
-
Absolutely beautiful anvil. Start using it and it will show you what it can do. What an amazing deal you got...I’m still envious.
-
Firepot doesn't have to mean expensive cast iron fire pot. Anything that shapes the fire and creates depth to your fire is a fire pot. If you use bricks you have a pot.. Of sorts... You can add a brake drum if you want a little more definition and depth and those are free.
-
Yup, stand it up on edge for sure. Down the road I think you will find loads of creative uses for those holes that will be on the side:
bending jigs, pivot point for a lever action hold down, plug in dies....just make sure it Ismaili mounted solidly so using the sides doesn’t cause a tip over.
-
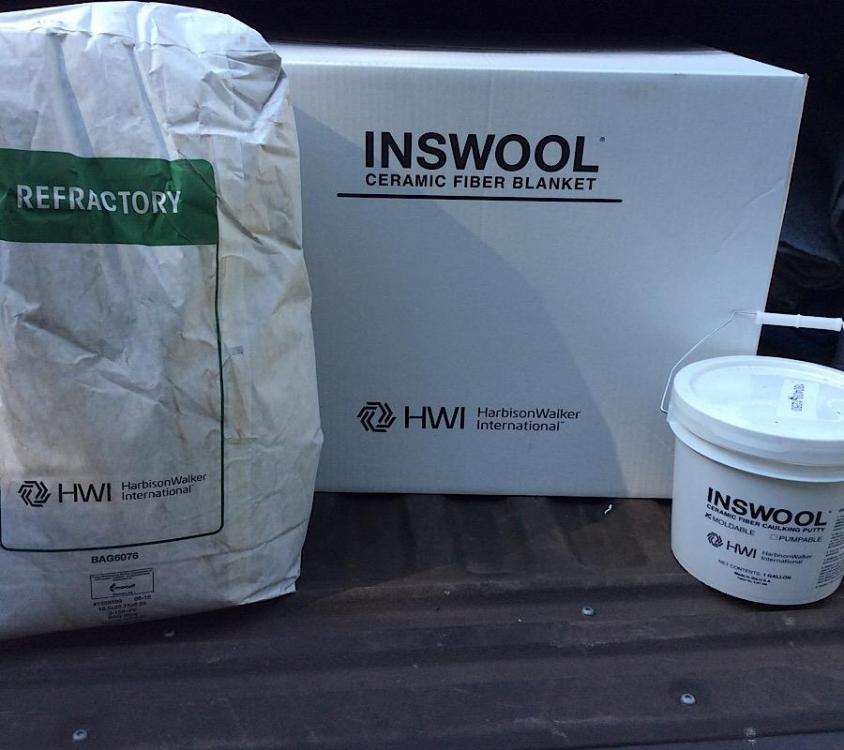
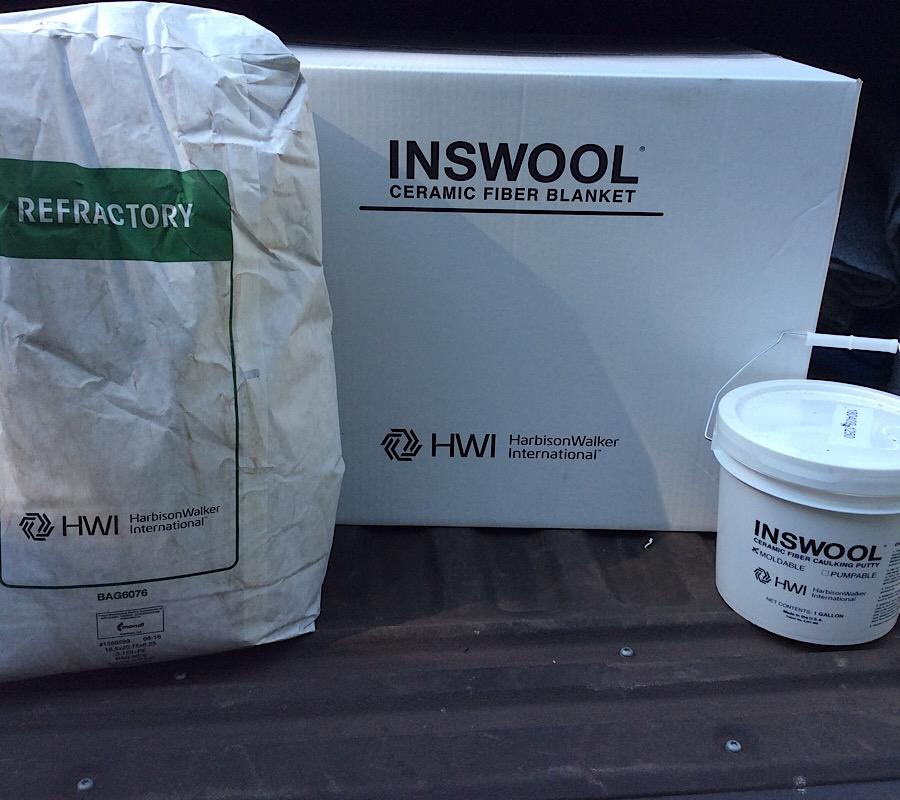
I learned that I have a Harbison Walker global supply outlet about 40 minutes from my home. Went there today and bought significantly more than I need to make one propane forge.... 55 pounds of kast-o-lite 30, 1”x24”x24’ of 8# wool and a gallon of mystery.
On a whim I took a chance on one gallon of their moldable ceramic fiber caulking putty. It apparently dries hard like the castable but has higher thermal shock resistance. It’s purpose is for filling large voids or for use in linings up to 3” thick. The guy printed out a spec sheet on it for me. I’m going to experiment and try making one NARB with it. May make a mini forge with it as well. If anyone is interested I can share the spec sheet.
-
Buzzkill, I went at the job sincerely about 15 minutes after responding to your suggestion. A wire wheel on my hand drill didn’t even break through the finish. I can’t fit a grinder in there now that the bracket is attached. I’m considering the pain and folly of going at it with my dremel and about 100 small grinding drums. I’m afraid I won’t be able to get at the area around the candle holder and it will look terrible. I’m considering my options. Oh, to have had that suggestion before final assembly!
-
Sounds like an amazing guy! My grandfather painted the exterior of most of the buildings in our capital city, fell from one of them, and drank until he terrorized his family every weekend. Can you smell my envy?
")
seriously..that was another great post.
-
It’s interesting. Perusing the manufacturer’s website, It appears to be a product with high thermal shock resistance and is intended for use in an iron foundry.
here is its chemical makeup. I post it so that the gurus can tell more. I know noth8ng about the chemical makeup of refractories...
AI2O3 51.6%
SiO2 40.9%
CaO 4.6 %
Other 2.9%
To be honest, high thermal shock resistance sounds like a refractory that will last a lot of heat cycles. No idea if it can stand up to flux or being bumped while hot. You just may have turned into an experiment for the gas forge gurus.
Edited to add: WOW HojPoj, that is one heck of an insightful first post on IFI. It is an idea that could hold promise for this refractory.
-
I love every part of that story. Did he have that swage block there’s when you lived there as a kid?
Also, I’m highly curious about your patent project....I hope we will get to see more when it becomes possible.
Completely jealous about the swage block.....
-
Buzzkill, thanks for the great idea (and pun). I put little effort into the interior of the “piece” because it would be out of view. If I were to polish it it would certainly create a nice halo effect. I’m on it!
Angry with myself....I just offered a minor diatribe against Roman art in favor of the Greeks because the Romans designed their statues to be against a wall and put no detail in the back side of them. And here I go following suit. Down with Roman metalwork!
-
You had me at fly press....
-
Good point on the forge lining. Some kast-o-lite 30 is in order for sure. A LONG read of the two main threads in the gas forges section will explain all.
-
That anvil appears to be in excellent shape and I think you got an amazing deal. The edges are good, the weld looks great on the top, the size is just about perfect for a daily use shop anvil. It looks to me like the rounding on the hardy hole was done on purpose by a previous smith. Some anvils come with that design from the factory but I’ve never seen an old English anvil born that way...but who knows? The brick was quite likely shaped that way for a specific purpose by a previous smith. You will, no doubt, discover your own uses for it. By the looks of it I’d guess it is a late model Peter Wright. It has the more modern look to the waist and feet....this is just my subjective “feel”, I’m willing to be wrong on its age.
Either way, you scored a great anvil for a greater price. Don’t touch it with a grinder!
-
Avoiding the taunt to get myself banned....I WAS thinking about making some shaped punches (diamond, half moon, whatever I felt like) and punching holes along the top before shaping in order to allow it to shed light. Then I pictured the ubiquitous Christmas tree candle holder and decided it would make something that is already gaudy just unbearably tacky.
I’ll allow my buddy the license to effect Thomas’s improvement idea if he so chooses. He does have a drill...
-
Welcome aboard. Feel free to start off by sharing your journey toward building and outfitting your shop. You’d be amazed at how much money you can save with input from the frugal types here. All you have to do is explain your need and they will one-up each other with cheaper and more efficient ways to get ‘er done.
Wrought iron hammer build.. Old school..
in Hand Hammers
Posted
I love the whole design of this hammer and desire one about the same weight. I now need a way to process that huge 4140 bar I have...and someone to guide me...<hint hint>
Seriously, if I bring a chunk of the 4140 to the green coal at the Fall meet will you be there to help me get a rough start on a hammer?