

renaissance man
-
Posts
7 -
Joined
-
Last visited
Content Type
Profiles
Forums
Articles
Gallery
Downloads
Events
Posts posted by renaissance man
-
-
On September 27, 2016 at 11:49 AM, Latticino said:
Not familiar with the "red" power hammer, though it does appear to be a version of an Oliver style to me.
With the red hammer build the builder used a 16 pound sledge head for his hammer. If I build that type of hammer I would definitely go for more weight.
As far as the treadle hammer goes, that is very interesting and I might build that as well. Can't have enough tools right?
On September 27, 2016 at 2:48 PM, JHCC said:"What does everyone prefer?" will get you fifty answers from twenty-five blacksmiths.
That is a good point, and I half expected to get that many responses. I have started reading the thread but like you said there is a LOT of information. I will come back with either a better question or my decision.
-
Hello I forge family,
As I've previously stated I am an amateur blacksmith. I have a few projects under my belt. Since I started on this journey I've wanted to build a small power hammer, just to aid in the busy work of drawing out material and whatnot.
I guess my question is which power hammer design does everyone prefer?
I have included a few photos, I'm leaning towards the red hammer design but I'm also interested in the foot power design.
I'm sure there's already a thread that covers these but I couldn't find it.
Any help is grateful.


-
On 8/8/2016 at 4:06 PM, eseemann said:
Where are you in East
I live in Morristown.
On 8/8/2016 at 4:16 PM, Ridgewayforge said:First, if you throw it in water, that big of a chunk will crack- its high carbon steel. Also, railroad rail does not need anything to make it 'better'. The top of it (the part in contact with the wheels of the trains) will hold up to a lot- it held trains, and is work hardened. The problem is, the web is meant to flex, otherwise the trains would break it. So, if you set it on end and use the cut ends as the anvil face, you get a lot of mass, which means energy returned to the work when you strike steel on it.
I would leave it as is, do not weld, and after 6 months of using it to produce pieces to sell, ask yourself if you want to weld it up. You can always decide later to do it differently, but right now it would be hard to return the track to its current state if you weld it up. You can still mount the track plate on a stump with a hole drilled in the stump to accept a hardy through the square hole- It has one huge advantage: It fits RR spike shanks!
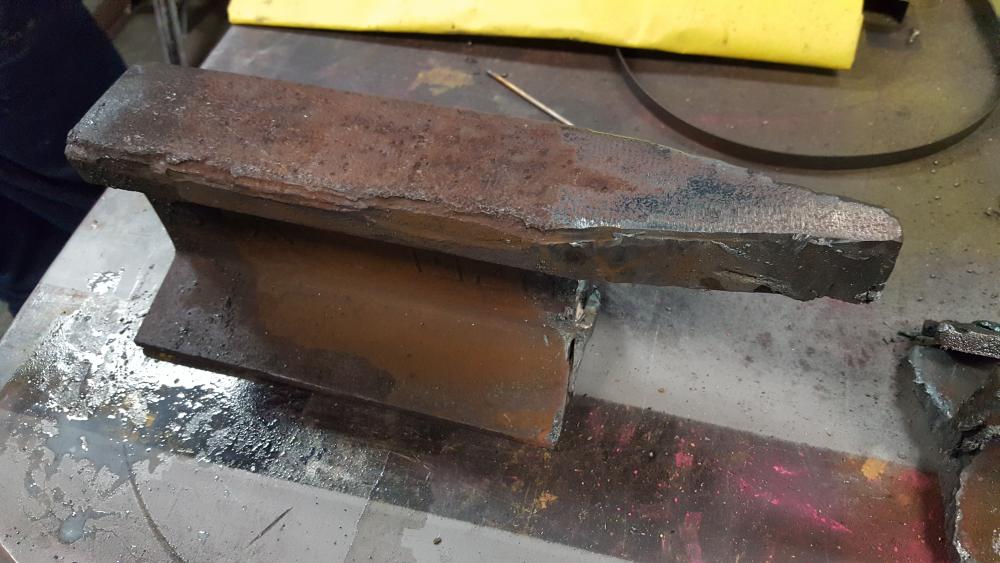
After getting a piece of it cut into two smaller anvils with different horn sizes I think I'm not going to weld anything on top of it.
After reading a lot about turning the rail straight up on its side I stumbled across an image of an anvil cut out of a piece of rail, welded to the top of a rail on its side. That's my next attempt. For now I'm going to use what I have. I'm learning as I go.
 On 8/8/2016 at 10:43 PM, ThomasPowers said:
If you really want to turn that anvil into a more london pattern anvil I strongly suggest you read the chapter on how to do so in "The complete modern blacksmith", Weygers and I don't feel like typing in the 3 pages and ten pictures in his instructions. As you are in America you should be able to ILL the book at your local public library; though it's well worth selling plasma and spending the less than 20 bucks to buy it at abebooks.com.
I would read your original post as: "I can't afford to buy an anvil right now but I was able to obtain legally several anvils. Take a look at the anvil being used by the master Japanese swordsmith in the National Geographic "Living Treasures of Japan" it's on Youtube but you may need to find the chunk that has the swordsmith in it. As useful as the london pattern anvil is most of the world for most of history has been using other shapes for 10 times as long. Don't let *that* push your start date off! 1000 hours on a $20 anvil with beat 20 hours on a $1000 anvil any day of the week!
Thank you for the advice!
6 hours ago, Charles R. Stevens said:It all comes down to what you can lay your hands on.
I was able to get the rail for free and cut at work for nothing. I know eventually I'll get a real anvil but I hope this will help me get started.
-
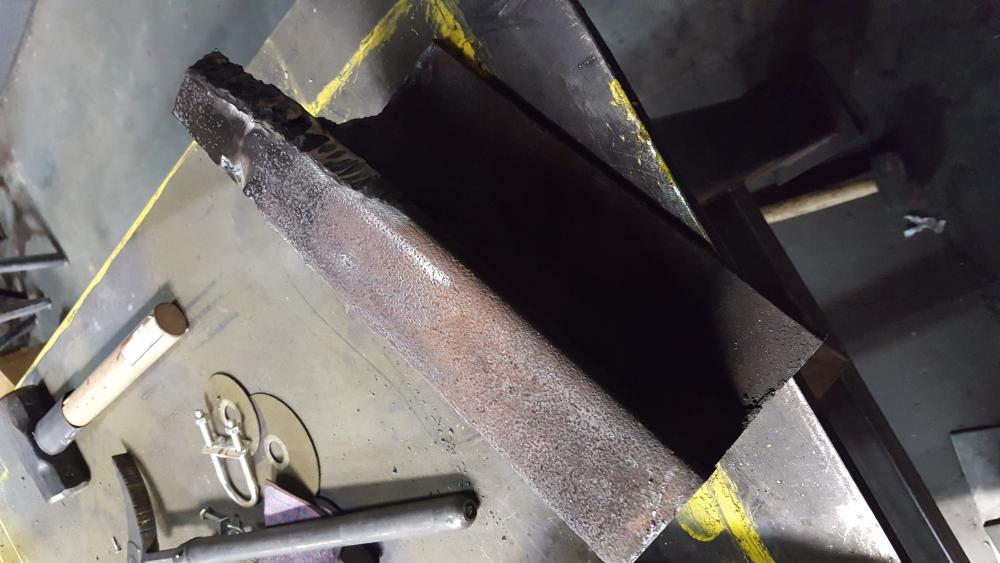
So I'm sure this is gonna cause quite a stir, but please be gentle, I'm new to blacksmithing.
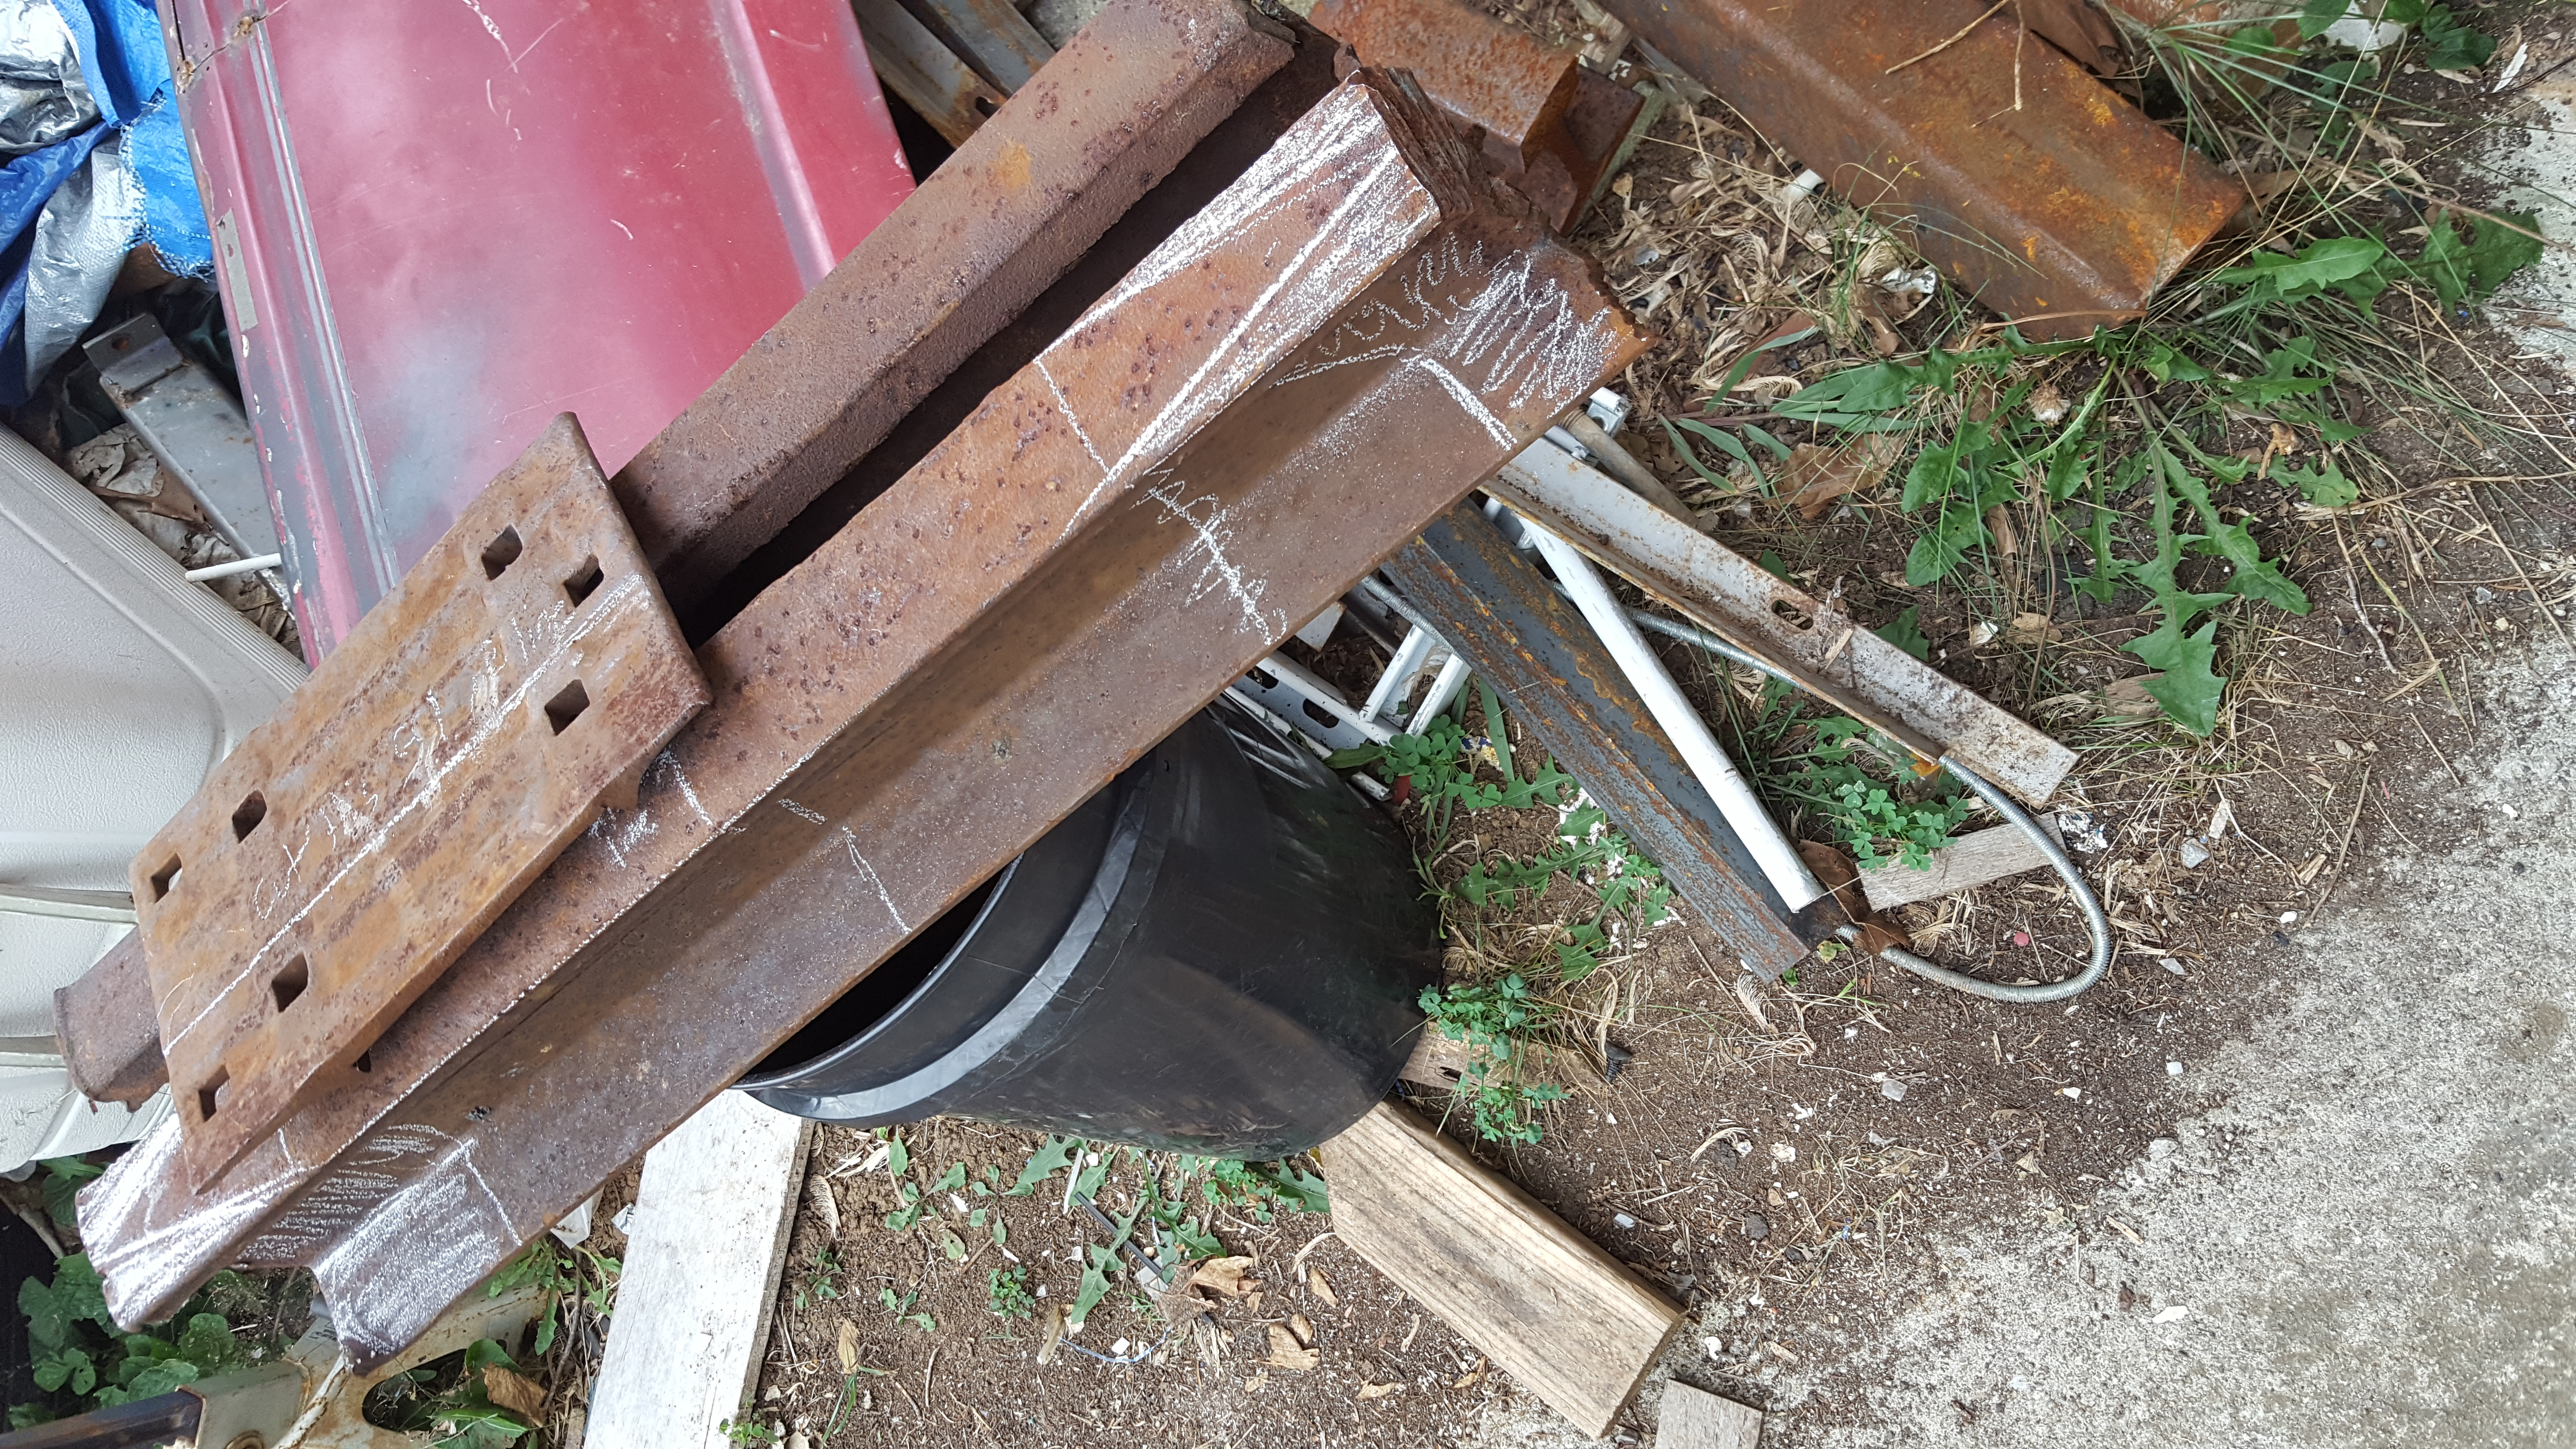
I can't afford to buy an anvil right now, but I was able to obtain, legally, several pieces of railroad rail. As shown in the pictures I'm planning on cutting one piece in half to make two anvils as an experiment.
I've read about people using a leaf spring and welding it on top for the flat and hardened surface, then throwing it in a fire to slowly heat up and then dropping in water to harden.
I guess my question is, I also obtained a piece of steel they use to attach the rail to the tie. It has square holes already in it, and it the length of my anvil from the horn to the end of the face. Can I use this in place of the leaf spring?
Later on I plan on cutting another piece in half and welding the two pieces together to form a wider anvil, with a piece of hardened steal welded on top.

I forgot to mention I plan on using one of the square holes hanging off the back side of the anvil as a hardy hole. That way I don't have to drill any holes into the rail itself.
-
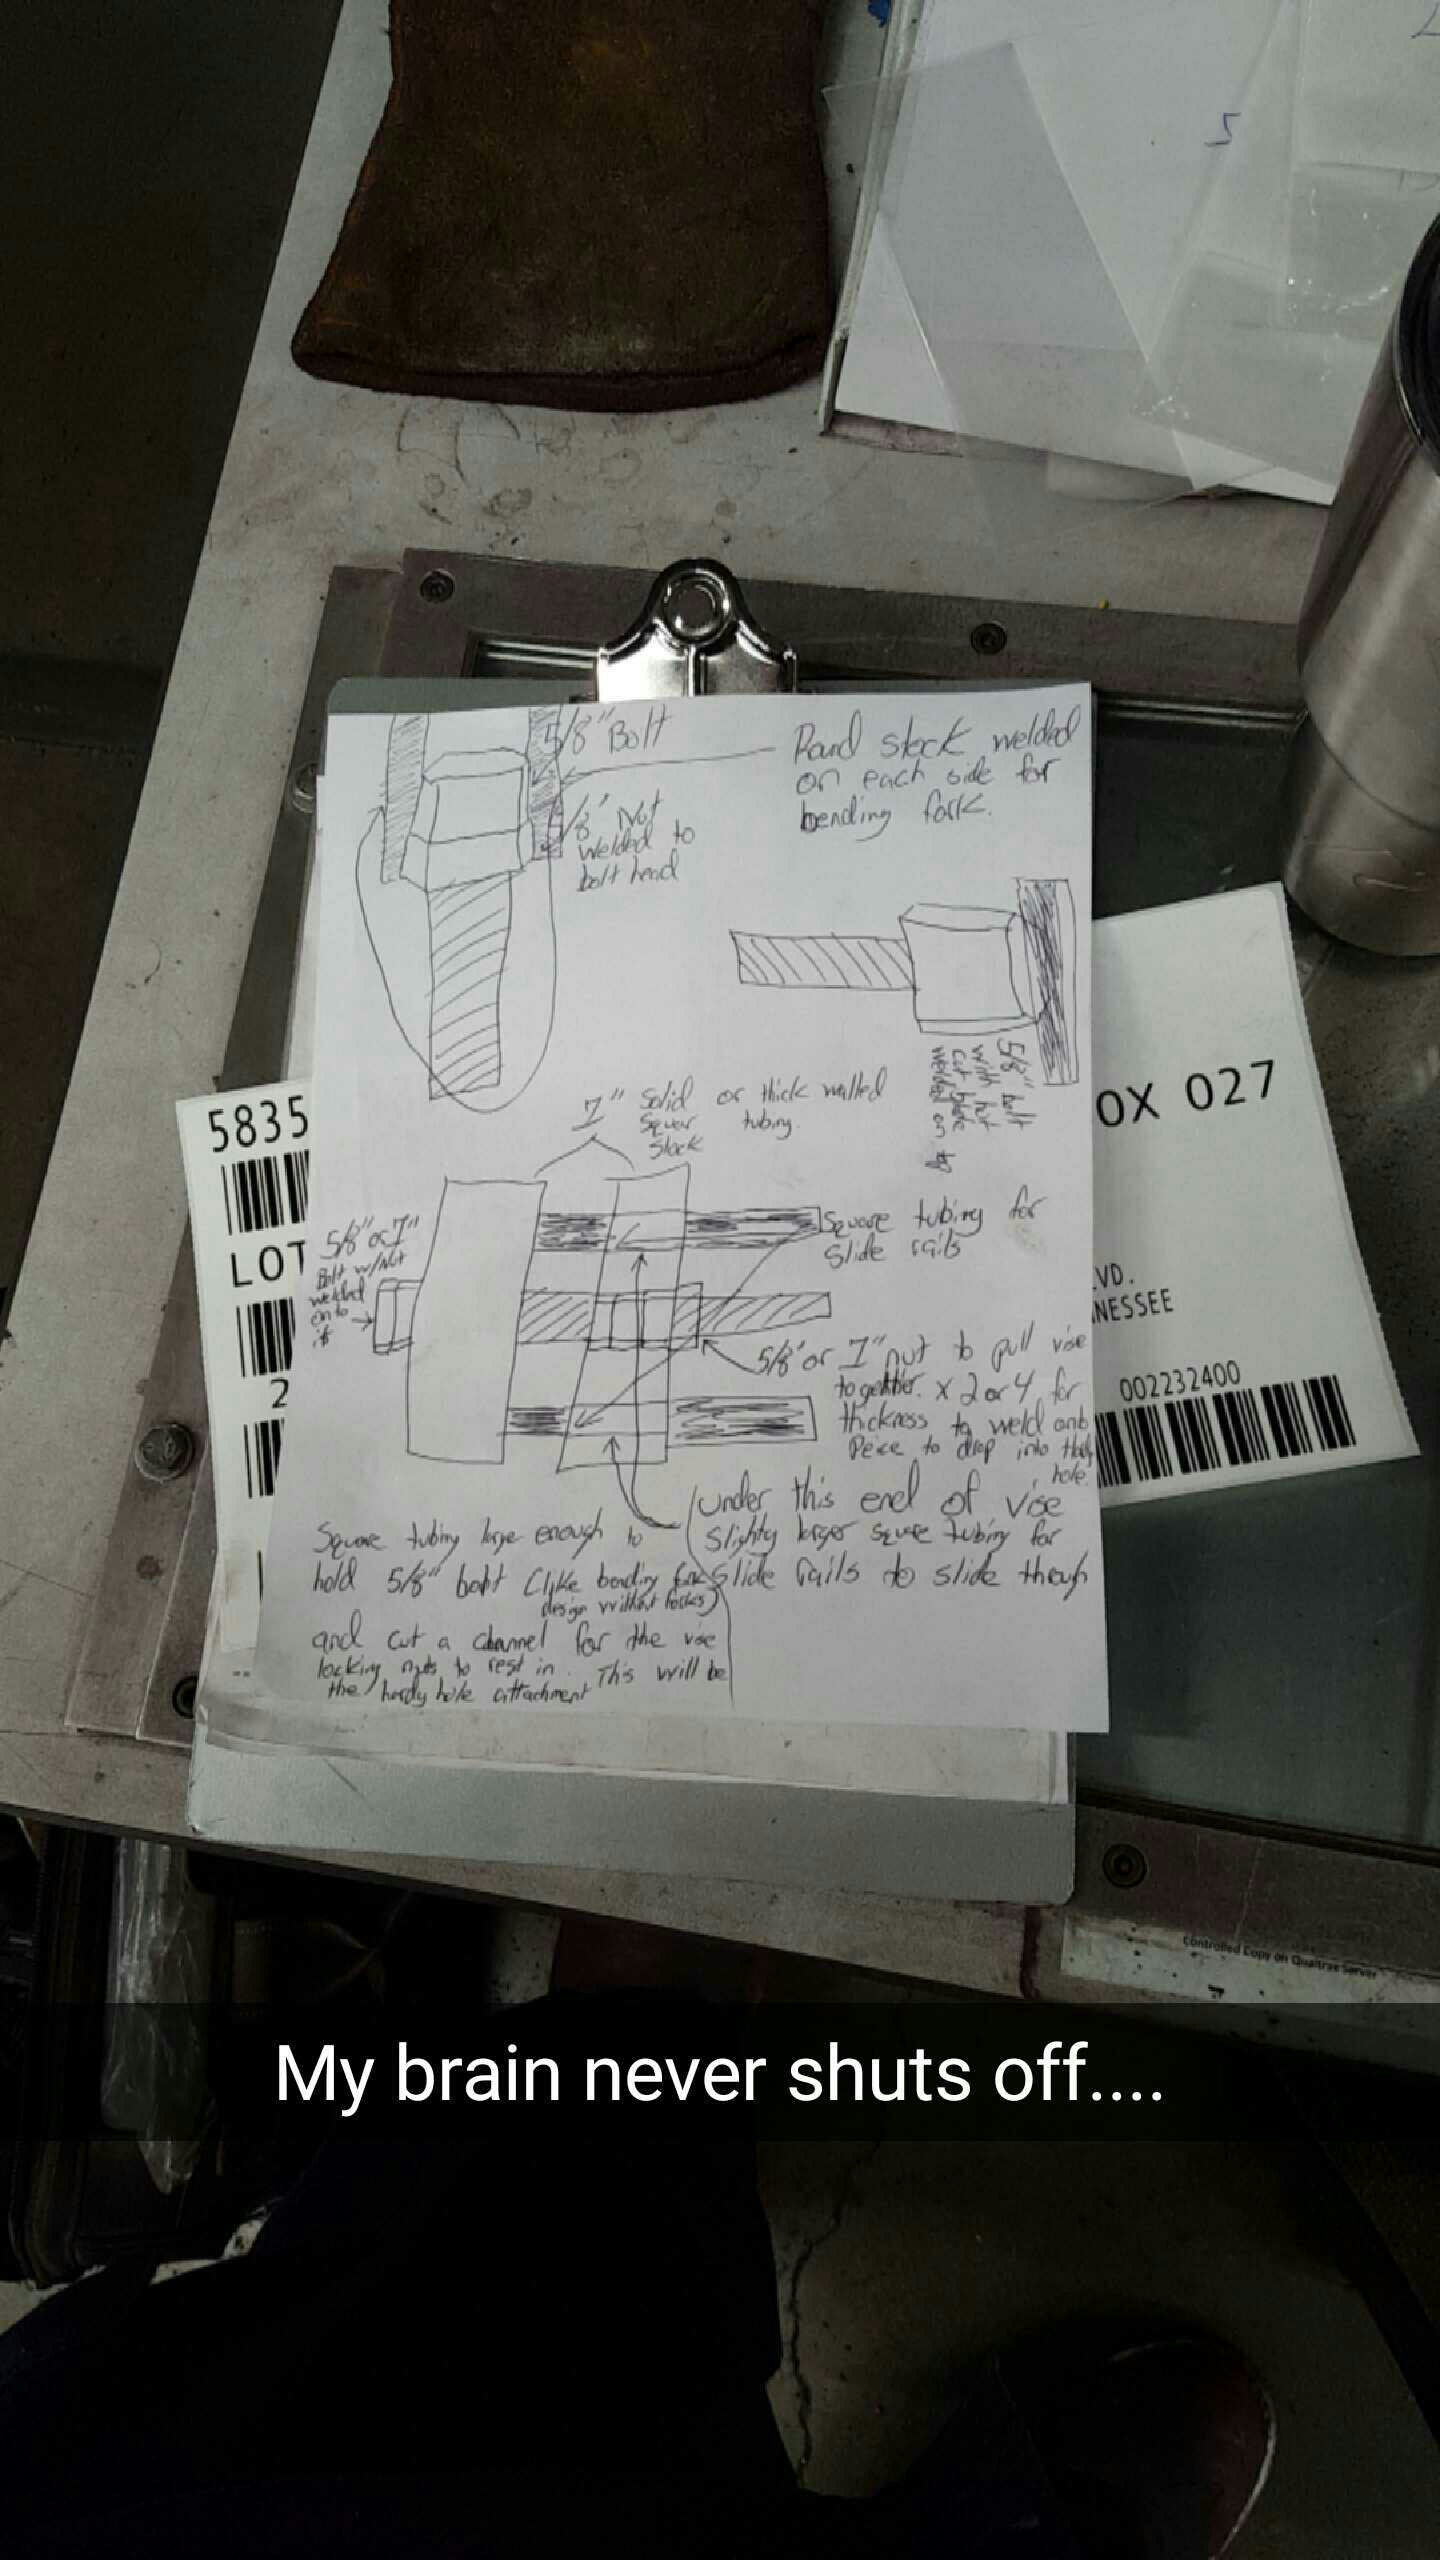
The drawings are very crude, but here are some of the things I'm planning. My anvil is a long piece of railroad rail attached to a 150 pound tree trunk, so I don't have a hardy hole. I was going to drill a 5/8s hole and weld a nut underneath, using 5/8 bolts for all the hardy hole tools.
However I also obtained, legally, a piece of iron they use to hold the track to the railroad tie and the square holes in it are 5/8 also. This has me thinking of anchoring that plate on another stump and drilling a 1" wide hole under it for the hardy tools to fall into through the plate.
I'm undecided on the direction I'm going right now.
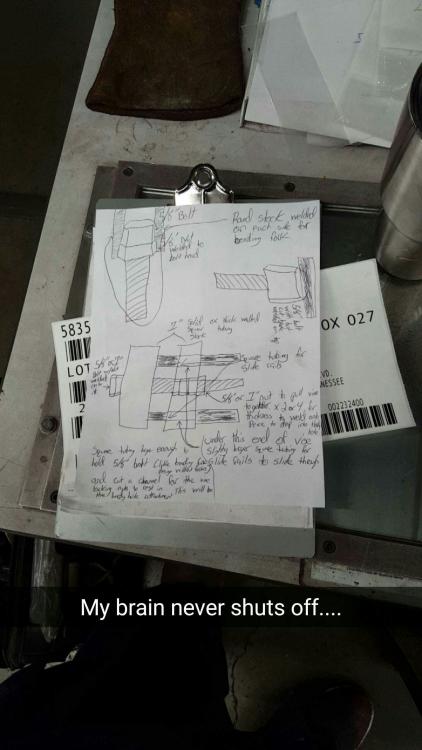
I forgot to mention I saw a guy on YouTube using a pair of vise grips welded to a plate and the plate was welded to a hardy hole piece which he used to hold his round stock while he worked it. I might try that first for the anvil, and the vice contraption on the hardy hole plate I mentioned earlier.
-
I just became a member so please forgive the few year late response, but I don't currently have a vise and need something to hold while twisting smaller metal right now. I just drew up a hardy hole vise while at work that I will be making shortly.
I would love to be able to look at the pictures previously posted for better references or design but unfortunately they won't load anymore.
I'll try to upload pictures when I get mine compete.


Building my own power hammer
in Power Hammers, Treadle Hammers, Olivers
Posted
but like most videos on YouTube, there is no video that I could find at the time of him using it on metal.