u_p_country
Members
-
Joined
-
Last visited
Everything posted by u_p_country
-
Corey, thank you for the close ups. Pictures really are worth a thousand words. Mike, thanks for the encouragement to experiment and the good advice to keep us on track. Frosty, the freezer trick is excellent! That one will go on my mental bag of tricks.
-
Dan, hope the camping was fun! Thanks for posting the pics from the borax works. Thanks for running the tests and doing the write up. I'll be ordering some of the Nalco 1144 when things warm up here. Unfortunately that will be a month or so. I'm excited to have a new forge that heats up faster and still had some strength as well. With my newly built burner it'll be like a whole new smithy! Thanks again for the write up and be sure that I'll be posting my results here as well. Adam
-
Wow! Those pictures sure tell a story! 60's would be nice for a change here! We were shouting for joy that we topped out at 48F yesterday afternoon!
-
Mellin, it's been almost a year now, any results to post up?
-
Mike, I noticed that the burner Corey/soopafeen has been posting about has a much different construction method for the end cap and gas tube holder. He also mentioned, I think in his first post IIRC, that you had given him some direction about building it this way. Could you give some more insight into this? Or maybe Corey/Soopafeen can jump in and give some insight, or more photos? Maybe you already did and I missed it. Now that I have one burner going to my satisfaction, I have to build another!
-
Excellent! That's what I was hoping to hear, but didn't want to jump the gun. It was a little daunting posting my pics up for review, but The help has been so tremendous, It was worth a little trepidation. Thanks again to all for your help! I'll post pictures over in Forges 101 of my forge up and running when I get a final coating on the wool.
-
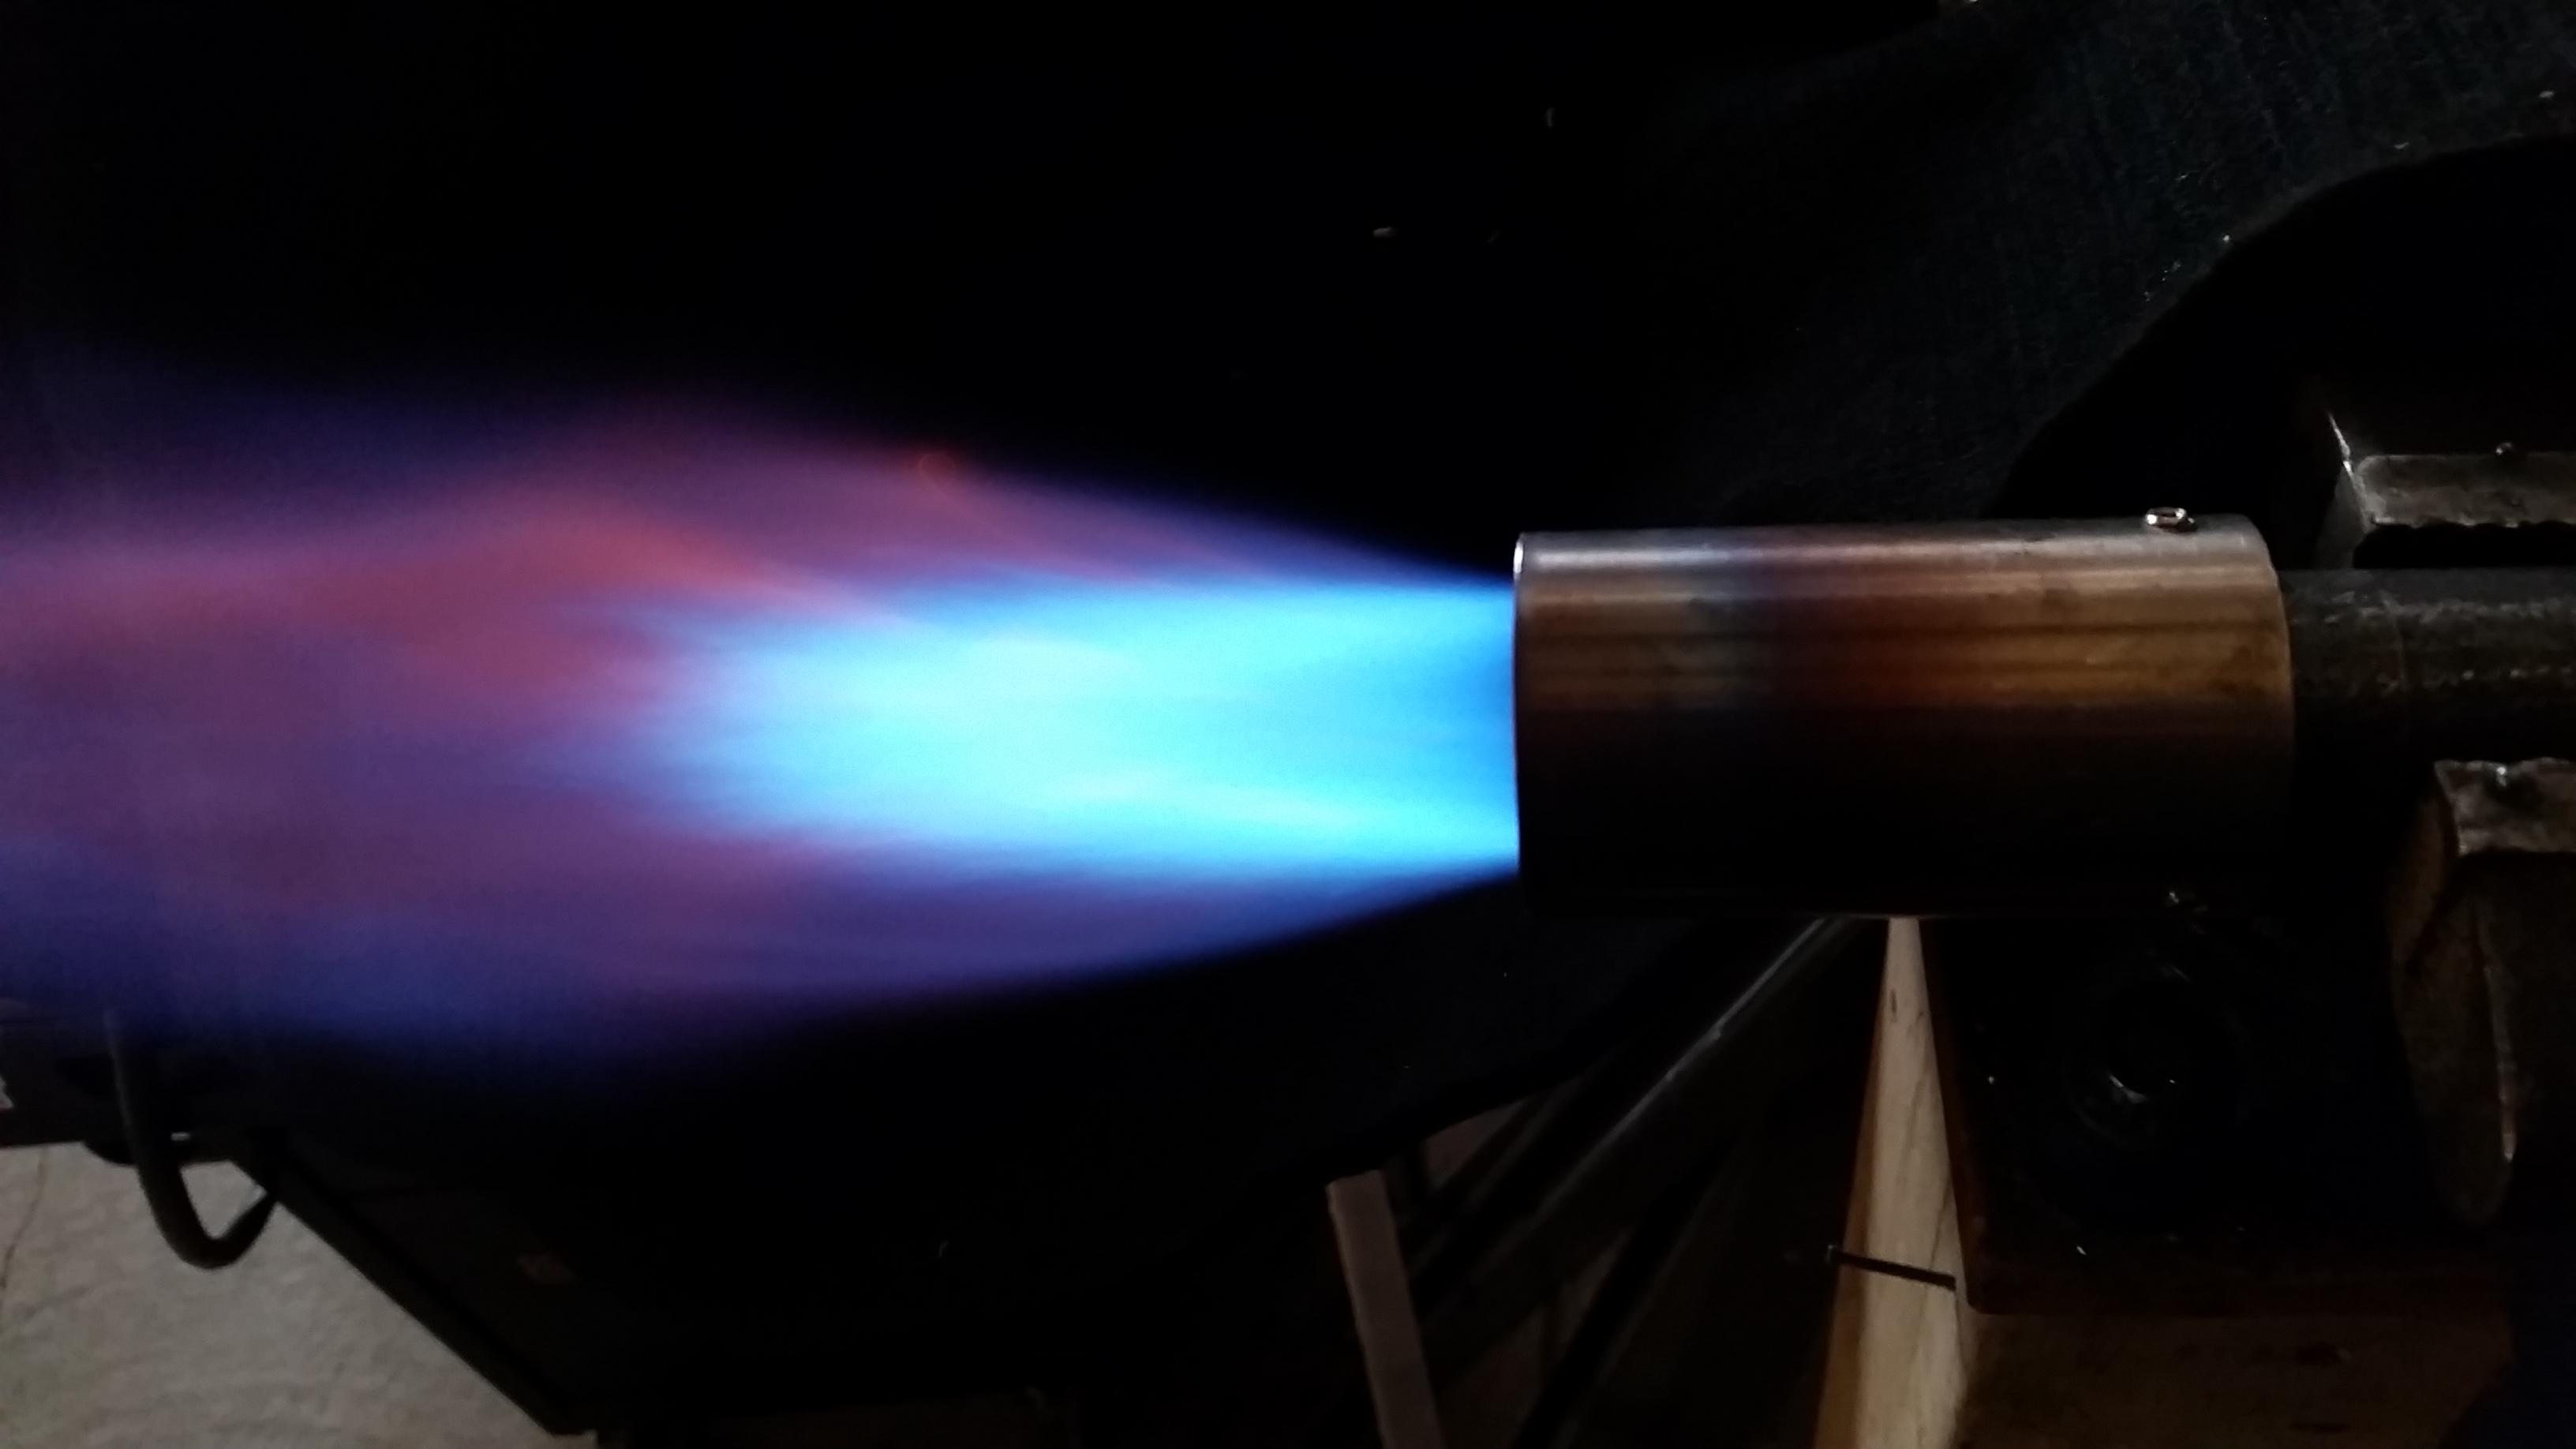
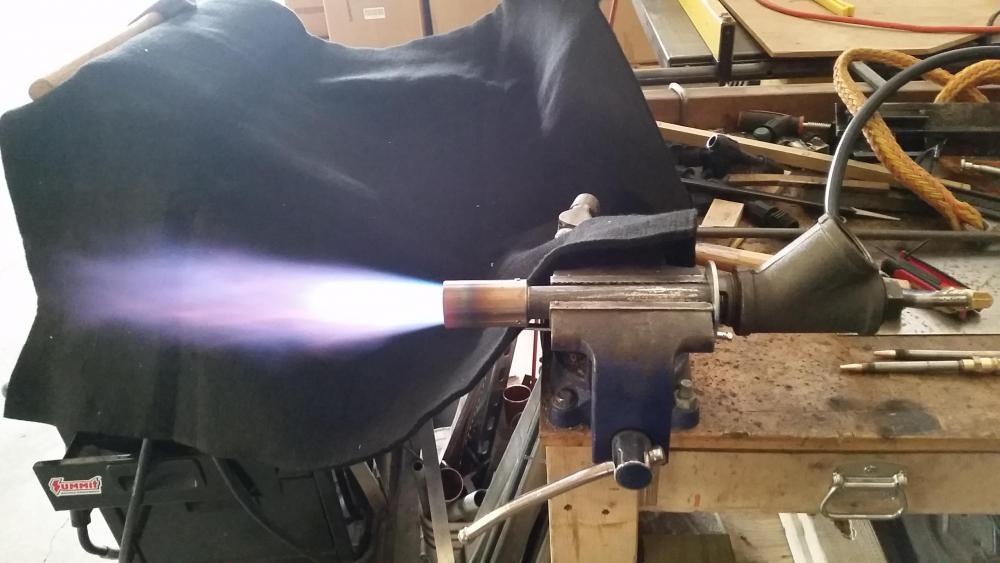
Just a quick update on my 3/4" mikey burner. Before work I spent a few minutes in the shop and came up with this flame. This is a 0.25 MIG tip at 8 psi. I forgot to measure nozzle overhang but the gas tube is about 5/16" back from the front end air openings. Choke is 3/4 open. Any further and the flame turns purple and wants to blow off the end.
-
Have fun camping! It was 9 degrees F this morning and we still have lots of snow so camping wasn't even on my radar. I suppose there are lots of places in our fine country that are having warm spring weather! I'll look forward to your results. Thanks again for sharing your experiences so we can all learn!
-
Mike, I have been working on getting things centered in my burners so I'm surprised I forgot that one. You and others do a great job of walking that middle road of teaching the ins and outs while encouraging us newbies to keep going. Thanks!
-
Thanks for the ideas about camera, I didn't think about decreasing the exposure, I'll try that next time i'm out in the shop.
-
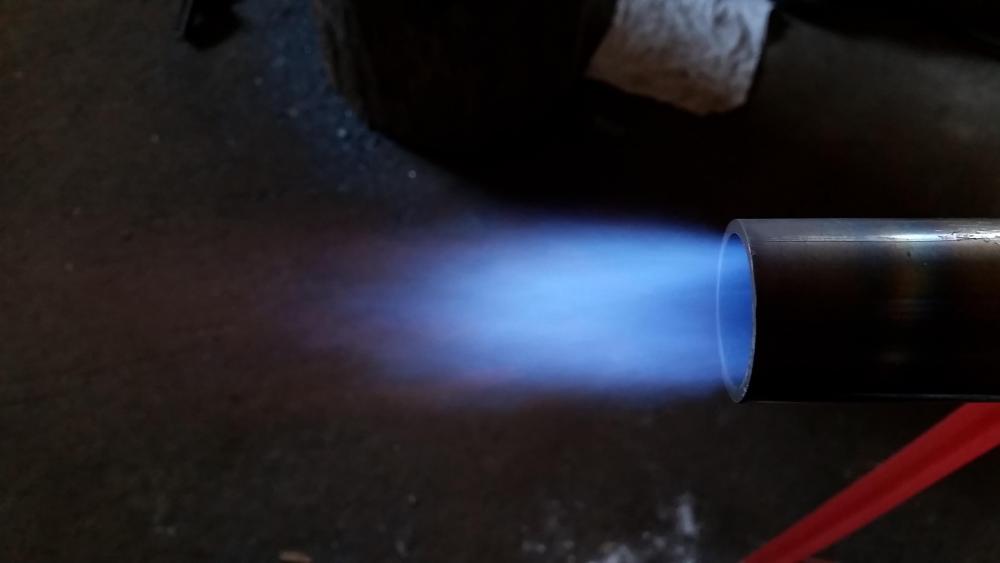
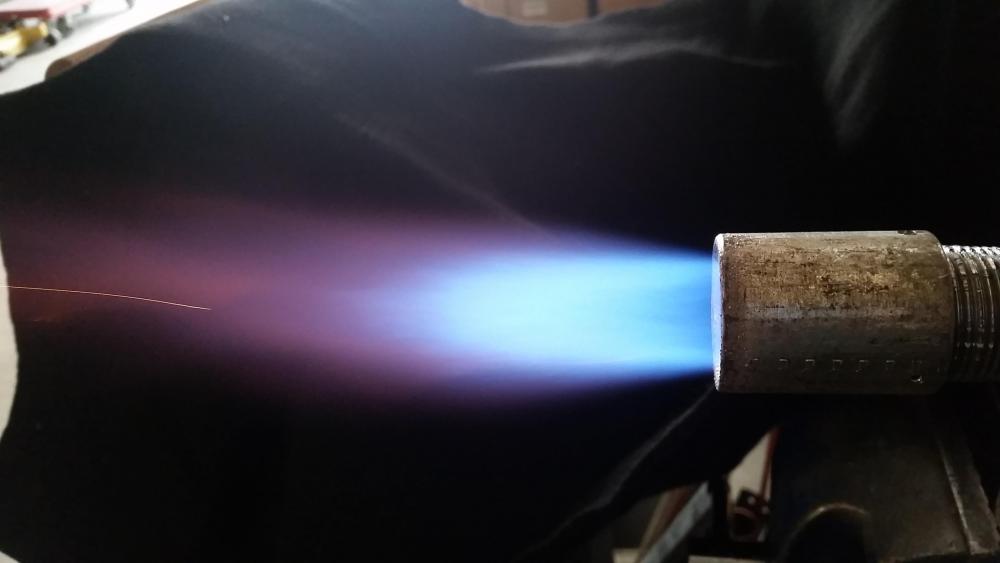
Well after switching to a .025 MIG tip the mikey burner runs so much better. It can produce a nice flame that matches up nicely with the earlier "ideal" flame pictures. Sorry no pics, my phone's camera is distorting the colors too much to be useful. I'll have to try my old digital camera. Now I'm having trouble getting the choke open all the way without blowing the flame of the nozzle. Seems like that means I'm getting closer but I might be all wet there. I was running at 8 psi. Just for kicks I mounted it in the forge and voila! Full range of opening on the choke and nice flame all the way through the range of pressures all the way up to 40 psi! So I'm stumped for now. My next step is to clean up the air openings and fine tune the fit and finish of the burner as Mike suggested. That will keep me busy in my odd spare moments this week. Thanks again all for your help. Gosh this is fun!
-
Mikey98118 You got me there, I remember reading that as well. It wouldn't do to line my forge with something that can't stand the heat! I'll look into the Plistix and wait for more info from D.Rotblatt His methods are intriguing, especially his times to full heat!
-
Another Franken Burner That is a great explanation of a burner flame! Being a visual learner, your illustration makes perfect sense. I think the pictures are pretty close to what is visible to my eyes though some more run time will tell. If it's running "rich", moving the accelerator forward, toward the flame, should help to "lean" it out, yes? Am I understanding the theory correctly? Mikey 98118 You caught me! I was so excited to fire it up that I didn't finish all the details that needed doing. Patience is not one of my strong points. I have several of the .025" MIG tips and will give one a try. My understanding of the MIG tip sizing is still a little fuzzy, going down in size helps the burner by accelerating the gas flow? After reading the last 60 pages of this thread over the course of a couple weeks, you have convinced me that small tuning adjustments, one at a time will yield big results. While on the subject of tuning, I haven't read, or maybe I have missed a list of the things that can be tuned on a burner and what their impacts are. Of course they are all tied together and one change will affect the others, but my mind craves a checklist. Flame nozzle overhang, MIG tip size, MIG tip location (forward or backward), choke position (if present). Am I missing anything? Thank you for the encouragement! Looking forward to some more shop time.
-
Curiosity is killing me, why choose Plistix over metrikote? My reading suggests that both are similar. Wayne himself seems to order the metrikote. Hoping to learn from your experience.
-
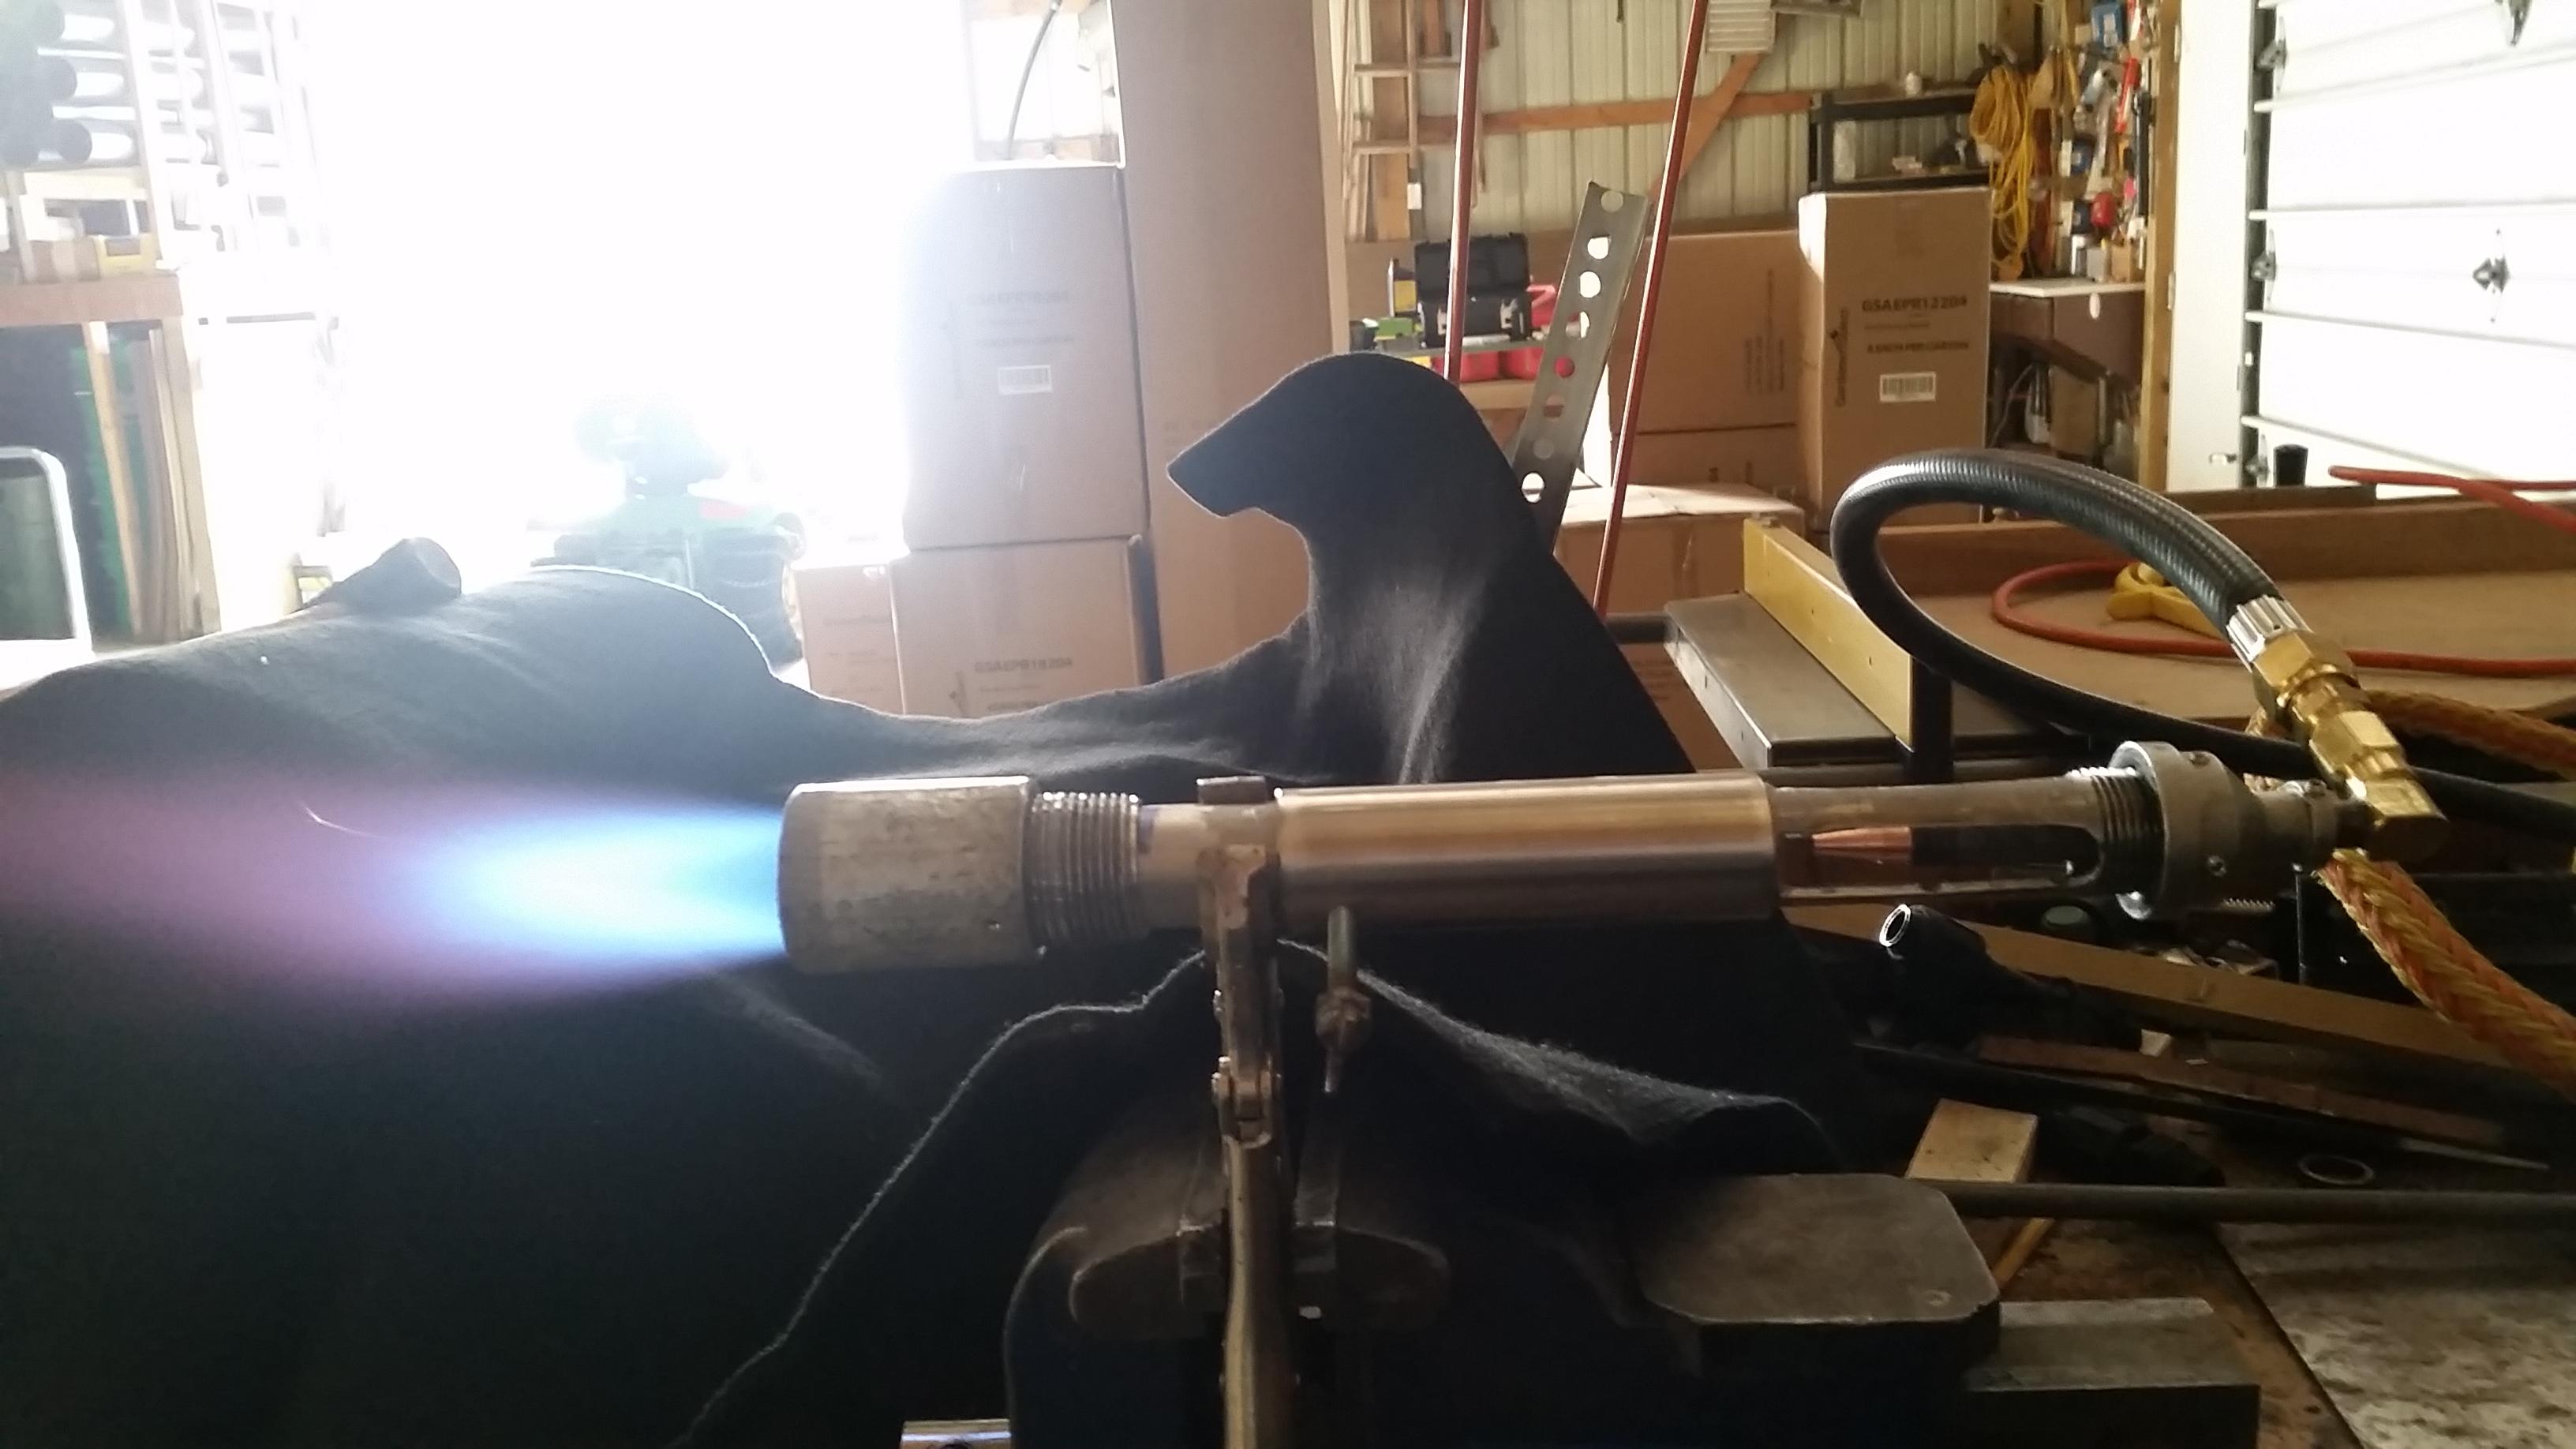
Good morning all, Looking for some tuning advice on a couple burners I think I'm in the ball park but want to get closer to the ideal. Pic 1 - 3/4" Burner #1 uses a .035 mig tip in a schedule 1/8" #80 gas tube 4" long. Pressure in this picture is 8 psi. Nozzle is the stepped design from Mikes book. Pic 2 is the full burner Pic 3 - 3/4" Mikey Burner uses a .030 mig tip in a schedule 1/8" #80 gas tube 4" long. Pressure in this picture is 8 psi. Nozzle is a stepped design with a thread protector instead of smooth wall tube. I intend to chage this for the regular nozzle when materials arrive. Pic 4 is the full burner I'm relatively new to all this but eager to learn! Reading on this forum has been mind bending!


-
D.Rotblatt Thanks for the clarification. I'll be looking forward to the results of your testing! Mikey, thank you for the idea about using just metrikote over rigidized wool. I may go that route for now.
-
Dan et al, I talked with Bob at Remet yesterday and they sell gallons of Adbond II for around $40 plus shipping. Considering that I will only use a small amount this may not be the best solution. Is it within the realm of standard practice to just coat the rigidized wool with metrikote or equivalent? Thanks again for all the help!
-
Oh excellent, thank you for pointing me to that thread!
-
Good morning all, After making my way through this thread and burners 101 I think I'm ready to ask some questions. I am working on building my second forge. My first proved too small for some of the decorative items I have been making. Insulation is 2 - 1" layers of kaowool rigidized with the colloidal silica recipes from this thread. Thanks for the food coloring tip! That made it really easy to see where I had sprayed. I plan to have high alumina kiln shelf for the flooring and now need to decide on a coating for the wool. Right now I'm leaning towards the zircon/colloidal silica combination because I have easy access to both of those items. @D.Rotblatt, have you used this coating in your forge or was it just the zircon/adbond coating? Your post from just before Christmas is what has me leaning in this direction. How thick did you make your slurry or better yet, what proportions of each did you use for the zircon/fumed silica? Were both the zircon and the fumed silica in powder form? Mikey, I'm following the recommendations from your book for the propane tank forge and wondered if the process for rigidizing the fiber board is like that for the blanket. Butter, spritz rigidizer, bring to red heat, done. Did I miss anything?