Thanaton23
Members
-
Joined
-
Last visited
Everything posted by Thanaton23
-
They should show up. I'm hosting them from my own domain. Can you see them on you phone?
-
I won't be holding my breath while I wait for them to knock on my door...
-
This is just mild steel round bar from a local steel merchant. I have no idea what alloy it is but I have several meters so I can afford to experiment. TBH, it didn't seem much harder as I removed material fairly easily with the angle grinder and a sanding disc. What alloy of steel would be best suited for this application?
-
Just a quick update on this. I made a joggling die for the hydraulic press. It's not pretty but it works great: It's not exactly how I want it but it will certainly allow riveted construction with angle iron. I have a few ideas to perfect the technique. I also made this as my first completed forged project, a rivet set made from some 1" round I had. I formed the end over a 3/8" rivet held in a vice. I then attempted to harden and temper it with another soak in the fire, quenched the end then allowed the tempering colours to work their way up to the tip. It was going slow at first but sped up towards the end (I guess it does this because there's less material to draw the heat as it gets closer to the tip) and I wasn't quick enough to quench it so it's tempered to around blue/purple. I guess this should be OK for an impact tool like this but It's also too shallow so I'll be doing another one with a deeper cupping... Also, the forge is performing superbly. I was able to get a nice steady fire going tonight and used a LOT less fuel than the first time. If I shut the gate between heats it just ticks over nicely. I can go off and do other things and it will look after itself. So far, it has vastly exceeded my expectations...
-
Google says it's free...
-
This fire was a little large to be honest, I could do with it a little smaller so I can get a more local heat on the area I want to bend. I guess I just wanted to see what she was capable of this time. I suppose I could get some fire bricks and cut them so they take up some room at either end of the pot. I also found I had to build up the fire quite high in order to get the angle iron sitting nicely in the sweet spot. Perhaps another grill in the bottom would help more to raise the fire above the rim of the pot with less need for excess fuel. Any other suggestions? I do have an air gate on the forge and closed it off after each soak. Eventually I realised it was best to open up the fire each time to release some heat and reduce consumption. I'm not overly concerned about consumption though, the main thing is it will provide what I need when I need it. I won't be forging continuously for 8 hours a day, five days a week. It'll be more like three hours every three weeks. Once I get the technique down I'll just blast out a load of bent angle sections in one session and use them as required. Although it's bespoke furniture I'm making, many of the elements will be the same across the board.
-
That's superb Charles, I'll try and find a copy. Got it Charles! You are an absolute diamond! This is exactly what I'm after and pretty much describes it as you did. Thank you so much!
-
Thanks Charles, I shall be attempting that technique next time. There's really nobody left to teach this stuff any more and most of the reference material was written by engineers who never got their hands dirty. No doubt the actual doing of the job was learnt through apprenticeships...
-
So I got the new forge fired up properly this evening. I used charcoal to get it going then piled the coke on top and this thing is AWESOME! Like I said, I knew nothing about blacksmithing three weeks ago and have never actually seen a proper forge working so to me this was something really incredible - I've never seen anything quite like it! I can't emphasize enough how happy I am with this forge. It got so hot I accidentally melted my 50x50x5 angle iron. The firepot was glowing red and I was concerned about it melting but when I cleared the fire at the end it had held up beautifully. After my last post, many people expressed concerns about the air holes in the bottom of my fire pot, but I can tell you they did not present any issue at all. The blower performed admirably and I only ever needed to open the air gate a fraction, just a few mill was enough! If I opened it fully it really roared and I knew if would eat through my fuel in short measure. Anyway, as I mentioned before,the reason I built this forge is so I could put a 45 degree bend in angle iron, otherwise known as a "knee". I also need to "joggle" angle iron like the old angle iron smiths used to when making riveted plate girders. I was able to successfully heat the angle iron in the pot with no problem: And here are the results: I suppose I was able to have some success here. The result I'm looking for is a clean 45 degree bend in one axis, as in the last photo. I began the bend by hooking it in one of the t-slots on my surface table. Inevitably, the steel on the "hard bend" leg puckered up so I hammered it as I bent. Eventually I was able to draw this out so that it formed a curve in the inside edge. I was then able to sharpen the outside corner somewhat, but ideally want to get this cleaner than it is. As you can see, I left it soaking too long and melted the inside radius of the angle iron. I was surprised how quickly this can happen. I suppose the correct timing will come with experience. So basically, my question to any of you is - how can I best achieve what I want to? Currently I have no anvil as such, I used the edges of my t-slot surface table as an anvil and it did not damage it at all. I do however have a 30 ton pneumatic workshop press, which could easily perform a bending operation in one heat. So - can anyone suggest a technique I should use to do this? I could make up some press tooling from steel plate and use that to bend it, but I would still get some puckering on the "hard side". Alternatively, I'm thinking about a technique involving bending it over a slotted die by hand then hammering down the pucker. On the next heat I could draw out the excess from the pucker to form a curve on the inside edge, then refine the outside corner with a few hammer blows on the last heat. Does this sound like a reasonable approach? Should I upset the steel at the point of the bend before bending it? Also I thought it may be worth quenching the heat on both sides of the bend point to isolate the work to a smaller area. Apologies for the barrage of questions but I hope someone can advise me. I realise I should probably go on a course but I really don't have time for that as I have already left my "proper job" to do this. This operation is just a small but essential step in my production process so I need to get it right quickly. I am a very fast learner (not only was the forge my first forge, but also my first welded fabrication - I had only done practice welds beforehand), so any advice you can offer would be quickly applied. I know there are some experienced blacksmiths on here so hopefully someone can give me some solid advice or otherwise direct me to useful sources. Thanks in advance...
-
I'll give it a go as it is for now, and if I have trouble maybe I'll join up the three central holes into one slot. I think my plasma cutter would struggle though, maybe I'll just plow through it with the die grinder...I always feel like a maniacal dentist using that thing!
-
Thanks for your kind comments Frosty. Yes, it is overbuilt for sure, but this is the stock I had around and I wanted something I could rely on not to collapse in the middle of a job. Plus, like you i'm sure, I don't like flimsy things! I do have some castors to put on the legs so it's easier to move. I reckon it weighs close to 150kg... I hadn't thought about forge gasses causing detonation! When might this be likely to occur? I don't fancy the idea of a red hot coke meteor shower!
-
Just the other side of Brum. Unfortunately I will have kids in tow on Saturday so no good. I could be available on Sunday though...
-
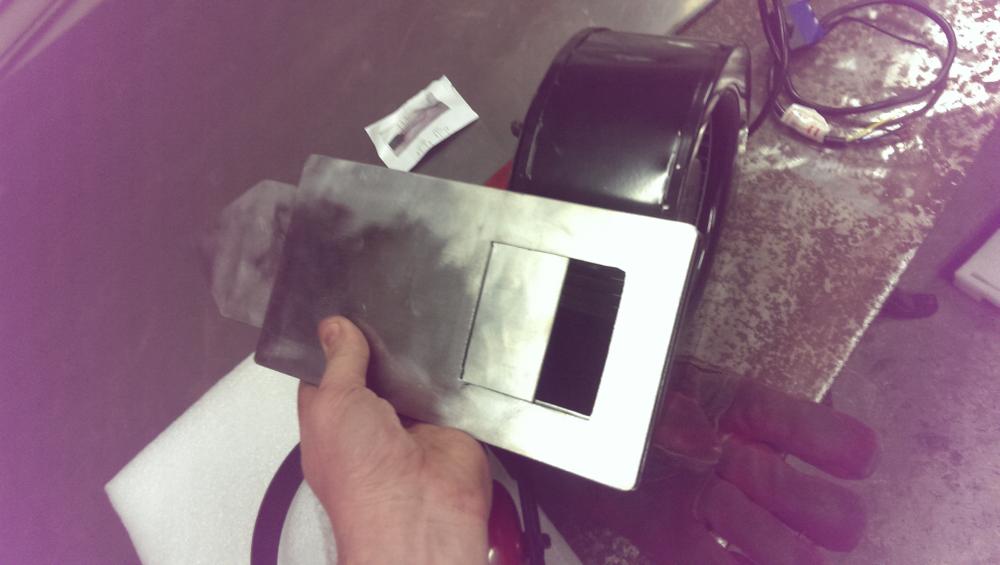
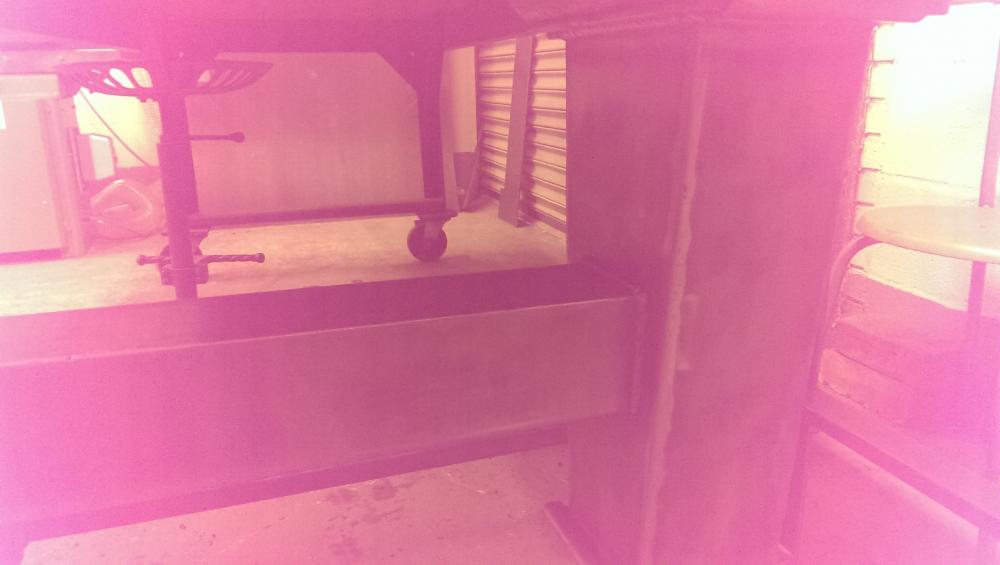
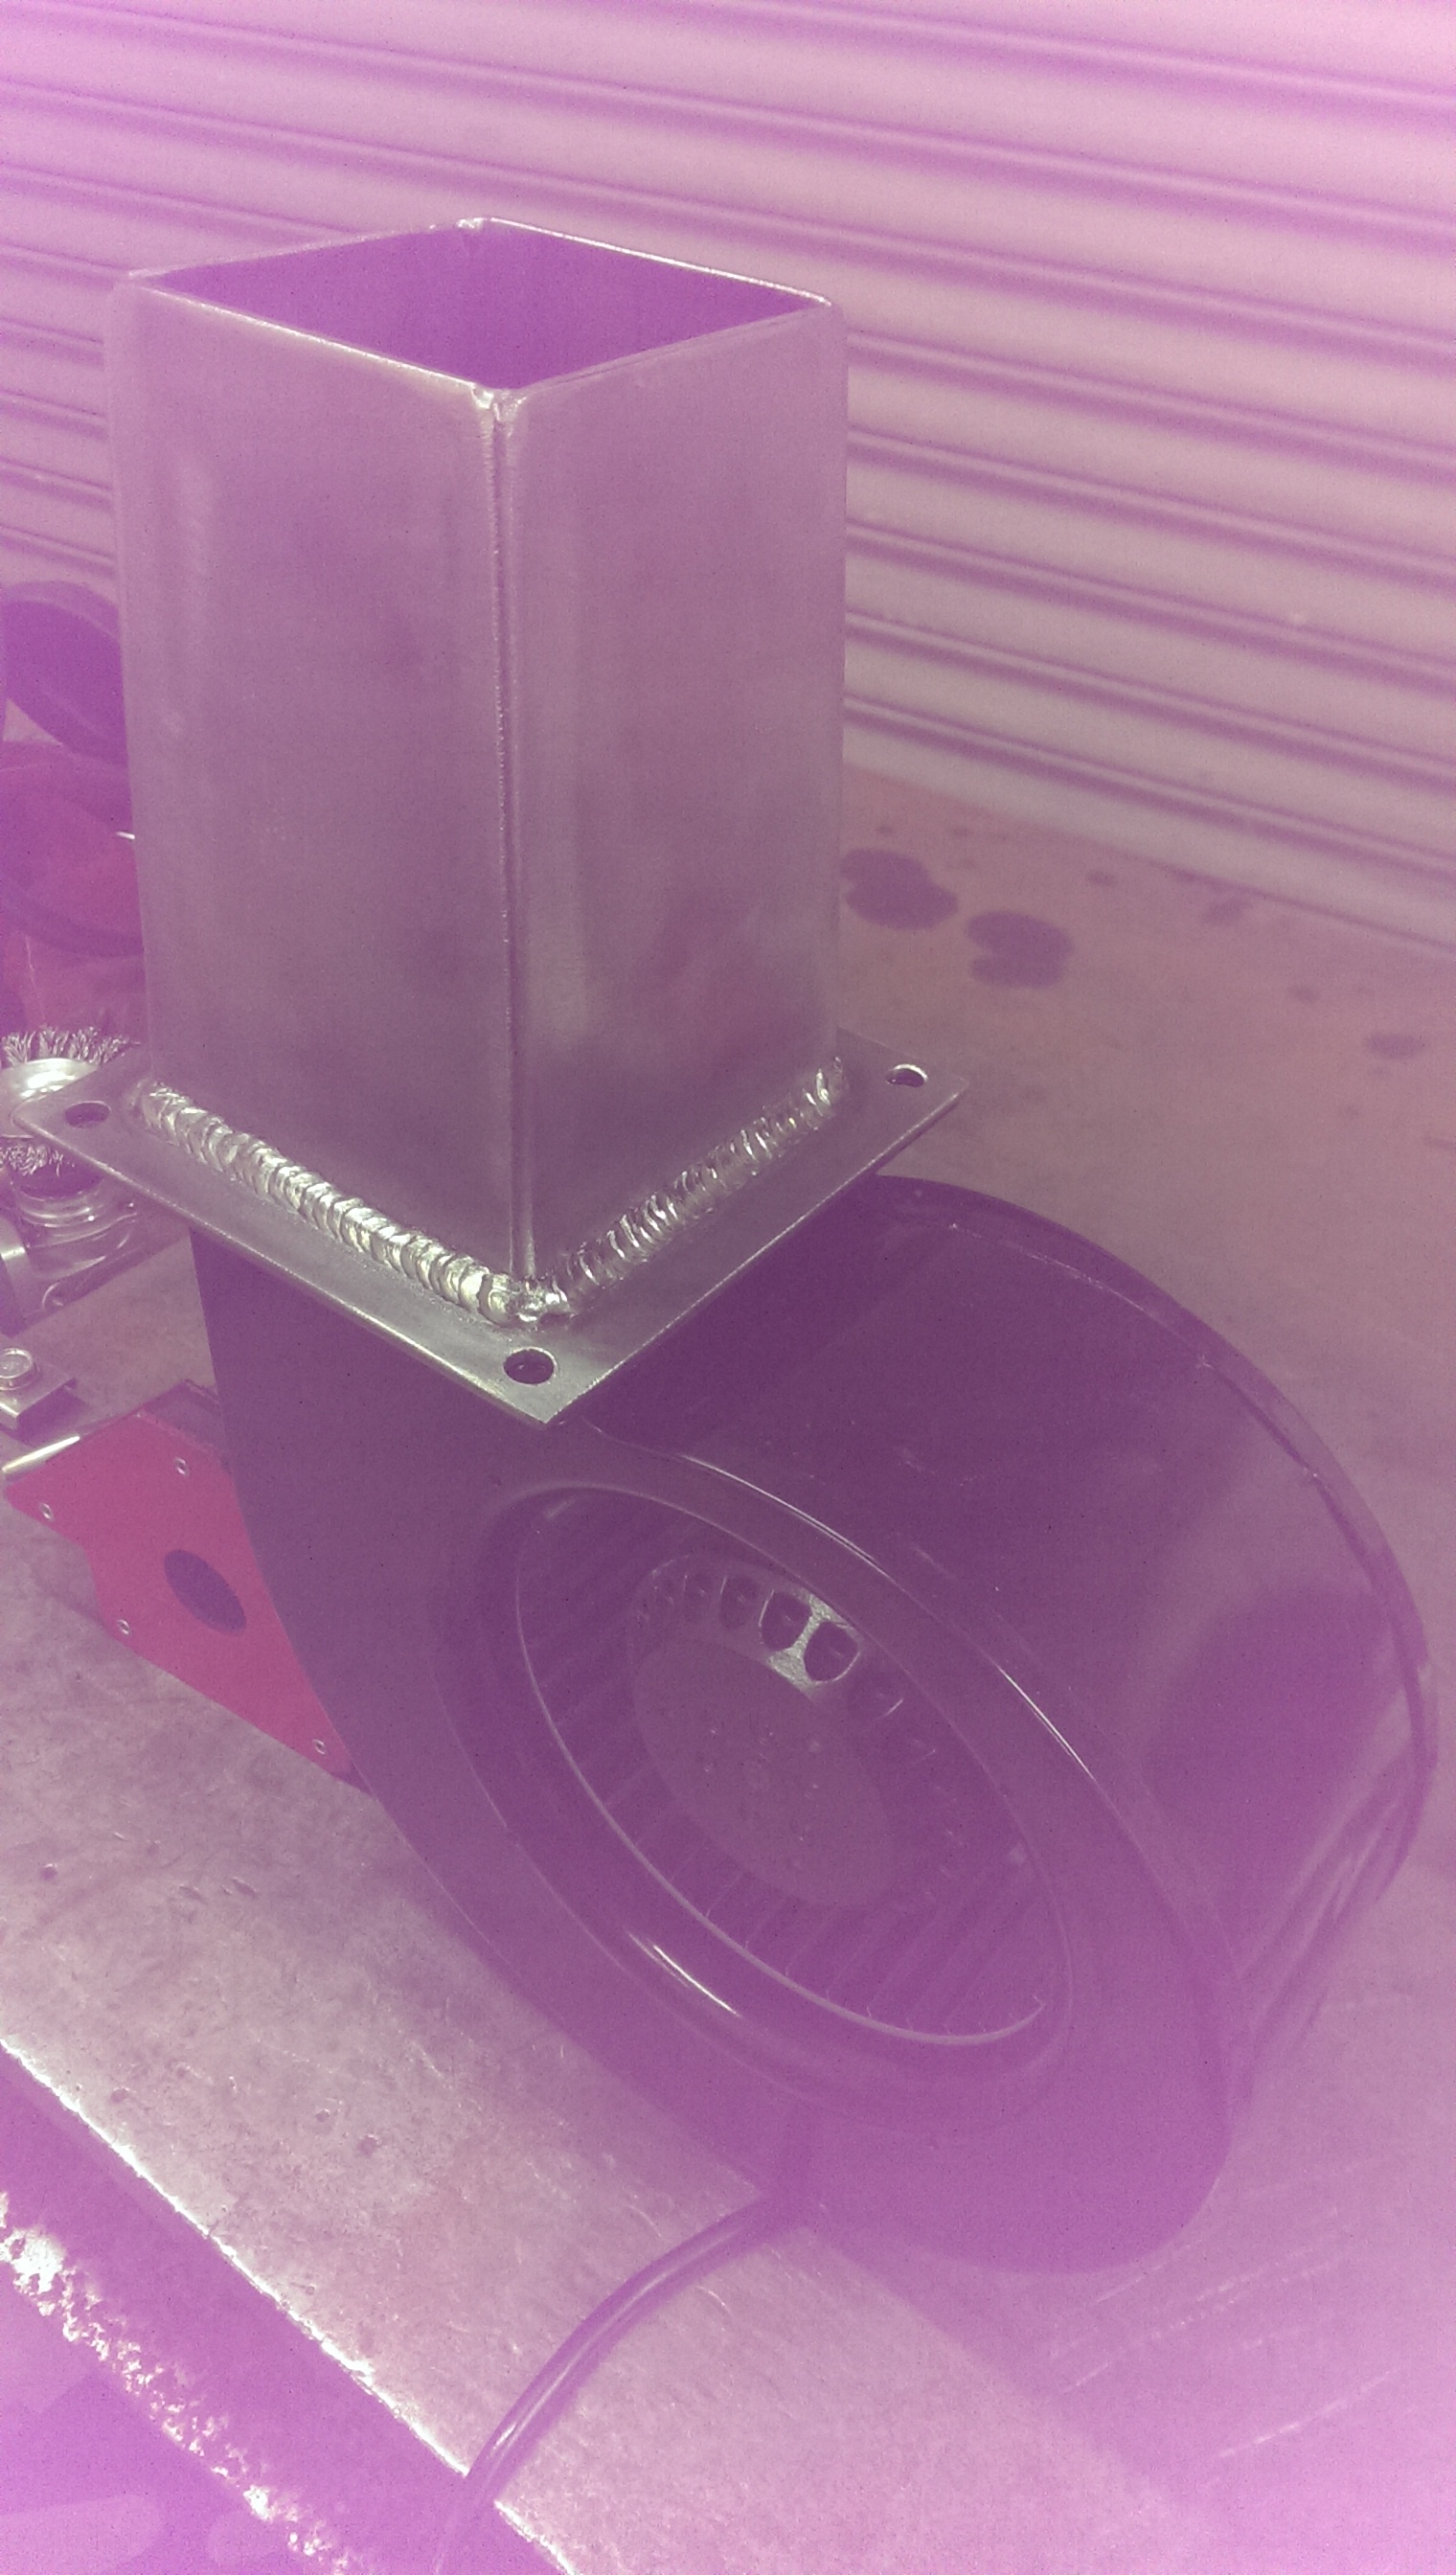
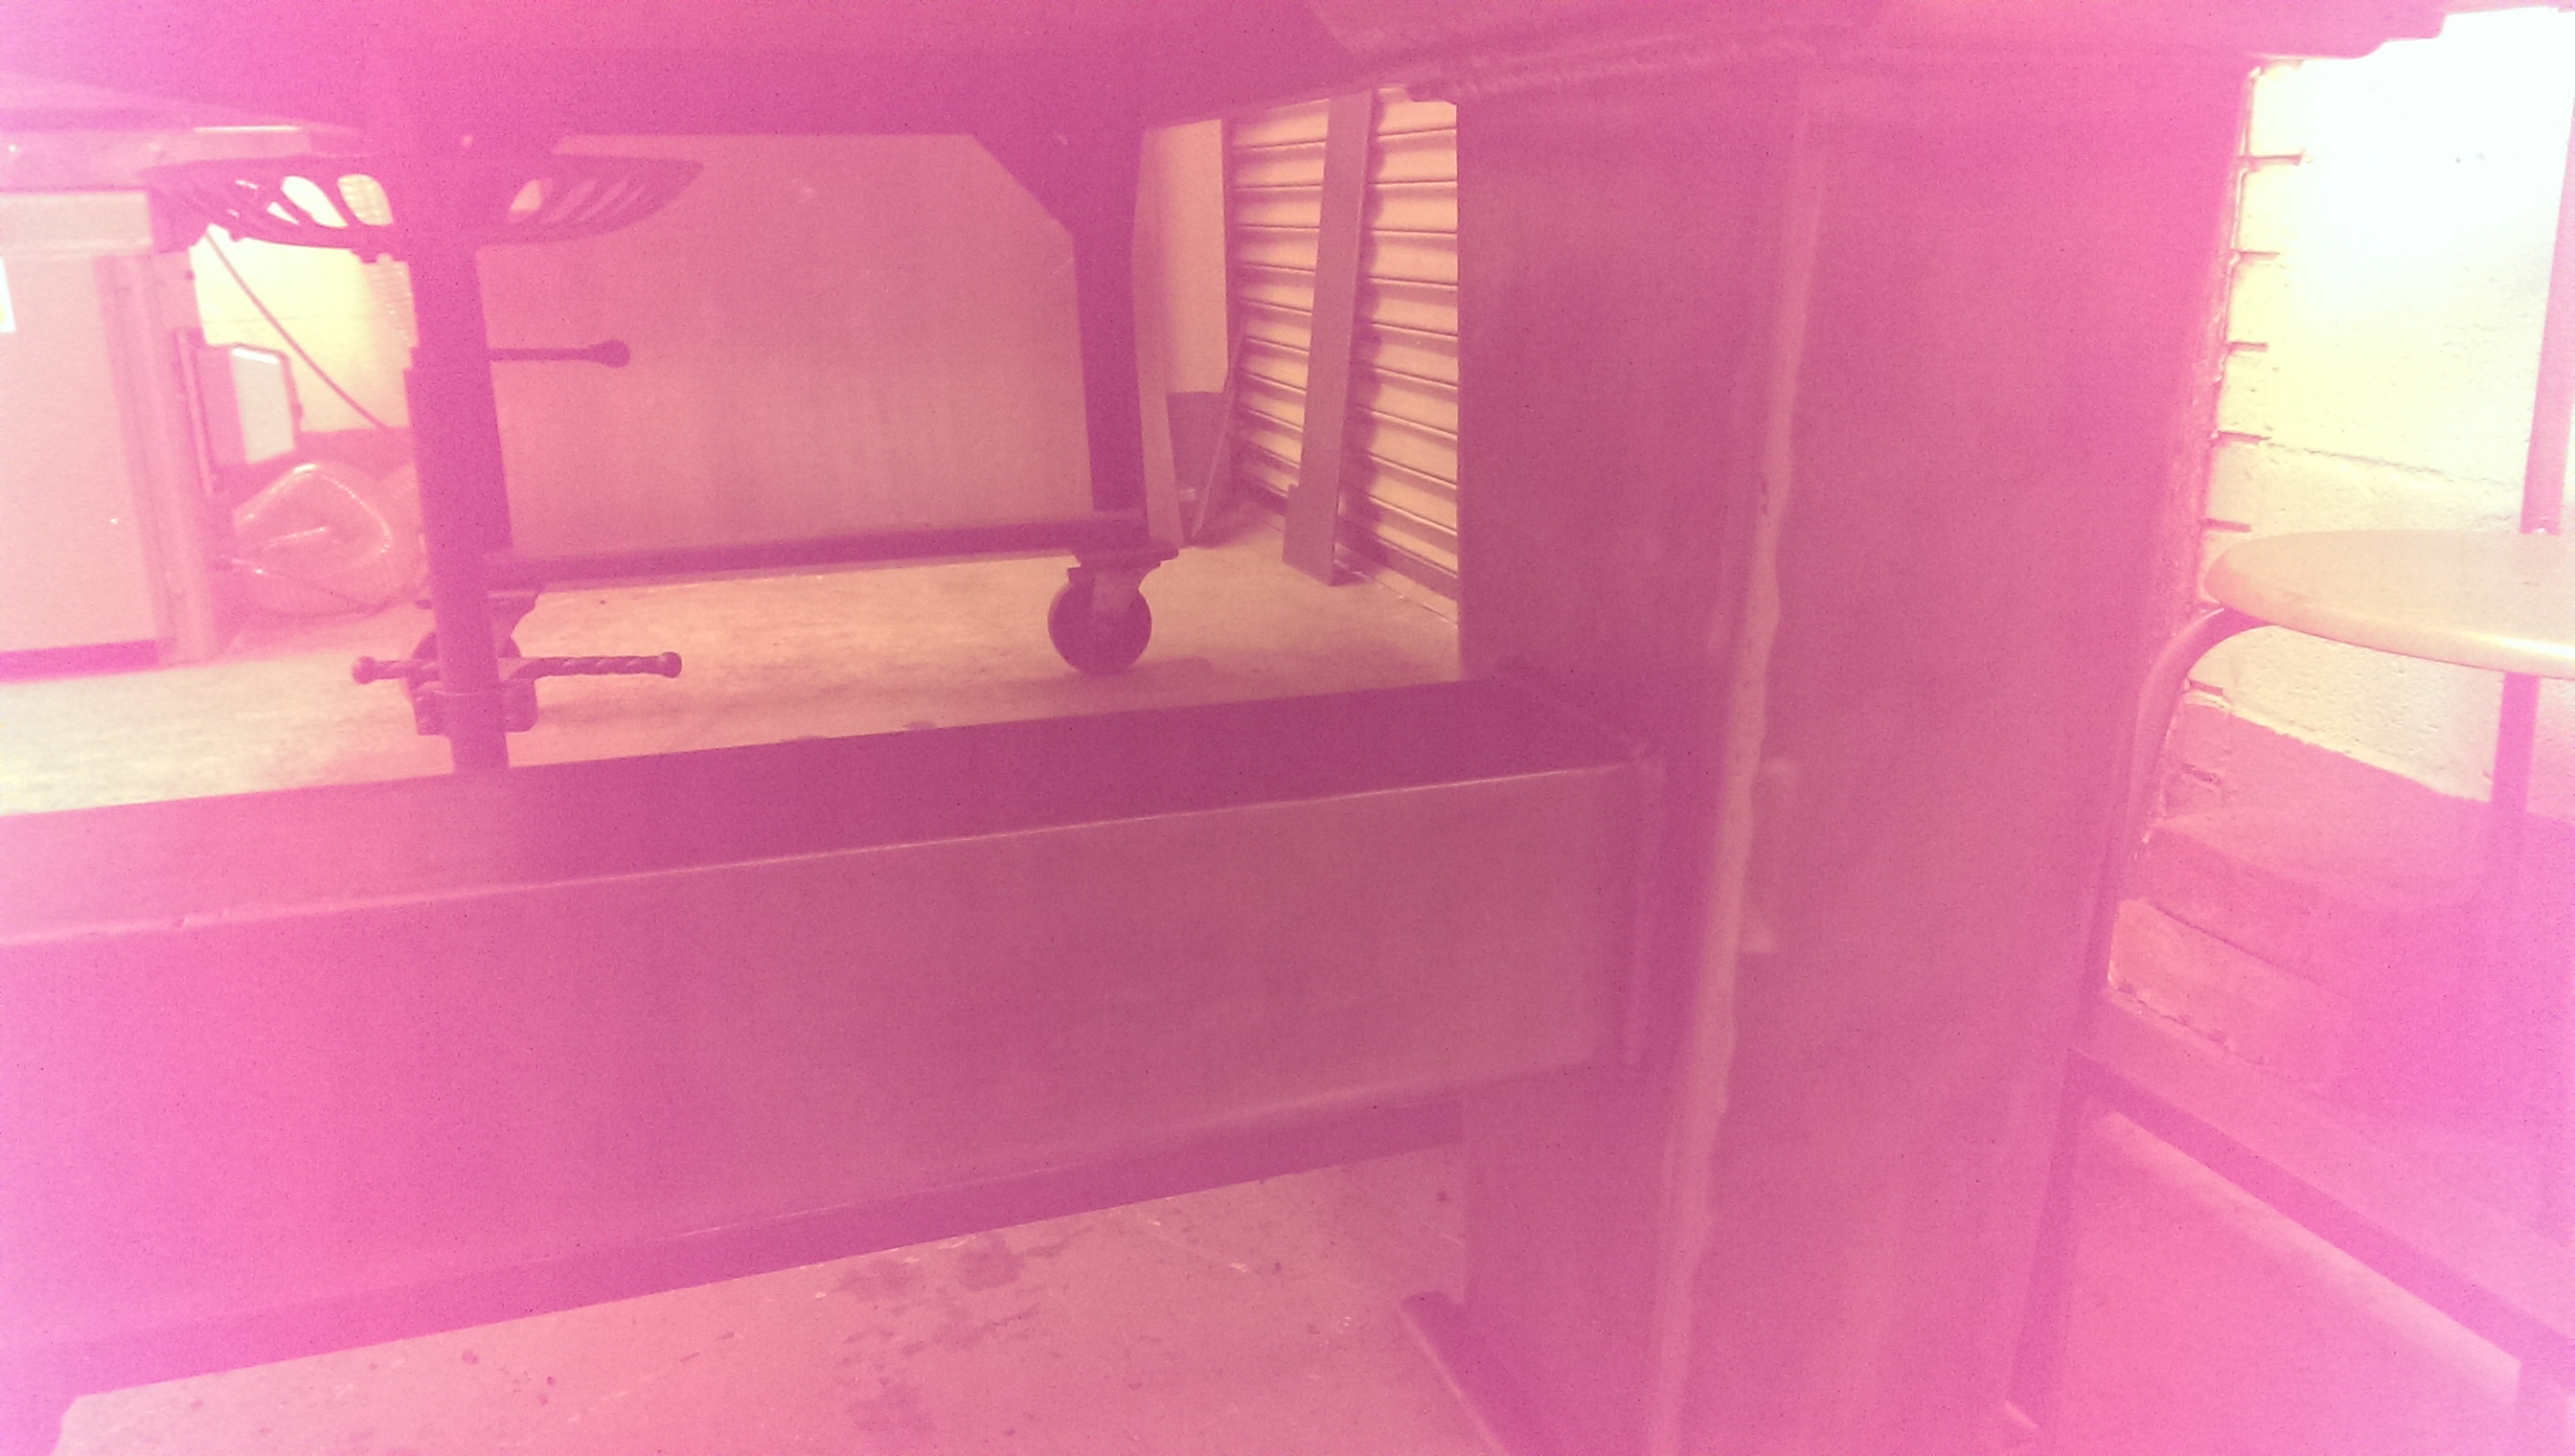
Hi All, I've been working on this for the past couple of weeks, drawing lots of inspiration from users work on this site and others, thanks guys! Here's the tuyere, air gate and blower - thanks to Daswulf for pushing me to do it this way, it works great! The underside of the tray is reinforced with coped and welded angle iron supports, which are flush with the bottom of the tray - you could have a party on here and it ain't goin' nowhere! There's no clinker breaker unfortunately. I could have done it but having the fire pot parts laser cut would have stalled the project so I just had them sheared from 12mm plate and drilled holes in the bottom. When this one burns out I'll make or buy a replacement with a clinker breaker. I'm not too fussed though as I will mostly only be using this occasionally for a rather specific purpose (putting 45 degree bends in angle iron) - hence the cut-outs for the long material. I wanted a way to attach the tuyere without bolts, but still wanted to be able to remove it. After contemplating this over a bottle of Hobgoblin, I came up with this: It looks loose but I assure you, it's going nowhere, I had to knock it out with a no.2 Thor hammer to get it off! I fabricated the ash gate assembly with the help of my small brake, so it slides onto flaps at the bottom of the pipe. With some knocking and levering I was able to get it to snap shut quite nicely, with no significant gaps. This idea was inspired by a youtube video by Modernblacksmith, where he makes an industrial coal forge. In fact, I drew a lot from his build, although he would say that I had gone too far as his moto is "good enough is best". I suppose we all work to a standard we expect from ourselves and one man's "good enough" is another's...etc,etc... The air gate and reduction pipe was all fabbed from 3mm sheet. Obviously, the gate would not have been able to move after tightening the bolts so I had to cut a shim the same as the centre piece from 0.7mm sheet to give it some clearance. Initially I was just going to mount the blower directly onto the air gate, but like I said, Daswulf encouraged me to put a reducing cone between the air gate and the blower as the outlet is slightly larger. I'm glad I went to the trouble as I assume it will minimise back pressure and cause less disruption to the air flow. The thing works so it's all good I suppose... The blower is a centrifugal fan I found on eBay, from a Bulgarian company (model number BR09E-2M-160). It's a 250w, puts out about 350cfm and just over 2 in wg of static pressure, which I figured to be just about perfect for an electric forge blower from what I have read. http://www.ebay.co.uk/itm/321889876065?ru=http%3A%2F%2Fwww.ebay.co.uk%2Fsch%2Fi.html%3F_from%3DR40%26_sacat%3D0%26_nkw%3D321889876065%26_rdc%3D1 I tried firing her up last night and there's no shortage of air as you can see. Despite this, I couldn't get much of a coke fire going with these Monktons coke beans so I'm gonna start her off with some charcoal first then start feeding the coke in once she's blazing. Any further advice on starting a good coke fire would be greatly appreciated... Here are my final sketchup plans for the fire pot and forge, which evolved as the build progressed. Overall I'm very happy with how she came out, the only thing I would change at this point are the holes in the fire pot - they sometimes get clogged with smaller coke beans and ash but hopefully there's enough static pressure from the blower that it won't cause too much of a problem. If it does, I may just cut a large hole in the bottom and use another 12mm plate with slots rather than holes as this would still allow air to pass - or I could build another pot with a proper clinker breaker but, like I said, this forge will have a specific purpose and won't be used all day every day... If anyone else is building a similar forge please feel free to take what you want from these plans if they are helpful to you. I found it very useful to take ideas from other peoples forges on this site (in fact, the fire pot dimensions are lifted straight from an iforgeiron member called Locky.au, although they are not as detailed as his - Thanks mate!) so I hope I can be of similar assistance to others.
-
-
-
Hi guys, First post here but I've been getting lots of inspiration from you all recently! I'm currently in the process of building my coal forge and hope to have it completed tonight. I'll post a build report later, I think you'll like it... Anyway, I have a quick question for you - I am looking to attach my blower to the inlet pipe on my tuyere. It has a square outlet around 3 1/2 ". My fabricated inlet pipe is 3" square. I have also fabricated an air gate with a 3" square opening which will be operated from the side, forming a more or less rectangular opening depending on the position. My question is - should I mount the blower directly to the air gate, which will then be welded onto the tuyere inlet pipe or should I fab up a reducing cone with the air gate further down in line from the blower? Although it would be easier to mount the blower directly, my concern is that the air gate positioned directly at the blower outlet would interfere with the air flow and lead to inefficiency in the air flow. I'm probably over thinking it I know, but I have a choice to make and plenty of 3mm sheet for fabrication, so I'd rather get it right now than have to correct later... Any advice would be greatly appreciated Vince P.S. apologies for the craps pictures, the camera on my phone make whacky colours...