

Bhutton
-
Posts
120 -
Joined
-
Last visited
Content Type
Profiles
Forums
Articles
Gallery
Downloads
Events
Posts posted by Bhutton
-
-
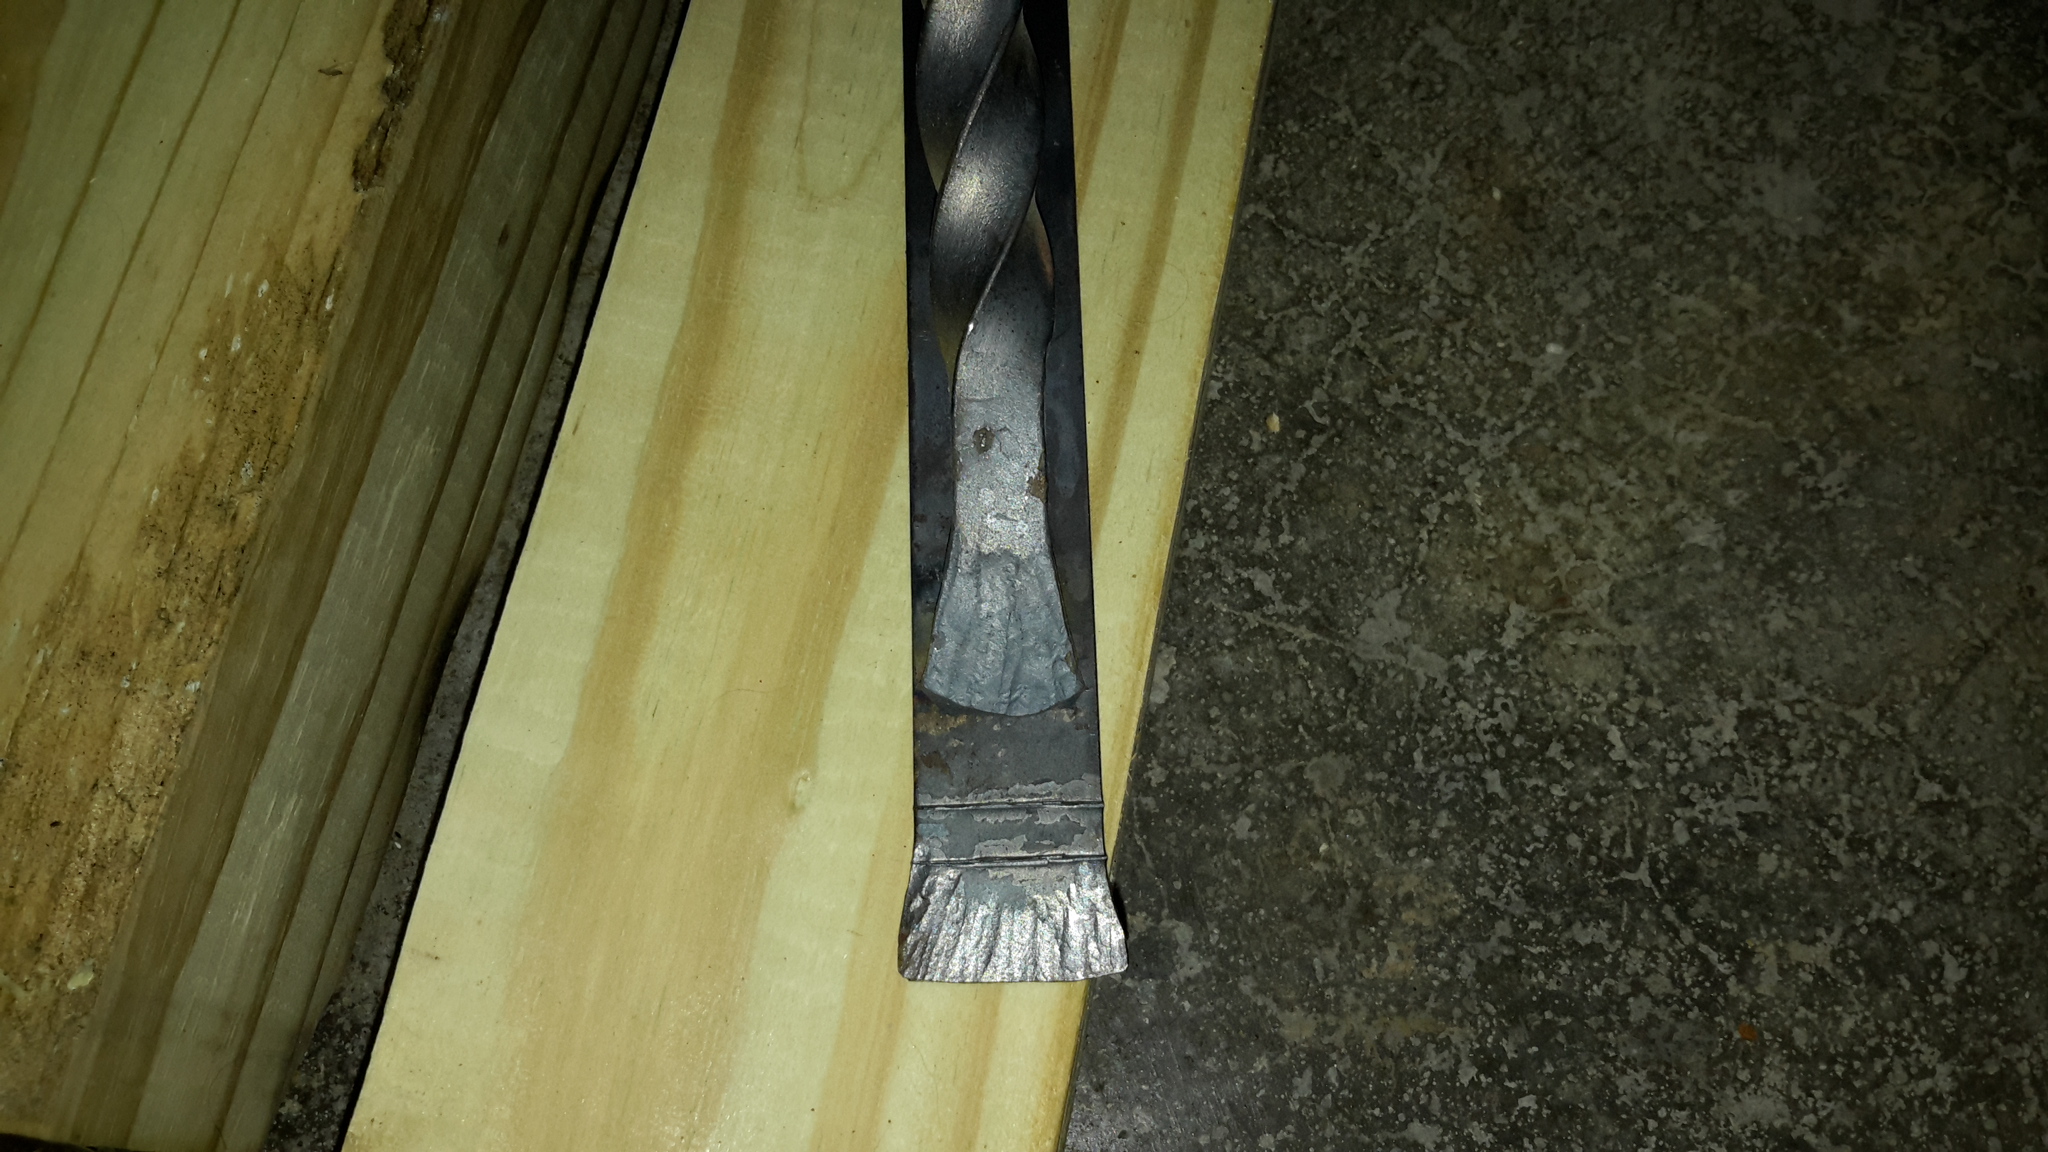
Very, very nice!!!! Did you forge the blood groove or machine it?
Did you do the casting of the brass?
Some skills you've got there! Looking good!!!
-
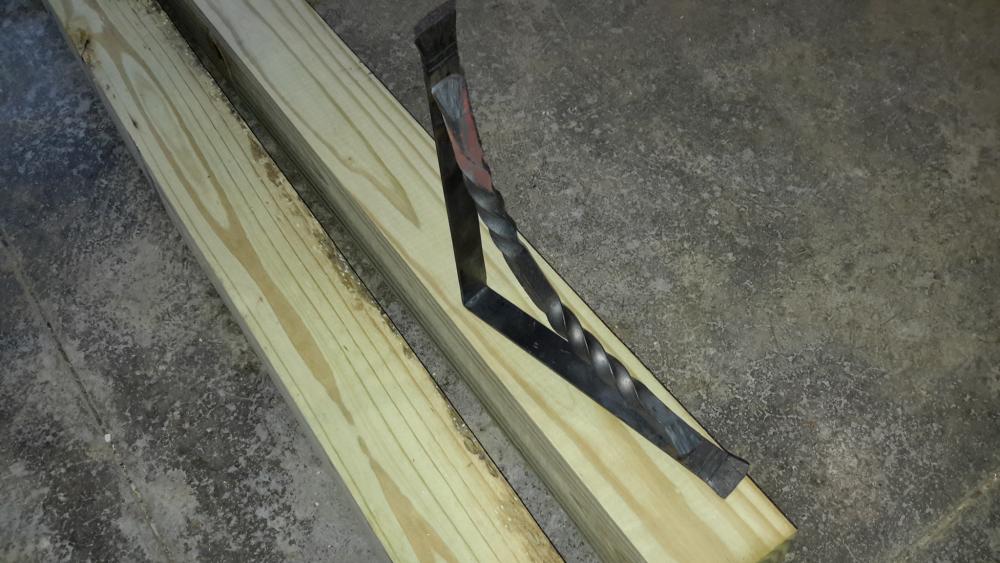
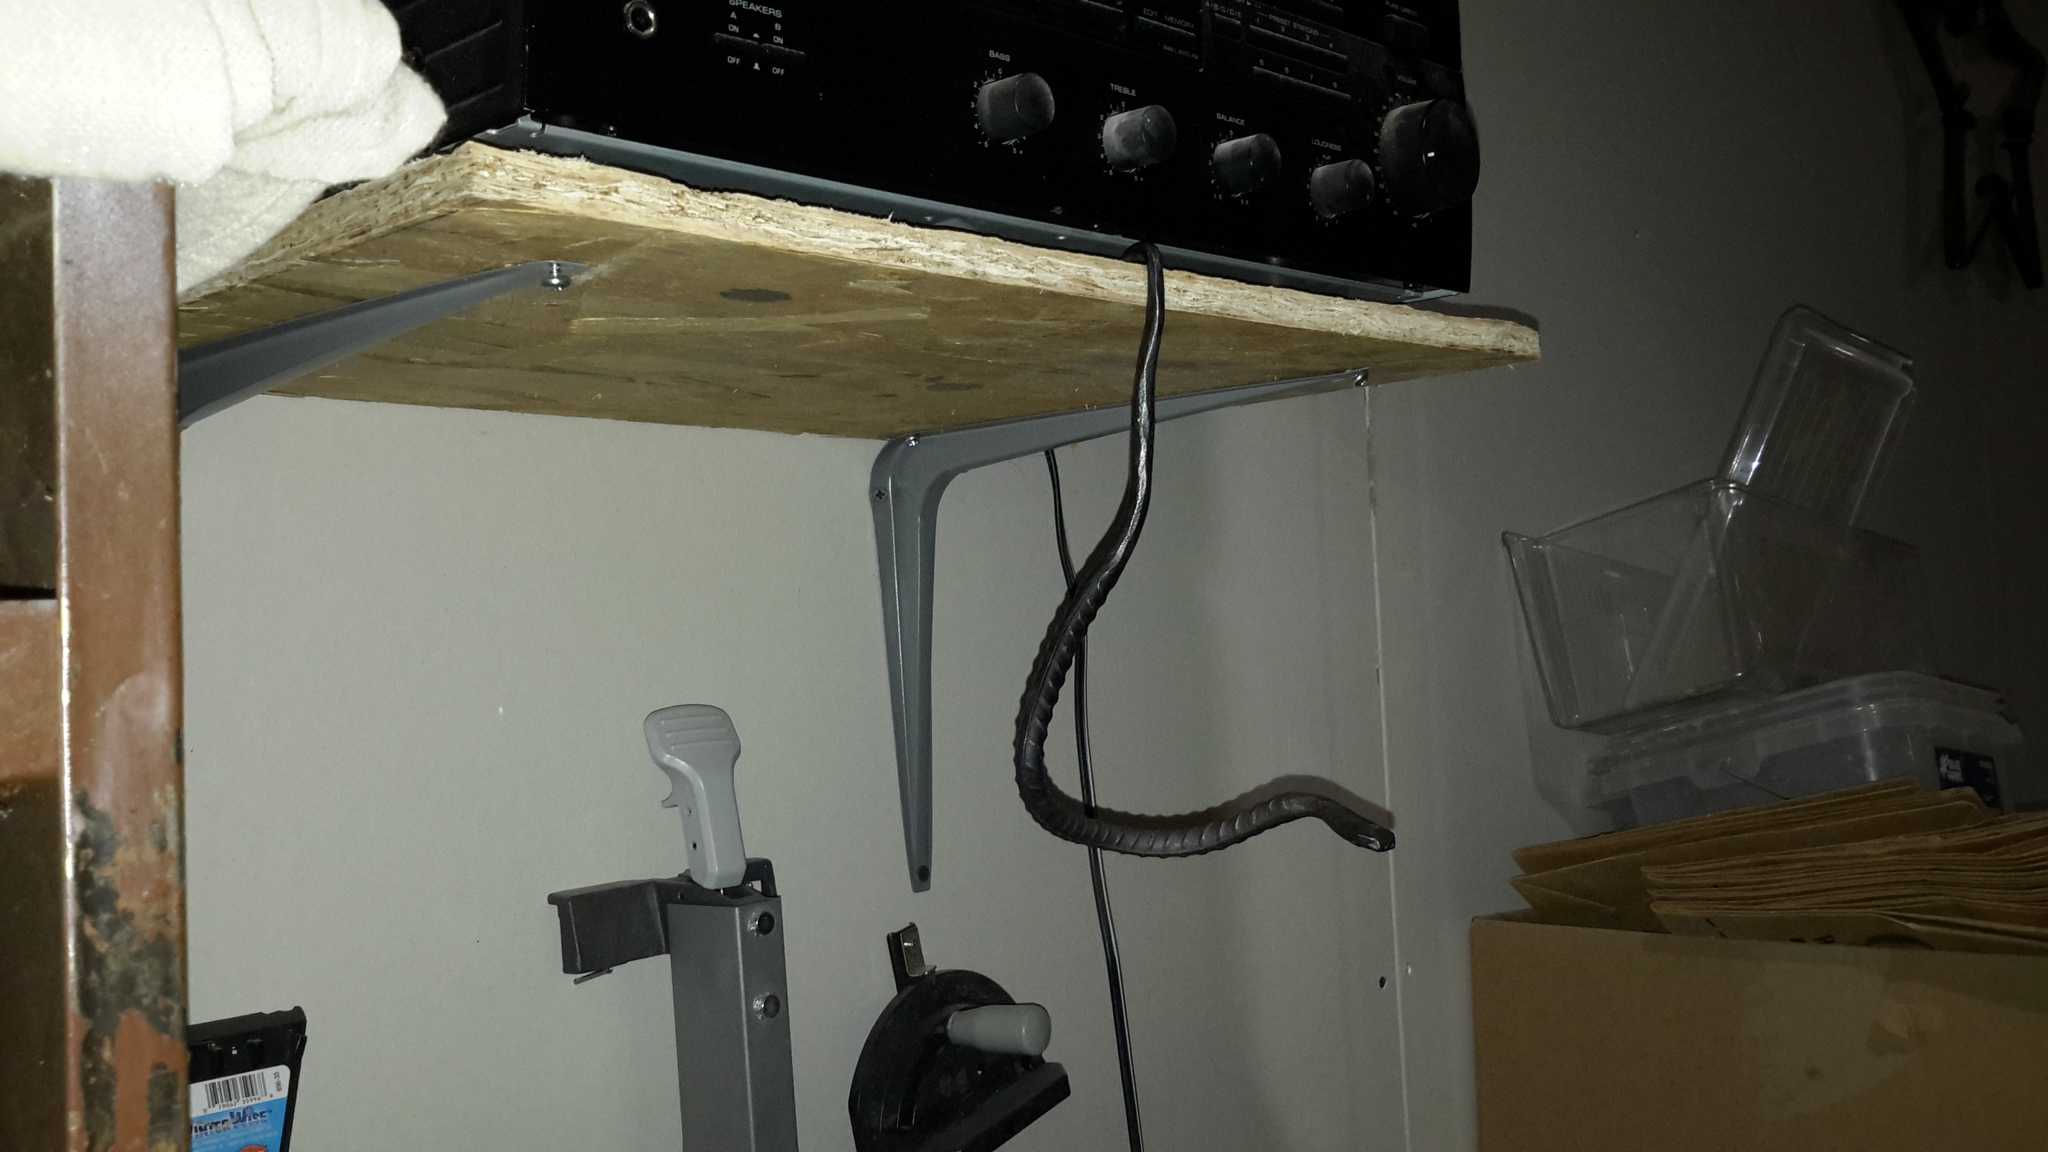
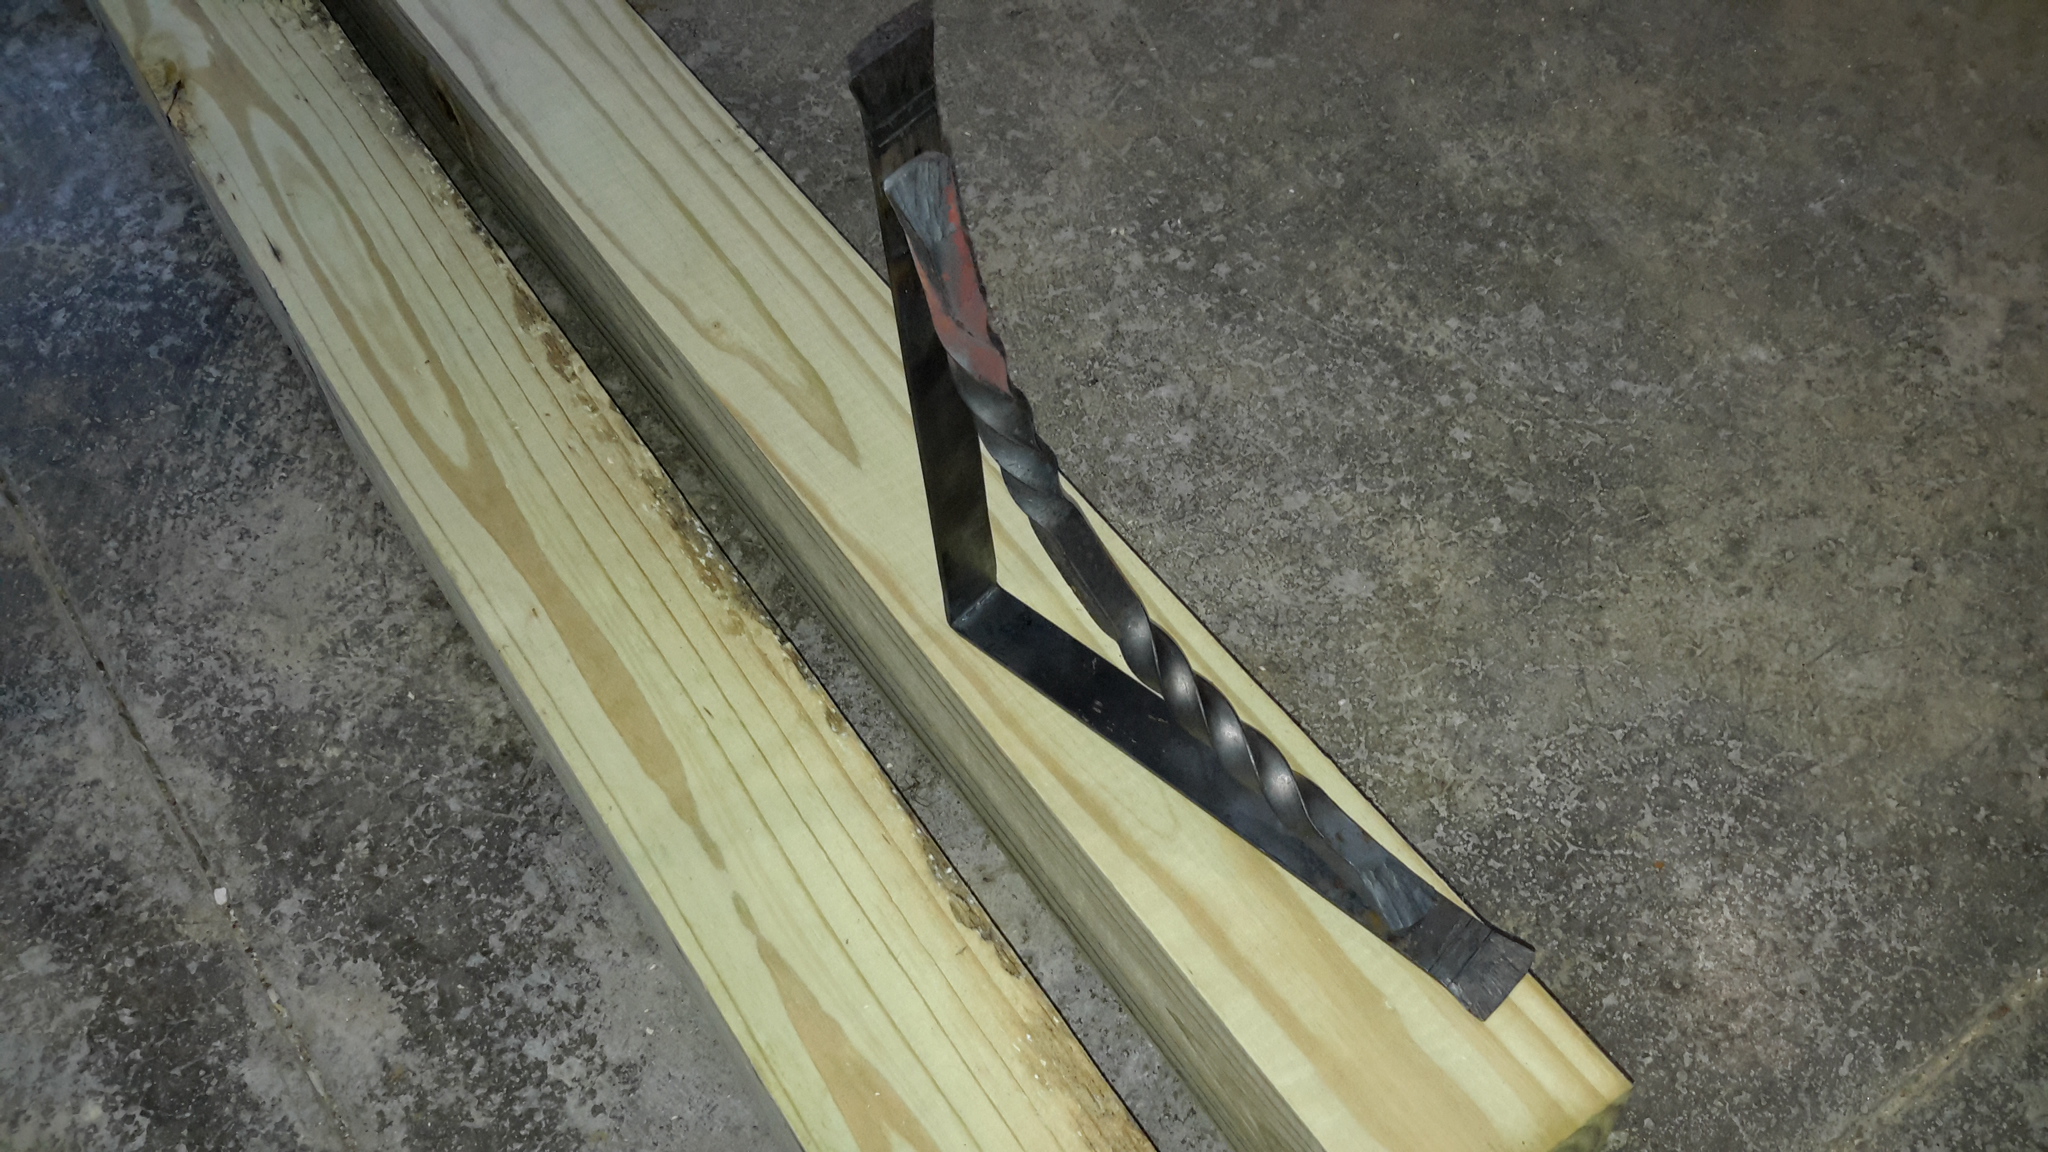
Little 3/8 rebar black snake...Hanging from a shelf...Wifey said it needs to go...lol

-
Thanks Glenn
-
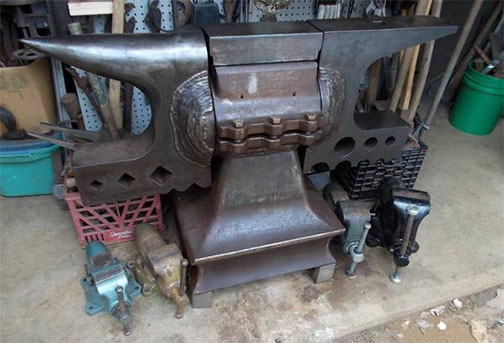
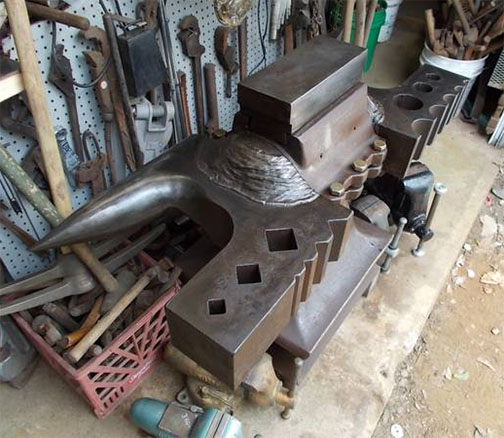
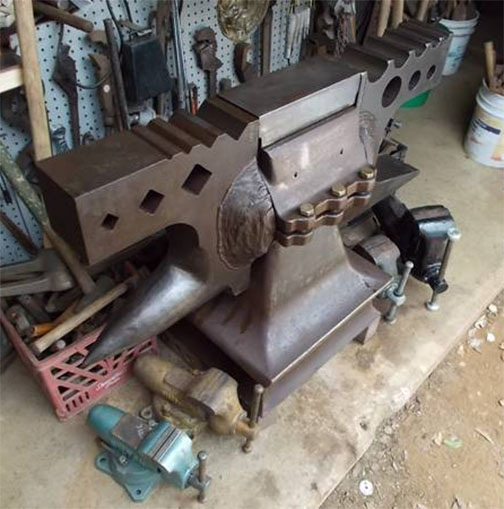
Has anyone seen one of these and what is it called?
Not for sale but I found it on CL
The anvil appears to have 4 parts,
The anvil stand,
The clamping device, with the top of the clamping device as the center face of the anvil,
The horn and square hole swage,
The heel and round hole swage.
The horn and heel are connected by a common round shaft going through the clamping device and attached to both the horn and heel.
You would loosen the bolts on the clamping device, rotate the horn and heel, and tighten the clamping device to hold it in place.
PS...Glenn helped me out with the descriptions.
Very interesting!
-
Pine-cones never let me down.
")
-
-
That is so Kool...Does it bite? LOL
-
I just ran across this info.
This is the tool to install the "tail pipe" (so called) of a Penberthy Injector. Actually there are three tail pipes used on the injector: one for the steam, one for the water, and one for the combined boiler feed. Injectors come in graduated sizes hence the graduated squares.
-
Maybe a go / no go gauge for a pattern maker or foundry man?
-
Ahhhhaa...Didnt know about this.
I stll like his videos...Seems like he's a down to earth pleasant guy on video.
I personally think he's a self taught individual and doesnt know the proper terms of smithing...This is lacking to others but doesnt bother me.
There are some on the site that just like to get under peoples skin and they do a good job at it in my opinion.
But I wont disagree...You have to deal with folks in a mature way.
(It's way to easy to put attitude into what your are reading sometimes and way to easy to feel your hiney is getting kicked around the block)
Most usually when I judge / I find out in the long run i'm wrong.
Hate to see him go.

Bruce
-
Made these for my new (In the works) home office...14 more to go. These will hold ruff cut oak shelving surrounding the office for holding antique knick knacks...Cans, bottles, etc. Still need to drill monting holes and re-heat / brush / wax. Made from 1" flat stock and 1/2" square bar. plug welded from the back...I know rivets wold look better. Hoping to have these down to 4 brackets every 2 hours+.
Thanks for looking...Bruce

-
Mr Houston...Love your work and your videos!!!!
Great to see you on this site! Thanks for sharing!
-
You've wowed us once again with your furniture making skills!!!! Very nice work!
Thanks for sharing!!!!!
-
NIce looking grinders...Looking good!
-
That is a good looking piece. Nice!!!!!
-
Smokin Nice!!!!!!!
-
Tknunkel...Nice!!!
-
Nice...I really like the leaf too. Good job!
-
I don't know much about knives, nice work I like them!
Thanks for sharing!
-
Jhcc...The new vulcan is much quiter.
The setup is pretty solid...I'd like to build a tripod stand like you did a few months ago. (That's à nice one you've got)
I'll be removing a wall in my shop to expand to 20x10 versus 10x10 this summer...At that point hoping to have a tripod built & I'll mount securely to the floor.
I'm hoping I'll notice the biggest difference on 3/4"-1" bar...I'm so excited to try it out today.
Thanks Bruce
-
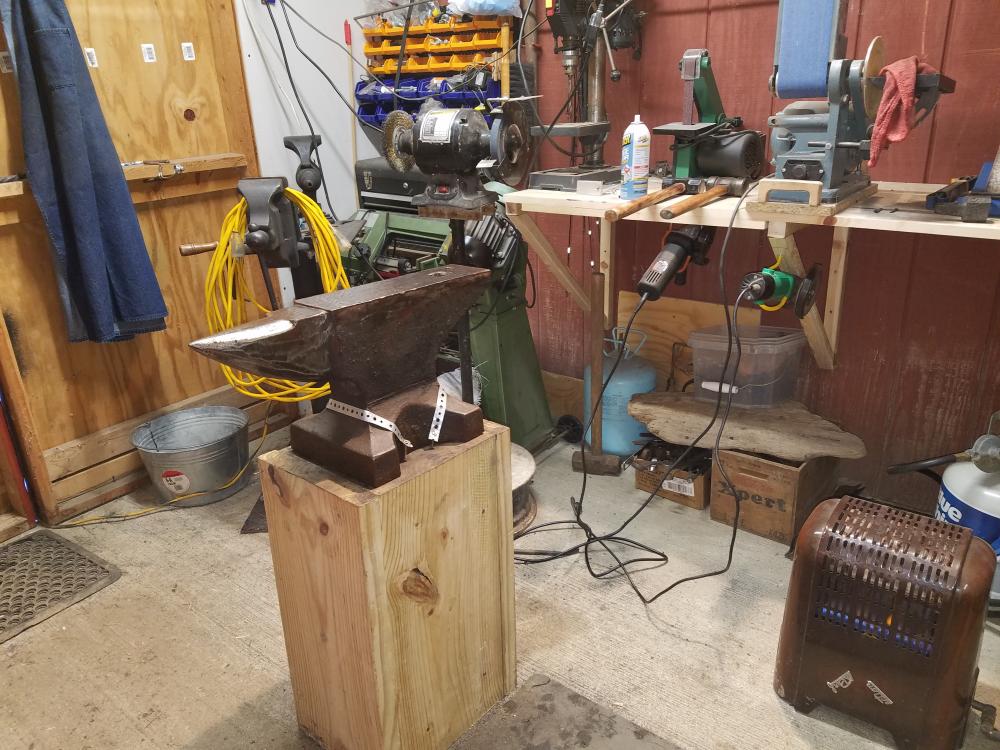
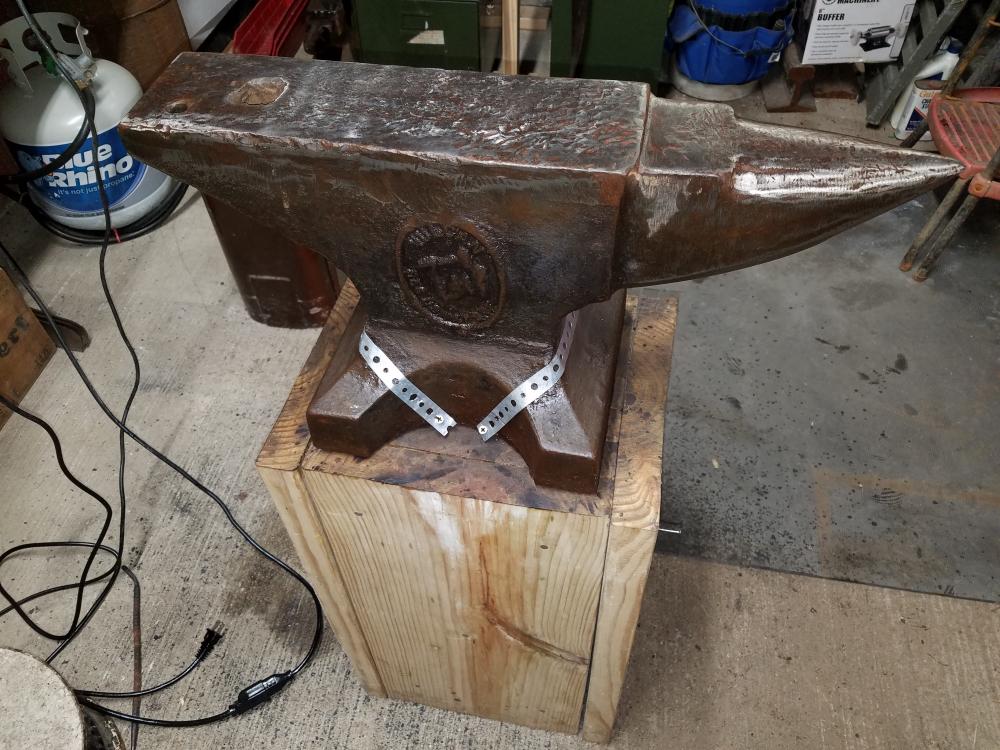
Picked up this 150lb Vulcan anvil...I need to shorten the stand by 3 inches before I use it.
It's got some nice edges and around 70-75% bounce. Drop a ball bearing on it from 10" & it returns at 7 - 7 1/2" on just about the entire surface.
Will I notice a huge difference working metal on this versus my 90lb mousehole? (Mousehole has 70-75% bounce)
Can't wait to pound steel on it.
Thanks for looking...Bruce
-
Nice contrast...It pulls you in.
All it needs now is a small half round table under it with a nice smithed out book stand. You are very creative!!!
-
Way Kool!
Dont kick this thing while mowing grass...You'll need stitches...LOL
-
Nice setup Stash! Super awesome! Congratulations!!!!!
So have you been sporting that stash thing for a long time...I noticed the door of the truck said Handlebar landscaping (Or so i think it does)...I got a kick out of that after looking at your picture...I thought, this guys been packing that stash for 30 years +...Like me and my beard...LOL


Video of well executed flower
in Metal Sculpture & Carvings
Posted
Very, very nice!!!! Thanks for sharing it with us...I love it!!!!!