

Locksmithjoe
-
Posts
29 -
Joined
-
Last visited
Content Type
Profiles
Forums
Articles
Gallery
Downloads
Events
Posts posted by Locksmithjoe
-
-
Beautiful pattern and the dark contrast is nice on the maple.
sent my son his first Dadmade knife last Christmas and the joy that came from it was the best in the world. I know it will be with him for a lifetime.
Good job!!
-
Thank you.
now I need to get an elk into the freezer so I can fire up the furnace again.
-
Another happy customer!
letting a blade go is tough.
Putting time and love into the build, learning every inch of steel and all of its nuances from tip to butt. Lovingly seeing it from raw materials to finished product.
time to sink my teeth into the next project.
-
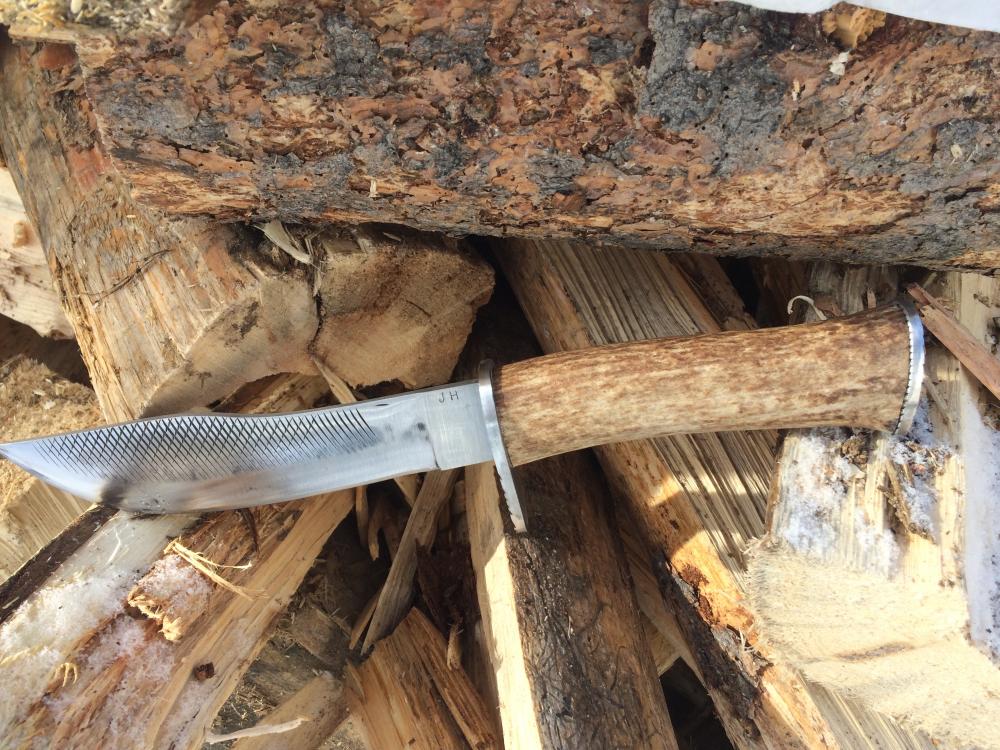
The other side has my mark. I need a new stamp just have to build one or have one built.
-
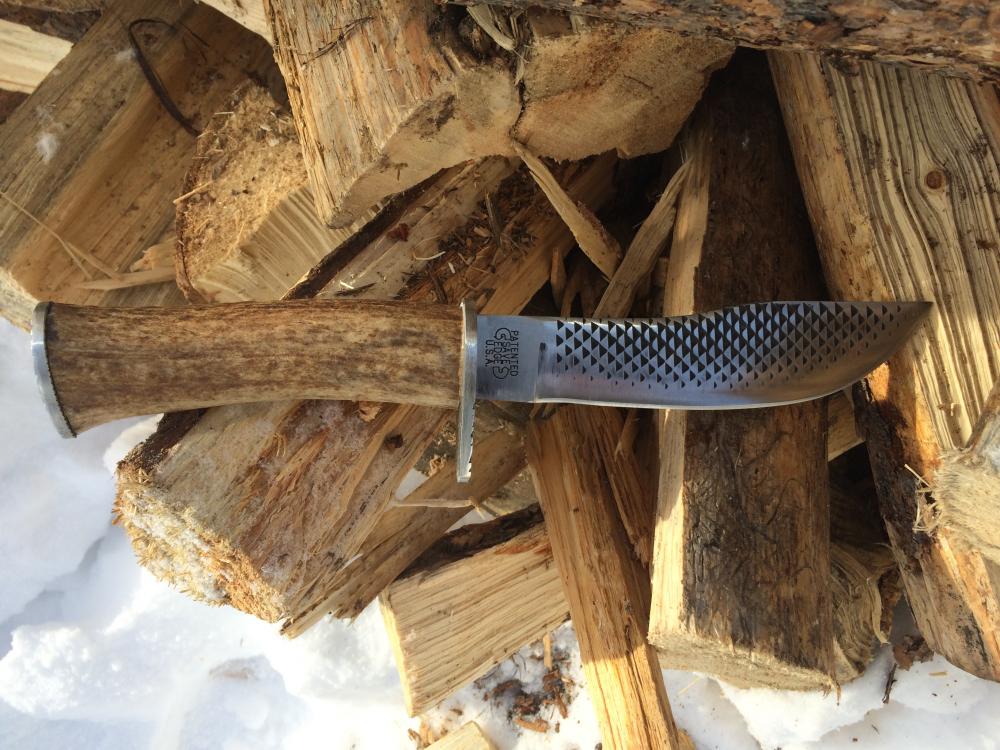
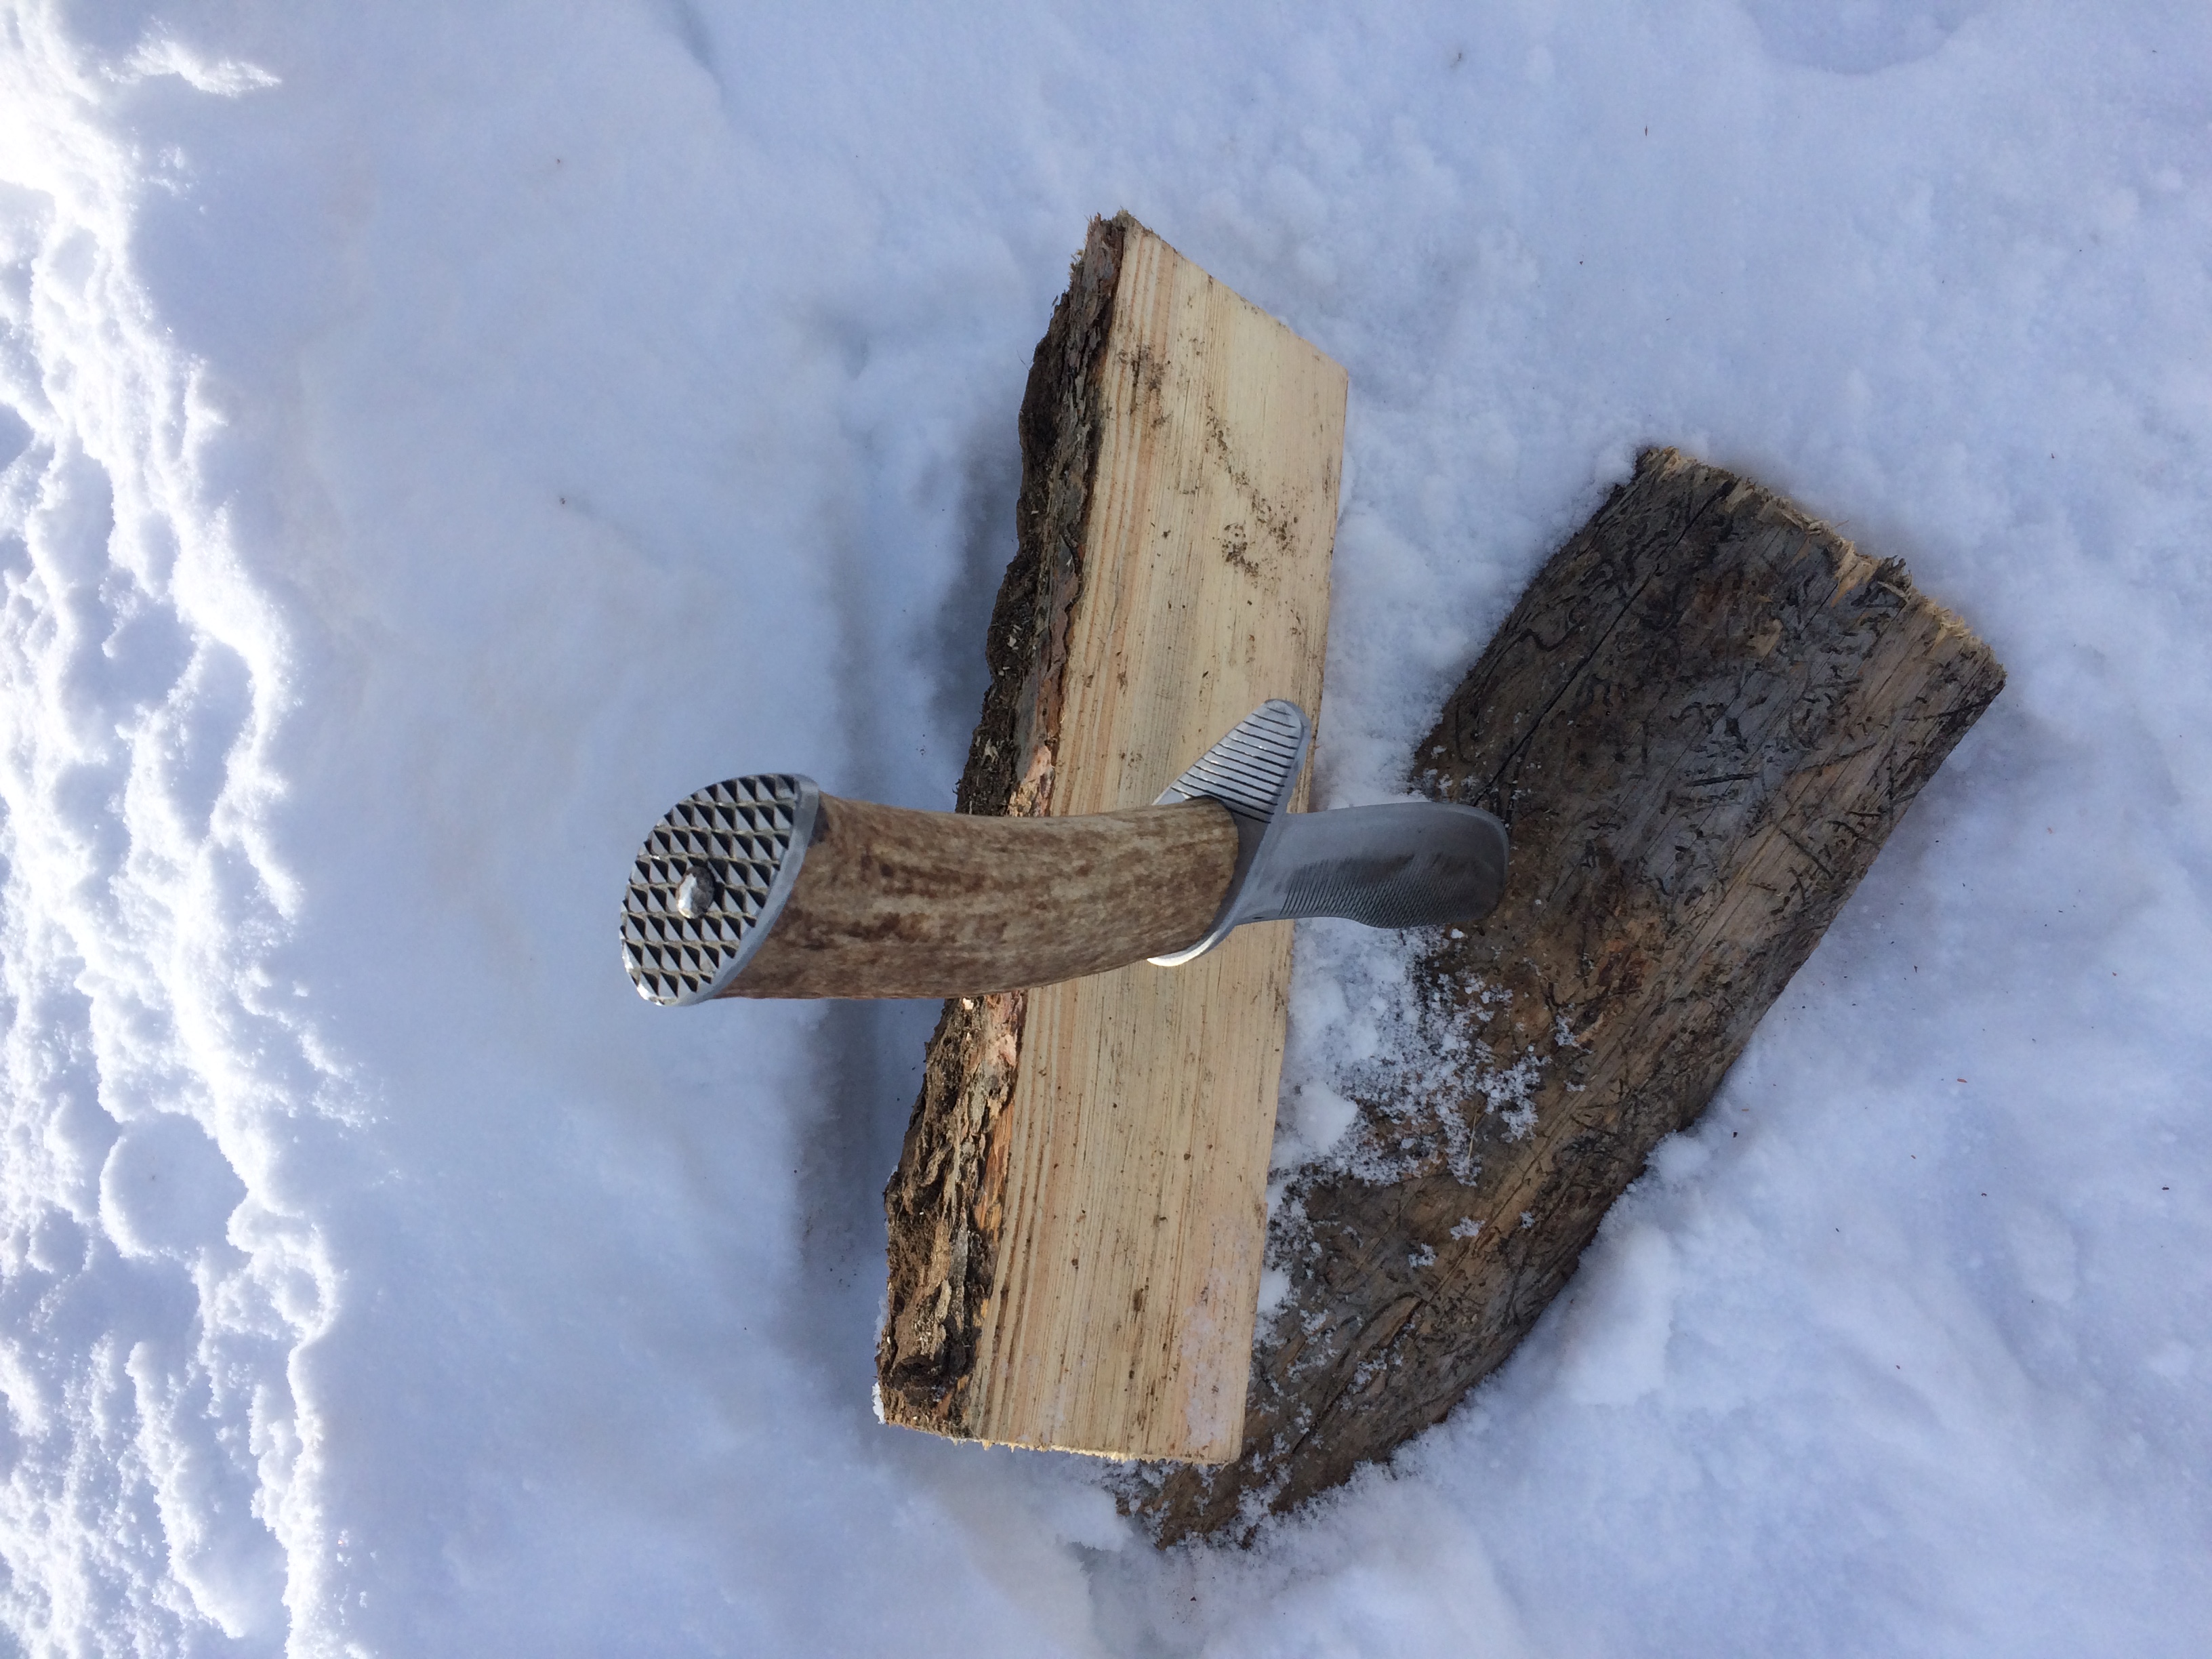
Finally finished it! Butt cap is pinned and tang is peened.

Here's what I have learned on this project.
Coarser grit and a better belt grinder will make for faster stock removal.
Thanks to a farrier friend with a 36 grit wheel I was able to Finnish on time.
Make sure its near sharp but not sharp. (Just a little blood)
Follow your lines
good file work saves Finnish time
And most of all… Keep it fun
Almost forgot
adapt with the metal!
-
I usually use renessaince wax on everything from tip to butt. Always a nice luster then. If it is going to a new home I use either beeswax and give them a small piece so they can clean and wax it themselves.
-
Incredible, the attention to detail is unsurpassed. From tip to pommel it is apparent that this was built with a hyper-critical eye.
Your father in law must be on the really really "nice" list and is quite lucky this Christmas, indeed!
-
Cut a V notch in the tube, bend weld then grind to Finnish. Makes for a fast easy bend on square.
-
Thanks,
yeah I think it gives it the uniqueness of what it was and adds to what it is now.
-
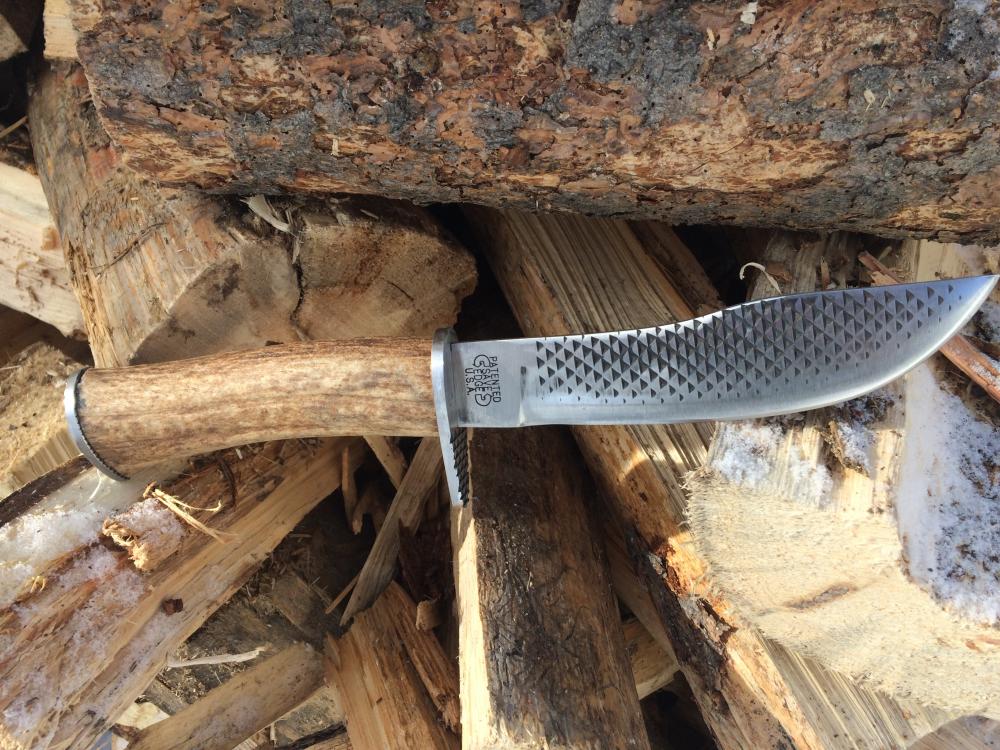
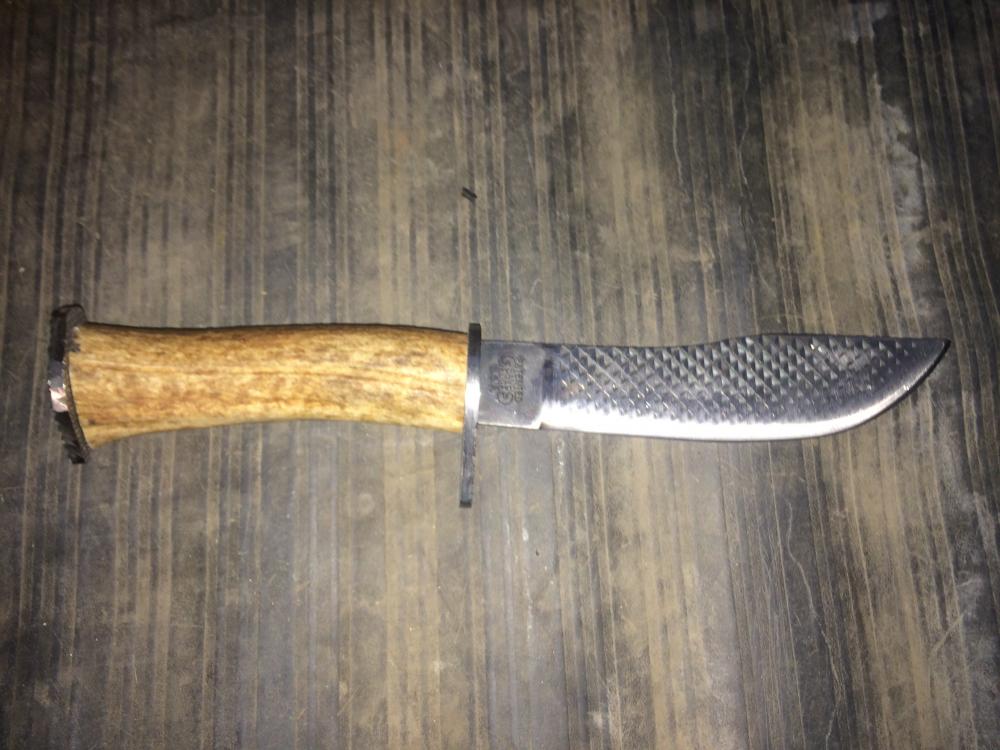
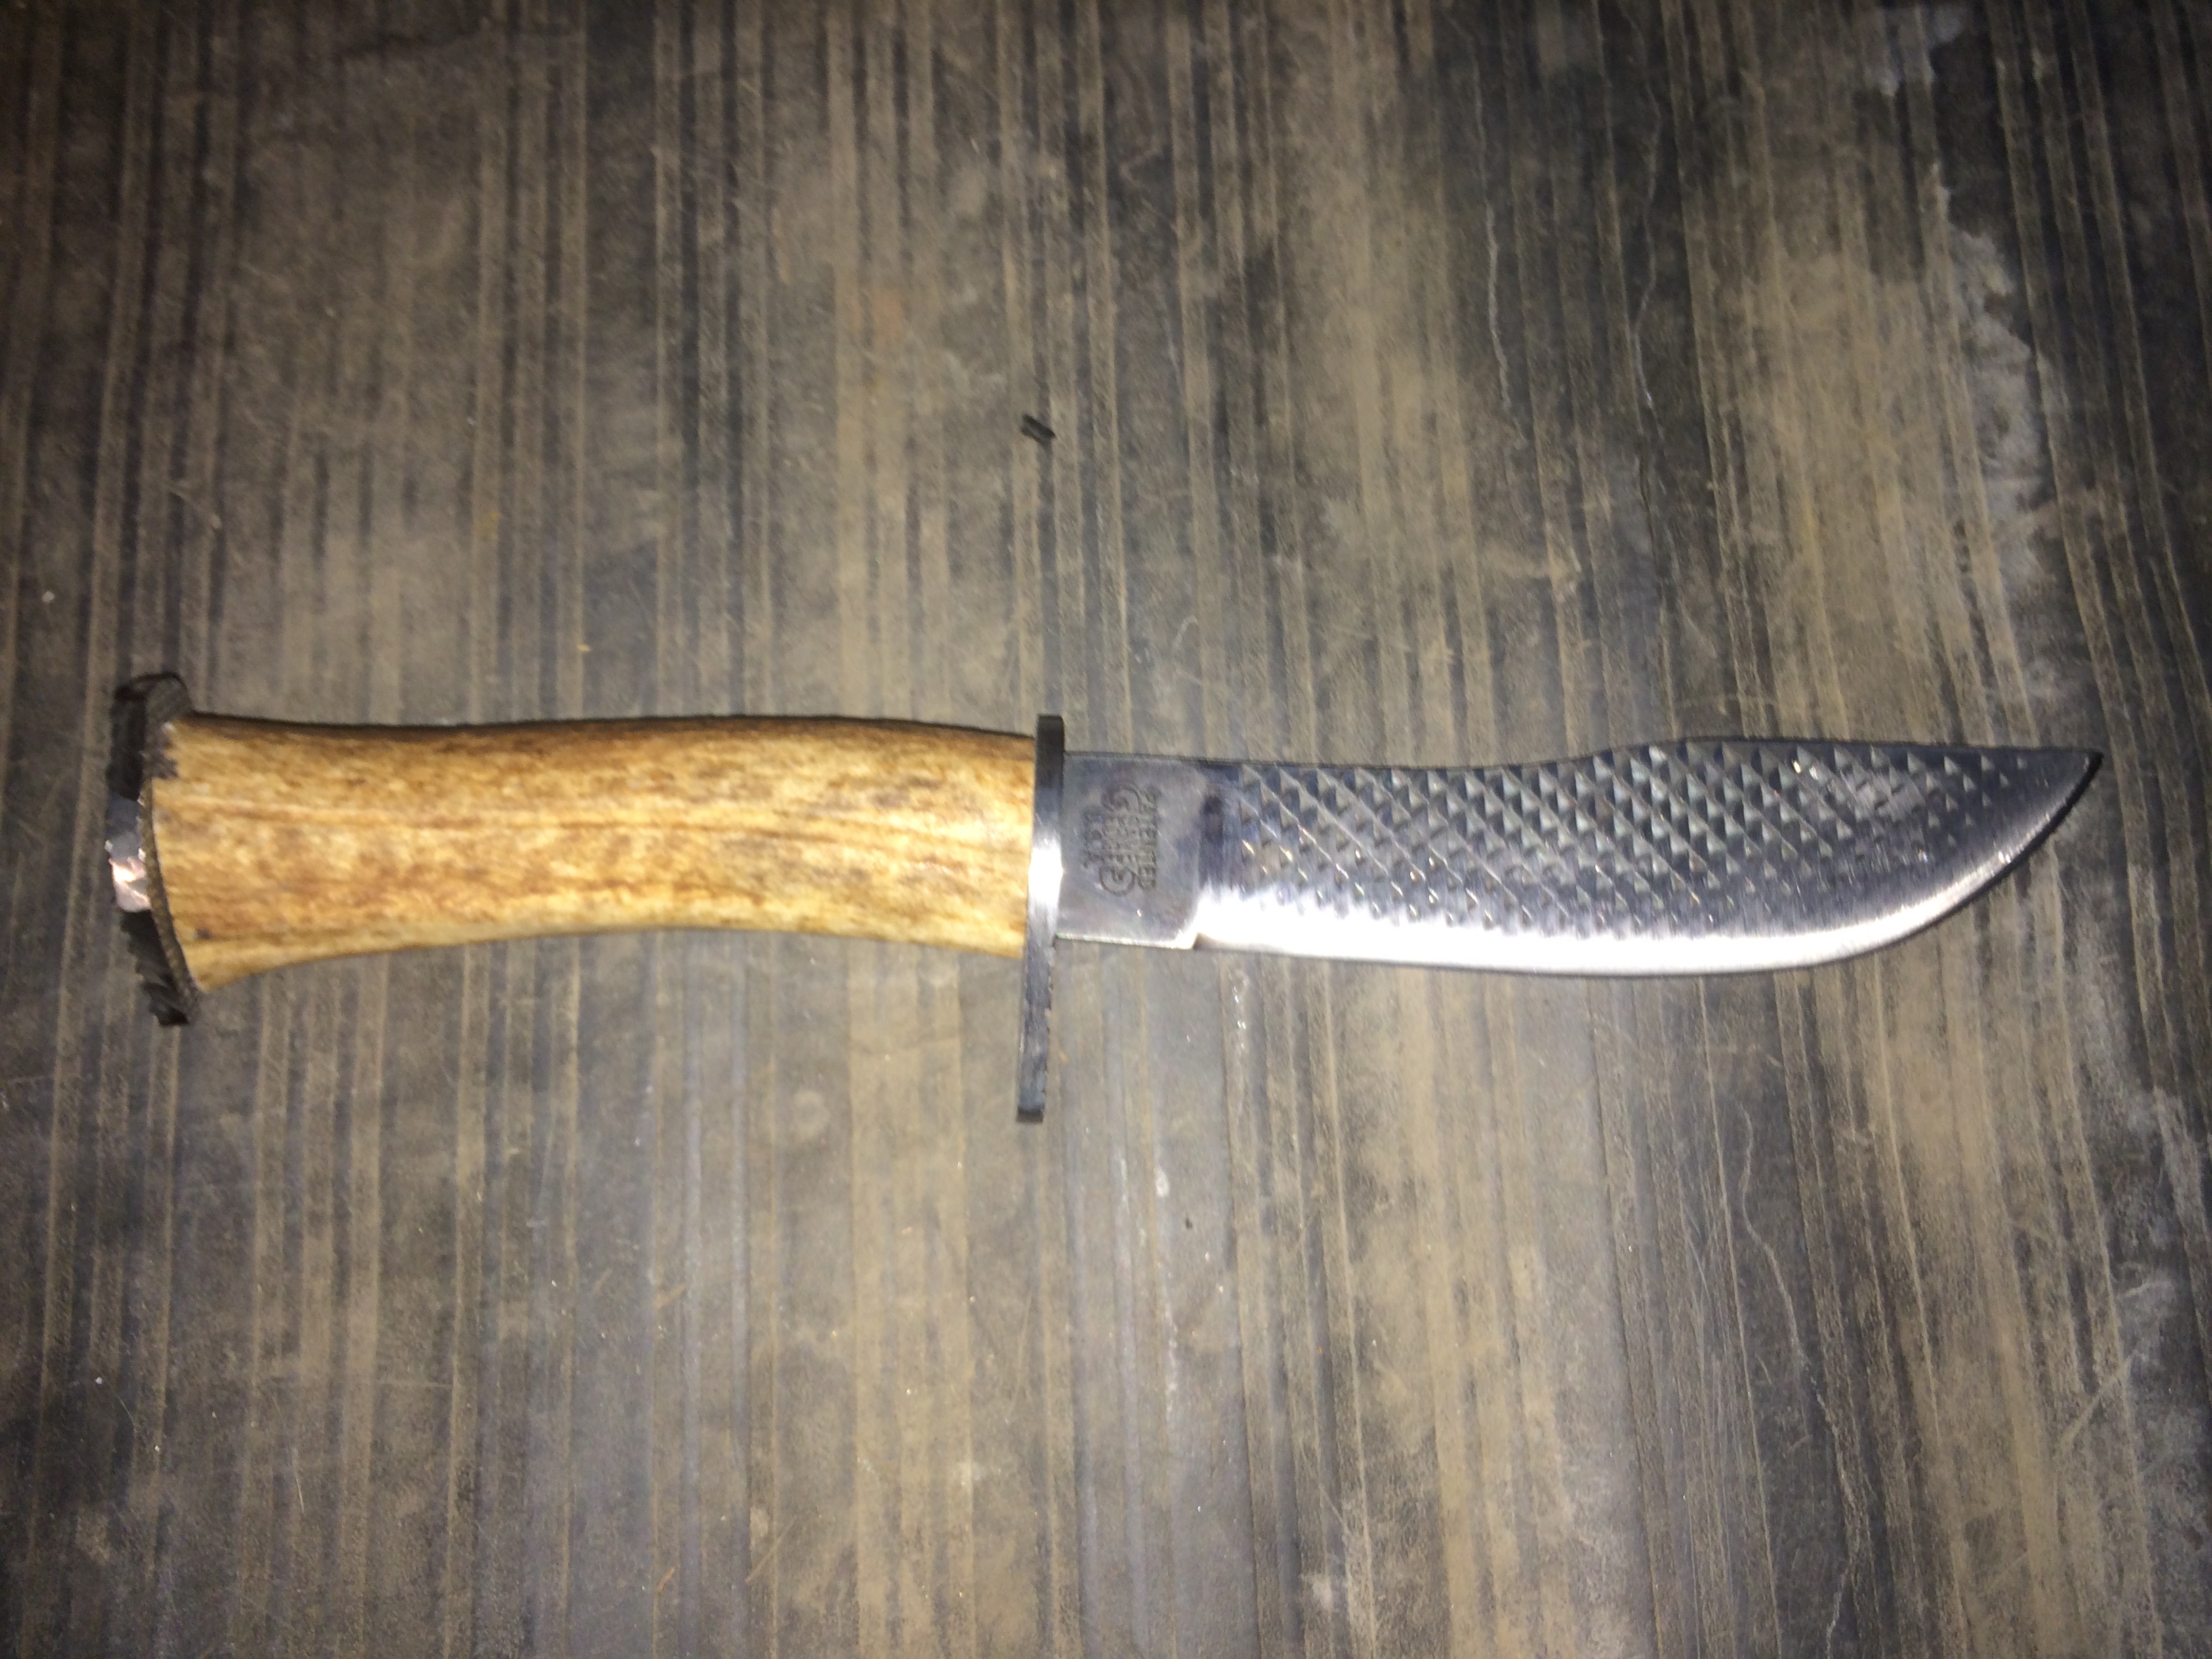
On the tail end of a commissioned piece for a buddy of mine.
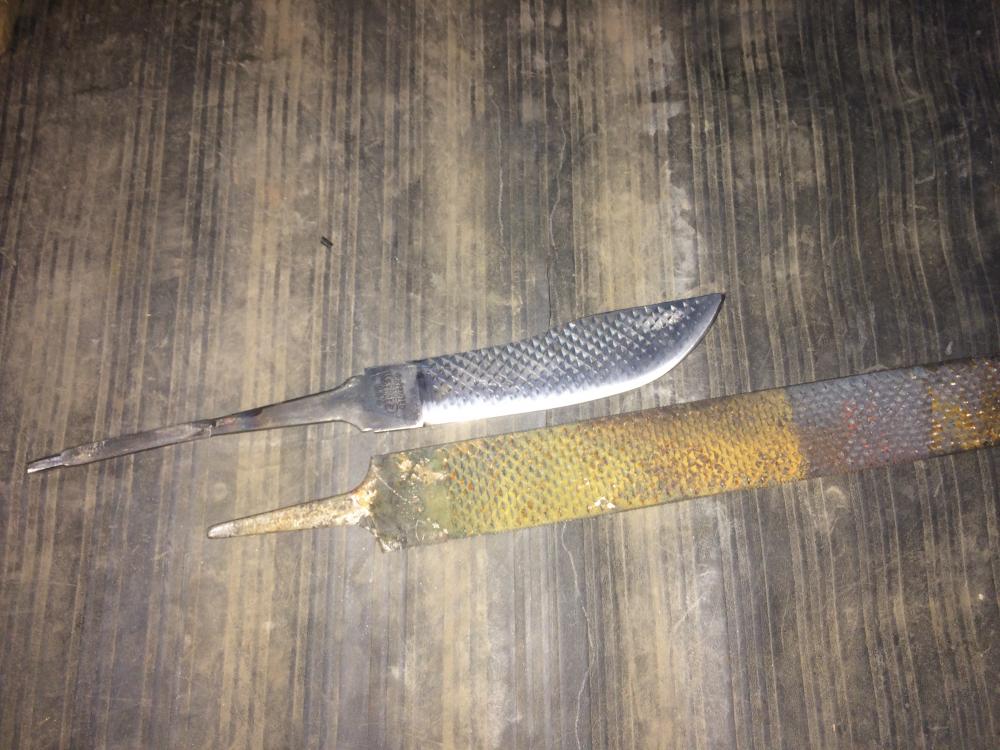
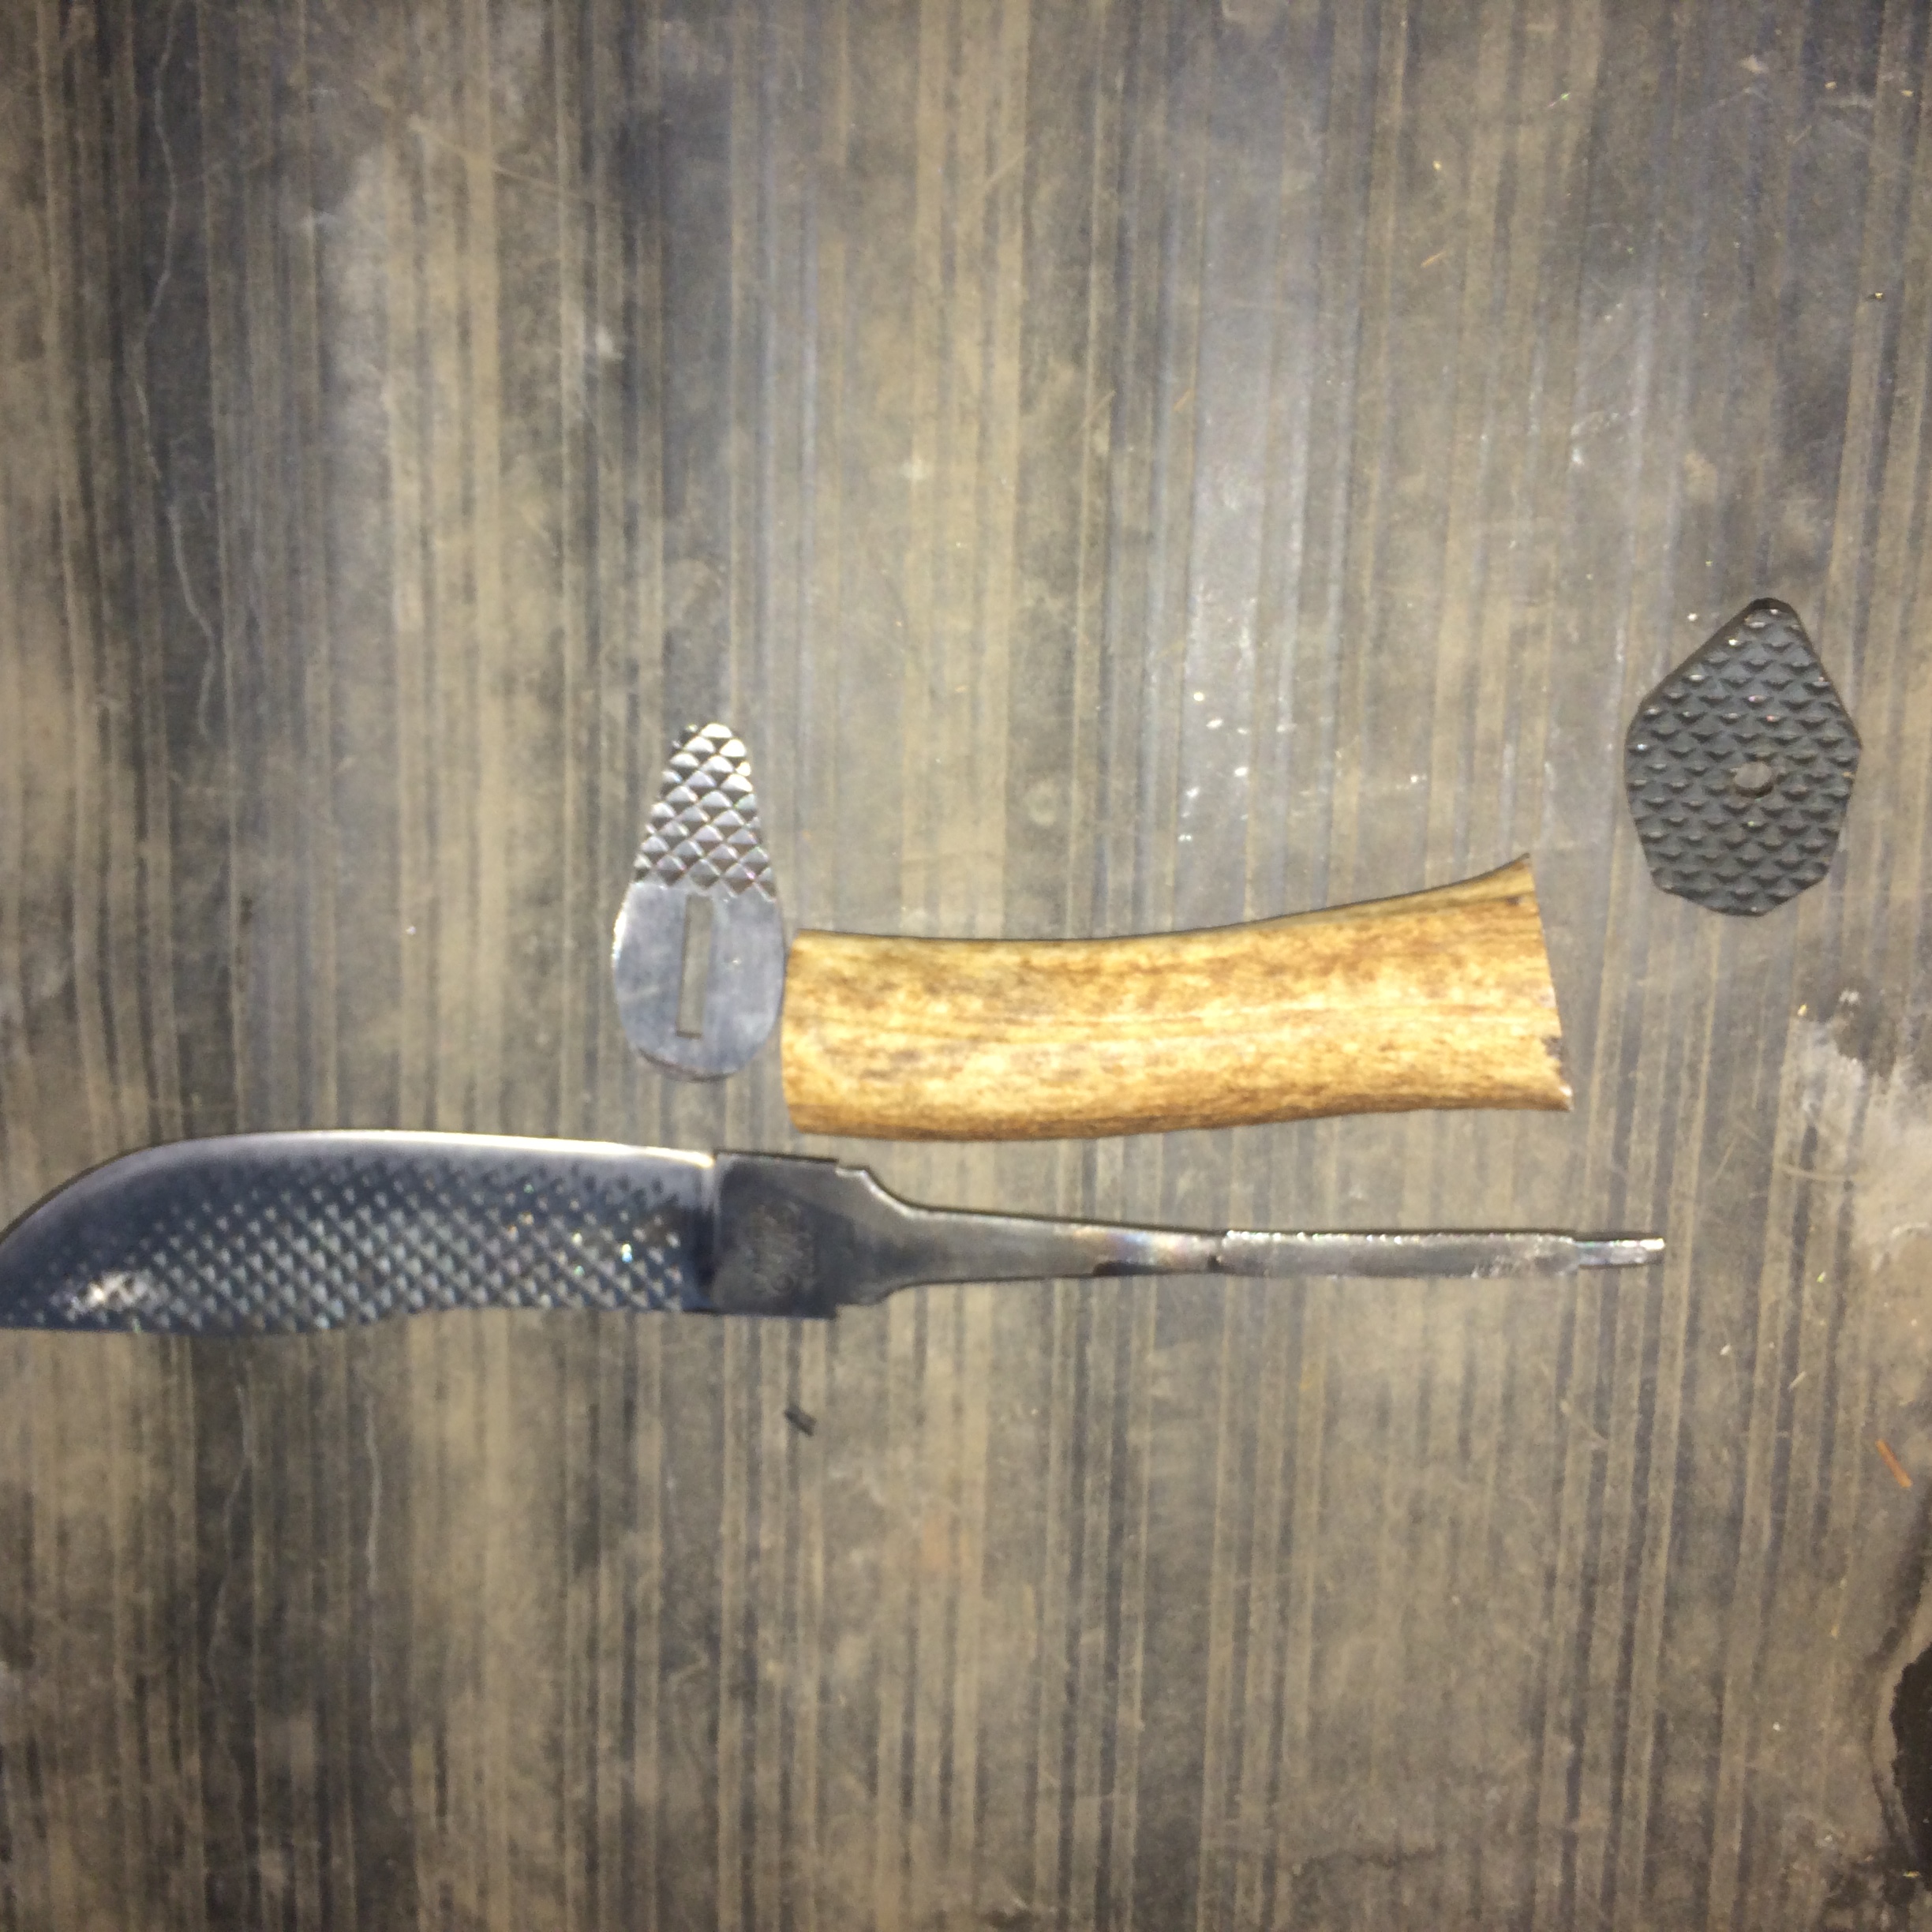
The file knife is a Save Edge farriers file with elk antler handle.
Stock removal with extra tang added for the handle.
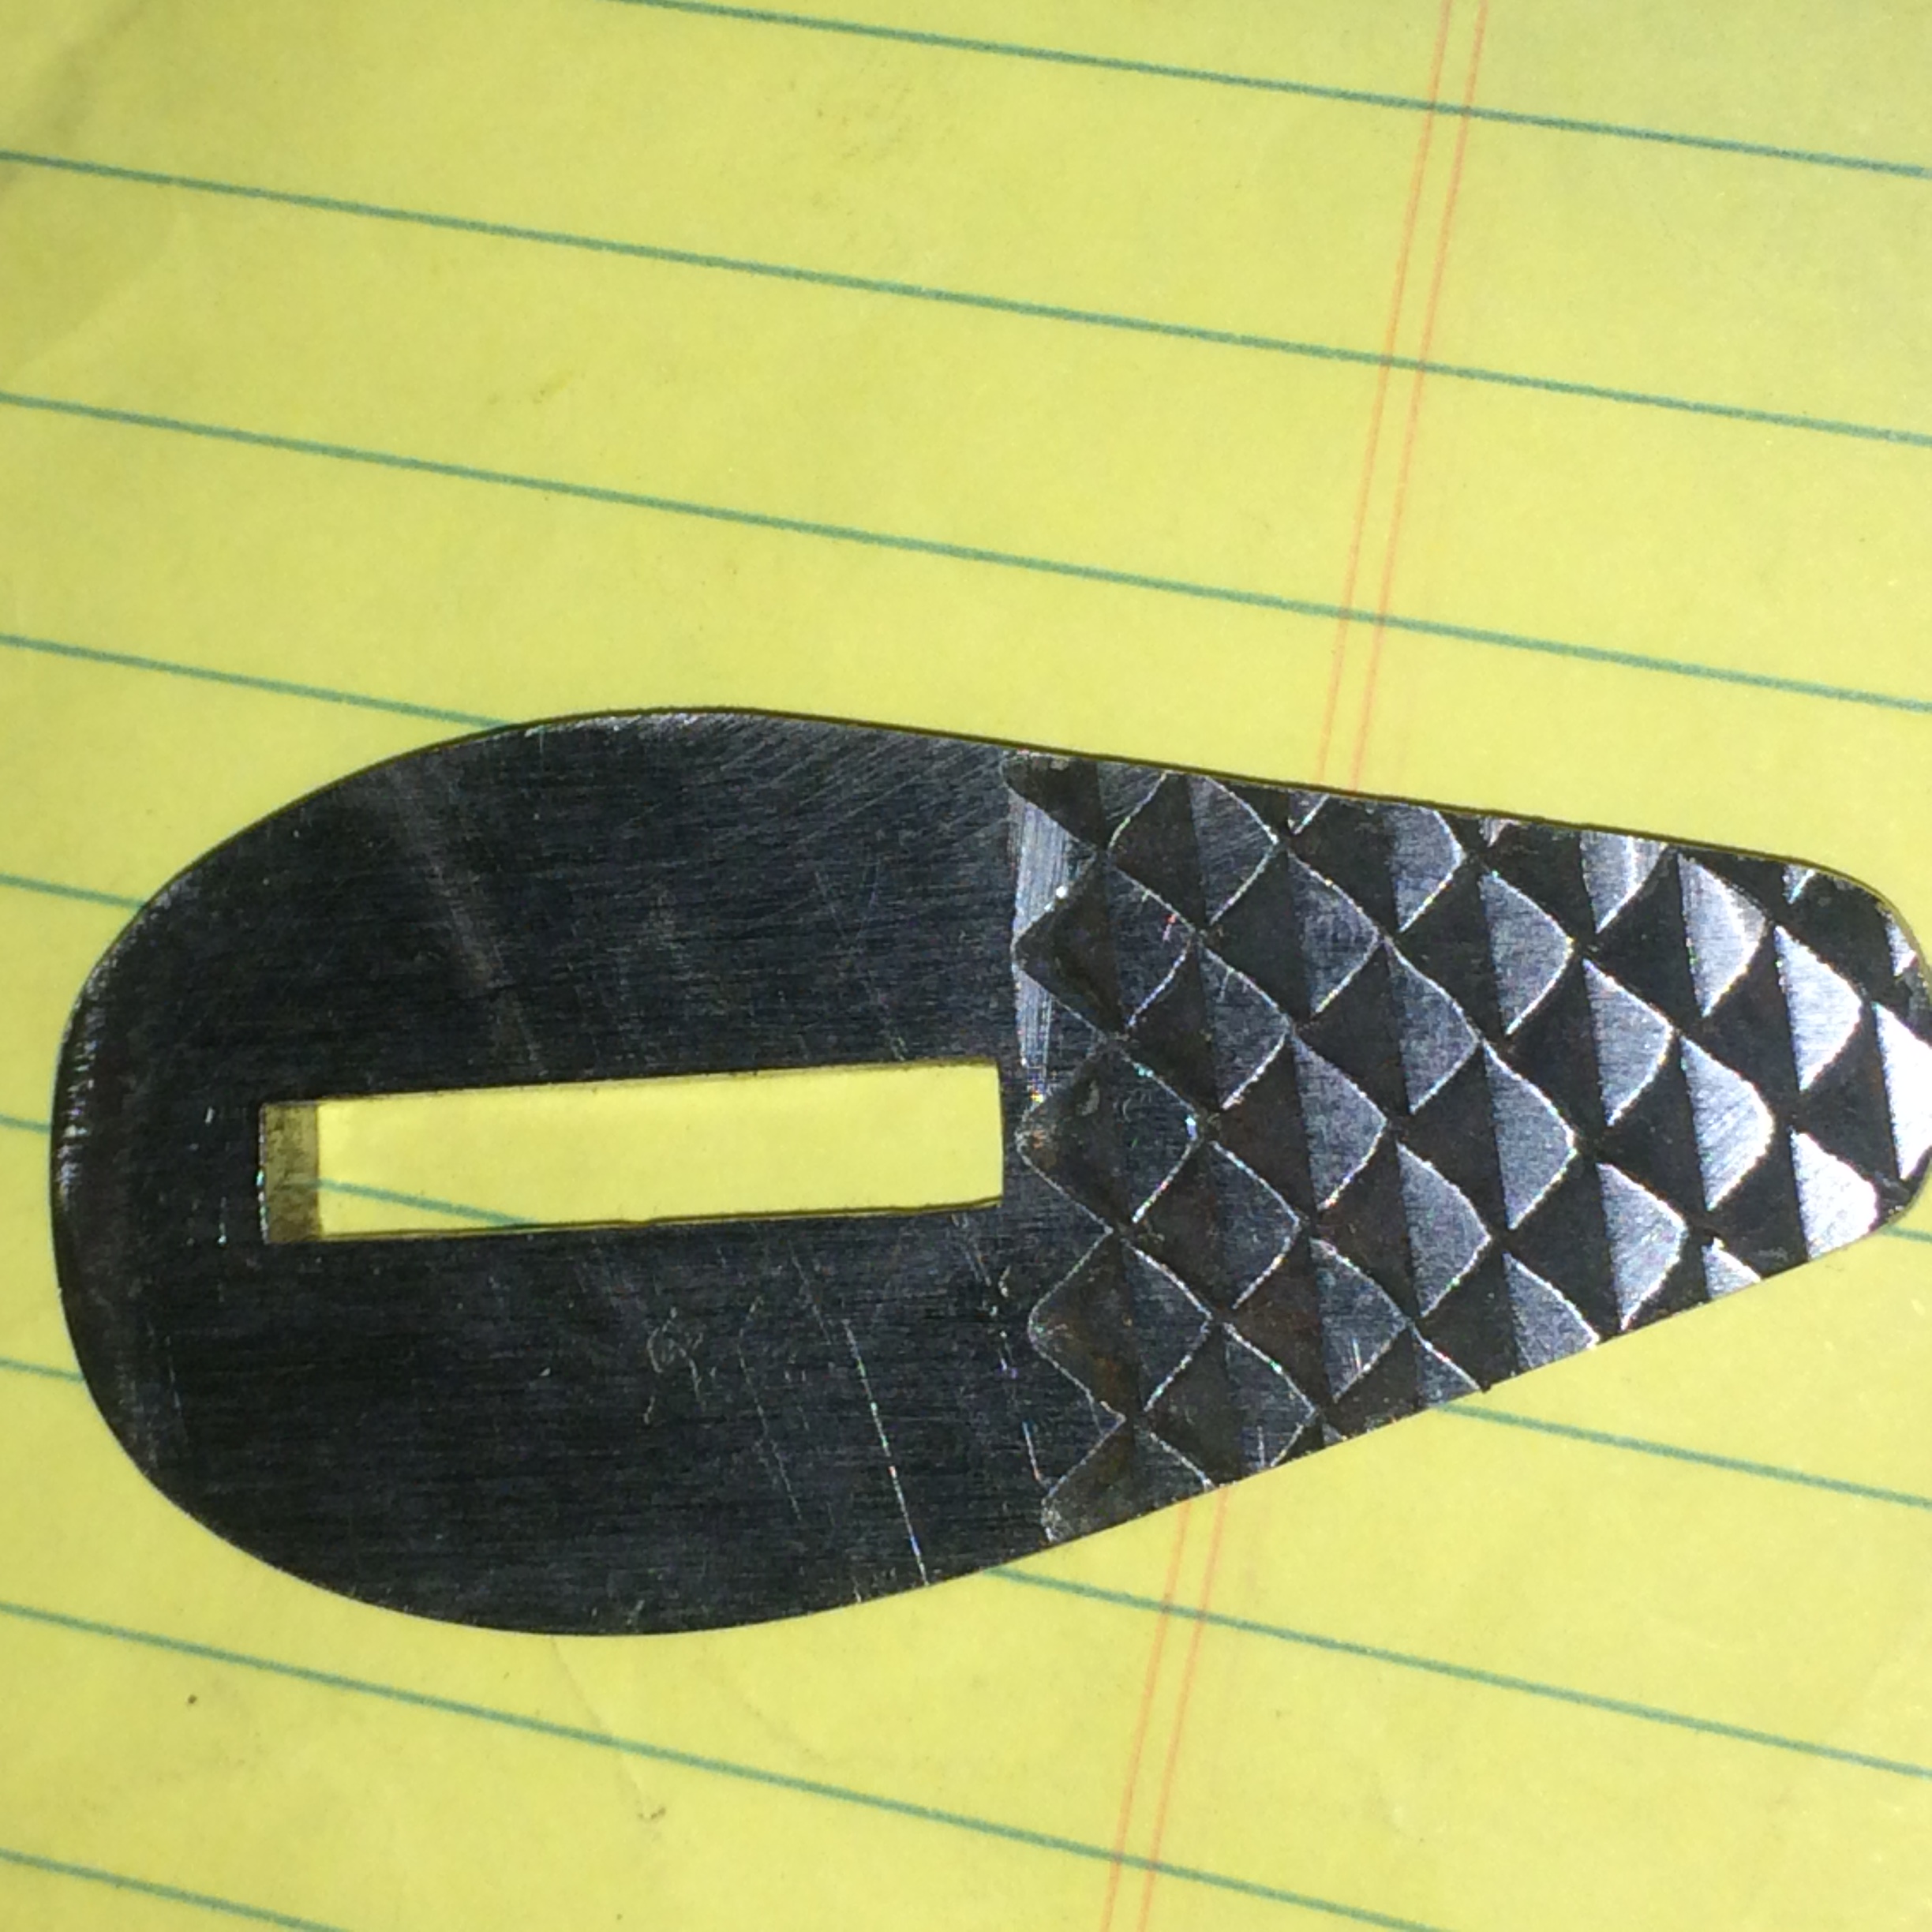
both guard and butt cap from same piece.
Blade 7" from tip to guard
Handle 5.5" guard to pommel
a little more Finnish work and it's to the fire for HT then 2 part epoxy and final peening of tang to secure butt cap.
i made a mistake of rounding off the square end of the tang where the butt cap goes in order to just do one quick drill hole so I had to drill and pin the inside of the but Cap to the antler just in case the glue ever gives way. Chalk it up to a lesson in having a lazy moment .


-
It's a small vac with a Y valve like a irrigation ditch Y gate. I can open and close to give me minimal blow to heavier as needed. Was quick n easy and I didn't get in trouble for stealing my missus' blow dryer.
-
That is exactly the information I was trying to pull out of my defunct gray matter. Thanks Mikey!
i will be doing a couple mods on it and maybe I will finally set up my pan and light up some rocks. Have to fix my blower (modified shop vac.)
-
Where are you located Bullwinkle?
-
Pops always said…
"If you can't find it, buy it or steal it, build it!"
-
I just pulled two picks from an old mine. Think I'll test one and see how well they bend. If I can I'll probably round one out and build a horn or two that I could mount on a bench or block.
As for the post vise not sure how much to charge for one. I will be selling one or two of them.
-
44 minutes ago, Steve Sells said:
you but you do need an external regulator. Most that we buy are set for BBQ are to low for a forge.
What's a good inexpensi
Oops, hit submit inadvertently.
What is a good inexpensive regulator For propane tanks? I'm switching from the new style grocery store tank to an old tank from my fifth wheel.
-
I
33 minutes ago, ThomasPowers said:I picked up a heavy duty one at Quad-State 2 years ago for US$40; I look for ones needing mounting plate and spring as they are cheaper and the missing parts are fast and easy to make. NM tends to be a tool poor region and I'm doing my part to change that!
I'd send a couple your way but shipping would be brutal.
Cant find one for under 100 on eBay. And shipping sends em over the top.
-
Not a member yet. Used to be a part of coma years ago. I'll be checking into rms when the season is close to over. We're gearing up for a very busy season.
-
Until the Mrs sees the charge.
-
Sounds like we're a bunch of tool addicts. That's why I have a locksmith business. Just another excuse to by the coolest new tool.
-
Backup is good but since I have limited space and Bsmithin is a hobby the rest can find a good home.
-
That's what I thought. Just double checking.
I'll get some pics up soon.
-
First, I have acquired four post vises. I only need one I think.
three are complete. All have springs.
I need to know what type of metal I should use to forge a key and keeper pins and should I leave them soft or harden?
Also, what is a fair price for post vises in good shape?
-
Post pics for better info


new guy here
in Knife Making
Posted
Beautifully crafted!
thanks for the inspiration. I think I'll try my hand at a nice skinner next.