

Jspool
-
Posts
219 -
Joined
-
Last visited
Content Type
Profiles
Forums
Articles
Gallery
Downloads
Events
Posts posted by Jspool
-
-
Mighty Mo is in the shop!
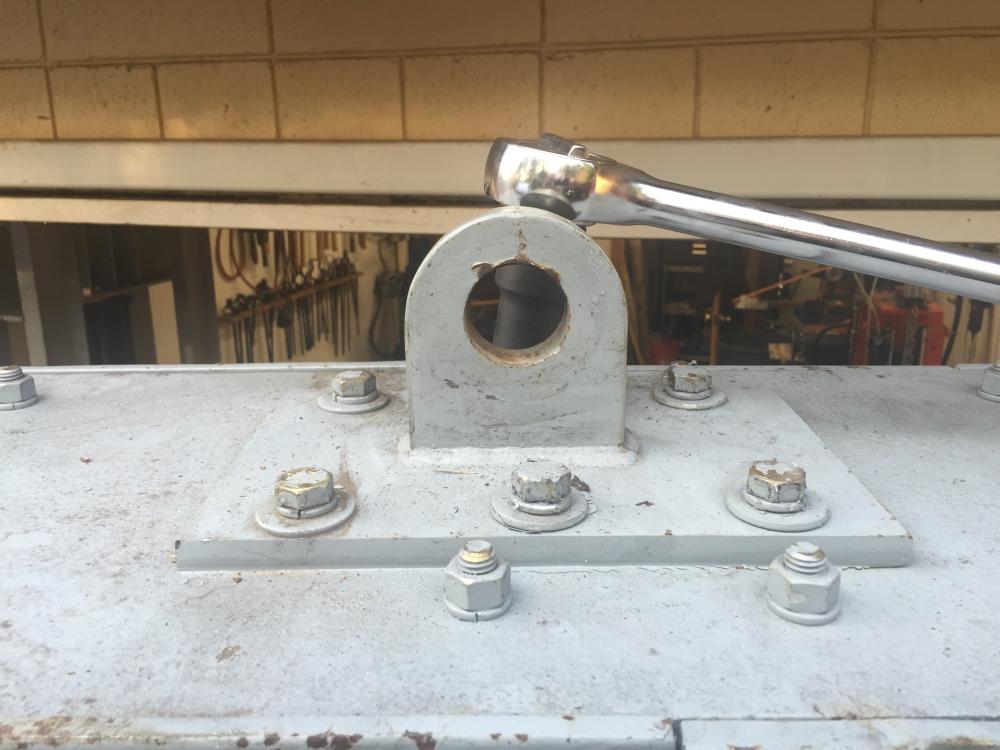
Fortunately the pad eye was bolted and not welded to the top of the hammer

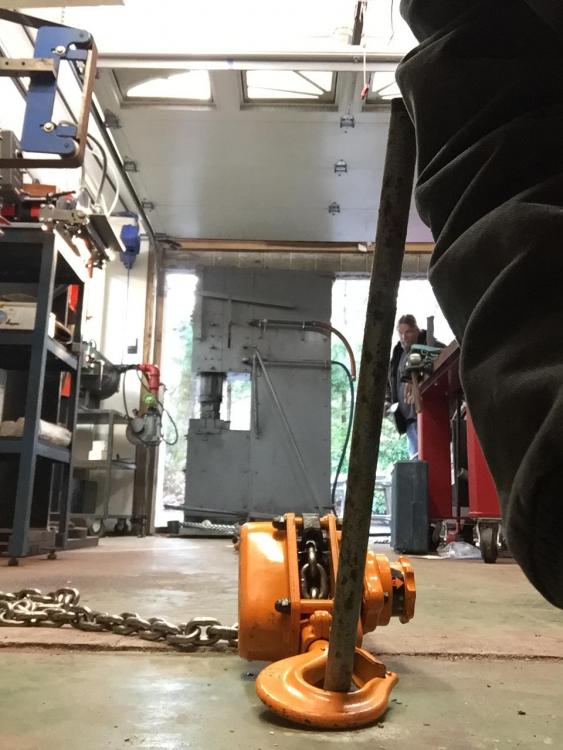
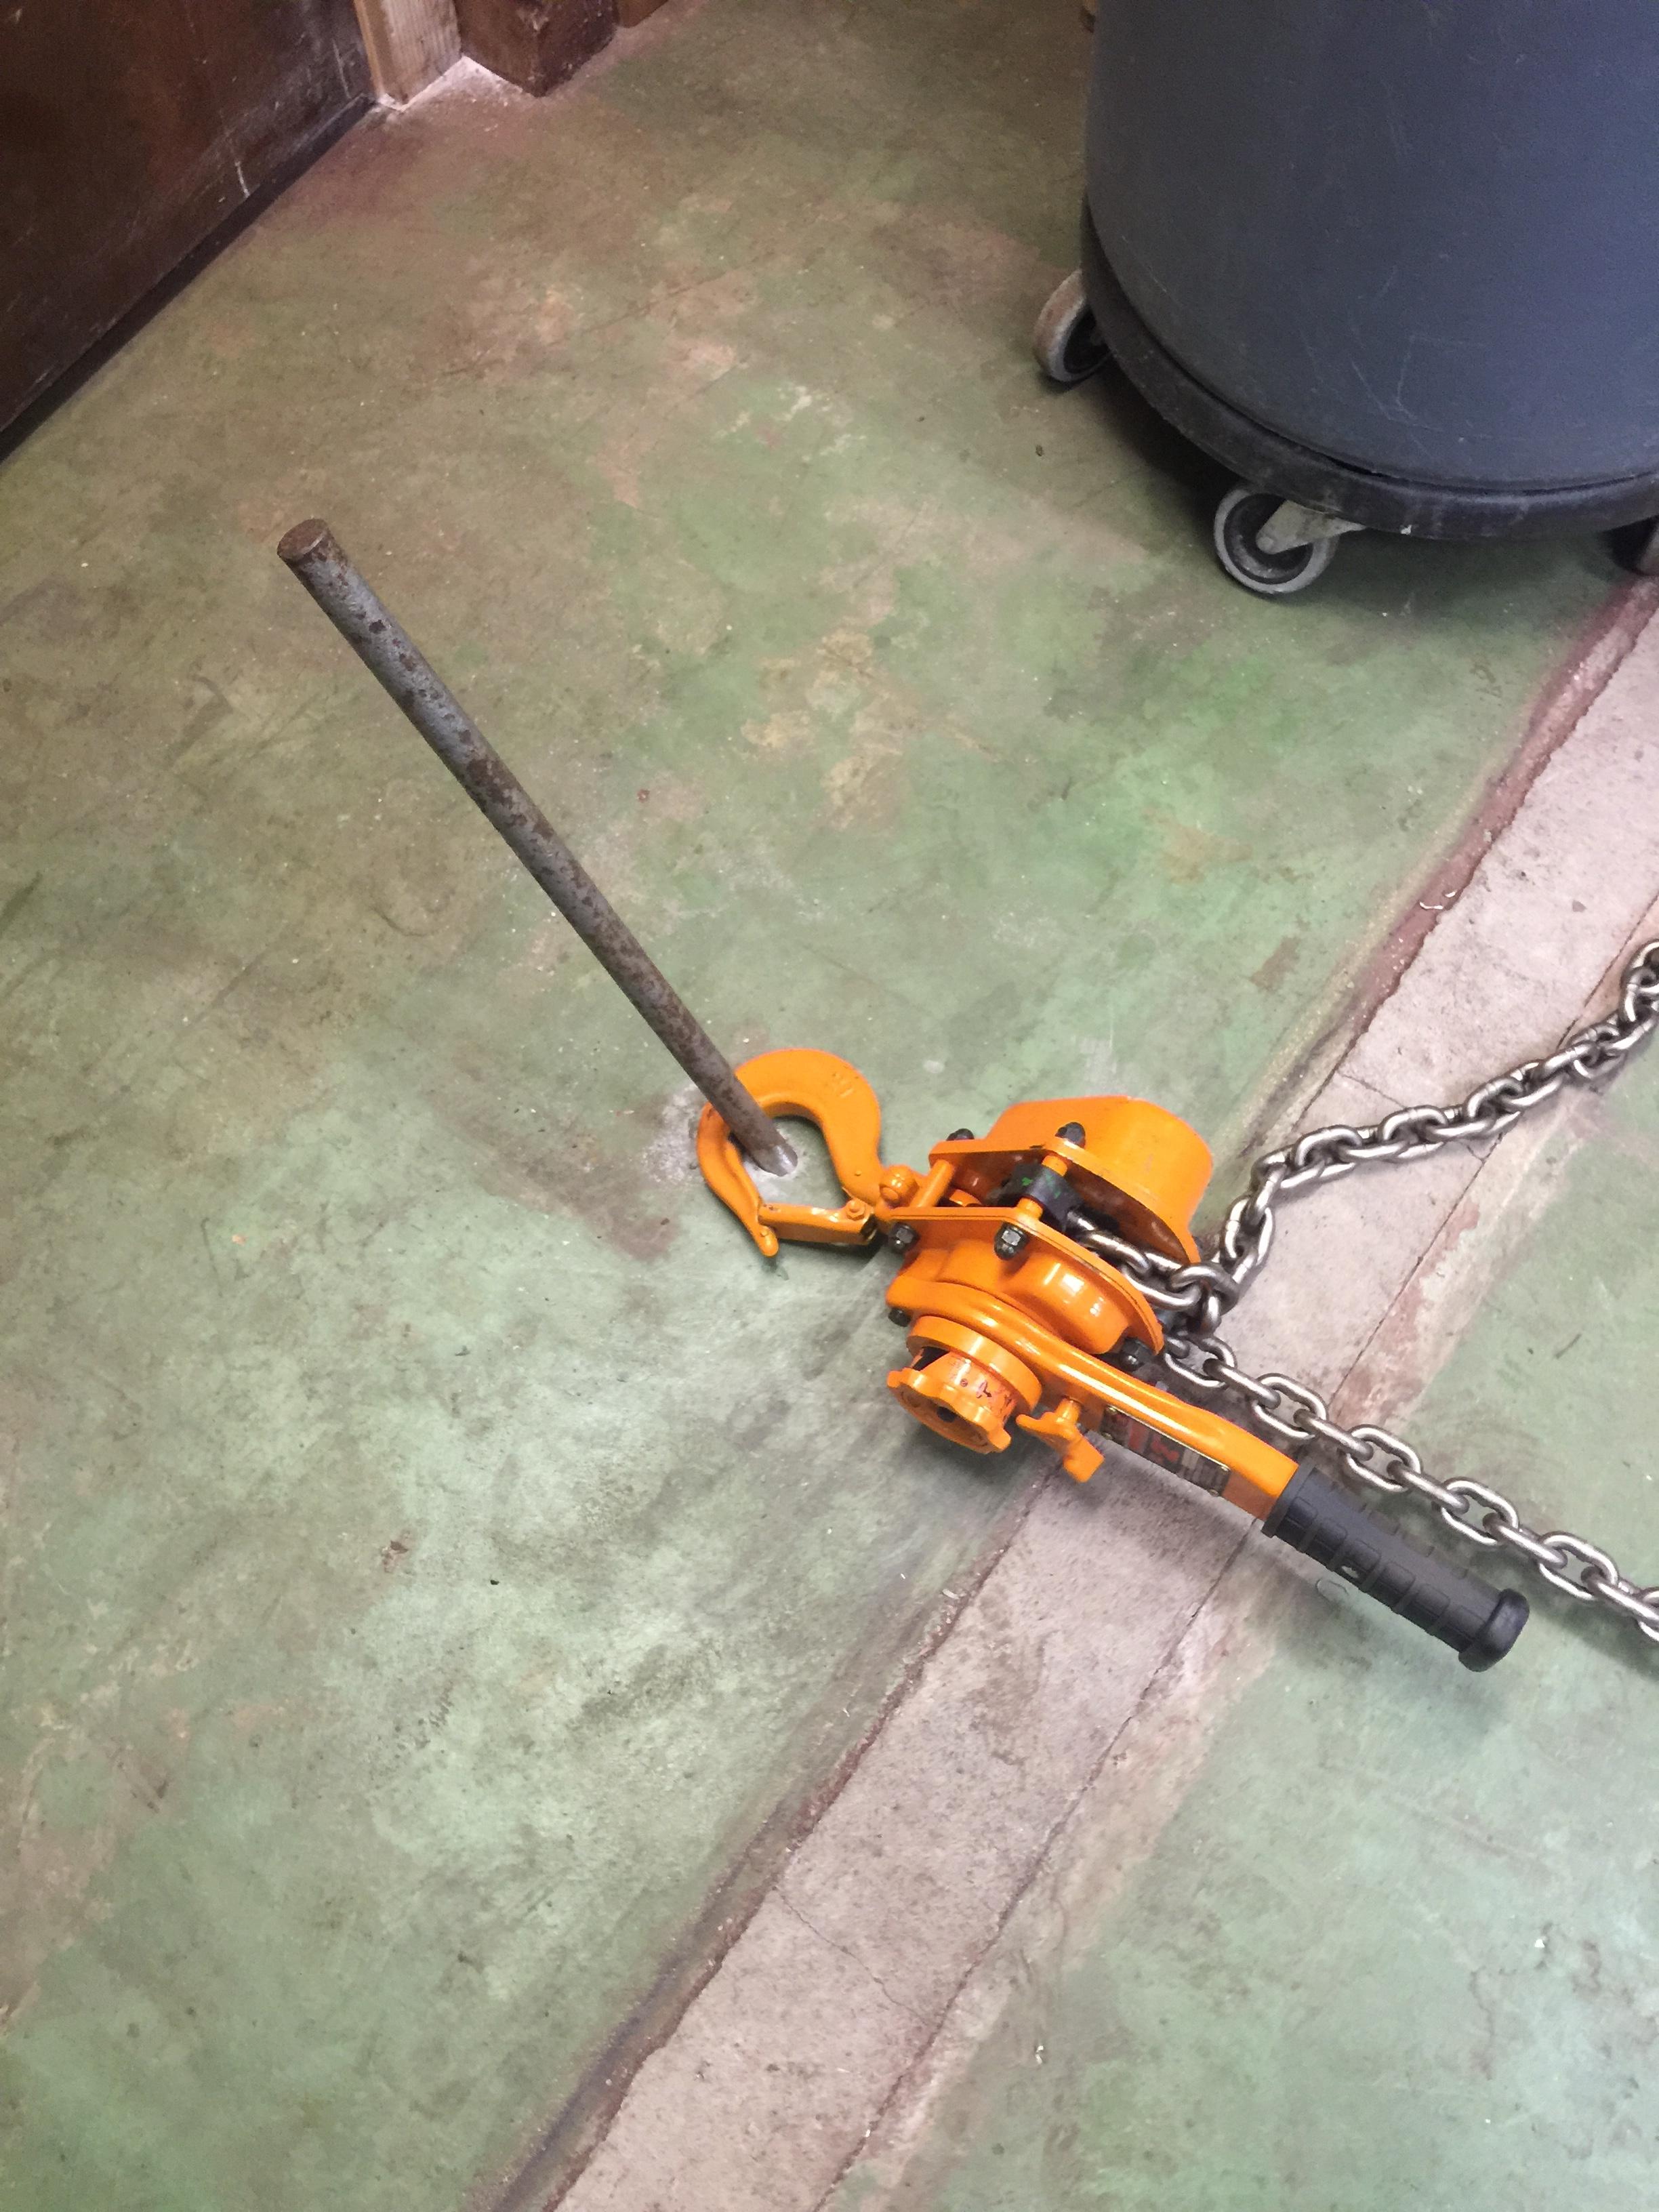
Here is a close up of the 3/4” pin drilled through the slab to anchor the chain fall
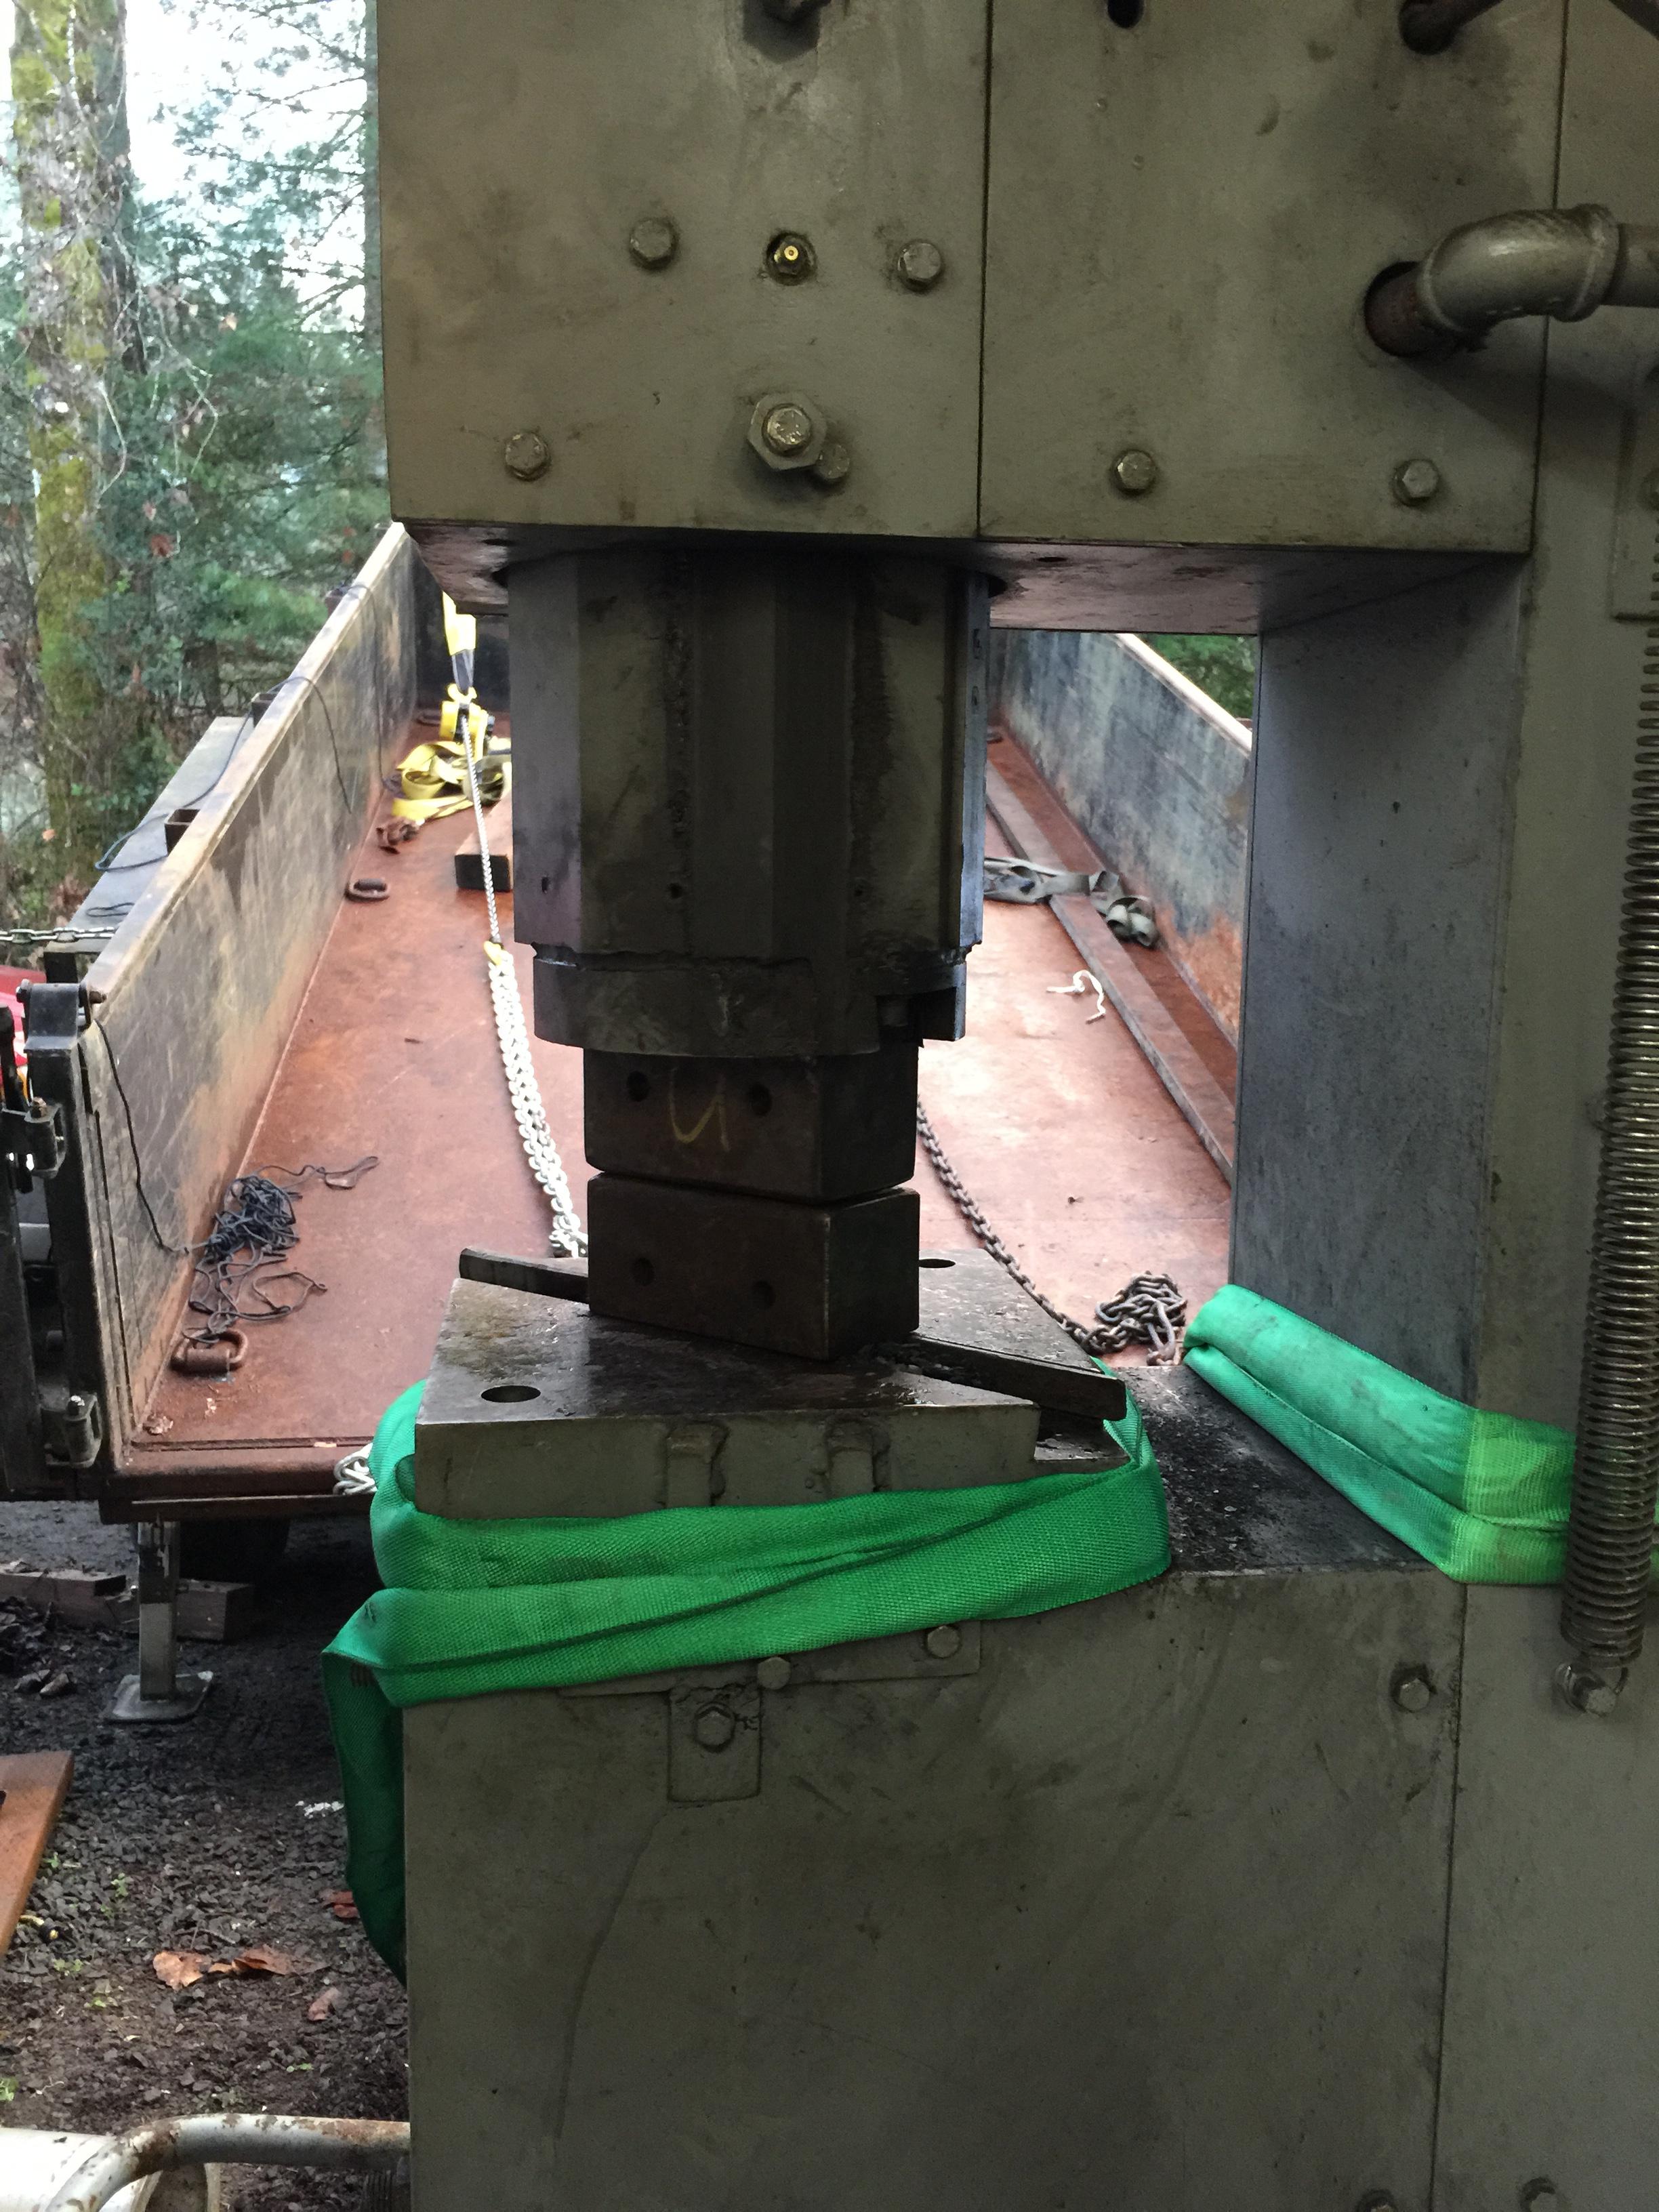
Here she is inside. I was kidding before when I said I’d have a good 1/4” clearance but it ended up being reality!
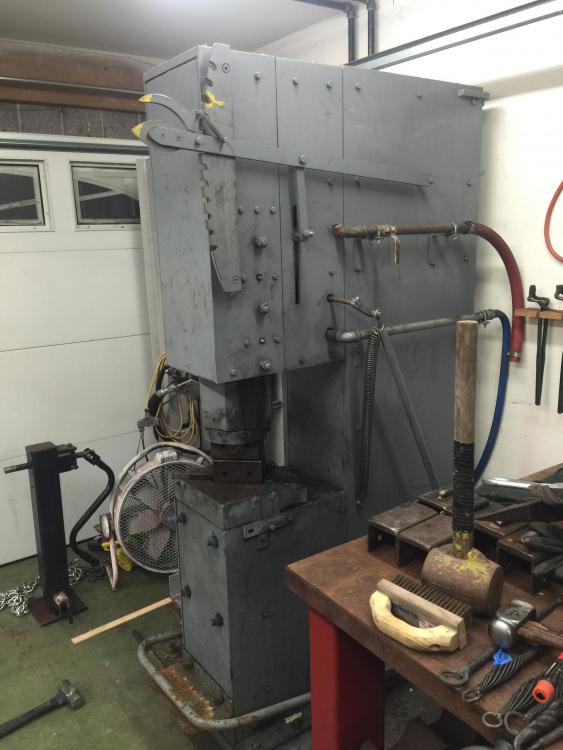
And slid back into her home until a foundation is poured and cured.
Thanks to this forum and everyone who helped out with suggestions as to how to get this in. It really helped my confidence levels to get this done.
4 hours ago, Frosty said:Does it really hammer the floor that hard? I've only limited experience with self contained hammers but none shook the shop. I got to try Bob Bergman's 3B Nazel and his 300lb. guided helve I can't recall the name of. Deb could tell they were running in the next room but they weren't putting rings in her coffee. At that time anyway, the slab in Bob's shop was 4" on a good base. Another power hammer I got time on was a Kuhn 40 IIRC. and it was the same story, you could tell it was running but it didn't shake or rattle anything on a 4" slab.
My 50lb. LG is noticeable, Pat's 50lb. running at the recommended speed is noticeable. Pat's wants to go walk about but it's not anchored, mine's just got a piece of 2" sq. pipe stuck into a gozinta so it wiggles but stays put. Neither shake anything.
I've got to wonder if IK has enough anvil under it or is properly balanced. If you think about it the exact same force less friction is pulling up on the whole hammer as is driving the ram down. The anvil should be moving upwards with the same energy, they should cancel out. Is the frame flexing or what? If it's rigid it should be a zero sum solution.
Frosty The Lucky.
Iron Kiss hammers have some of the better tup to anvil ratios out there. Mine is around 16:1. Then the whole hammer is mounted to a 3’ x 4’ x 2” plate. Total weight of 4500lbs so I doubt
that it is shy on rigidity or flexing too much. I am pretty sure that the big hammers you have been around like the Nazel 3B were mounted on isolated foundations. That being said, it is possible that the slab in the location where I tested the hammer was not on a solid base, so I’ll hook mine up tommorrow just to give a couple of whacks to see how it feels in my shop.
-
I’m trying not to be lazy but it’s hard. The isolated foundation was not something I was planning on doing as IK hammers advertise that they do not require one. However once I experienced what its like when it hammers at full stroke, I fully comprehend what you are talking about beaudry. A few hours of that would be hard on the old vertibrae. Just standing on concrete all day is difficult enough. So, I’ll locate the hammer in a temporary position while the foundation is constructed and is curing, and do the job once and right.
-
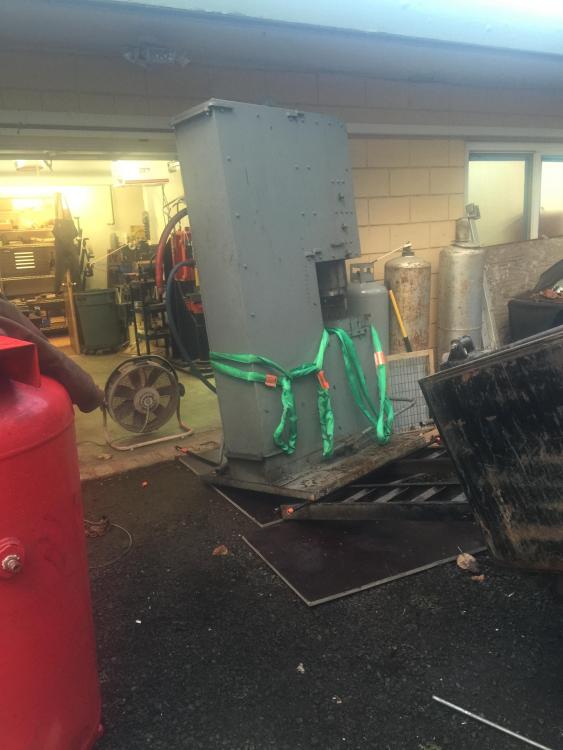
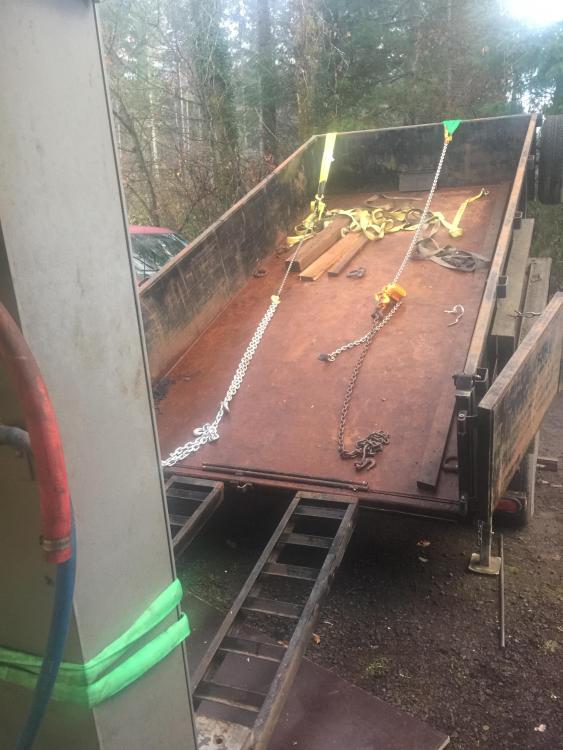
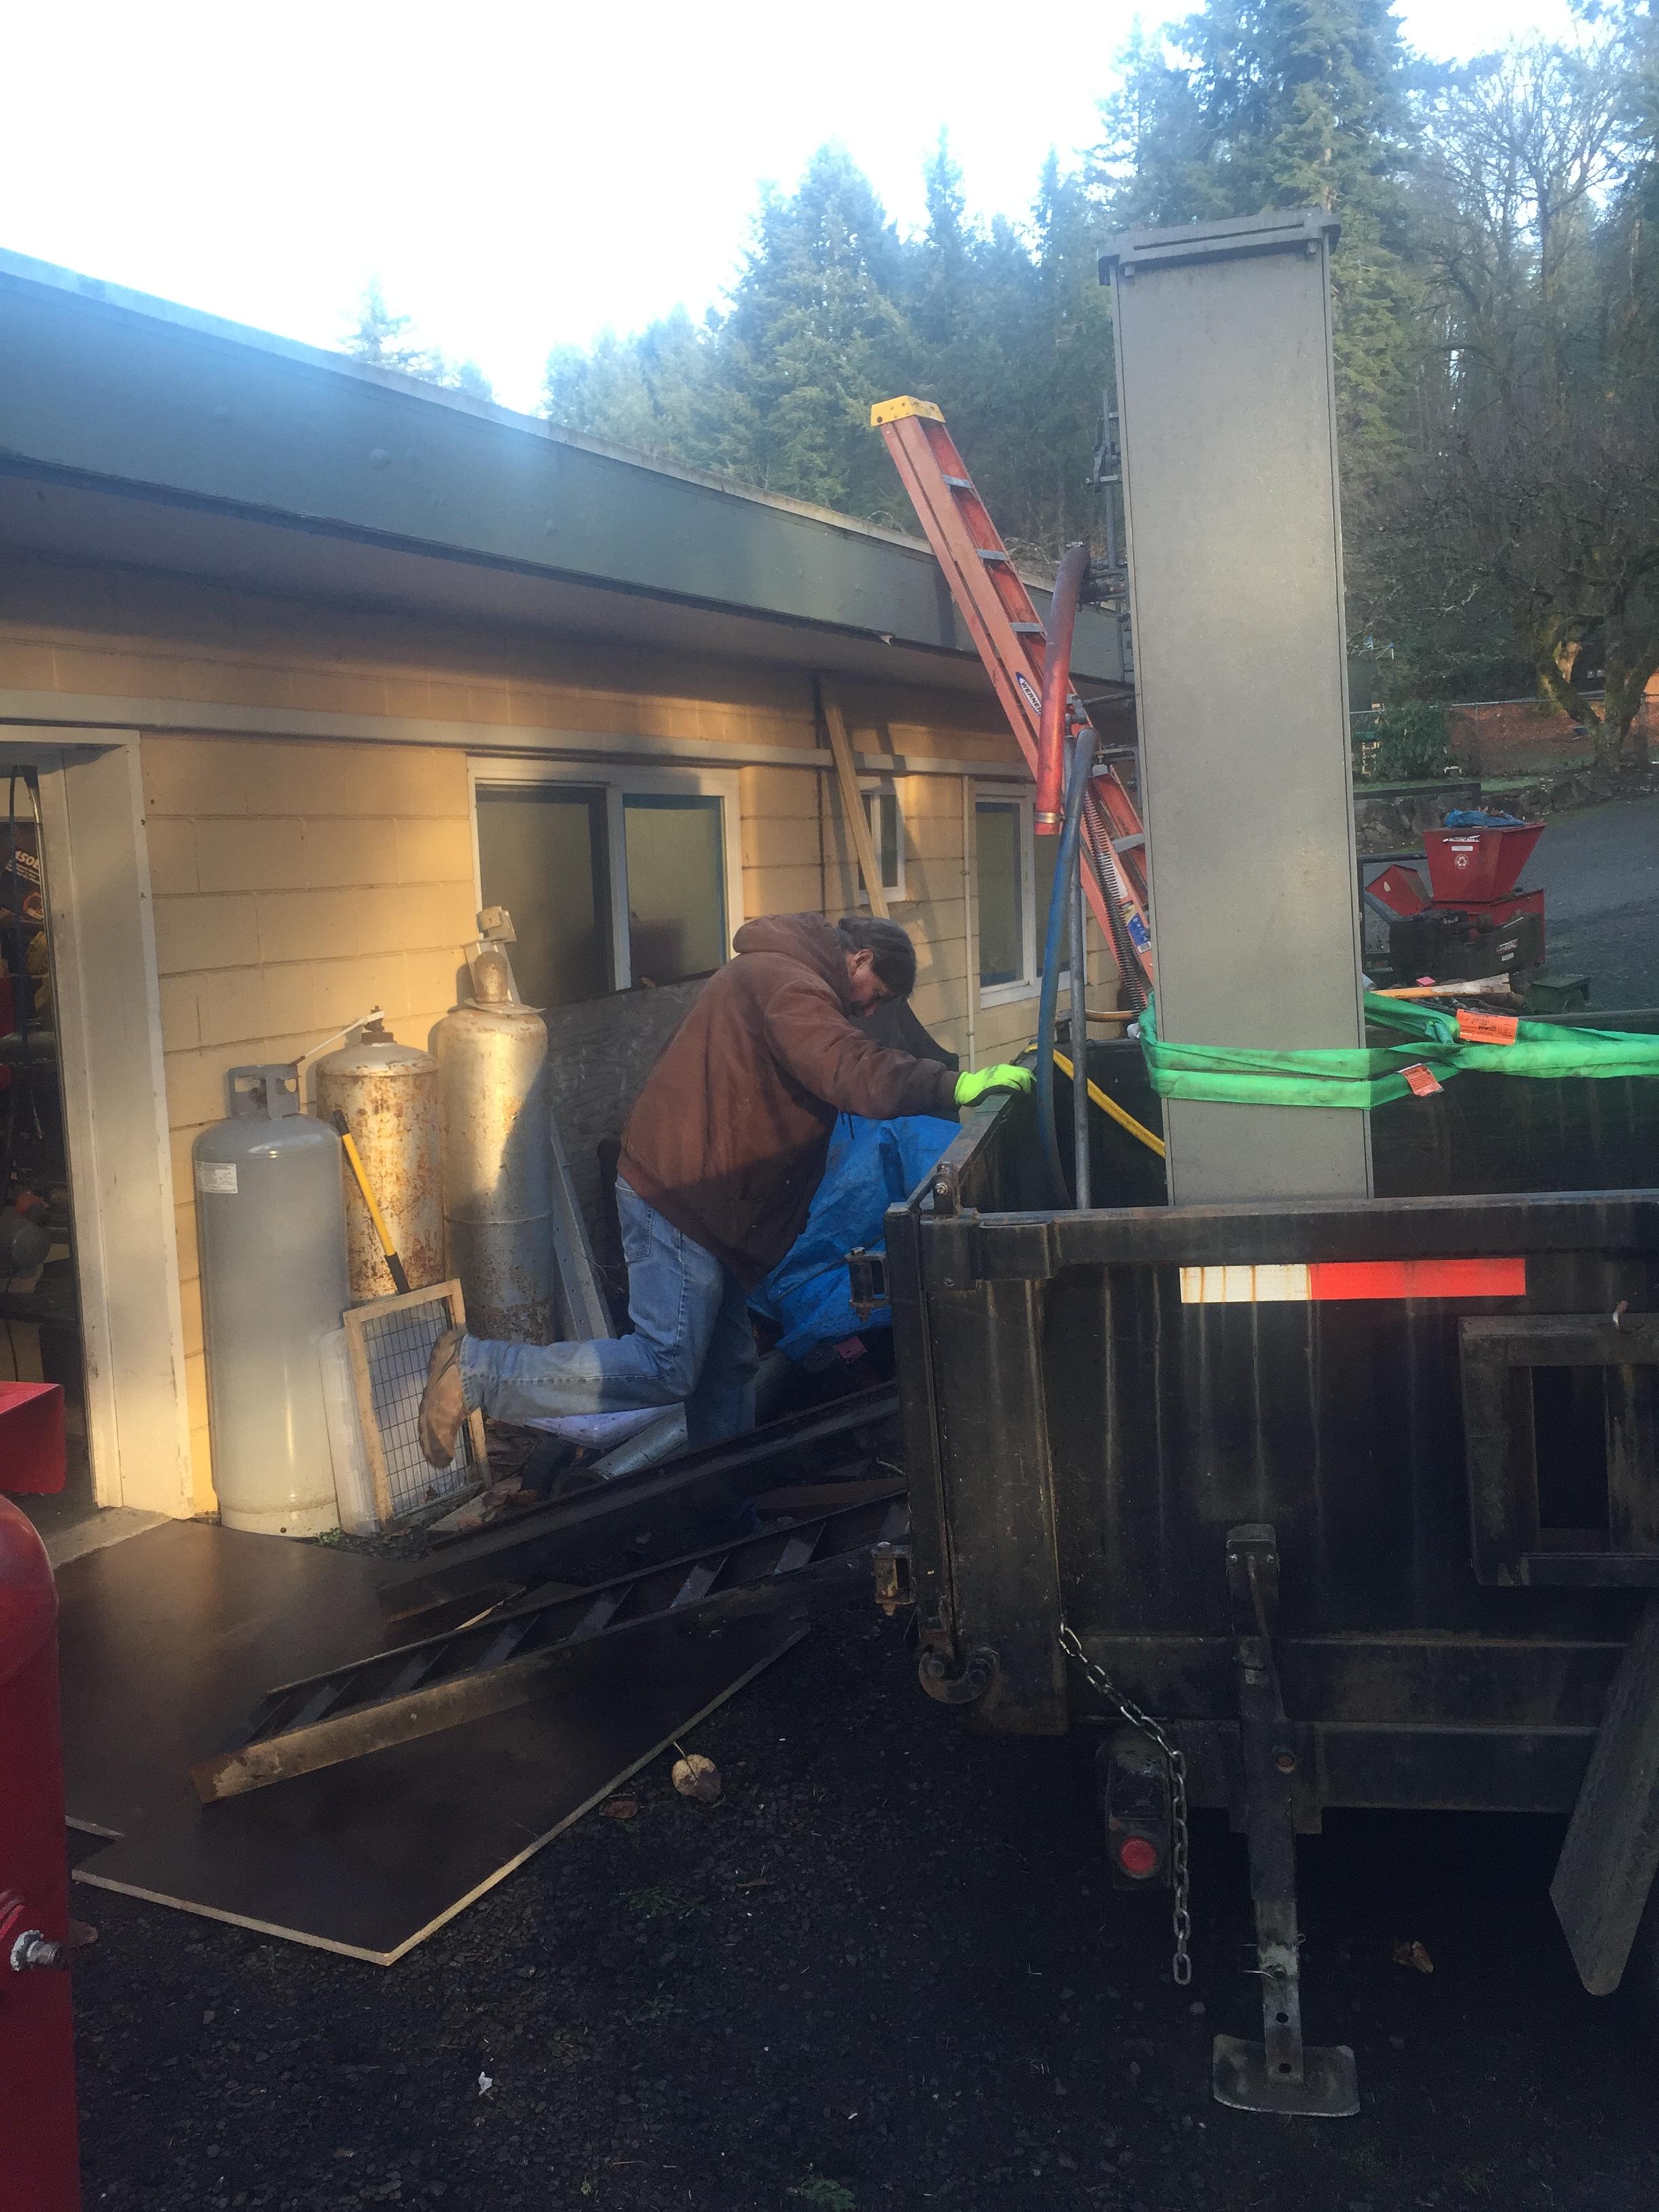
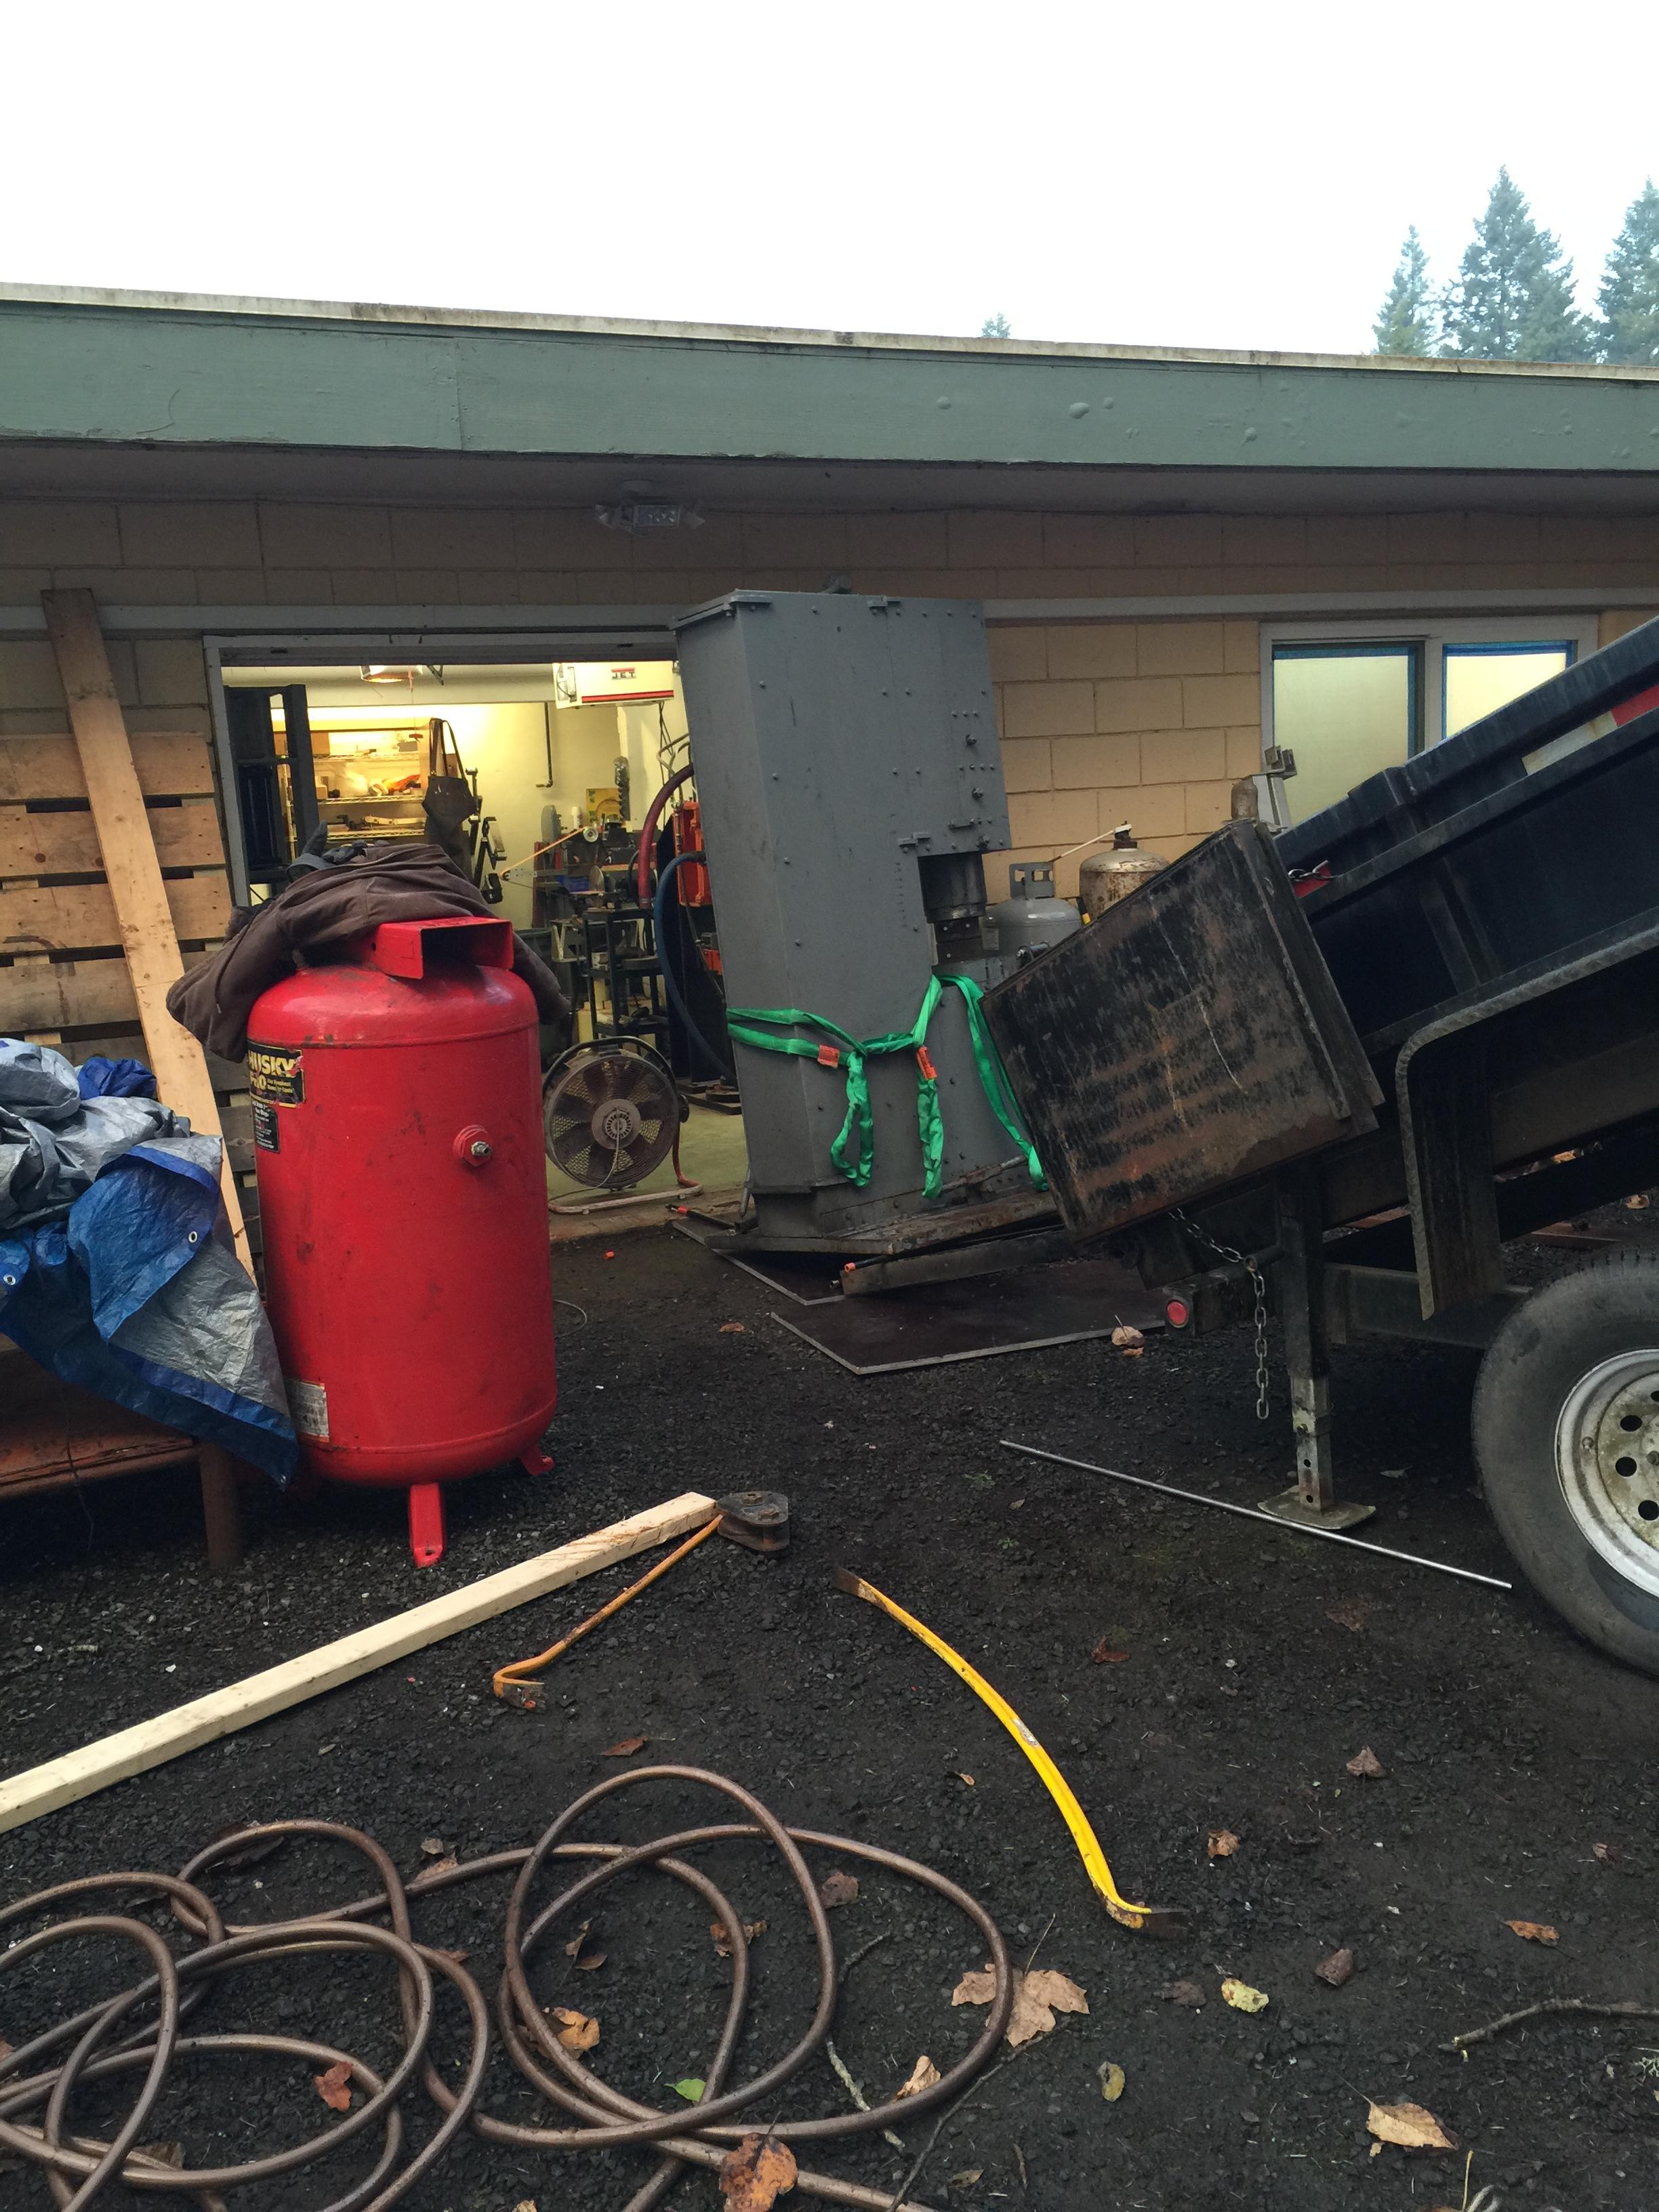
Slid the hammer off of the dump trailer today using multiple chainfalls and pipe. Not something I want to do again even though controlling it with a couple chainfalls down the traier was quite controlled, the trasition to the ramp was hairy. Once the edge was on the plywood, we could slowly drive out from under it.
Heres some pics. It should be inside tomorrow.


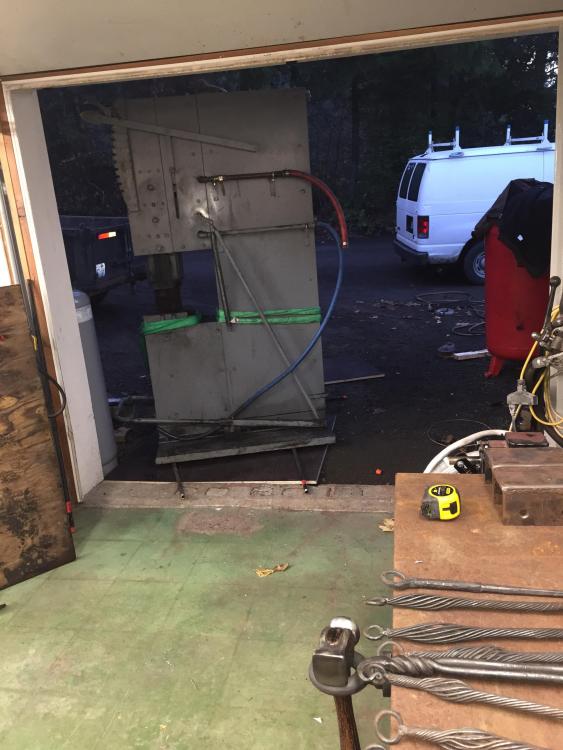
Going to drill in an angled pin into the concrete and pull it in tomorrow, after removing the top of the door framing, and the lifting eye. Looks like I’ll actually have a good 1/4”clearance!
-
Thanks Joe,
I have a Costco curtain on the garage door to keep nosey folks from seeing everything when they drive by, and another in the shop between my grinding and machining areas as an attempt to keep crap off of the lathe and mill and every other surface in the shop.
A couple of years ago I invested in a good dust collection system for my wood shop. Now I can work in there with minimal cleanup. Can’t believe I waited so long to do that. Now I have to figure out how to accomplish the same thing in the forge.
-
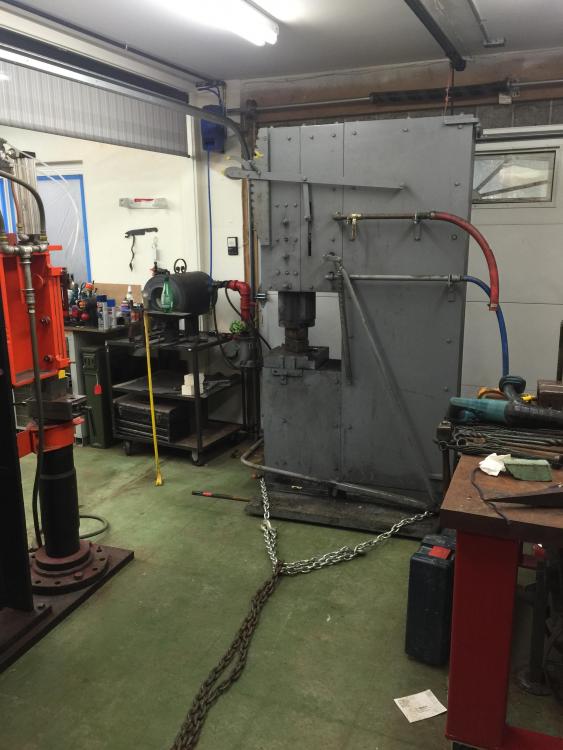
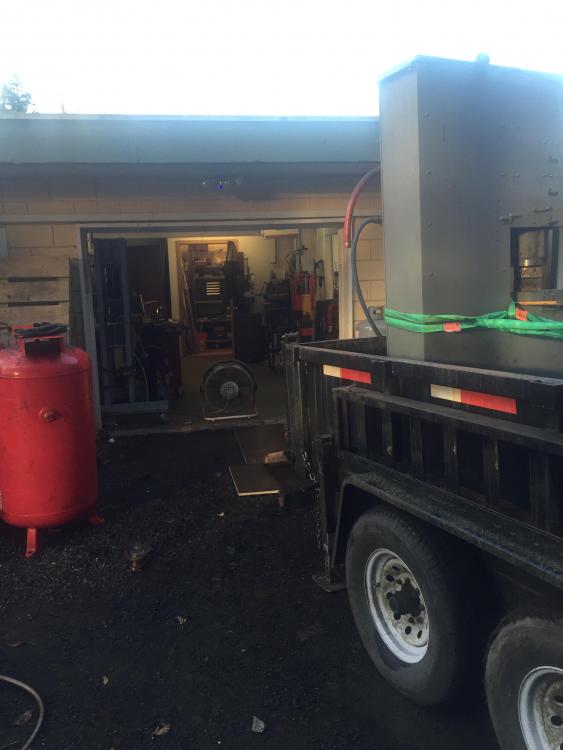
Ok. Back home now. Here’s a few pics of the garage and where the hammer will go. After a good look after Salem and Frosty’s comments, I am going to remove the whole garage door and its jamb, then take out a few overhead blocks to provide clearance for the hammer. The rectangle conduit above the door houses lines from a heat pump. Once disconnected from the wall I’ll just push them up and out of the way.
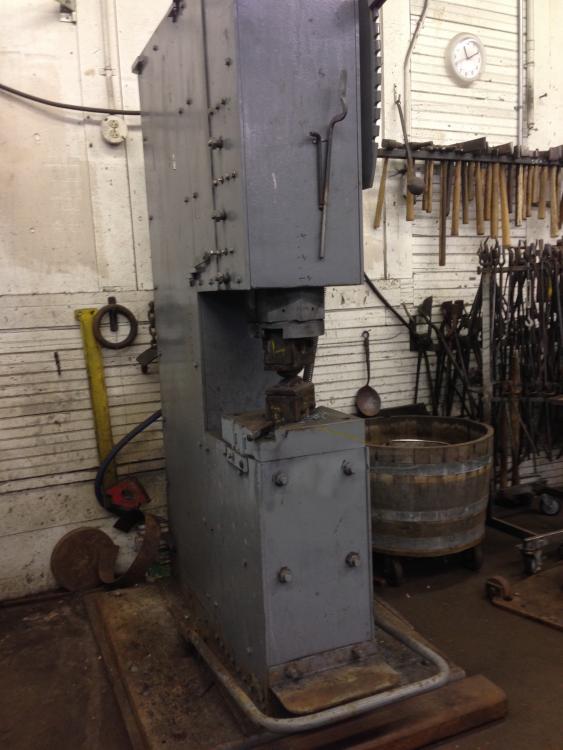
The hammer

Looking from outside. The hammer will go where the orange and yellow Kinyon now sits

Another look at where the hammer will go
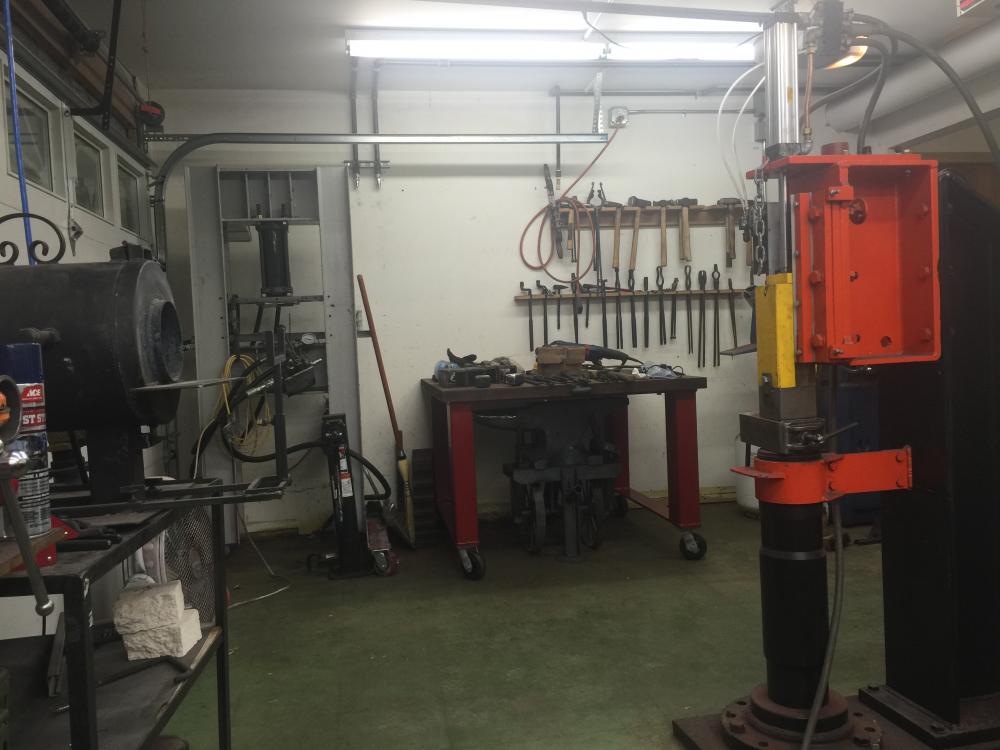
Here you can see the proximity of the forge (which gets moved in front of the garage door when I’m working), the press, the hammer, and the anvil which gets rolled out from under the layout table.
I’ll probably put the hammer in place using pipe and give it a trial run to see how much it shakes the slab before committing to an isolated foundation. I’m 95% sure I’ll need it but gotta be sure.
-
Thanks for chiming in Salem. Your renovation project probably had something to do with me wanting a larger hammer!
Unfortunately my building is cinderblock and doesn’t lend itself to being easily dismantled and reconstructed.
I’ll be taking down the garage door for sure and will relook at taking out the door frame and a couple blocks. Like you said getting it in vertically is way more
preferrable!
If not, I might build a basic A frame to get the lift started, and a chainfall from a floor anchor to get it to balance point. Then I guess I’ll require another
chainfall to keep it from going the rest of the way on its own.
-
Thanks all for so much help.
Rob, I have measured as you suggest to verify that I have the necessary clearance to rotate the hammer to vertical. I’ll have to remove one leg of the garage door track.
Jim, I’m not sure if any of my local tow companies have trucks with extendable booms, but that would work great to get it inside. Can they lift from underneath like a forklift
or just from above? Thanks, I’ll be making some calls.
Marcus, I’ll have to take off some of the access panels to determine whether I can seperate the top and bottom of the hammer. Thats a great idea.
Beaudry, I have the plywood that the hammer sat on in its last home and will use that for a template. While it has a 3’x4’x2” steel plate it sits on, and is not supposed to require a foundation,
I noticed that this puppy hits REAL hard and everything within 20’ was doing a dance. Soooo, looks like I’ll put in an isolated foundation for the beast so I can keep tools off the floor.
As you mention, this will make my initial install that much more critical as my shop is not huge. I will most likely keep the dies in the same location as the dies on my 50lb hammer its replacing.
Beaver, I didn’t consider lifting the hammer in this manner. Might be the ticket.
Irondragon, typical garage with a rocked lid so no accesscto the rafters. I’ll get some pictures out once I get home in a few days.
-
Well, I ended up purchasing the Iron Kiss 150 that I was asking the weight of earlier.
It’s 4500 lbs and still in my trailer. While it will fit in my shop, once I got home with it I realized that it will be no easy chore to get it through my garage door. Hammer is 84” Garage door is 76”.
I might figure out how to lay it down on its side, and forklift it in, but then am left with figuring out how to tilt it back up again. My ceilings are inly 8’ high so no real room or an A frame.
I am thinking about drilling my floor for an anchor pin from which to fasten a come along. Any ideas besides driving it over to your place?
-
Would a horse stall rubber pad suffice?
-
Can someone tell me what the weight is for a 150lb Iron Kiss?
-
Very cool. That’s the most steam punk knife I’ve ever seen! I’ll have to give that a try!
-
11 hours ago, Salem Straub said:
10 hp VFDs are quite cheap now, from China... I know people that have run hammers off them with good results. Nice thing about 3 phase is your wire can be smaller and amp draw is less.
What Salem said, plus you can program the vfd to start the motor slow with no surge thus eliminating the need to double your amperage for startup.
-
Aren’t grader blades made from T1?
-
6 hours ago, Steve Sells said:
Mine mentioned those that used a gear box reduction system blew up. It seems the pulley/belt acts as a natural clutch and when a roller binds, and a chain will break, but a reducing gear box did not have this feature, but it said a 20 to 22 rpm is close to optimal and it should be simple math from there. It also covered the experiences of hydraulic methods for closing the rollers is not a good idea also, did your issue of the plans not include this information?
Hugh mentioned that, but that was his his dated opinion limited by not understanding that a VFD would simply kick out if the motor gets too stressed. Its a parameter thats easy to set up, and nothing blows up. I admit that a v belt drive is attractive as it would just slip. I have seen lovejoys that do this as well. When you suggested looking at the plans I thought I missed where he mentions what parameters to use if you go the route of a geared reduction. At this junction, with the feedback I am getting, and looking at other builds (my there are a lot of them) a 60:1 1.5hp 1725 3ph setup run of a vfd should do the trick. I can slow the 29rpm down to 22rpm with the vfd if needed.
Frosty, as much as I appreciate your help, it just reminds me that I should have paid more attention in school! Wish I could understand that. I do know the torque requirements, and the target rpm for the 2” roller, so went with that.
-
2 hours ago, Steve Sells said:
I suggest you read the plans you got from McDonald all this info in in there, with reasons why, I love my rolling mill
The info package I received didn't cover geared speed reducers.
-
I made the mistake of previously posting this in a sticky. Not sure if that was the correct thing to do or not.
I purchased plans, and am in the process of having a Mcdonald rolling mill made. Rather than chain and sprockets I want to go with a motor and reduction gear box that I have seen others do. What I can’t seem to extract from the WIPs I’ve read is what HP motor and what speed reduction is required.
Any help with that, and a good surplus source for motor and reducer would greatly appreciated.
Another idea is to utilize a hydraulic motor as I have hydraulics plumbed in the shop. Would a system putting out 8gpm be able to power the rolling mill or is it better to stick with electric?
Other thread moved/merged into this one., there is no reason to have 2 threads on same thing,
-
Difficult, but it can be done for sure if your metal is clean and you get it hot enough. Look at some YT videos to get an idea of what color it needs to be to weld. Pretty hot.
-
On 7/29/2013 at 1:37 PM, Glenn said:
Click on IForgeIron.com > pages > blueprints.
Find one you like and take it to the forge.
Thanks for this Glenn. I’ve been a member here for a while and only now have seen this section. Wonderful and amazing reference and process material from Hofi! I am grateful.
-
Will, As a maker (hobbiest) I know that that kind of result is frustrating as hell. Especially after the handle is on. I've had a couple billets have bad spots on them that wouldn't etch out until I either resanded the entire blade down or in one case annealed it and requenched it. I tend to do a lot of in progress etching every step of the way.
Otherwise its quite a nice blade and well done.
-
Nicely done blade! Is that durian fruit? If so, your pictures stink!
-
Can it cut?
-
Nice work. Very pleasing form, and excellent fit and finish. Good job on the damascus.
Did you pin or solder the bolsters?
-
Beautiful blade. My damascus is usually at 448 layers and is fine also, but I understand what you are talking about withe the shimmer, or chatoyance.
Great job IMO
-
One thing to keep in mind when comparing smiths of today as compared to yesteryear is the apprentices. Most accomplished smiths had one or two apprentices who would yield sledge hammers at the anvil under the direction of the older smith. With that era gone, the necessity of power hammers increased.
I love forging a blade by hand, but with an aging back, and raw stock like 1 1/8" round Cruforge V steel to work with, I don't know where I'd be without my air hammer.
Same thing with welding up a damascus bilet. I wouldn't even attempt doing that without my hydraulic press. Unless of course I had a couple of apprentices yielding sledge hammers!


Manipulating a big hammer, installation
in Power Hammers, Treadle Hammers, Olivers
Posted
Those top tools do have wire rope handles that have a portion partially unwrapped to create a swelled handle. They were thrown in with the hammer when I bought it.