

c.baum
-
Posts
69 -
Joined
-
Last visited
Content Type
Profiles
Forums
Articles
Gallery
Downloads
Events
Posts posted by c.baum
-
-
Hello Community,
I badly need some help! I'm at my wit's end. I already made so many things successfully.
Tongs...
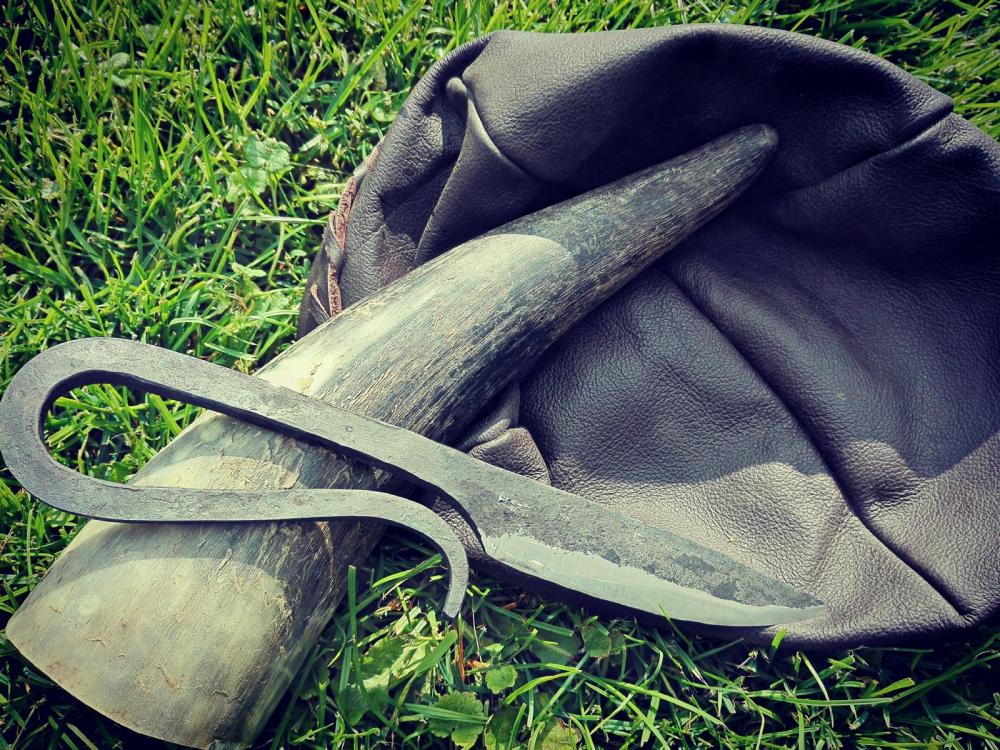
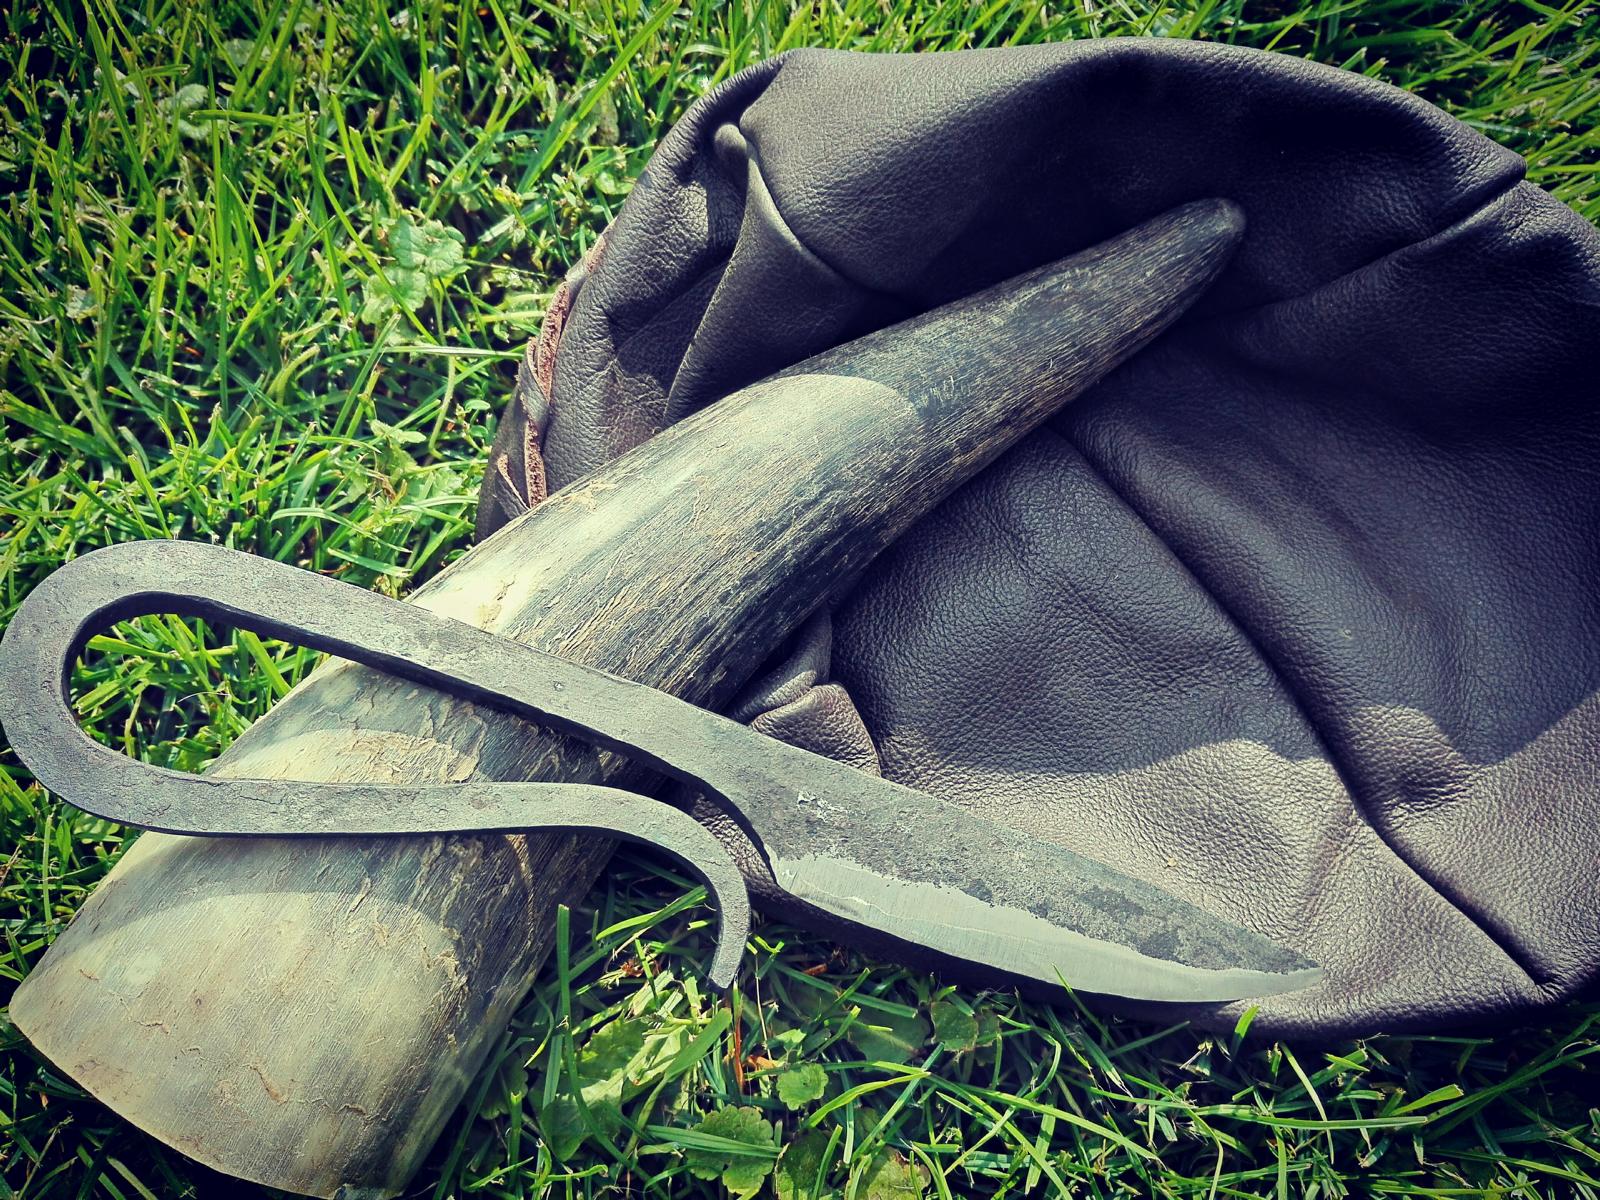
Knifes...
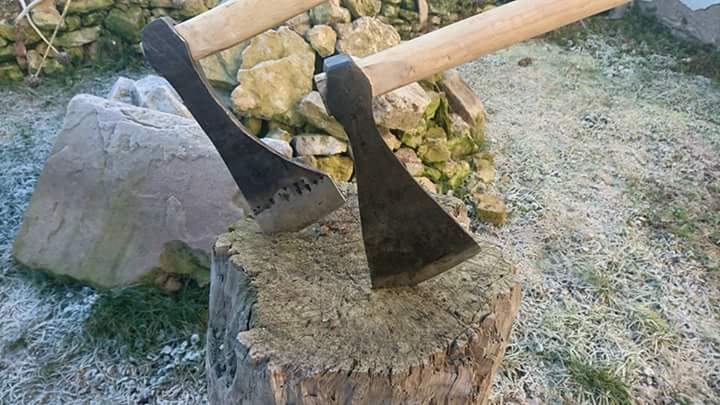
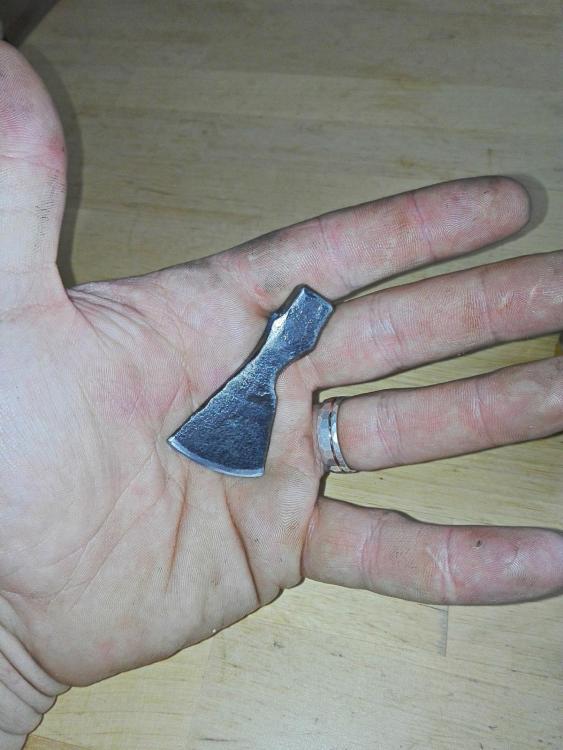
Axes in different sizes...
And many other tools and things. But I'm currently not able to make a simple nail!

I made several nail headers, drilled holes through 'em an drifted them to a square cross section tapered to the bottom side. I shouldered down the stock on two sides and draw out the tip of the nail. But every time i forge out the head, it's not centered. No matter what i try to move the metal in a direction.Also after "forming the head" i turn the nail header and the complete nail is crooked or just won't slip out the header with out brutal force. If there's one nail (out of ten) satisfying my image of a nail, it deforms while hammering into wood. I've got the feeling that i'm kind of deadlocked. So I want to start from the beginning. Are there any helpful hints about what i can do better? I would be very pleased if someone could help me find my way to a reproducible nail.
P.S.: I tried to use the search function, but the search engine is not that helpful.
-
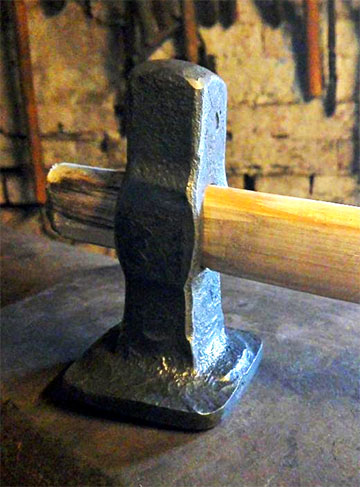
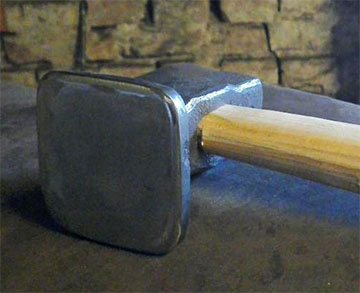
Nice work! And if it does the job every thing is fine.
I made my flatter the "blacksmiths way", that means forging down a large piece of steel at one end, putting it into the swage plate and smacking the xxxx out of it with a sledge hammer. Works fine too and took me less than 1,5h, punching the handle hole included.
Mod Note:Your images have been reworked from over 4 megs to less than 100K in size.
-
that's really a amazing video. All you need is some "mud", a bit of fibers for stabilizing the mud and wood. The videos shows that you definitely do not need much effort to make charcoal. I prefer a little bit more modern way with an old barrel using the TLUD process too.
-
11 hours ago, ThomasPowers said:
flat on the bottom and curved on the top.
"...oh, the tire's got quite little air ... but only on the bottom..."
 When i got my power hammer (75kg ram, 3.5 tons in total) i had the same experience. I expected not more than 1.5 ton, so you can imagine how underdesigned the equipment was
11 hours ago, Anachronist58 said:
When i got my power hammer (75kg ram, 3.5 tons in total) i had the same experience. I expected not more than 1.5 ton, so you can imagine how underdesigned the equipment was
11 hours ago, Anachronist58 said:Hope to meet you in Thuringia some day!
I'm looking forward to it! Just contact me when you're in Germany!
10 hours ago, Charcold said:oooff. 881 pounds? That's a real monster! Would also love to see pics
I'll post a pic of the anvil, unfortunately i do not have any picture of my self engineered construct.
3 hours ago, Marc1 said:East europe ... may have some historical value then.
I agree, i'm in contact with Refflinghaus, and he has never seen such an Anvil...
-
5 hours ago, Marc1 said:
400 Kg is a big anvil. Is it a Refflinghaus ?
Uff, i do not have any information about the manufacturer since the anvil might be made in 1975 or so. The only mark is the 400 for the weight. I don't think it's a Refflinghaus, i think it's "just" a mass product from a soviet or GDR-mill.
5 hours ago, Marc1 said:Herr Baum ... you did not write something wrong.
It's not that easy to read if it is meant in a sarcastic way or not, especially when just that one sentence is quoted. First thing i thought when i read the post was "oh, now they all think that you where pregnant with the anvil"
-
26 minutes ago, Anachronist58 said:
Would love to have seen that!
did i write anything wrong (i really have to improve my english skills)?
-
nice issue. Had to move my 881lb anvil when i got him. Never imagined how hard that could be. After he had been dumped on my yard i moved him with a chain pull into place, i built the stand, lifted him with a timbered frame and the chain pull, put the stand under the anvil and lowered the anvil. The rest of the shop was built around the anvil.
p.s.: yes, i'm talking about my anvil as a person cause he's even got a name as all my heavy tools have one
")
-
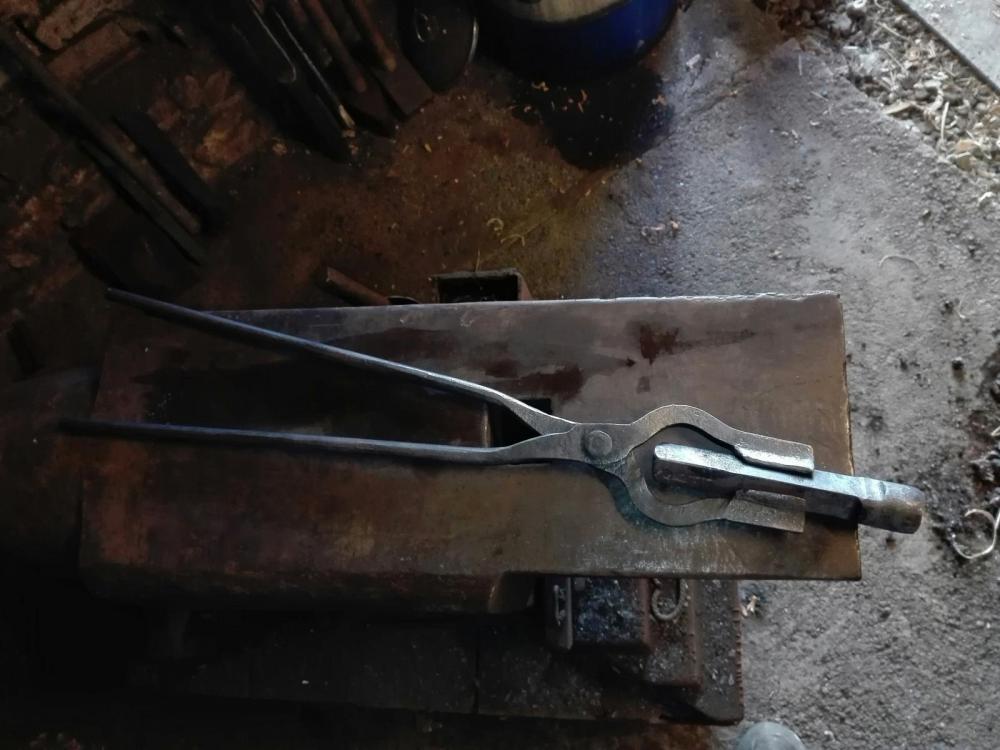
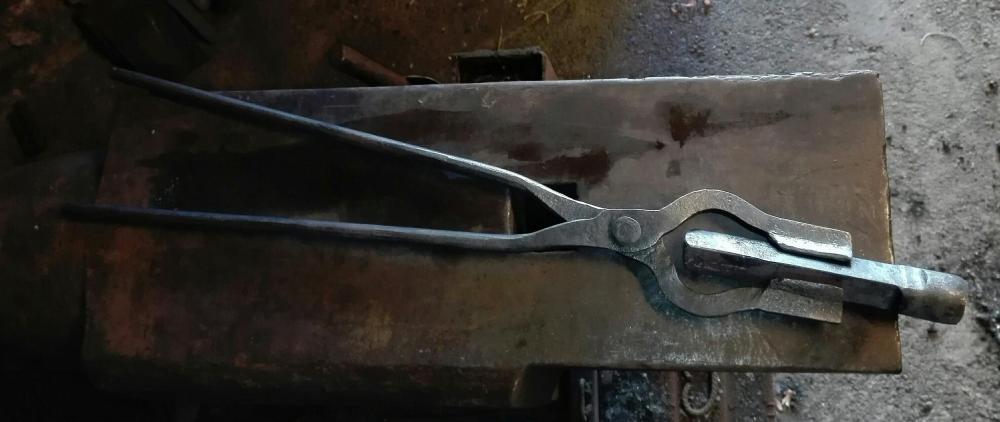
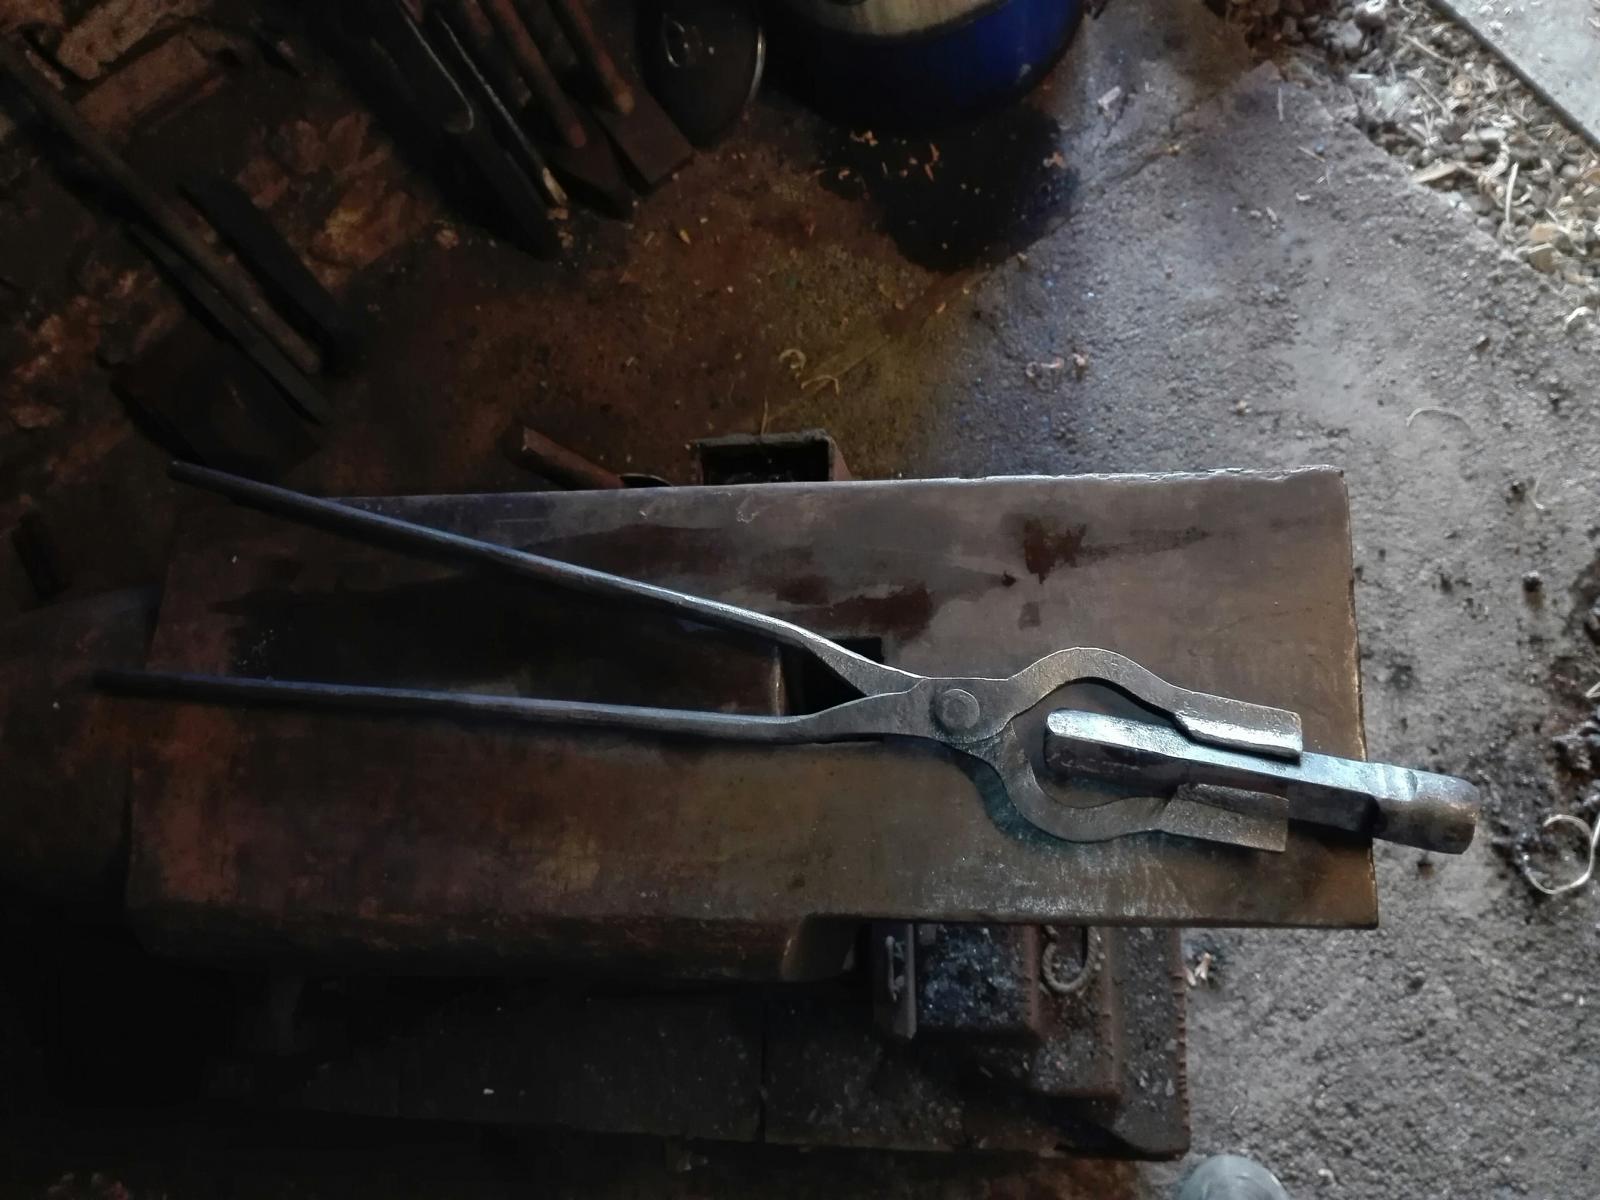
a pair of goose neck tongs, made of AISI 6150. Not that bad in my eyes. But there's always something that could be done better.
-
On 28.7.2017 at 4:51 PM, Scrambler82 said:
Is this anvil posted in the "Show me your Anvil" Thread; I would like to know more about it, please ?it
Yes it is. in german it is "steirische Form" (styrian shape?). Largest anvil you can by on the market as far as i know. It's been used in a smithy in a salt mine where usually tools were made. See the mentioned thread for the story how it followed me home (i wish it was that easy
).
On 28.7.2017 at 4:51 PM, Scrambler82 said:From the side view picture, there are no blemishes on her !
oh, there are some tiny ones. seems it has been used as a cutting and welding table. And the corner on the far side has a lot of chips.
On 28.7.2017 at 4:51 PM, Scrambler82 said:Your Stand is great, if Ties are 8" x 8" that puts the base of the anvil around the 40" x 24" mark... holy ---- ?
the base is about 730 x 470mm. The ties are about 230x150mm, but a good friend dressed them up on the planing bench. Don't know the original dimensions.
On 28.7.2017 at 4:51 PM, Scrambler82 said:things organized, if someone is not an organized person or an Engineer
engineer
-
1 hour ago, jlpservicesinc said:
Please post a face shot with a ruler or measuring tape..
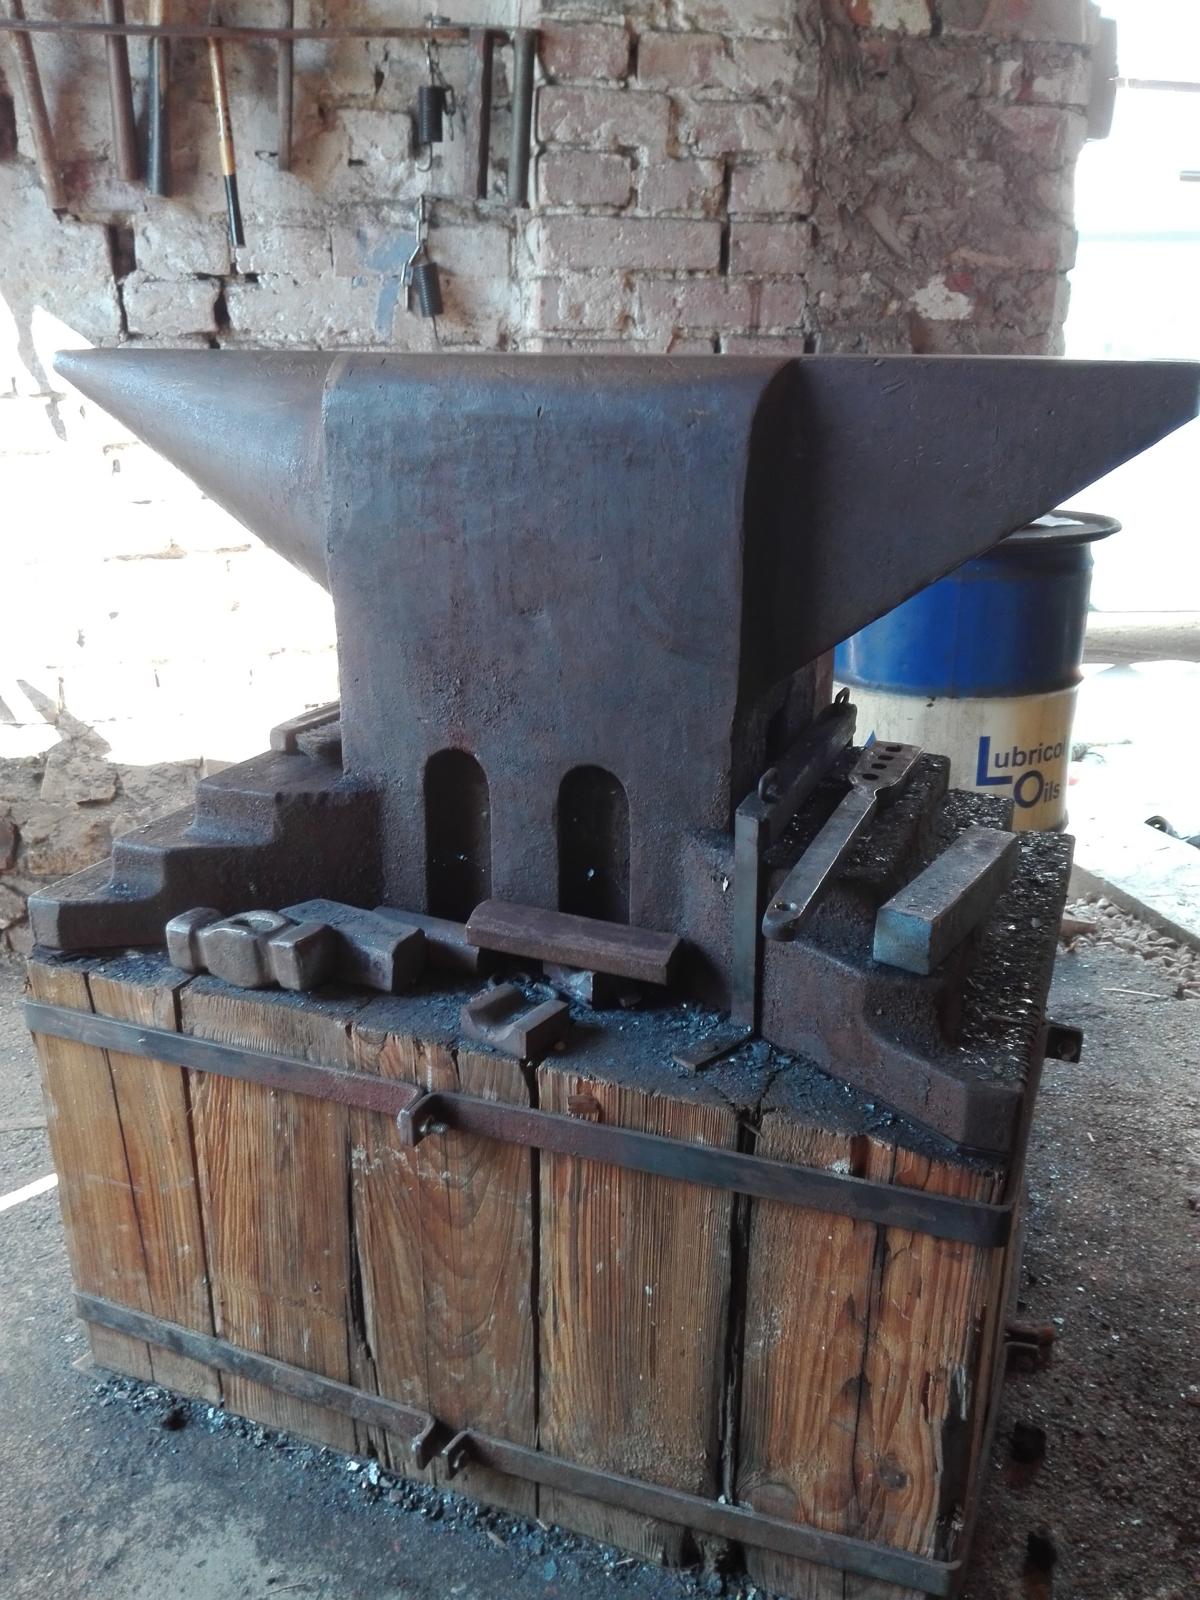
Do you need any specific information? The face is about 195mmx890mm incl. horn, hardy 44x44mm. I'll post a photo.
-
2 hours ago, Frosty said:
By cross ties, do you mean the timbers that support rail road rails?
That's what i mean.
The beauty weighs 400kg (about 882 lb). It's been quite a challenge to get it on the stand
-
Made of old crossties (i hope, that's the correct word for it). I added some layers of tar paper between anvil and stand. Due to the size of the anvil i don't need any extra tool rack or so
On the right side you can see the support for my hold down.

-
Thx! My son is literally the best thing i ever made
-
Hi folks,
i'm so sorry that i lost sight of this topic, but i've been in parental leave so i spend the time with my son. I hope you understand that.
At first, many thanks for the links! Many nice ideas.
Secondly: I've attached a picture of my current DIY dies. They work really fine for me. On the pic you see the 25mm radius fullering set. I use this set for "aggressive" drawing or large fullering. The base is a simple 10mm mild steel plate bent around the original die, installed with four M12 bolts. This is the first set i made, so i tried to make the bending easier by fullering the lines in the bend. It worked fine for the bending job, but unfortunately this caused the plate being bent open when fastening the bolts. So my next plates will be bend without the fuller. I also had the idea to make the plates of spring steel to prevent them from opening too. Further die shapes are planed too. The first set of 75mm radius dies is already made and waits to been mounted on the base plate. Smaller fullering dies like 15mm radius and axe dies are planed too. I'll keep you informed!!
p.s.: one the pic you can also see the mounting tool for holding my spacers.

-
i really like the idea of the flip over spacers
-
15 hours ago, canada goose said:
To temper is to soften steel after it has been hardened by heating past the transition point(approx. non magnetic) and quenched
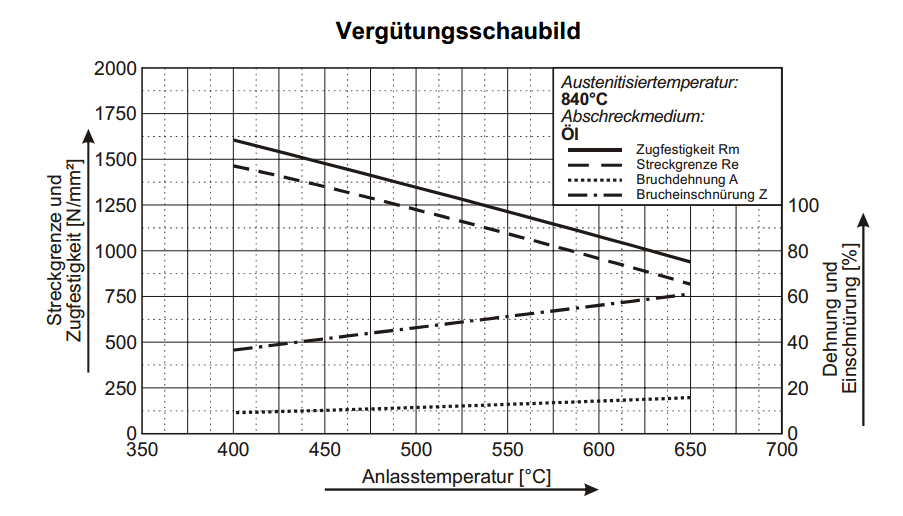
That's exactly what i meant. But you can't say that every steel has to bee hardened slightly over Curie temperature and tempered at 200°C/400°F. The temps differ among the steel types and also depend on what you want to use it for. So the steel data sheet always should be consulted. E.g. spring steels become pretty hard when tempered at 200°C, usable for rough working-knives. But if you want to use it for a spring you need a much more complex tempering.
-
see the tempering diagram below
-
12 hours ago, canada goose said:
If you were tempering in the kitchen oven it is unlikely you were at 400 C (750F) Perhaps you meant tempering at 400F or 200C
of course the kitchen oven didn't reach 400°C/752°F (looking at the color something about 300°C/572°F). I just wanted to say that this worked though (165 lb power hammer dies). That's what i meant saying that this steel pardons a lot of mistreatment.
9 hours ago, Steve Sells said:I think that tempering at 400C would be in the blue enbrittlement area anyway....
400°C/752°F is what the steel data sheet says to be the minimum temp.
-
Of course Leidenfrost is a additional factor. But in my eyes even moving the tool in the quenching medium will show different cooling speeds at different diameters, not to mention the warming of the medium resulting a alteration of the cooling speed...
-
1 hour ago, Alan Evans said:
Professional Infrared Thermometer - CEM-8859
nice hint, unfortunately not available, neither at amazon UK nor amazon DE.
-
48 minutes ago, Alan Evans said:
the top tool will conform to the surface of the top pallet
that's an interesting statement. Which dimensions should the spring have at its cross-sectional area?I could imagine that the spring needs to be very very thin to support the movement of the top tool. 5mm thickness might be almost too thick in my eyes.
-
Hi Alan, thanks for your post!
I've got a similar system to mount my spacers (pics following, thought I had some on my phone..). I already thought about using the spring fullers often shown in several post. But don't they have just exactly one point (equals one distance) where the faces are exactly parallel?!
36 minutes ago, Alan Evans said:The whole thread was interesting unfortunately many of the images seem to have got lost.
Yeah, seems to be a general problem. Many interesting posts lost most of the pics.
-
4140 (or 42CrMo4) is a pretty undemanding steel. Just heat up to 820-880°C (light red), soak for 10-15 min and quench in water or oil. Don't forget to stop the quenching at 70°C and to temper immediately. 400°C is pretty hard to tell by annealing colors. I made some tolls of 4140 by quenching in water an annealing in the kitchen oven at full power. It worked really good. As i said the steel is really undemanding and pardons a lot of mistreatment.
-
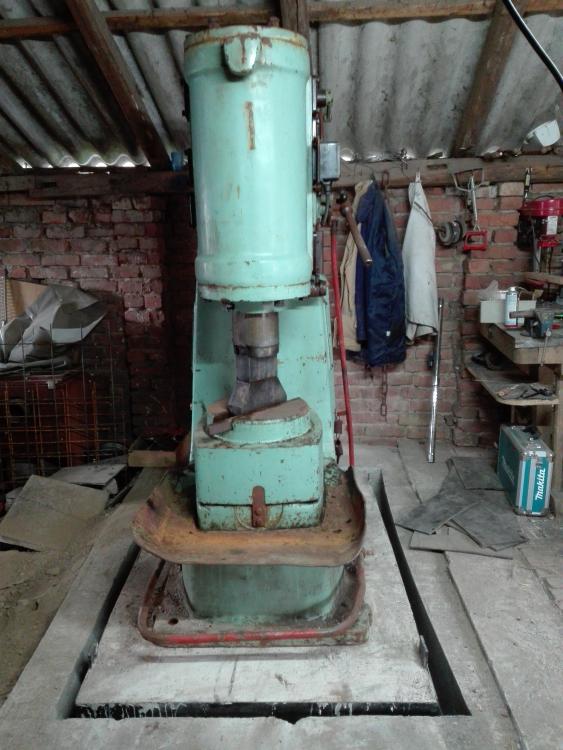
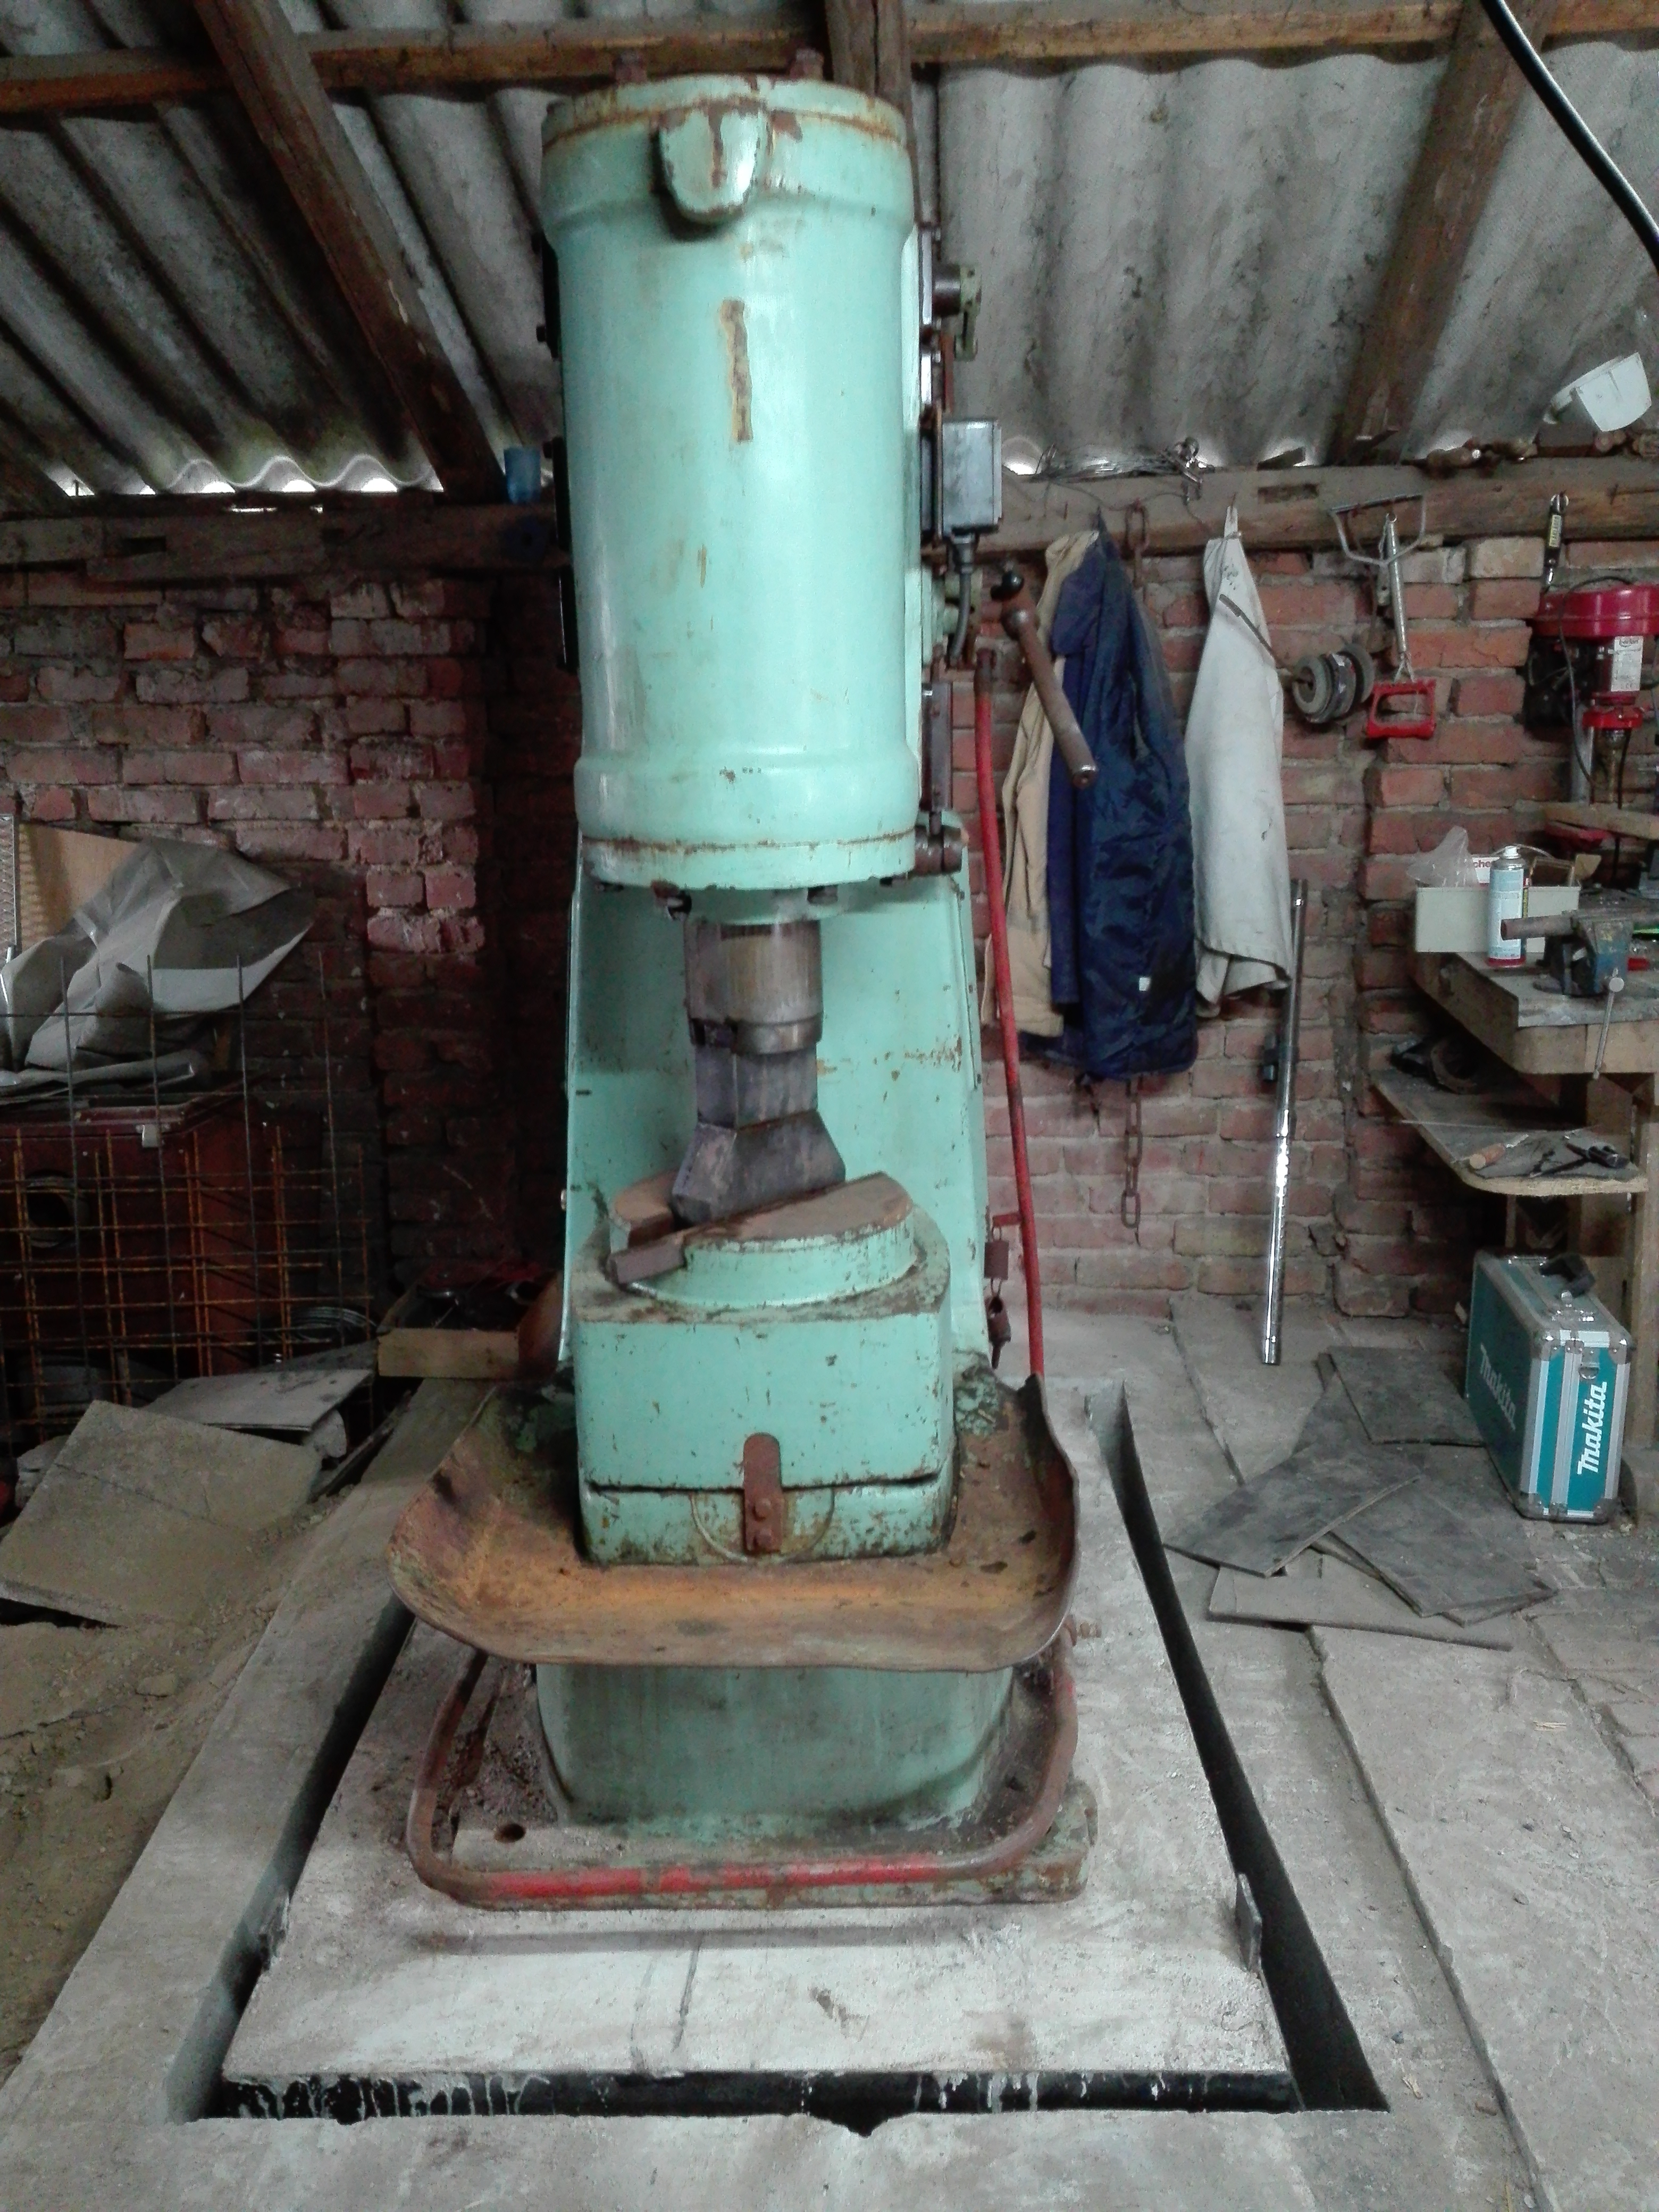
Hi folks,
I've got a little cute power hammer (pics see below) with a 165 lb ram. The only dies i have are simple flat dies. The cutie was built in 1978 in Russia so there are no other original dies available. Other dies from recent manufacturers with the same ram mass are much too small. So I got the hint to use hand tools but the hammer has so much power that i can't hold any tool workable. That's why I tried to make some dies i can mount on the original ones. I took some 10mm steel plate, fitted it to the dies and welded a half cutted 50mm rod on it to build a drawing die. I tried to "clamp" the DIY ones an the dies with screws, but the one on the ram just didn't want to hold. So now I'm searching for two things:
1) Methods for fastening the DIY dies. How do you fasten your selfmade ones?
2) Shapes of workable dies. Which shapes of dies do you use wherefor?
I'm really dying to see you creations! Many thanks in advance!!!!


These nails are driving me nuts...
in Problem Solving
Posted
@ausfire
cooling the nail in the header is a good hint. Thanks!
@ThomasPowers
Touching the edge of the pitchel hole. Could have find out that too
@Glenn
Thanks for the layout. It's the first time to see a nail header with a hour glass shaped hole. The problem is that i have taught my self everything about blacksmithing by watching videos, reading books and asking people. And most of the nail header tutorials tell to taper the hole from the bottom. I even saw a blacksmith making nails in an old hinge with a square hole cause he had no nail header at his fingertips. That's why i'm surprised but i will definitely try it.
Thank you all so much for your help! I'll keep you up to date about my nail making progress.