

arftist
-
Posts
2,699 -
Joined
-
Last visited
Content Type
Profiles
Forums
Articles
Gallery
Downloads
Events
Posts posted by arftist
-
-
On 3/18/2018 at 5:50 PM, Marc1 said:
The original question brings me back to some unpopular observations I make about this craft.
I grew up in a smith shop that made stuff for the customer to use. Some were custom made, other run of the mill production. All had an artistic component and all had a modern day use. Be it a lamp, chandelier, bed head, gate, window grill, table chairs, door hardware, decorative artifact etc. The blacksmith that worked in the smithy all considered themselves metalworkers and not some blast from the past with some museum curator duties, to reproduce stuff no one has a use for, or even know what it is. If I proposed to make a plow or an adze, they would have laughed me out of the shop.
Why is it that today hobby blacksmith think, that their artifacts need to be "period correct" and that their projects need to reflect stuff that was made 300 years ago is beyond me. Blacksmithing is a trade that uses some ancient techniques to produce steel objects by hand. Try making a miniature Mini Morris.
Harping on with reproducing ancient stuff makes the trade obsolete and irrelevant.
It is not what you make but how you make it.
In my opinion anyway.
")
And you are entitled to it but consider that we are all different!
My interest in blacksmithing is primarily to preserve the technology....that it not become a lost art. Is my interest somehow destroying the art?
Your interest is seemingly in making useful widgets...in a Smithy.
To each his own.
-
Tumbler is pretty much the go to.
-
Not an anvil. Good bookstop.
-
Agree with McPherson; you can't hurt junk.
Torch or gouge out the cracks,
weld with 70 series MIG of at least 250 amps. Use CO2 to help deal with the silica inclusions.
Way faster than grinding, stick welding.
-
I have two stakes that size, neither of which will ever be for sale.
-
Weld the face if you want considerably less rebound.
I wouldn't touch a thing on that beauty.
-
What Thomas said.
Fisher anvils are available in England too.
Also lots of flypresses which are virtually silent.
Blower noise should not be an issue unless the bearings are shot, suggest a new blower.
-
I have a double seam mandrell.
Often wondered it was originally
mounted.
This picture is fascinating to me.
I wish this fellow had returned.
-
38 minutes ago, JHCC said:
A common myth, but not historically substantiated. Take a look at THIS ARTICLE , which quotes the master blacksmith at Colonial Williamsburg on the subject.
I would venture that they wouldn't make a law against it if it never occurred.
Eric Sloane could be wrong I suppose but the real value wasn't even the nails themselves but the iron they were made from.
-
Yup, all made by blacksmiths, in a sense, though they may have been just nail makers,perhaps different ones. Regardless they used 3 blacksmith treatments,
Drawing, upsetting and hot cutting. F.Y.I machine made (cut) nails had four sides at that time too.
At the time those nails were made, the onwner would have burned the house down to keep the nails
-
Do #6 right after #2
-
If you insist upon the Traditional look, which is really only good for sheet metal shaping at best, then see if you can find a couple solid hunks which can be welded alongside the web on each side.
Be sure to weld them at the top (to the bottom of the rail) and at the bottom to the mounting flange. This will give you an essentially homogeneous mass to work over. This is the only way you will be able to move metal other than the highly recommended vertical mount.
-
16 hours ago, Irondragon Forge & Clay said:
All the threads I looked at ended about the same, as what's the use.
I couldn't find it either, but I remember it.
-
Actually this project has been done before by an IFI member.
The thread should still exist...a.lucky search may find the thread.
-
think of the iron as as a lump of dough and the hammer as a rolling pin.
The metal will move perpendicular to the pien. so, to make stock wider the pien must be inline with the stock.
-
Definitely taje them both but start with the general course.
You can take them both, maybe not in the same year.
I returned to my first blacksmith school four or five times over a twenty year period, culminating in a powerhammer class.
Each time I found the time and money to take a class my skill and income level advanced...
-
A good adjustable twisting wrench is made from an old fashioned adjustable wrench which has jaws perpendicular to the handle.
Weld a piece of stock similar in dimension to the tool handle and long enough to make a two handed wrench with the jaws in the center.
These wrenchs can be small or large and very large set can be very handy.
-
The simple way is with vee grooves cut into dies.
The difficult way would be to firmly jam or weld the stock to a mandrel ( the size of the bend)
Then heat (with torch) and wrap around the mandrel being very careful to keep the stock in alignment ( with a twisting wrench)
-
My big table is 6.5'x 8' x 1" thick.
It has a frame made of 6" chanel, 6 legs made of 3"pipe.
It was the smallest table in a blacksmith shop I worked in in Boston which closed after a 97 year run.
There are goesintos at each corner, I use 2" trailer hitvh receivers. My hossfeld fits in as well as many different vises, shears and othe tools.
Under the bench is storage for steel, clamp racks on 3 sides and roon for about 12 5 gallon buckets full of tools etc.
I made two bolt on fences of 2x2x3/8" angle
-
I had a cast iron fence 6"tall by 5' long which was very handy. It was pretty much a huge machinist's 90 degree block.
It was lost in a move.
Other than that, a bunch of goose neck hold downs and a few pegs fill most of my needs.
-
On 1/4/2018 at 3:59 AM, Slyfox said:
Hay guys, so I've kinda fabricated myself into a bit of a corner with my new toy. Just finished building myself a new style kinyon power hammer with a 125# head that's getting its paint job at the moment. I'll put a pic below of its unpainted self. My issue is the floor of my shop. The whole hammer weighs around 1400# according to my CAD sofware and was walking around while i was testing it out, and making a pair of damascus knives I had to rush for Christmas gifts. The obvious solution is to bolt it down which I intended to do. But now that the time for it has come I'm not so sure I want to, or can. The typical solution from what I've read is to cut a hole in the floor and dig a few feet down to pour a larger foundation for the hammer that's separate from the main floor. The problem, my shops floor has heat pipe running through it to keep it warm during the winter. The floor is about 6" deep but I'm sure that's not nearly enough. So far the best option me and my father have thought up would be to pour another cement pad roughly 48"x30"x10" that the hammer and sit up on and be bolted to. This would be a temporary solution as the hammer's final resting place will be under a large car port on the side of the shop that hasn't been built yet. But would this idea work very well? Would the floor have a problem with it? Would the pad just start sliding around with the hammer? Are there other options we've not come up with yet?
Thanks for any input you guys can give
Bren Leach
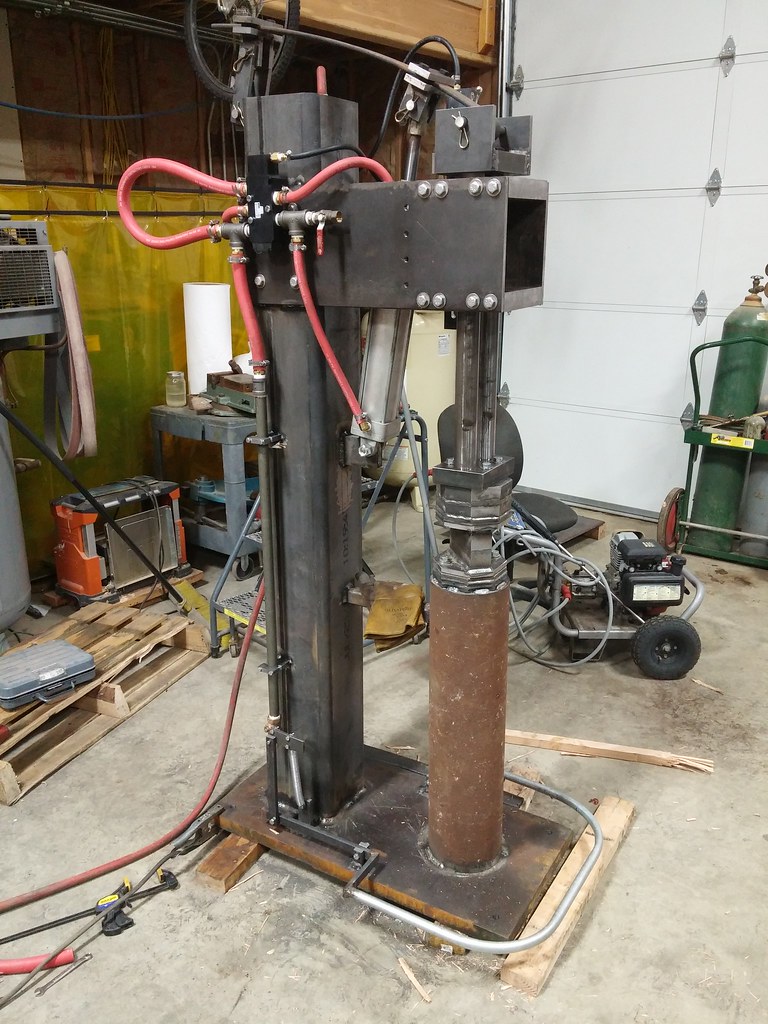
Nice work on the hammer.
The only solution I can see is to pour the proper block where it needs to be. Build a partial shed roof over it for now.
In the meantime stop running it over the heated slab, you are courting great expence and difficulty.
By the way, you will want a larger block.
-
On 8/27/2016 at 9:45 AM, Alan Evans said:
When using a hot cut I find it advantageous to plunge the workpiece into the water bucket for a second or two, after hitting it down onto the hot cut, the only bit that is chilled is the ismuth left from the part cut, and because it is cold the end will break off clean rather than having to bend and twist with your tongs. You obviously have to be a bit quick or the residual heat will travel back into the ismuth almost as quickly.
With this method you do not need to risk going so close to the hot set with the hammer face.
A straight edged hot set will produce a parallel strip/hinge/ismuth which will break cleaner and more readily than the hinge left by a curved edge hot set. The more ragged edge left by the curved tool will require a few more blows to clean up and consolidate. But probably not enough difference between them in the real world to worry anyone.
Alan
This is exactly how I was taught to cut.
It is so much easier.
-
On 11/7/2017 at 2:39 PM, anvil said:
The only reason I can see to do that is if you are unable to forge the shank to snugly fit your hardy hole.
Or if you have ever seen an anvil with the heel broken off.
A good shoulder protects the heel.
-
22 hours ago, Francis Trez Cole said:
I heard On "Wait Wait don't tell me" To many irons in the fire came from the Laundry.
Have ye never had too many irons in the fire?
stainless question
in Problem Solving
Posted
Is it magnetic?
Ifso, likely 17-4.
Nonmagnetic; likely 18-8.
Foodservice, could be 316
17-4 *can* be welded but must be properly normalized after.
18-8 is the general purpose grades and goes something like this; 304 for general anti-corrosive work, corrosion resistance in sea-water above the waterline
316 corrosion resistant in seawater below the waterline.
Very hard to move by hand hammer. Should be worked at near white heat.
To restore anti corrosion property, quench in clean freah water from an orange heat or passivate with acid or polish with new clean consumables or electropolish.
If you can cut a small sample off and you have a high end junk yard near you, they can analyze it for you, probably for free.