Golden_eagle
Members
-
Joined
-
Last visited
-
Golden_eagle changed their profile photo
-
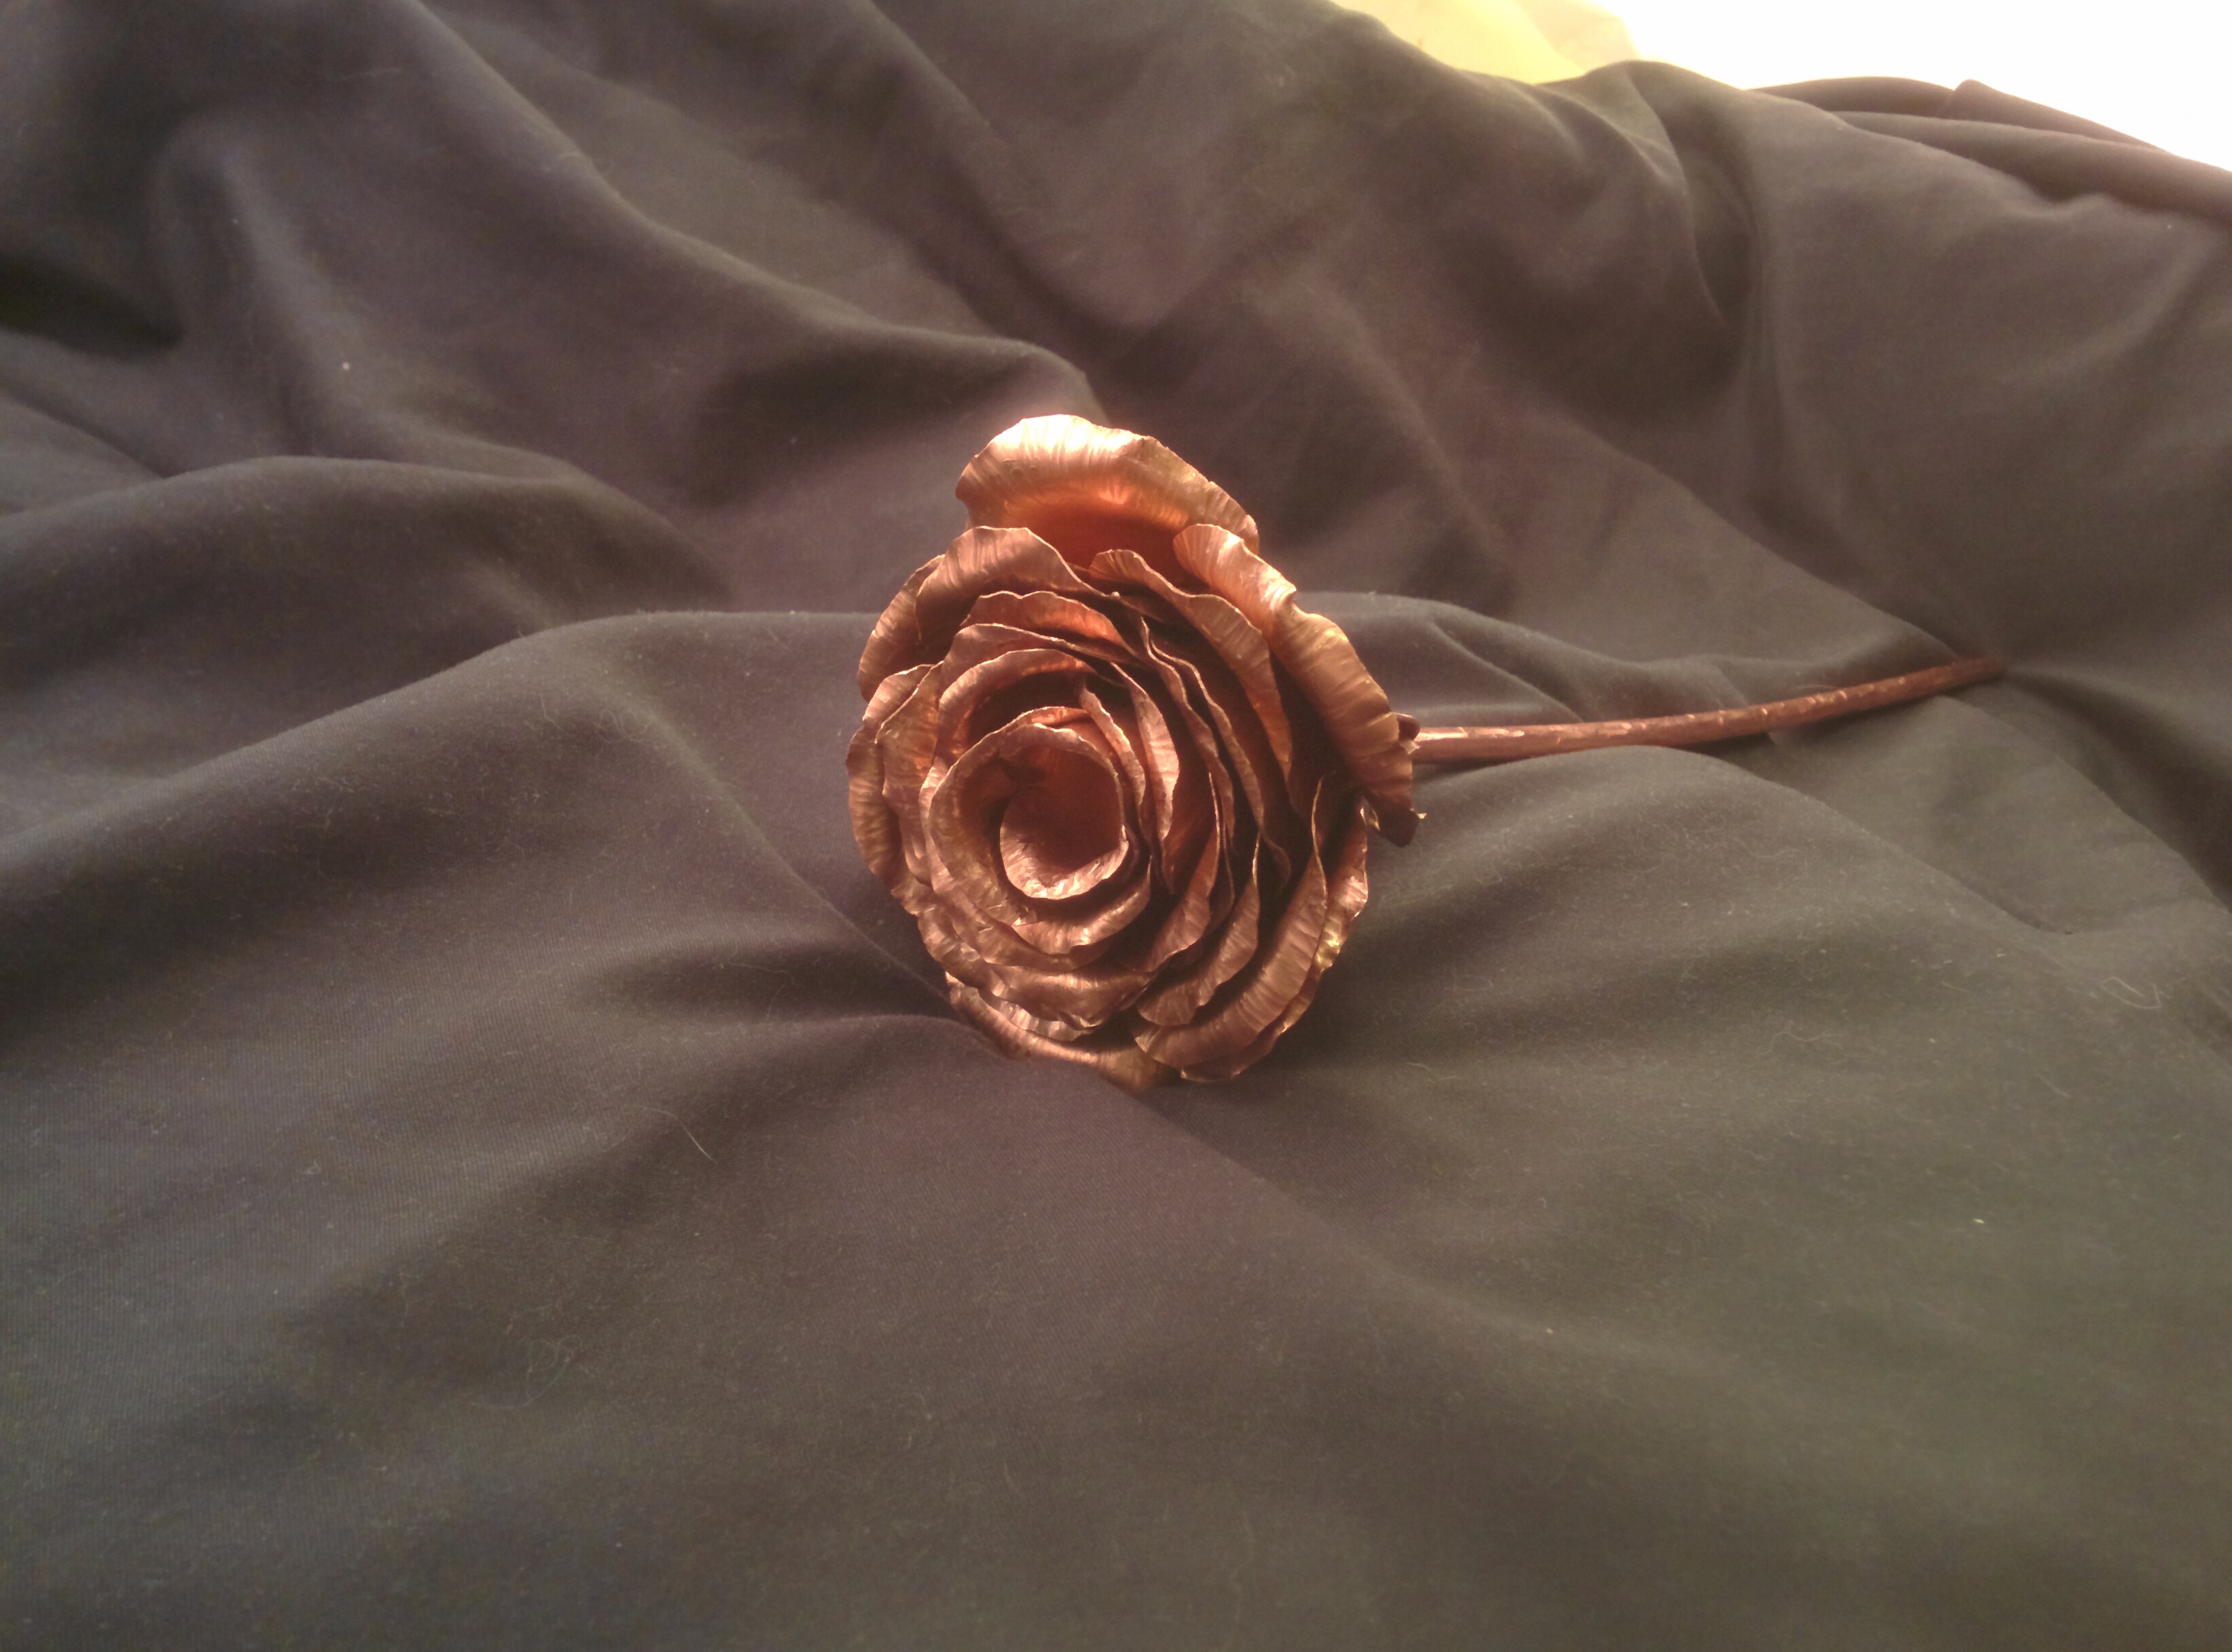
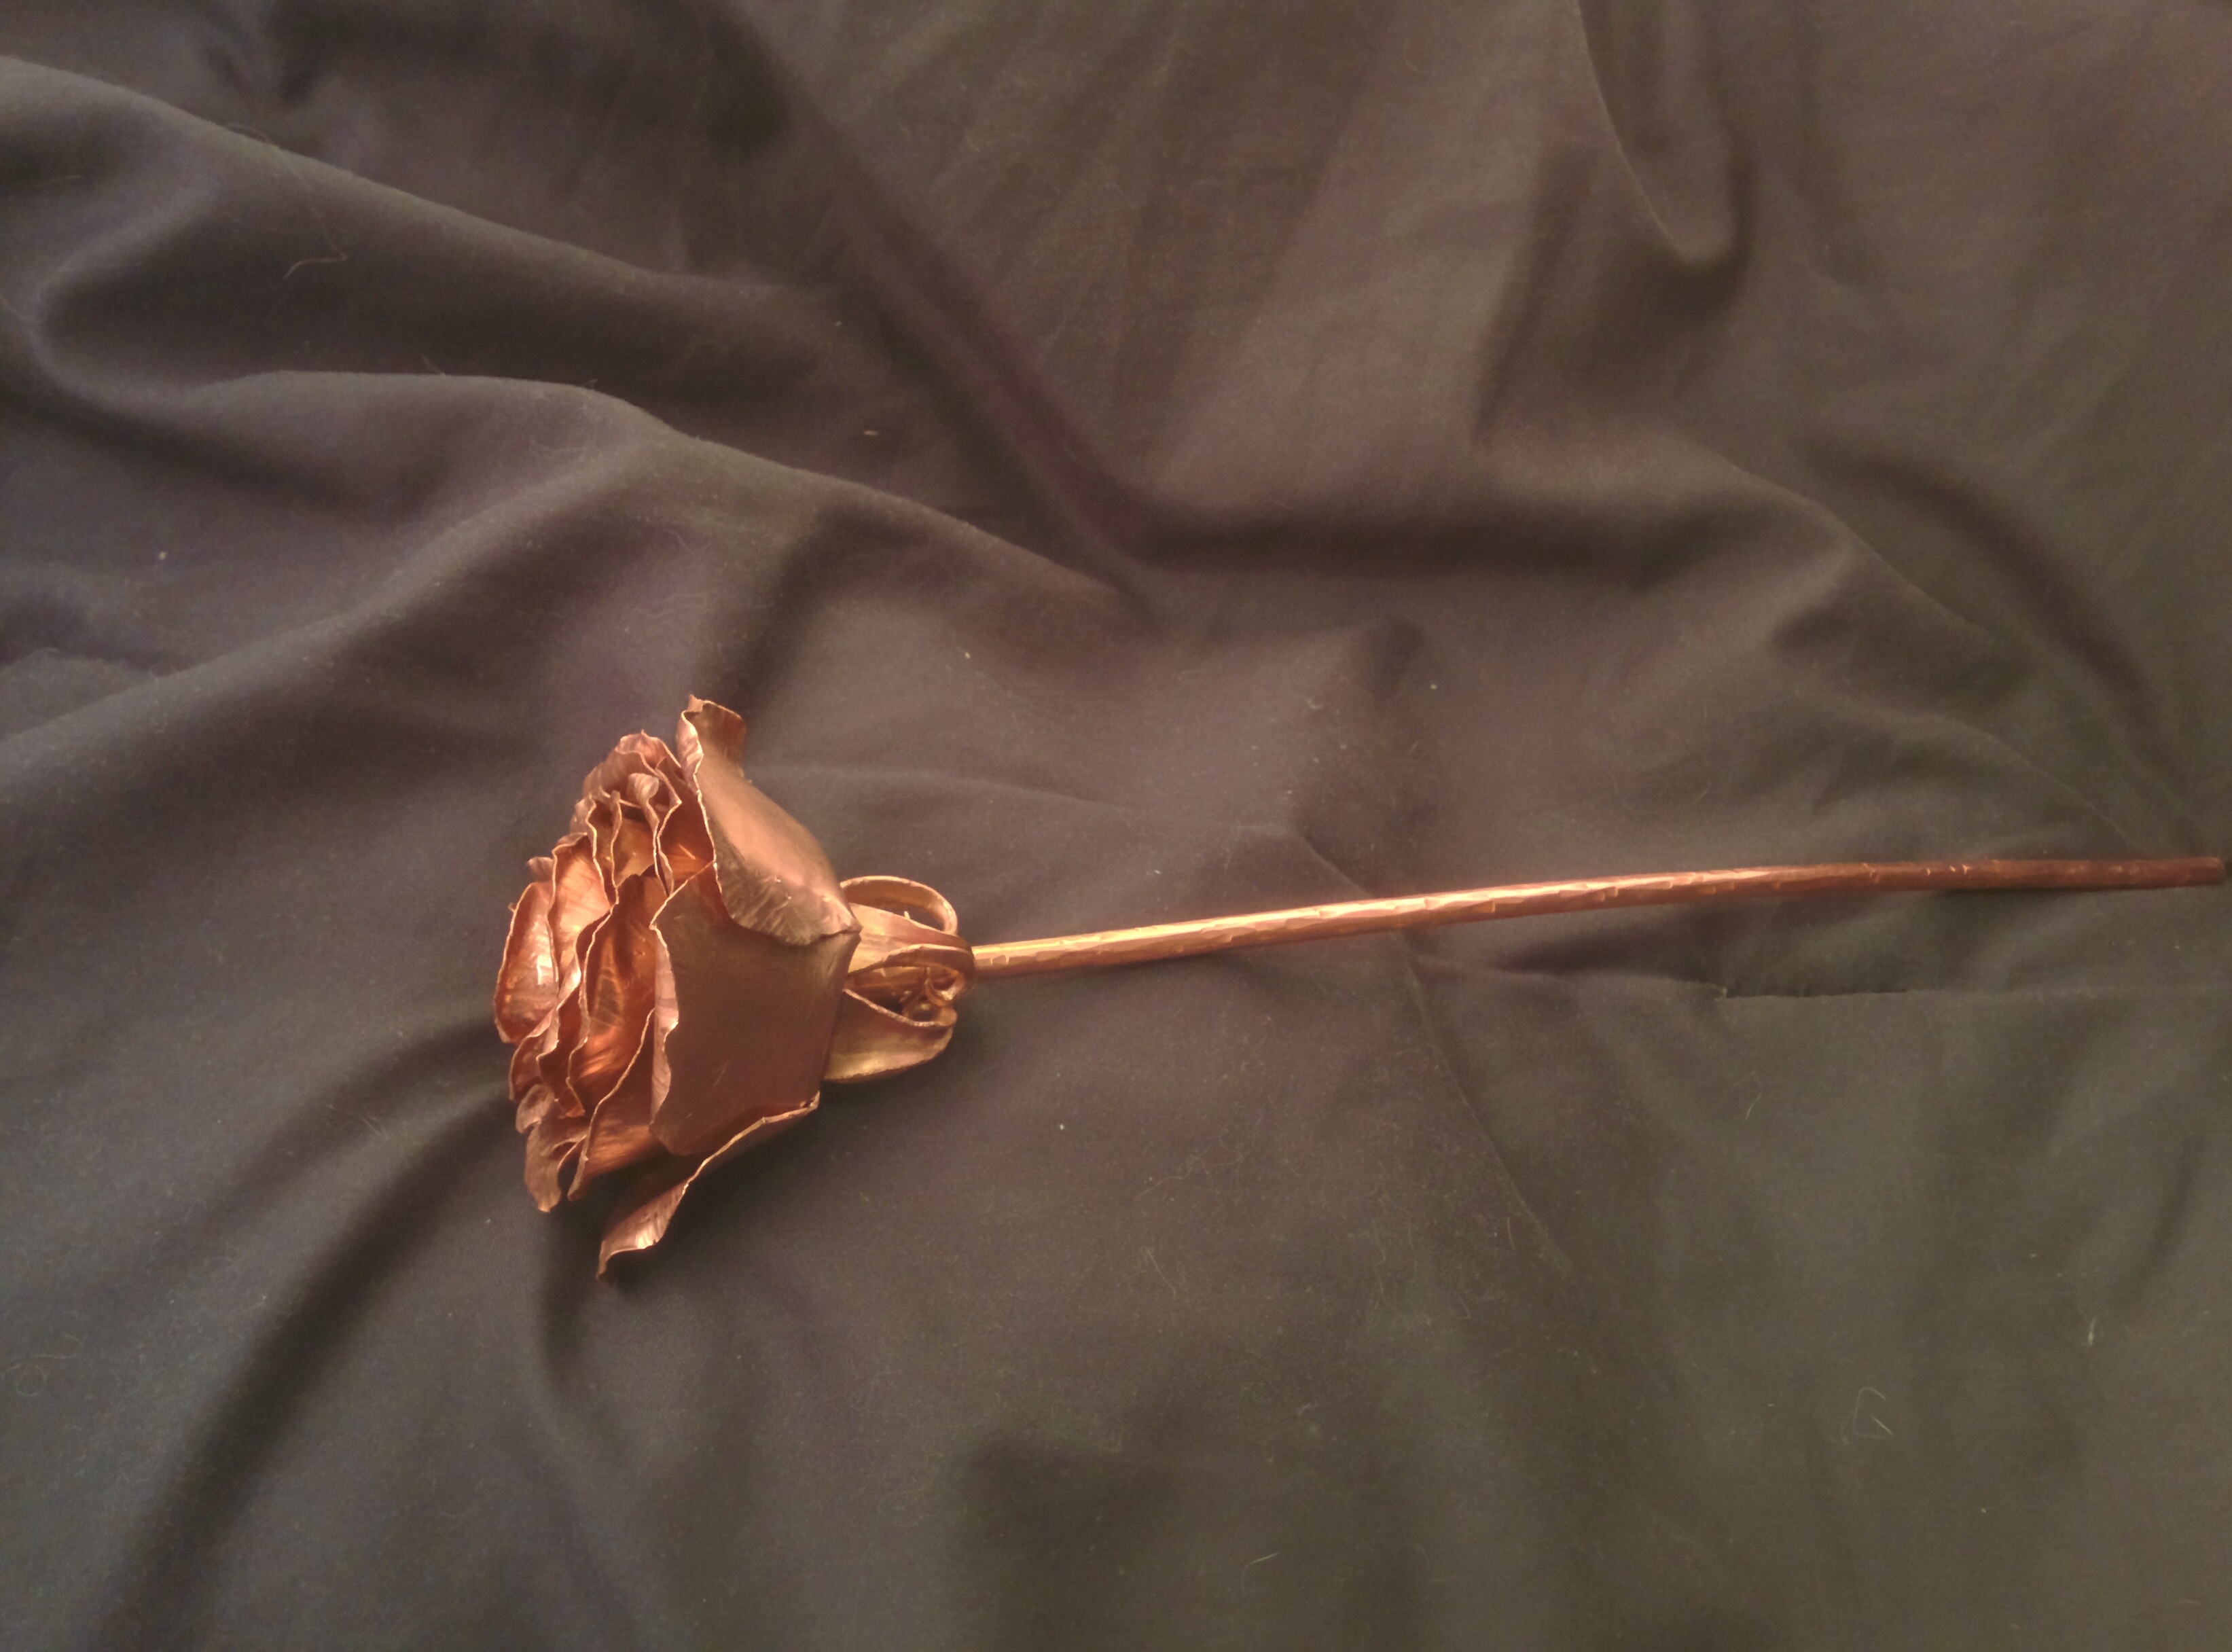
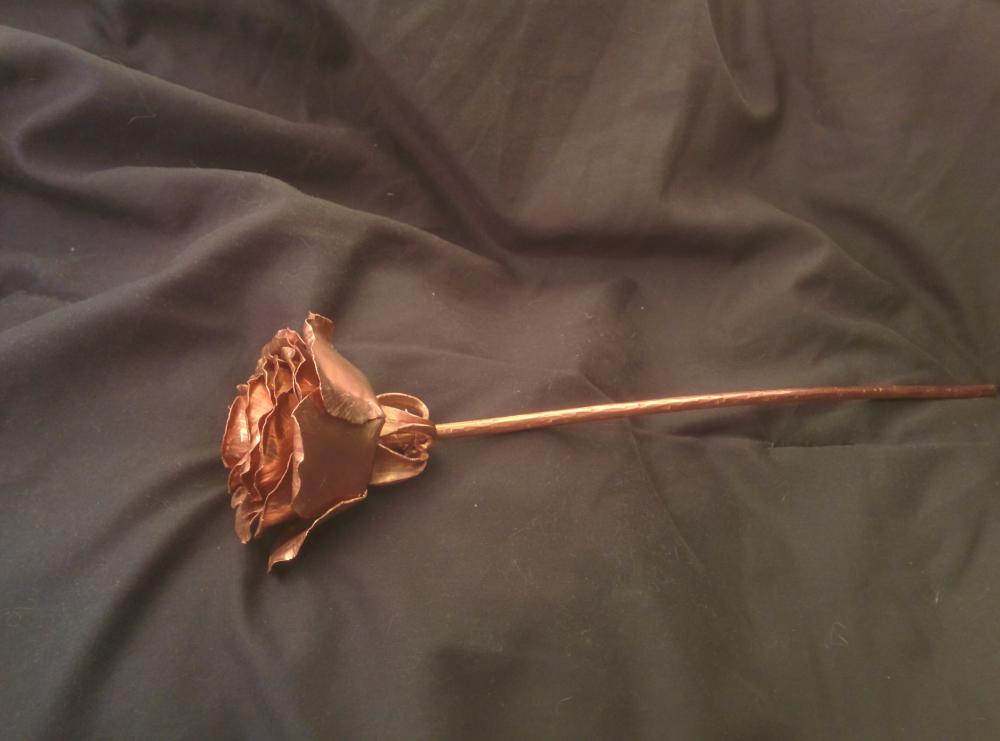
I put it in with a tiny little 3 ounce crosspein. you have to polish the faces or it mars the devil out of the copper with little lines. 400 grit is good enough. it's really easy stuff to work with. the stem is actually a section of 4 gauge ground wire from walmart, I sourced the copper sheet off amazon and way overpaid for it.
-
thanks! it came out 1000% better then I thought it would. I have to admit it's been 2-3 years since i forged anything, and now I'm wondering why i ever stopped. time to fix the forge and clean the shop I guess.
-
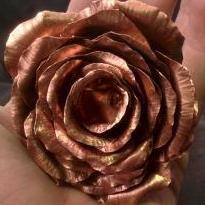
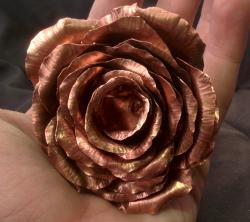
so, start of this month, I started working on this copper rose. its rather large, over 3 weekends, working about 8-10 hours each, and spending probably way to much time fiddling, breaking blades, polishing hammer faces, hammer thinning edges with a 8 ounce ballpein, chasing out divots and feathering the edges with a 3 ounce riveting crosspein, annealing without proper tools (no DG to deal with? stove eye!) and pickling in super dip, (1 tablespoon non-iodized salt to 1 cup vinegar, and 1/4th cup hydrogen peroxide to three cups of that solution, also great for cleaning off lead from suppressor parts if you don't mind making extremely toxic lead acetate.) curling of the petals was done with fingers, (C110 copper is super soft.) a set of cone nose jeweler's pliers, and tape wrapped needle noses. for your sakes, I'll link you to the album. because it's over 50 pictures long. I have attached some "finished" photos though. the album: http://imgur.com/a/mawuq

-
I took the bottle cap Idea and expanded it a bit- I cold worked coins into the blanks, cut, formed and cleaned the petals, and am gonna do a bit more work on it monday when I have access to the colleges metal shop.
-
Bah, I'll take a 10mm thick block of 5160 over a wafer think piece of fancyshmancy steel alloy with .6% unobtainium and .2% adamantium any day. nothing like a knife that weighs as much as a hammer.
-
for heavy forging I'd have to say my Vaughan 48 oz ball pein, for finishing work I have various cross peins and ball peins ranging from a 2 pound hoffi to a 16 ounce stanley ball pein.
-
Yeah, I know- necropost -but I had to chime in most leaf springs are 5160, which tempers to 57-58 @475,I like a harder edge- so I temper my blades in a 2 inch deep pan of preheated clean super fine sand mixed with ash @425-450 in the oven (wait for the wife to leave.) for about 30 minutes per 1/4th inch of thickness, letting it all cool to room temp in the oven, then I clay or submerge (clay for thin blades, water for thick.) the edge, and draw the spine to either a deep purple or light blue, depending on how flexeble the blade needs to be, hold temp for about 2 minutes per 1/8 inch thickness, then I let it cool to room, finish, then put on your ceremonial robes and sacrafice a chicken to the elder god of steel tempering, temparuthlu. yeah, its complex, but I haven't been able to dull a knife tempered in this fashion yet.
-
I've ran a single burner Diamond back for as long as I've been forging steel. my uncle, the man who got me started- uses a three burner NC tool whisper daddy and he's jealous of how fast my litter single gets to heat.
-
correction to previous post: I *MIGHT* be making the MRK2(The pig, version 2), and other knives, for a company called crusader weaponry. I'm making the GEF PMRK2 and sending her off for evaluation within the month.
-
*shrug* I'm gonna be making these in my spare time, their not my main source of income, I love the work, and I'd be making 50% profit.
-
I'm actually in the process of designing a similar blade set optimized for ease and speed of construction, same steel, same Idea, similar- if slightly simplified design, (eg- larger or no index finger spur, circular pommel, a taller saber grind(I might use a mill and then just clean it up with the belt grinder....), longer handle, Ect.) due to the huge amount of people I know who said "I want one" or "I'll pay you $150 for it." My goal is to get my time down to 10 hours or less a blade; and judging by how long the grinding took me, replacing the convex with a thick saber and using a mill will put me cleanly at 7.5 hours a blade, putting the price point at a comfortable $125 per blade after material costs.
-
all my other blade projects are forged, and have a ton of time in them, and I've actually never finished one. and I wanted a good work knife for the cull this year as my elcheapo blades wont stand up to the level of abuse that they'd need to for this use (prying apart joints in 400 pound wild pigs) so I decided that I'd make a good, heavy work knife in a week, now, at the end I have about 15 hours work time in it. and she'll take anything I can throw at her.
-
this morning: Chop test, initial sharpen: She's almost done, I just need to oil treat the handle and put the edge on her now.
-
nope. I like the big thick blade, and the starting Idea was to make a Becker BK2- but bigger, meaner and wider. the name 'The Pig' came from her intended use, killing wild boar that are just disabled or not quite dead, then reducing them to their component parts for transport to the freezer. I gave her a convex grind that comes about .80 inches up the blade and dug out my emery leather. she'll see the fields late spring when I go out to do some culling. Correction: she's 5160, not 6150.
-
its a chunk of 6150, 10.5 inches long, 2.5 inches wide, and 1/4th inch thick. handle pins are 7/16th inch 7075 aluminum and the scales will be what ever I can find that will work.