

digger9523
-
Posts
111 -
Joined
-
Last visited
Content Type
Profiles
Forums
Articles
Gallery
Downloads
Events
Posts posted by digger9523
-
-
About this, "Great White" forgery business, that looks NOTHING like a birch tree.
Frosty The Lucky.
Great White..... Shark..... ;) -
Neat! Gonna do it again after final sanding/polish? Wonder if the effect will work on a polished surface. Has it been hardened and tempered yet?
Not heat treated yet, that's the next job. This etch was purely to see how well the 15n20 was showing after the grind.
Will most certainly etch it again after the HT and final polish is done. The lustre of the polished finish will go, so it'll look much like it does now but without all those little grinding scratches.
The blade is going to a friend, so sadly I won't 'finish' this one, but I shall endeavour to post any pics I get when it's finished. :) -
Evening all,
I forged this little blade some weeks ago. It's a laminate, one of my first, a core of 15n20 wrapped with some leaf spring.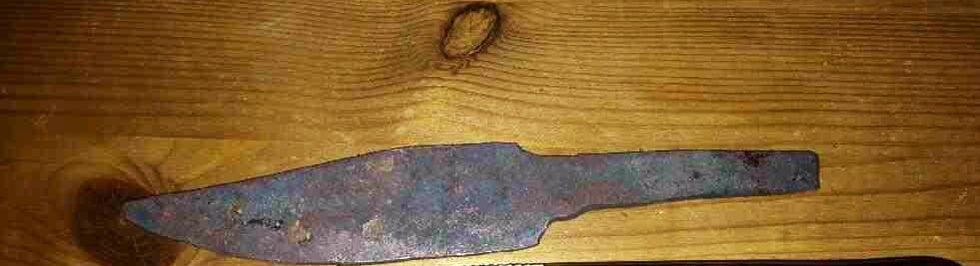
When I started grinding out the profile, and then the bevels, I had no set plan, but I ended up with this: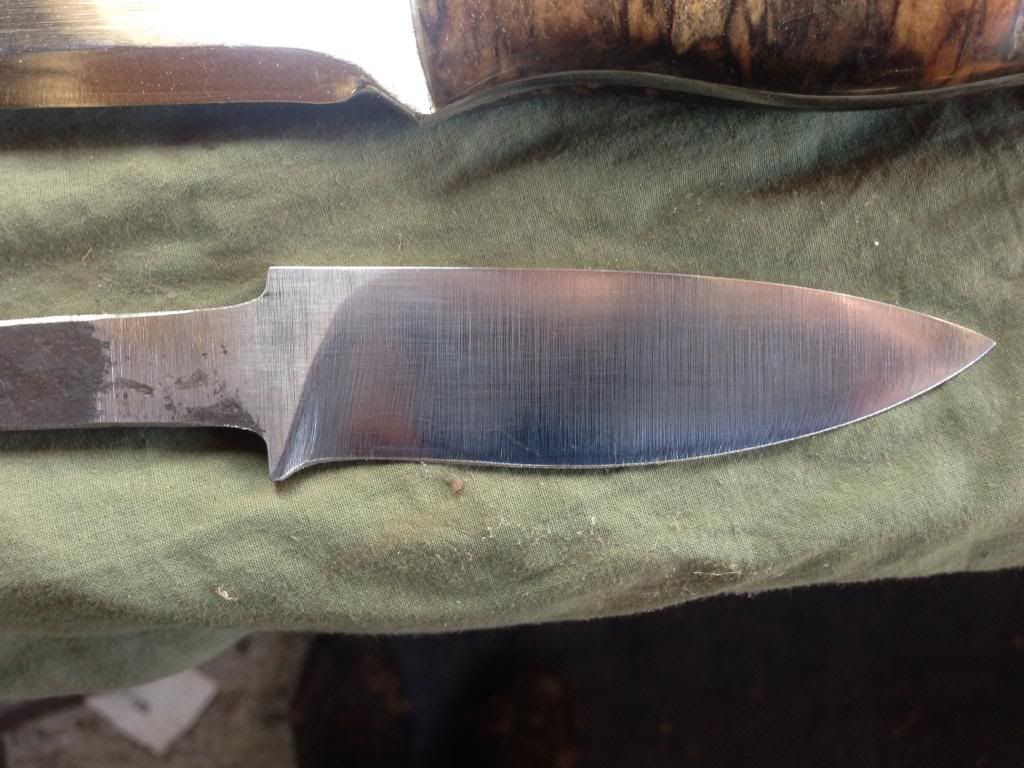
Took the blade to work and gave it a 30 second burst in an electro etch, and I got a really nice surprise!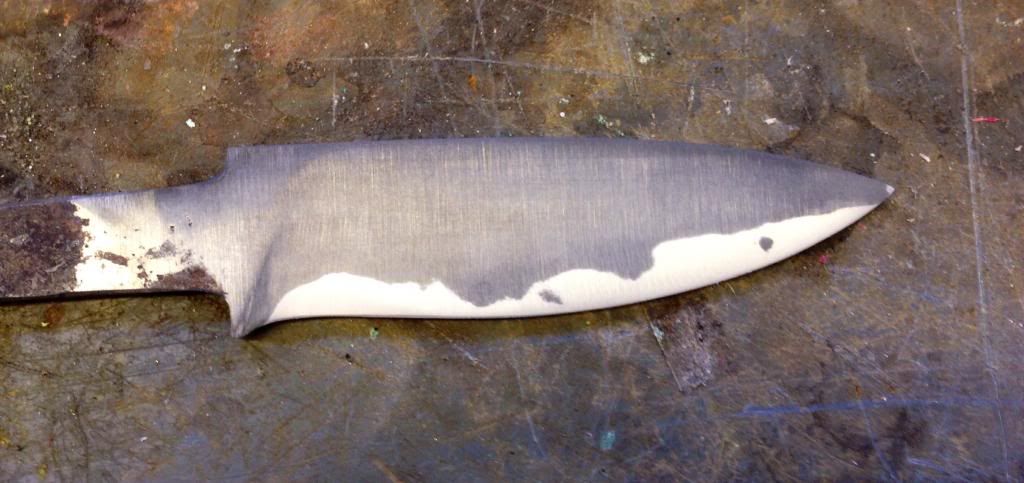
If only I had Planned to do that! :) -
Well well, my older brother died last night, sister found him dead in her spare room. :(
Won't be able to do anything until after Christmas, but cremation has been mentioned. I'm thinking some of him will need to be forged into something, so this thread will be very useful over the coming months.
Would it be ok to post results here Theo? Might not be for some some weeks yet.
-
Excellent. B)
-
Good stuff, thanks for that. :)
-
Thanks Barry, glad you like it. :)
-
Thinking about a sheath for this, anybody ever done a wooden sheath before? :wacko:
-
Ha! I was just coming back to this thread with the same link! :)
The video gets onto the topic of this thread at about 18 minutes 30 seconds. B)
-
Oh I LOVE the creative approach that you have used here! I just wanted to sneak in that info because LOTS of people might find it useful! You ARE sick though... you are suffering from "hot iron addiction"! AFAIK there is no cure... most victims suffer until their deaths!
So I'm doomed then?!
It's great and useful info man, thanks for sharing it. -
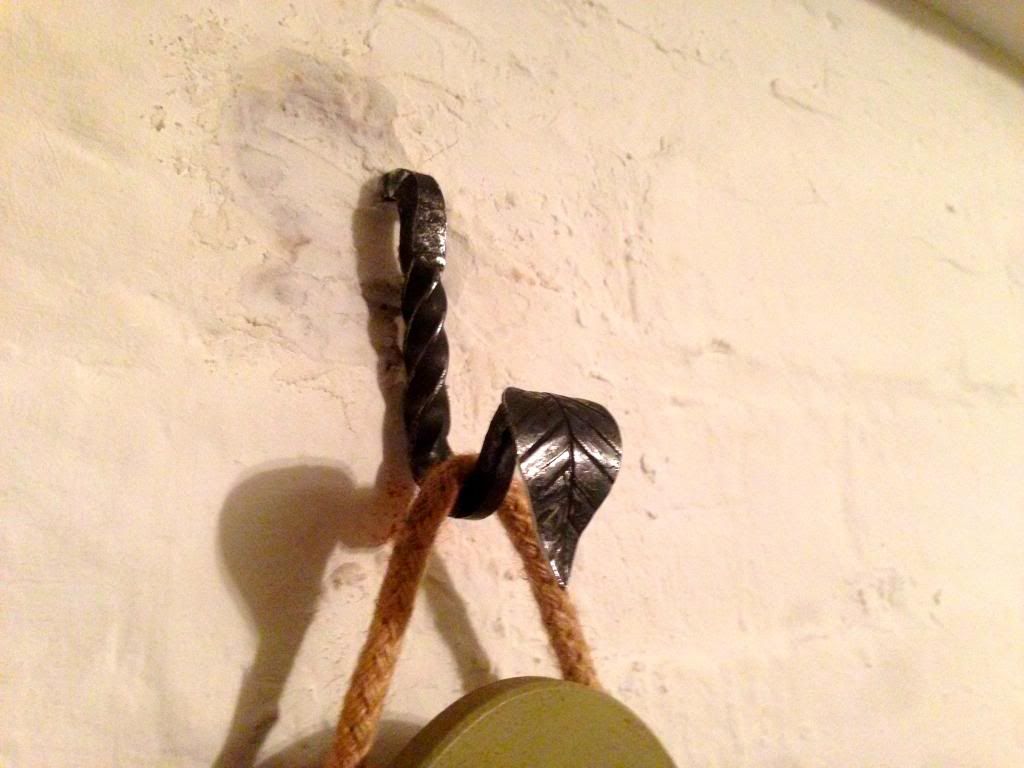
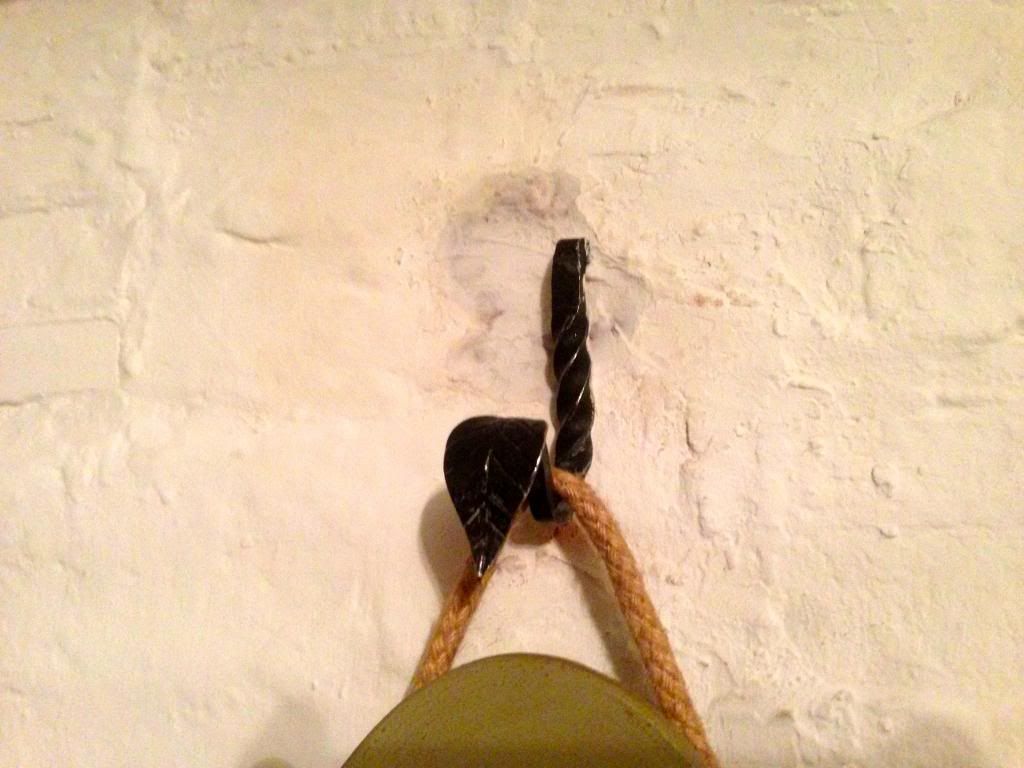
love that - its very pretty :) like how its just in the wall.
my nephew just went outside our house and sucked his finger and held it in the air - NOTHING. calm before the storm?.. :ph34r:
Yeah it's definitely a part of the house now Beth! It ain't coming out of that wall without a fight I can tell you!
Had some trees down here, no road blockages though, and a goodly amount of rain. -
Okay, now for future use I will give you my magical stain blocker system! I have used this with great success over many years! I will start out with a commercial stain blocker like Kilz, or any other, in a water base formulation. I follow that up with a coat of oil base stain blocker (Kilz also makes one of these, but others are fine too). The third coat/treatment is a shellac based blocker (which is alcohol based). I have found very few stains that will penetrate all three types of blockers! If there should be a very slight stain STILL showing... I retreat with another coat of each type stain blocker. This approach has proven pretty well bulletproof!
People like you make me sick! You could have told me that Before I had to go out and light the forge and waste my time having all that fun! -
Simple elegance love it. Really going to have to steal that idea.
Go for it mate!
Ain't no patents to worry about! :) -
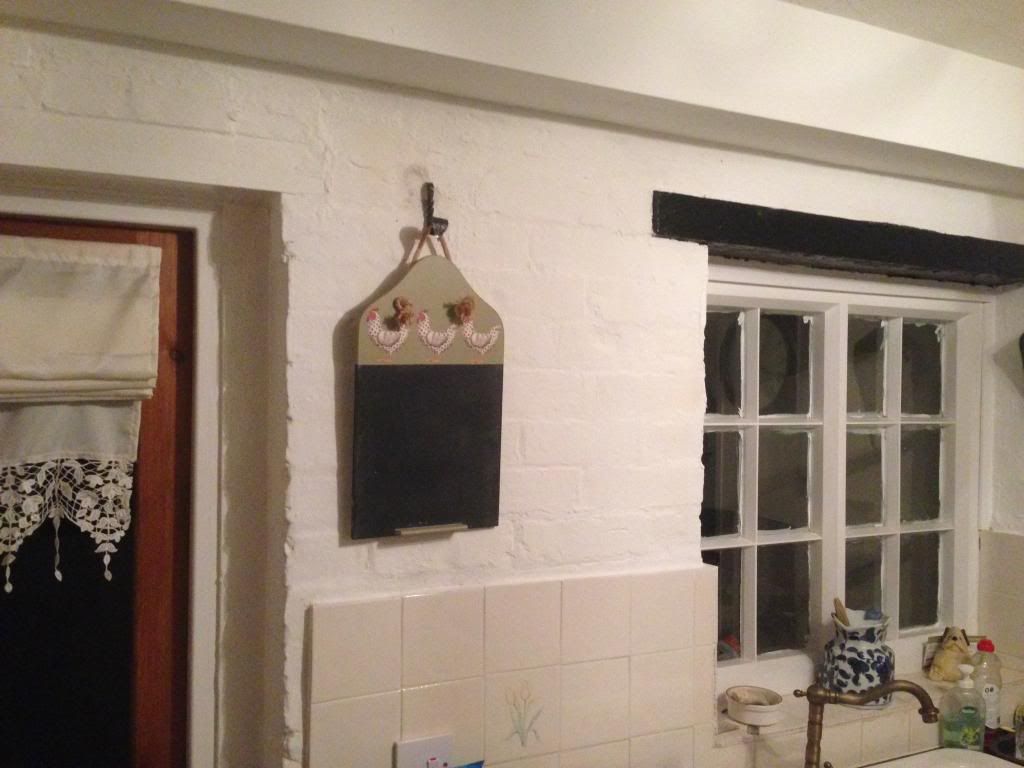
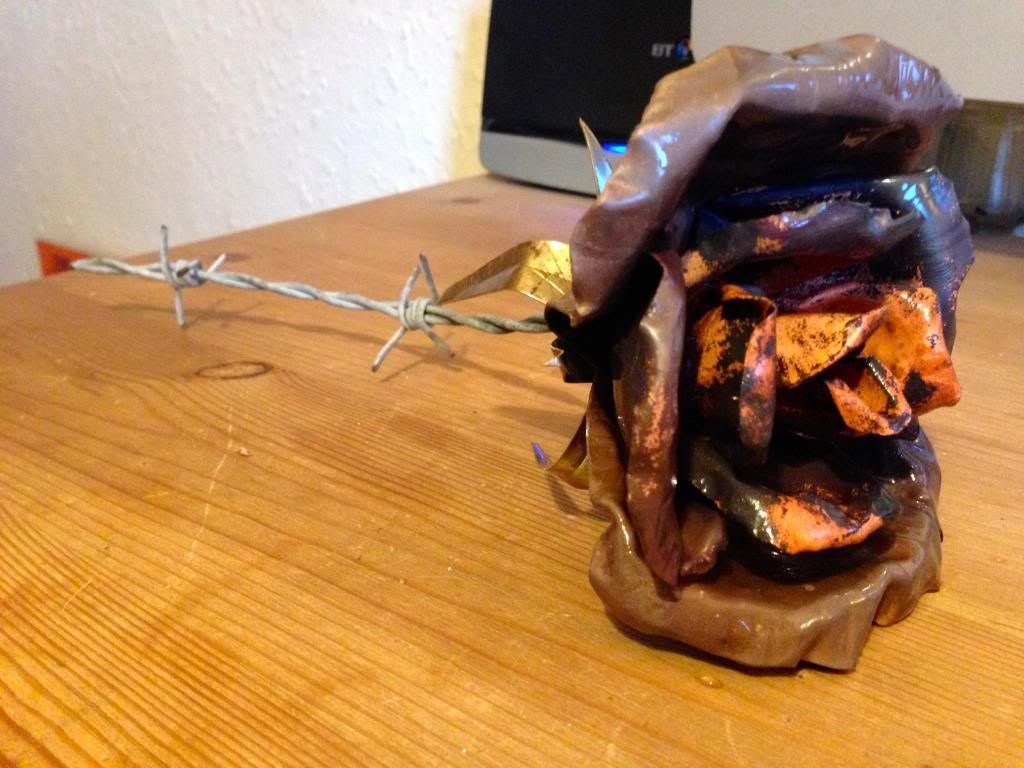
Some of you across the pond may have heard we're due to get a bit of a storm over here tonight, not seen much of it today, but it has been blowing a bit.With the mrs going On and On about putting up a chalkboard in the kitchen to cover up some imaginary stain that only she can see after several thick coats of paint, i decided to kill two birds with one stone.I lit the forge, the blower and the hammer blows drowned out her incessant moaning, and it also lead me to bash out a means of putting up the aforementioned chalk board. B)And as i gazed out upon the valley and saw the leaves, i took a small amount of inspiration……
 :)
:) -
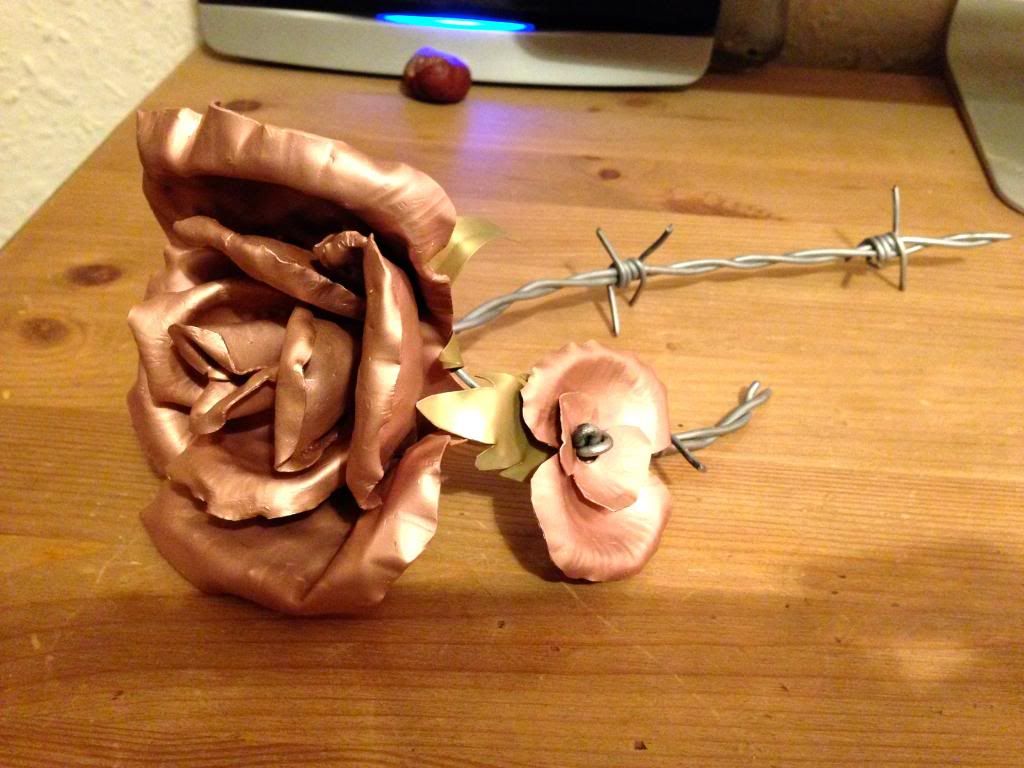
Cleaned up alongside a rememberance Poppy:
-
Thanks again folks. Played with one of the heads this evening....
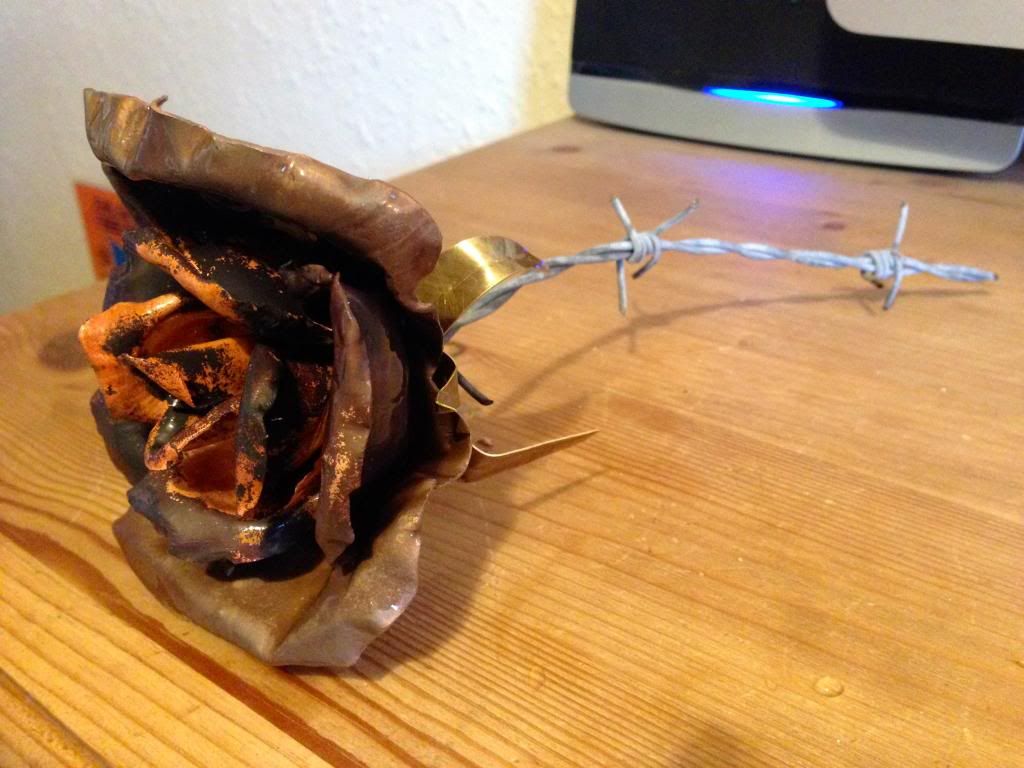
Going to give it a sand blast at work tomorrow to see how it looks that way. :)
-
Thanks for viewing folks!
Here's the anvil:
'?do=embed' frameborder='0' data-embedContent>> -
Haha!
I thought this had been deleted! Posted it in members projects, wouldn't have dared put it in this section!
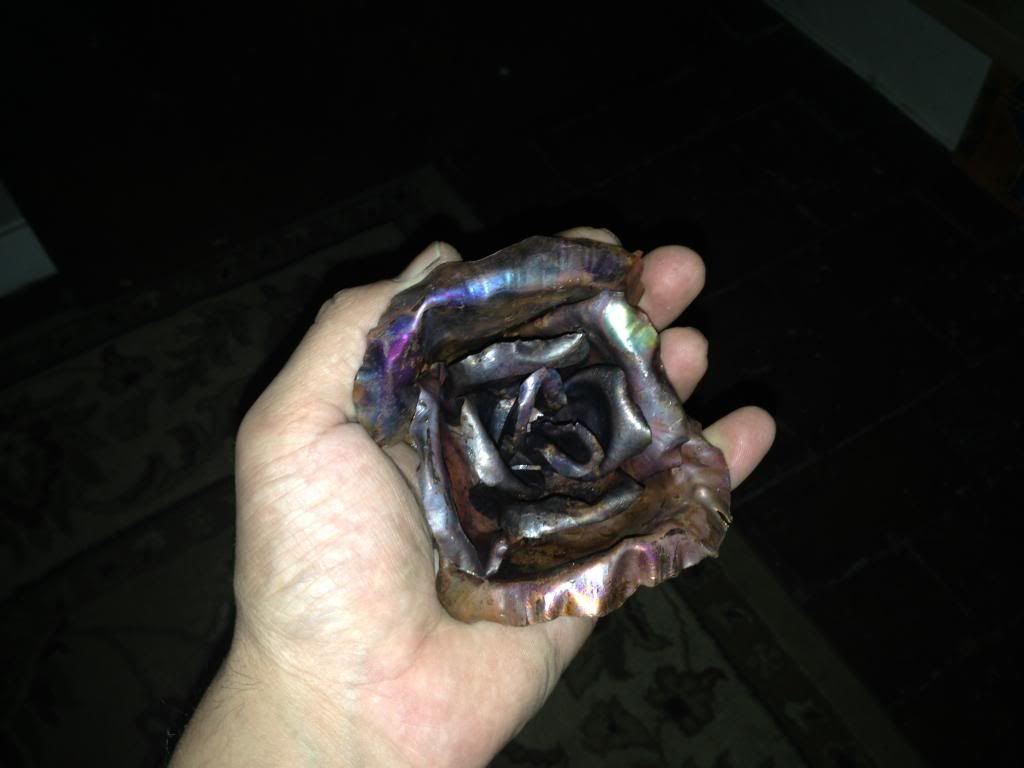
Gave it a clean up at work today: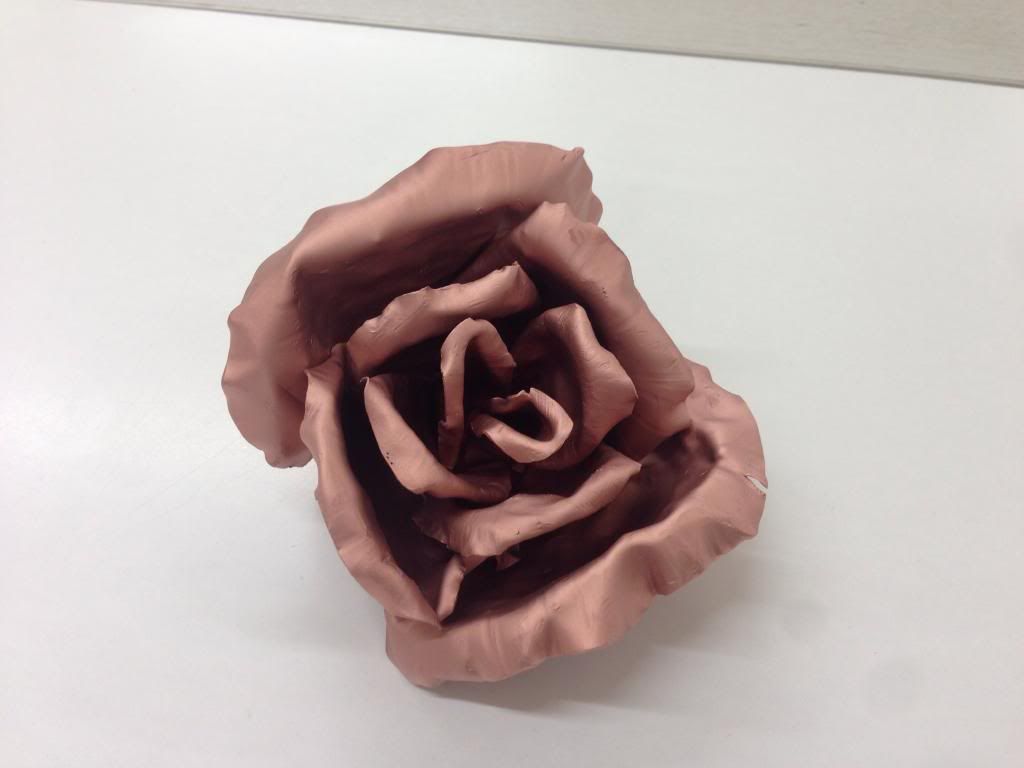
Not sure which finish I favour? -
Once years ago i saw something like this, and thought i must do that some day..... :rolleyes:
So this evening saw me in the garage for an hour or two........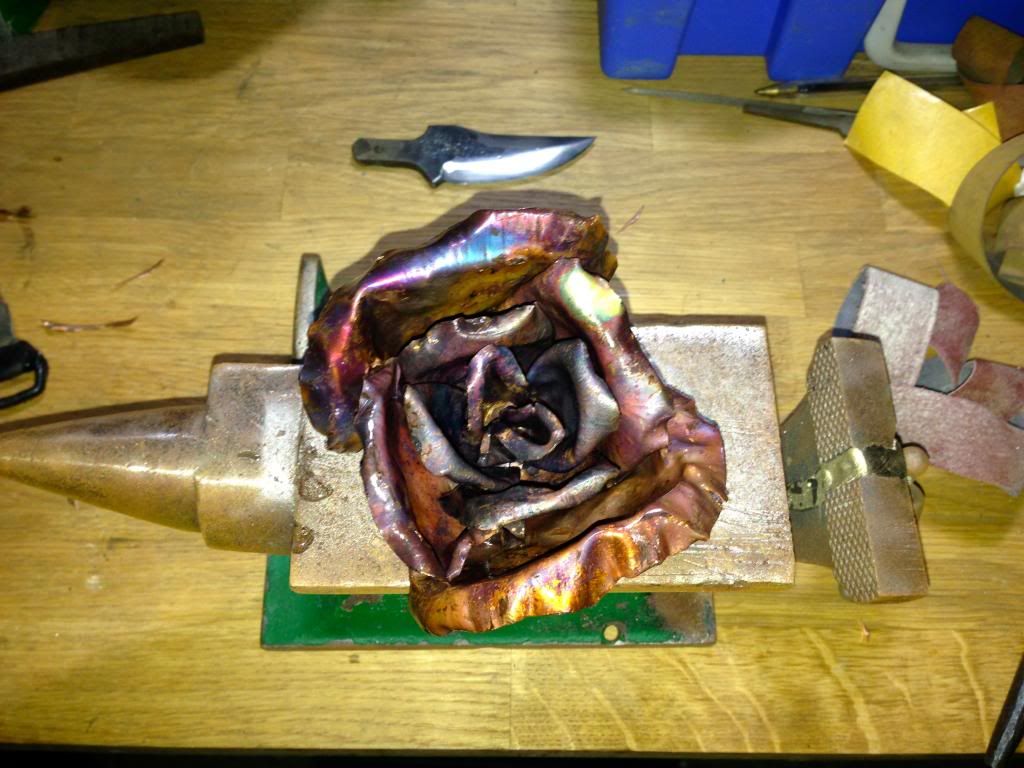
 This one is pretty lame, but I'll definitely do some more, especially with Christmas fast approaching! :blink: Where has the year gone? :)
 -
Does it Have to be a gut hook?
Here in the UK I'm a semi pro deer hunting guide, i shoot between 200-300 deer a year from the tiny Muntjac through to the much bigger Red deer. I used a knife with a gut hook (of the sort i think you're trying to make) twice before i decided it was almost entirely useless. With 3 or 4 deer to dress in a short amount of time it was more trouble than it was worth.
It's much more common here to use a tripe knife, here's one i made last year:
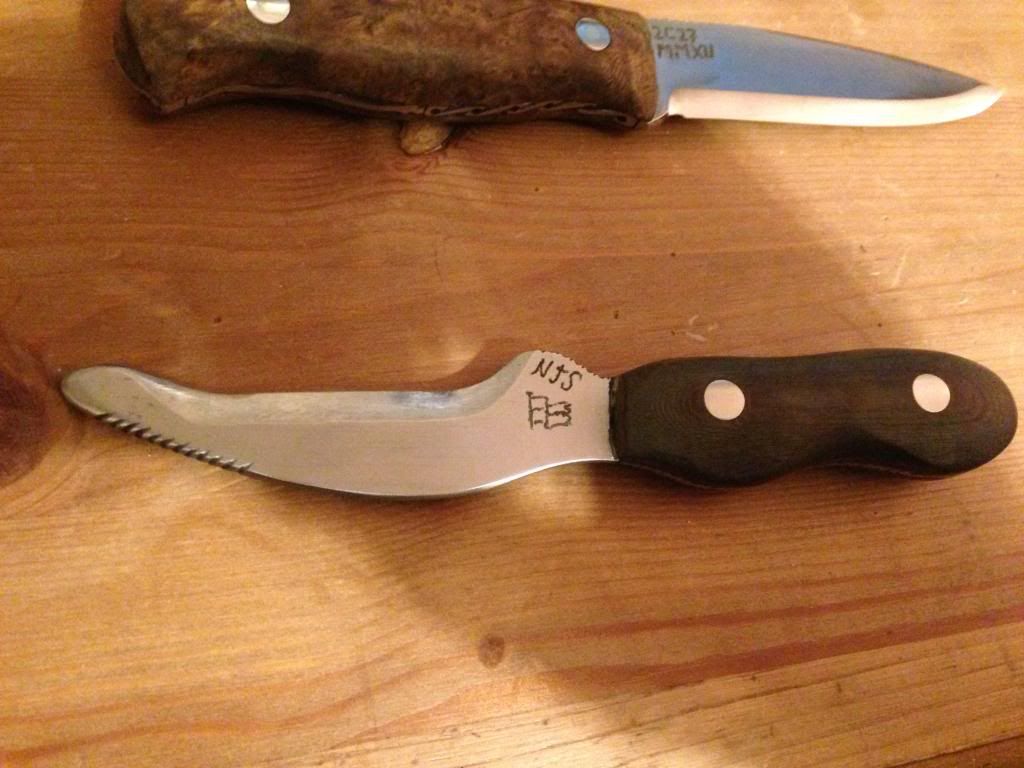
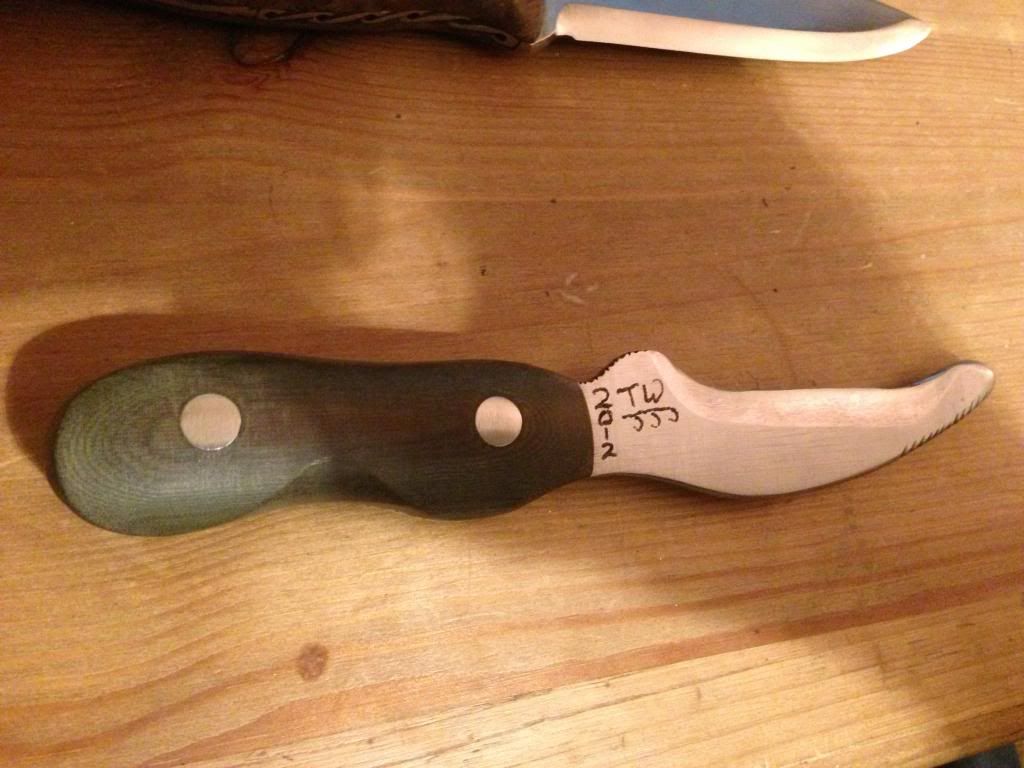

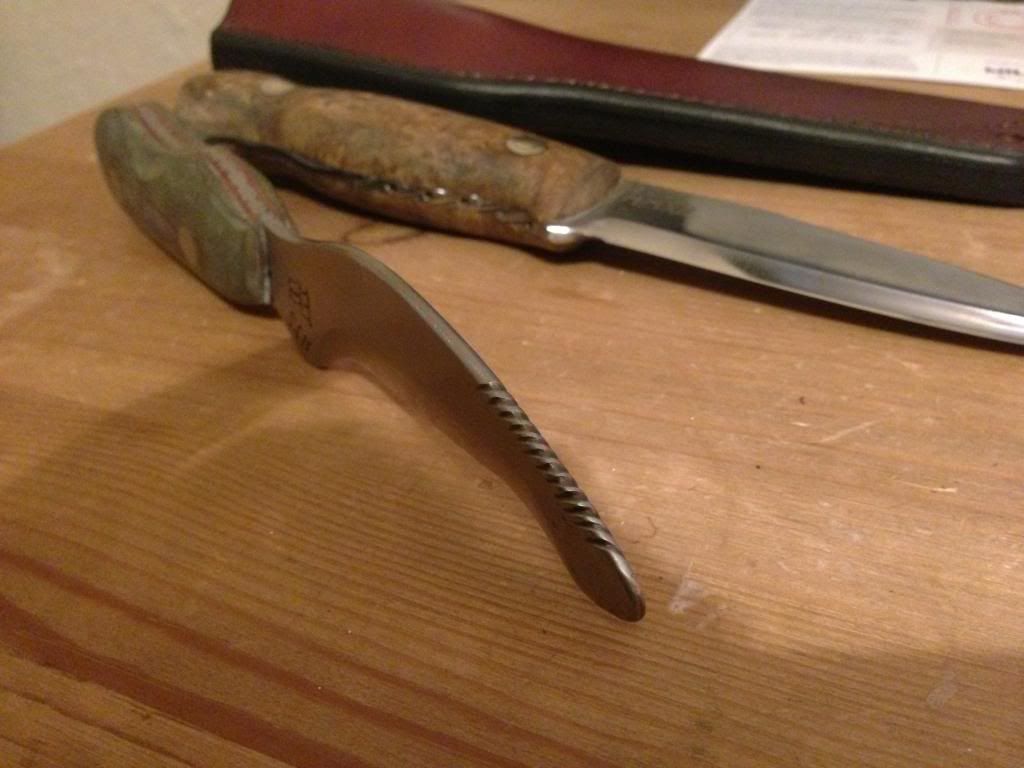
We did a park cull and between us shot 64 Fallow deer, and that knife was used to unzip all of them, no fuss with snagging and no split guts.
For your commission you've obviously got a specific brief, but if you ever get asked for something else for gutting, feel free to remember this little thing of mine. :)
-
Thanks folks!
Started work on this little thing night before last: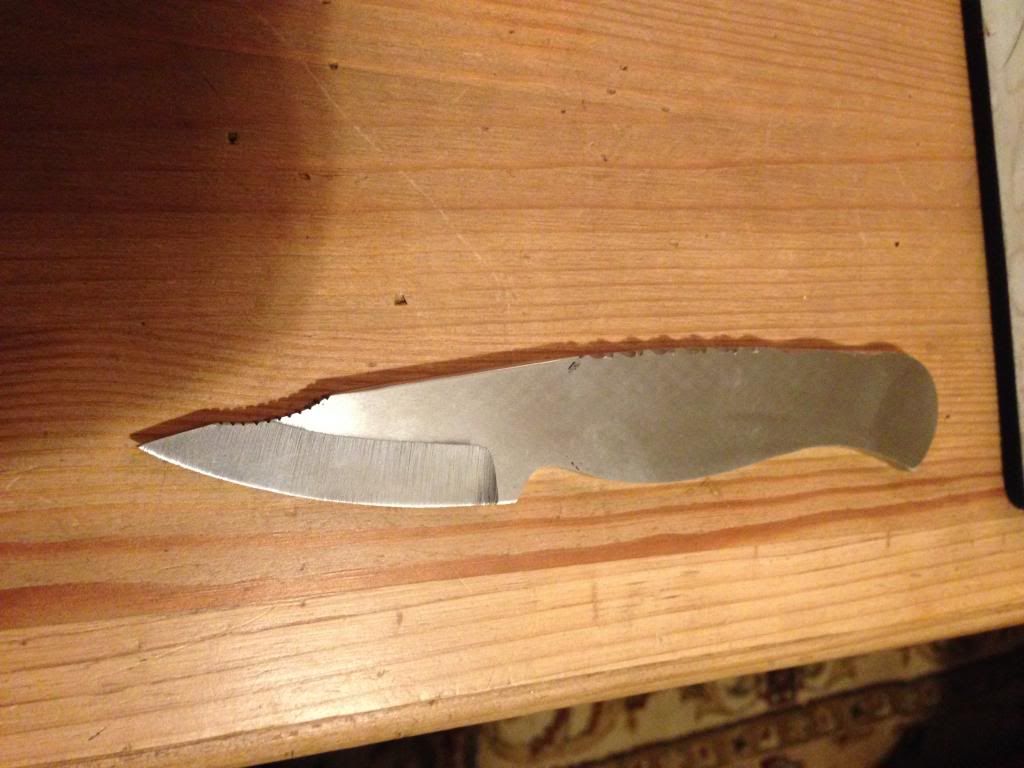
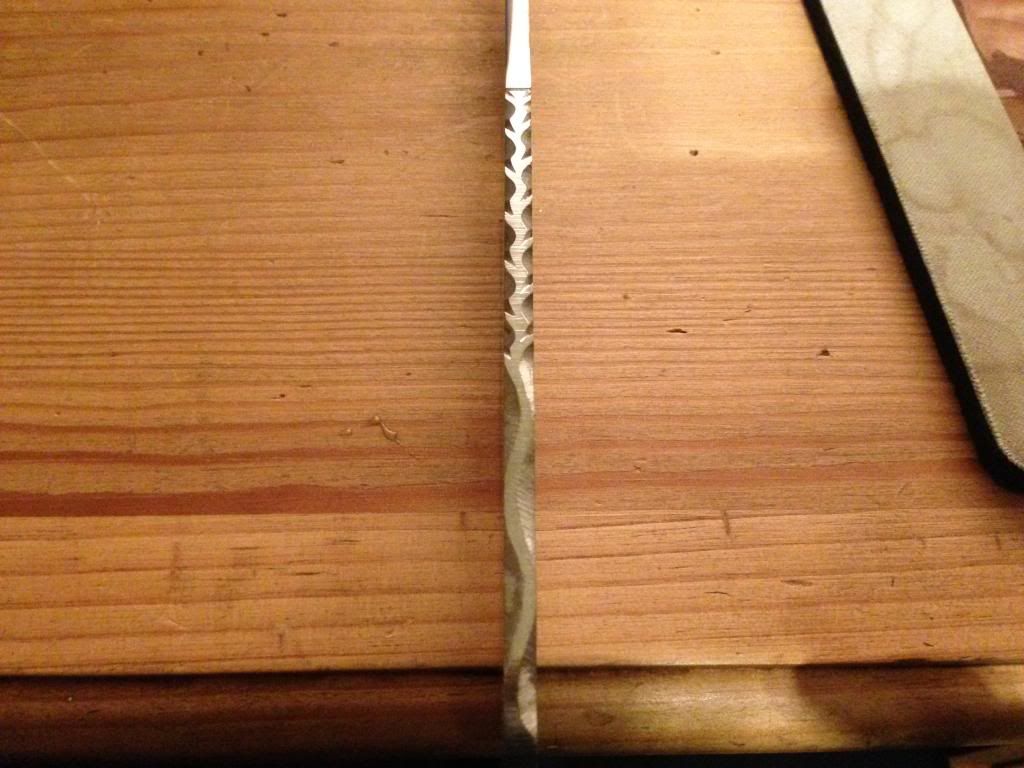
I'll be doing the twist on it as well, so while I'm doing it I shall take pics of each stage for the WIP. :) -
Fascinating stuff!
I read once that it used to be done many years ago by warrior races (Vikings for example). They would put ashes of famous warriors or kings into the mix while making swords. They believed it would add some of their spirit and some of whatever quality that warrior or king was famous for.
:)
-
Did this pattern once before:
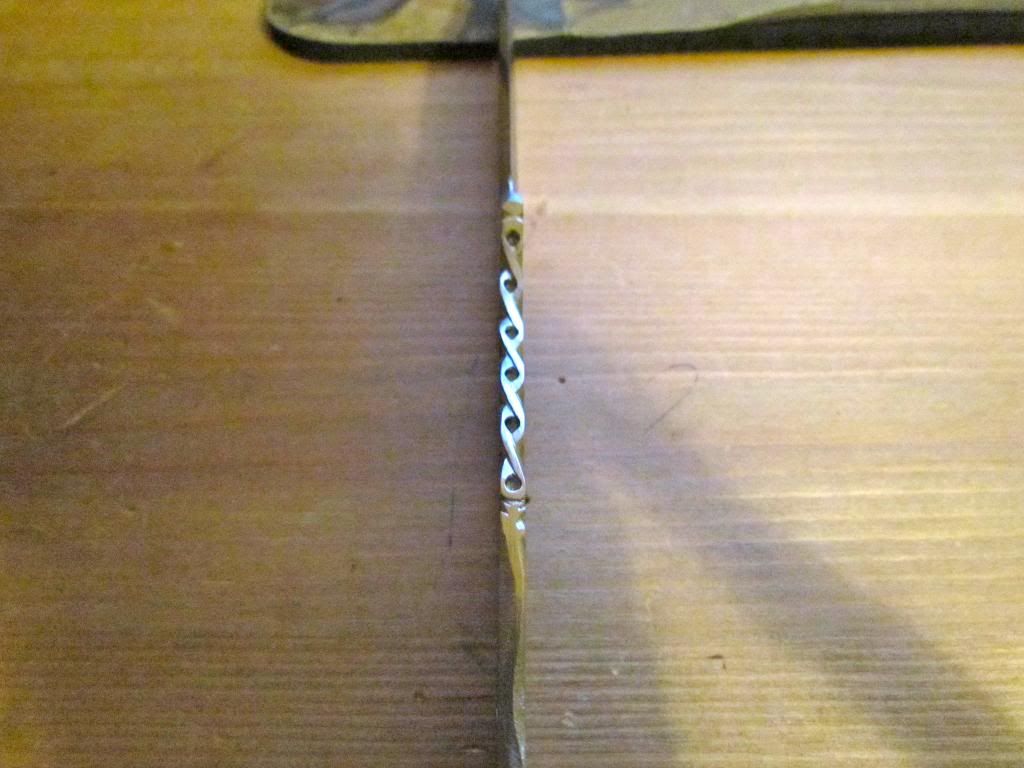

It was for this knife:
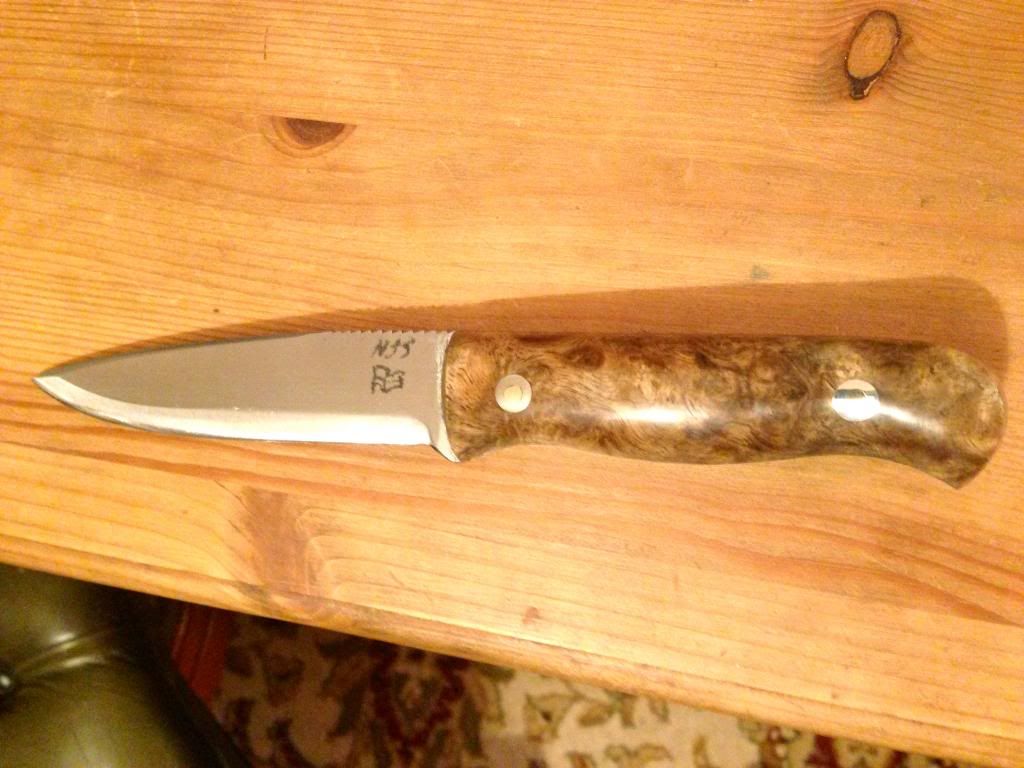
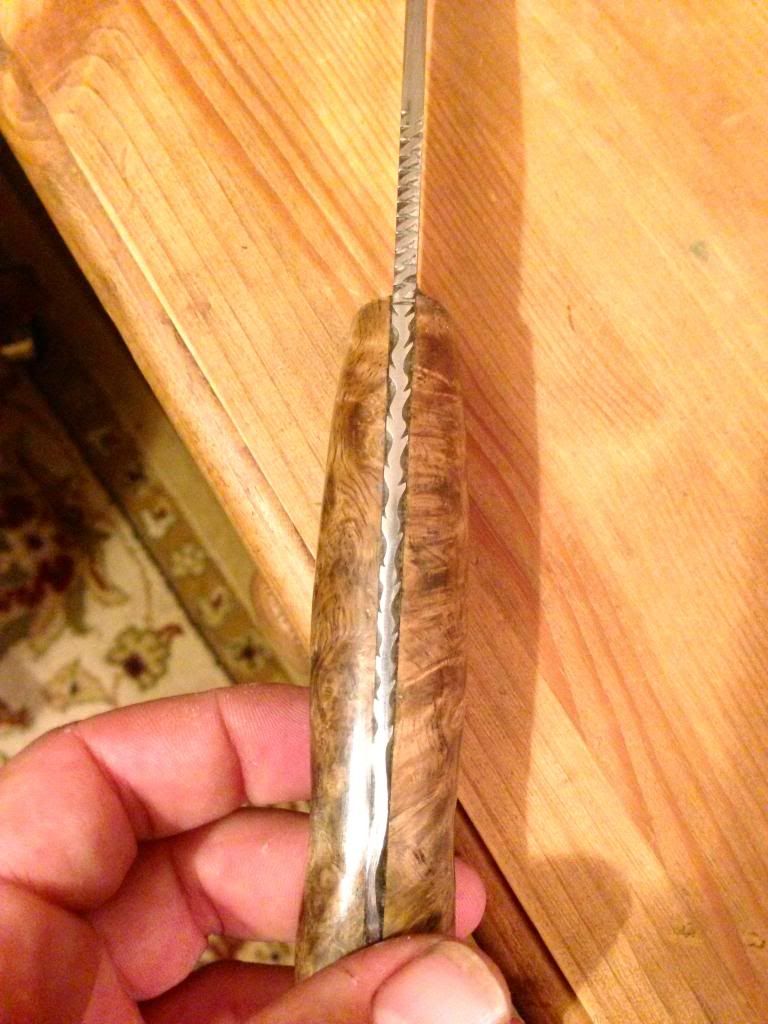
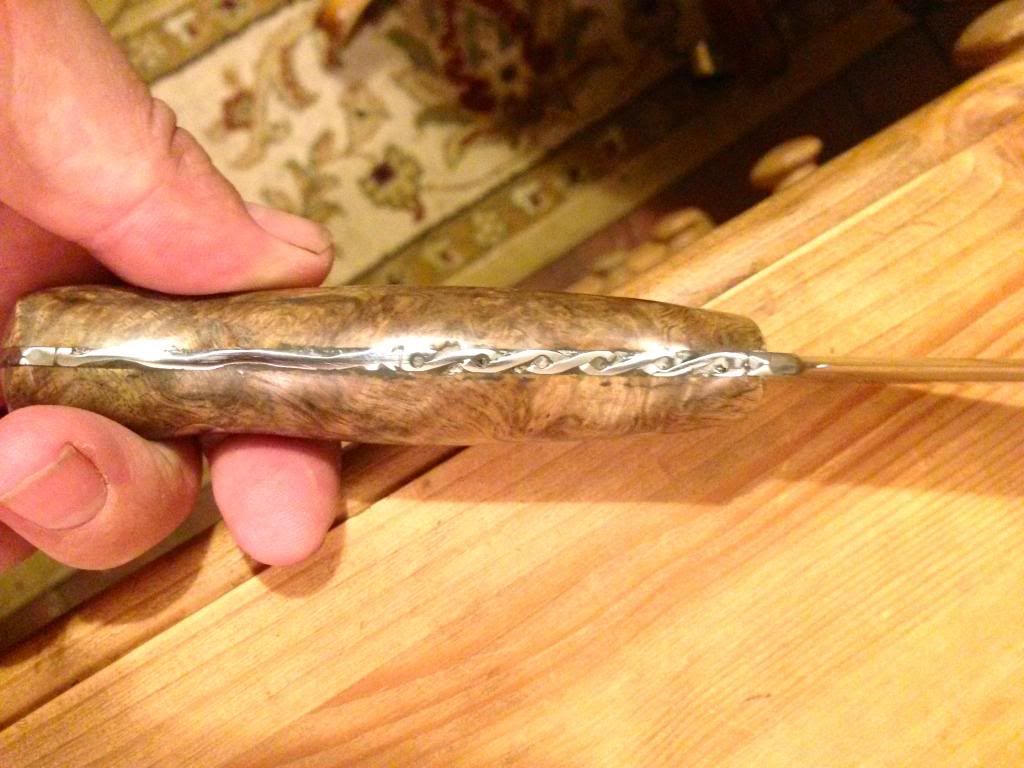
It really shows up nice when the knife is finished. :)
-
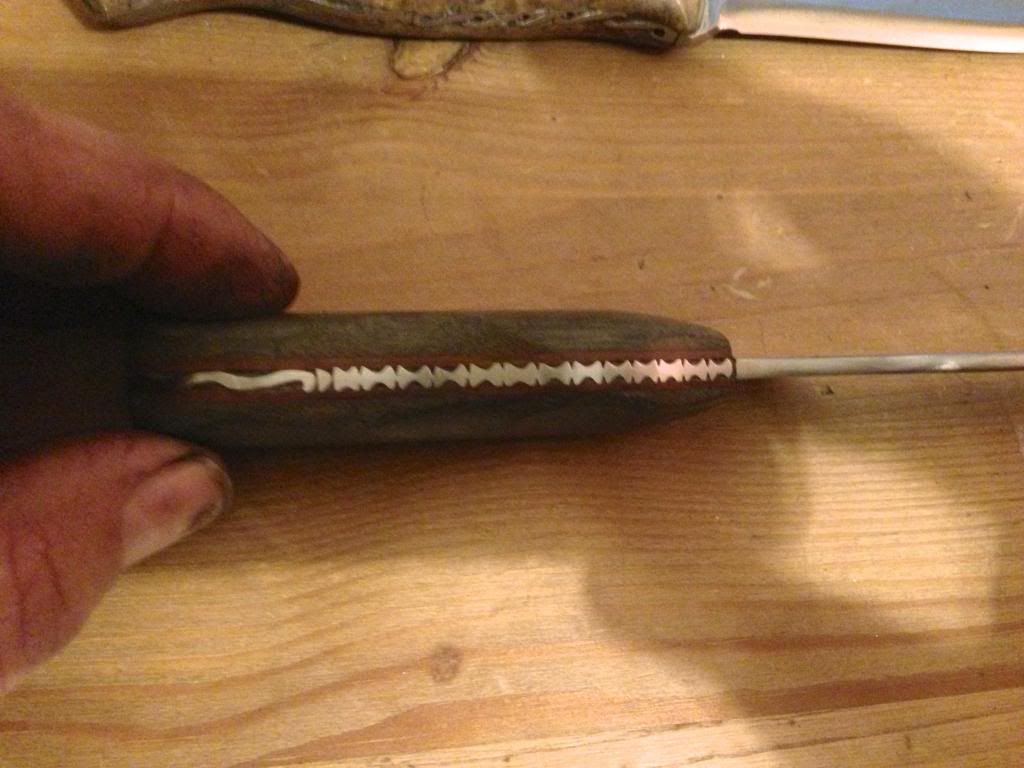
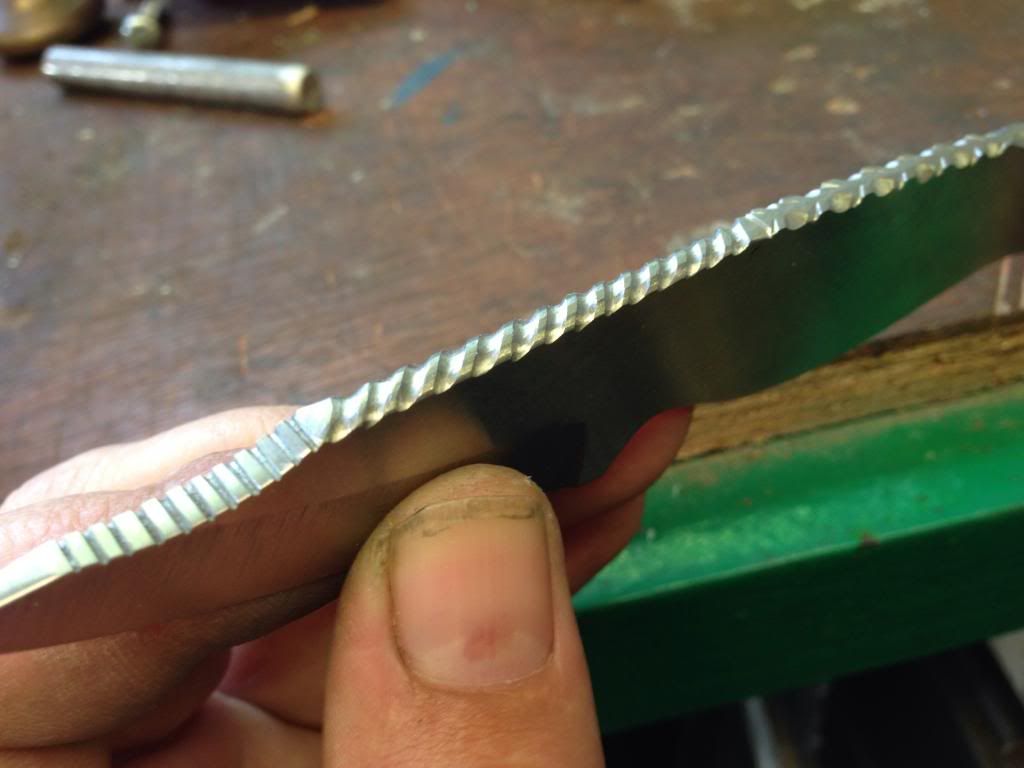
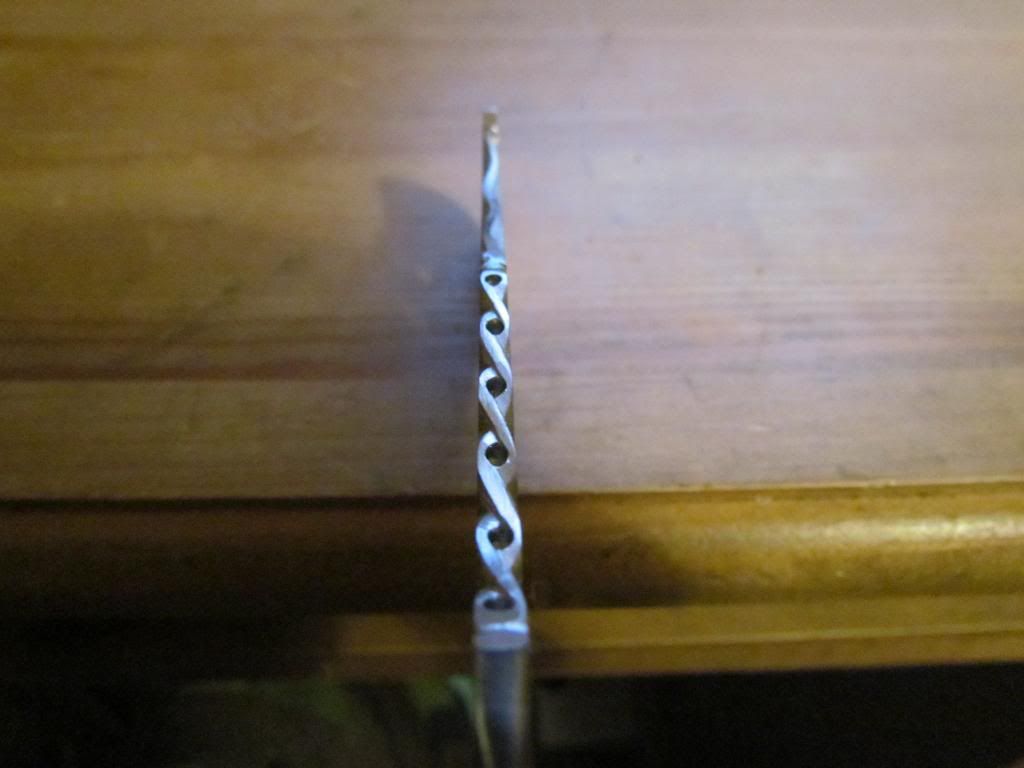
Hmm, a WIP....
I've got another blade blank somewhere that I could do this to. Leave it with me.
Tools used are a bench/pillar drill and a drill bit just under half the thickness of the steel used. On my piece I used a 1.8mm bit for my 4mm stock, and a good sharp three square needle file (Triangular).
Other files come in handy if you have them, but it is possible to do the twist pattern with just the three square. The wavy line bit requires a round or half round.
I don't mark anything, do it all by eye, but it could be usefull for those who've done very little file work.
A Great White forgery!
in Knife Making
Posted
Sounds like you're lucky to be alive Frosty! Must have been quite traumatic, If you need to talk, we're here for you. :)