-
Posts
156 -
Joined
-
Last visited
Content Type
Profiles
Forums
Articles
Gallery
Downloads
Events
Posts posted by dancho
-
-
One of the most important features of the convex surface is that it is very good for forge welding.
-
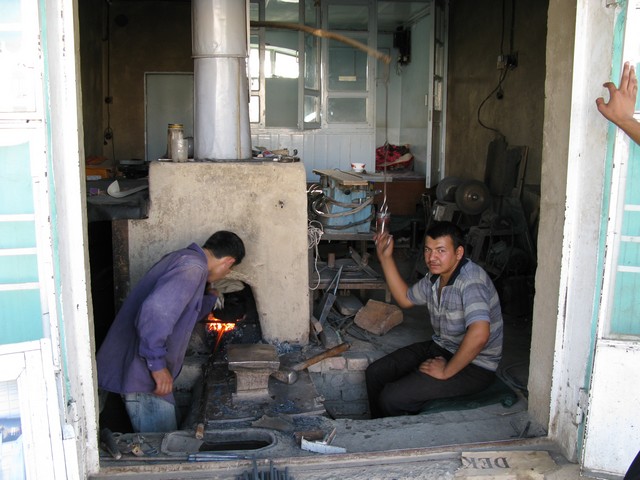
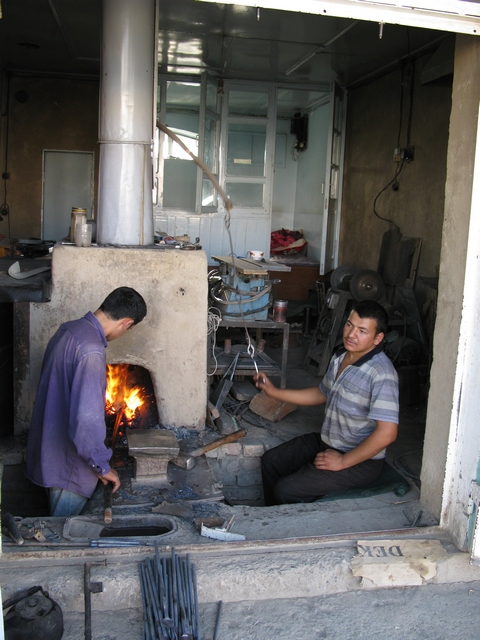
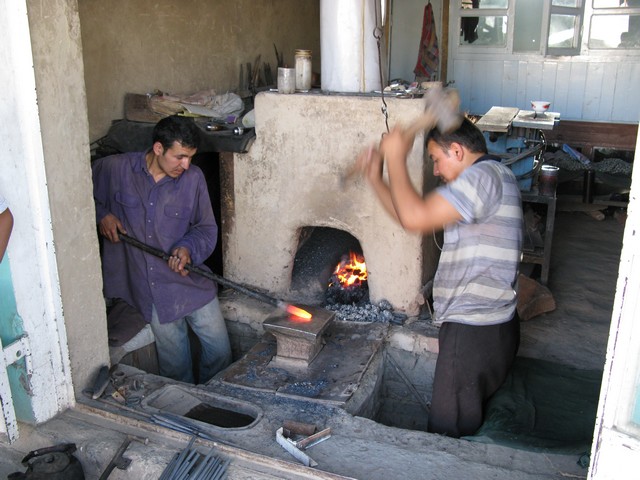
Another example of magic convex anvil -- now from modern Uzbekistan (middle Asia). My friend was travelling there and came across a traditional balacksmith workshops at one of the towns streets. He took some pictures specially for me.
This kind of forge is a great inspiration for me. Compact, effective and comortable. Also quite social I would say as this is just behind the street walkway. Very interesting idea of using pits so that while the forge and anvil is low but you still work standing. Also while the metal is heated you sit on the edge of the pit, rest and drink green tea... The customers walk along the street, you offer them a cup of tea and to buy a knife or nails. I like it
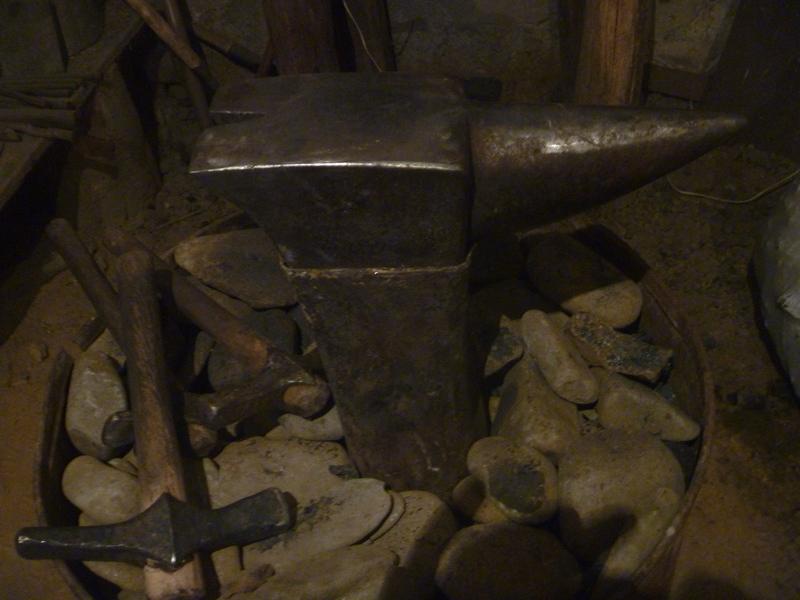
The convex anvil as my friend says seem to be made of a railroad buffer the cut into rectangular shape. It is probably very hard. The radius is also quite big.
-
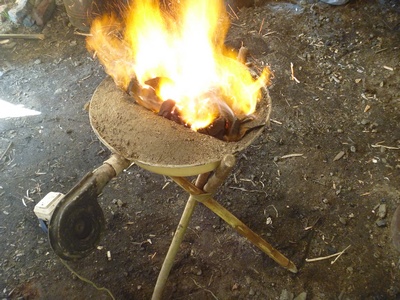
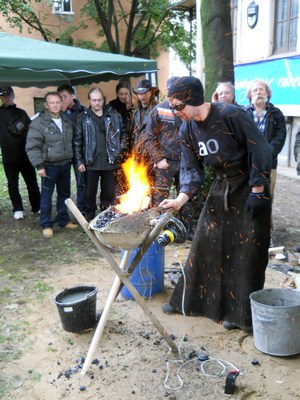
The forge I use is the ancient earth-clay side blast char coal forge. Many years of experiments with diffrent forges proved that for my work (tools, forge welding) it is the best. At home I have it made on the table under the hood. For festivals, demonstrations and such I have developed the very light design made of metal basin put on a tripod of sticks which I fill with the earth found on place. The fan is from old soviet tractor stove 12 V. 40 Watts. Sometimes I made the side walls of bricks if I have them. If not -- make adoby walls from earth-grass mix. For the lightest set up I make the forge right on the ground.
-
Found some Youtube videos of Indian travelling smiths who use ancient style convex faced anvils. One can see how big is actually the surface radius.
https://www.youtube.com/watch?v=CUIFlJ8mX-4
https://www.youtube.com/watch?v=AzMqEAAhNME
Everytime I forge on my convex anvil I keep thinking how great it is. Absolutely diffrent feeling from the flat one. Convex is magic!
-
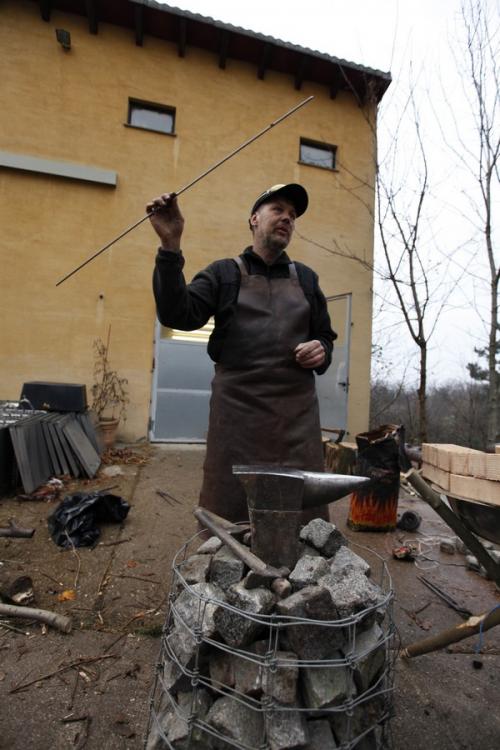
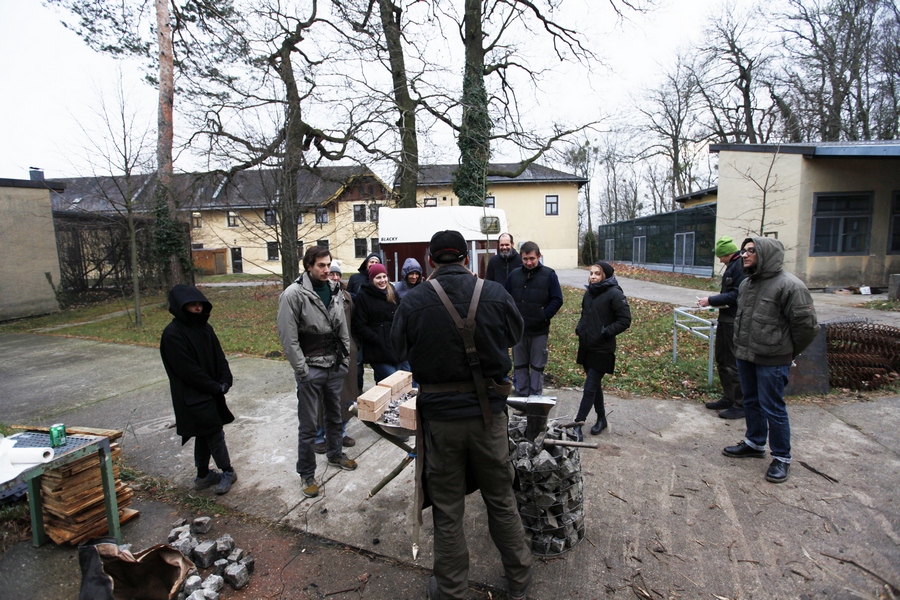
I ran a workshop in Vienna Uni a week ago "Blending Ecology and Blacksmithing together" and made an experimental stand for my anvil as a real gabion with the steel mesh and stones -- basically what I found at the location. Actually that worked extremelly well! I really liked it. No more earth and wooden wedges. The gabion was made in a conical shape with the base wider than top. The mesh probably should be of thicker metal with the smaller spacing but anyway the principle is very practical. I can recomend it like even to wrap around the thin wooden stands and fill it with rubble in case one lacks thicker stump.
-
Thank you Vaughn!
Yes, the notch was meant for working with holes but I am finding more and more uses for it. The heel edges are also good idea. If you need to get to some complicated places they are quite useful.
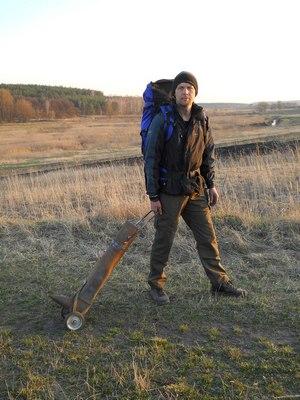
Frosty, actully when I had to go to remote places with my anvil I took the pipe along in a complete assembly. The only problem it looked suspicious for the police (like a mortar) so I stopped to do it and now carry the anvil in a separate strong bag while the pipe is hidden in the other bag stuffed with socks and t-shirts.
-
-
I often use water to control charcoal to get the nice spot especially when use it for heat treatment. Half mug in front. Half on the back. Never in the centre unless putting out the forge.
-
-
Thats an interesting anvil for sure. Are you making them yourself?
Andy
Thanks Andy! I make the styfoam model, give it to the foundry, then grind , polish and harden the obtained object
-
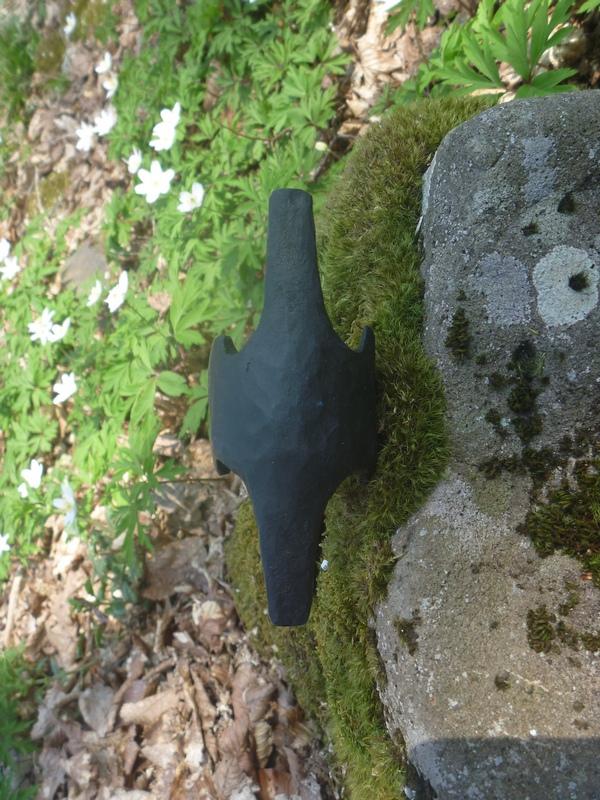
The new version of my anvil is being tested
1. The main improvement is the dovetail end with one edge being sharper to be used as hardie and the other is rounded to be used as fuller. The triangular notch is used multifunctionaly for punching, bending, etc.
2. The face preserves convex profile which proved itself extremelly well during last 5 years of work
3. Same for the edge like cross -section of the horn.
4. Massive concrete foundation was used under the base plate
-
-
It's quite simple. Drill a hole in the axe blade. Raise it to the sky at 60 degrees. Blow as strong as you can. It works. Sometimes.
-
Simply blow to the sky through it and you get rain soon.
-
Man, I love this! What's the hole in the blade for?
Super cool. Love it.Thanks Benton! You can start the rain with that hole.
-
-
-
-
Also wish I could be there. Do you guys do this every year?
George
We plan to do this every year. Will be glad to see you next year if you can't come now.
-
Hi Gergely!
Yes, Lisichevo is 6 km from Kushnitsa. I would be glad. If you come. No fees this year. The language is Ukrainian and Russian but some of us speak English. write me e.mail or phone and I explain the details.
Bogdan -
That looks like it's going to be lots of fun. Please take some video for those of us who cannot make it to the event.
Ok.
-
-
Interesting idea- I guess the real question is, does it work? It looks strange from my point of view, that is, from the point of view that I am used to harware store cross and ball peins. But I like the look of it and may have to try one sometime. When you forge welded, how did you keep face and body together until striking them? I have hear of nailing them together, or chiseling spikes on the back of the high carbon. I would greatly like to know how you accomplished this.
Thank you,
RF
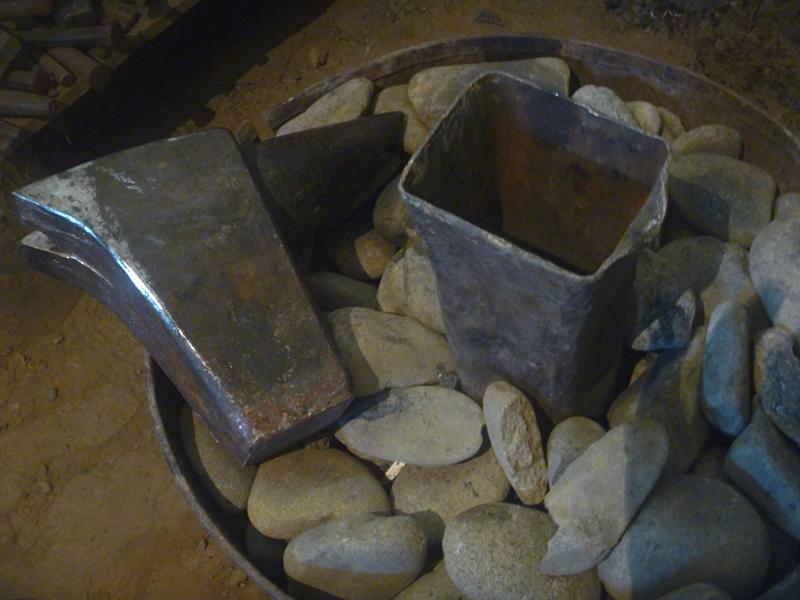
From the point view of shape -- it really works great FOR ME. It the design I need very much for forging the ancient shapes of axes.
Unfortunately I must say that exacty on this axe I simply spot welded with electric welder the pieces of steel to the main body before the forge weld. It does work but I do not like this approach. I'do from time to time experimenting of weld without electic prehold and it works but not always as predictibly as I want. Need to invest more time in it in winter. However the trick I like to master fully is to do it without any spikes or whatever. It was described in old ruusian blacsksmith books and also my teacher saw it from the old smith. You just put the steel piece at the the end on the top of main body piece laid horizontally in the forge and bring all together to welding heat. Then quickly bring to the anvil , twist to put the steel piece on the anvil with the side free of flux up and then put the main bar vertically on the top of it and strike.
-
I agree with Peter Ross too. If the peen is sharp you have to spend a lot of time and energy flattening the depressions after spreading while with bigger radius you can really perfom ovelaping of blows . However sometimes sharp peen is needed thus there is no universal hammer. Each serves own purpose



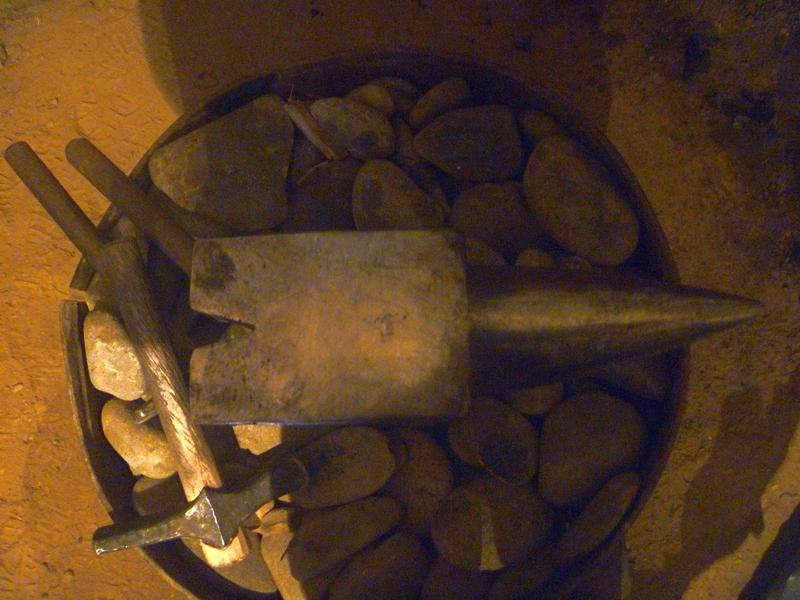
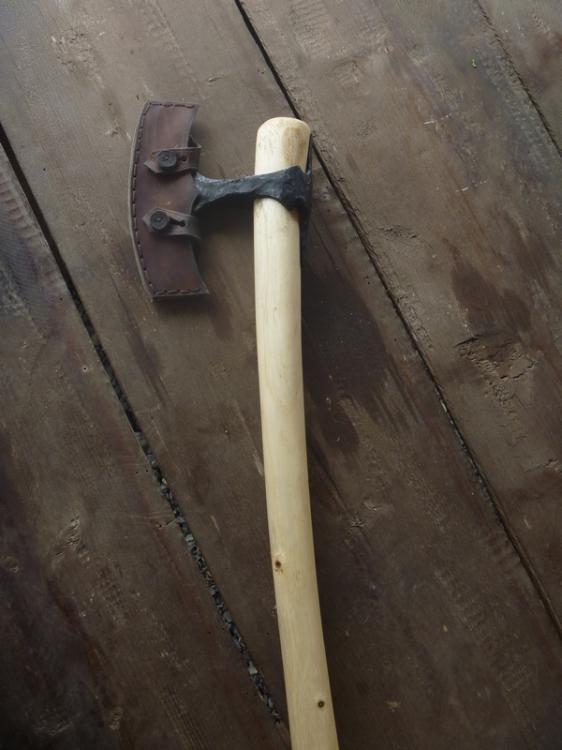
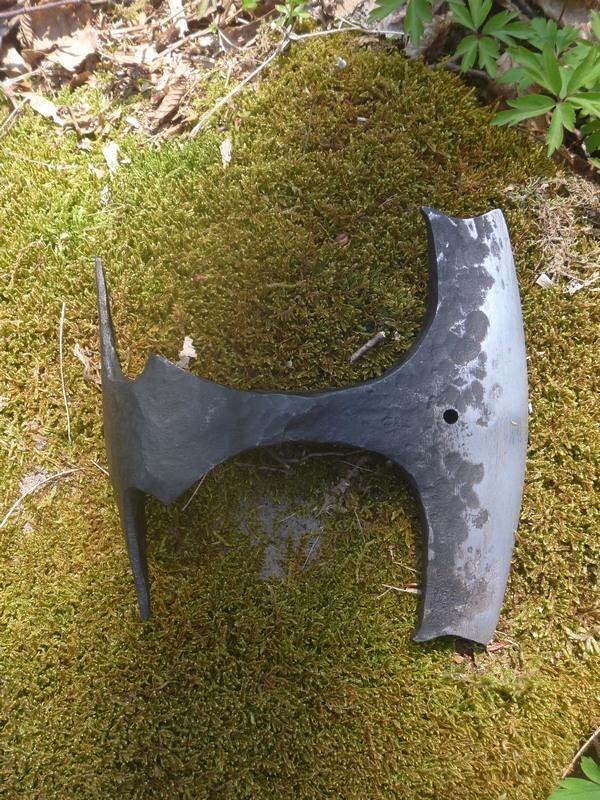
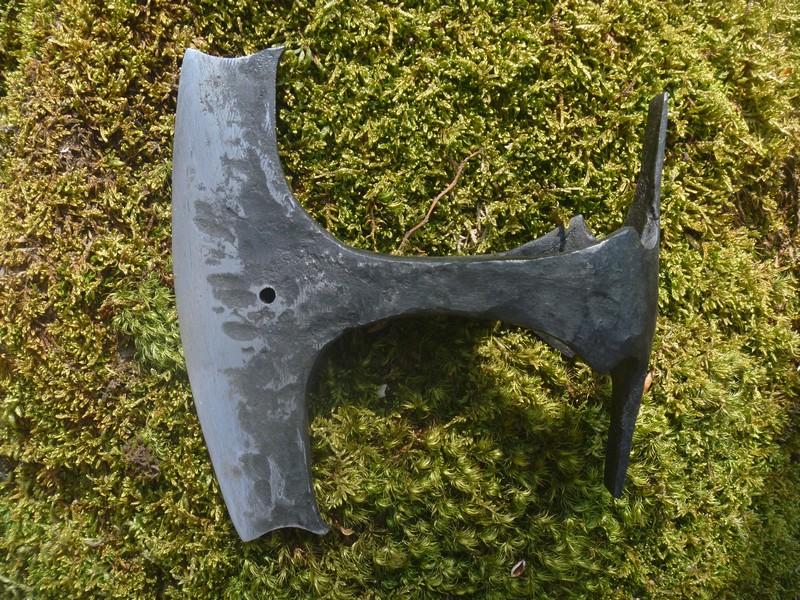


What does "tradtional" mean?
in Blacksmithing, General Discussion
Posted
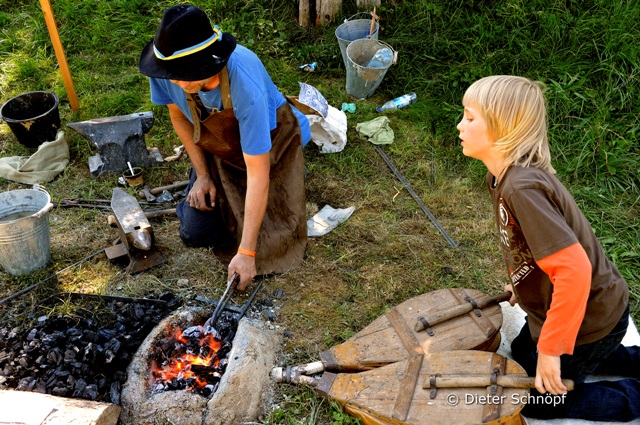
I came to see "traditional" applied to blacksmithing as something beyond time, like "The timeless way of building" concept apllied to architecture by Christopher Alexander in his famous book. Something which is real, not fake. Something that works. Beautifully riveted iron work with split holes that retain the mass of the metal. An axe or a hammer forge welded with steel edge. A blacksmith -- a good guy archetype forging good things for other people.