
joe elliott
Members
-
Joined
-
Last visited
-
-
4" does not apply to driveway gates
-
only recently started using the flux. I apply it after its under compression and warmed up... seems to do a nice job creating its atmosphere and cutting down on oxidation
-
this is my 3rd attempt to up load pdf file is missing text for some reason also try word doc same stuff different format 2015 handout.PDF handout january 2015.docx
-
not sure if this will work and if it does work if it will help. a hand out I gave my students fore mokume class i gave last winter 2015 handoutII.cpt
-
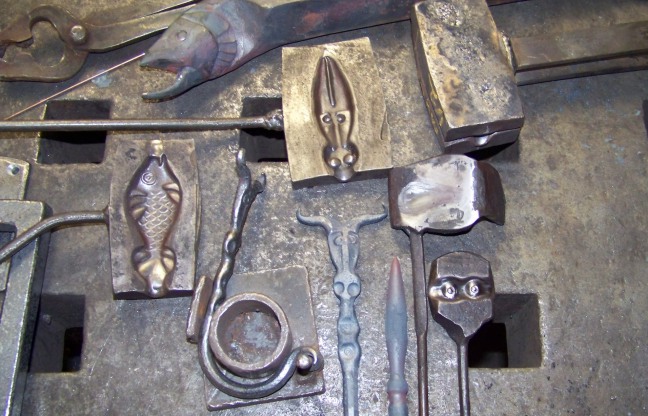
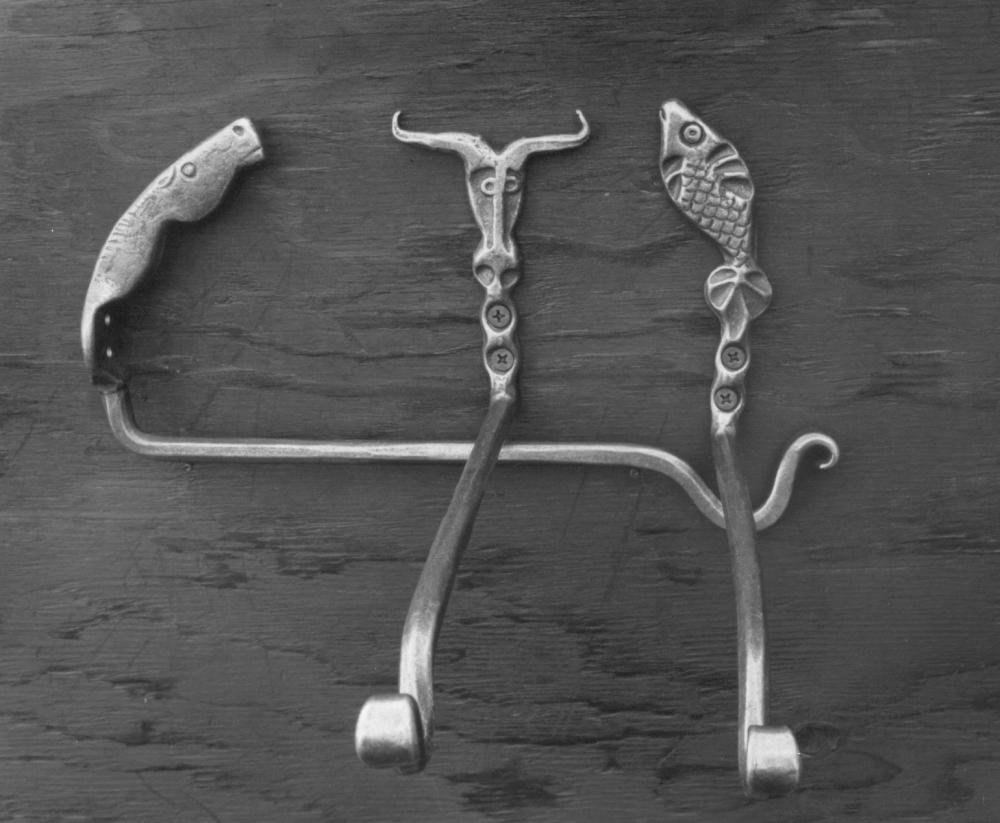
Thanks guys the money is about right ... I can make about 10 an hour and they can with stand the retail mark-up (x2). I really don't do much of this kind of production work but when I do I enjoy. Some of the whimsical of the steer head comes when fullering down the horns as it turns the brows downward.. a concerned look. I use the swage die for tapering and isolating the mass were needed so there is zero flashing (hate grinding).... other dies are for double dople with center punches marked, ramp for scroll end and forming fig with a hook placed in it so you can see how i use the back plate for straightening. The salmon in the fore ground is not die work.... did not notice it until I downloaded this... was going to crop it out but thought nahhh its what I am working on now door hardware from 1 3/4" sq
-
These wholesale for $12.50. They take 4 heats each using the dies I made, tumbled, drilled, and sprayed satin clear lacqure
-
As a full time blacksmith my favorite tools as those that have increased my profit margin and allowed me to make a comfortable living. A good hot gas forge, a large power hammer (I have a 4b nazel) and a tumbler (for knocking scale of forged work)
-
hammer fountation.PDFHello, although I’ve been a member of this great site for some time I’ve never posted before. I have set up maybe 10 hammers throughout my 35 year career and most recently (6 or 7 years ago) my 4b Nazel. It’s been difficult finding info about this. I have read many of IFI post regarding this subject and thought I’d threw my 2 cents in hoping to help others who are installing two piece hammers. Besides the obvious concerns of enough padding (concrete, rebar), keeping anvil and hammer pad level, not running out of stoke distance, I had an anvil that needed to go about 30” below grade. This particular nazel anvil had an additional 4000 lbs cast to the bottom making for a very tall base. The “tub” for housing the anvil base needed to be 40” long 26” wide and 36” deep. After much head scratching on how in the world am I going to keep this tub from floating out as the concrete goes around it I came up with putting a 3/8”plate (48” x 36”) in the bottom of the hole and attaching it with ¾” x 1 ½” straps to the sides of the tub. Because the volume/weight of the concrete from plate to bottom of tub was more than the volume of the tub it would have plenty of mass to hold it down if all welds were sound. I spanned the hole with angle iron secured it to the floor…. bolted and welded all mounting tubes to rebar and angle iron. This allowed me to make sure everything was plum and level before filling the 9’x4’x10’deep hole with 24 yards of concrete. It worked great and wish I had taken pictures. I also came up with a mounting tube with a “floating” nut in the bottom. I thought this would be better than the usual anchoring system giving me the possibility of replacing a bolt should it break and a little more “fudge” room for installing. I will try and attach a pdf file of a quick sketch to help explain some of this