-
Posts
4 -
Joined
-
Last visited
Profile Information
-
Gender
Male
-
Location
Central Texas
-
Interests
Tinkering, creating, fixing, etc…
Recent Profile Visitors
20 profile views
-
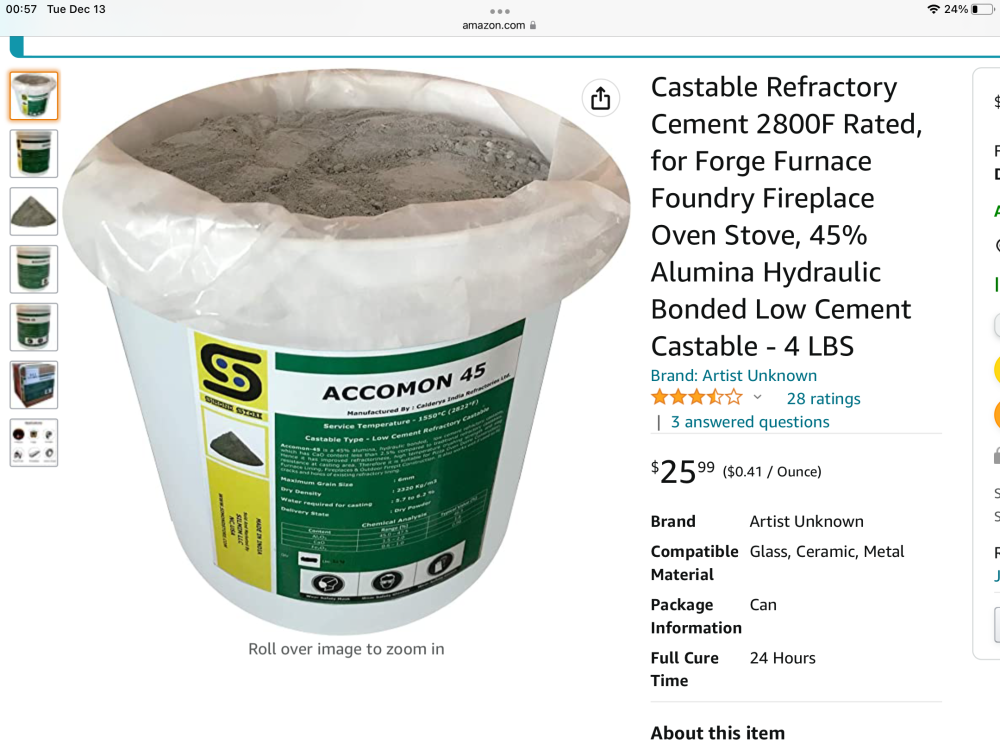
I saw a video of a guy melting cans, and he did seem to use a really ridiculous amount cans over a few hours, to make ingots. I may have some decent Al scrap around I can use and just toss a few dozen cans In here and there. I actually think loaf ingots are a pretty neat shape, (universally recognizable) and to polish them up and stamp them at some point would be pretty cool. I have no interest in recycling any of the material I’m melting, I would already be so far in the hole just from buying the equipment to melt, I’d never get out . My true goal for learning how to do this properly, safely, and efficiently is so I can melt down copper wire and make polished ingots… so far… I may end up doing bronze sculptures at some point, but let’s not get ahead of ourselves… lol —> A #5 crucible seems to be around the size of a large yeti cup let’s say… are we talking a tablespoon of borax before a melt and a tablespoon before a pour, or 1/2 cup? The picture is what I purchased for the hard refractory, I am guessing it is similar to the Kastolite and will go on like a thin set or mortar. That is the next step in the prep process after my silica firings to set my rigidizer. I will post pictures as I go for folks that are new and for seasoned folks to point out errors
-
I figure for my first few melts I am just going to use Al cans, I’ve heard lots of grumble about them being extruded metal and bad for melting, but we have a bunch and I am just making little loaf ingots. If I was actually making something nice I would go for I higher quality stock I assume. This is jumping ahead a little, but using a #5 crucible, how does one actually use Borax? My understanding is you put some (how much I have no idea) in the bottom prior to adding the metal (cans let’s say), then you stir some additional Borax in once you have an adequate amount melted… skim the slag off the top/ remove with a spoon… then pour? I have read some posts they refer to adding lump charcoal, broken bottle glass, powdered charcoal, etc to minimize gas absorption when melting copper… would those be considered degassing agents or do they form a barrier of sorts to prevent gasses from interacting with the molten metal? *I have not read the Gingery Books, but I will look them up, thanks.
-
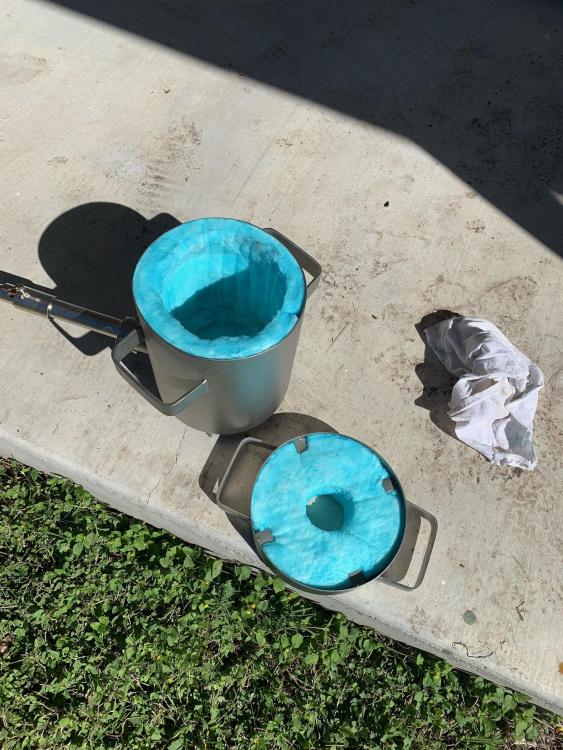
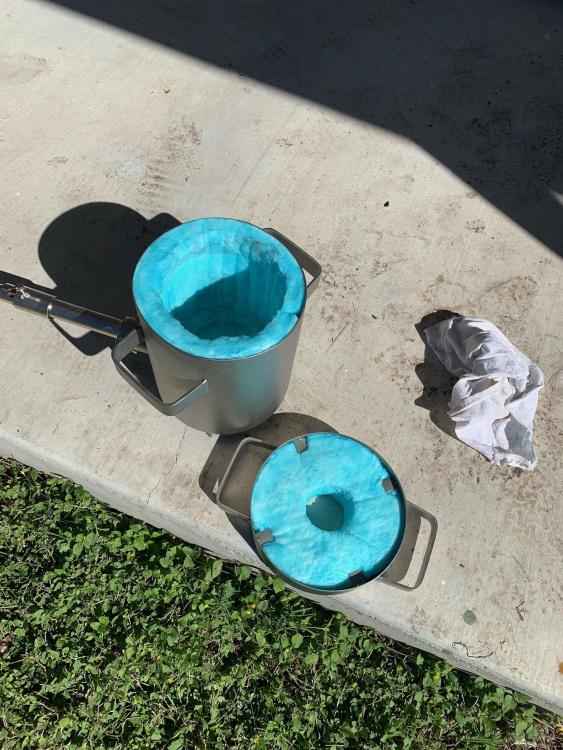
Thanks folks, This topic is is not in the “smelting, melting, foundry, and casting” section?!?! I specifically tried to start it there, for obvious reasons… I I can move it if possible, or any mod feel free to do so if it is easier… I don’t want to be a guy posting a Ford question in the Chevy section… …and after reading though quite a few posts… I’ll take that Frosty response to a new beginner post any day! Whew… I design and build pools, so the slow season has started and I have time to venture out and do some side projects… which is where I’m getting my copper actually. I have read copper wire is terrible to try to melt, but I have 15lbs of it and counting soooo… lol Frosty, I did not butter my blanket, oops… but I did saturate it pretty well during the spraying… I guess it’s like laying bricks, butter first. You can tell in the picture I did a pretty thorough job getting every possible exposed part. That is the exact kind of feedback I was hoping for, point out the stuff I did wrong and pointers for the next step, thanks. —> my next task will be to low fire my new silica rigidizer a couple times, which will be the first firing of this new furnace. Followed by buttering the blanket and spreading on about a 1/4-1/2” layer of the refractory coating listed in post #1. (If it is a poor coating choice, let me know before I do it… ). There seems to be differing opinions about layer thickness, now many layers to add, etc…. The crucible is a pretty tight fit in there (#5 that came with it) so I don’t think I can make it all that thick without compressing the blanket to compensate. My plan was to cover up all the visible blue blanket, even around the exhaust hole on the lid and the nozzle hole down low, without effecting the opening size… unless there is an objection from the experts. I read some post touching on that, but I think it was a black smith forge and didn’t really apply for my little furnace. I noticed the way more expensive Devil forges had a blanket covered in hard refractory and the cheaper ones had just the blanket… seemed like a pretty cheap and easy upgrade to do before ever actually starting, so that’s where I’m going with it. It also seems way more durable and logical seeing that I’ll be bumping into the walls quite a bit trying to get the red hot crucible in and out. Some of those YouTube furnaces look like crap-o-la with bashed up and charred blankets. Thanks fellas, I look forward to progressing past the set-up phase, and on to the actual melting phase one of these days…
-
TXsnuffy changed their profile photo
-
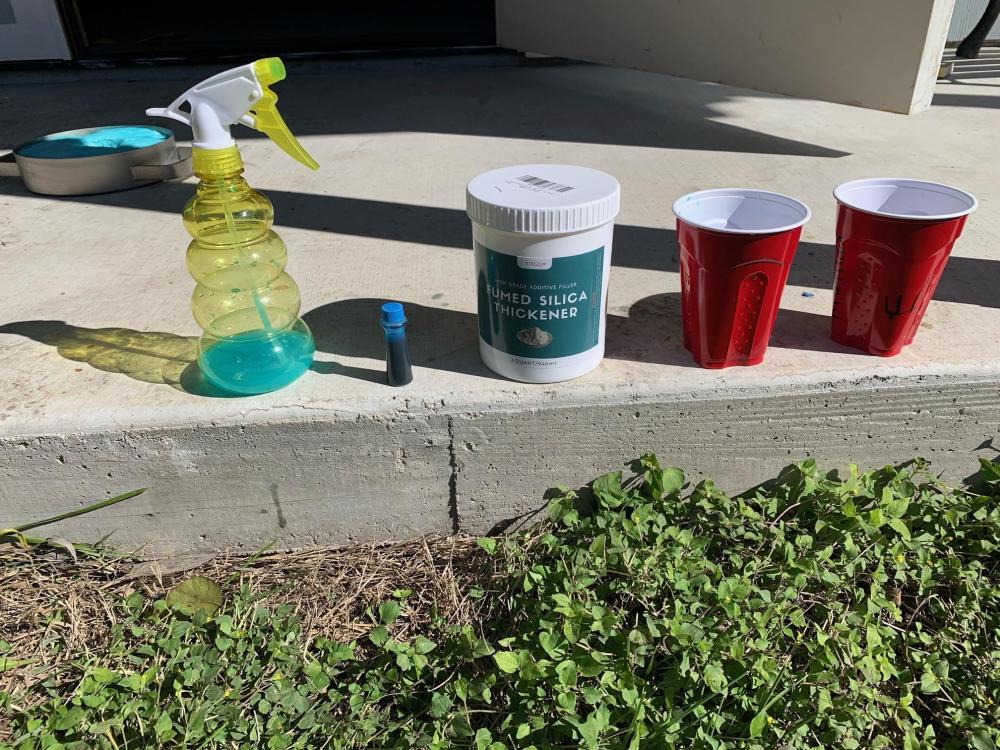
Howdy folks, Central Texas here… I have used many different forums over the years for learning, troubleshooting, and conversing about various topics with guys who know their stuff. So far, this one seems to be… the most rigid let’s say… I feel like I’m in line for the Seinfeld “soup nazi” making my first post…. I will do my best to use proper terminology, and keep certain moderators from chastising my post… I have no fantasies of making grand objects, just something to do with my son and nephew and to use some scrap aluminum and copper. I have read the sticky posts, the 101, and numerous others, so let’s give it a go. My current goal is simply to make some small loaf ingots out of common materials. I am quite injury adverse, and not in a hurry, so I am taking the process step by step. When I worked on nuclear weapons in the navy we use to have step by step checklists for every procedure (for obvious reasons)… I’d love one for this process! I will start with what I have acquired for this task and on the what I’ve done based on my reading… I am still in the prep stage. - I purchased a USA castmaster 5kg furnace with a 5kg crucible (propane) I think this is a fairly common “starter kit”? - leather welders apron.. I have leather welders gloves, face shield, boots already. - I’ll be working outdoors and was thinking of making a little sand run for working over. - fumed silica powder, castable refractory cement 2800deg 45% alumina, 25oz cast iron loaf mold (handle one), borax granules… I’m starting to get the feeling nobody uses borax though, since I have never read anyone in here using it. What I’ve done so far: Rigidized my ceramic insulation - I mixed basically a 16oz cup of silica with a 16oz cup of water, added blue food color, then sprayed the crap out of every inch of the blanket that was visible. So far so good? I have let it dry now for a couple weeks or so… (I have a company to run and family still). My next task is to put a coat of the refractory cement over the now rigidized blanket? Questions: I believe I am supposed to fire the furnace to set the fumed silica before moving on to the rigidizer? I assume I could use a relatively low heat, and how long is this supposed to be done? I put my new crucible in the oven at 250 for an hour or so as well, but I am supposed to fire that up as well before ever using it? Is this something that could be done at the same time? I have to get moving for work and typing this is taking a while… thanks in advance folks, excited to be here and get this thread moving along so I do this process correctly! I will have many more questions, hopefully we can just work through them as we go…


