Arkans
Members
-
Joined
-
Last visited
Everything posted by Arkans
-
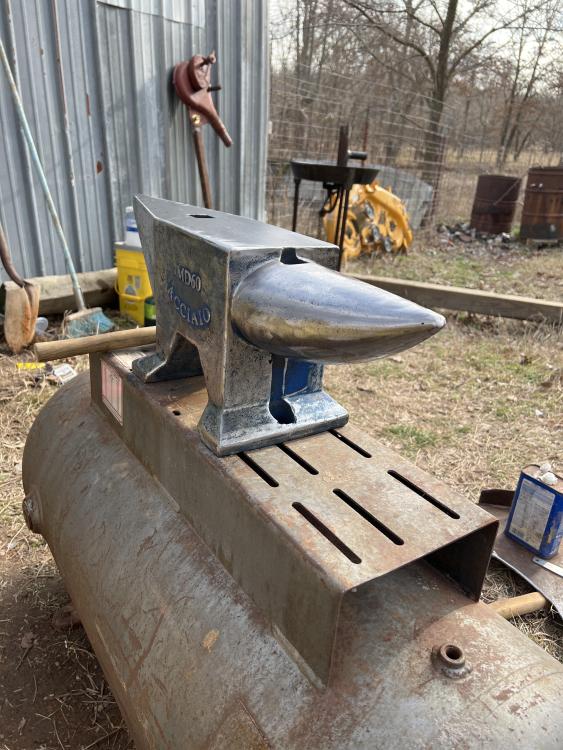
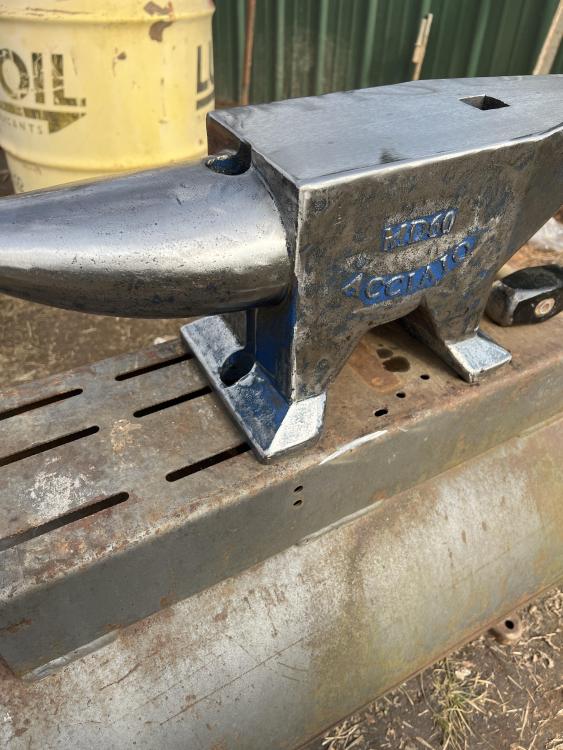
I like my anvil, i have had a few miss strikes and marred my surface a little, but i am new to blacksmithing and that is expected.. but as a whole i am happy with my 132 lb anvil. right now it is getting a good coating of rust due to non use, but can touch it up with the sander once i get back to forging. Mandatory overtime at work has kept me from swinging hammers the last two months, that and the weather... But hope to be back at it soon.
-
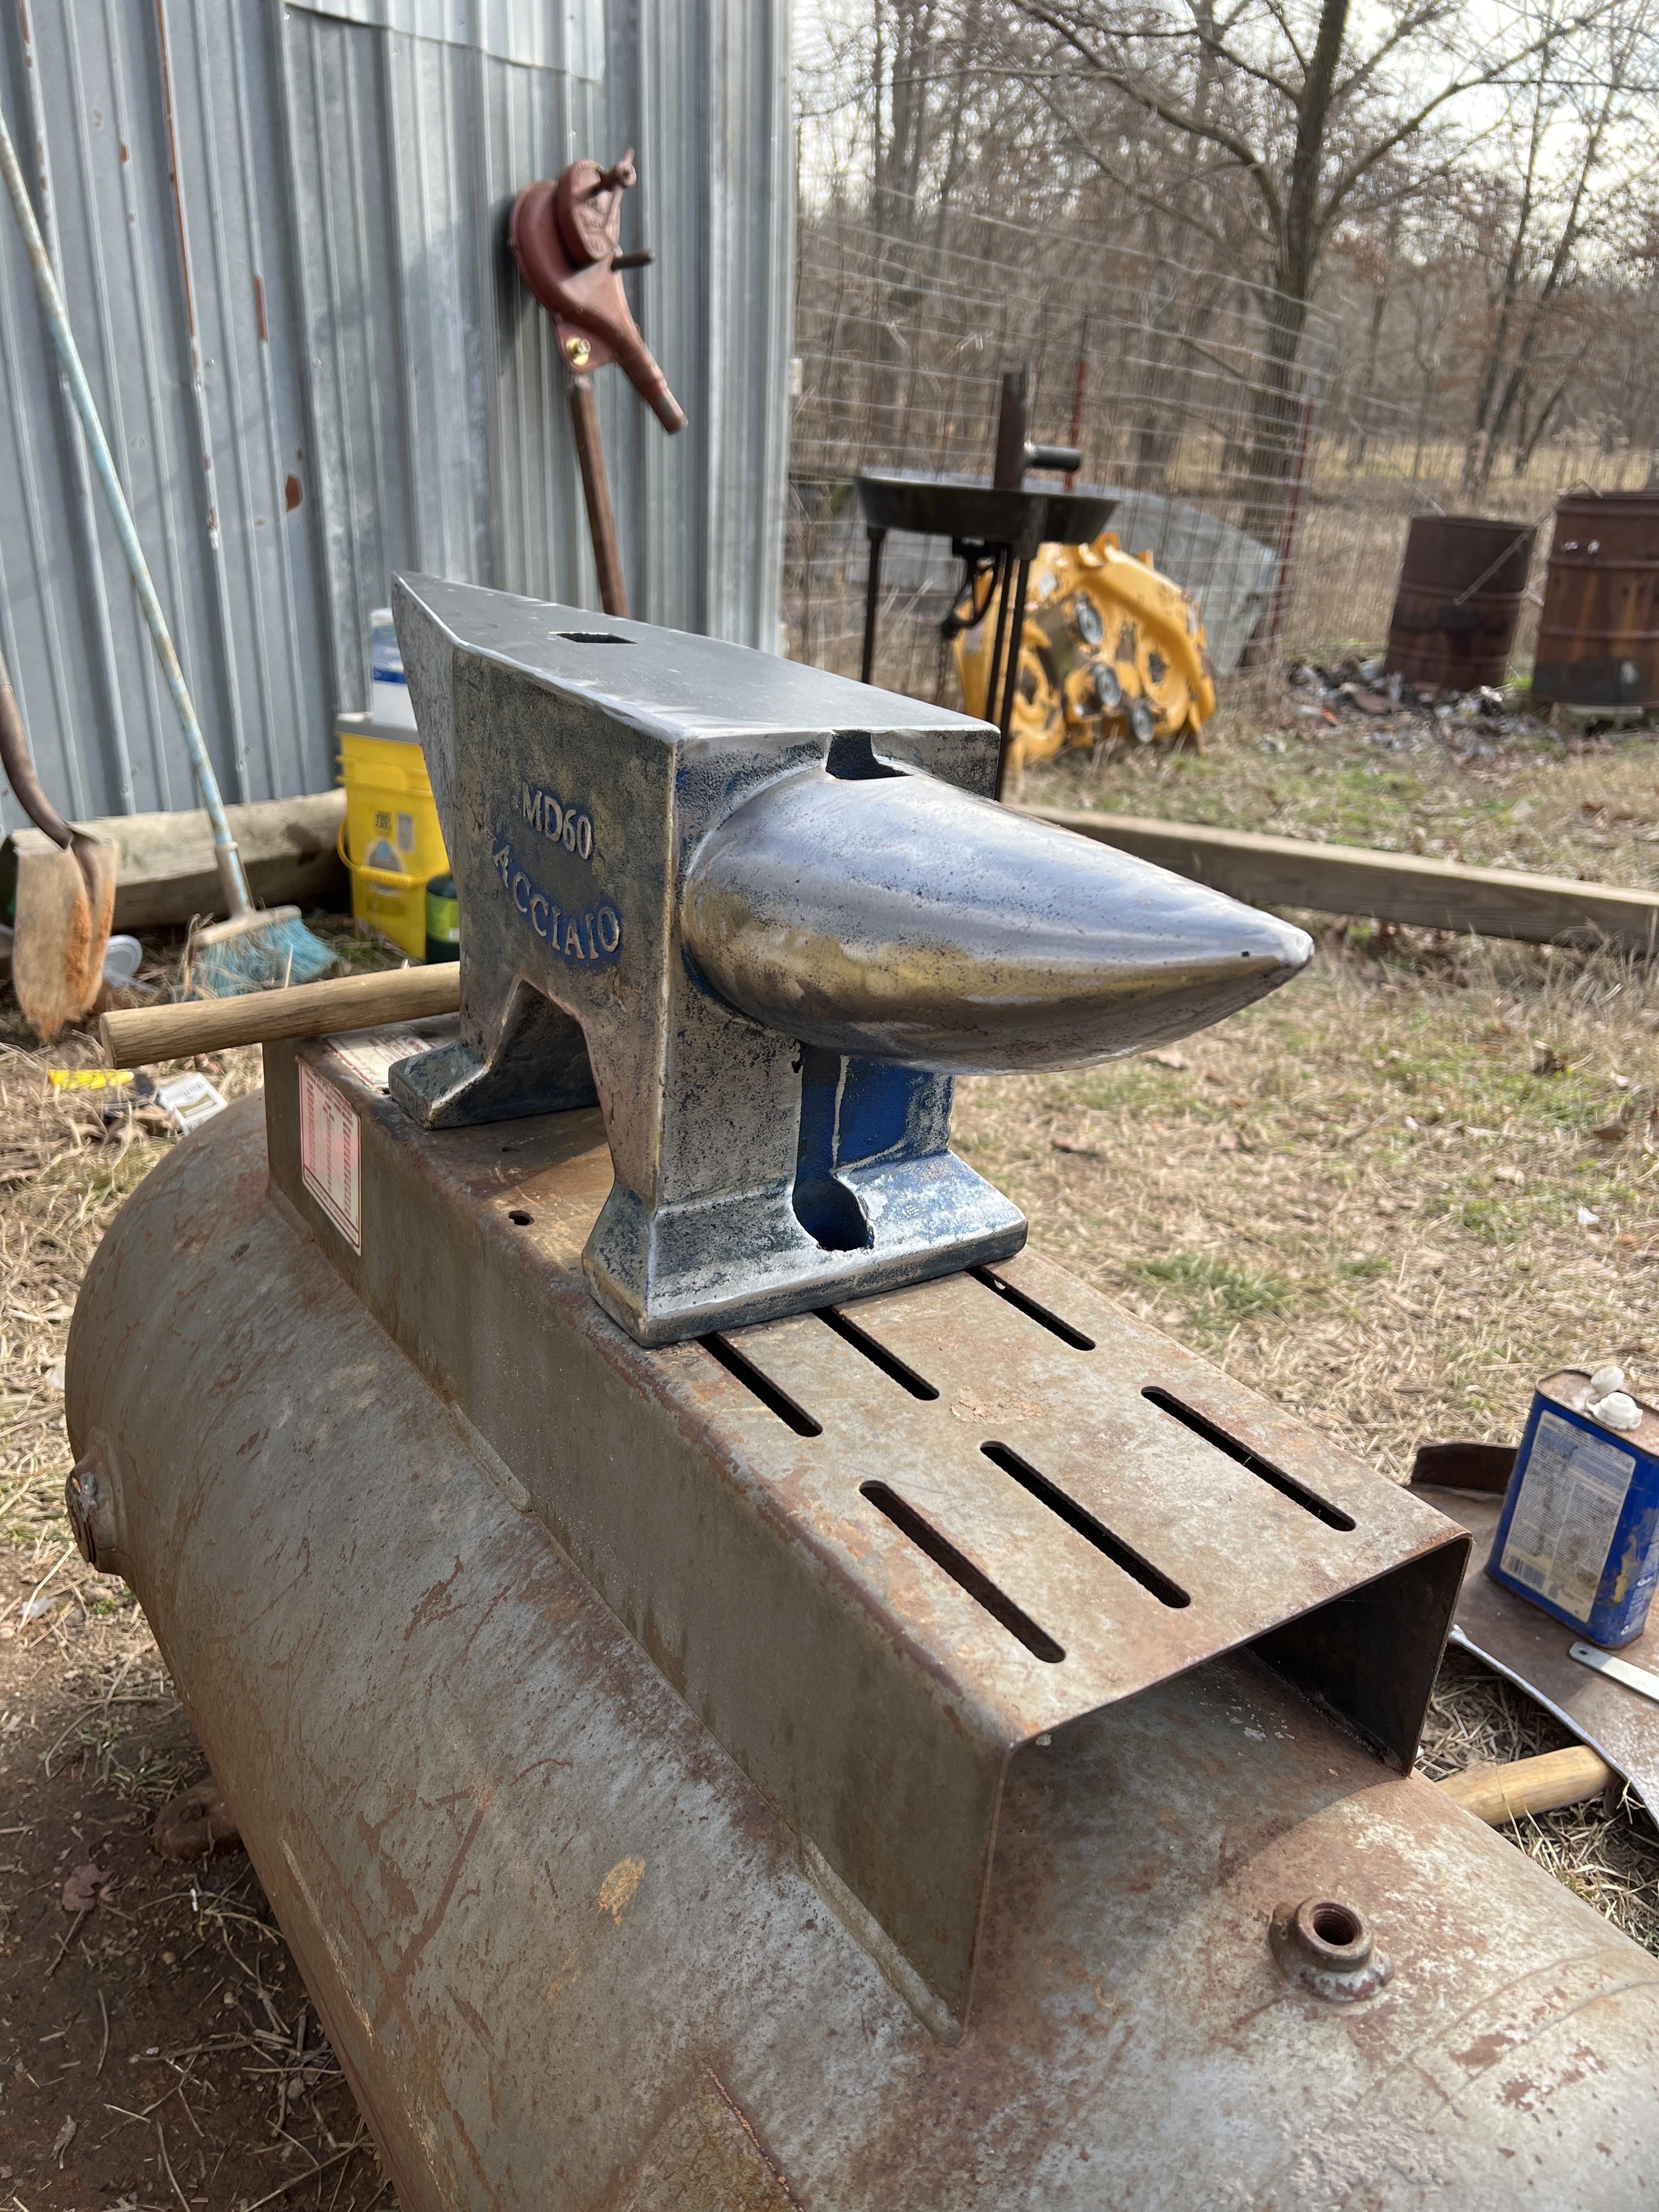
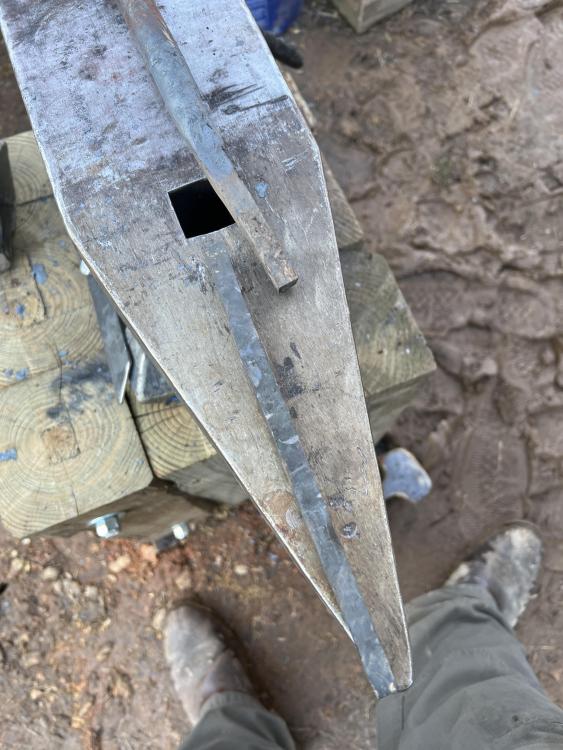
I bought the 132 lb Anvil, and I am happy with it, other than a few miss strikes from my inexperience in smithing, the face is holding up wonderfully. Granted the few marks on the face are from me missing my mark and striking hard on the face. Most used anvils I have seen have these same types of marks... I am sure one day I will have to replace the anvil or mill down the face... I have the same roller set up that Purple did, and I am making an anvil bridge to make a level surface to use the pritchel. You start spending a lot of money on a cheap anvil, then you might as well buy a more expensive one. Given my choice I would order a brand new 300 lb or larger, my pocket book has me firmly in the VEVOR range... so this is what I use, and I am loving it as is, honestly dress the edges, and if you need a smaller pritchel, then make a anvil bridge and make a punch pritchel on the bridge. Then when punching holes you drop the bridge into the hardy and punch your holes with out damaging the anvil face.
-
I do need some more punches and chisels, and do plan on making more of them. i just have never shaped a knife before, and honestly just want to see what i can do in shaping, i have a lot of sucker rod so since i am sure this is going to be a learning experience i just plan on using what i have on hand. when i get serious about making a knife or two i am going to buy some flat bar stock to work with... right now, i am really just trying to learn how the steel moves under the hammer, and how to shape it the way i want.
-
Next Weeknd I think I am going to try I think to make a blacksmiths knife out of some of my sucker rod I have. Just for the fun of it... might have to find some more coal though... I have burned through almost 5 gallons of coal, but i am impressed on how long it lasted, I still have some left, and basically it lasted 5 full days of forging, and I do have some left but at the bottom of the bucket.
-
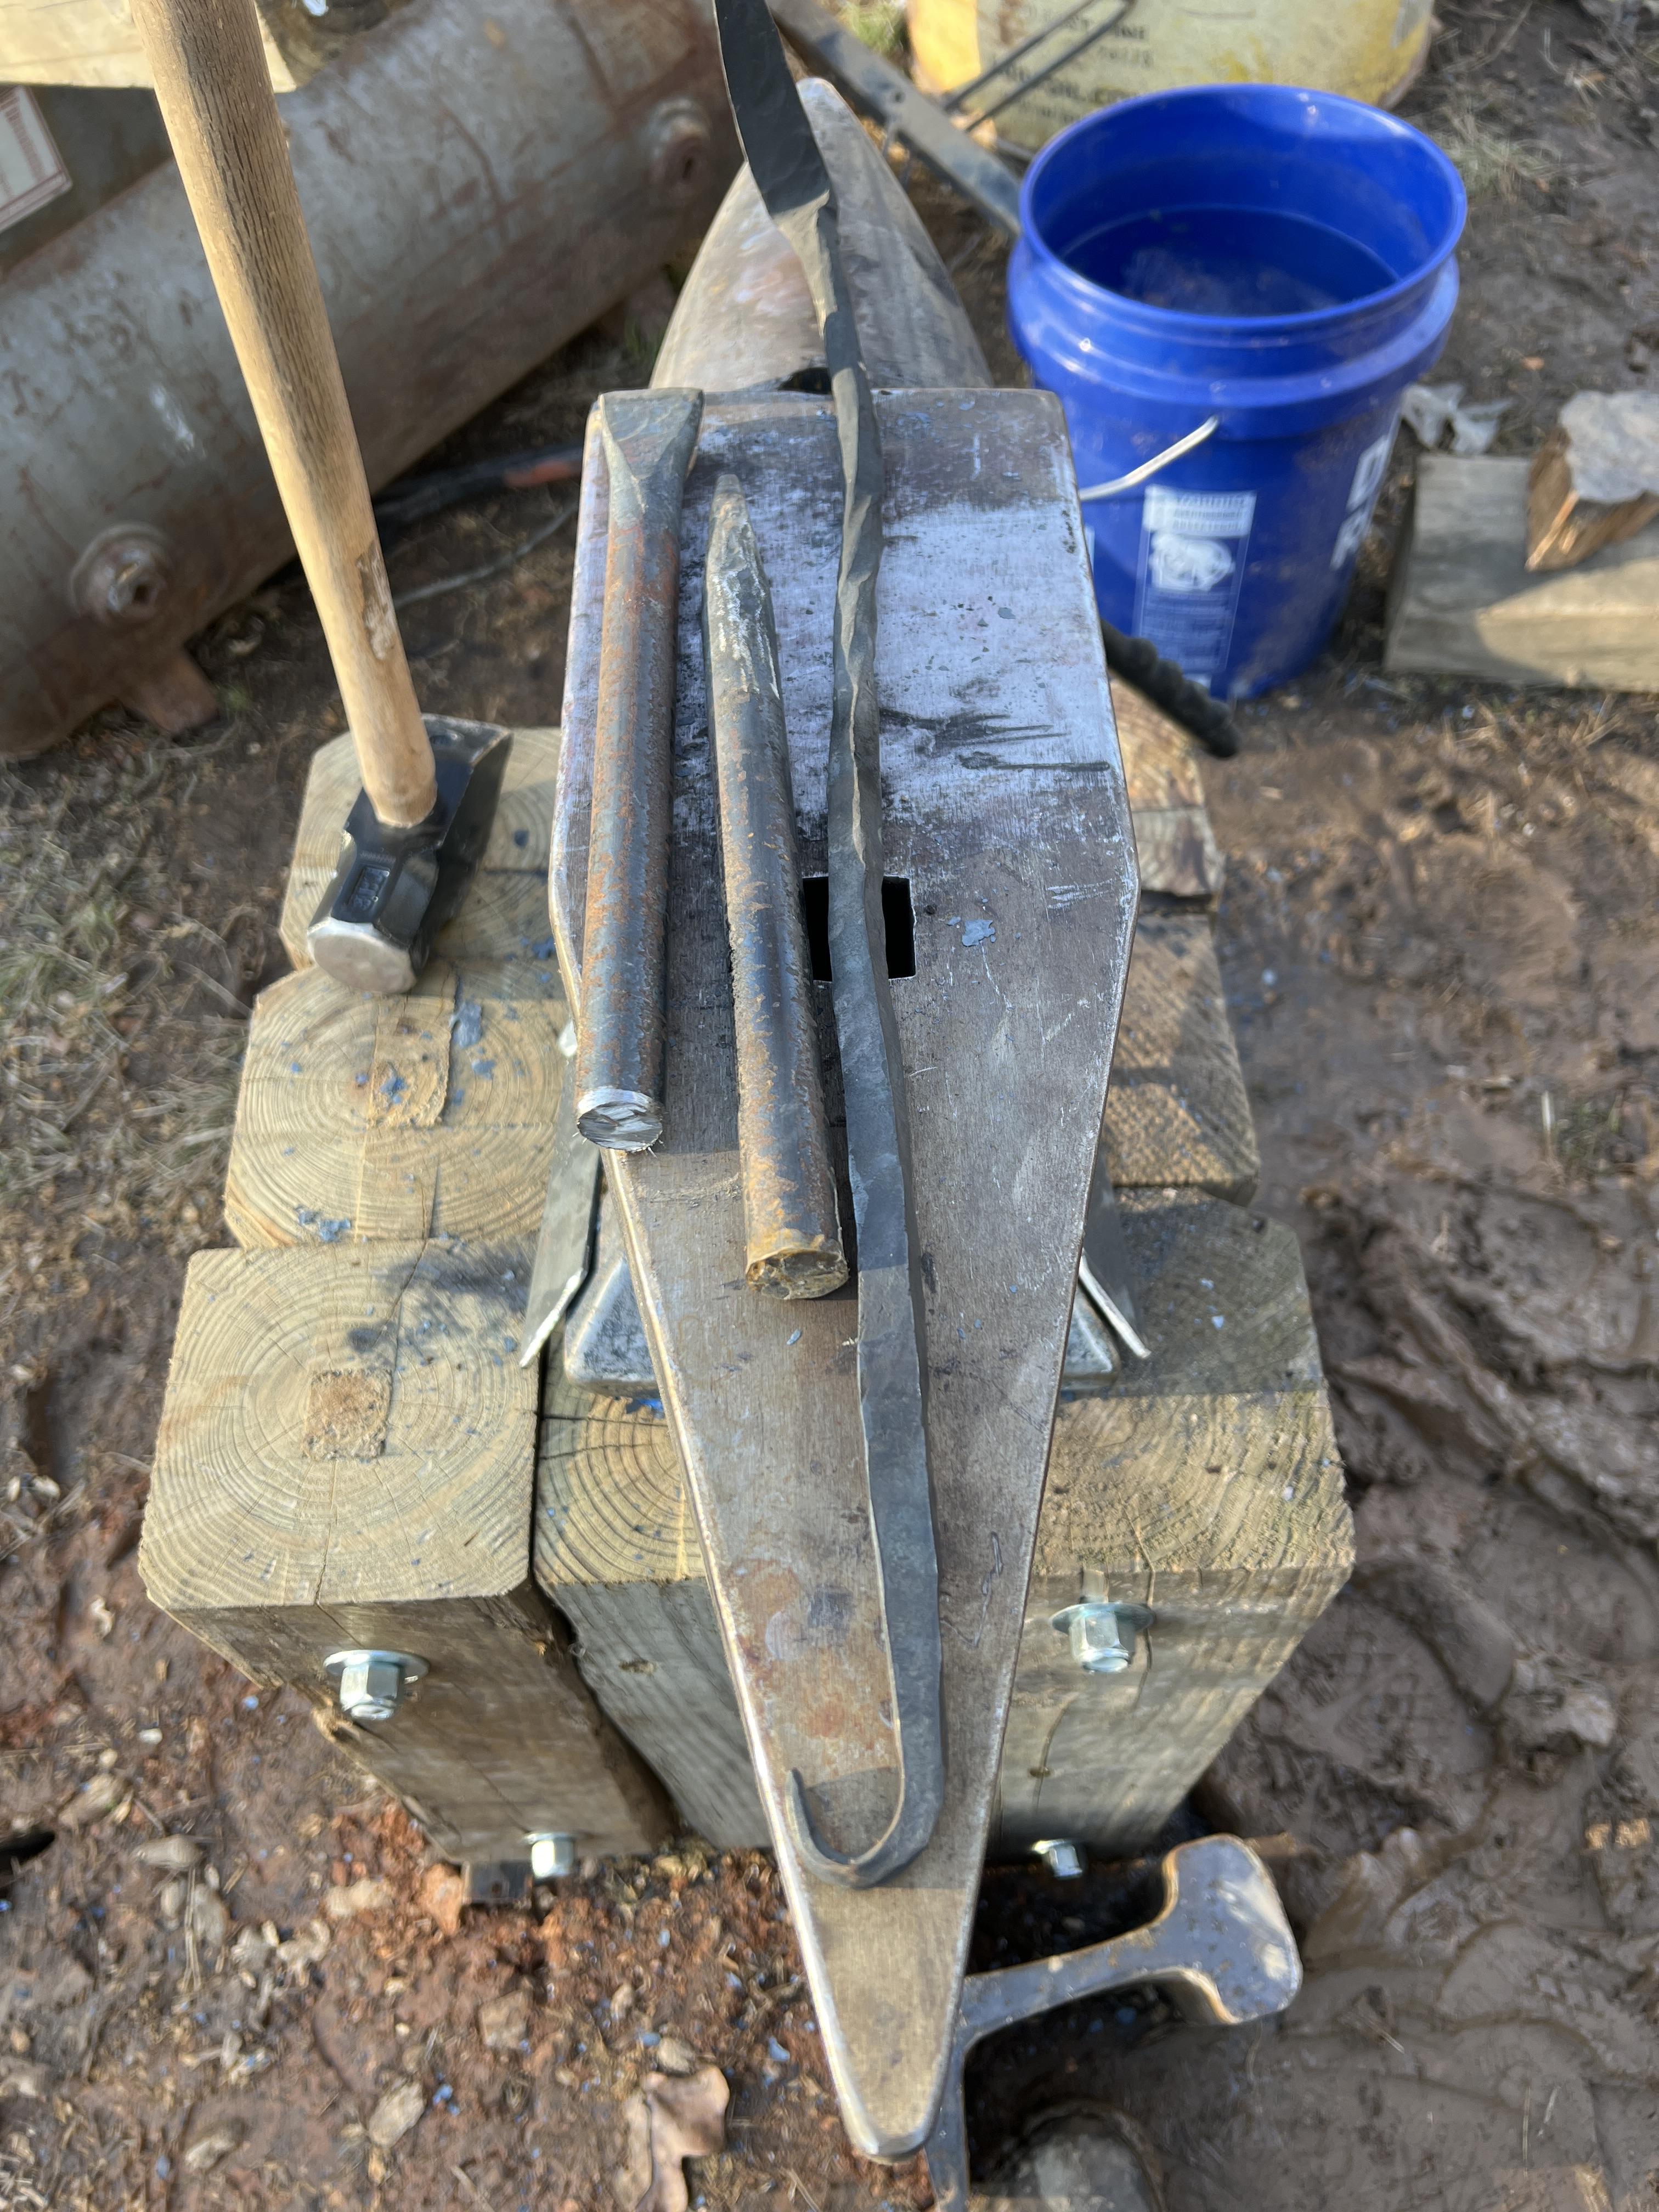
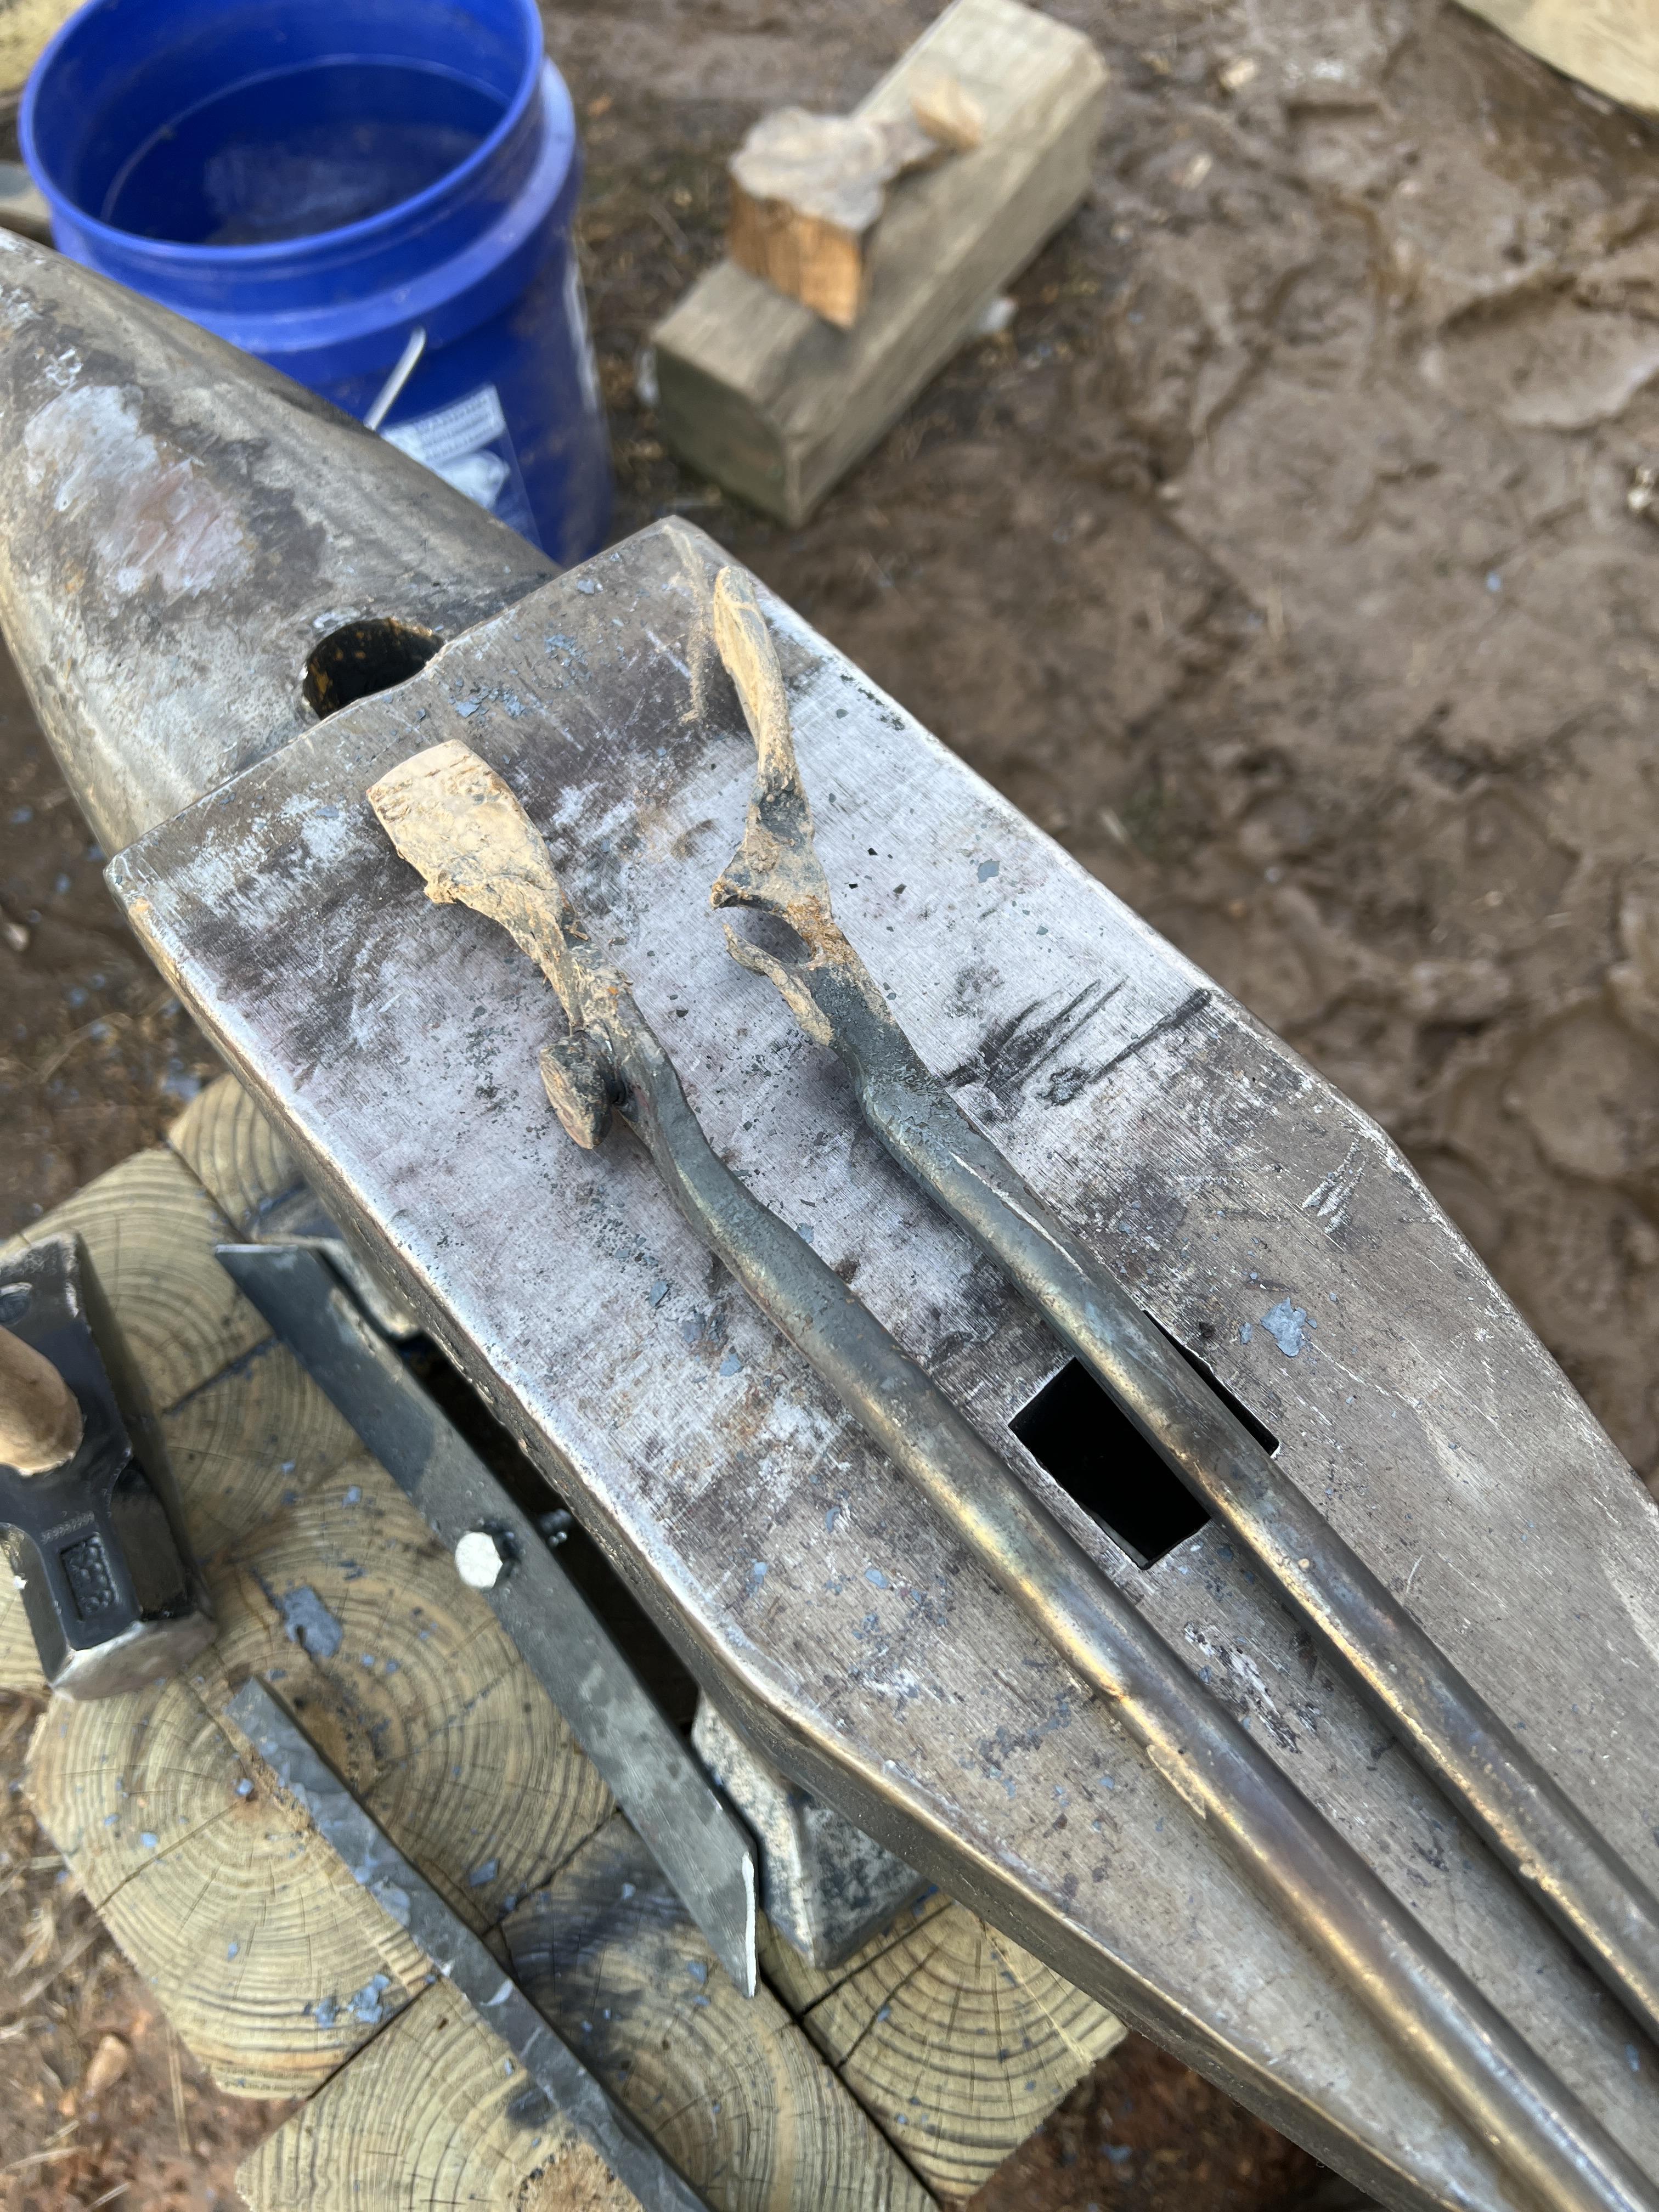
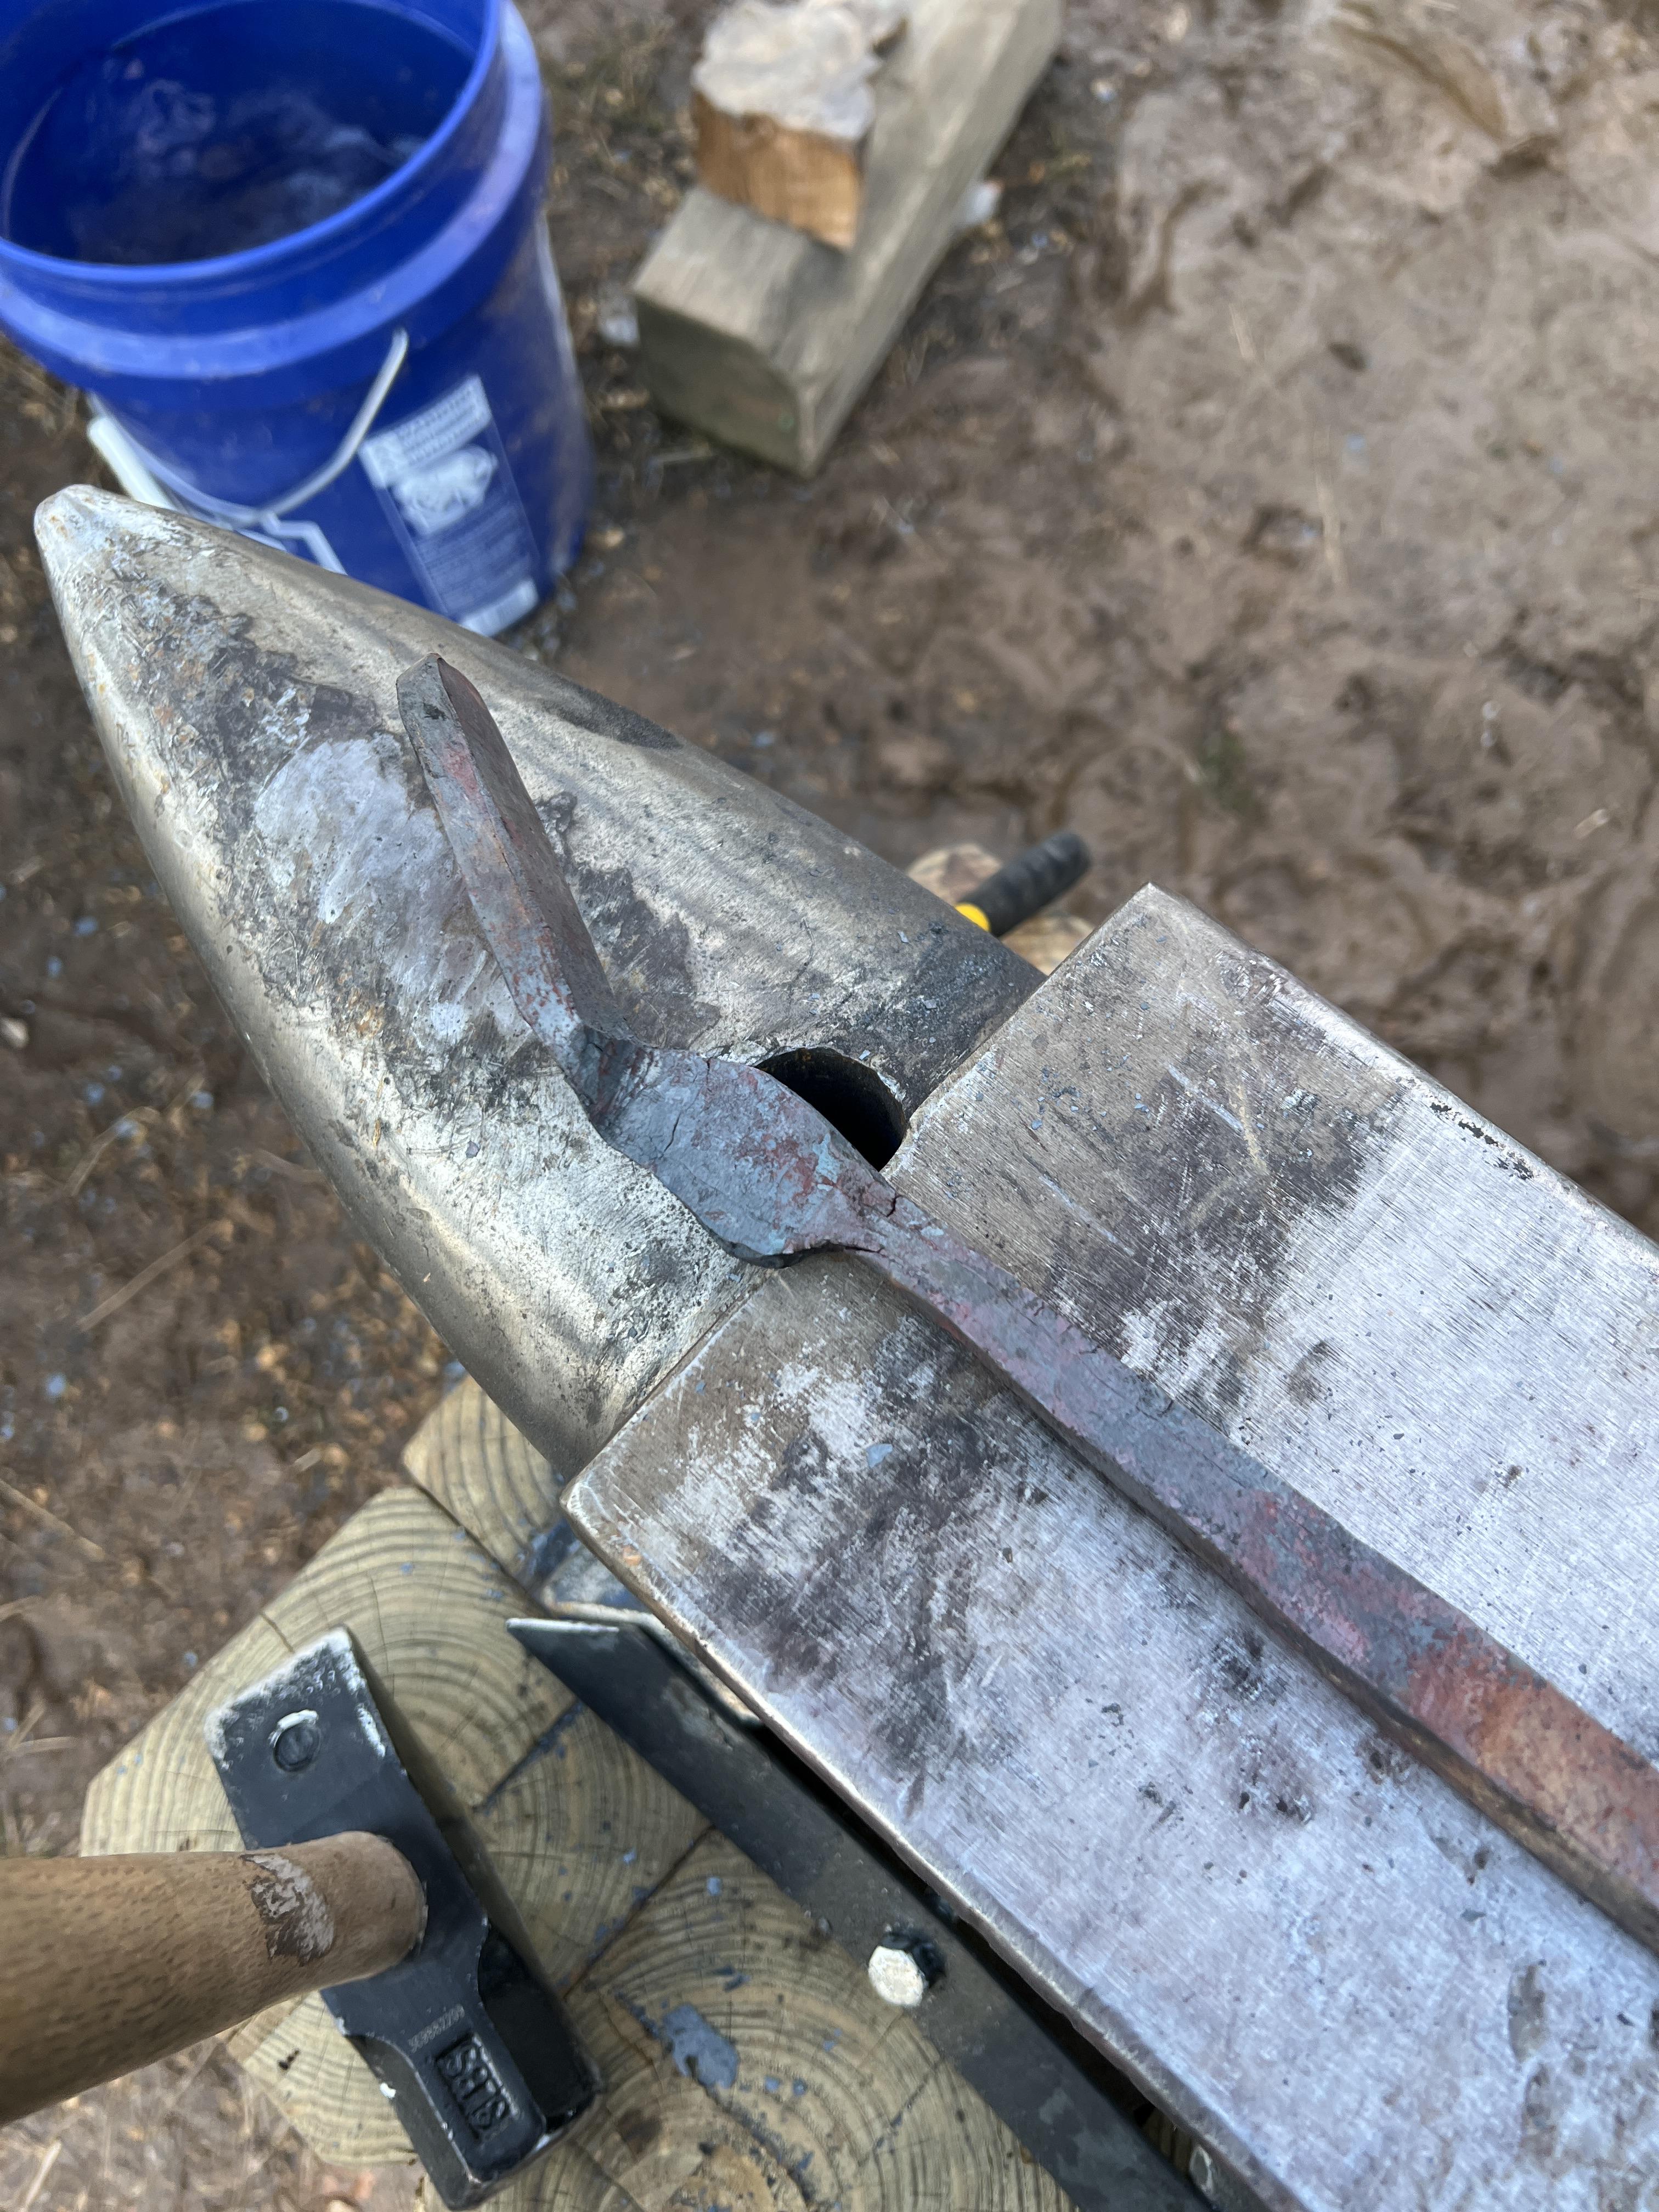
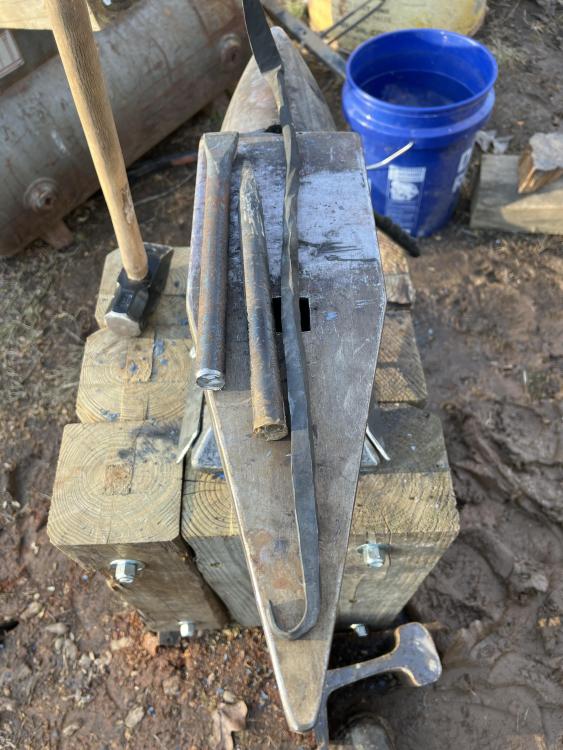
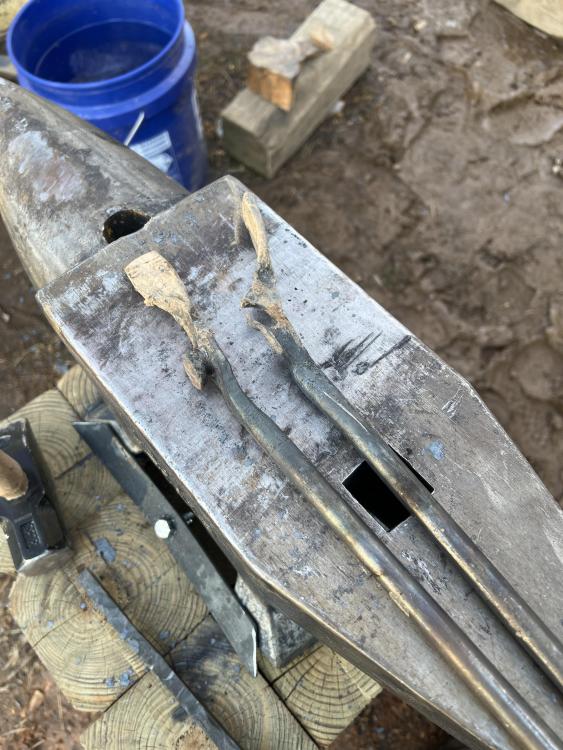
Success! Yay I have made a pair of tongs!!!! I know, my river head is huge!!! I realized they was a little longer than I needed , but honestly I was worn out and didn't care at that point, and I needed to finish, But my first pair of tongs made from 1 inch sucker rod! Now I am going to let those cool off, then wipe them down with linseed oil and eat a pickle...


-
Mostly i am trying to use the junk iron i have, I.E. sucker rod and such, i bought the two 1/2 bar sock bars cause it was the largest they had at my local Lowes thinking i could make a quick set of tongs to start with... Oh how I was wrong on that... makes the boss to thin.. i guess i could have upset the area for the boss and jaws but honestly i just am trying to make a good set of Wolf jaws to get started with... Next Friday, i am going to go hit the local welding shops and local steel supply places... see what i can find. but tomorrow, i am going to have a set of tongs, i wont give up lol..... once i get a set of those, i think i am going to look at the some tongs blanks that were recommended to by Twisted... but i do want to make my own and have that ability.
-
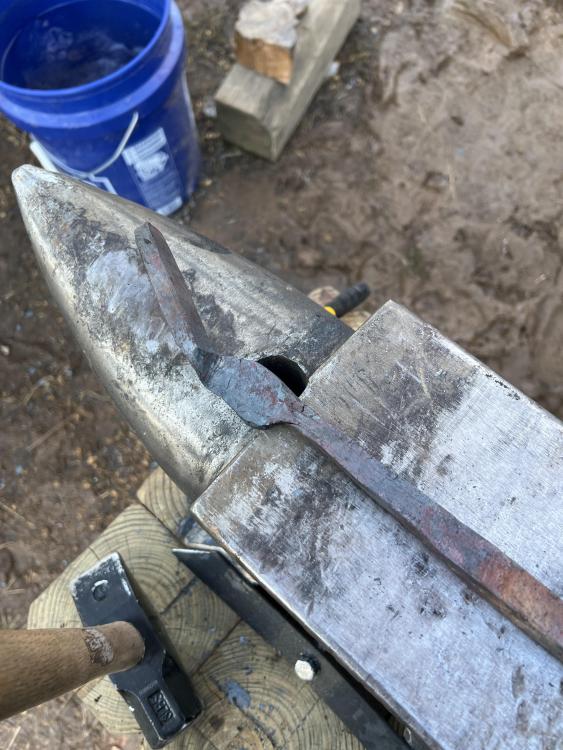
So here are the successful attempts and black smithing so far.. so one hot cut chisel, one hole punch, and one fire rake! The fire rake I made from 3/4 inch round rebar... you can see the twist in there. I made the hot cut and punch from sucker rod. then I started on tongs, and the adventure began!!!! So I bought some 1/2 inch round bar from Lowe's and quickly found out that this was not a good idea for tongs.. one the boss is too thin. And my first attempt the Boss ripped apart around the river when I was working them lose. my second attempt, I decided to draw out the reigns from some sucker rod, then cut out enough area for the boss and jaws, and form them so after drawing out the first reign I dropped rod on accident it hit the anvil and broke off my work.. (yeah I quenched it so I could use it as a handle and draw out the other end for the other half.) attempt number three, I was doing great and discovered I had some bad material. I decided to use a piece of an old plow. Was a bent piece of bar stock but in forging the jaws and boss I found several cracks in the steel, the more I forged, the more cracks I found... (This was ring at the beginning of the reins off the boss and looking along the reins I found more cracks and what looked like delamination.) So at least for today, I am done... tomorrow I think I am going to try the sucker rod again tomorrow. I was wanting to make a few more tools from the sucker rod, but seriously I need tongs... so nothing to do but try try again!
-
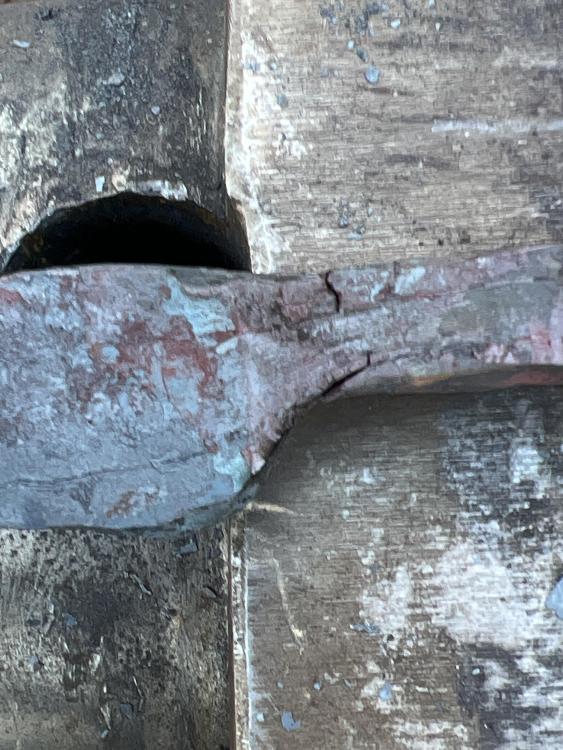
I am going to have to take a picture of what I am talking about. This looks like I clamped this piece down and twisted with a twisting wrench.. looks quite pretty and graceful, but I did not have my vise set up yet and I didn't Twist it.
-
So what is the best way to heat treat sucker rod tools I have seen a lot of tools made from sucker rod, so what run a cycle to normalize/ anniel the steel, then bring to critical temp and quench in oil? what kind of oil is best? oil comes in different weights and types. For instance, cooking oil is thin, some say that is best, others say used motor oil, others still would say something else? I have noticed on You tube, they say oil, but never go into detail, and when you want the best possible heat treat on a tool or blade, you would want the best quenching oil for the steel, or does it matter? I am asking this here, cause it is sucker rod i am most curious about, since i have a good number of sucker rod and plan on using them to make a lot of my tools... Treating the tool is just as important as anything on tools, so i am trying to figure it out
-
Well drawing out a handle on the fire rake, my inexperience took most of my day last week, hopefully this weekend I can make a punch, fuller, and a set of wolf jaw tongs. I have some sucker rod I can make the tools out of not sure which of my bars I have to make the tongs out of, but I will figure it out before the weekend.
-
Oh I am not giving up,,, just taking my time.
-
I lerned a lot yesterday, one being rebar likes to twist at least the piece i was working does,, and drwing out a large bar into a smaller bar can take a lot of time...
-
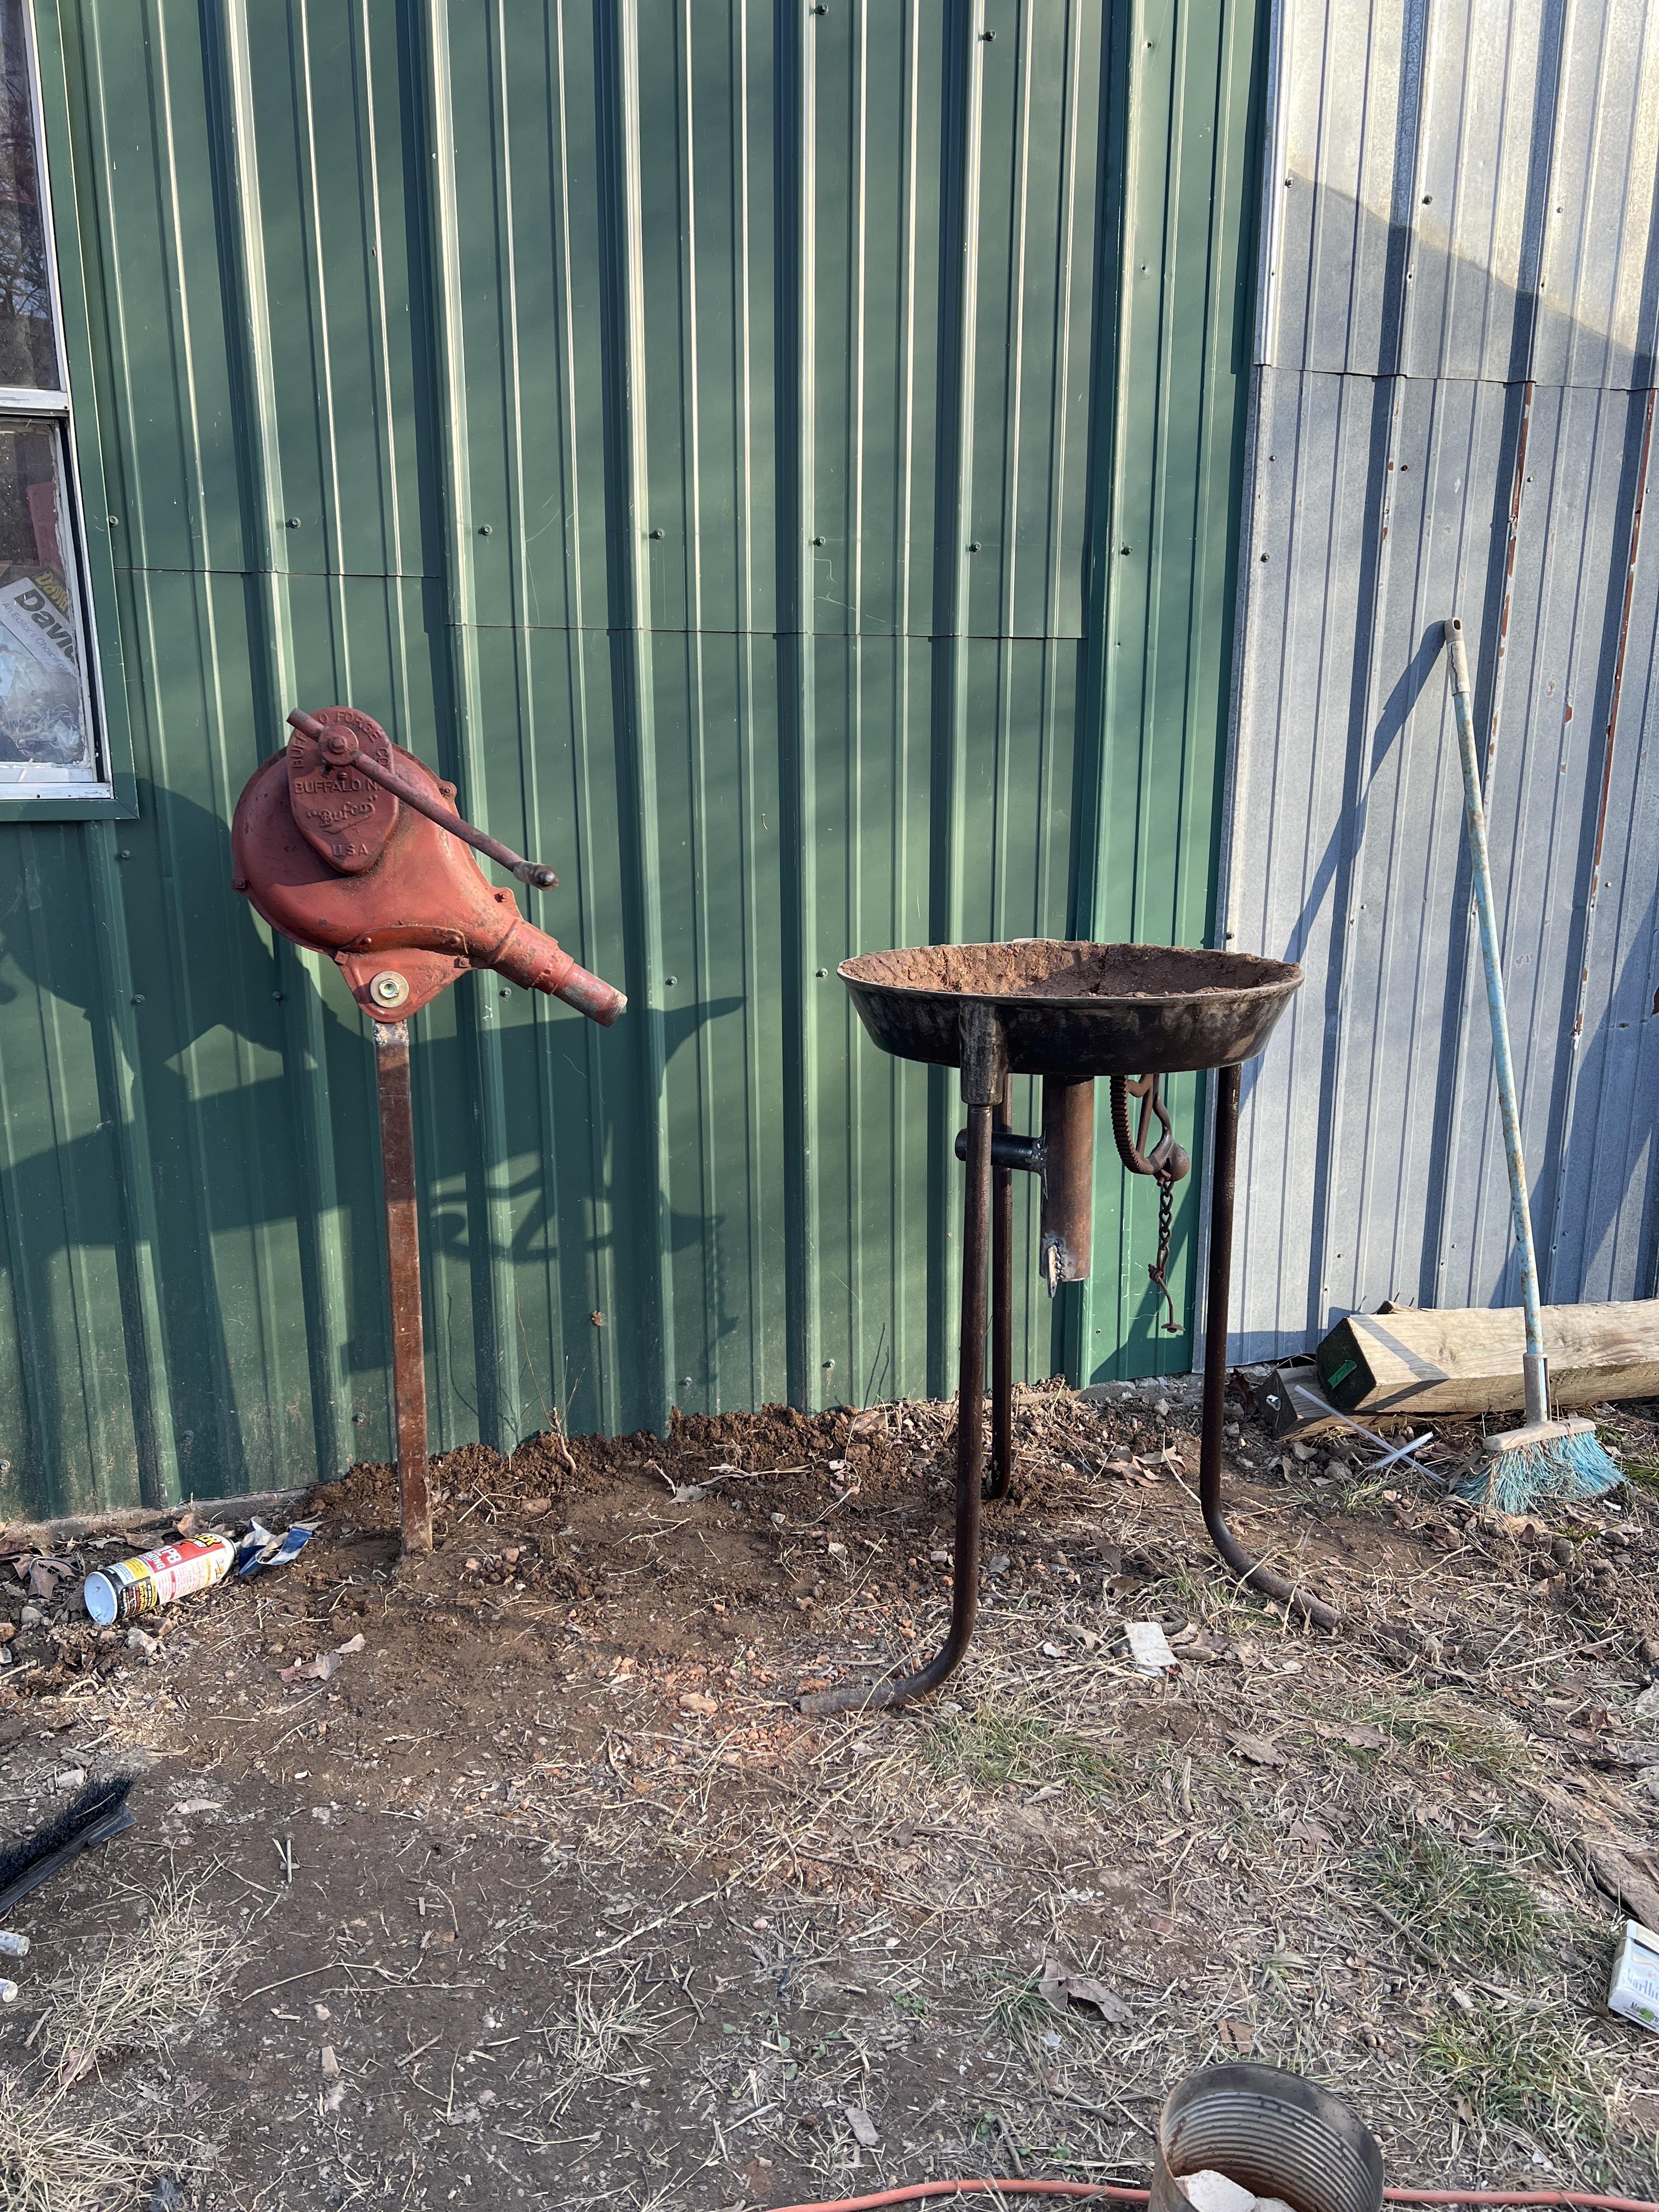
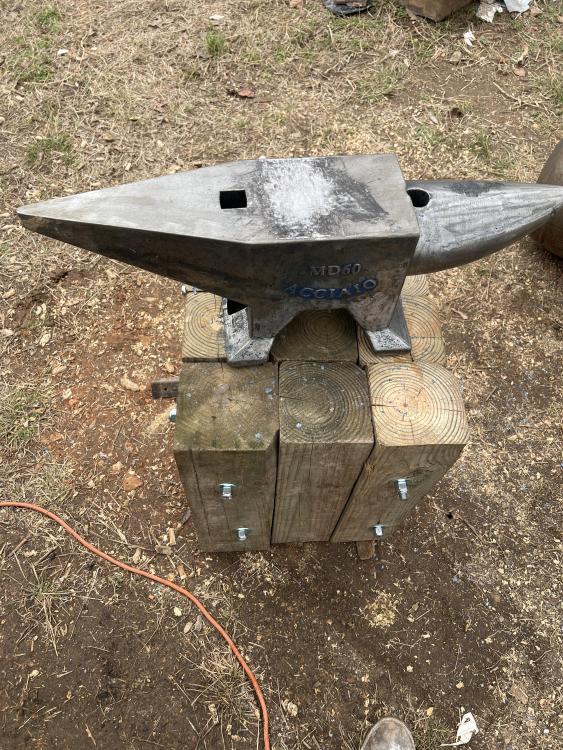
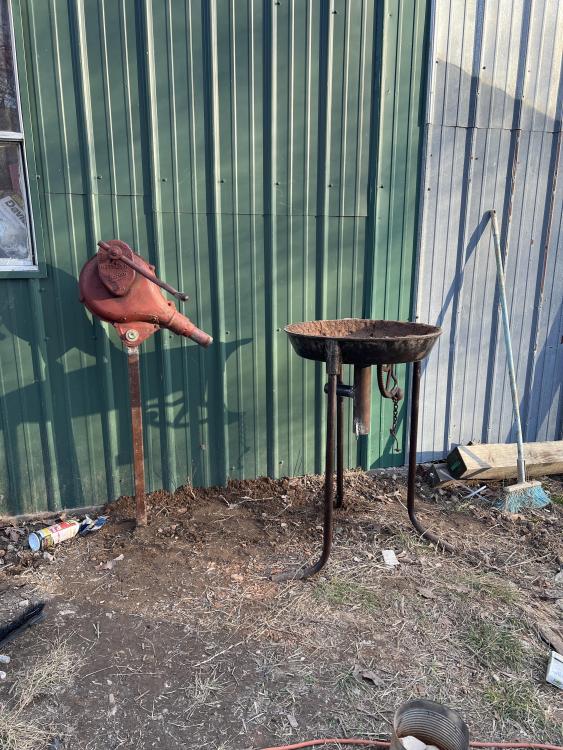
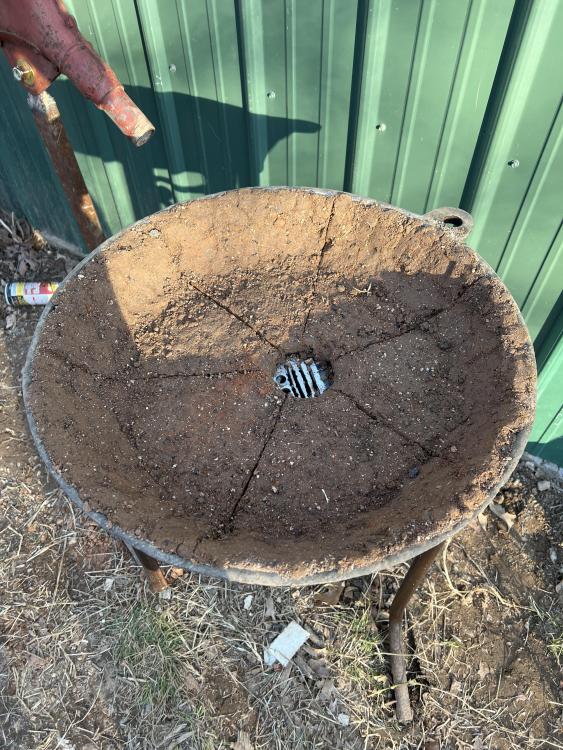
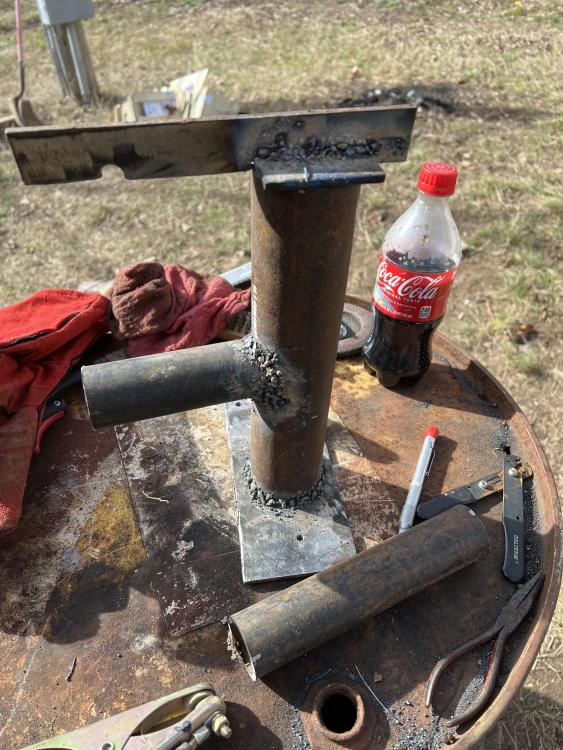
Making my fire rake! now I have my anvil stand made!

-
Thank your George! I honestly forgot that one.. I do have a nice piece of rebar begging for that job! I think i will work on that first! I am surre i am going to have clinker to pick out and coal and coke to rake in. **Mental note, dont forget coal rake...
-
Well, i am excited, this weekend is the weekend I plan on lighting the first fire in my forge! So my plans this weekend are to start off simple, I am going to make a few punches and chisels, I have some good high carbon steel i found at the scrap yard and plan on going back there on Friday to have another look around for some more scrap just for the purpose of punches and chisels. my plans are to make two of each, (two is one and one is none rule on tools) but here is the list i want to start out making. punches: 1/4, 3/8, and 1/2 inch round hole punches 1/4. 3/8 and 1/2 inch drifts 1/4, 3/8, and 1/2 inch square punches. center punch chisels: 1/2 and 3/4 hot cut chisels. Fullers: 1/2 and 3/4 in fullers Now i do not exspect to finish all of these this weekend. I have never done this, so but i figure this will get me started, with these though, i can start making tongs. and building my skills. If you can think of anything else i should make here, please drop a line.
-
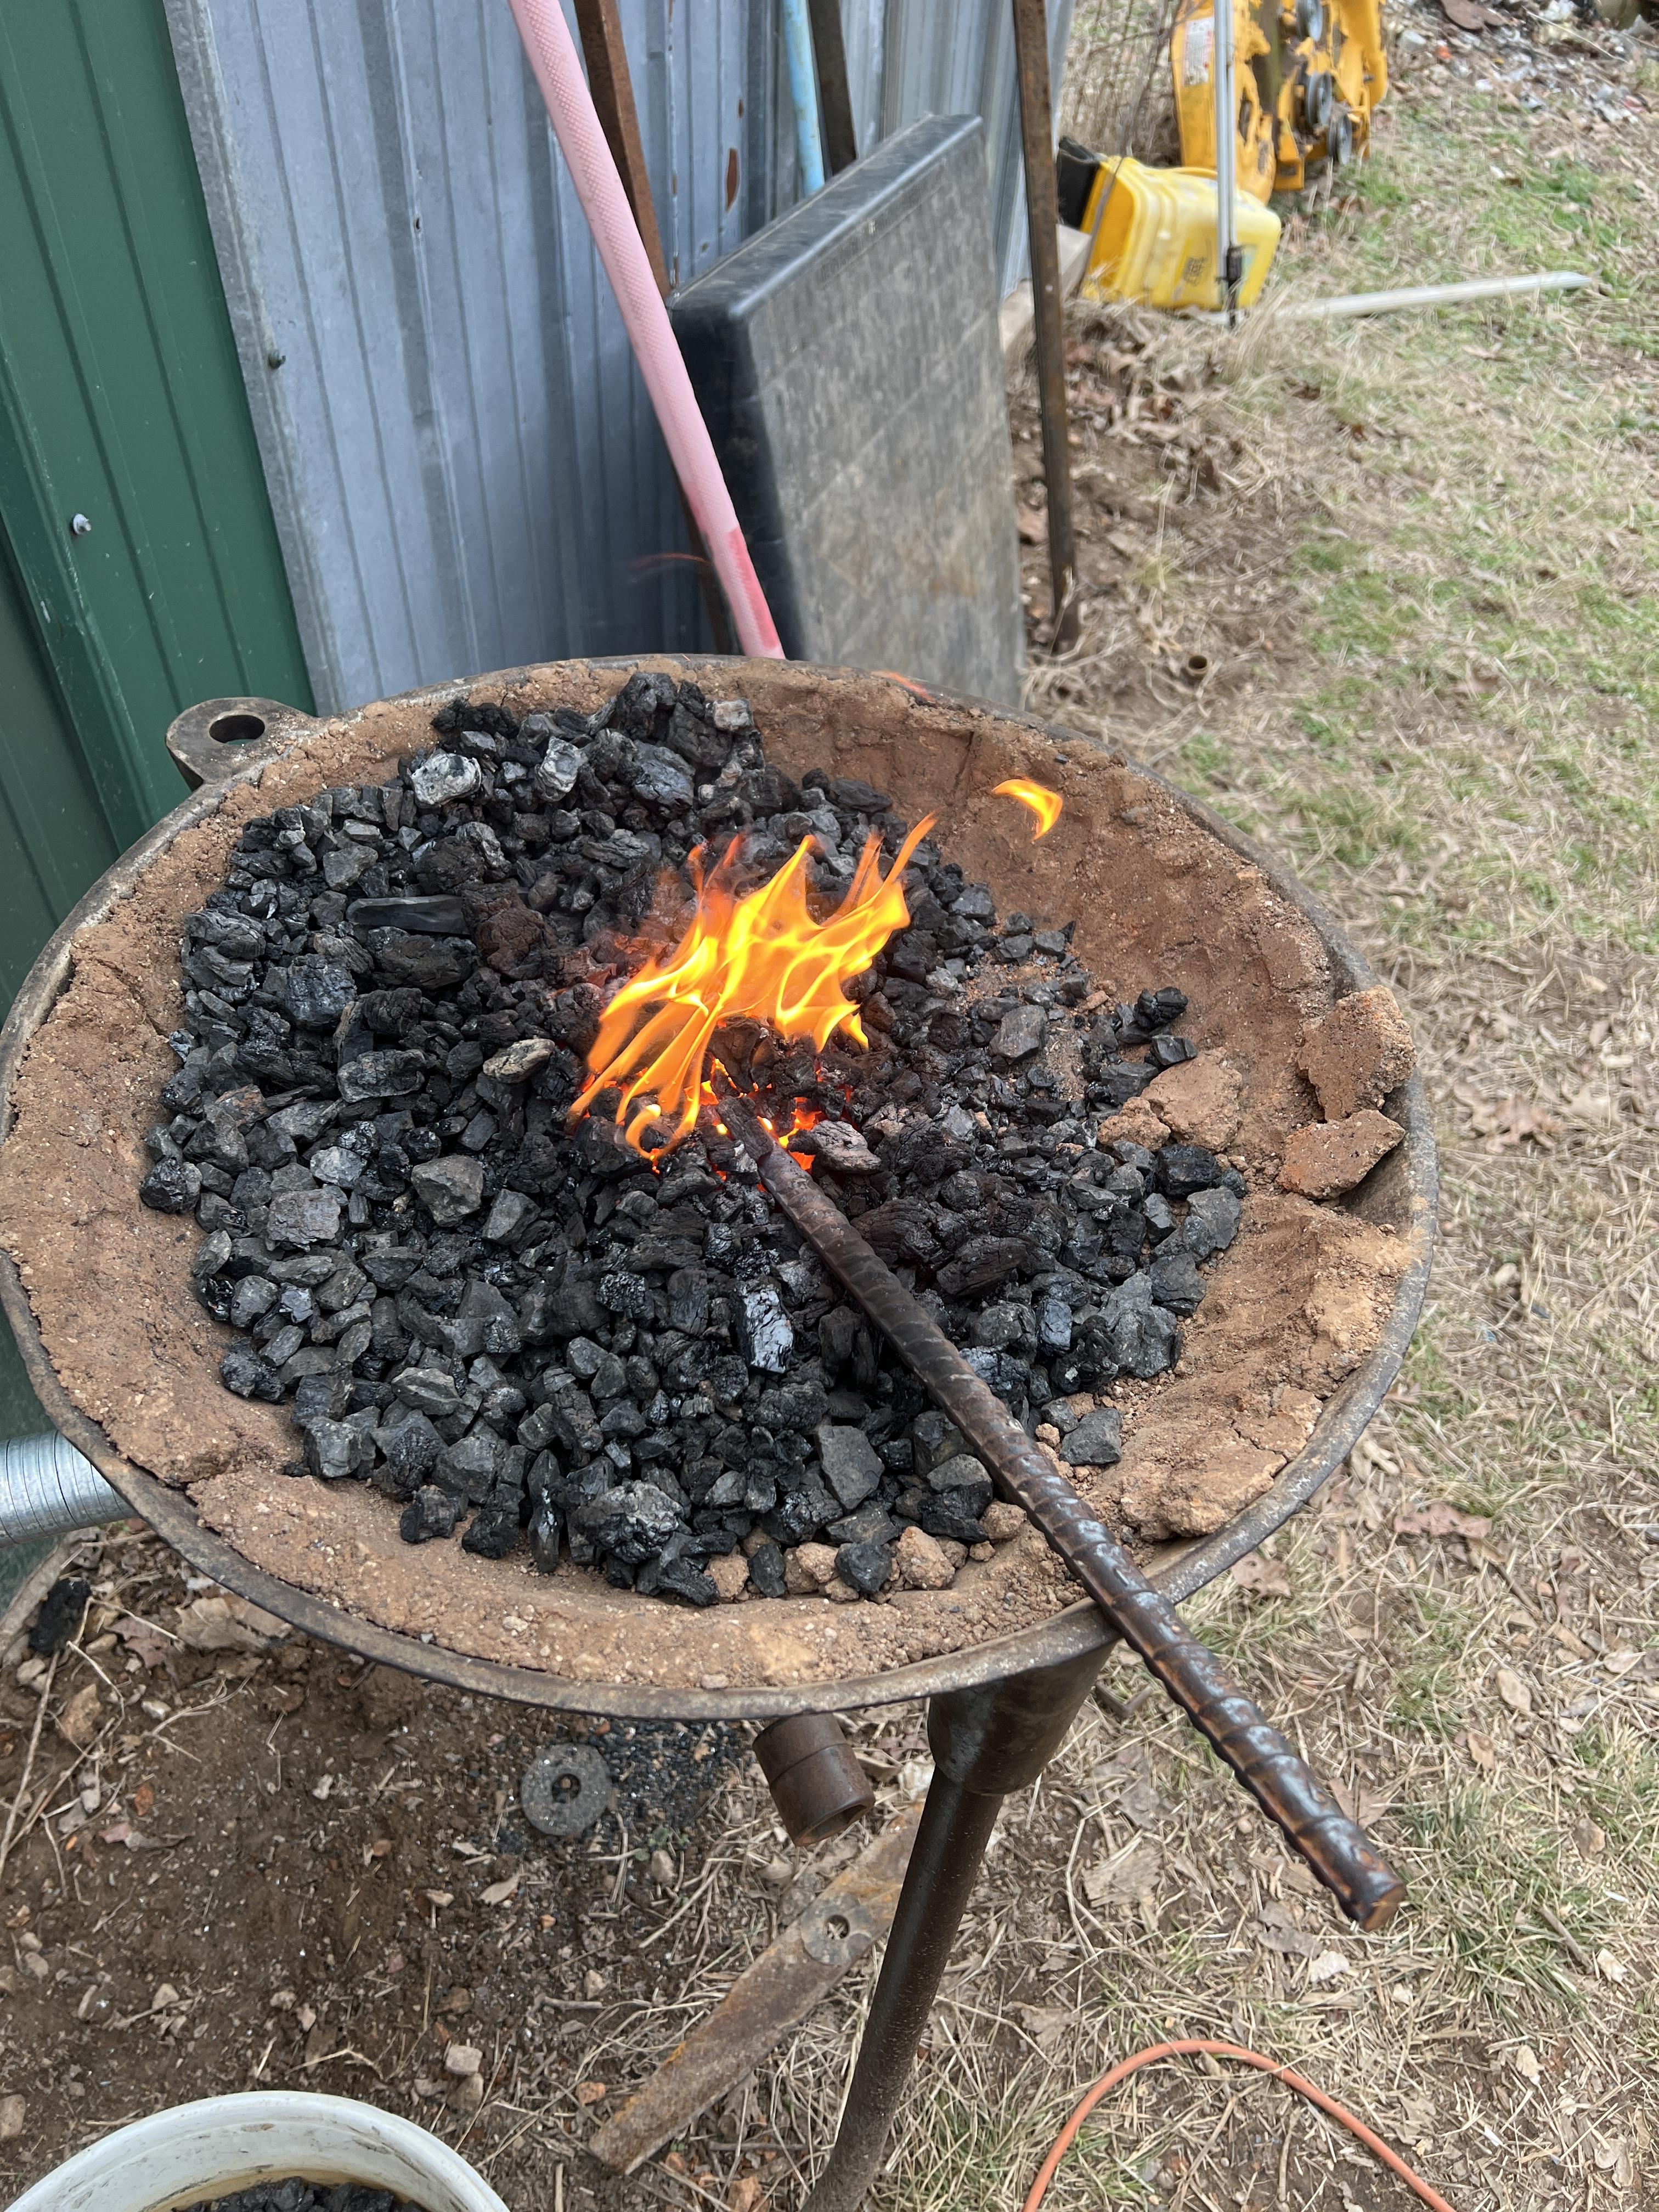
Well I have it together, I just need a hose to connect the blower! there is my set up, I need to get an 1 1/2 inch hose to reach between them. and this is the forge all clayed in, just need to cure! And we will be ready for the first fire up!!!
-
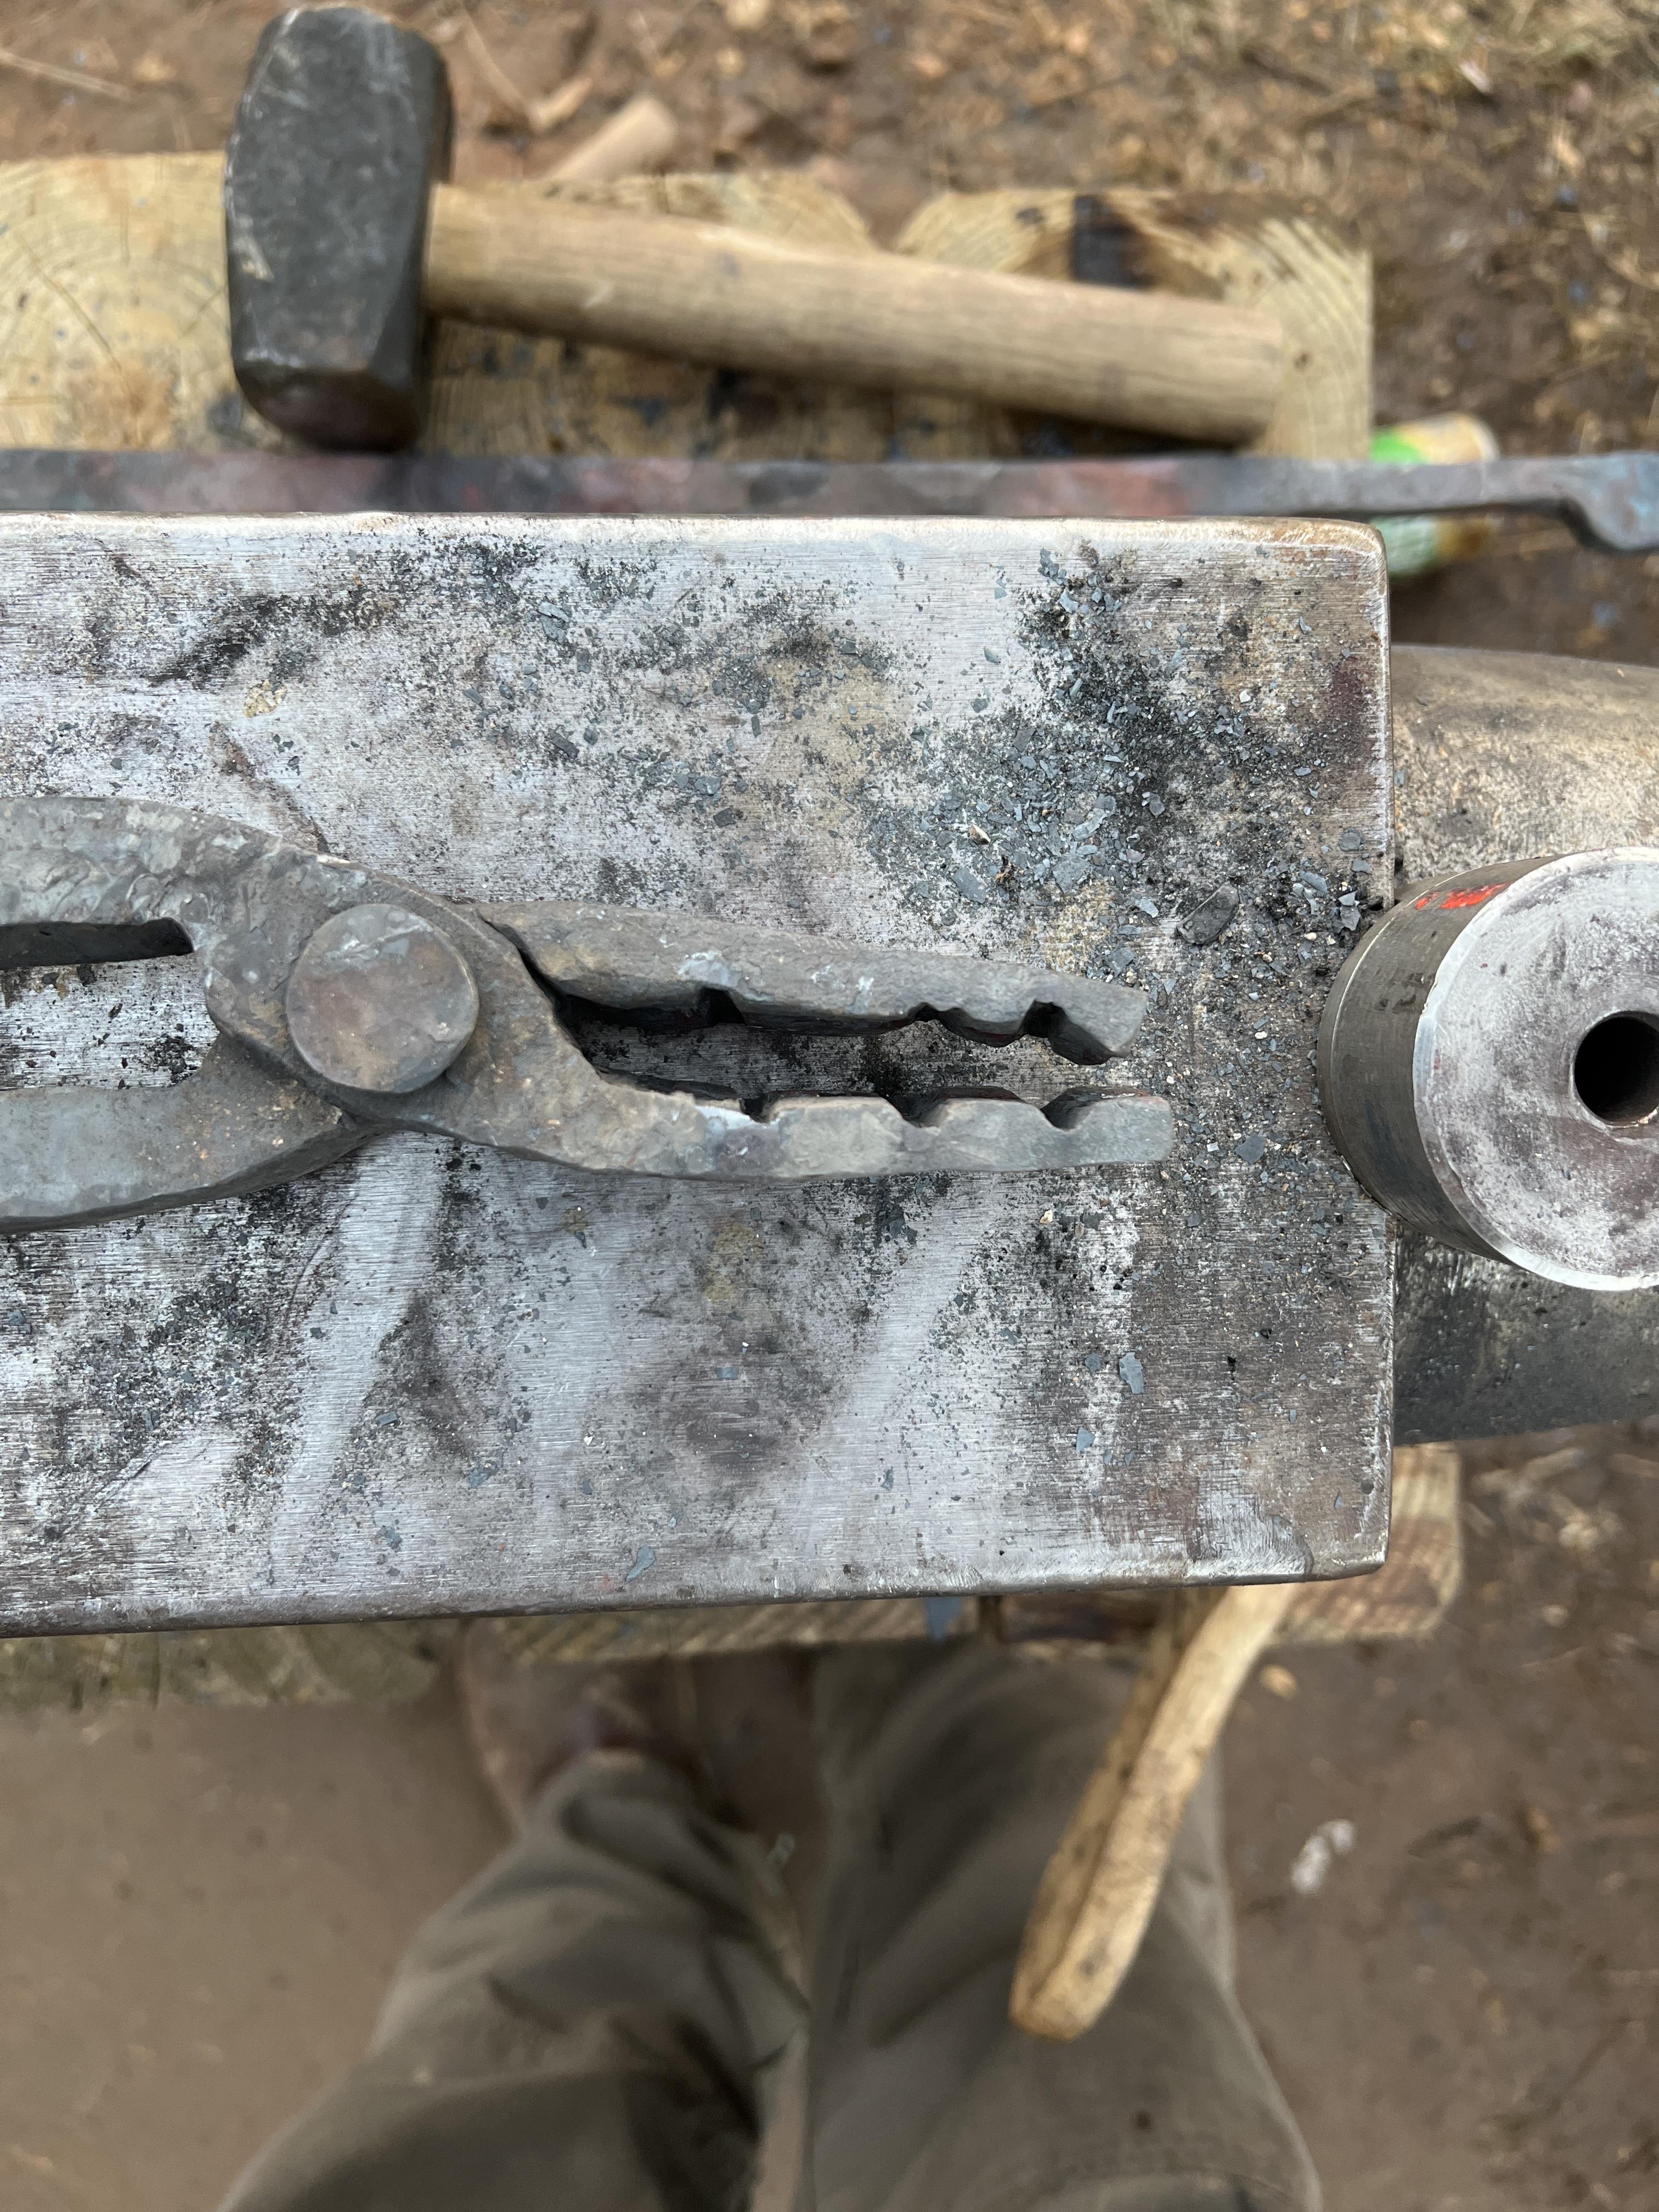
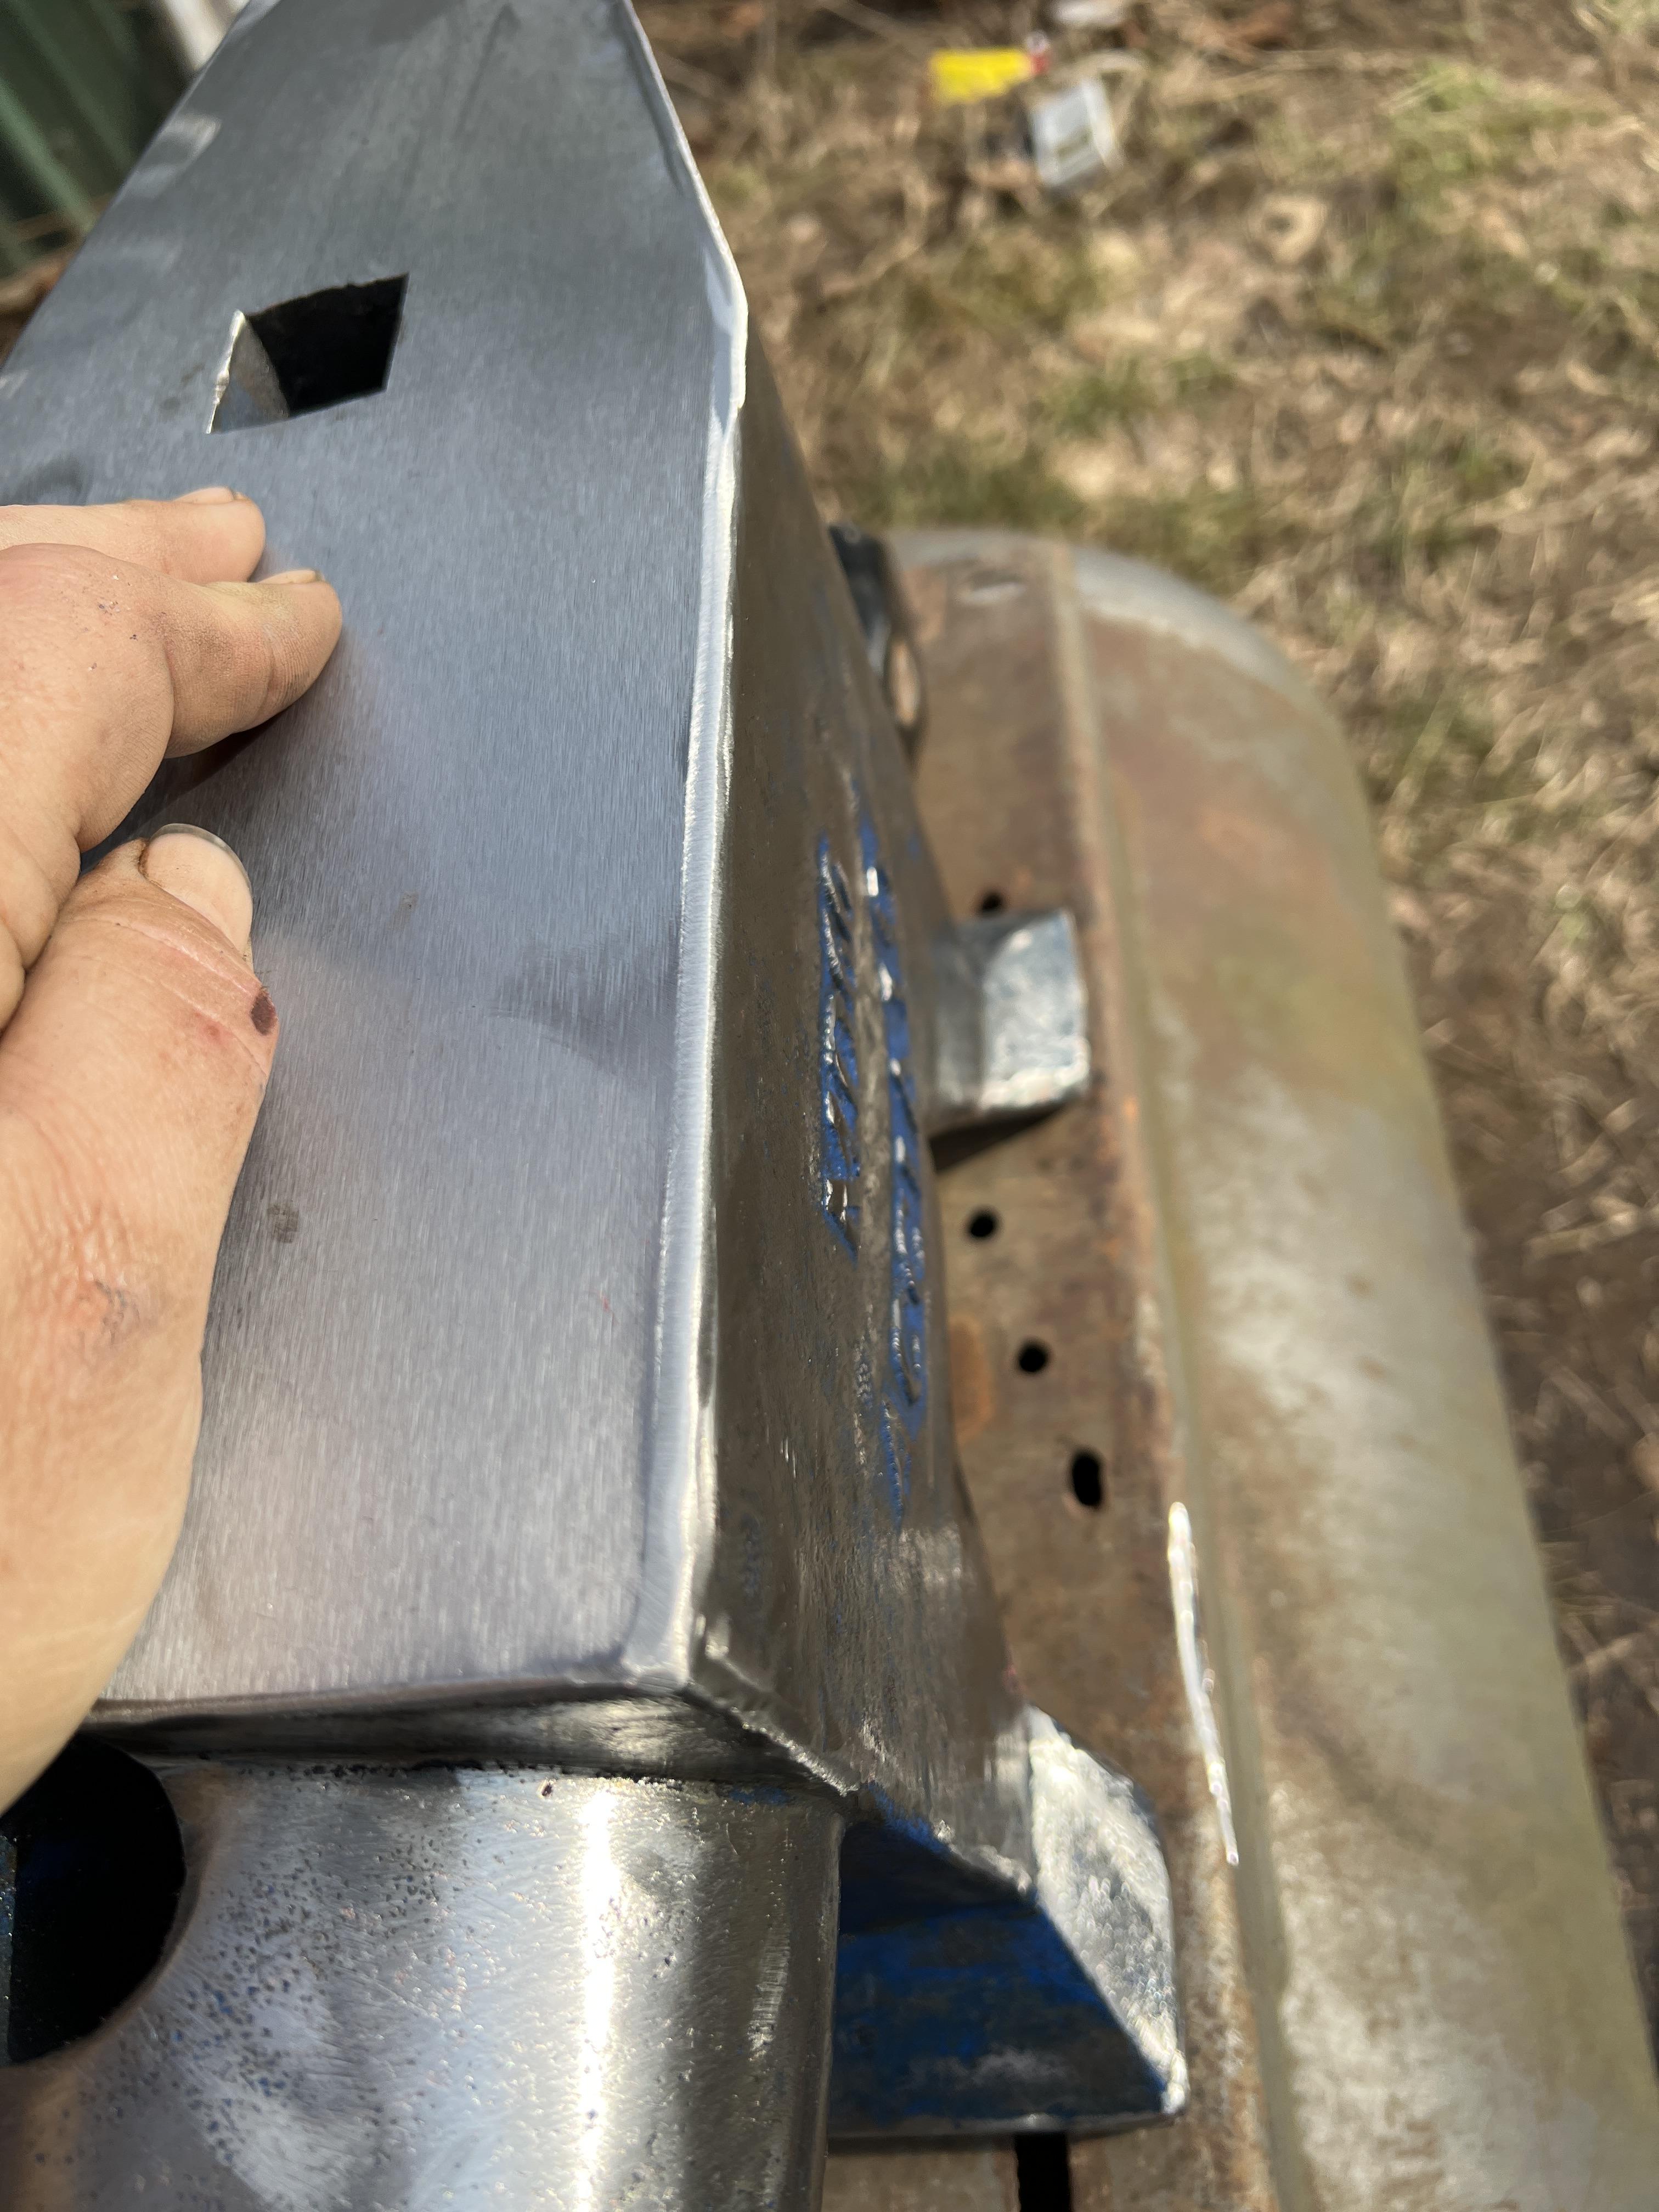
Well I opened up the air grate some more. The one pic is not lined up correctly I was just holding it up in place. If needed I can open it up some more. Also been working on getting the ugly blue paint off my anvil, and dressing the edges. right now I have the anvil sitting on an old air tank I have, but that is just mainly to work on it. Funny enough it is at the right height according the knuckle test.


-
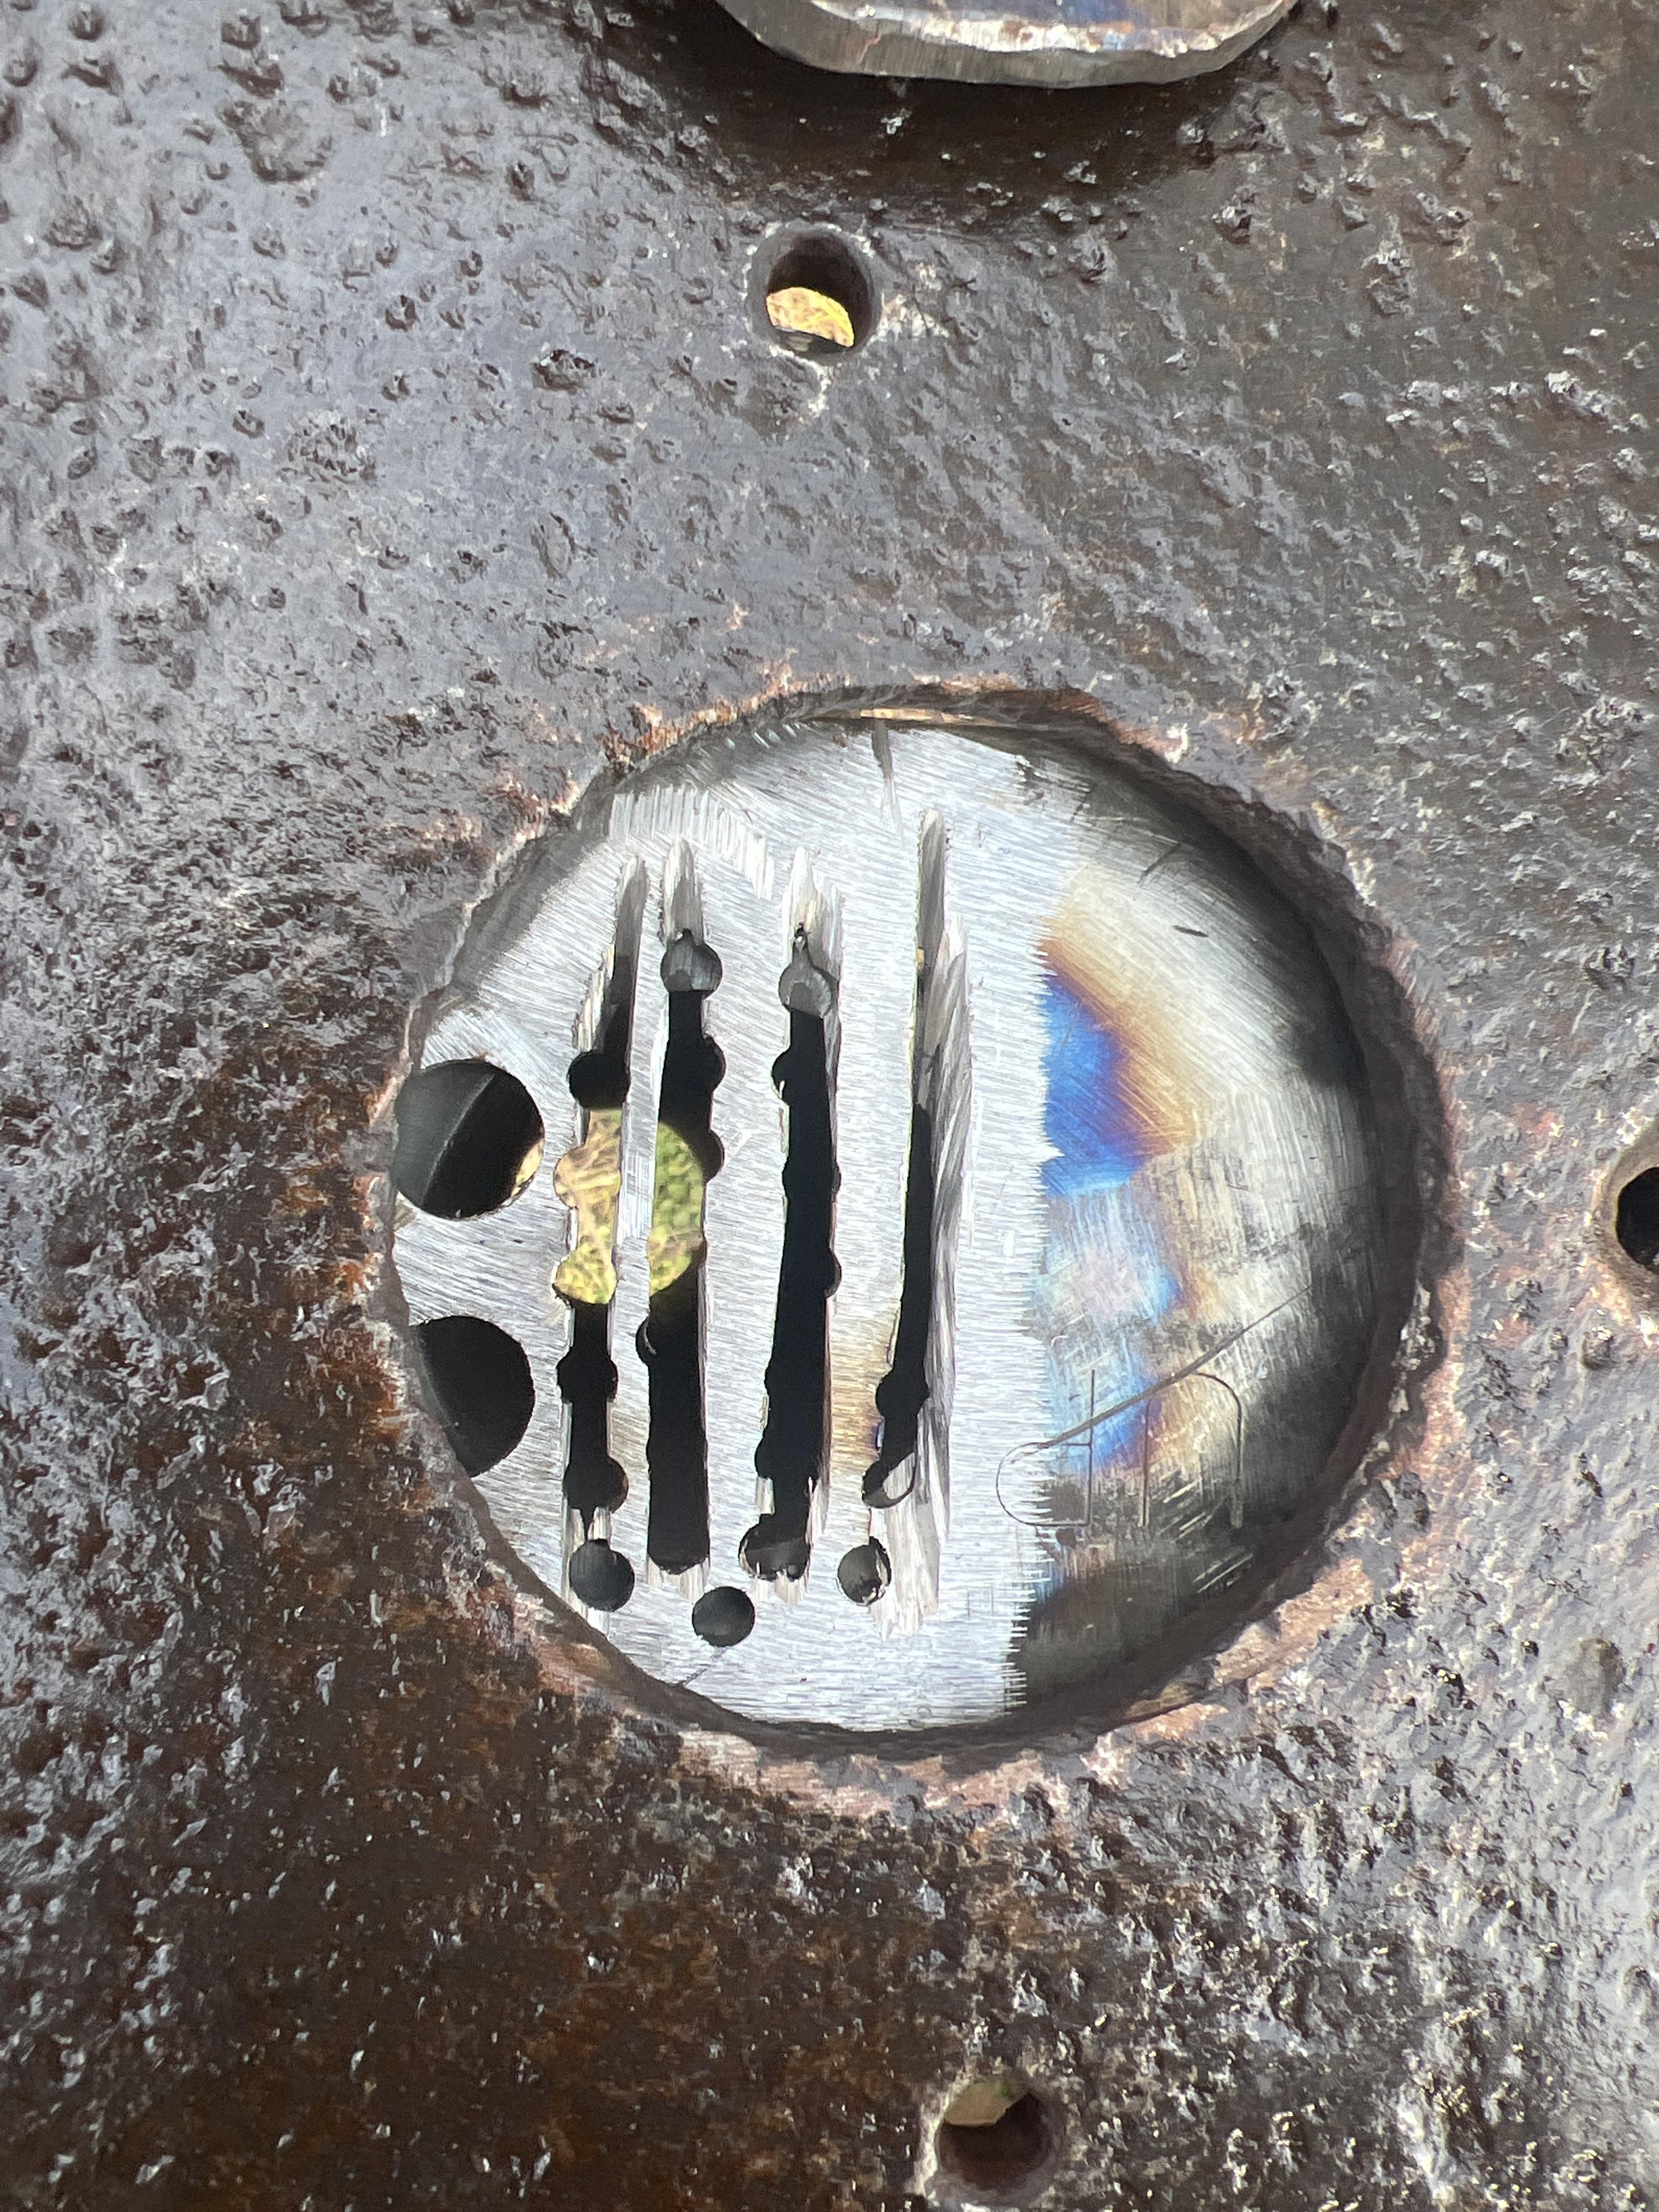
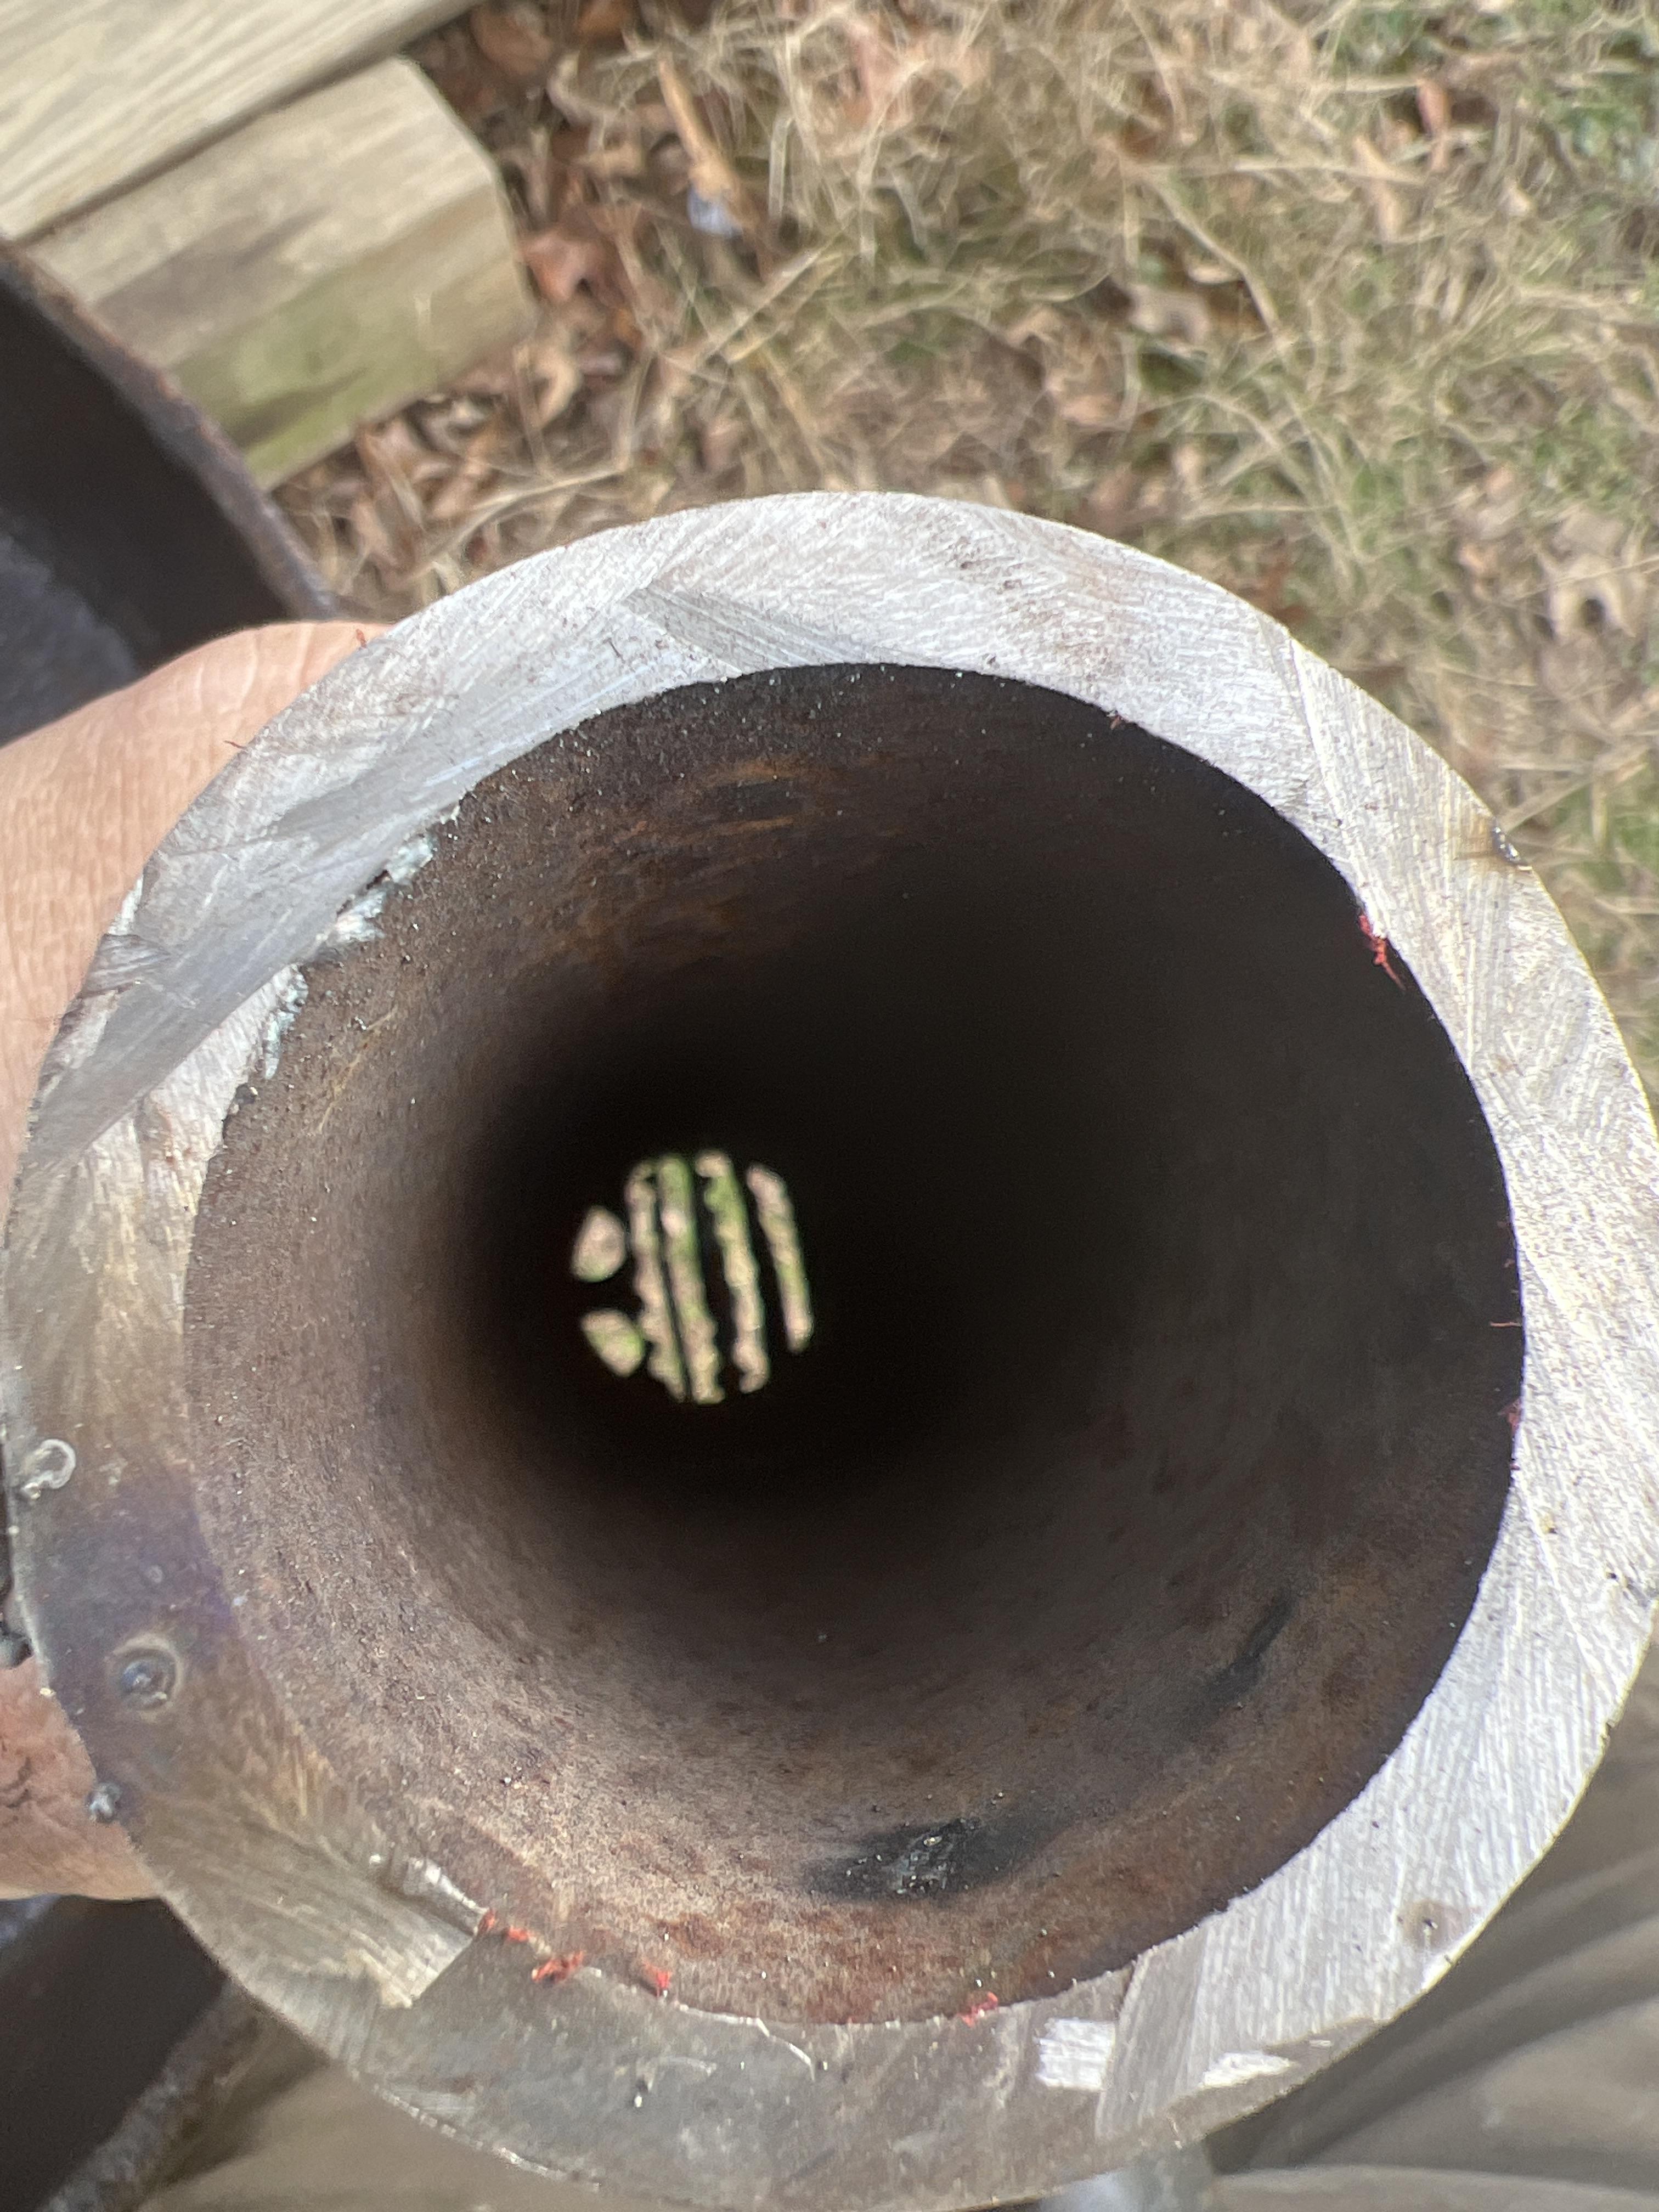
Thank you Twisted! i was wondering if i was going to need more or not, so tomorrow i will grind out more slits to increase the air flow. I have my clay mixed up as well and sealed in a bucket. so once i have it installed, and the linseed oil drys, I am going to clay in the forge as well, i might send you a pic once i have worked on increasing the air flow. i do want to use Coal. That day at your forge, i have to admit, i love the smell of coal. I still need to find a vise, hate to say it but that is on top of my next to buy list. I have even looked into what it would take to make a homemade version of a post vise, but will have to work on my welding skills some more before i tackle that.
-
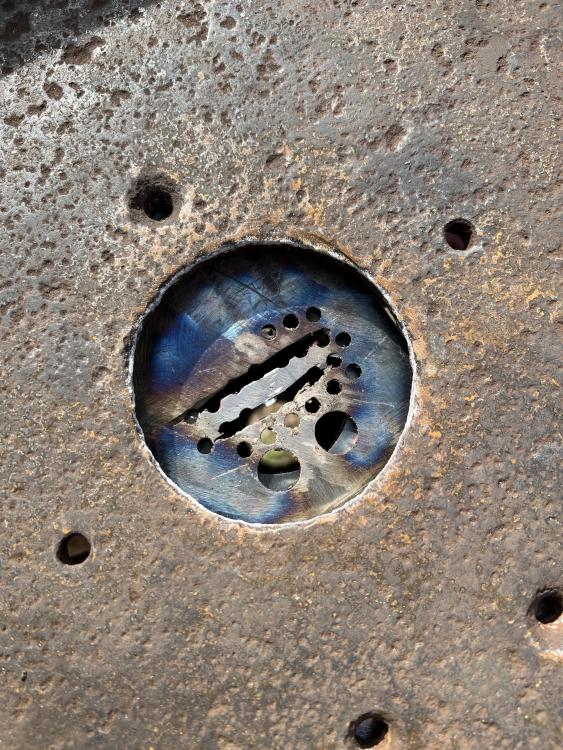
Well I am getting along on setting this forge to go! Not laughing at my welds, I found out I am not as good a welder as I once was since I have not welded anything in about 20 years. Those nasty looking welds did pass the beat the heck out of them with a heavy hammer test and they held... but this will bolt up under the forge, and instead of trying to find a 6 inch drain grate I just cut and drilled holes through to the ash dump. Now I just need to weld on a hinge plate for the ash dump.. bolt on this lower assembly, clay in the forge body, and I am good to go! I hope....
-
The Hummers at my house still fly up to my porch and give me stink eye cause i have not put out a feeder in a few years... I guess i will have to make a hanger and set one up this year to see if that makes them happier.
-
Well, I guess that is one draw back to buying the 132lb Anvil.... that thing in the wooden package is HEAVY... Fed Ex just got here and had to ask for my help in off loading it????? So happy it is here... once I get my anvil stand made and the anvil dressed and mounted I will post pictures!
-
Thanks for the information, I guess changing the blades for various types of steel is common so I guess I will be buying more than one.
-
I got some measurements from the site I bought from it has the height listed, so I have made a plan, but since I don't have the ties yet or the anvil it is all on hold... tomorrow I am going to looking for some red clay to mix with some fire brick and wood ash to clay in my forge.. still need to get the plate and pipes to make my air inlet and ash dump with. I did find a nice cross pine 8lb sledge and made a handle today for it and cleaned it up. And I have cleaned up my forge body, and just try to figure out where I want to lay everything out in my work area. Eventually I want to put a shed cover over my work area so I am trying to lay it all out with that in mind.
-
Okay I bought a metal cutting bandsaw and have been looking for new blades. The on on it is so worn out it is not much more than a smooth metal band, all of the teeth are worn out on it. So what is a good tooth pitch for general purpose?
-
Well i did it, and the 132lb is on the way... I also go lucky and found a guy with some new cross Ties, he wants 25 each s i am going to buy two of them, and use at least one to make my Anvil stand out of. I am actually going to bury one end of the stand about 2 foot into the ground, then lay another tie side ways at the base to mount my harbor freight anvil to, and my plan is to use it as a upsetting block until I find something better, for that matter i have that RR track piece i could use as an upsetting block...