benjhind
Members
-
Joined
-
Last visited
-
I thought I'd reply to this thread and provide an update. I was able to find the appropriate 1x1x3/4 tee for my burner and it seems to be running well. I also located a seller for proper fire brick and got some K23 for the sides and hard Fedmet Epic 42 for the floor. Any Canadians here should check out Sounding Stone in Winnipeg. Shipping rates were reasonable. I can return the other fire brick to my maple syrup evaporator (insert Canadian joke here). I had to make it a little taller to accommodate the thicker brick. I haven't tried welding yet but it seems to get hotter now. I'm not sure whether I have an oxidizing or reducing flame so any advice there would be appreciated.
-
I'm fairly confident that I would have been faster with a brace and bit!
-
I will have loads of wood ash soon, should be time to cleanthe fire place. What about just using some fiberglass insulation? Glass melts well above annealing temperatures and I have tons.
-
A bolster is certainly on the to-do list! For my first project, my intent was to minimize the number of new techniques I needed to learn and drilling was already on the "known" list. Annealing didn't go well for me on some thinner stock buried in sand so I just tried drilling as is. Thanks again for the suggestions!
-
My hesitation was mostly just because I didn't have a punch. For this project, I just ground down some tool steel and stretched the hole I was able to drill after couple of broken bits and several sharpenings. In hindsight, I should have just made the punch and done it properly.
-
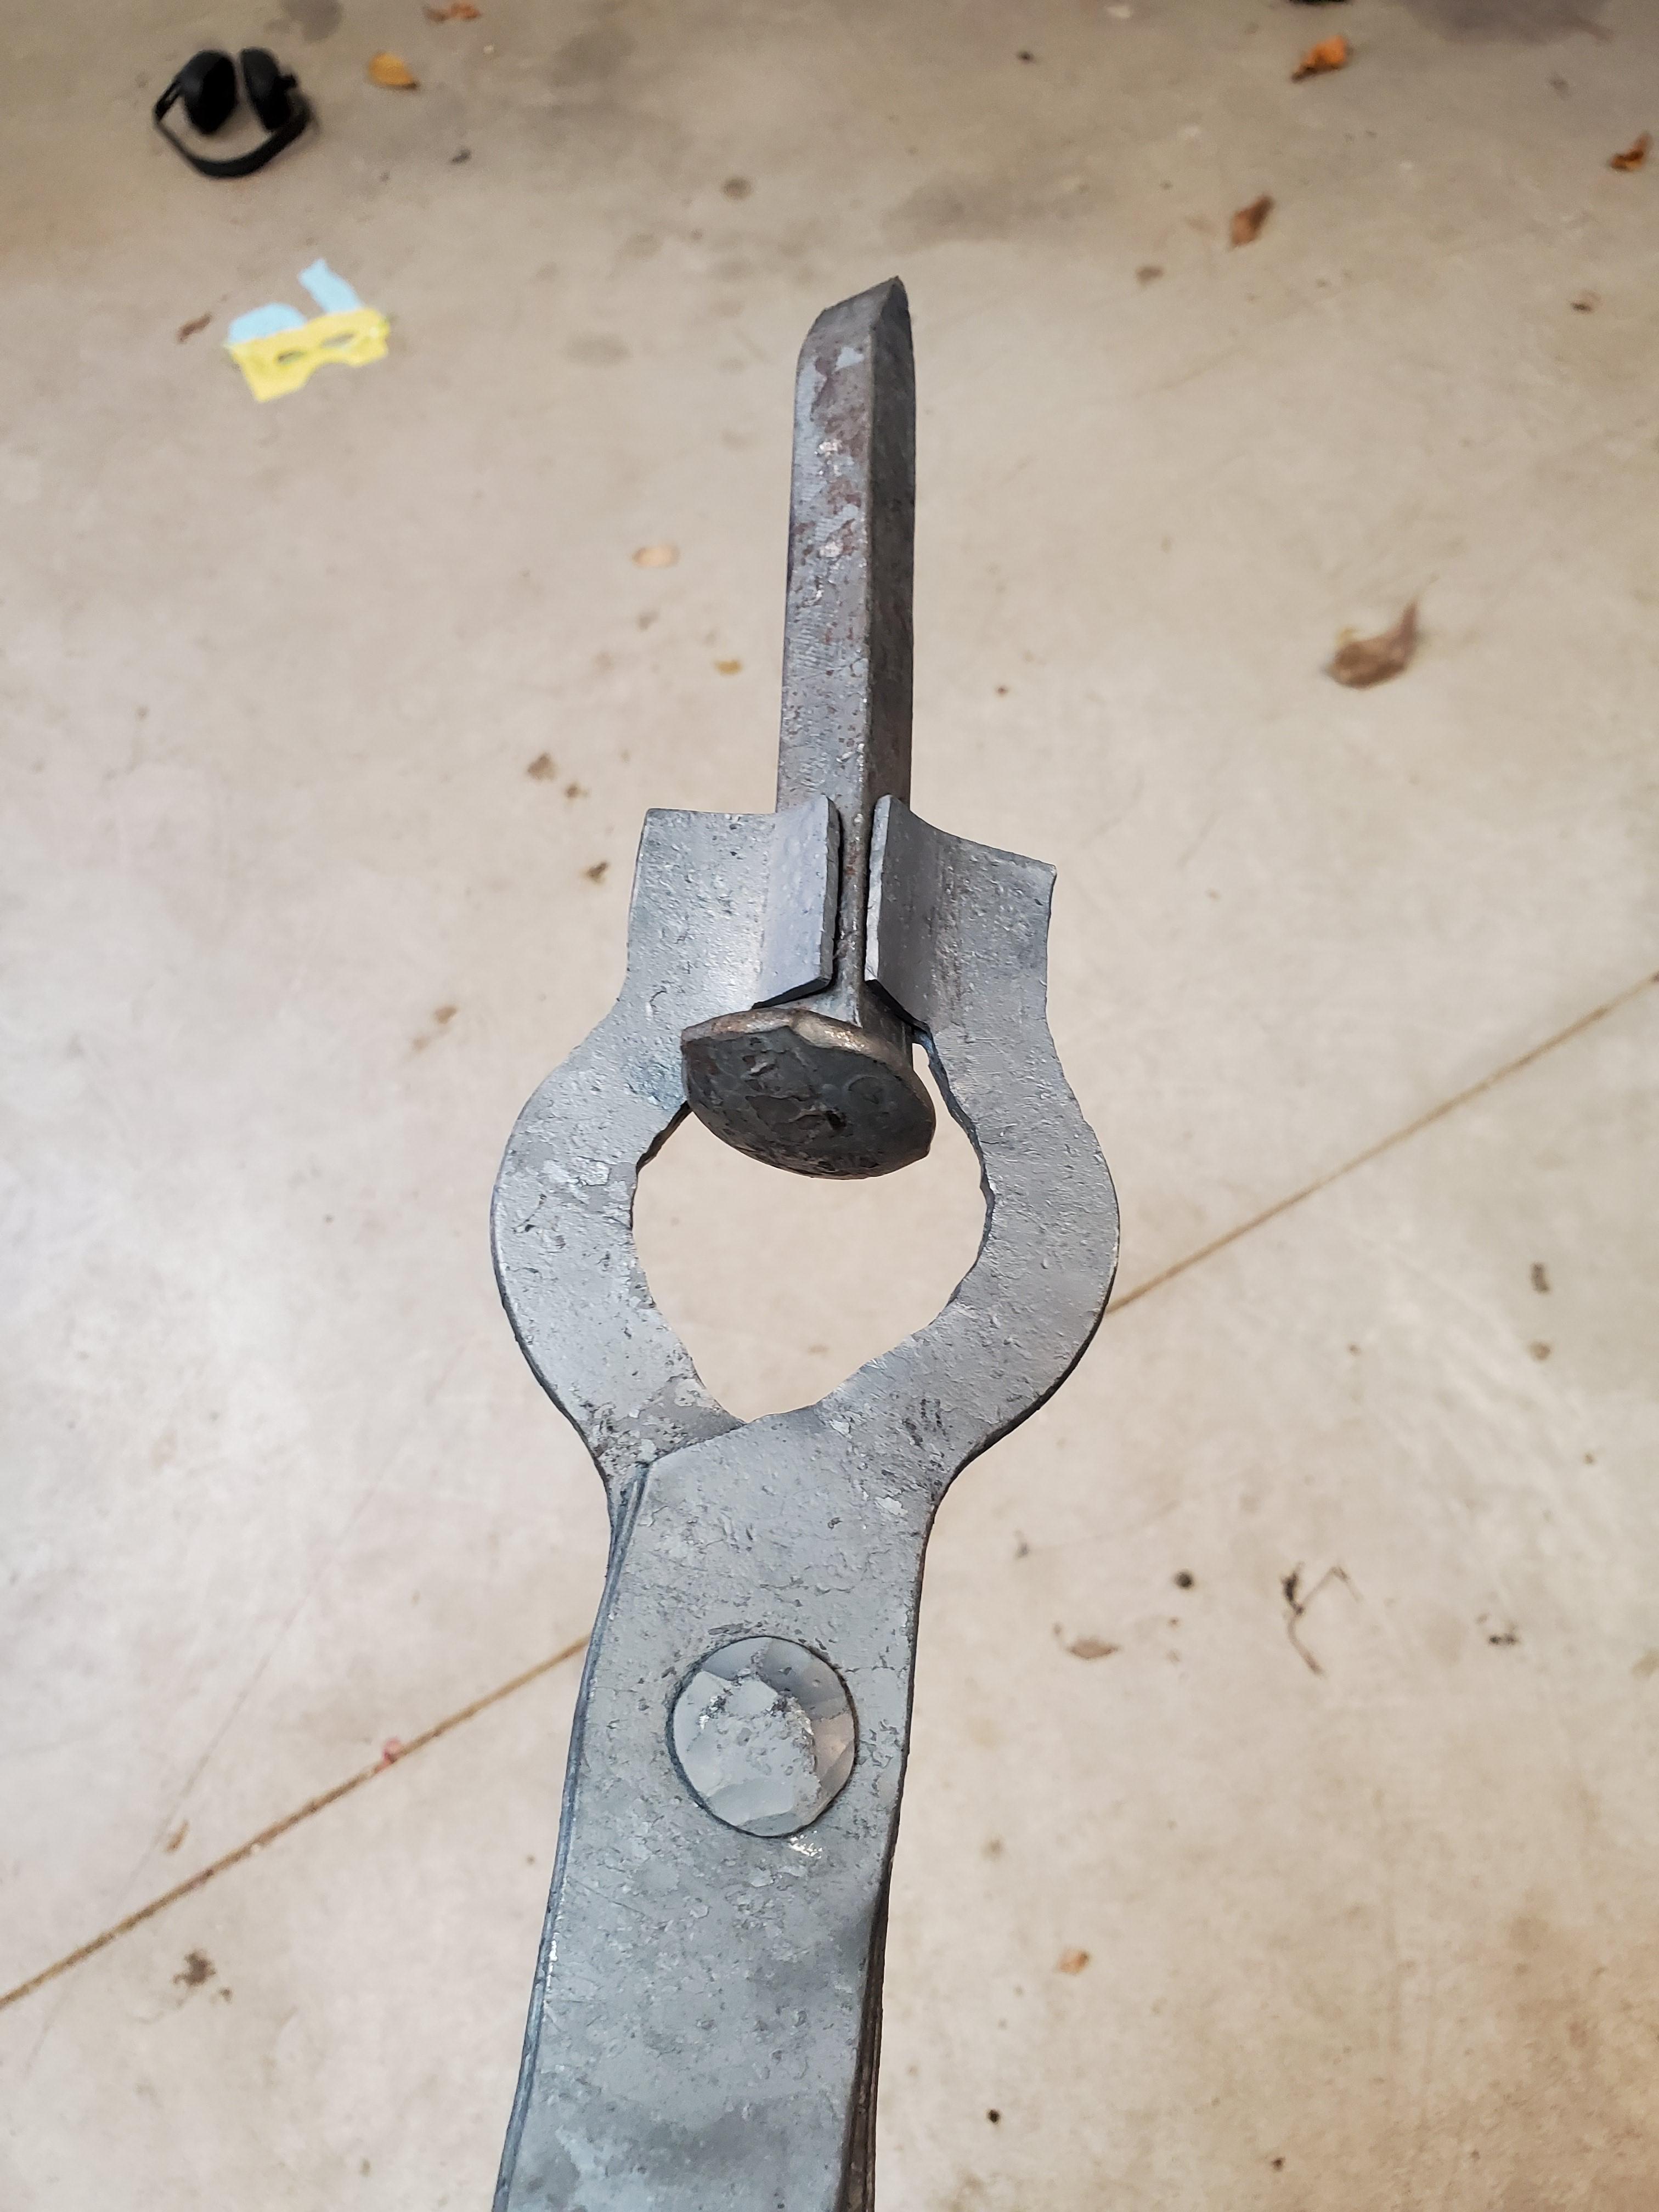
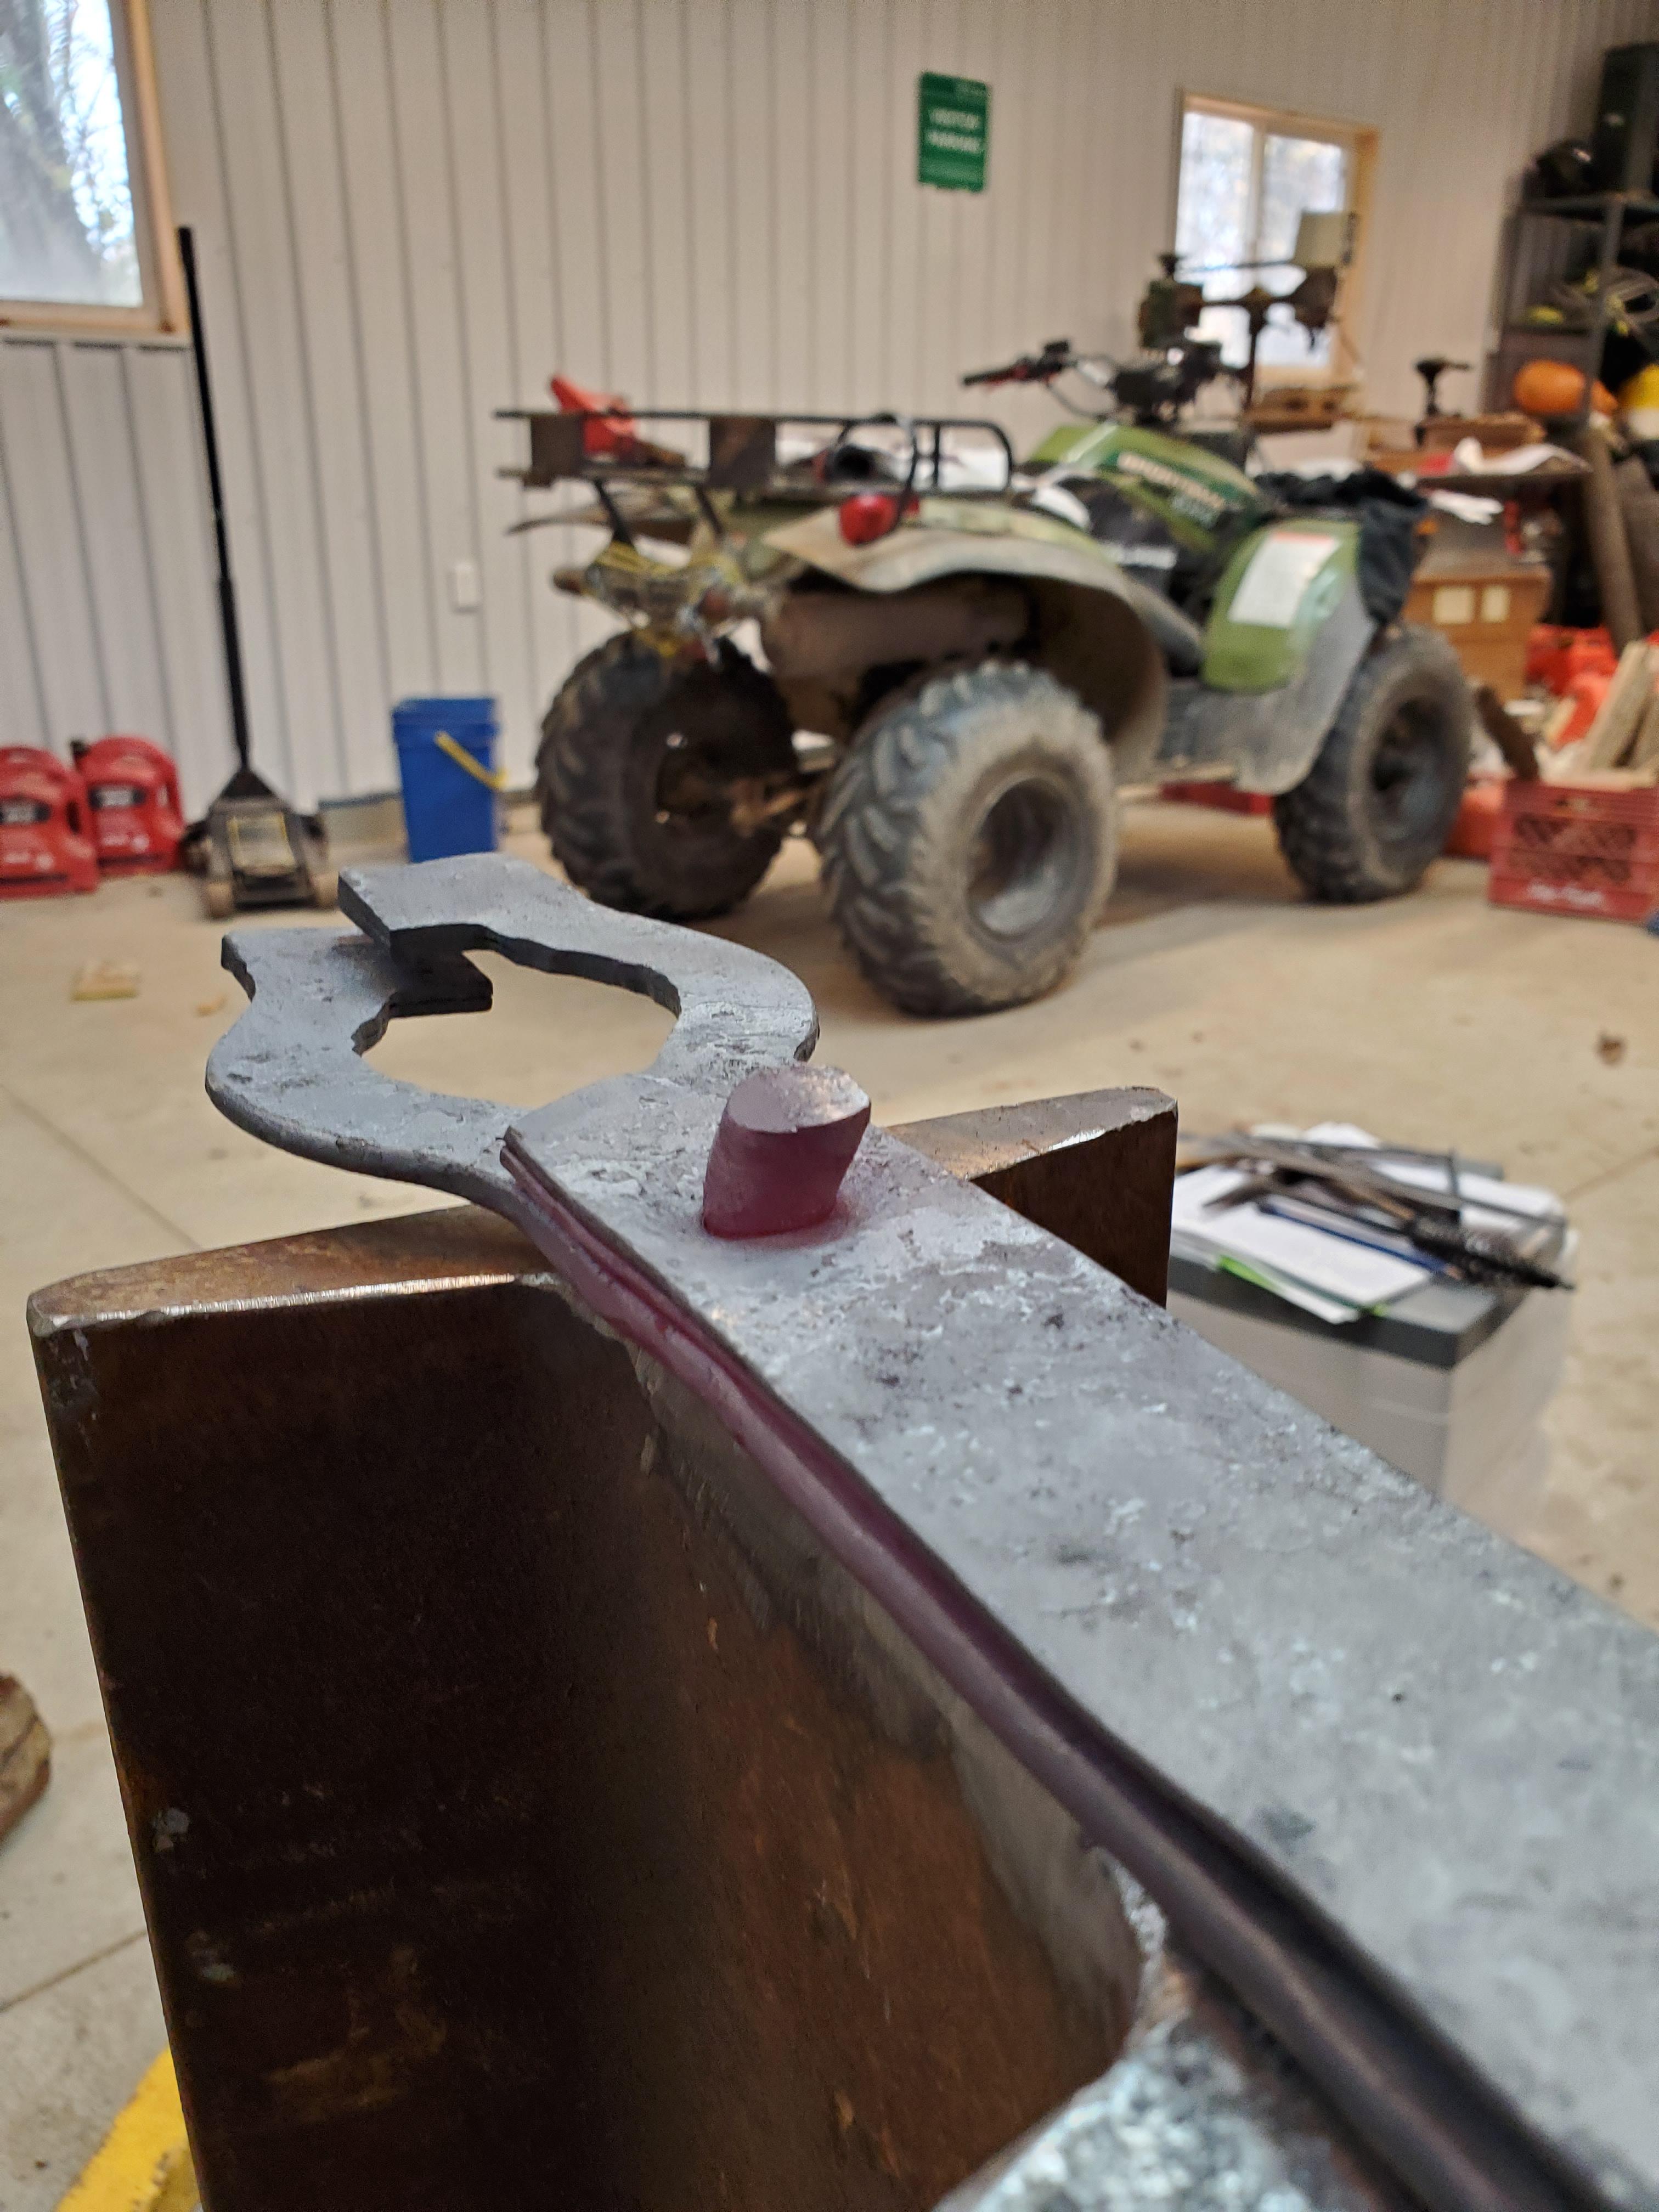
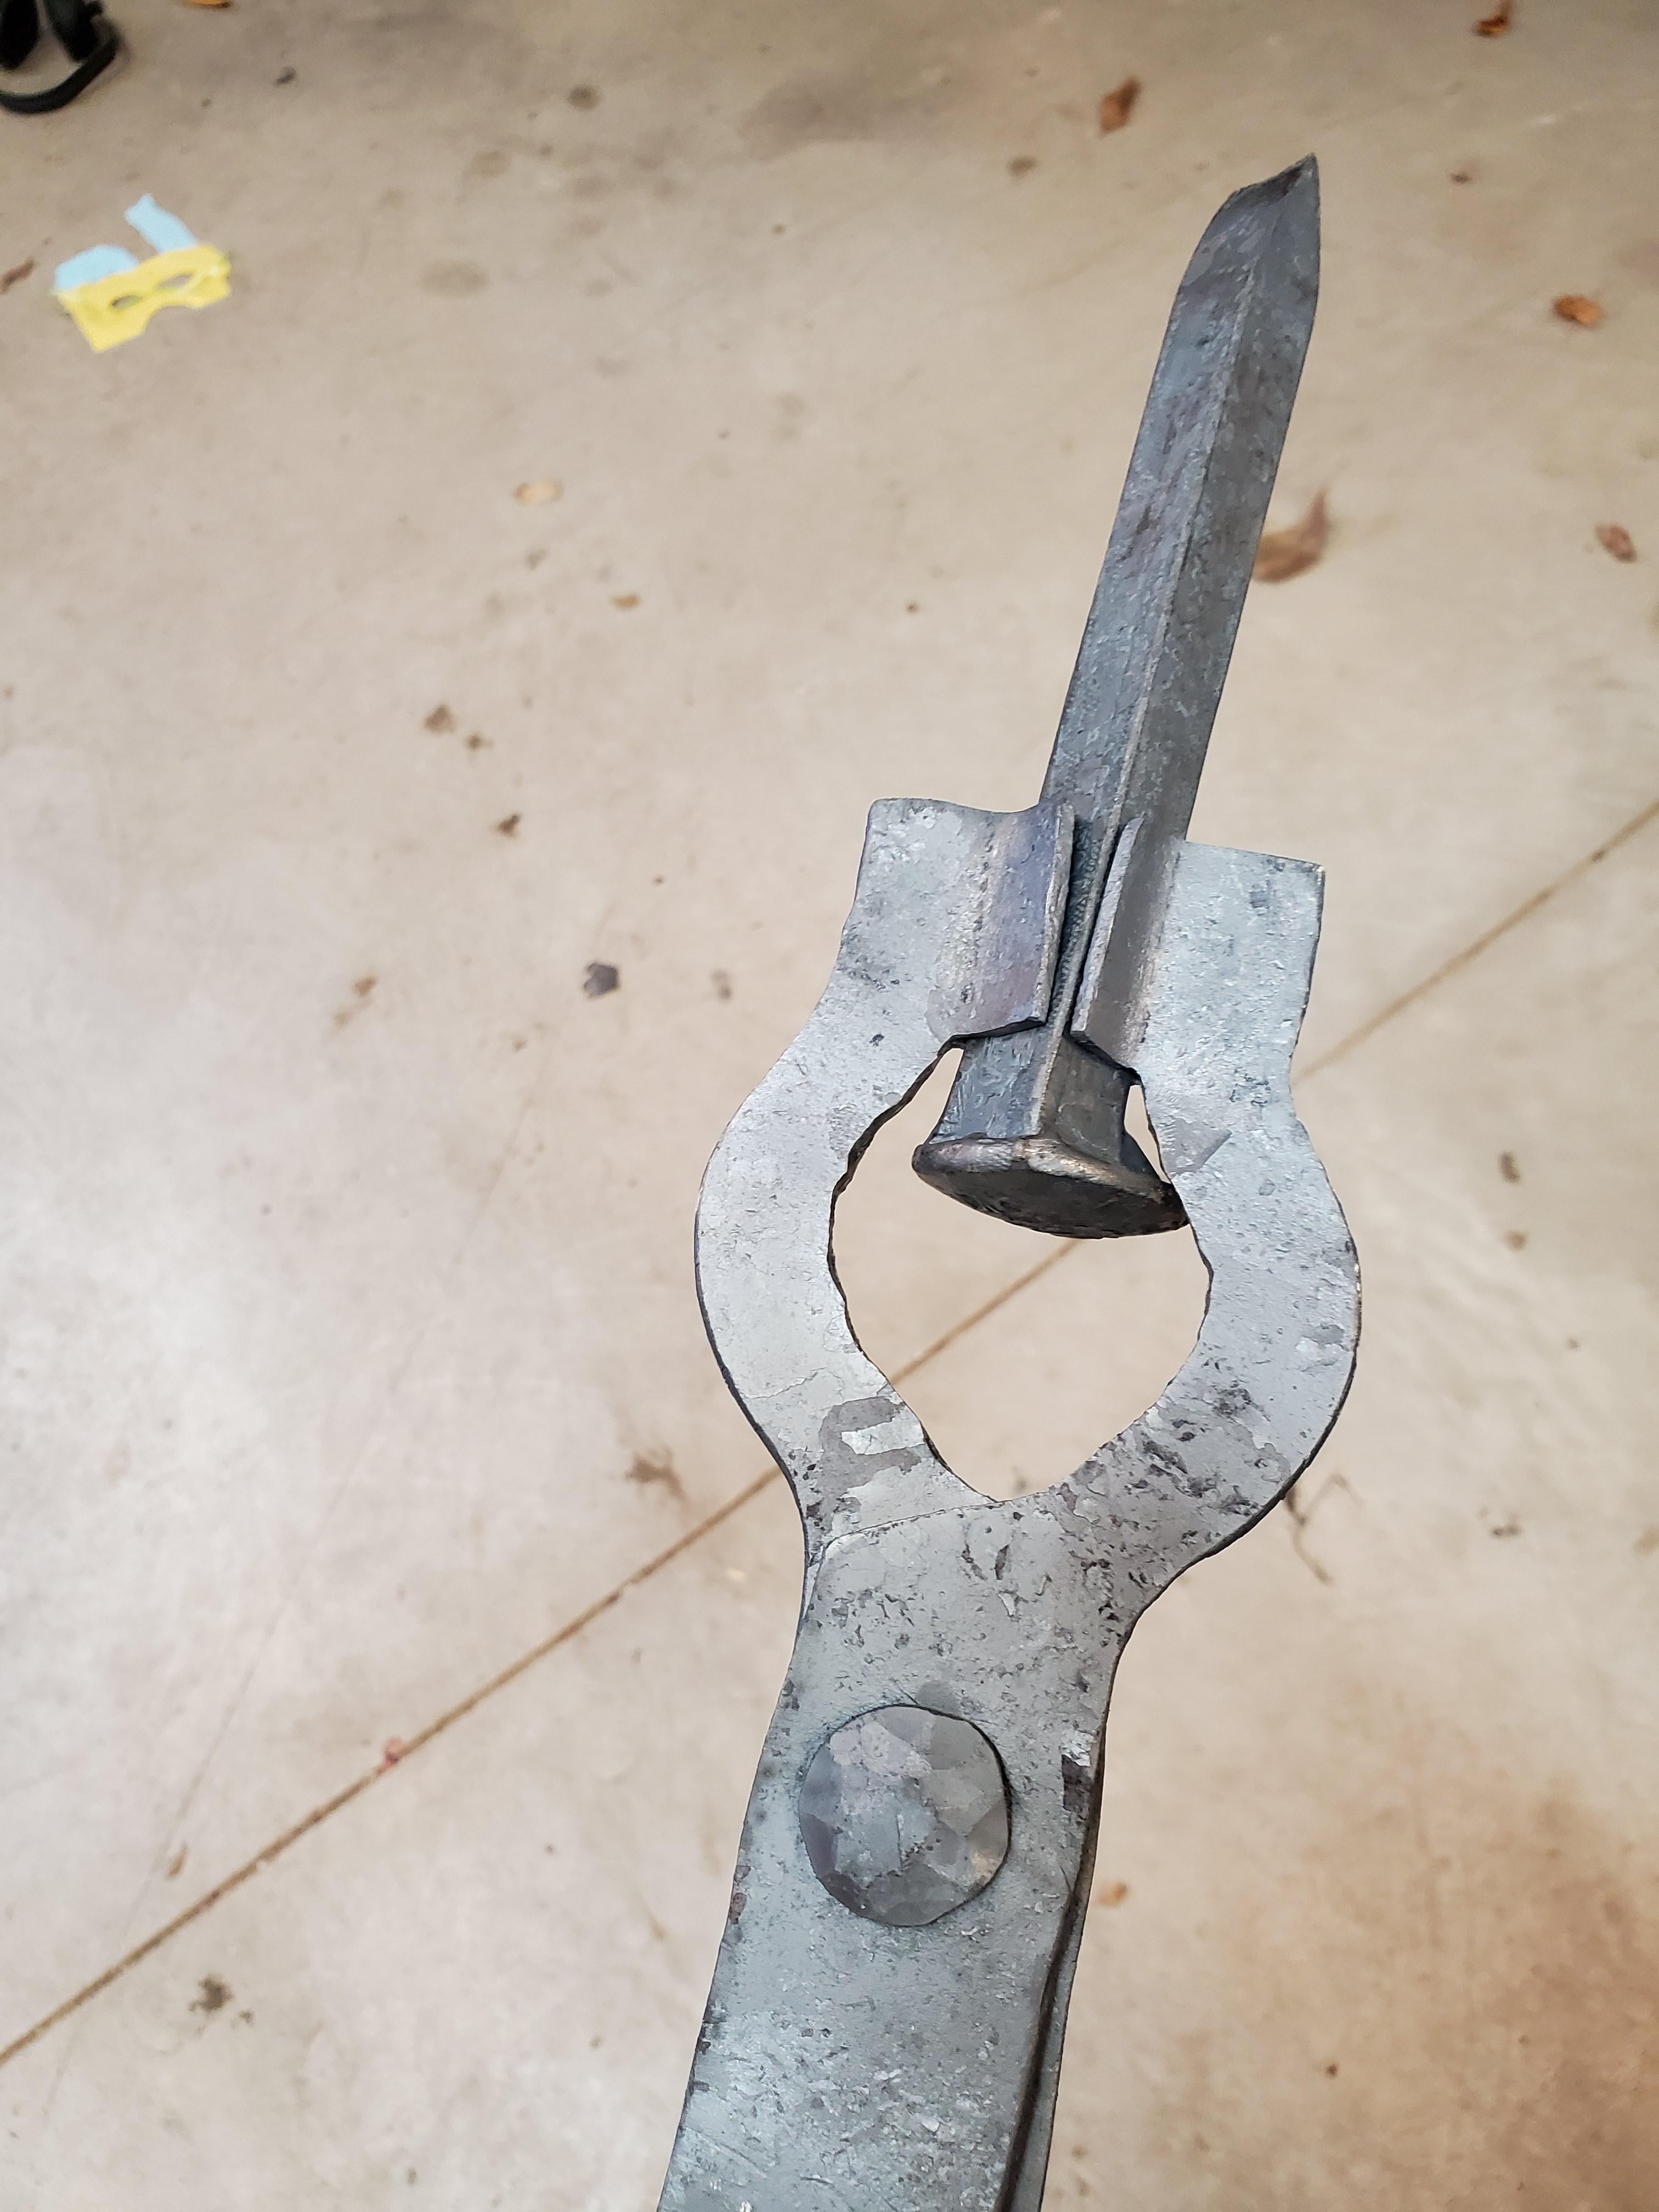
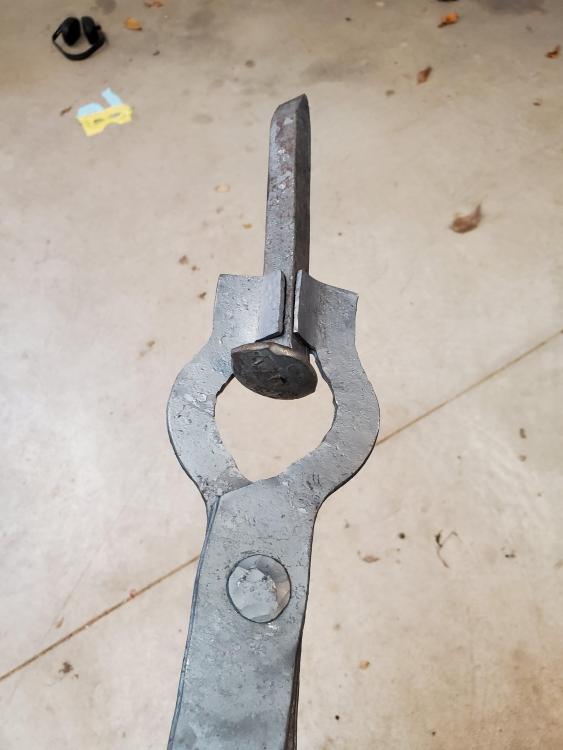
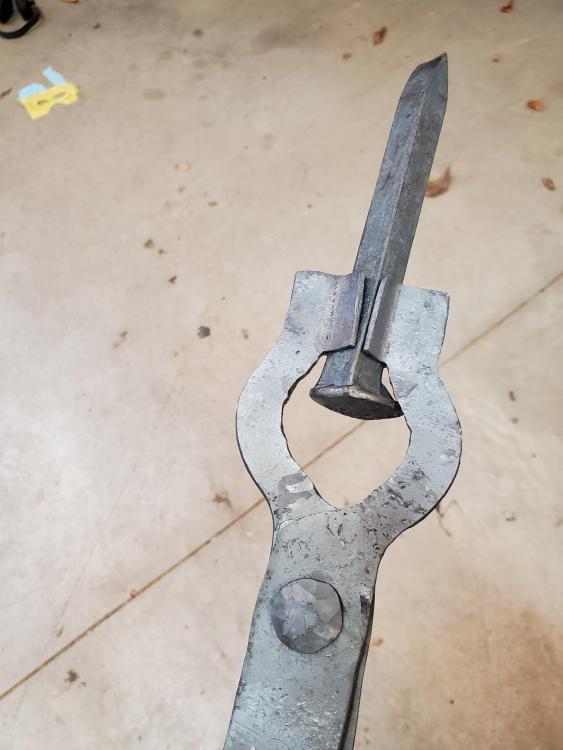
Thanks folks!! IFCW - you know I showed the good side of the rivet, right? Sorry to the mods for tagging members - too many forums and too few brain cells on my part. I used a home made ball peen hammer for the rivet. I ground the shape into a hammer I found on the highway. Here is the other side of the rivet. I bet you can't guess that I'm pretty exited haha
-
Huge thanks to all who contributed to this thread!! I finally completed something useful with my forge. Narrowing the forge evened out the huffing i was describing when it was cold. I'm still working on getting some better refractory. I made some bolt tongs for railroad spikes. You can read about them in the "bolt tongs from bed frames" thread by JHCC if you wish. Thanks again!
-
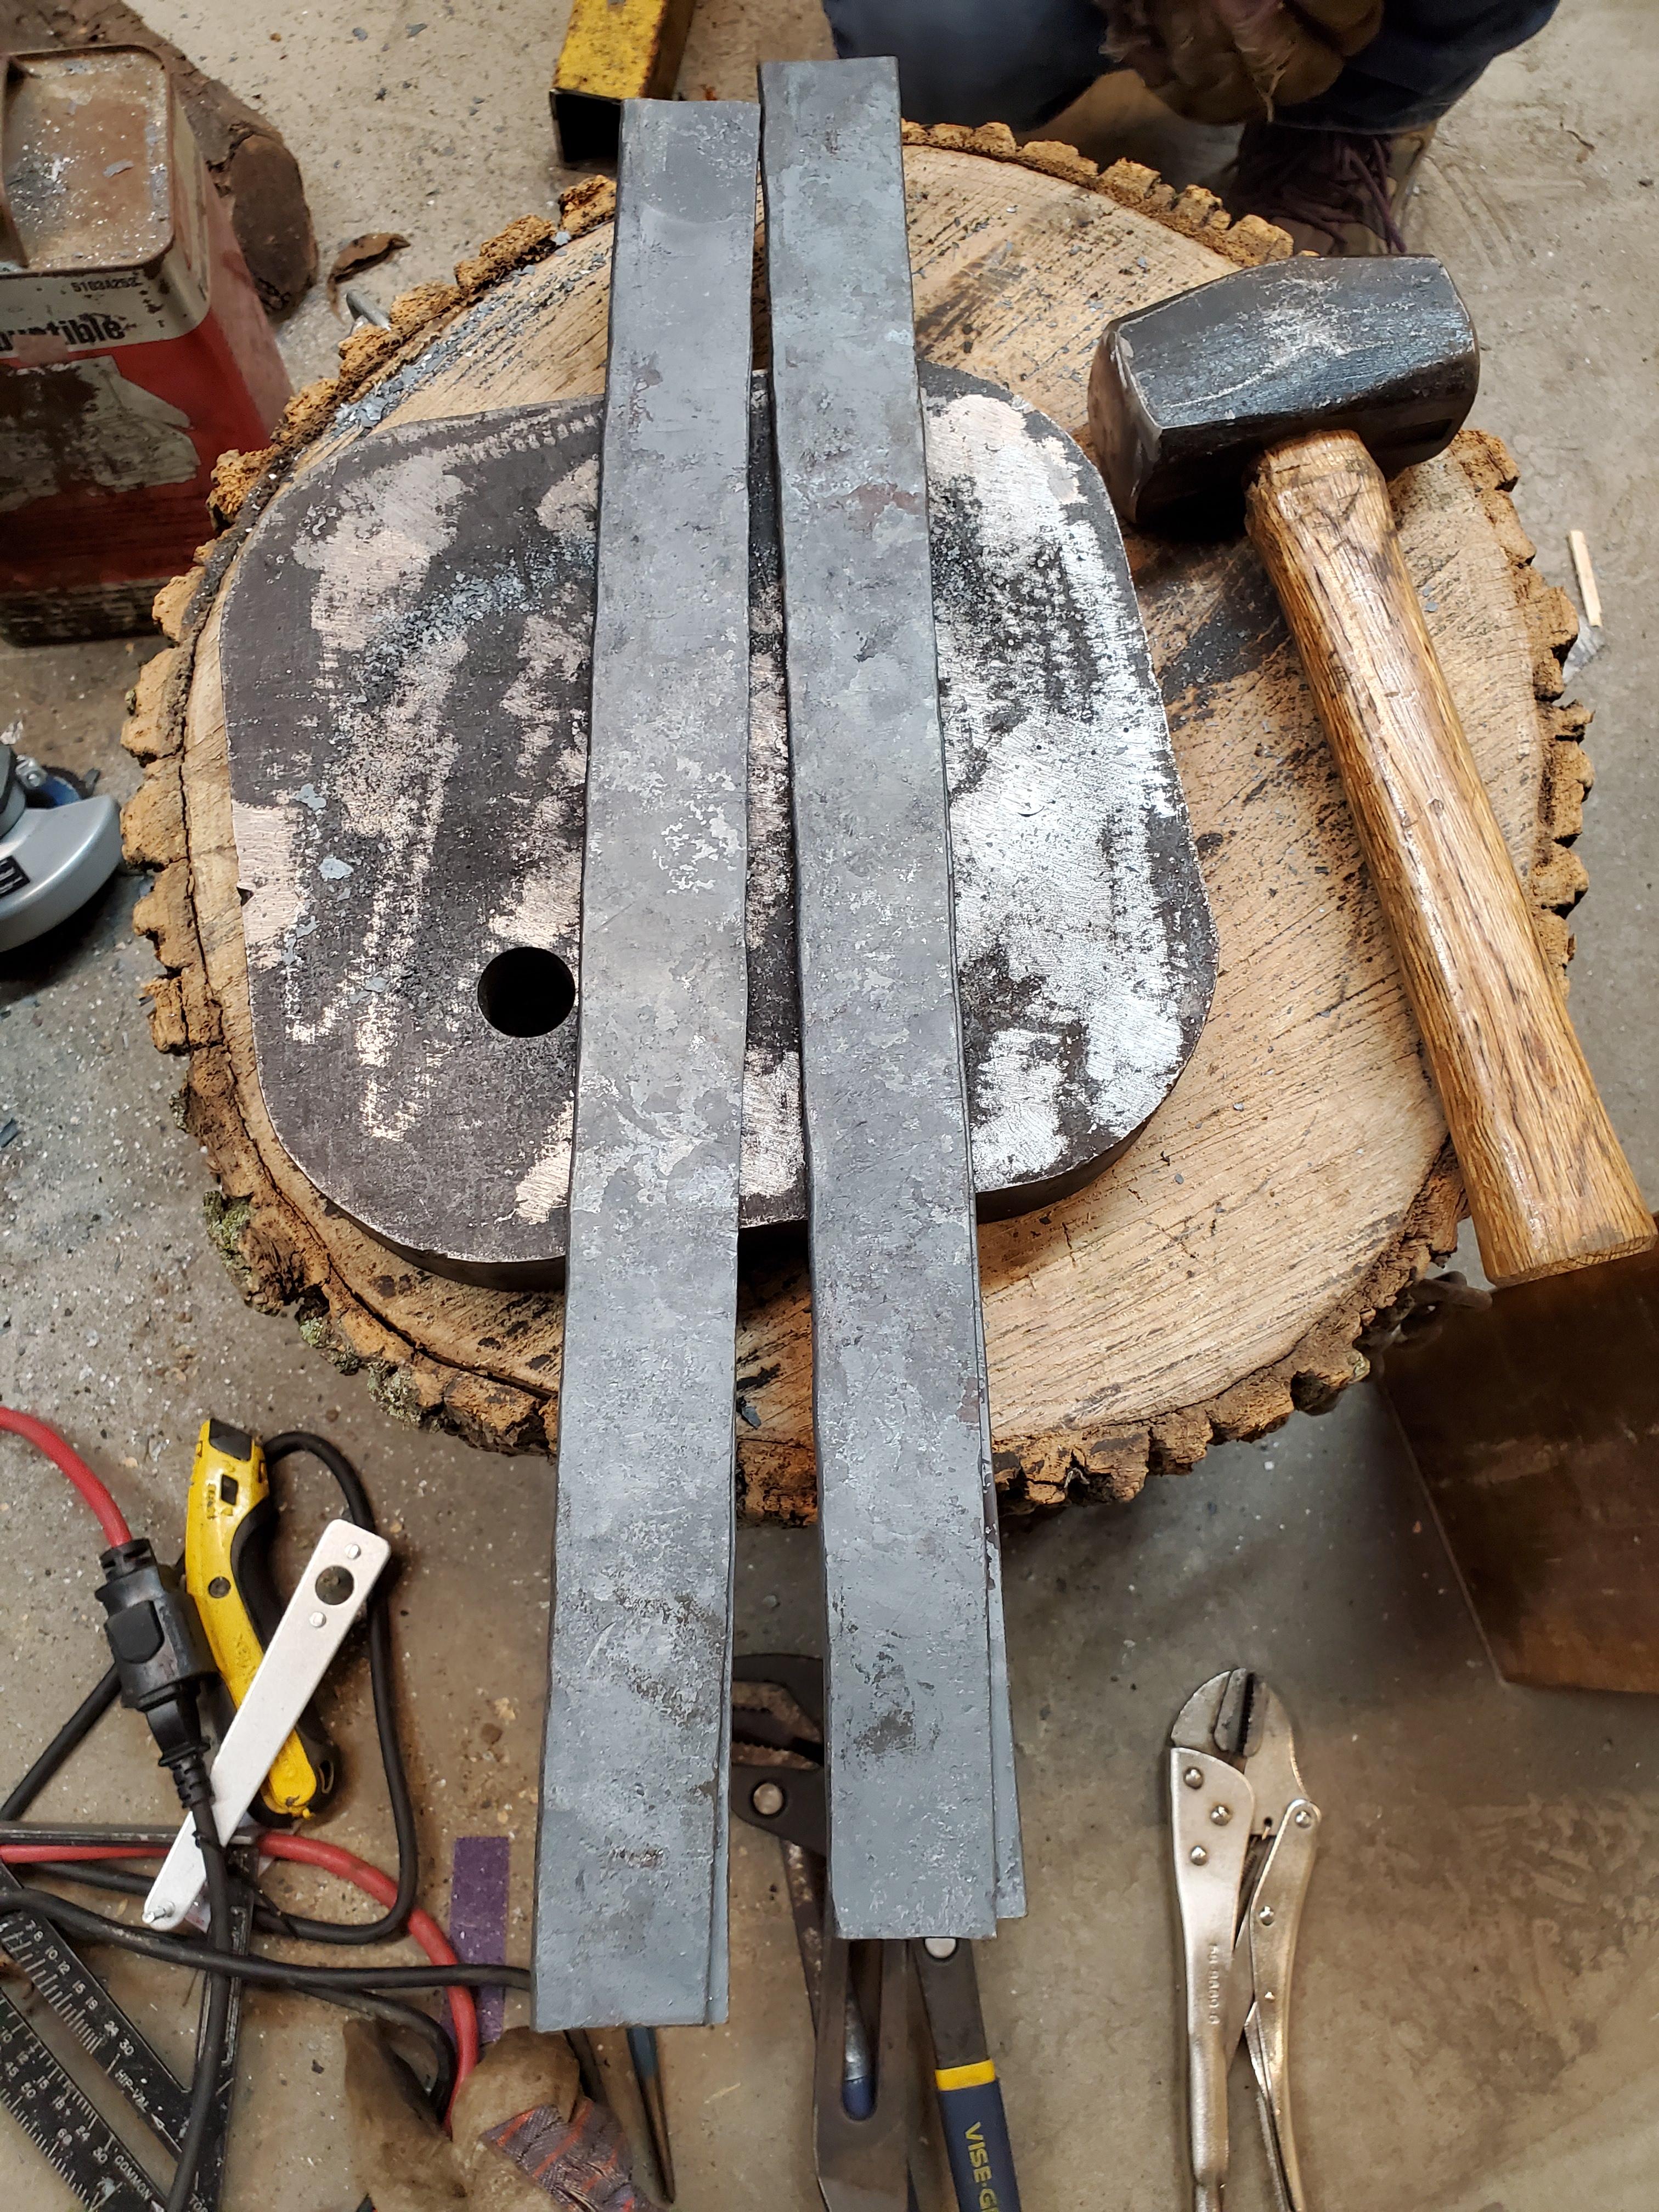
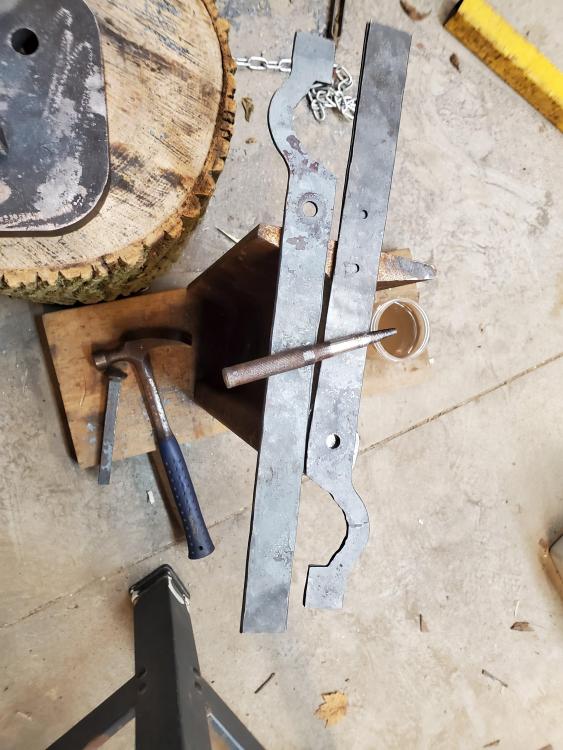
I did it! I made something! Thanks JHCC for this thread and idea! I thought this was the perfect project for a new person to the craft so I gave it a go. I happened to have a set of bedframes that some ignorant idiot left in a public place and I picked up. Paint removal was a challenge. I tried wire brush and grinding wheel, which both just smeared it around. My paint stripper was old and thick, and after thinning with methanol did a marginal job. More grinding and wire wheeling and I burnt off what was left. I didn't fold them quite perfectly, so I cut the poor ends in order to hide it. Curving the jaws was a bit of a challenge without a horn but i worked them around the fuller I ground into my railroad track. The rivet was made from some rebar that I rounded off to 7/16. I thought I would drill the hole but the steel proved a little too hard for my dull 7/16 bit so I enlarged my 1/8 hole with a punch that I ground out of some tool steel from my scrap bin. I had to cut out my first rivet and straighten the tongs. I may have made my holes oblong in the process. The second rivet entry well but it was tough to get the tongs moving again. I managed to get vice grips on either rein and get them apart. They hold the spike securely, but not perfectly in line with the reins. A little more finesse is required, but I'm happy to have my first set of tongs and look forward to forging without burning my hands!! Thanks again JHCC !


-
I was using new HSS titanium coated bits and I think I burned up 4 or so. The first might have caught some grit but the rest were working on bare metal as they all made a few chips before giving up. I'll get to my buddy's shop and punch it out with the torch sooner or later. I could zip out a section with the angle grinder but thats more than I want to give up. I won't get a pritchel in it but I have that chunk of mild steel that I can use for that. I could weld some square stock to the bottom and stick it in a vice. Tonight I ground out the web into a fuller and started on a pair of "bedframe tongs". A seemingly simple concept! It took me ages to get most of the paint off, it seemed to gum up grinding wheels and sandpaper. My paint stripper had hardened to a thick gel, so I thinned it with some methanol, but it did not perform adequately. The wire wheel on the grinder just seemed to smear it around. The next bonfire I have will be burning paint I promise you! After getting the bulk off I heated it up and had some difficulty folding it over perfectly down the middle. I blame this at least partly on not hammering from both sides. I wasn't flipping it over much because I was using channel locks to hold the material. Reinforced the need for tongs! A smart man would have welded some rebar to the material, but nobody has ever accused me of being a smart man. I'm fine with the dodgy overlap, but it will take some concentration to get them straight, as they are quite wavy from the beating.
-
Sounds like you guys keep the emergency room busy. My wife is no stranger to finding a blood trail leading to the washroom. Usually just nick myself butchering something. Haven't had any too bad lately, but I did fracture a punch this summer and a chip is now permanently lodged in the hand that was holding the punch. It is a convenient place to hold a magnet. Again, not too much time tonight. I chowdered a few drill bits trying to get my chain hole through the web. Smart. I guess the rail is harder than I thought and it made me wonder how Charles managed to drill a 1" pritchel in his. I burned a few HSS bits (to make sure the first couple weren't just a fluke!) just trying to get through the web, and still failed to make it through. I even used the drill press. Fired up the forge for a bit and practiced making rebar into a consistent square, then octagon. I narrowed the forge by putting another 1.25" hard firebrick on either side, and liked how it performed. Trying to work up the courage to try a pair of tongs.
-
Thanks Frosty, For now I think that I will try a horn on one flange and a fuller on the web, as you've recommended. I was thinking that there was enough real estate on the web to also integrate a hot cut as well, but I see some are hesitant to integrate a hot cut into the face of the anvil for safety reasons, so perhaps I should abstain until I've got some experience. I'm sure a hatchet in a vice would suffice for my purposes right now. I think I'll proceed with my idea to chain the track down for now. If I get a lot of tools ground into it and need to use the other end, I can reanalyze my options. I'm sure an inch hole in the web won't affect the functionality of the rail appreciably. I need to spend less time typing and thinking and more time hammering!
-
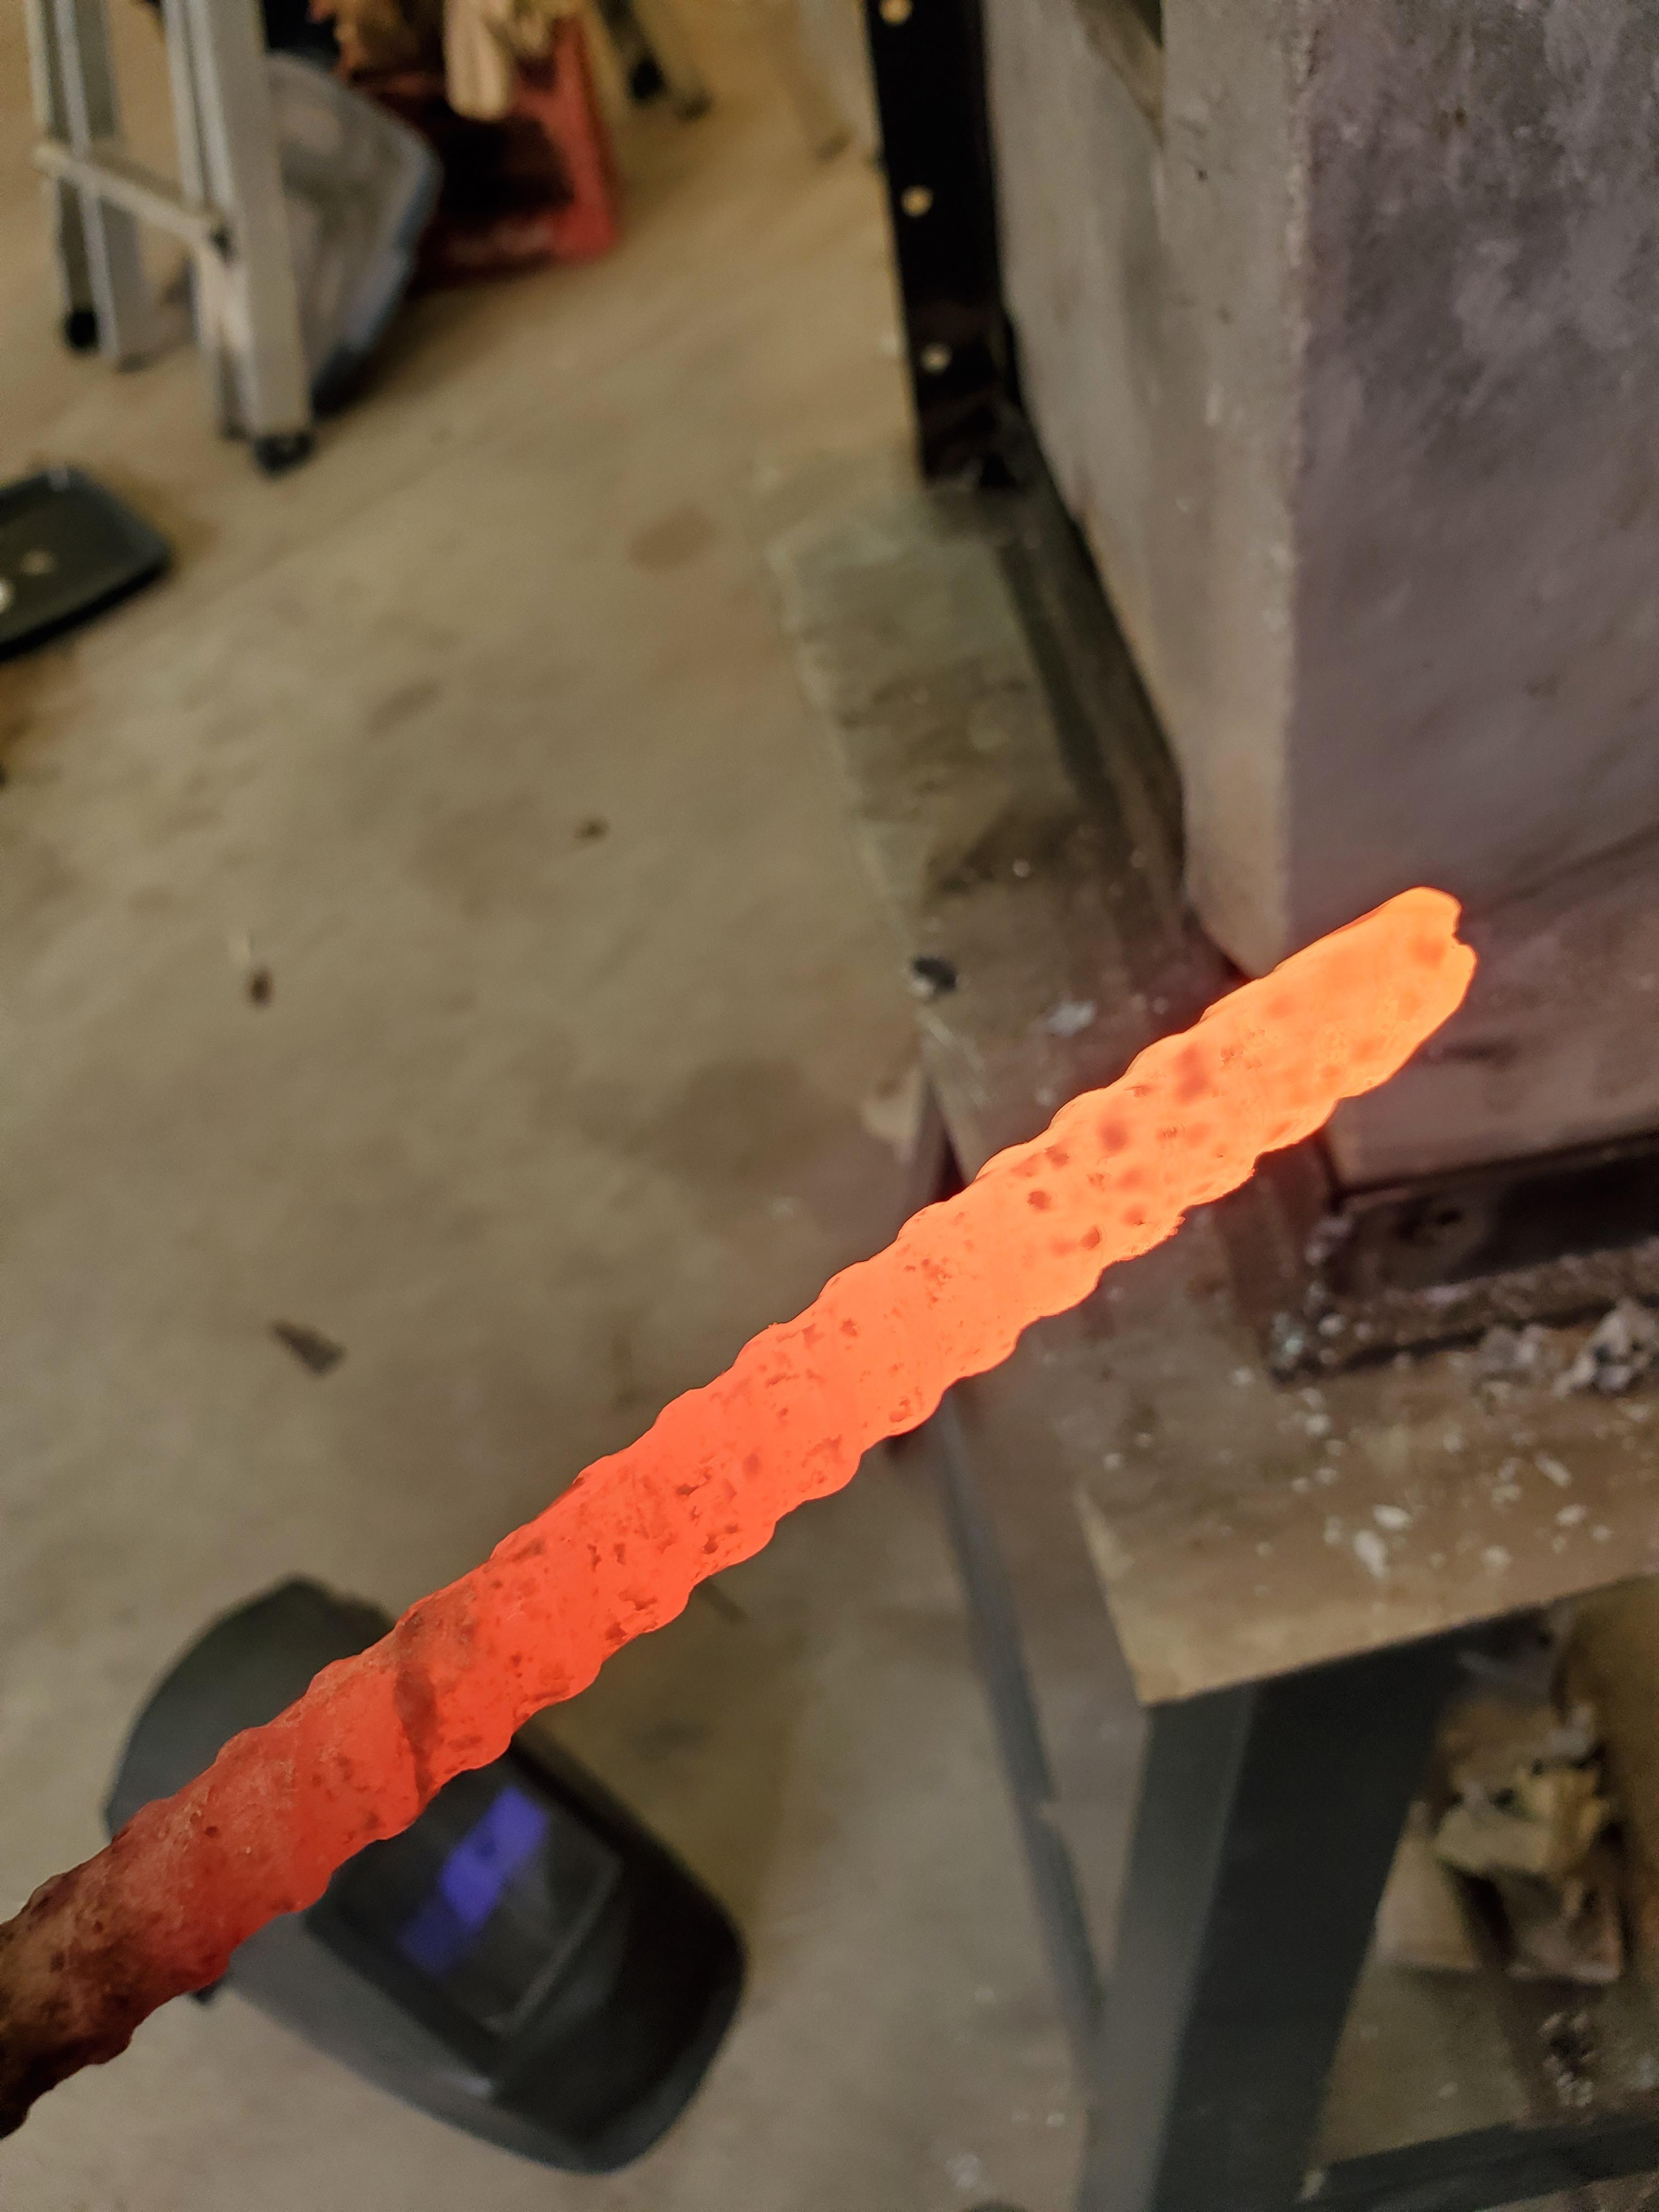
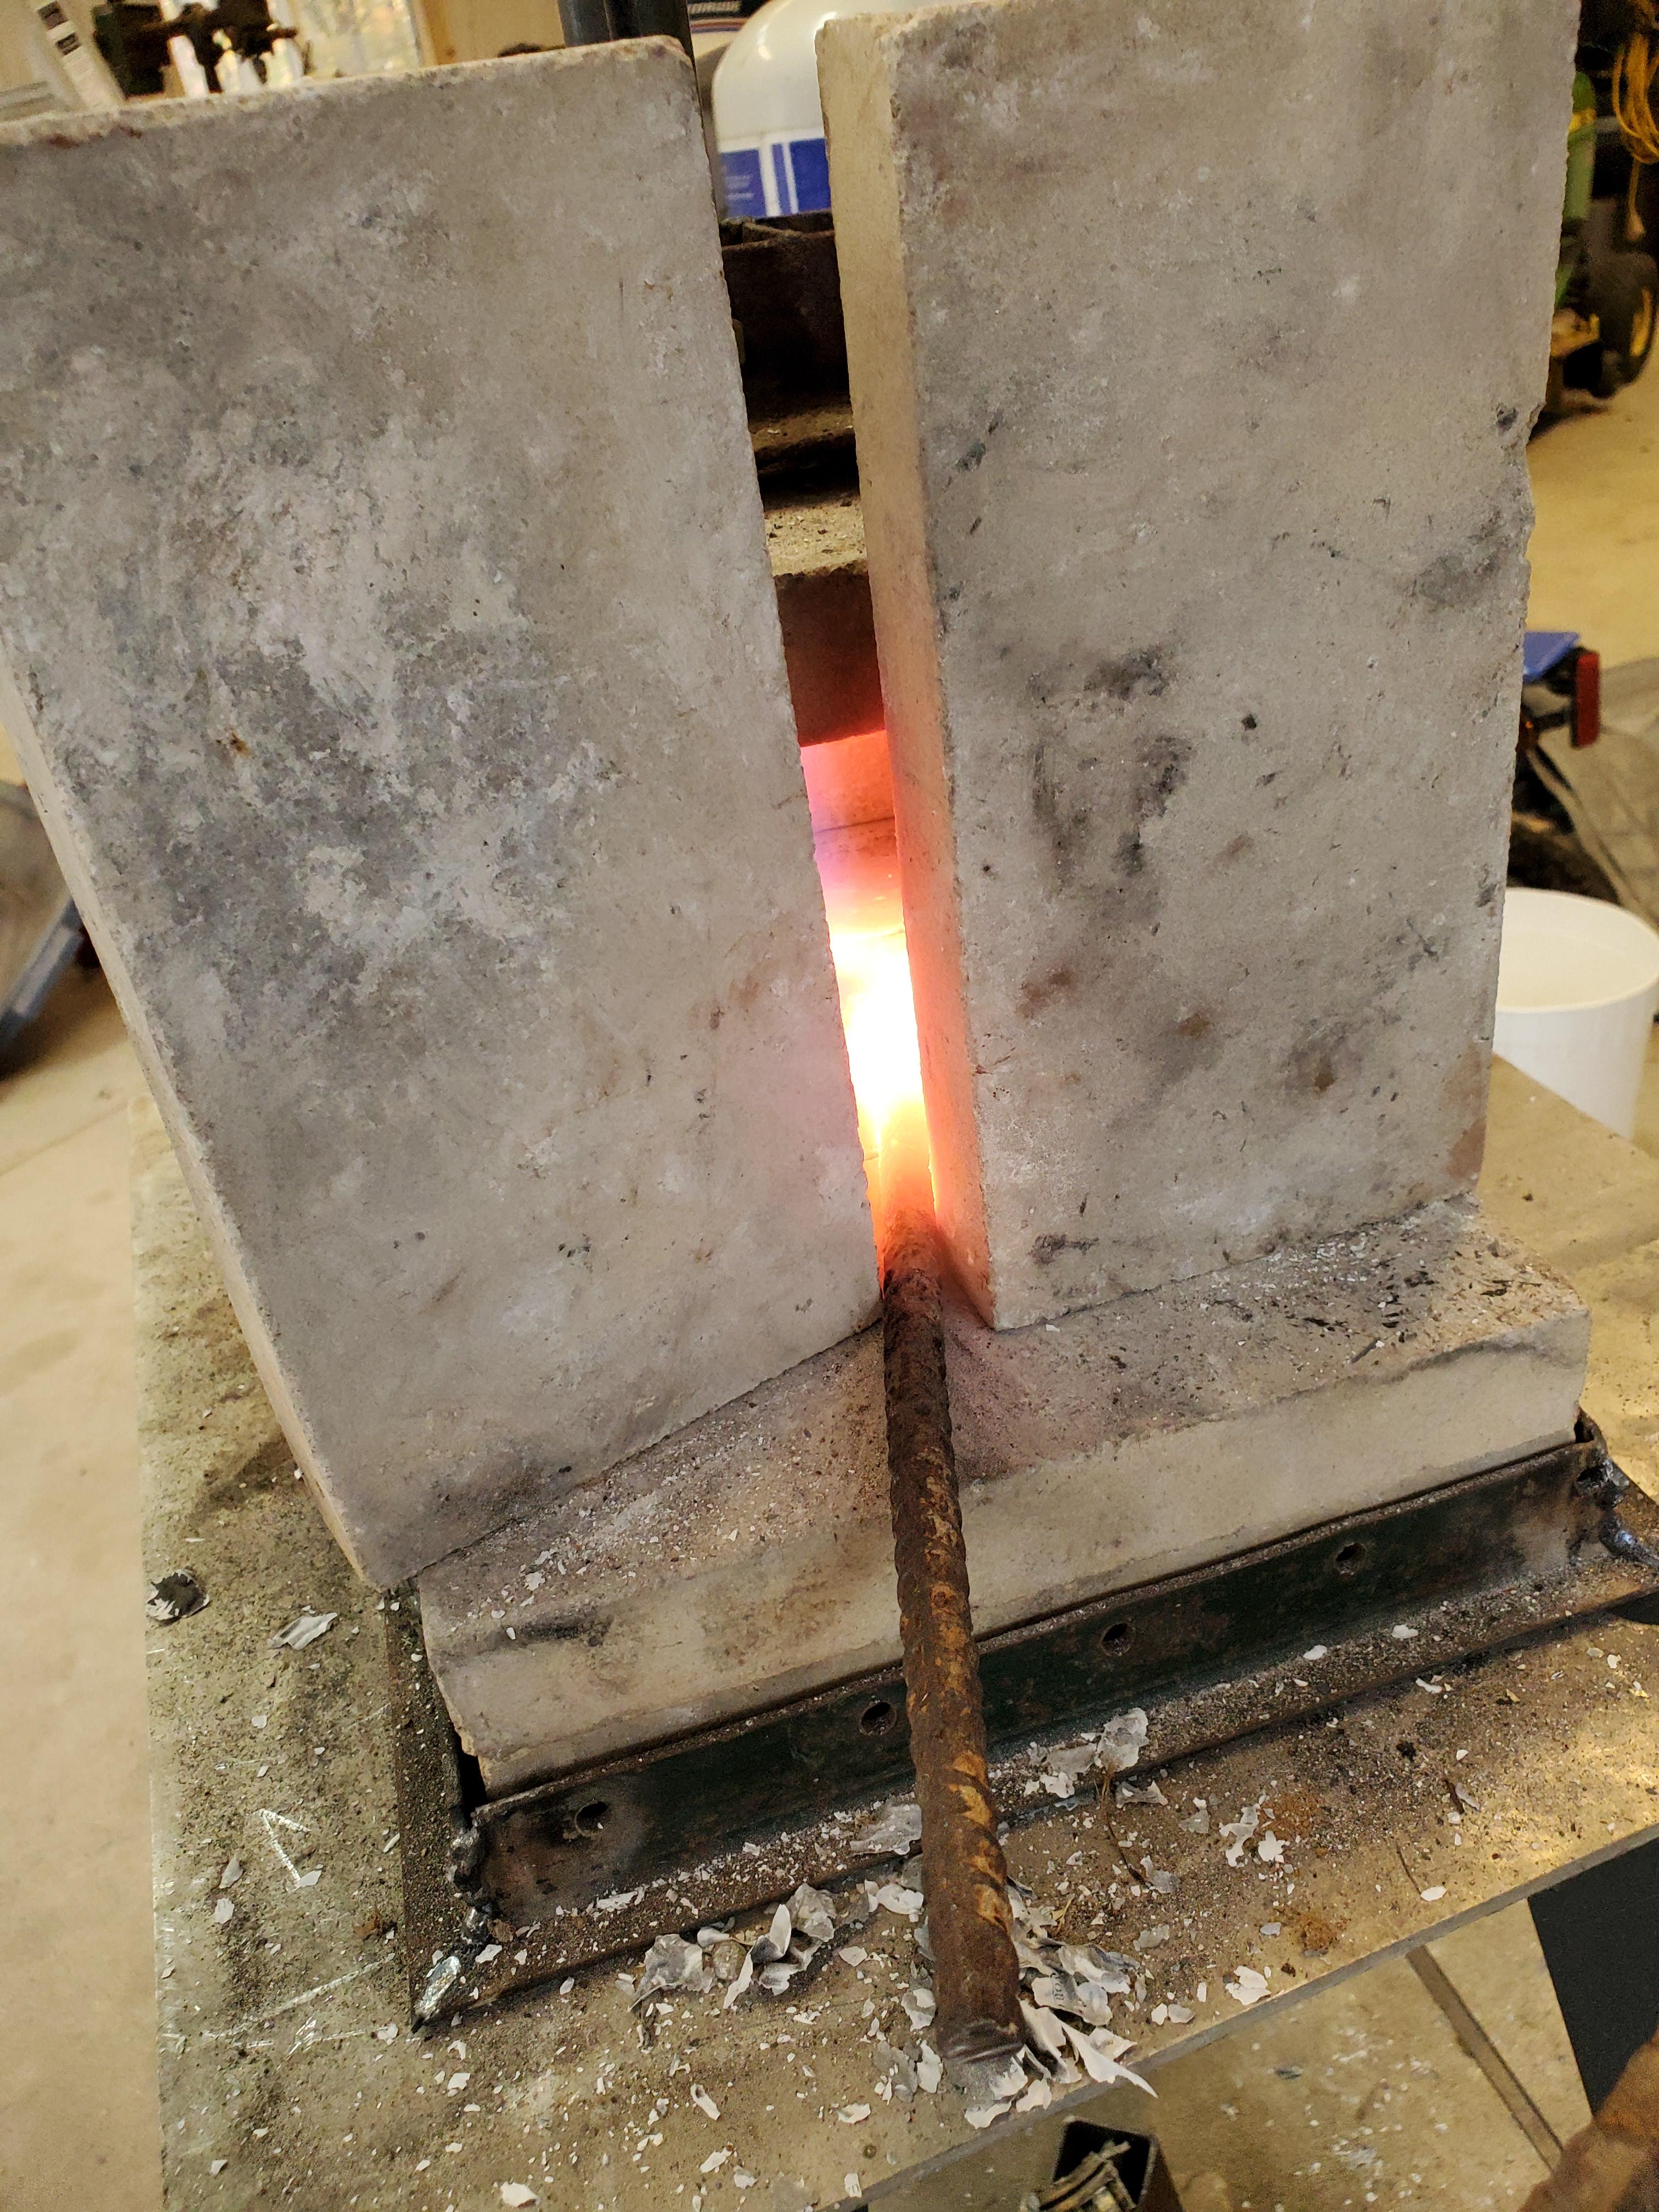
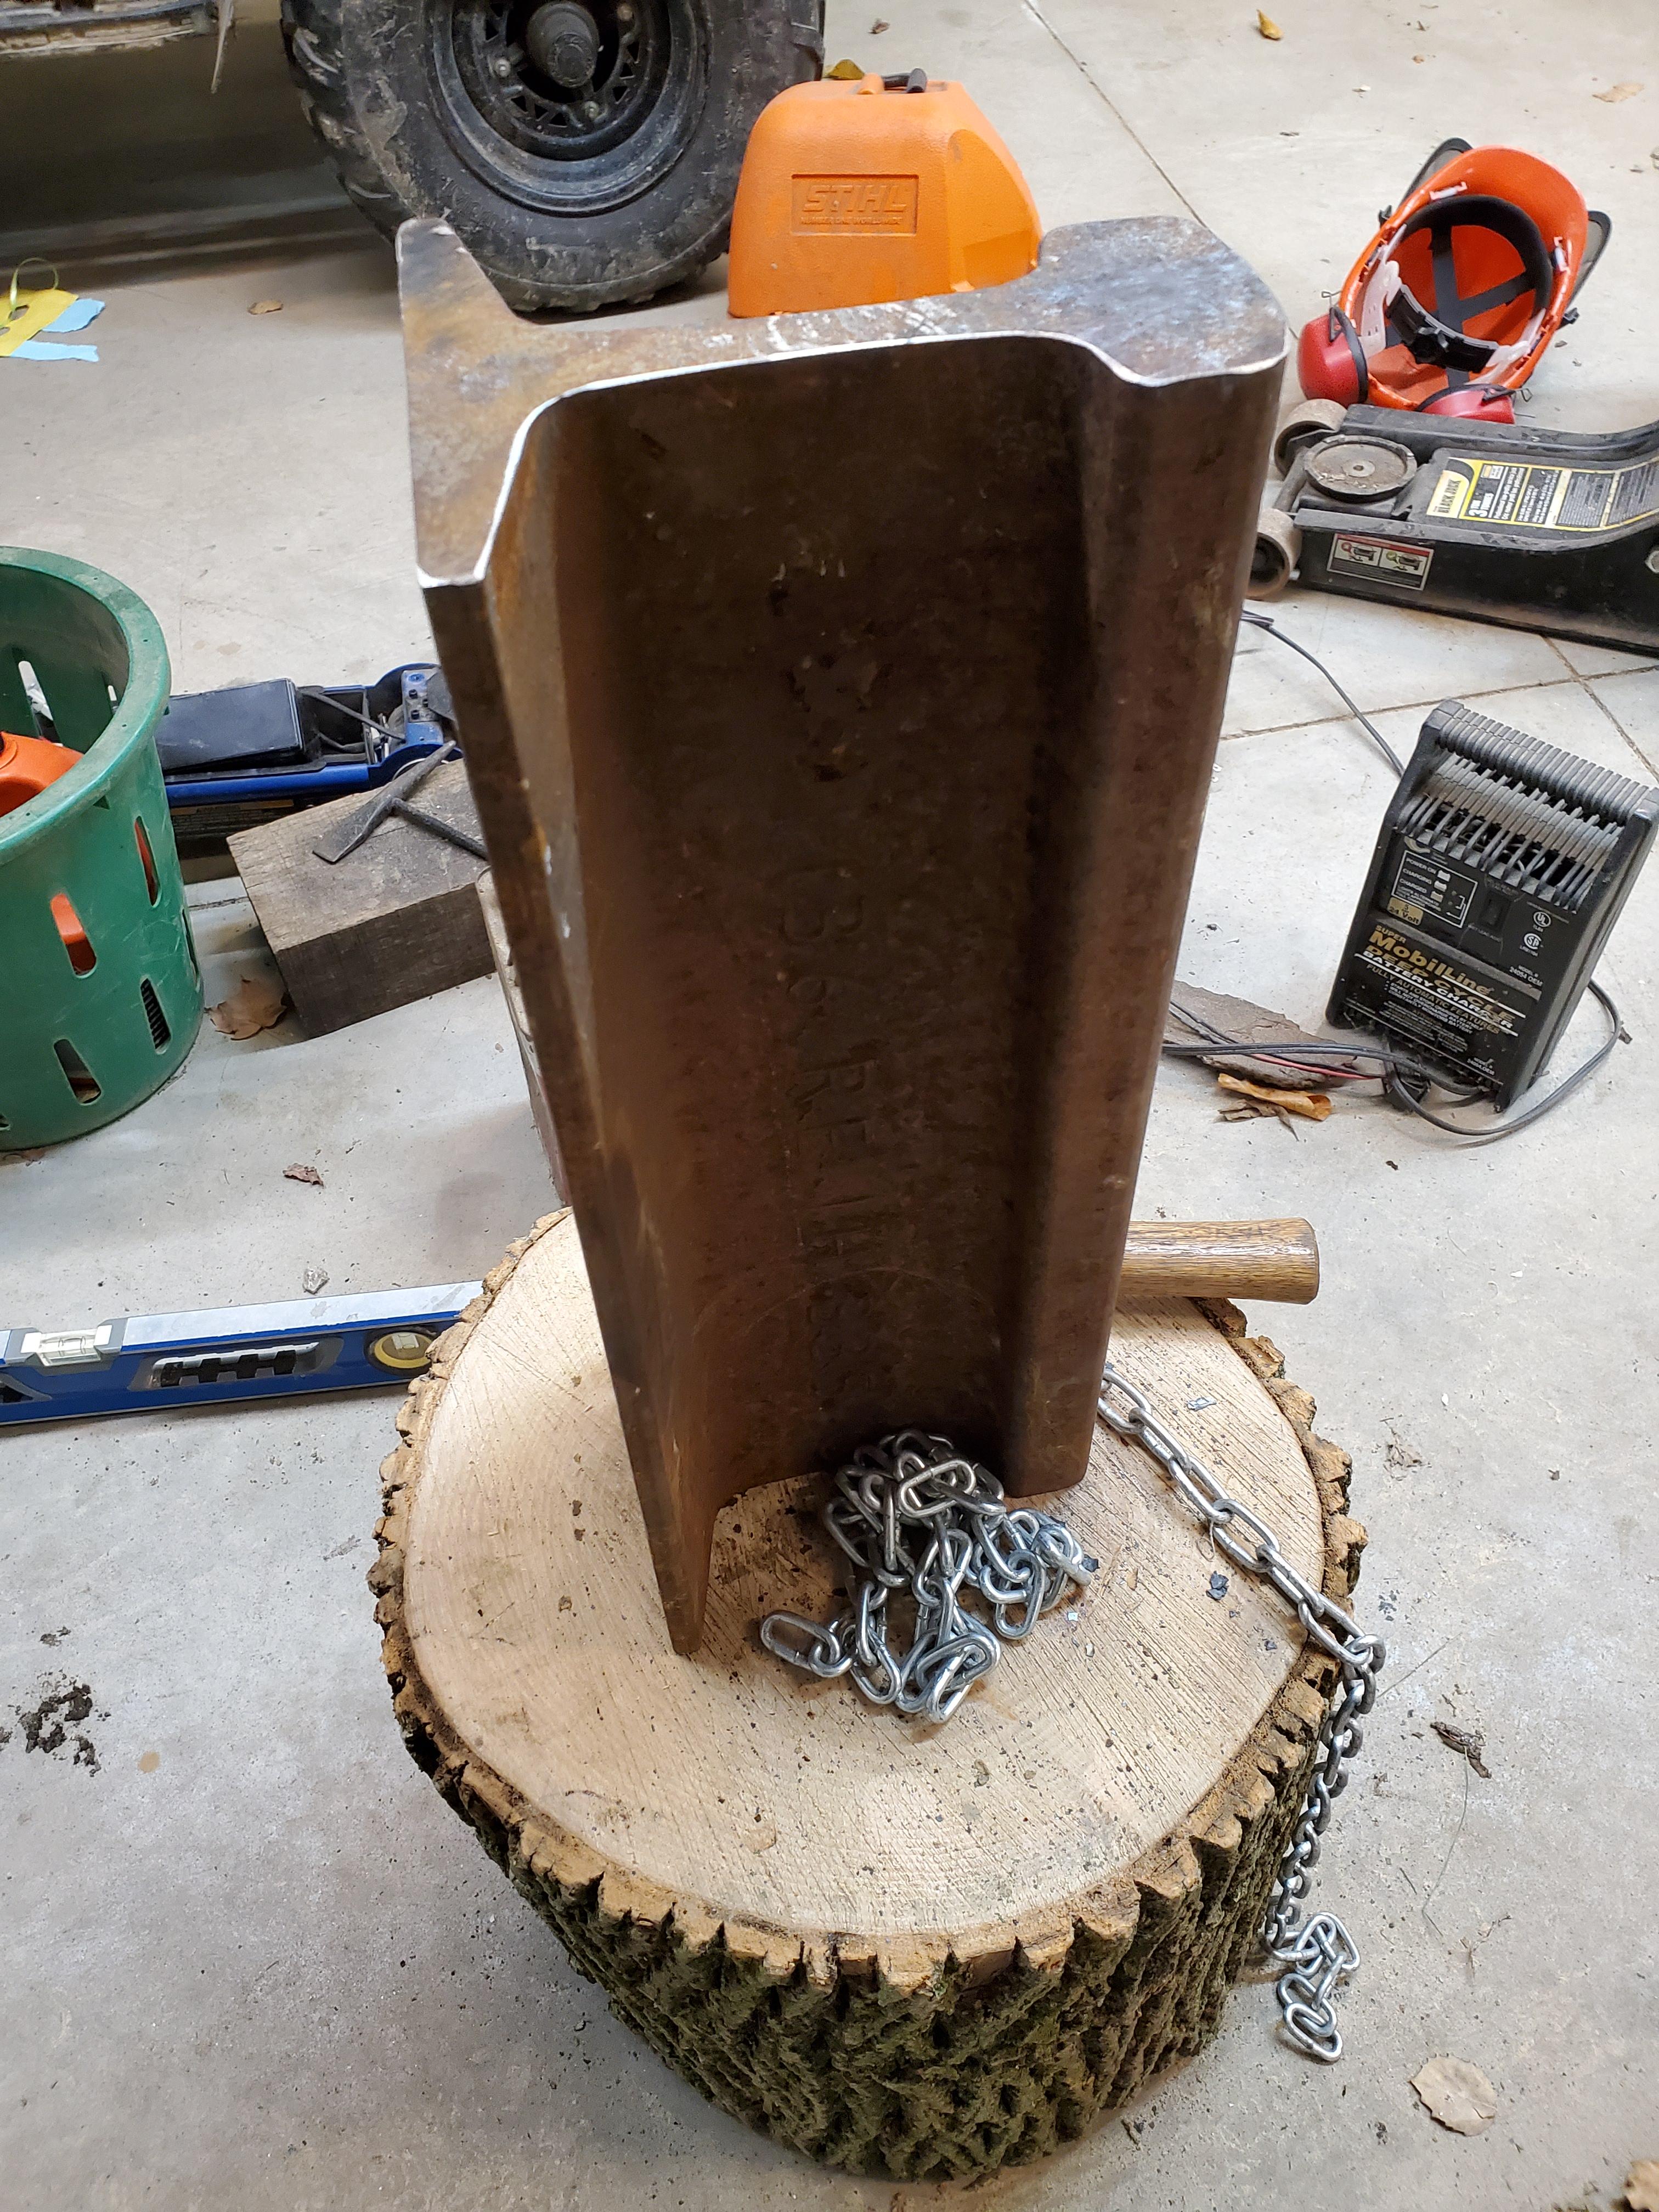
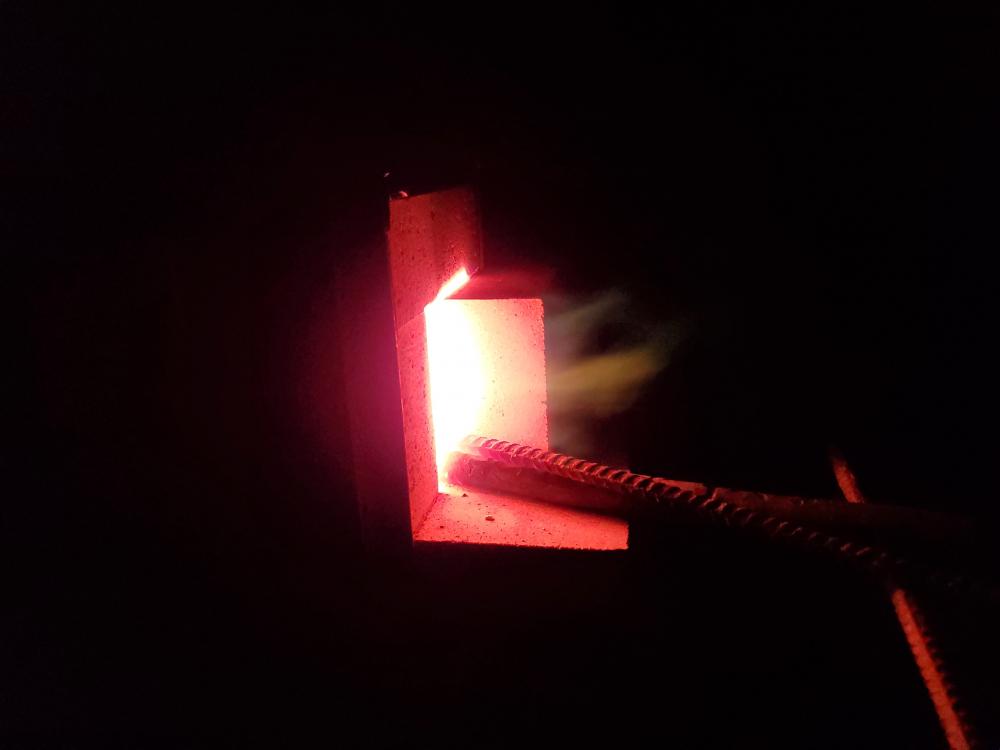
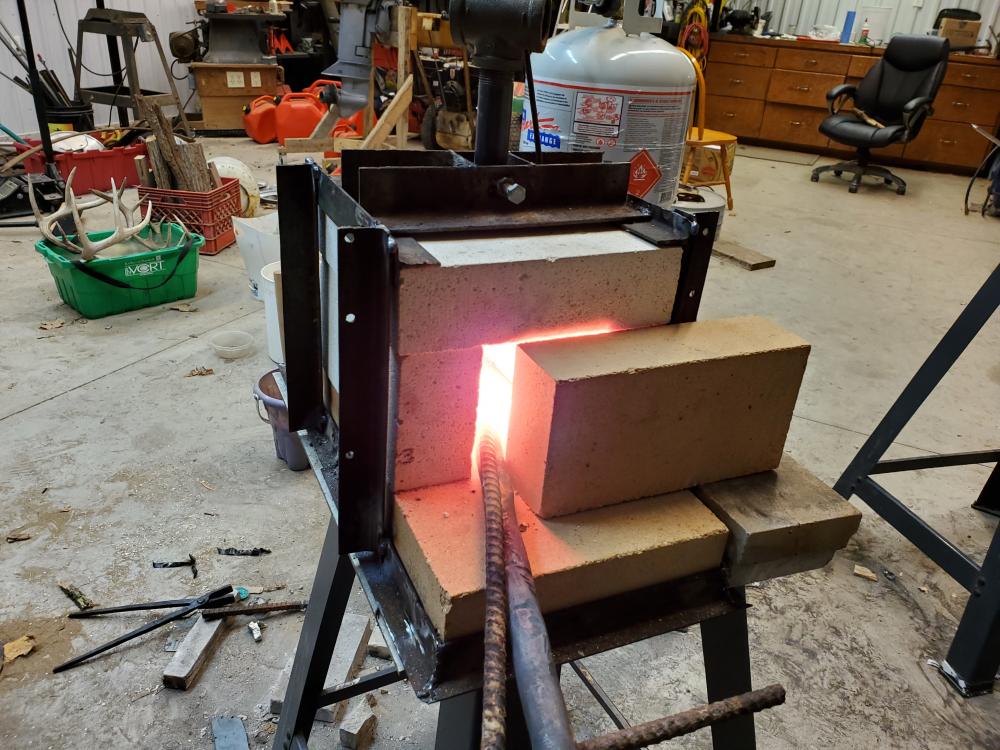
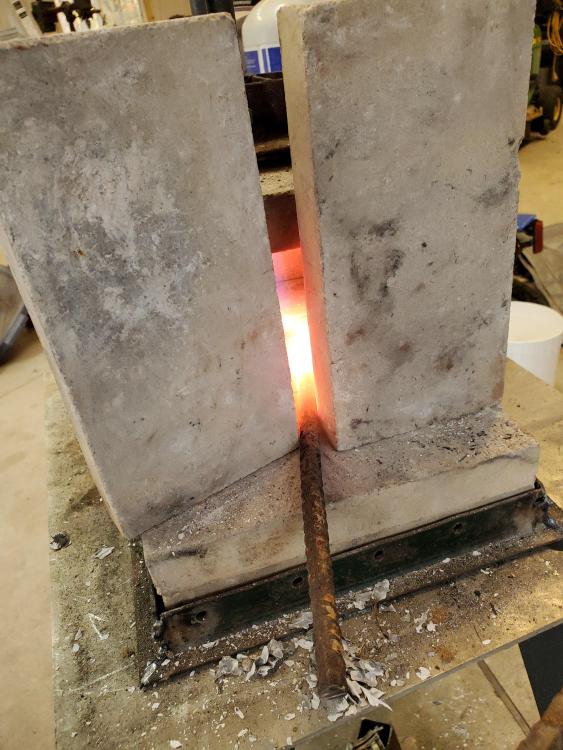
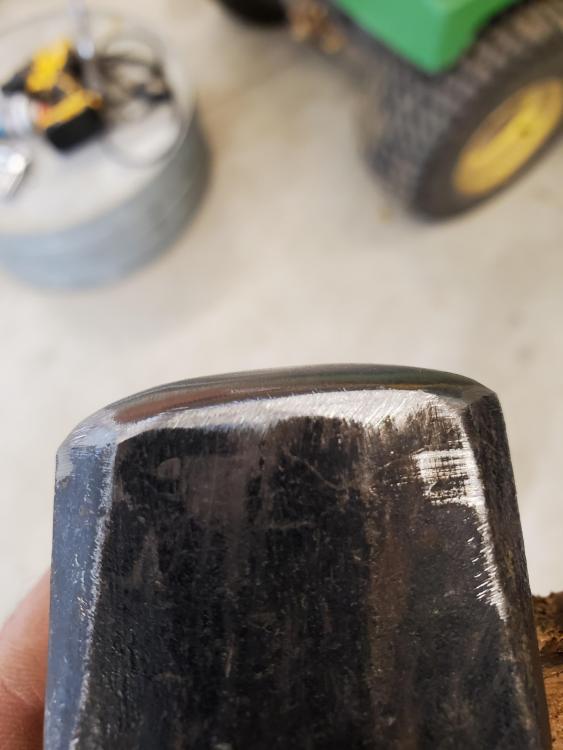
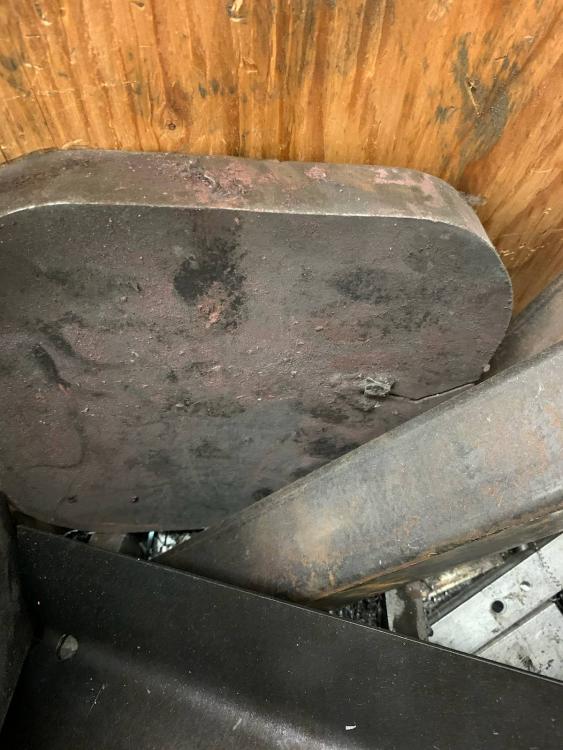
Okay, so the weekend didn't provide me a ton of time, but I was able to do some tinkering. I got to town and found the 1x1x3/4 T to finish the burner properly. I didn't crank the tap too deeply, and it worked out that a new mig tip centered up nicely without having to be trimmed. I'd say that it works equally to the previous setup with the mig tip ground to a nub. Even with the forge closed up to a 1x4.5" gap, it huffs significantly on lighting, but evens out as the forge comes up to temperature. I experimented a bit with more flow and tried up to 15psi. The noise from the flame seems to plateau well before that so I think the BTUs from the burner do as well. I haven't fired it yet with a narrower chamber, but the way it was set up I don't think I'm reaching forge welding temps. I'm getting some orange, but I think the hard firebrick is holding me back with the current setup, as pointed out by you knowledgeable smiths! If I keep at the craft, I will rebuild. I've got one and a half T-bar fence posts and 4 bolts into my current forge. The bolts were from my junk bin, and the hard firebricks were from my maple syrup evaporator. I paid a buck apiece for the T-bar fence posts, so I guess I'm out a buck fifty if I ditch this design. I will learn to cope. Non-forge section: I figured these weren't worth their own thread in the appropriate subforums. I rounded off some cheap hammers. One is a regular hammer (cheapo found on the highway at some point), and I tried to turn it into the ball side of a ball peen. Another was a 3lb that I bought for cheap at some point. I call it "the convincer" and have used it for teaching car parts how to cooperate. I conservatively rounded one side, but not too round. Maybe there's room for removal of more material, but I'll see how I like it (pic below). I plan to profile the other side into a cross peen through material removal, so that will lighten it significantly, but I'm not sure I care. I thought they would be better suited to the craft. I dropped a big ash tree (I heat with wood), and brought a round to the shop to serve as a base for my rail anvil. I tried to level it with the flap disc by sliding it around the shop floor and grinding down the dirty spots. After a while I realized that it would sit flat, but if I rotated it 90 degrees, it would rock. Apparently my concrete isn't as flat as I thought. I like the rail on its end. The hammer feels better and has more bounce than striking the top of it. I plan to carve a horn in one flange and possibly a cut-off tool (not sure of the name) into the web or the other flange. Baby steps. I'd like feedback on securing it to the round. I think it would cut down the ringing, and be more stable against my less-than-consistent hammer blows. My thought was to punch a hole through the middle web with a torch about 12"up from the bottom, and secure it by screwing an eye lag into either side of the round and passing a chain through the hole and adding tension with a turnbuckle. I'd like feedback on this before blasting a hole through the web. I also have a chunk of mild steel about 1.5x10x10". It has a laser cut in it. I think a large work surface would be great at times, but im not sure what to do with it. Give it a separate round of wood? Somehow fix it to the top of the rail? I'm not sure at this point. Maybe try to get a hardie in it? Open to ideas. I know that you folks say that you only need an area as big as your hammer, but the tip of the rail is only slightly bigger than the hammer!


-
Wow. Yes you may!! Ok, I'm now fairly blown away and I'm concerned that I will ruin the potential of this beautiful chunk of iron. Aaand I'm also reassured as my buddy had a couple more chunks. So if I haven't picked the right path I can likely con him into another. I really do thank you though because this thread has convinced me to change the plan out for a vertical orientation. This chunk has saw cut ends and I really think it will be good on its end. Thats awesome and I appreciate the feedback from you gentlemen. I did run the forge with a couple bricks in front of it last night but did not get a chance to start it cold in that fashion. Tonight I was helping the neighbours get some crops off but hopefully I will get some time to run the forge this weekend and post results. Thanks again for all the help!!
-
Frosty! Thanks for the input. However, I need you to dumb it down just a smidge. What's an opening? The one thats too big, I mean. The orifice/mig tip? The coupler/flare? The front of the forge? I shortened a .035 mig tip progressively down to a nub today and it got better, but still runs like crap cold and will not stay lit outside the forge. After some thought, I'd like to get my hands on soft fire brick but it seems the only place I can find it is a pottery place in Toronto. Same with ceramic wool. Toronto is not a fun place for us rural folk, but I can definitely check it out when I get there. My wife convinces me to go every third year or so. People out here must not make much pottery. I wouldn't think they make much north of Anchorage either, but what do I know. I can definitely go from a cold forge to demagnetized steel (thin 10mm rebar) in around 10 minutes, so the setup isn't all bad. Once it is up to temp it is much faster than that. If anyone reading this is in Southern Ontario and wants to stop by the shop and check it out, the coffee or beer is on me! (No I don't condone drunken forging) I picked up some train track this week and a buddy has a torch to help me rough shape it for a horn, which I'll finish up with the grinder and sander. Another buddy has some 1.5" plate. The two together should be useful once I actually start forging. I wasn't really going to do much forging with it, but it is fun and very challenging so I think I should keep at it. I tried to anneal some saw blade knife blanks tonight as well. I'll dig them out of the kids sandbox and see how they look tomorrow. Let me know which opening we are talking about and I'd be happy to try to close it! Thanks again to both of you for the feedback!
-
Thanks Mikey, but I think you've got me all wrong. I certainly don't have my head on straight! I was just poking around and found this thread. micheal83h has a video here showing his burner doing the same "huffing" thing I'm trying to describe. It gets much smoother when hot, but that is how my burner runs when it is cold. I'll make a few tweaks tonight and double check for any obstructions in the gas flow. My burner setup is similar, with just a regulator, hose and then straight to the burner. I've read some folks use a ball valve inline, and I read something about a needle valve as well? Not sure whether these are needed. I will look for more parts when I get to town, which isn't often for a hermit like me!