Trash Boat
Members
-
Joined
-
Last visited
Everything posted by Trash Boat
-
Yes you guys are right. I assumed it at was made mostly of glue and waste, and it doesn't work too well. My fire-pot is a bit adjustable, meaning I can make it shallower with spacers, but its about about 6 inches deep right now. Laynne I am in Dodge City right now but I go across state a lot. If you mean pallet of coal then I would gladly buy one and pick it up.
-
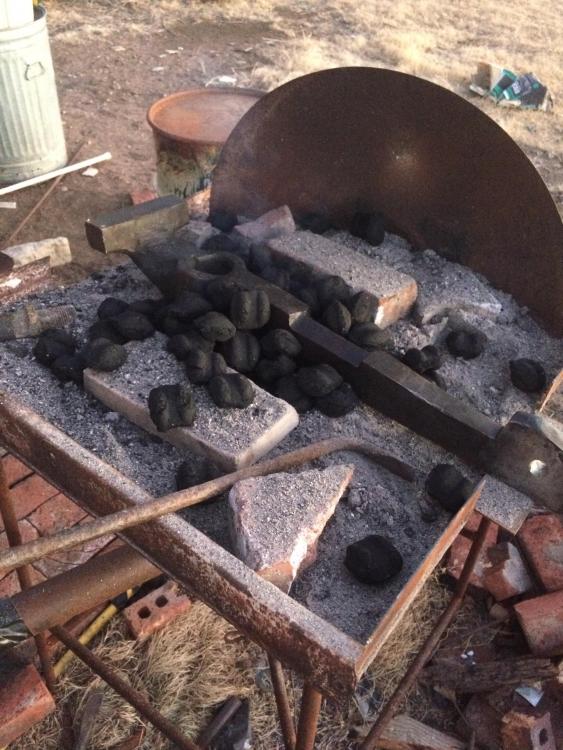
They don't work as well, but I've found them to be more economical than lump charcoal. In my experience, they burn quicker so you go though more, but depending on the store, I can get twice as many pounds of briquets per dollar compared to a bag of lump. So in one day of forging, even though I use more, It costs less. With a bit of experimenting, I can actually be pretty efficient with briquets, and there is even some pluses, like putting off less sparks than lump. The main problem is that it can crumble to very small bits, so its like fluid lava in the fire pot, so if you let it sit for too long without the air, an explosion can happen when you crank again. I just wish there was good trees where I live so I could make my own, or better yet, coal! Why is there no coal in Kansas?
-
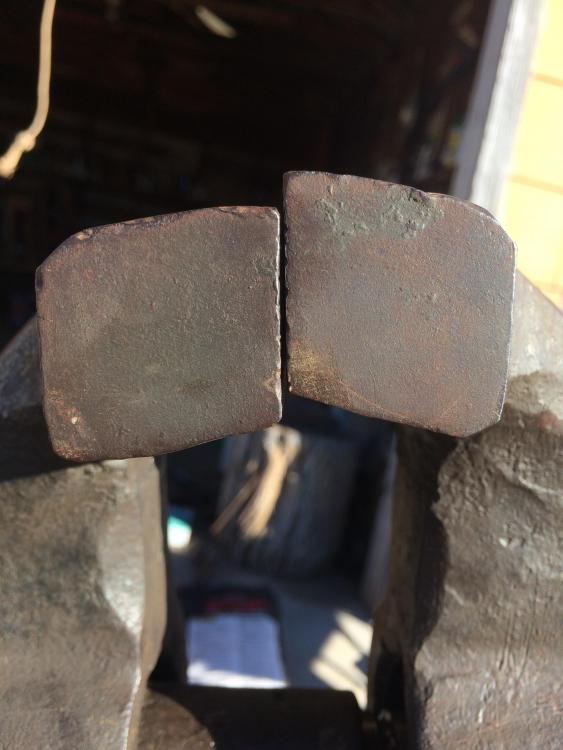
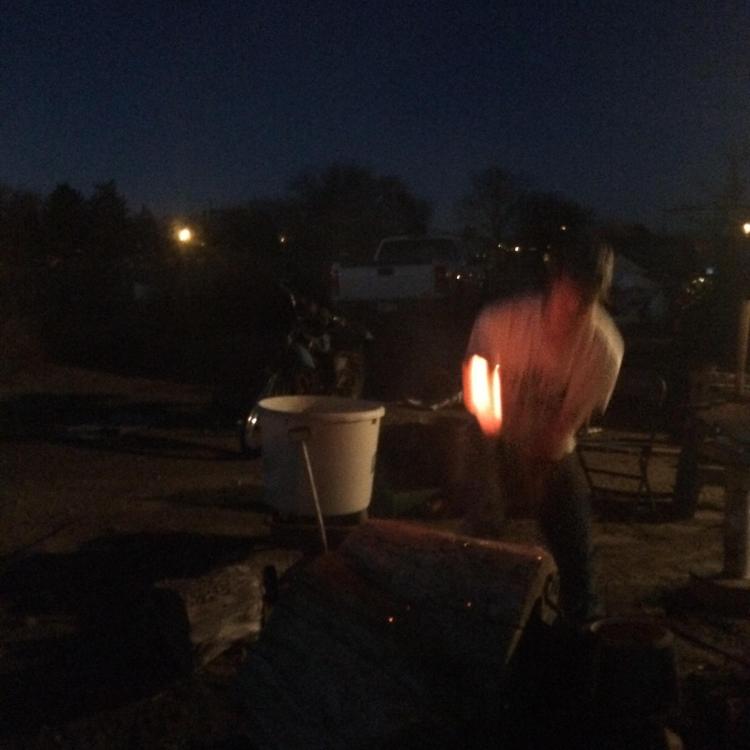
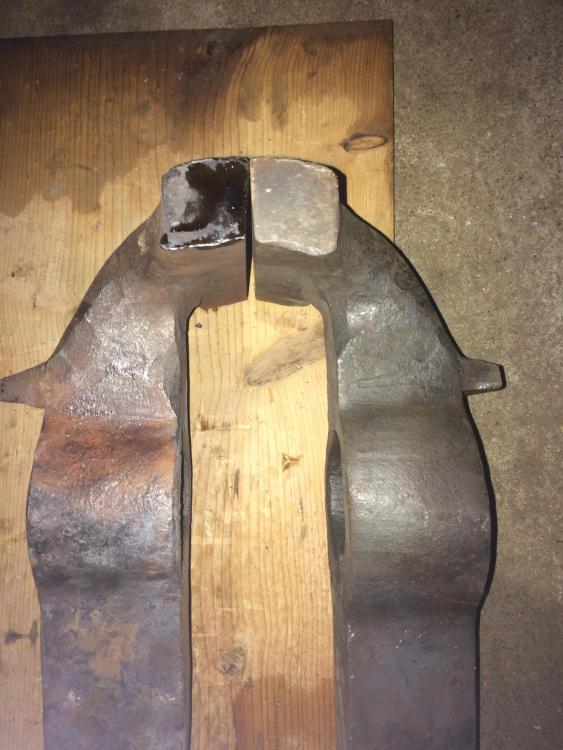
The project is complete! I was a little intimidated about putting it in the forge but i'm sure glad I did. I'm not sure if it's wrought iron, and since I didn't want to take any chances, and since I've never worked wrought iron before, I made sure to get it yellow hot, because I was afraid it might split. My anvils are pretty small, so instead of marking it up real bad, I tipped over the stump that my striking anvil is attached to. Once the piece was up to heat, I grabbed it and swung it at the stump(RIP my back), so it wouldn't dent it up too bad. Once it was about right, I used the sledge for the final tweaks. Only took 3 heats but a whole bag of charcoal, but it worked out great and doesn't have many hammer marks at all, and the jaws meet up exactly how they should right at the top. Thank you all for the advice, and I'm thankful for anymore to come. To anyone else attempting this, it's defiantly doable and totally worth it. Thanks again


-
Thank you all for the advice. Been busy the past few days. Upon closer inspection, the moving jaw has a bit of a curve, rather than a hard bend, which is probably why it wasn't obvious to me. The lower bolt and holes are all tight and don't seem to be worn at all, and I'm sure they didn't drill the holes this far off. As Kevin pointed out, the jaws should only be touching at the top instead of the whole thing. I don't have a press so I'll put it in the forge and straiten it to where it needs to be. Any more advice would be greatly appreciated, and I'll try to get some pictures of the process.

-
Now that's some expert advice. Thank you. I don't think my dinky old drillpress could make it through that much though til I get a better motor for it and straiten the quill. I'm not seeing any obvious bends. When I get some sunlight I'll look again and probably take a picture. The bolt is also looks strait but is very tight. It's not easy to get the bolt all the way through any of them so the holes in the mounting bracket might not be perfectly aligned. Would a little bit of an oversized hole cause any problems?
-
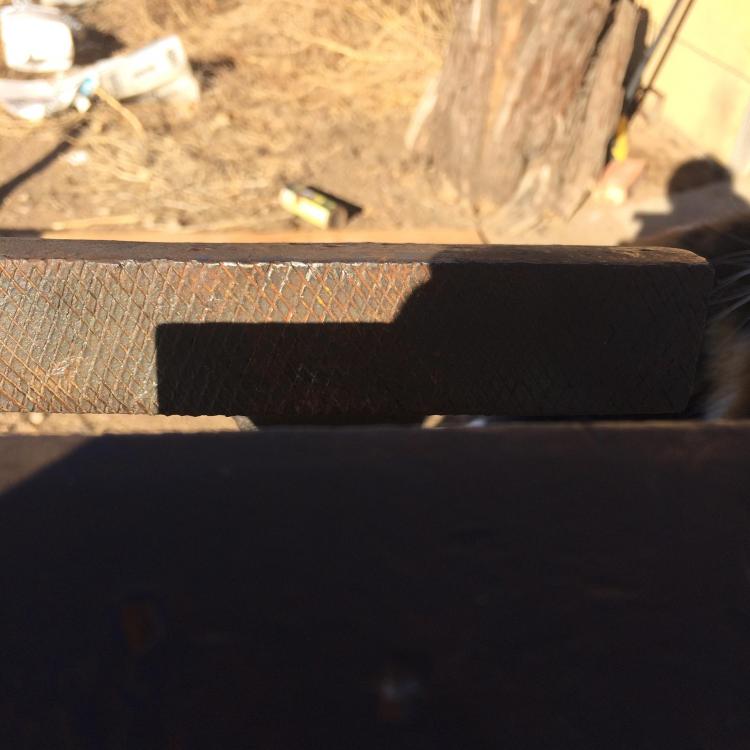
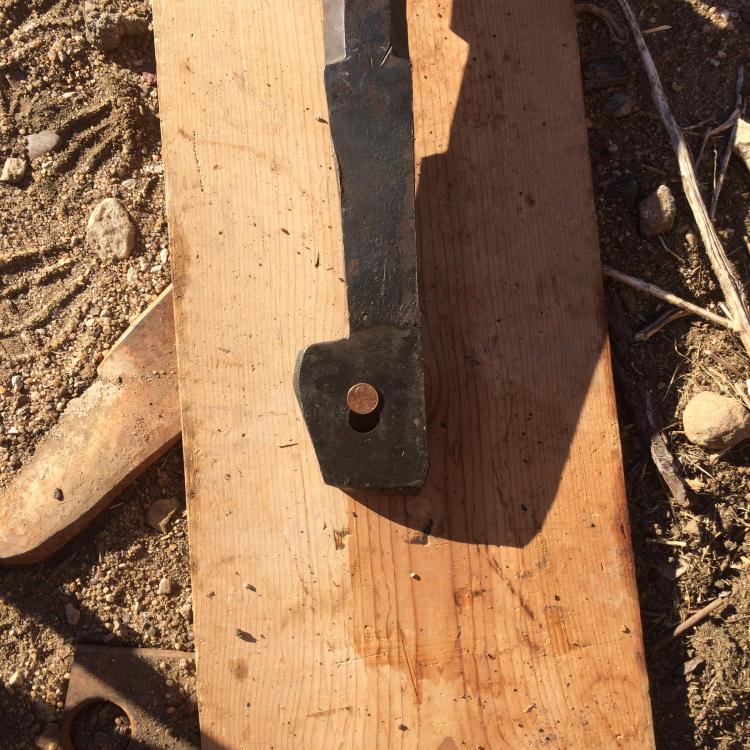
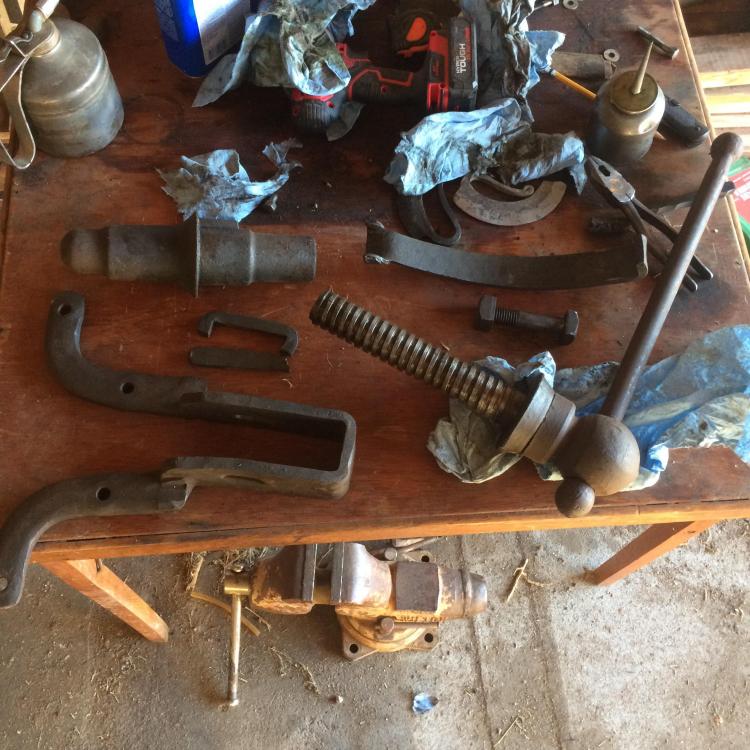
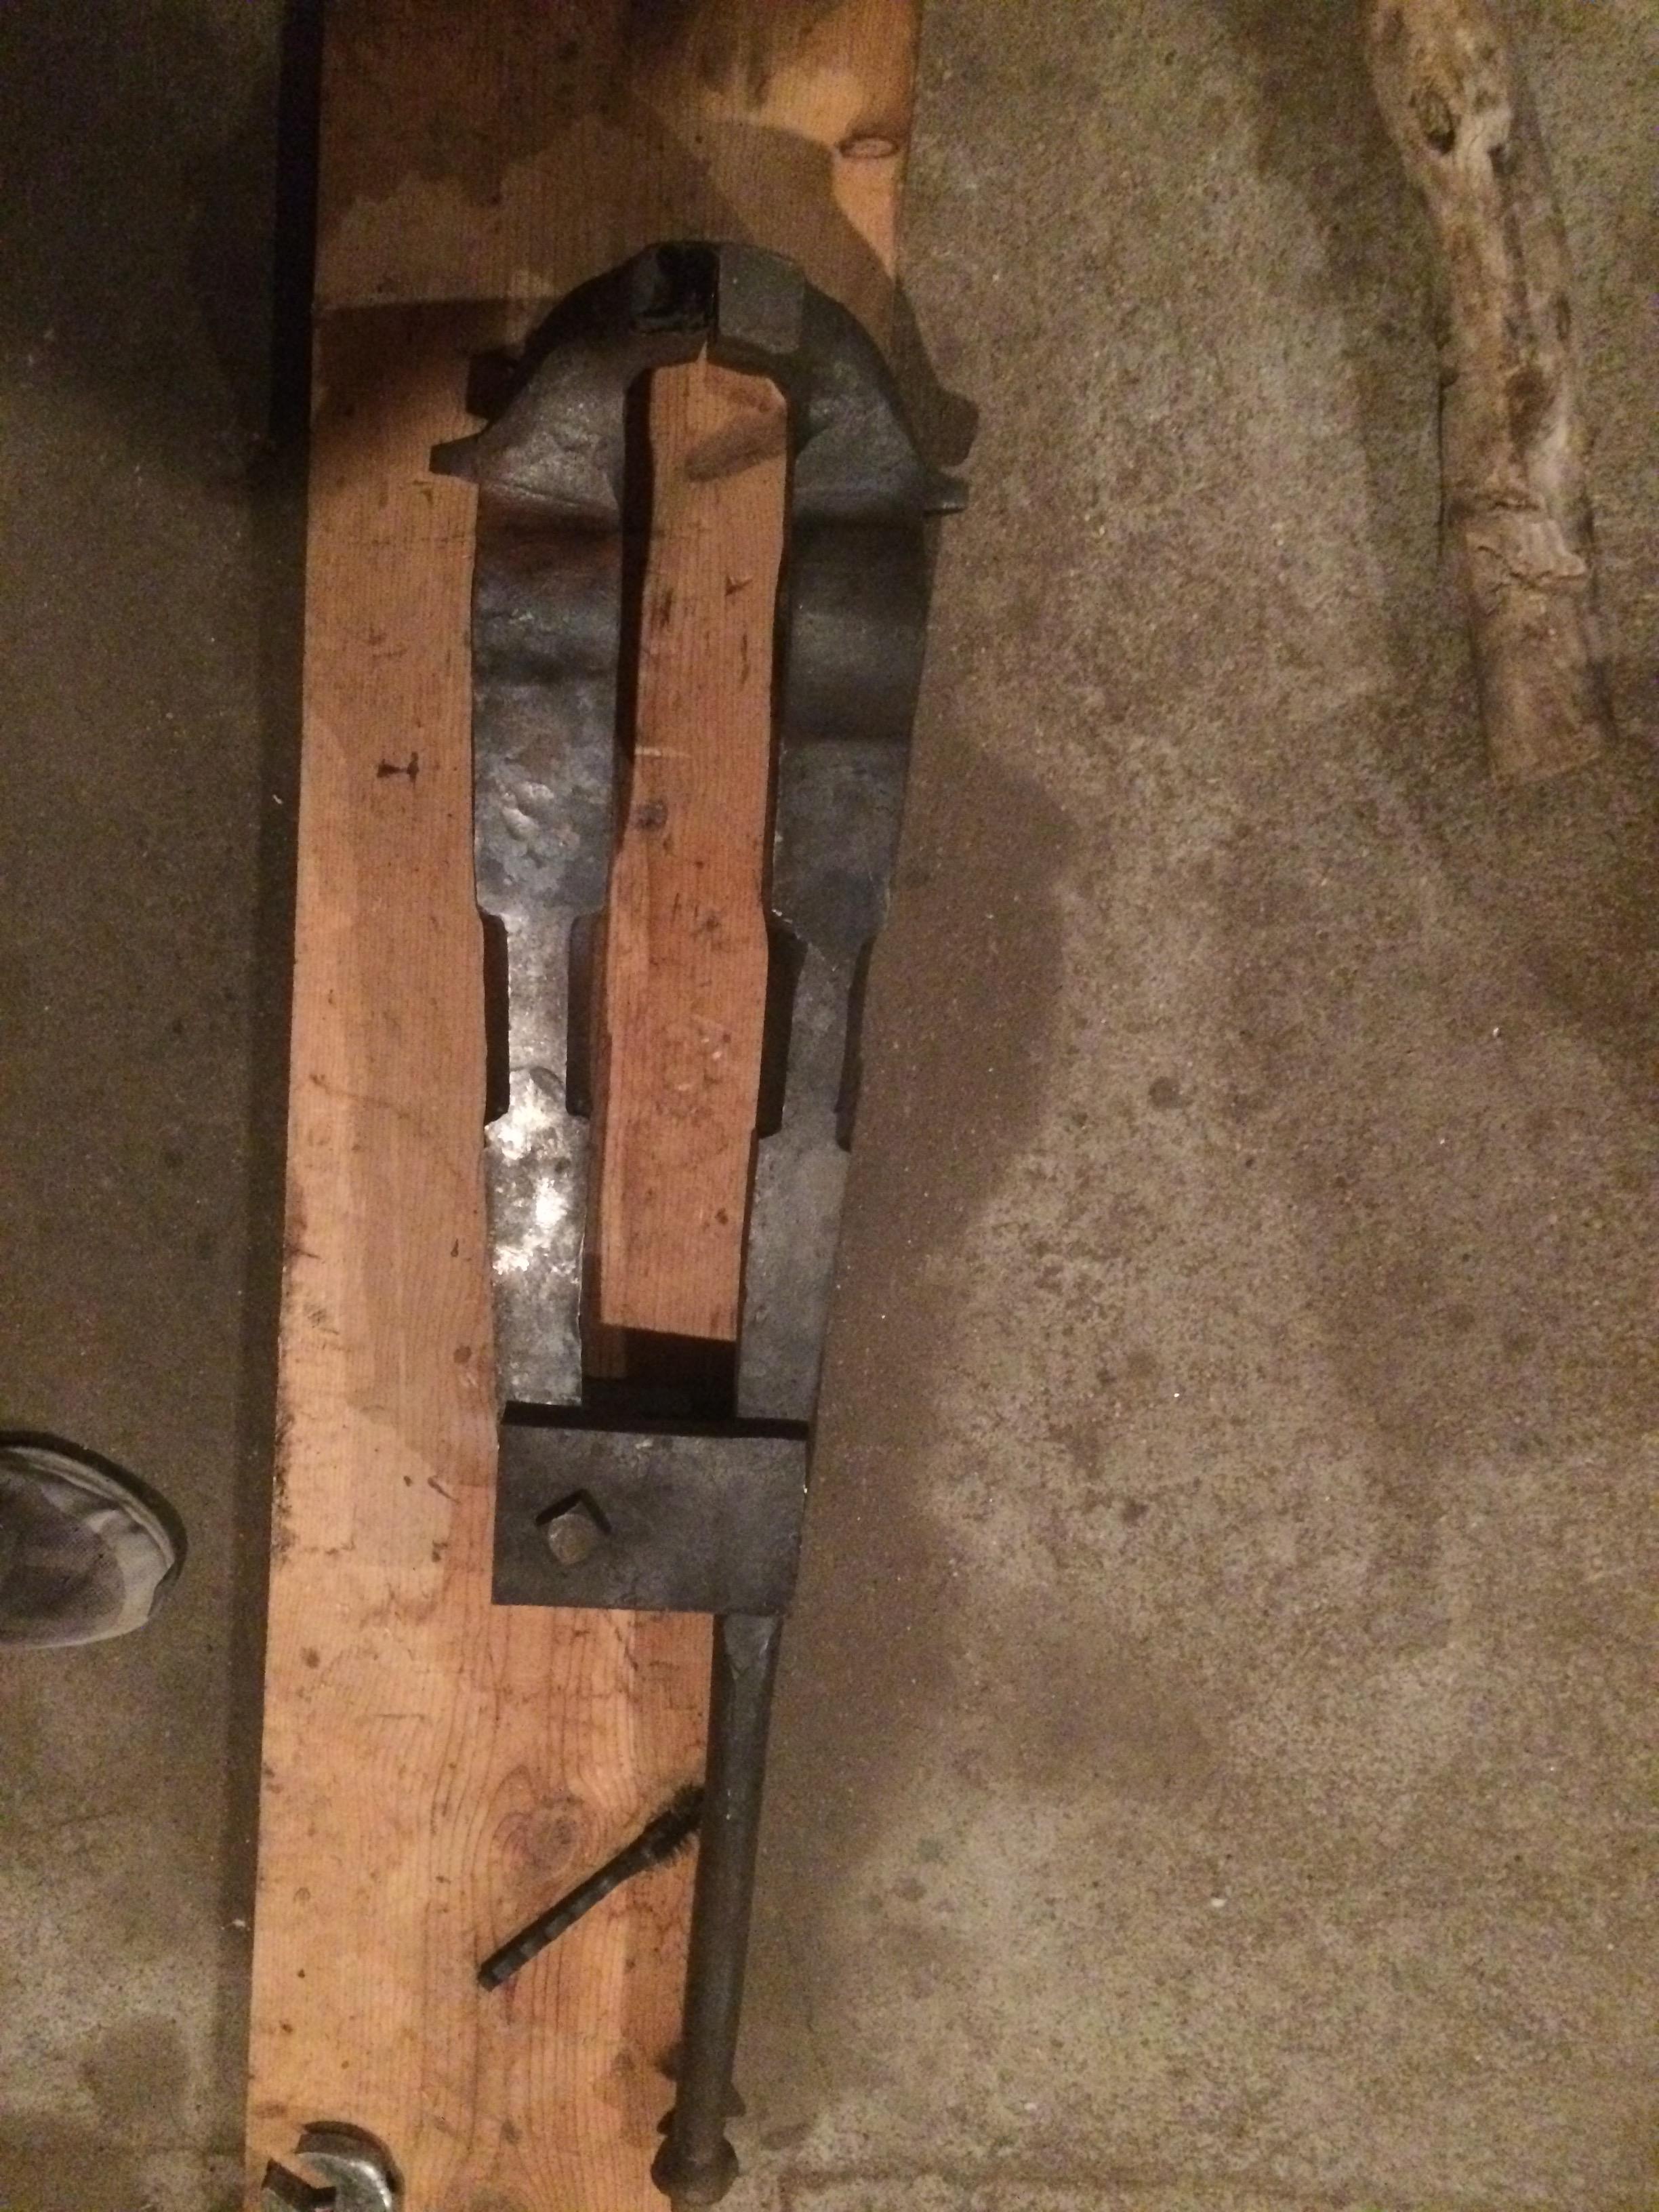
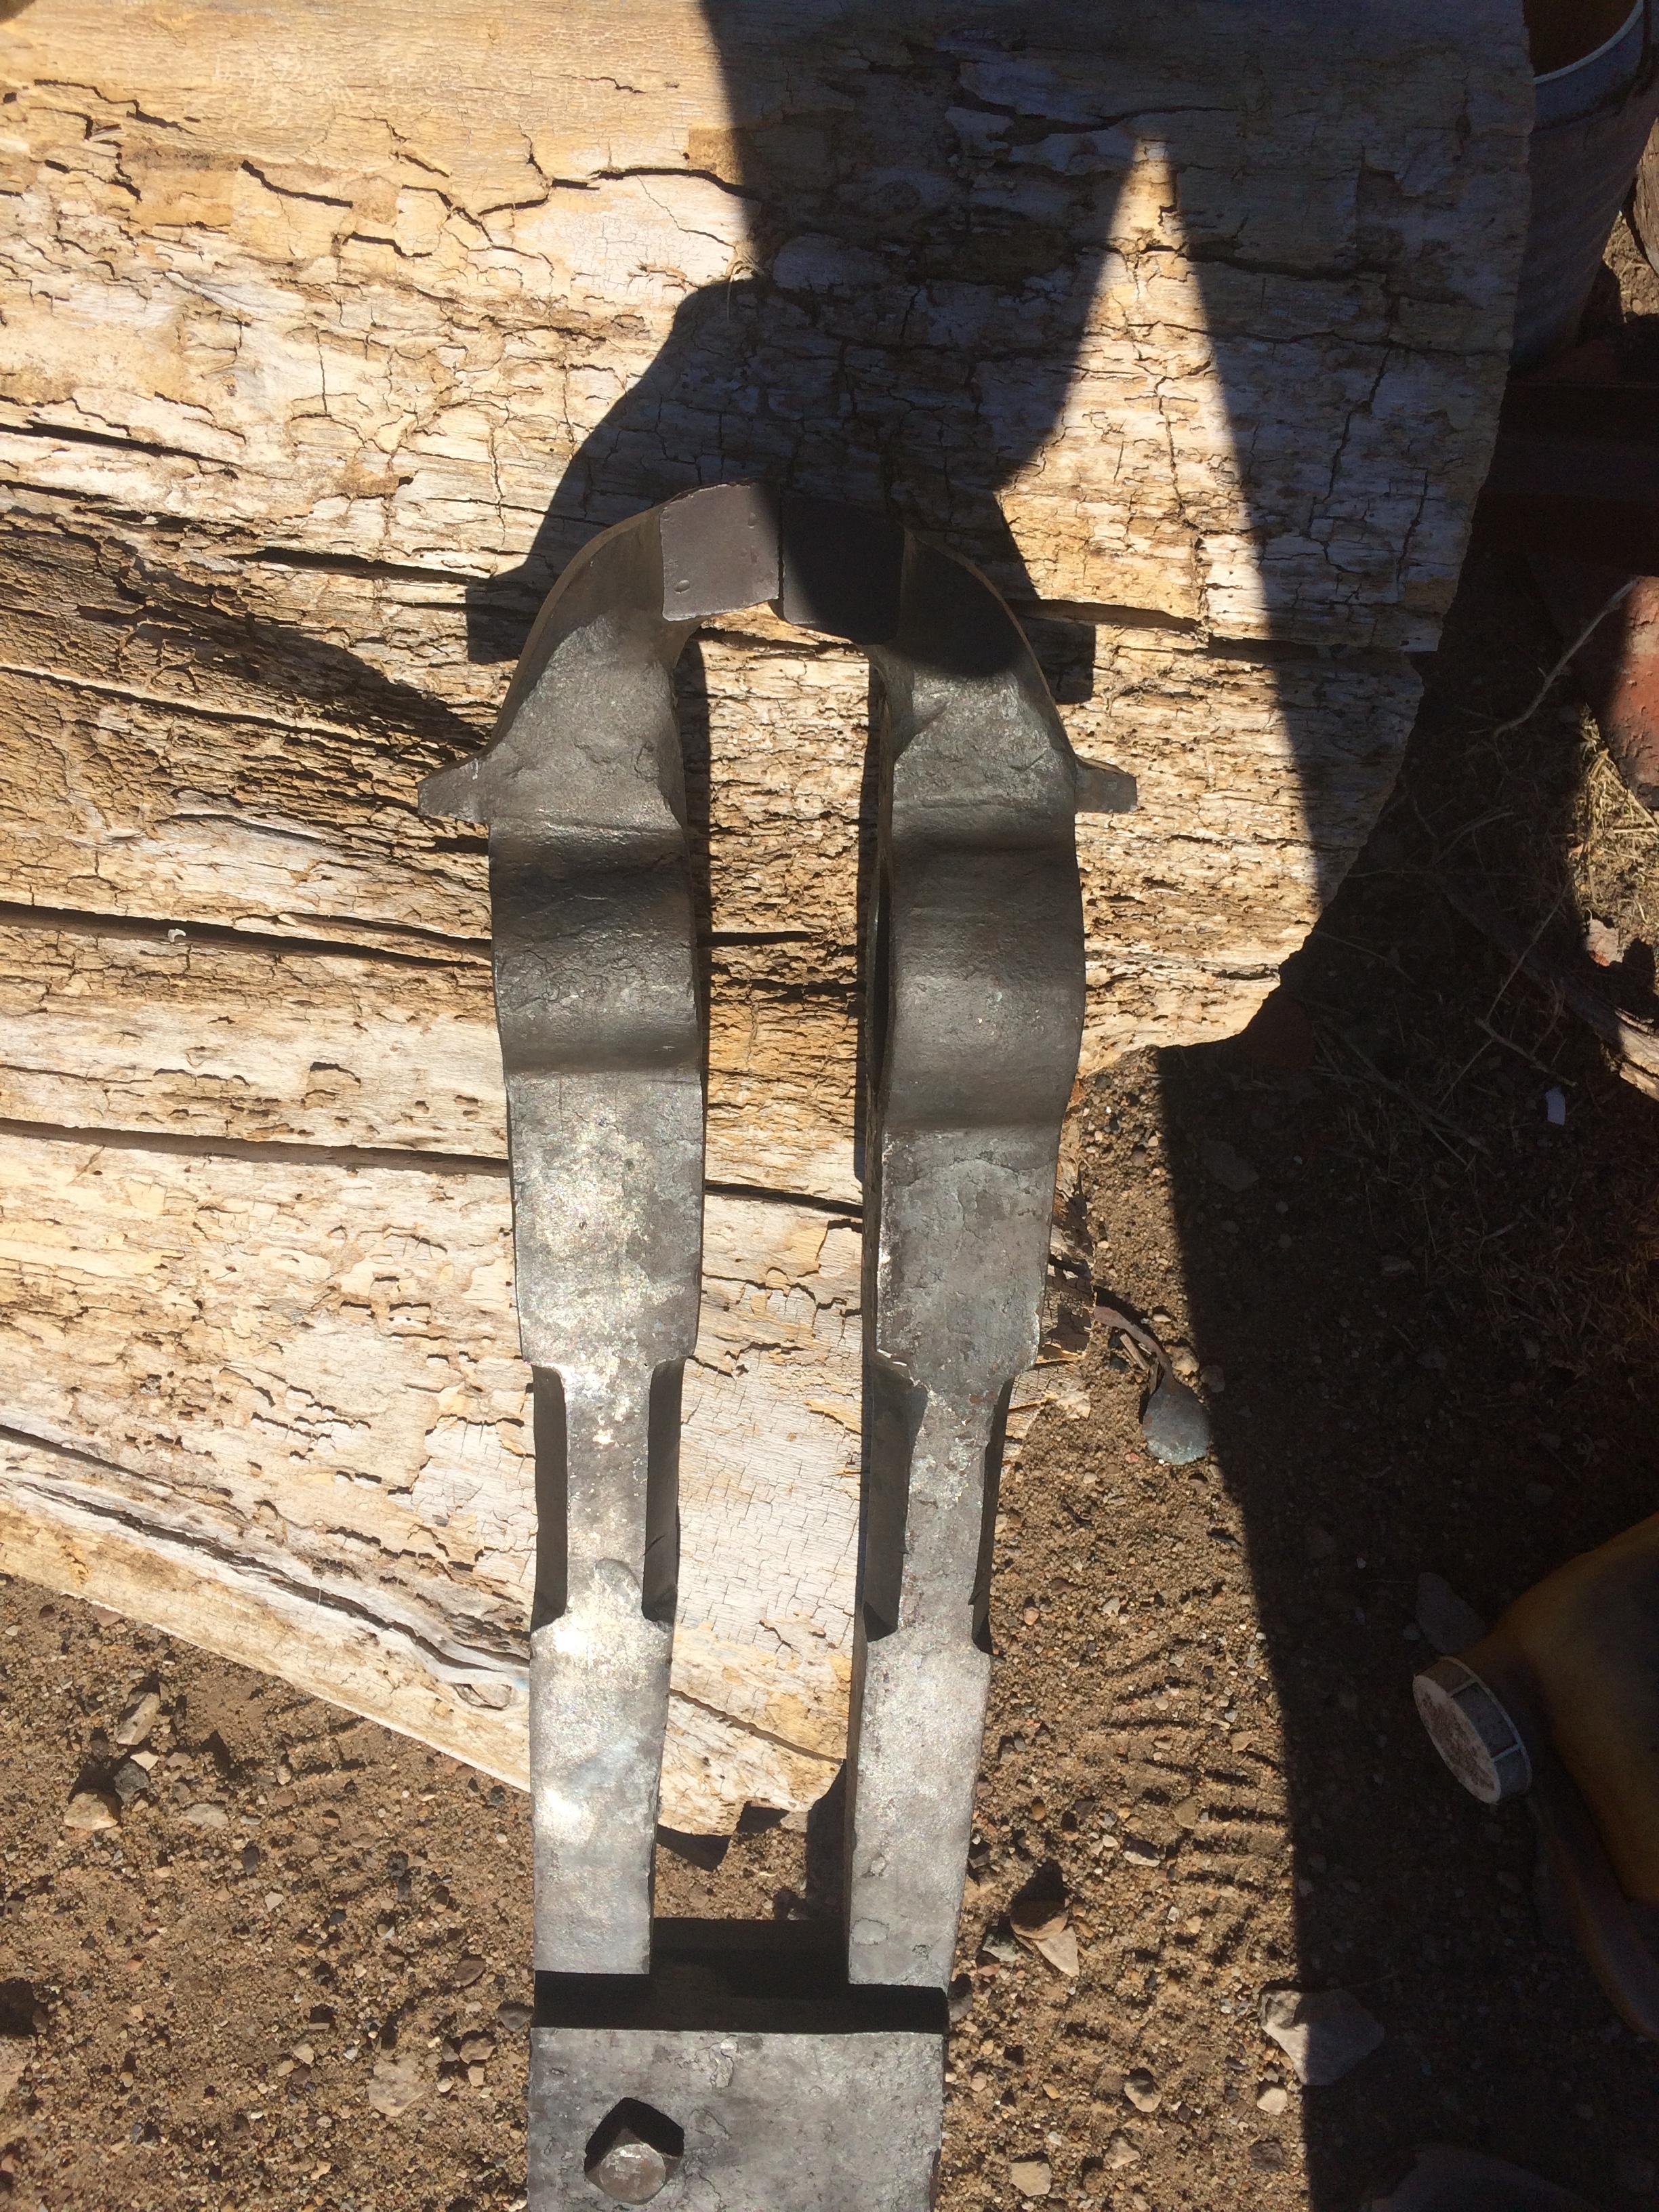
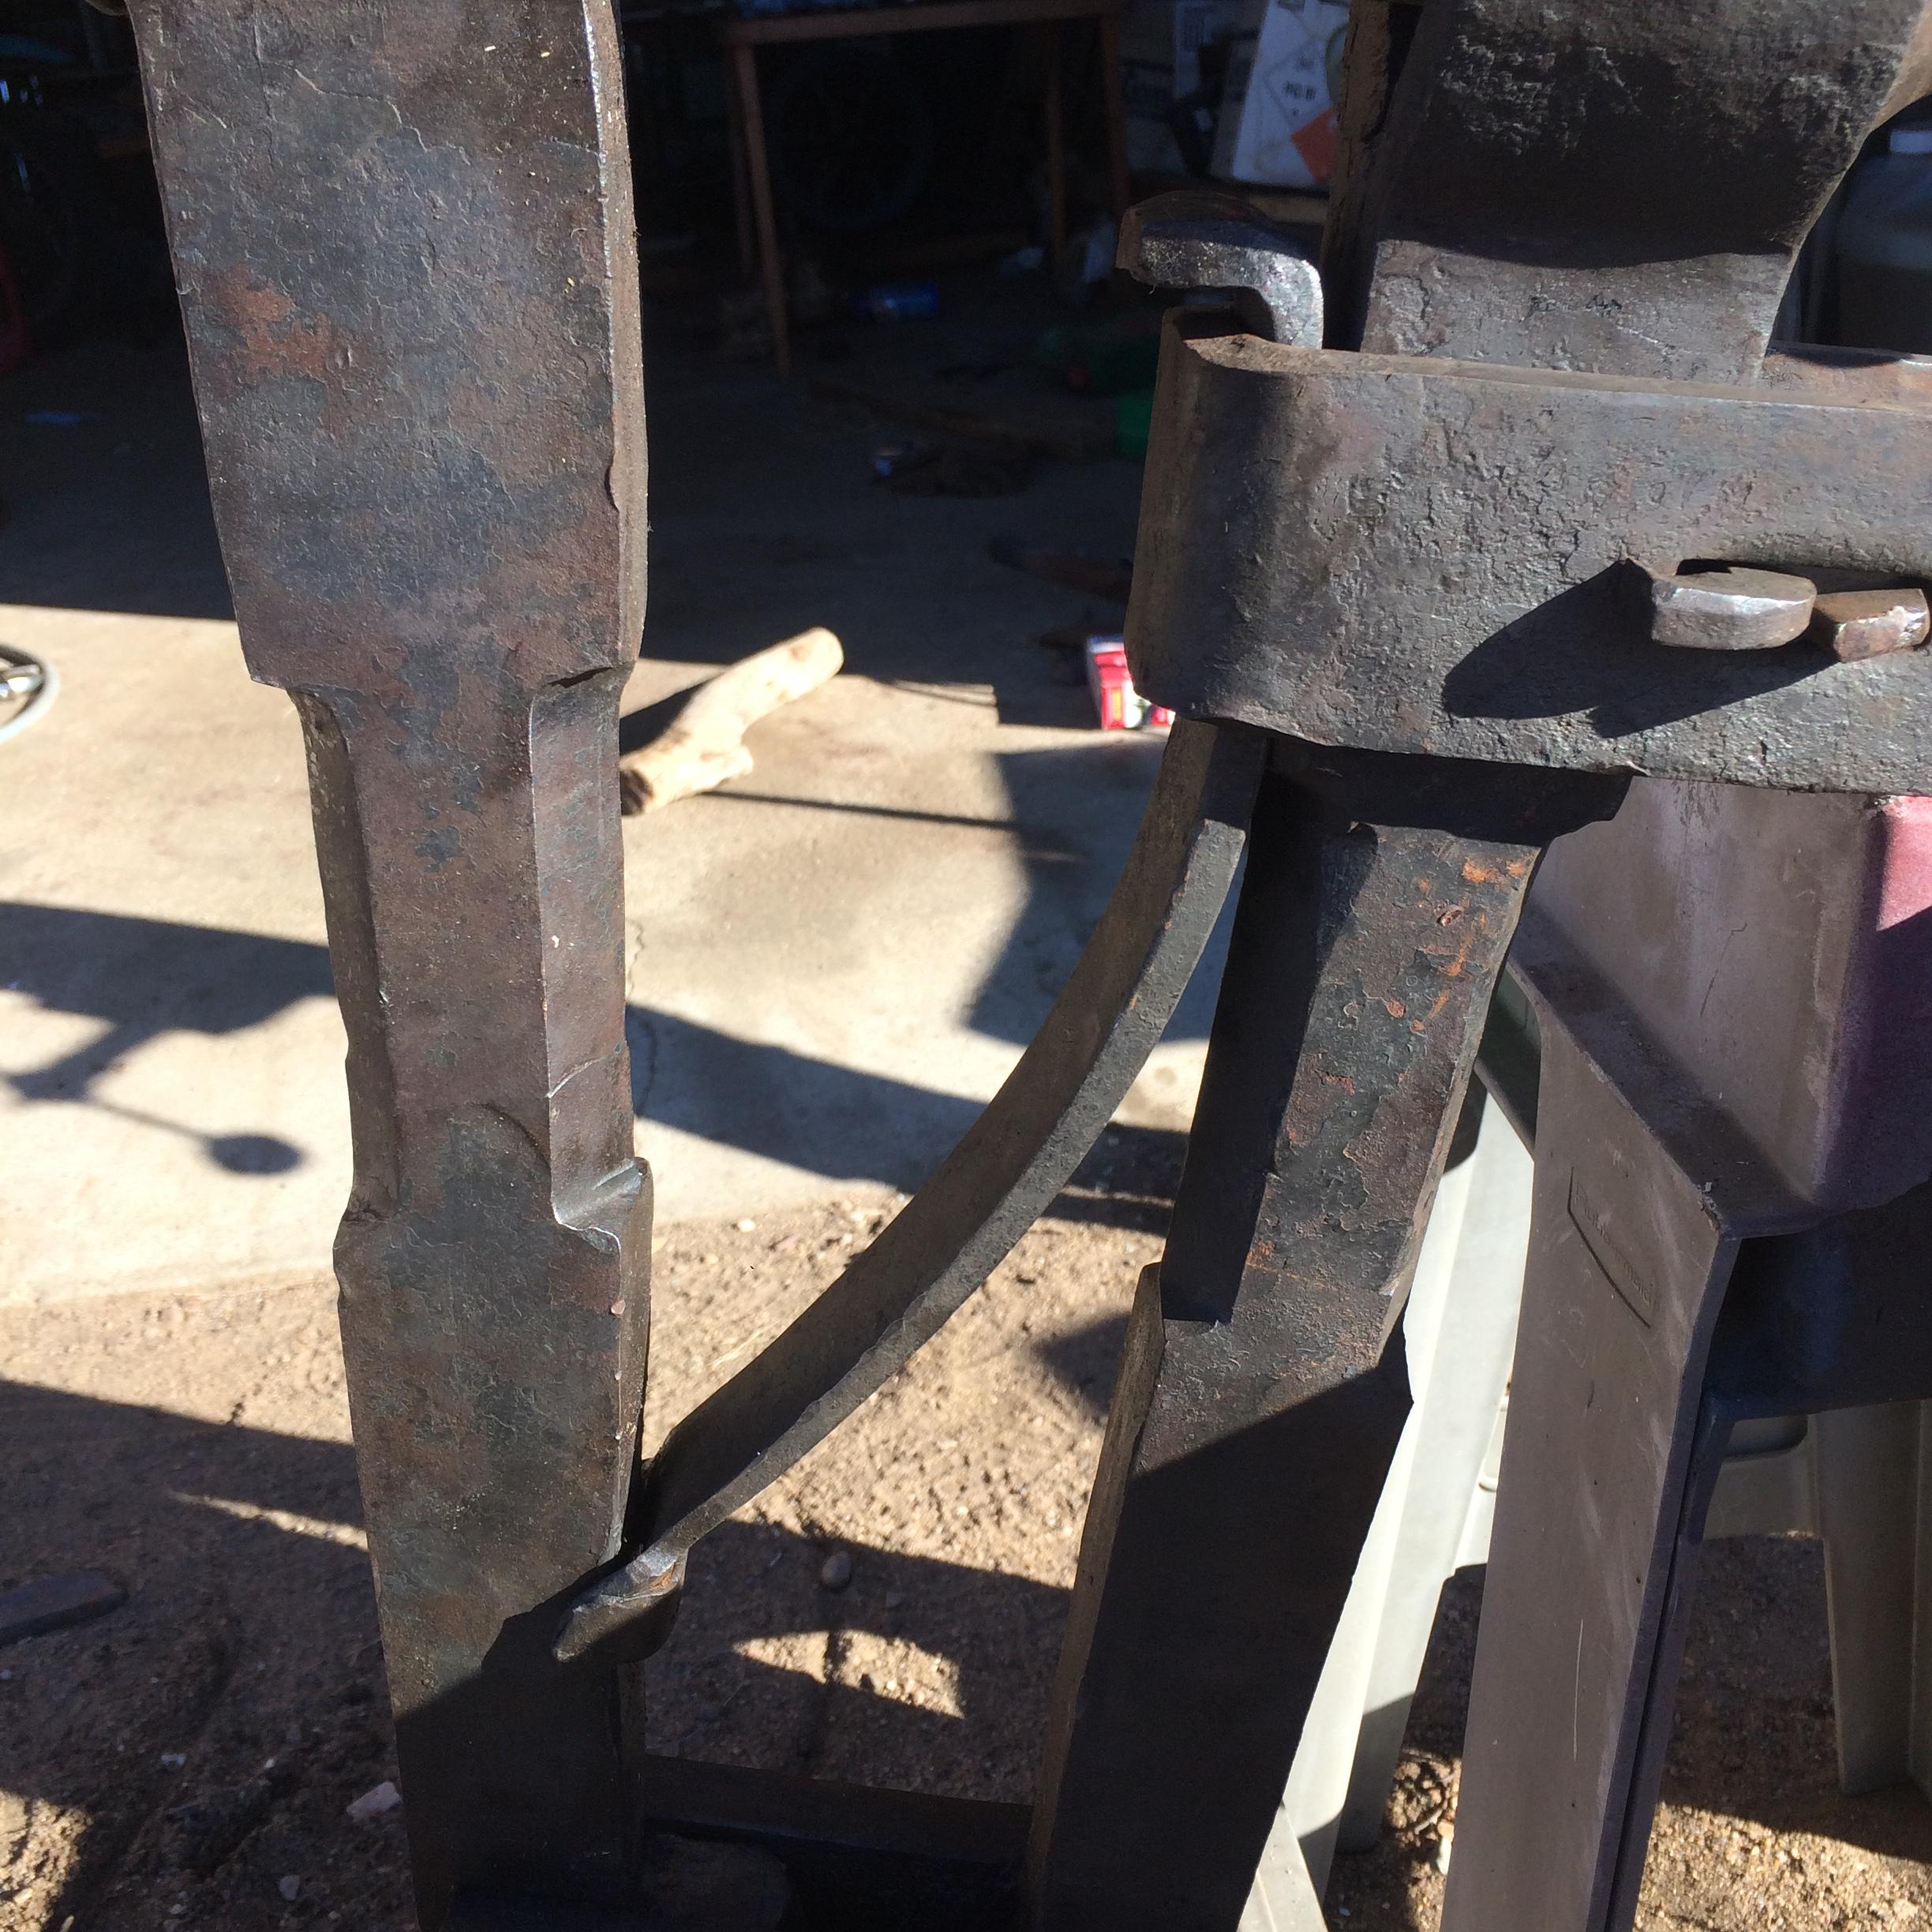
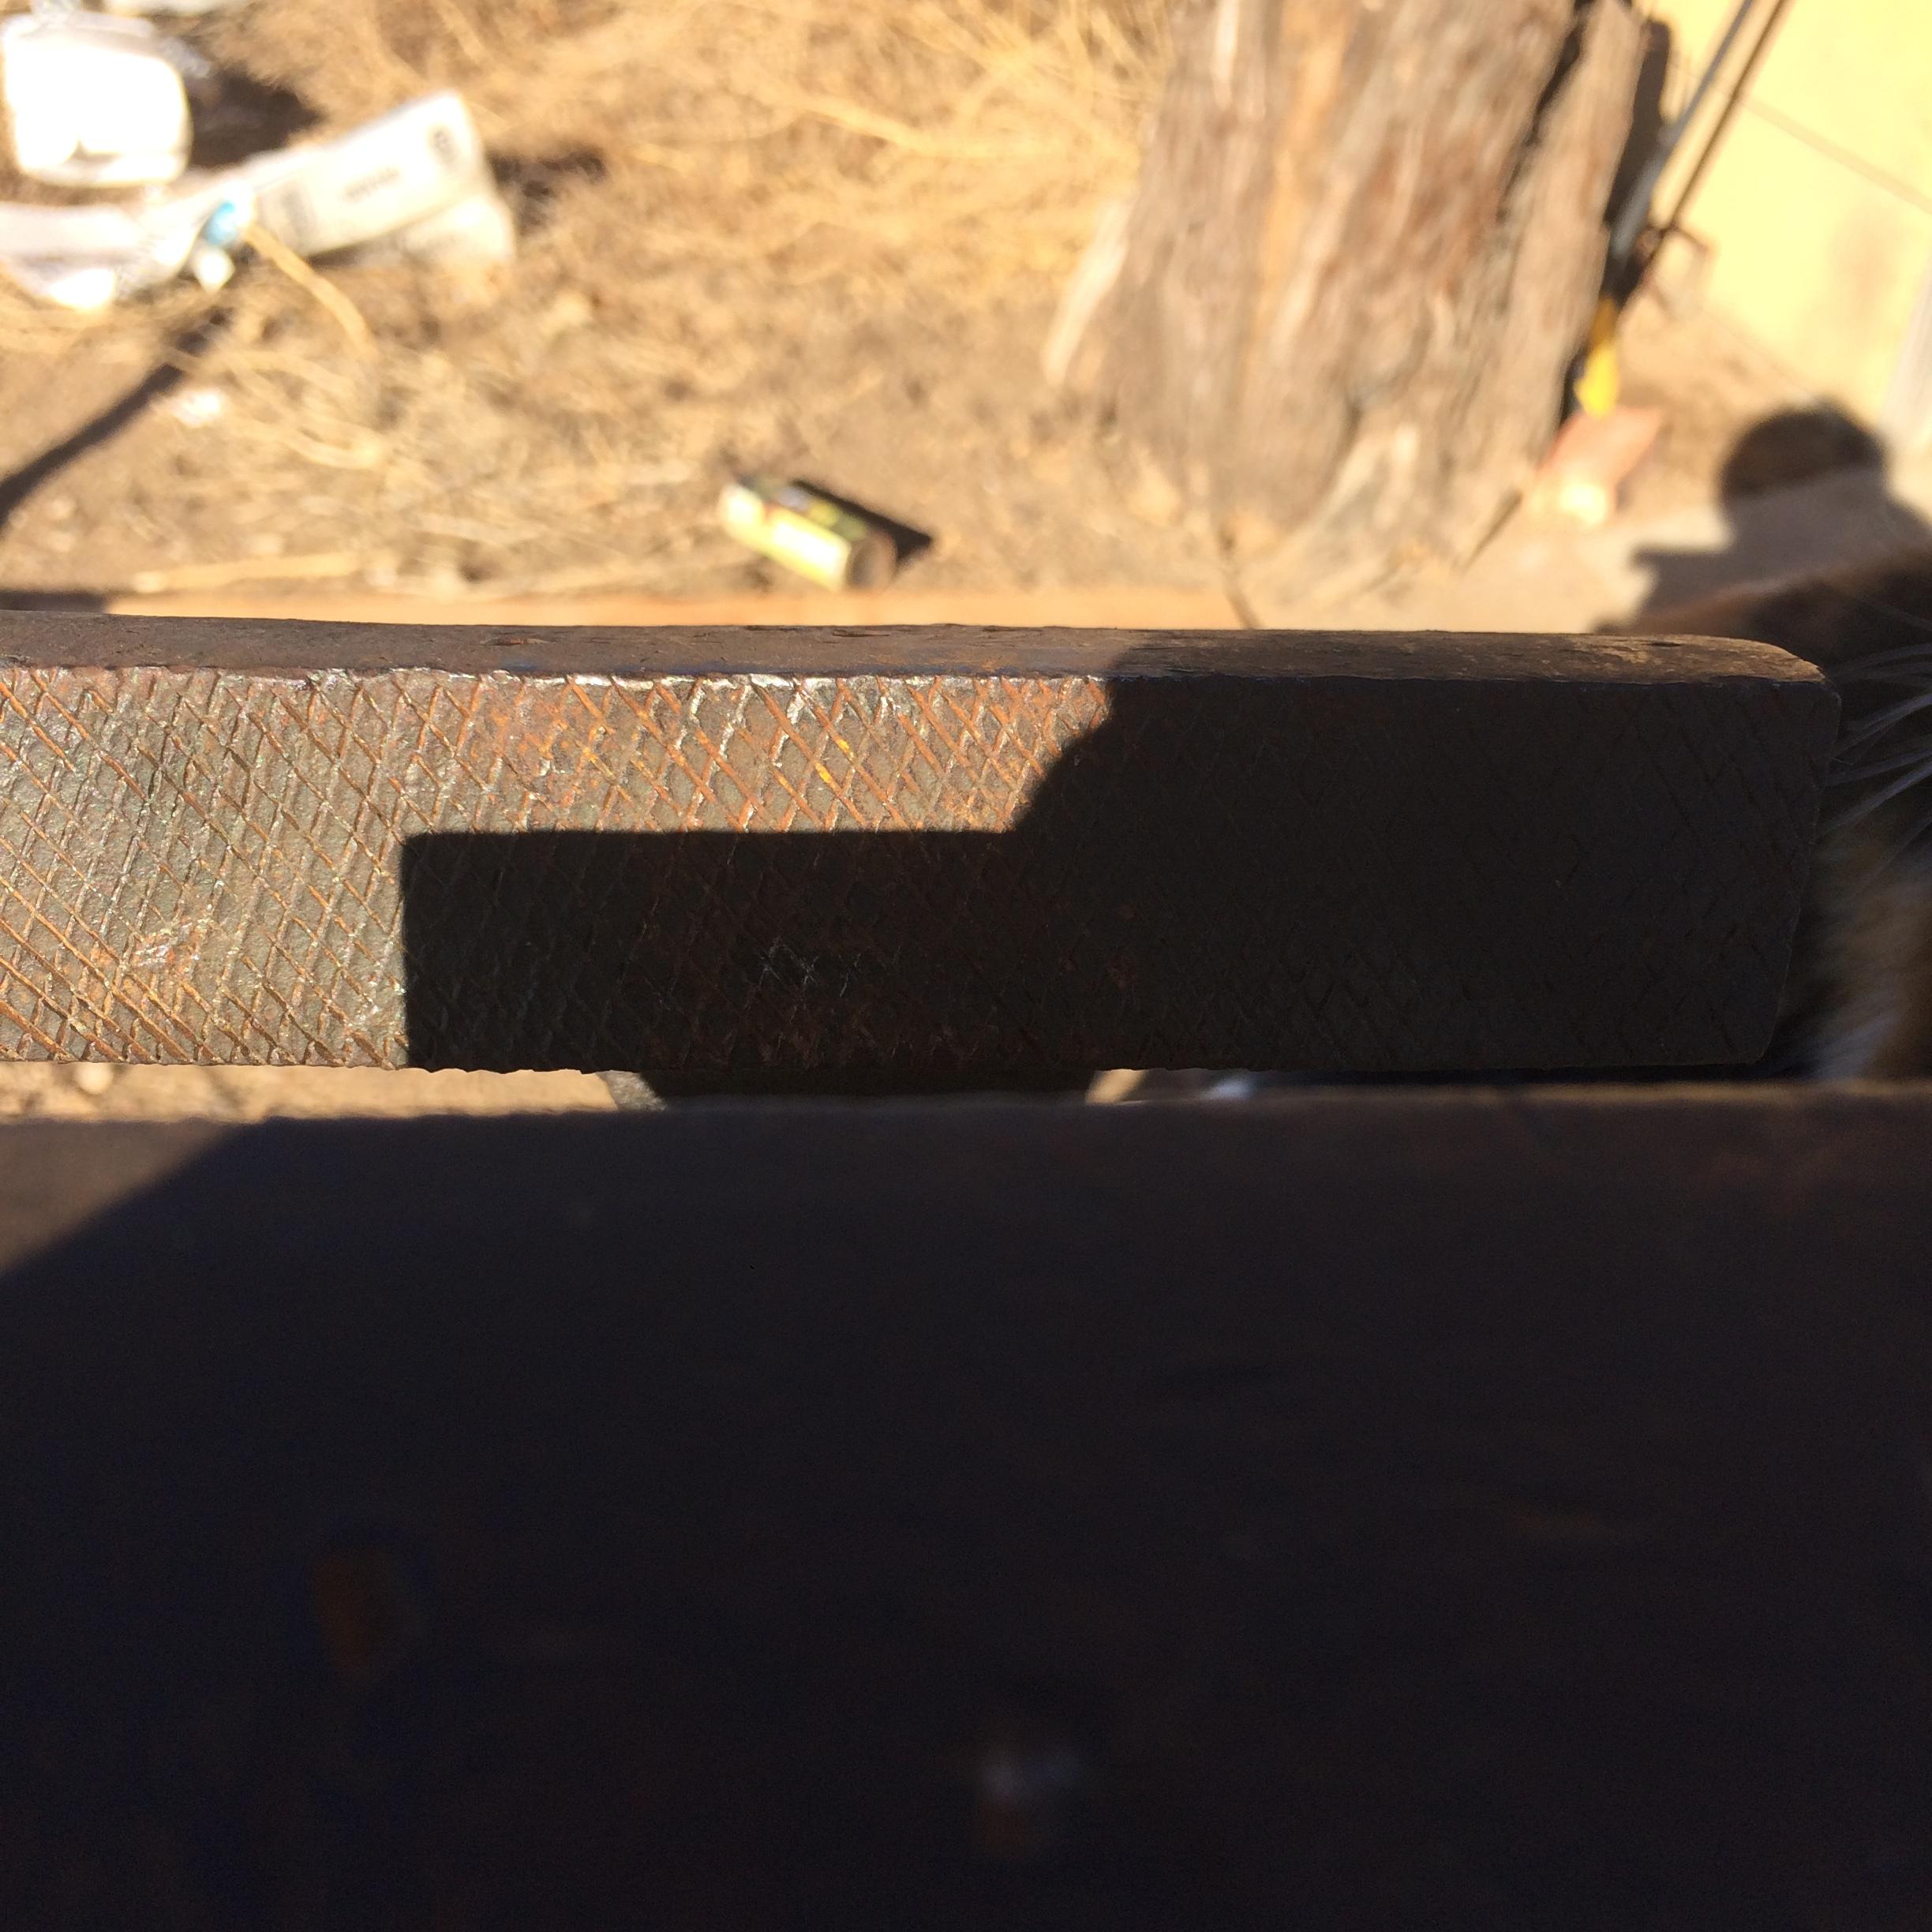
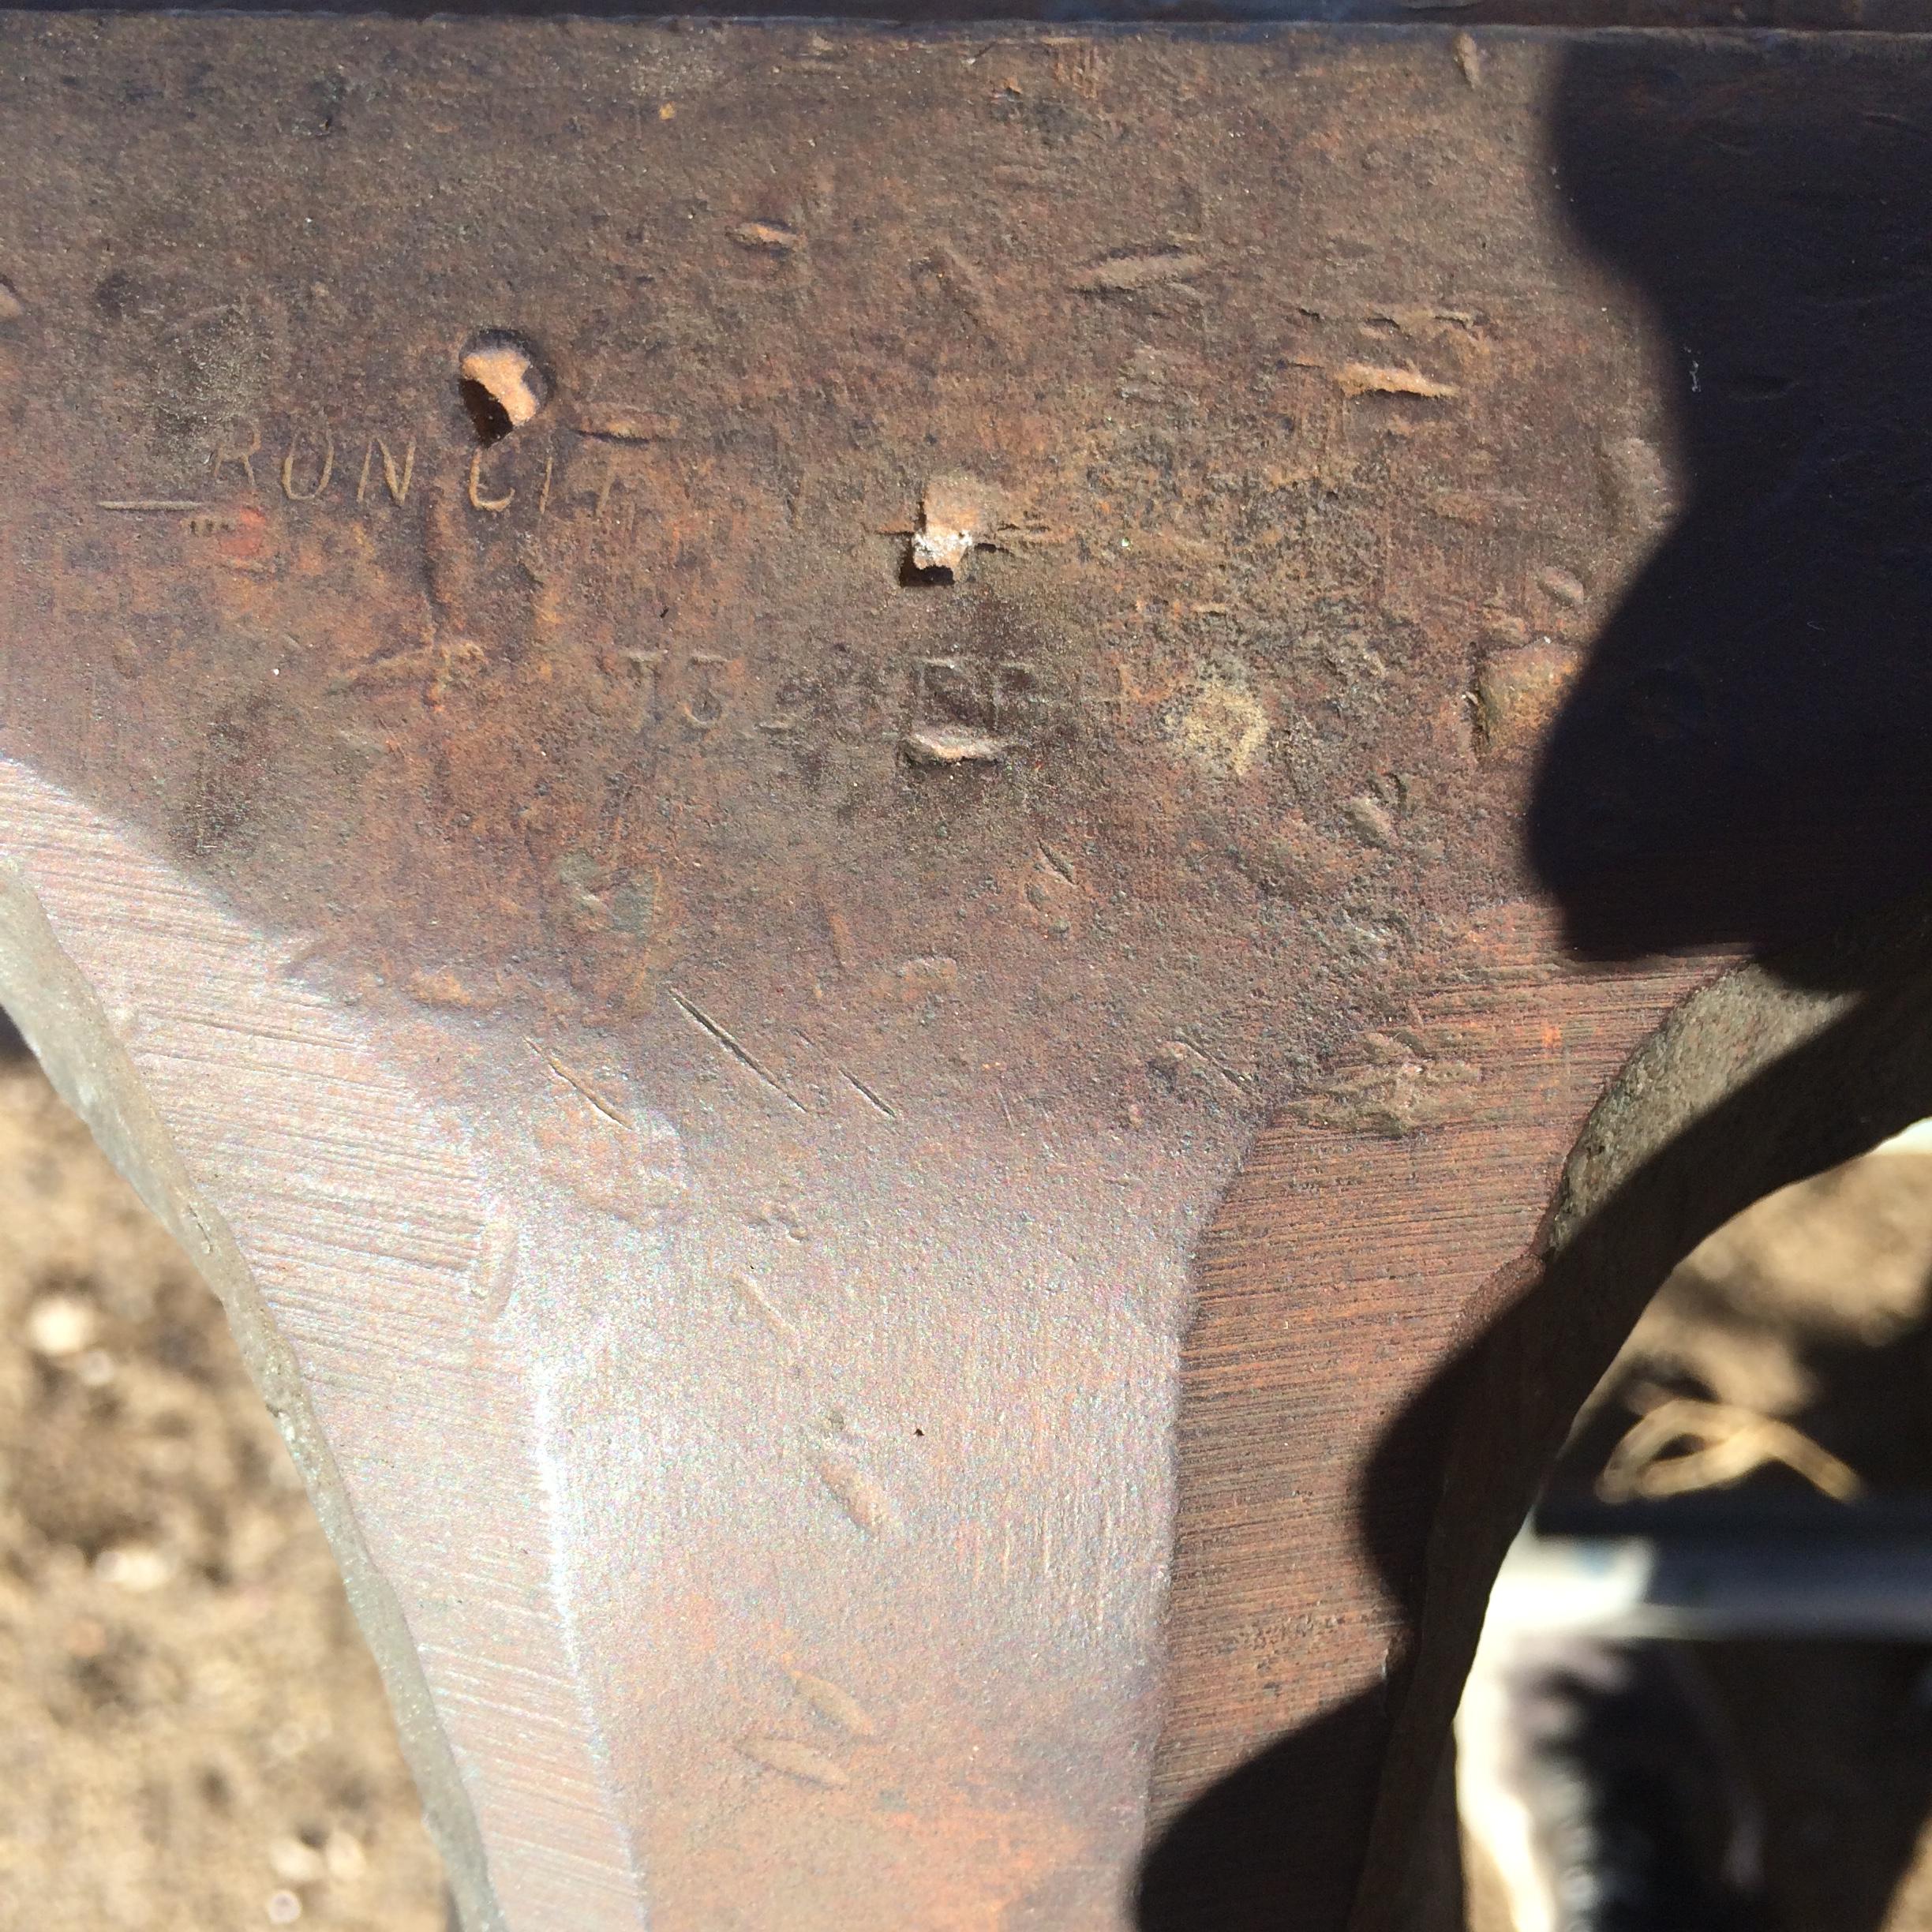
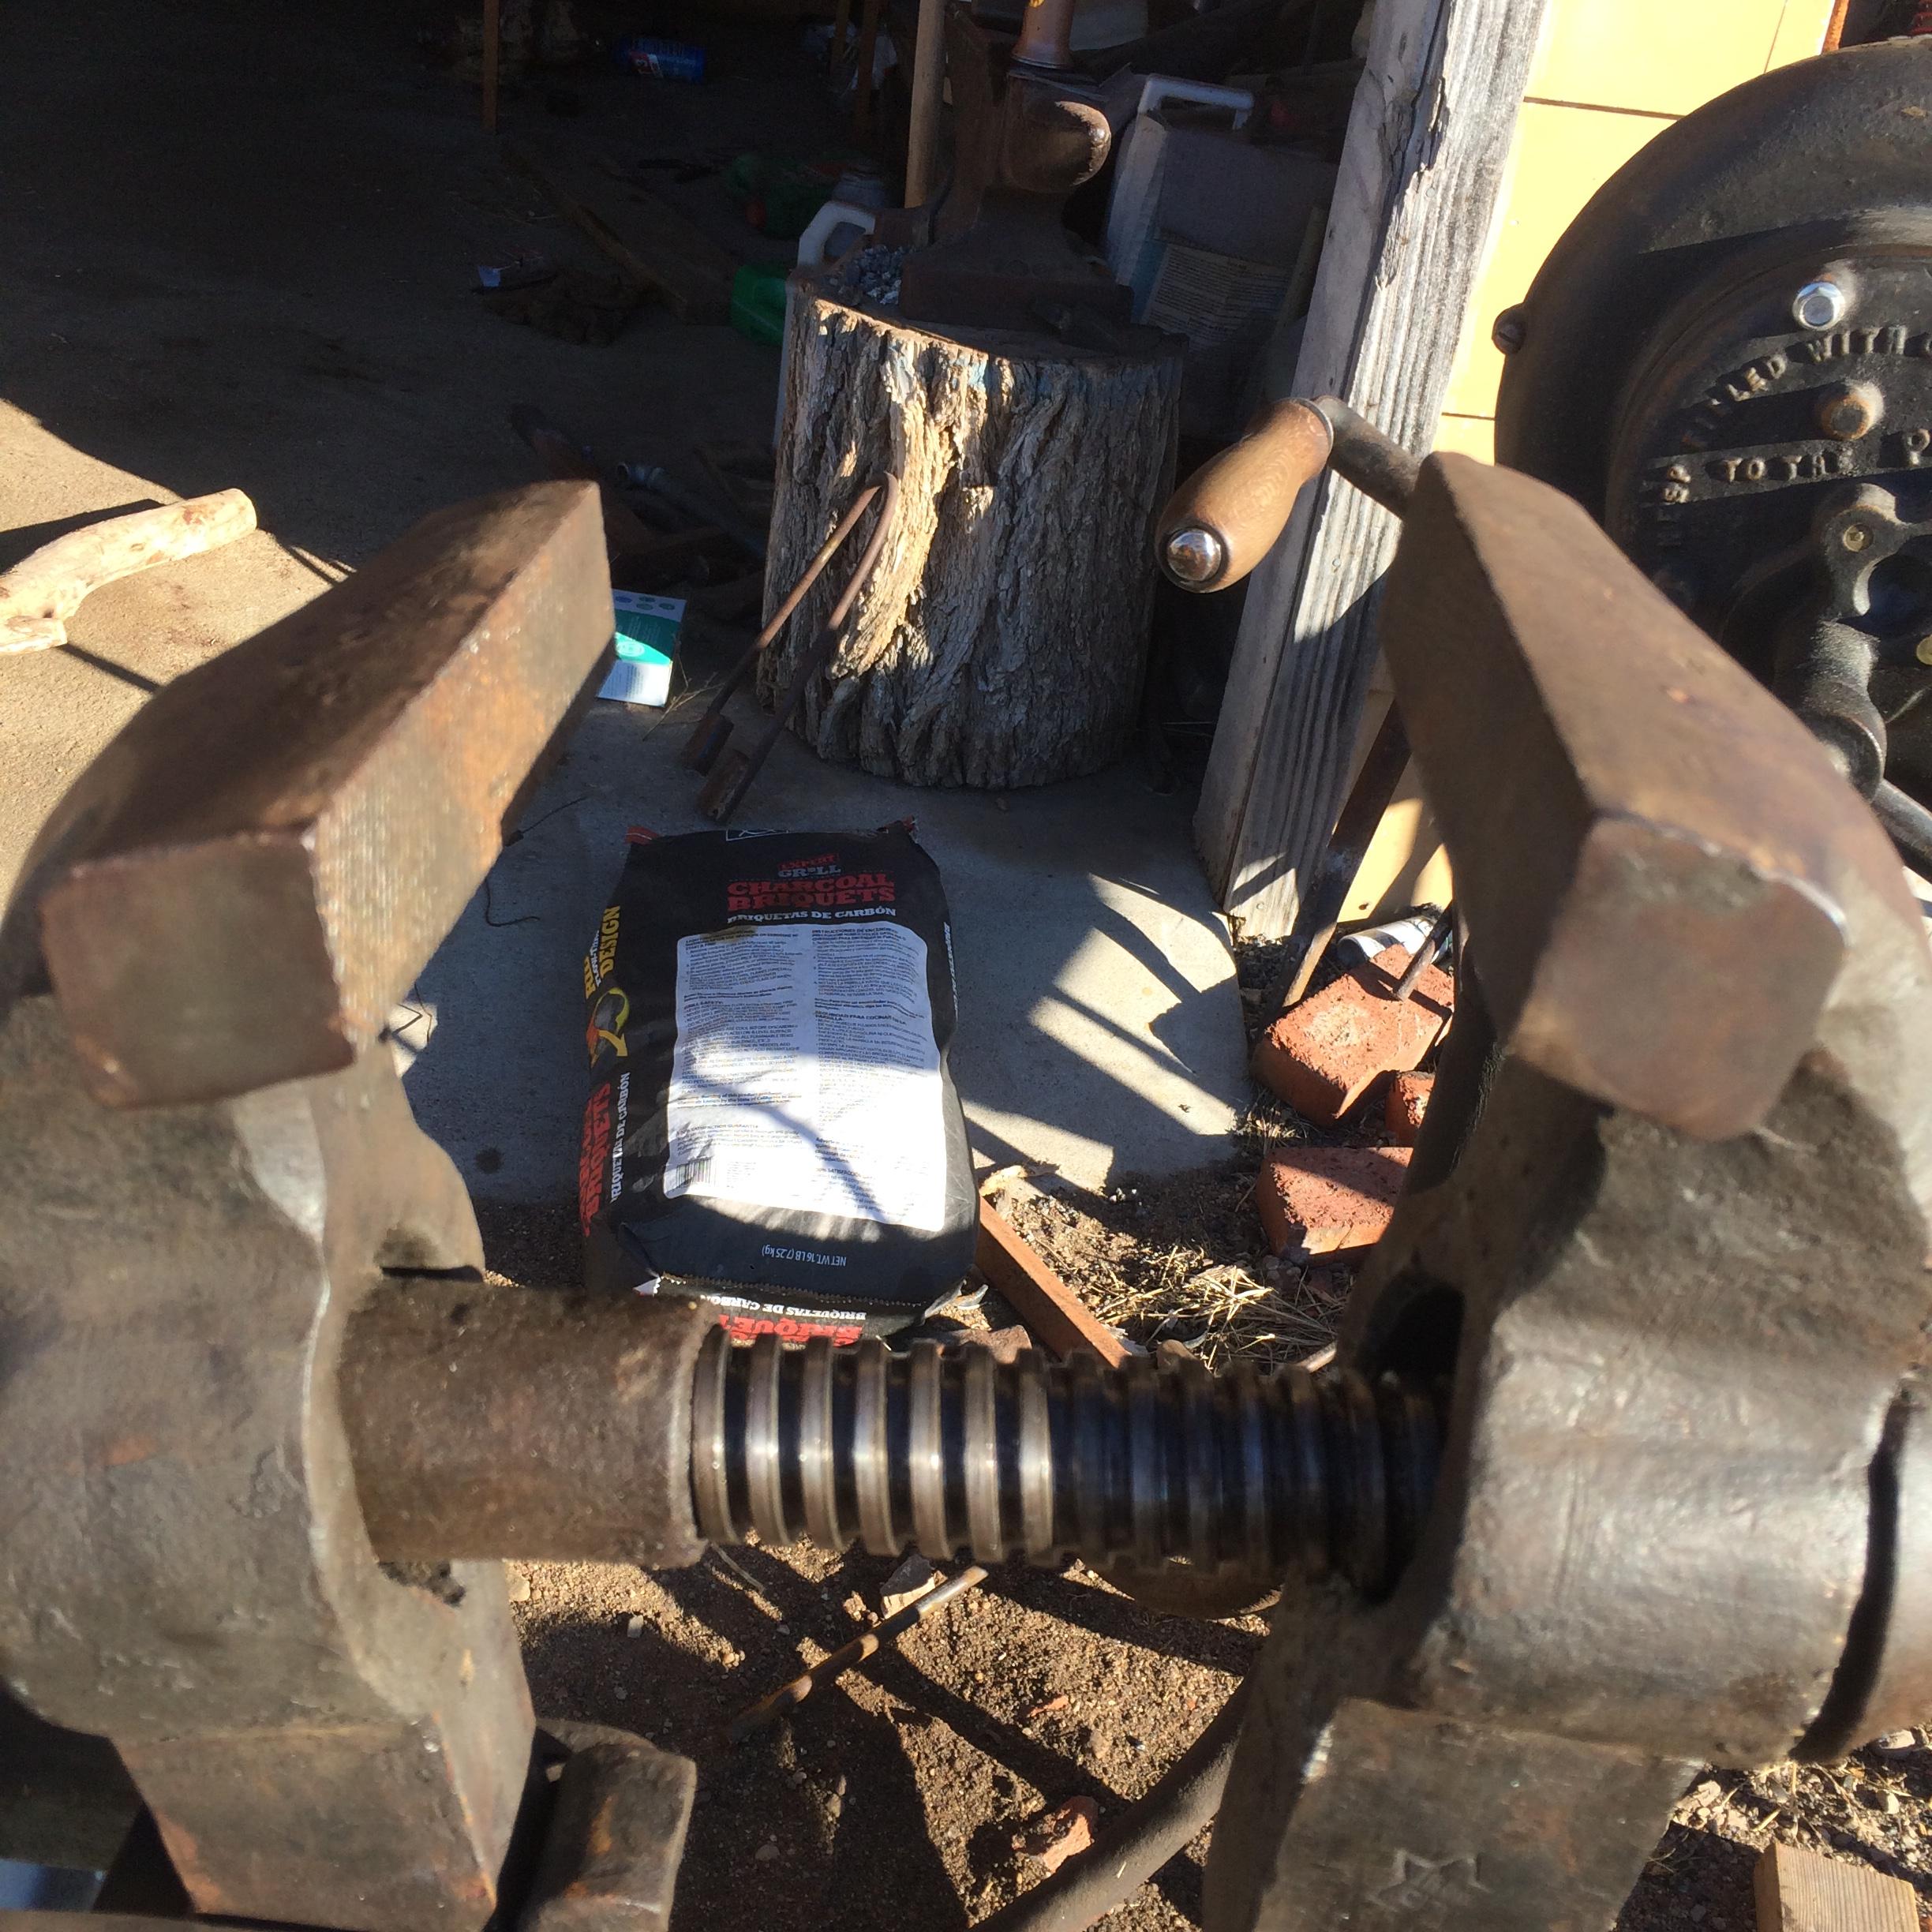
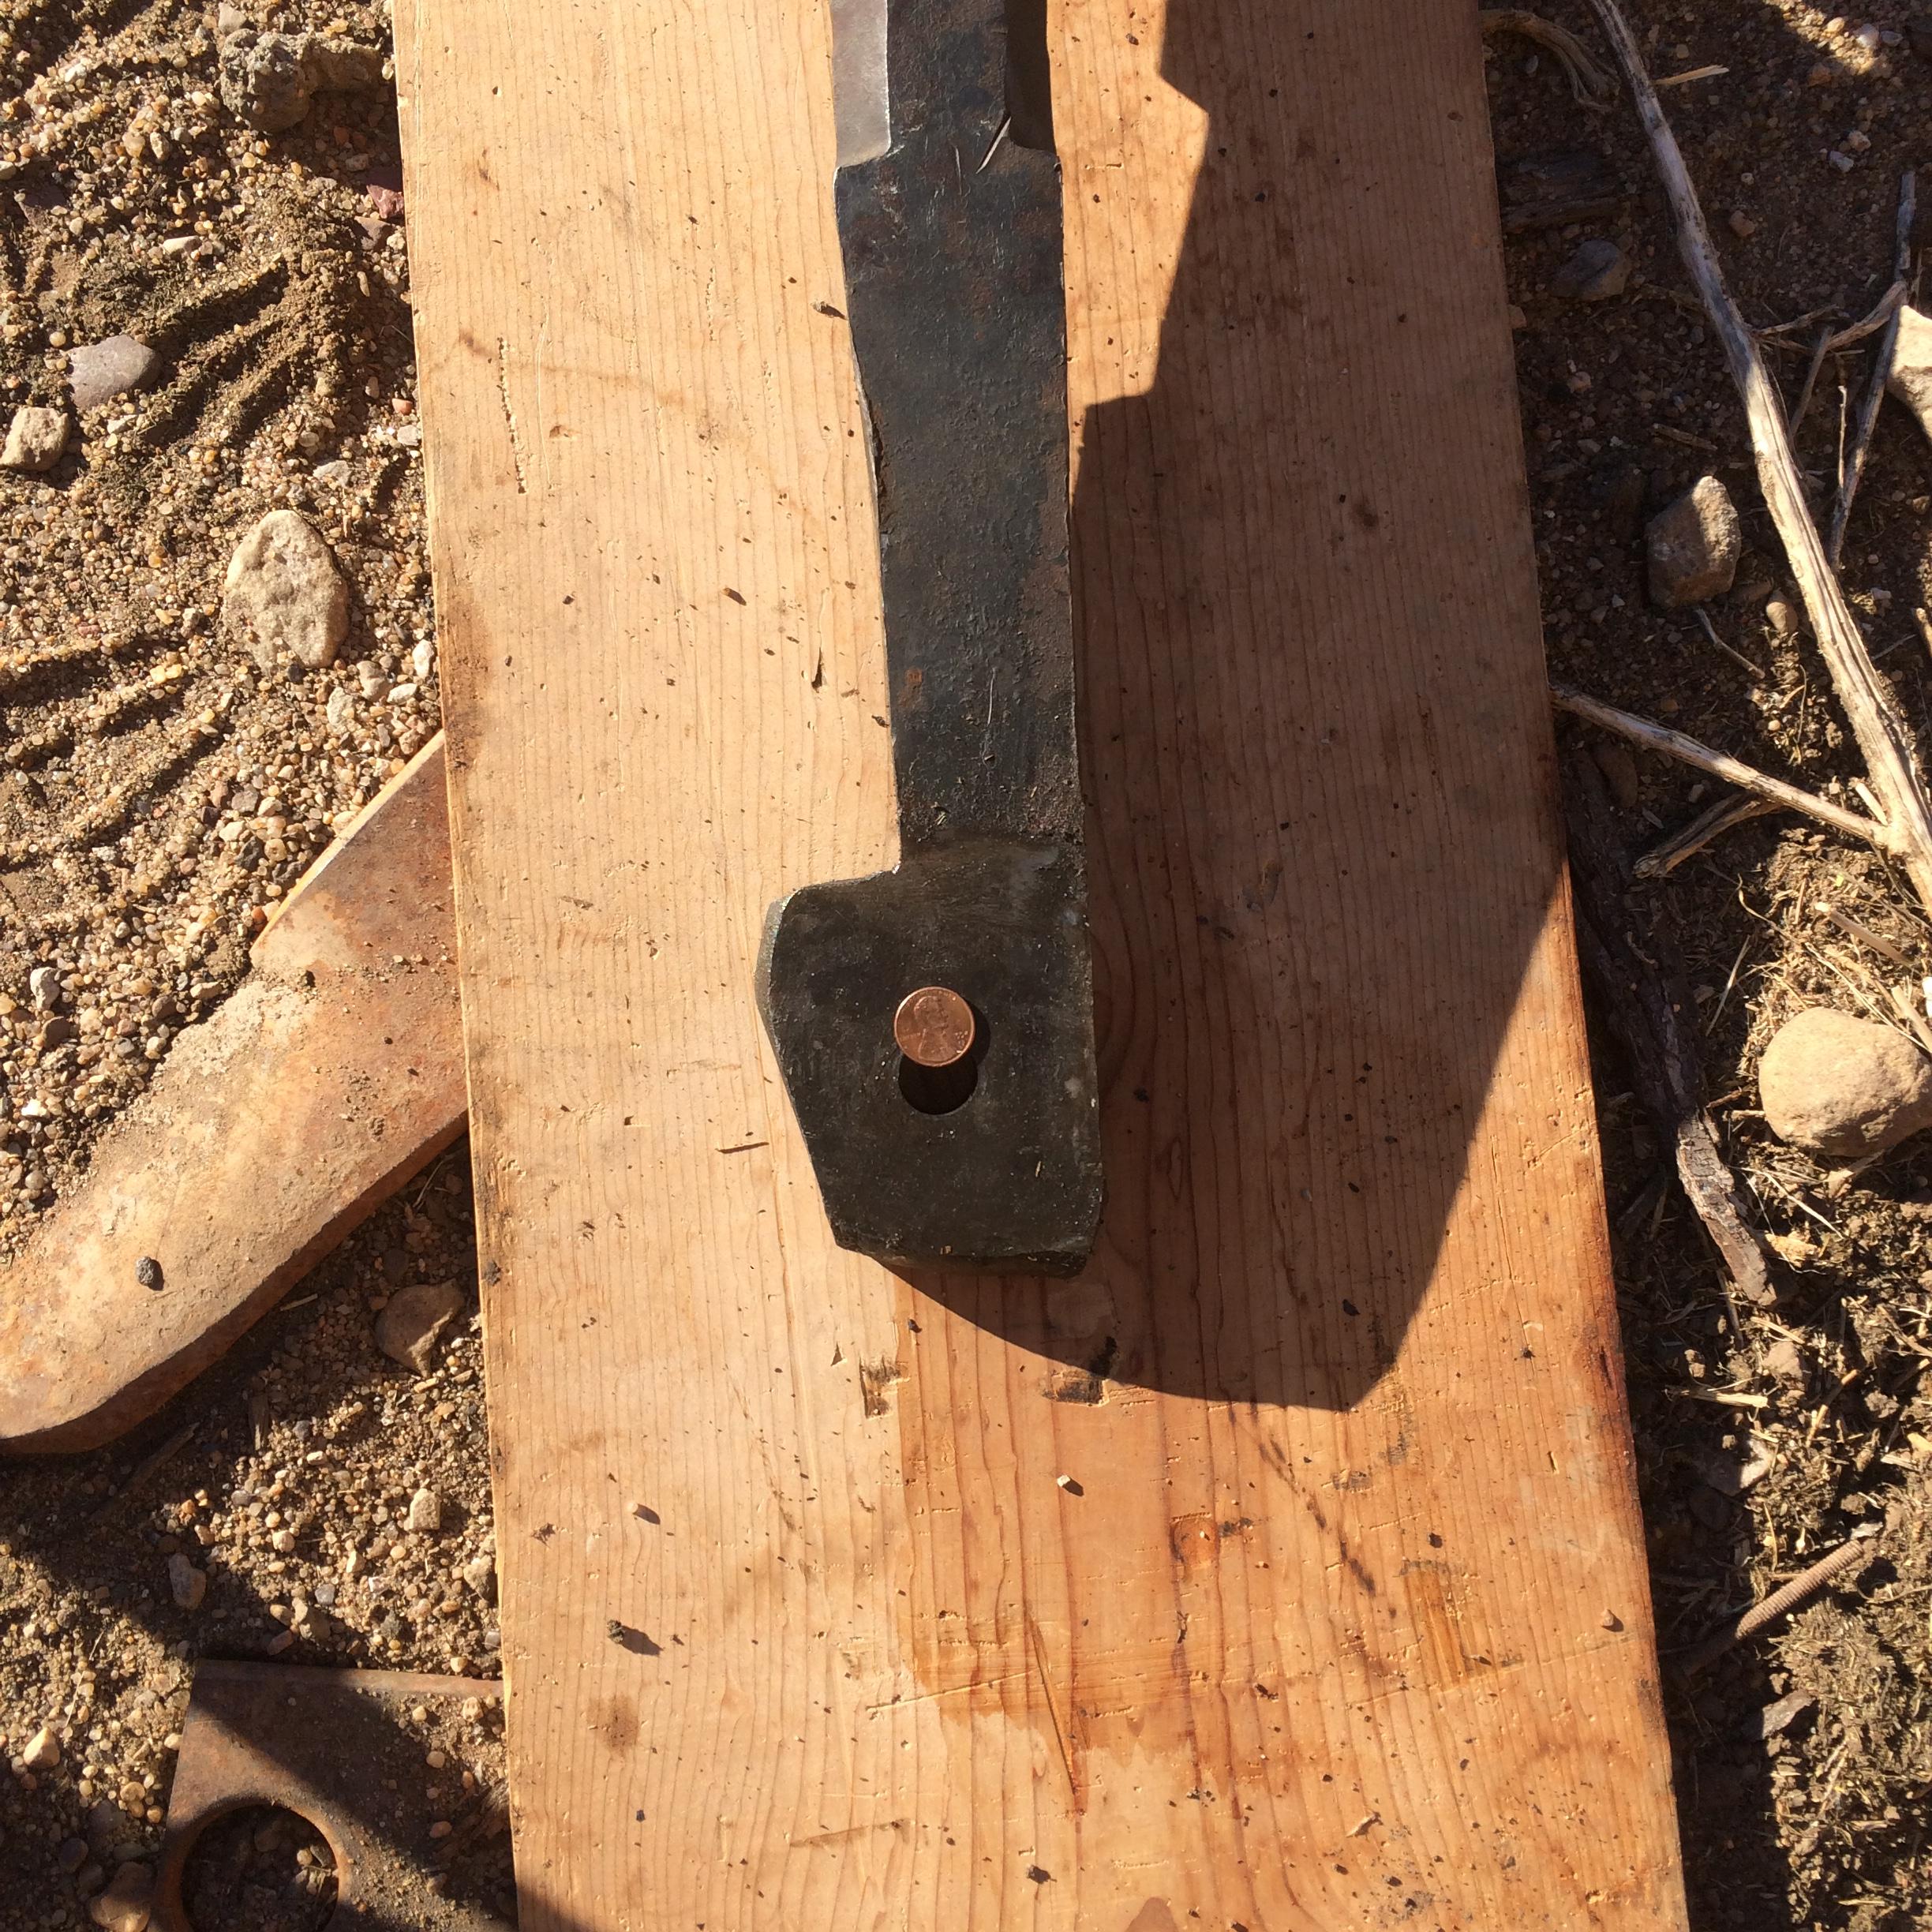
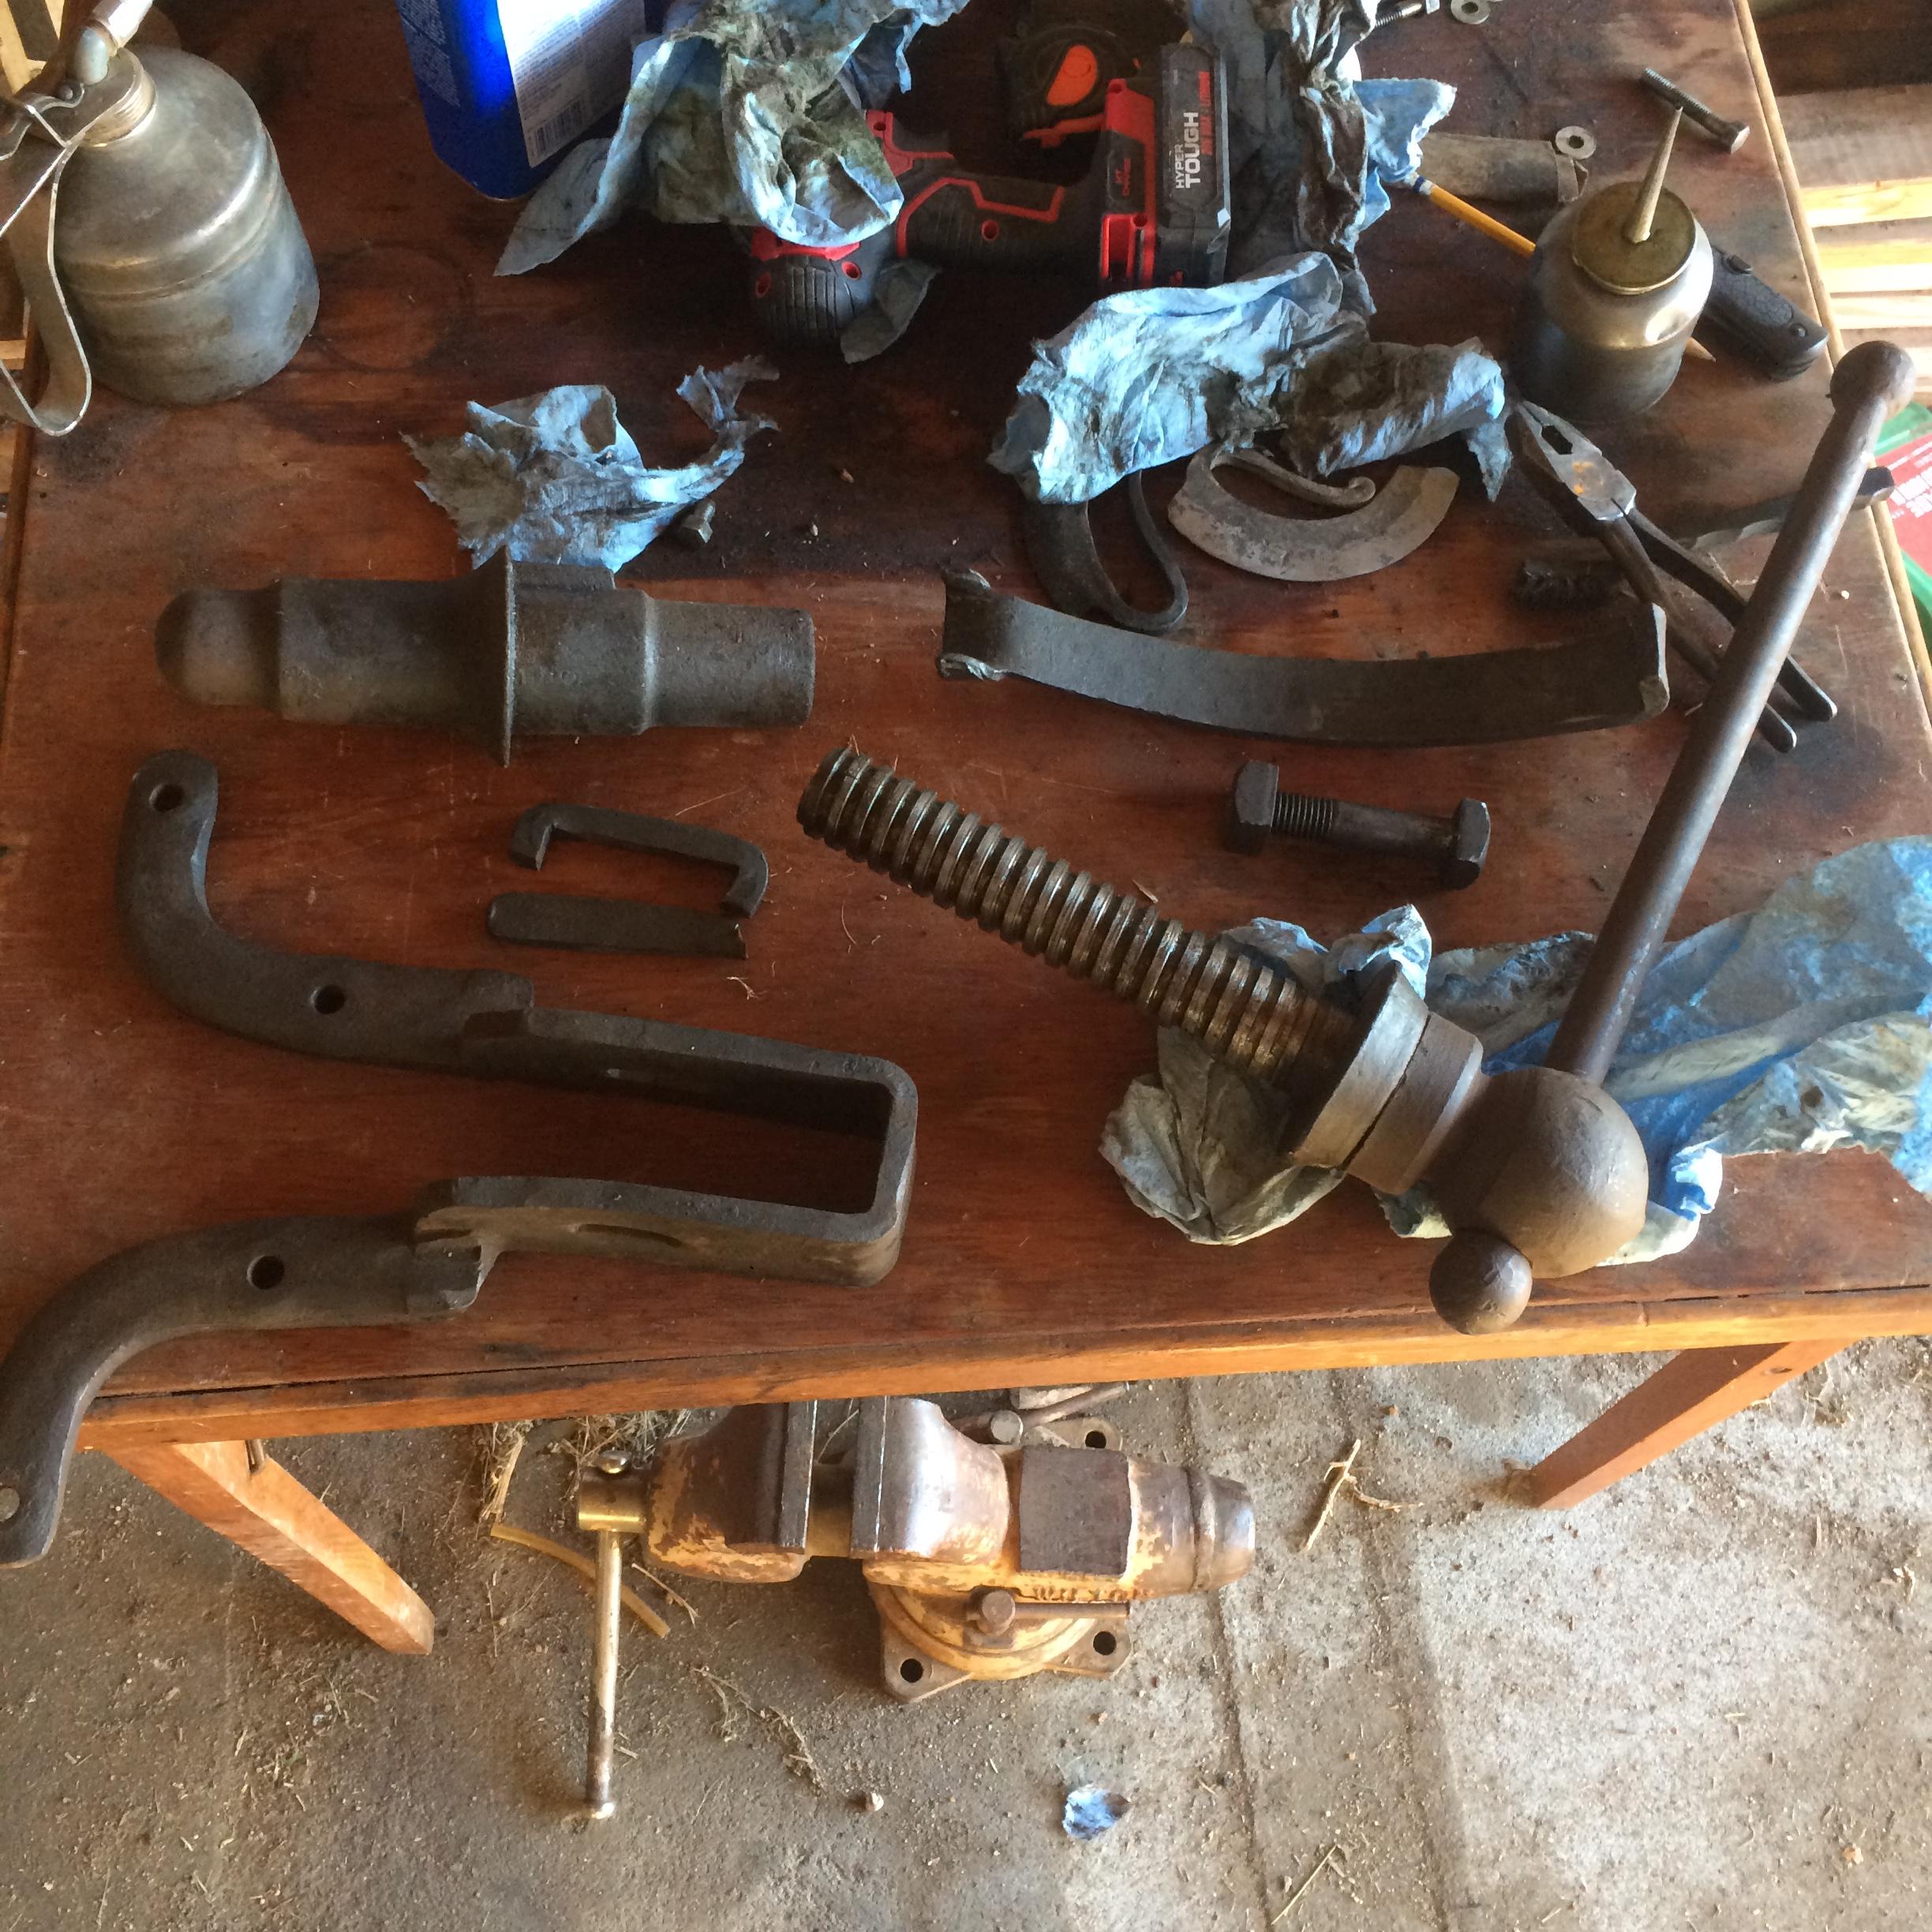
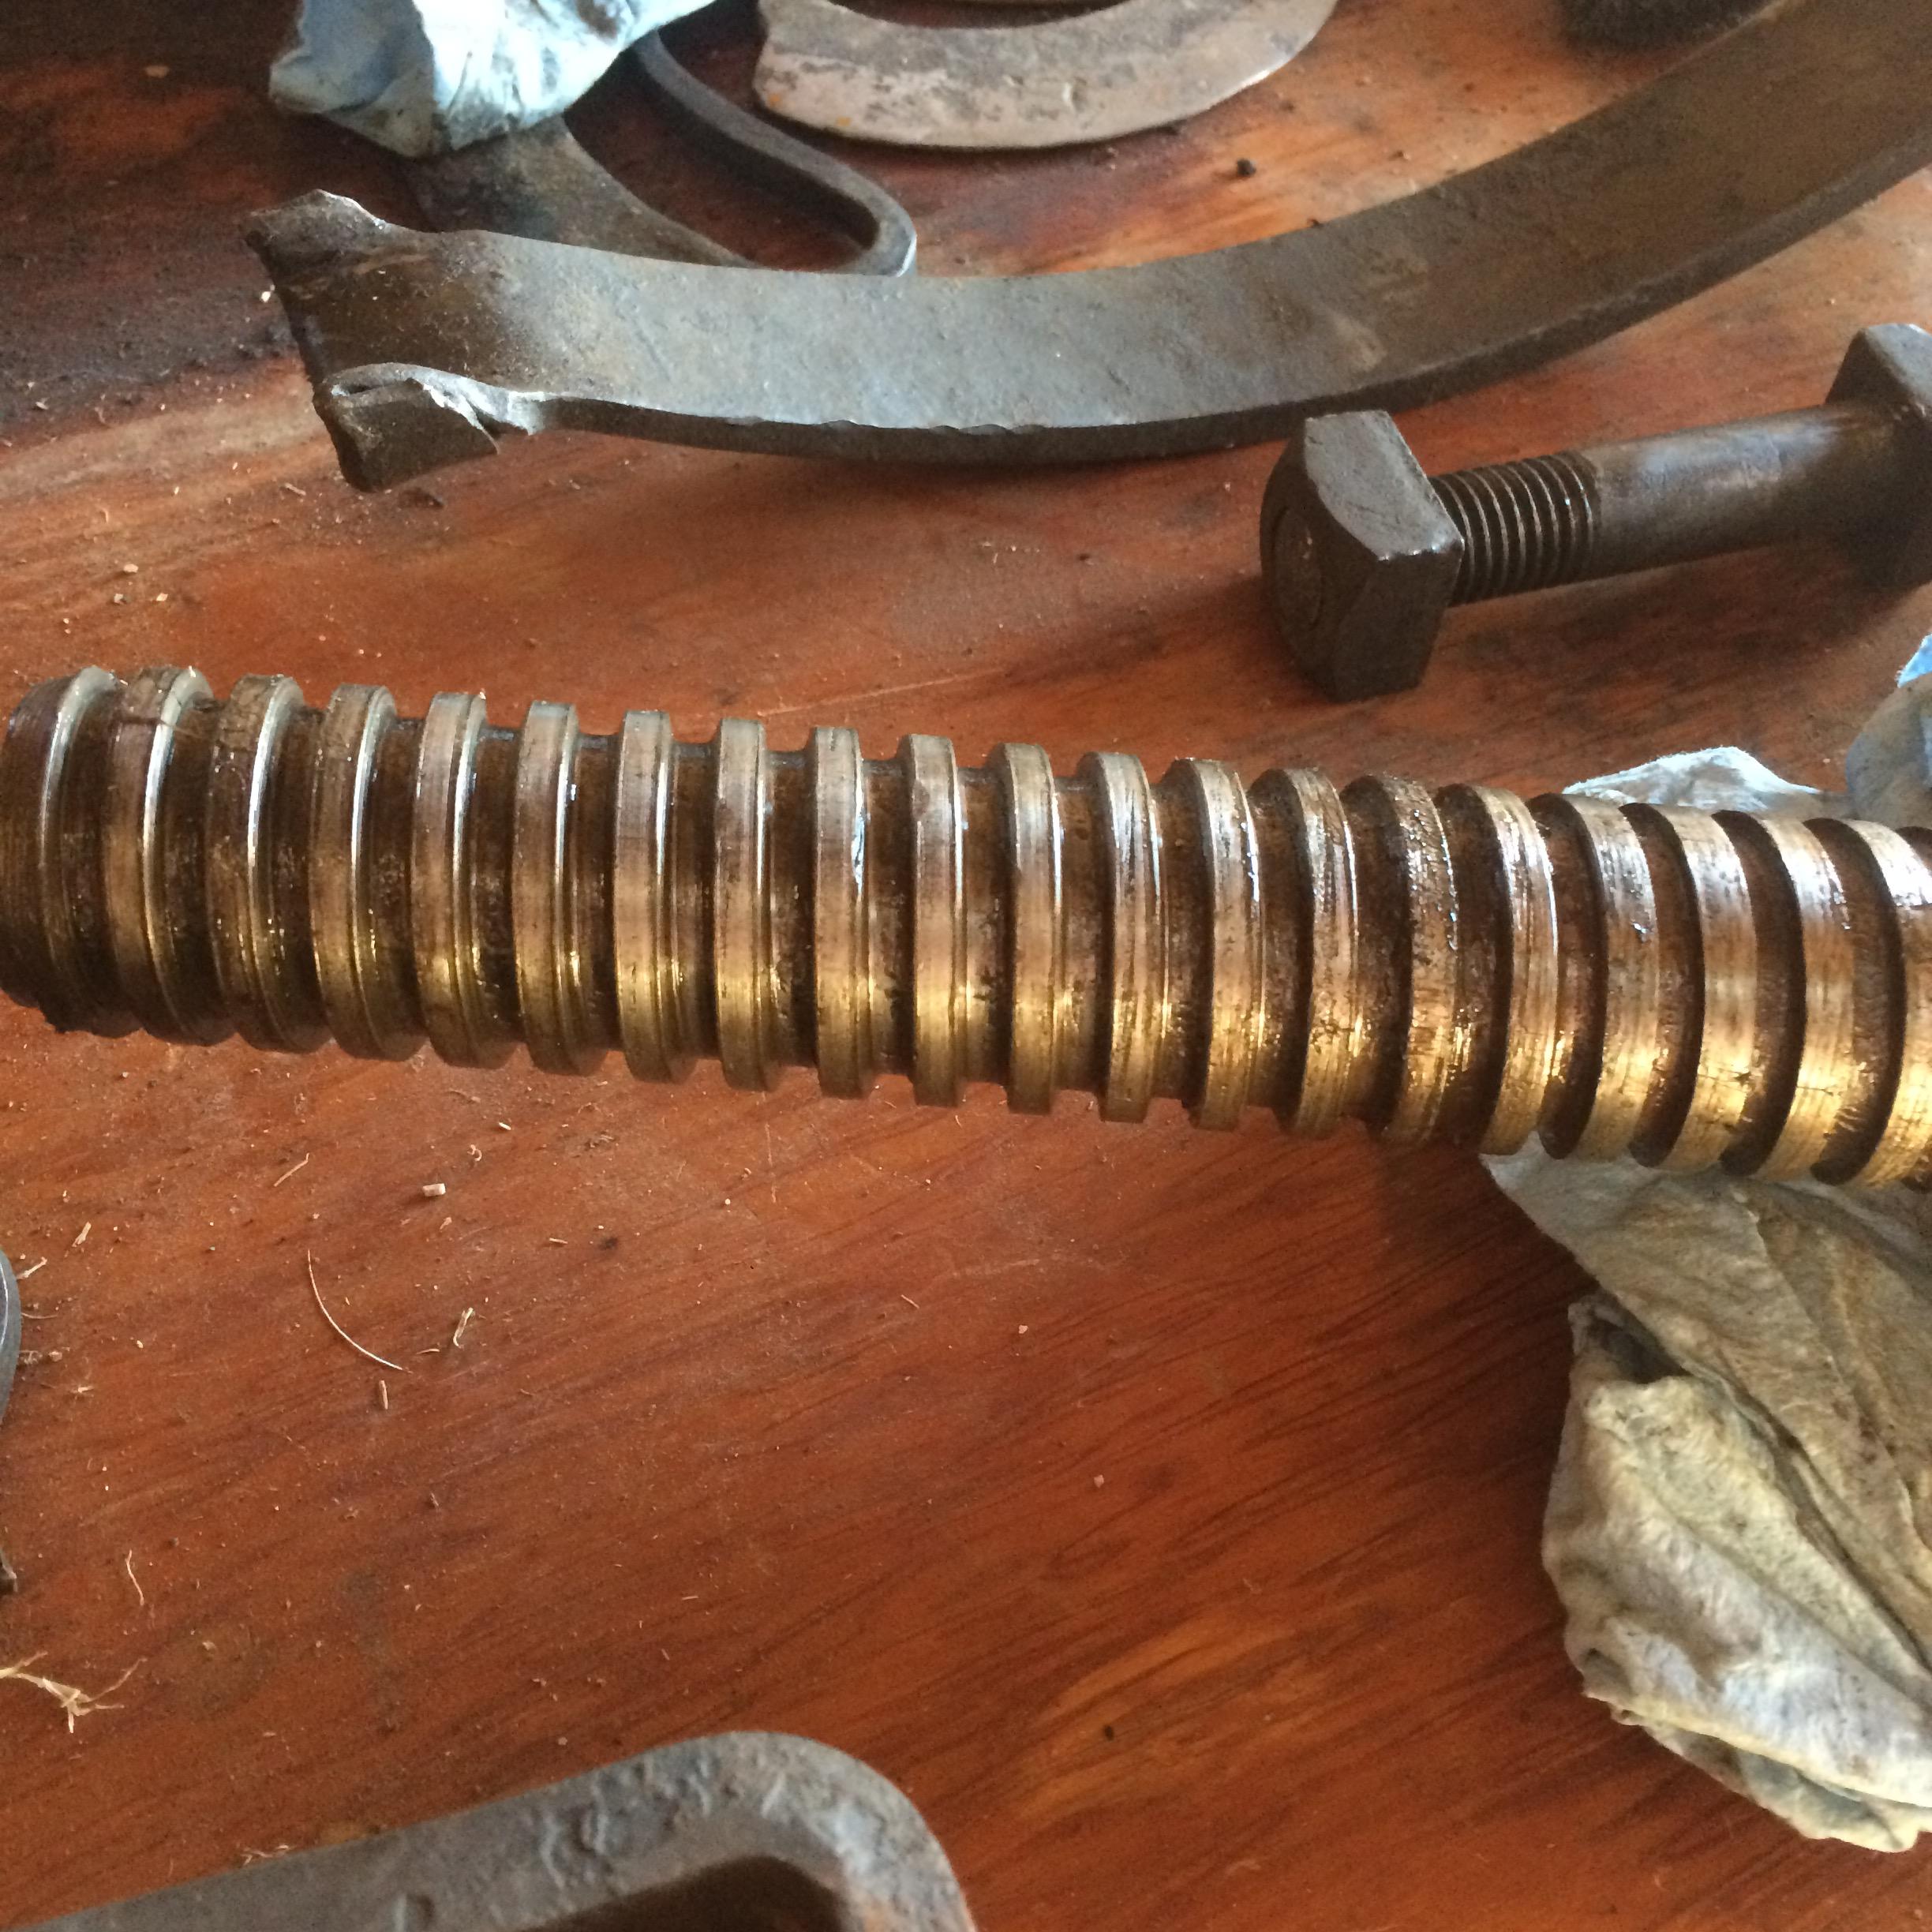
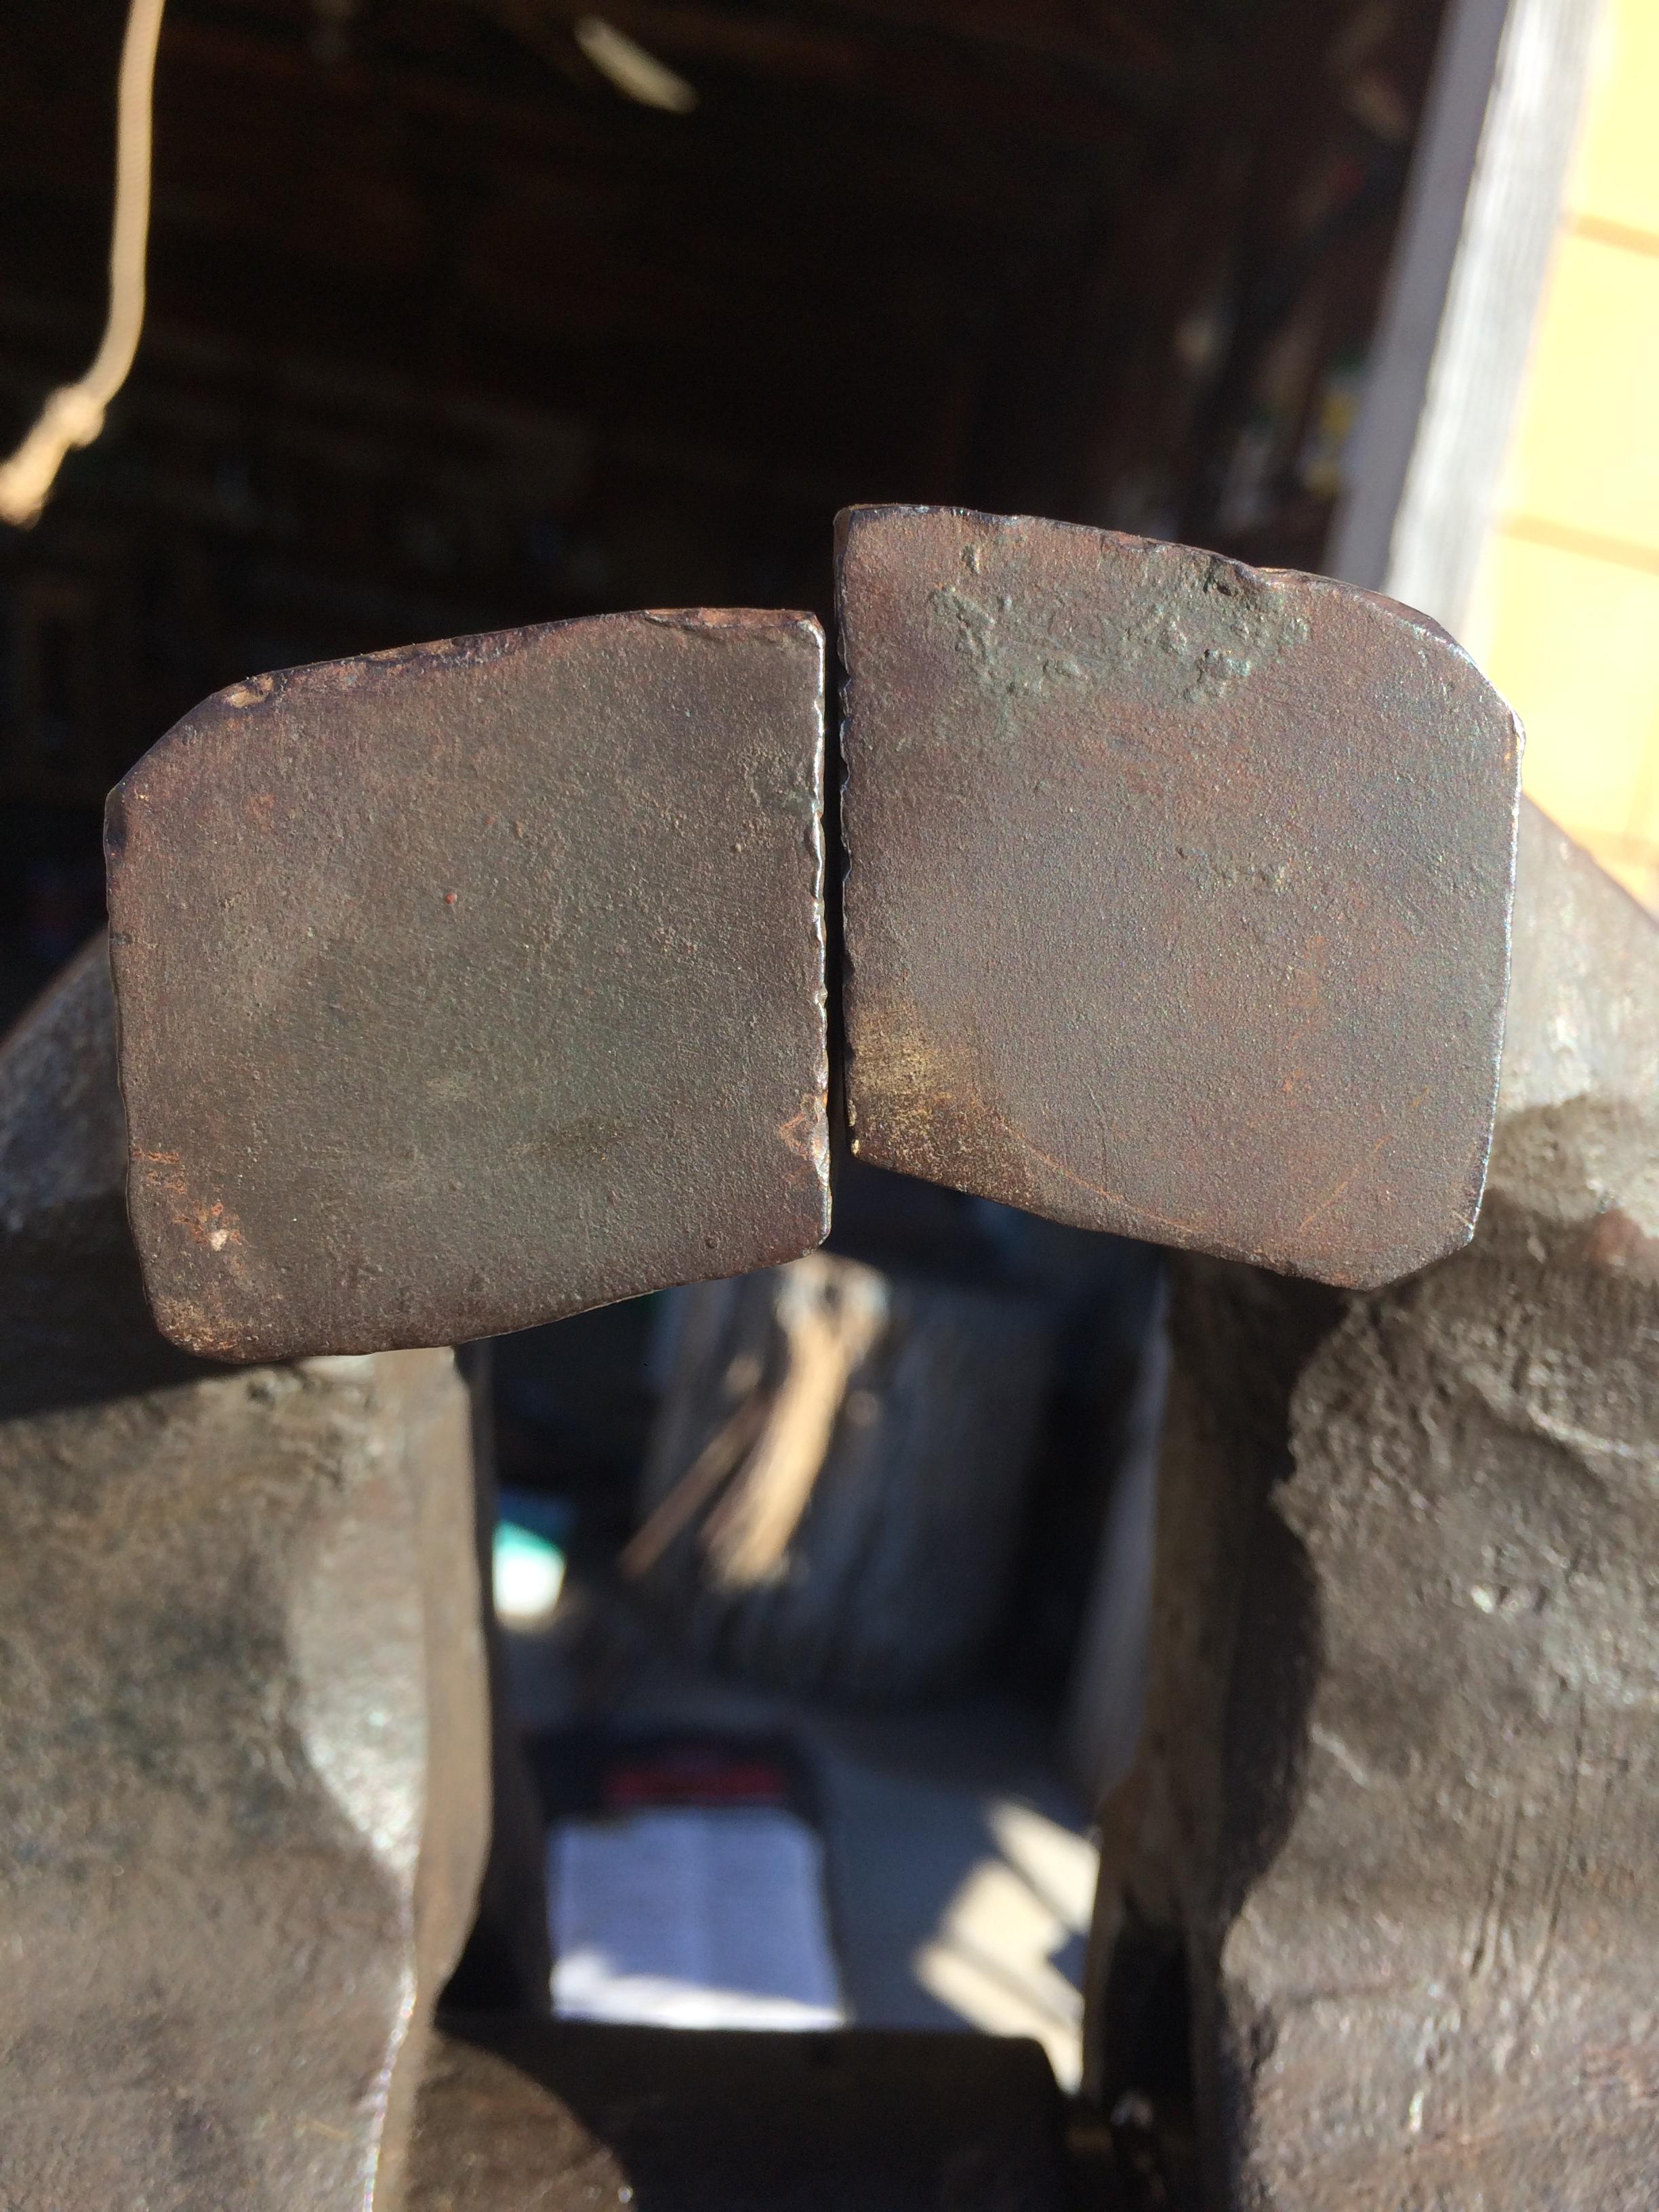
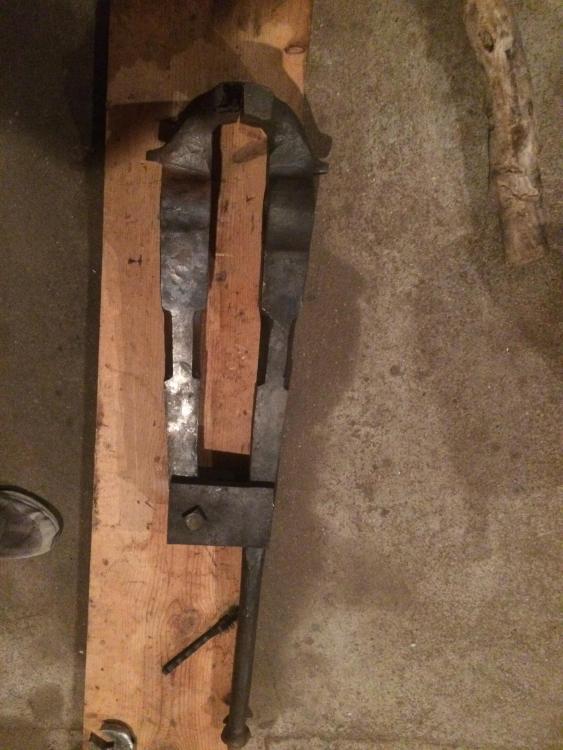
Hello everybody, This is my Iron City post vise. It's probably nothing special but I think it's beautiful and deserves some TLC. It's one hundred pounds and the jaws are just over six inches. The whole thing is tight and solid and the screw seems in almost perfect shape, though pretty greasy. The grooves(not quite sure the nomenclature) on the jaws also seem to be almost unused. Overall, it's a bit dirty (mainly because I put too much grease on and it got everywhere) but when I first got it and before a light wire wheeling, it was covered in orange rust and every part was frozen solid. I've had it for about a year but have not permanently mounted, partly because I wanted to get this inconvenience fixed the right way, and i'm not sure what the right way is. If you can't tell from the pictures, the shorter, moving jaw is about a quarter inch higher than the stationary leg jaw. It's not much, but I would imagine this would be pretty inconvenient for any real forging other than bending. The suggestion to grind the jaws flush was presented to me, but I'd rather not bring a grinder anywhere near this beauty. My brother suggested that I heat the thing up in the forge and bend it to where it belongs. I thought this was the option to go with, but it would be quite the challenge for me and I might mar it up pretty bad. Also, I noticed that the jaws mate up very well and are parallel the way they are, so just bending it in one place wouldn't be enough. Letting this brew in my mind for a few months, I had the idea to take a round file and extend the pivot hole upward on the moving leg, the area I marked with the penny. This would lower the jaw to where I need it. This seems to be the best solution I'm capable of thinking of, and I think I will attempt it unless one of the experts knows a better way. Does anybody know if this will cause any binding in the screwbox or anywhere else? The lower bolt is pretty tight and, without the spring, the jaws don't move as easily as I would imagine they should. Thanks for any and all advice and I would be happy to provide more pictures or information if anybody would like that.