

cjweaver13
-
Posts
11 -
Joined
-
Last visited
Content Type
Profiles
Forums
Articles
Gallery
Downloads
Events
Posts posted by cjweaver13
-
-
Will do!
-
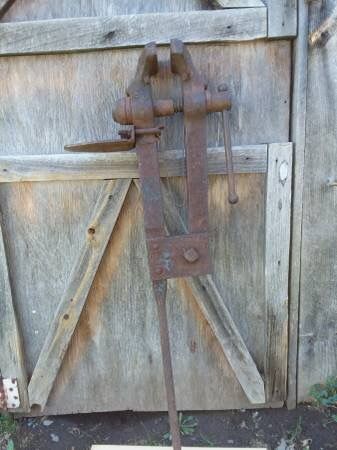
Looking for some relatively quick opinions. Came across a Columbian 4.5" leg Vise on Craigslist. Guy doesn't think it's hardly been used and is asking $120. Trying to gauge if that's fair as I don't see anything to compare it too that size. eBay put it in the ballpark if not maybe a little better Everybody by me is trying to sell 6"-8" for upwards of a $1000. Thanks!
-
9 hours ago, sfeile said:
quote removed
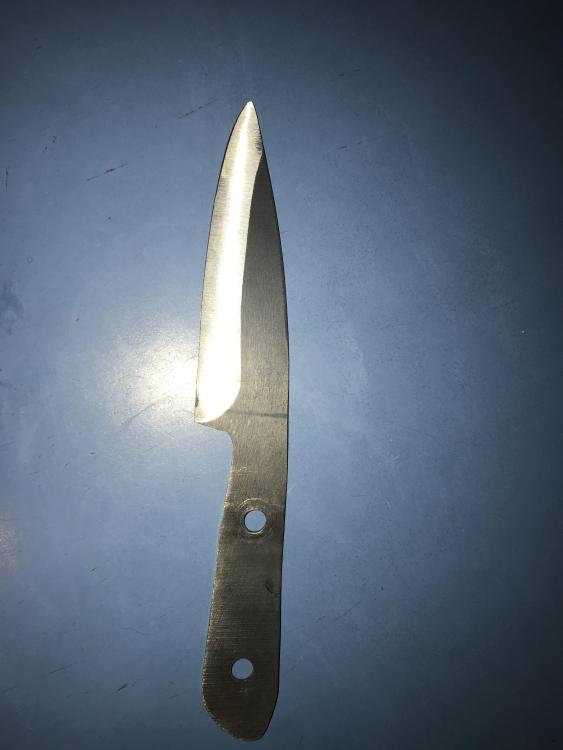
Thanks for the feedback! If bring up the tip it would create more belly. Is that regarded as ok for this style knife still? Or I could reduce height which would keep edge line similar
-
5 minutes ago, Daswulf said:
Whats the thickness at the spine?
Personally I like a more full grind with a secondary for sharpness but thats me.
This is about 1/16. Should have gave dimensions sorry. Blade is about 3.5" and handle is Just shy of 4". Idea was a little trout knife. Wasn't sure if I wanted like a skandi grind with secondary edge bevel, or flat grind.
-
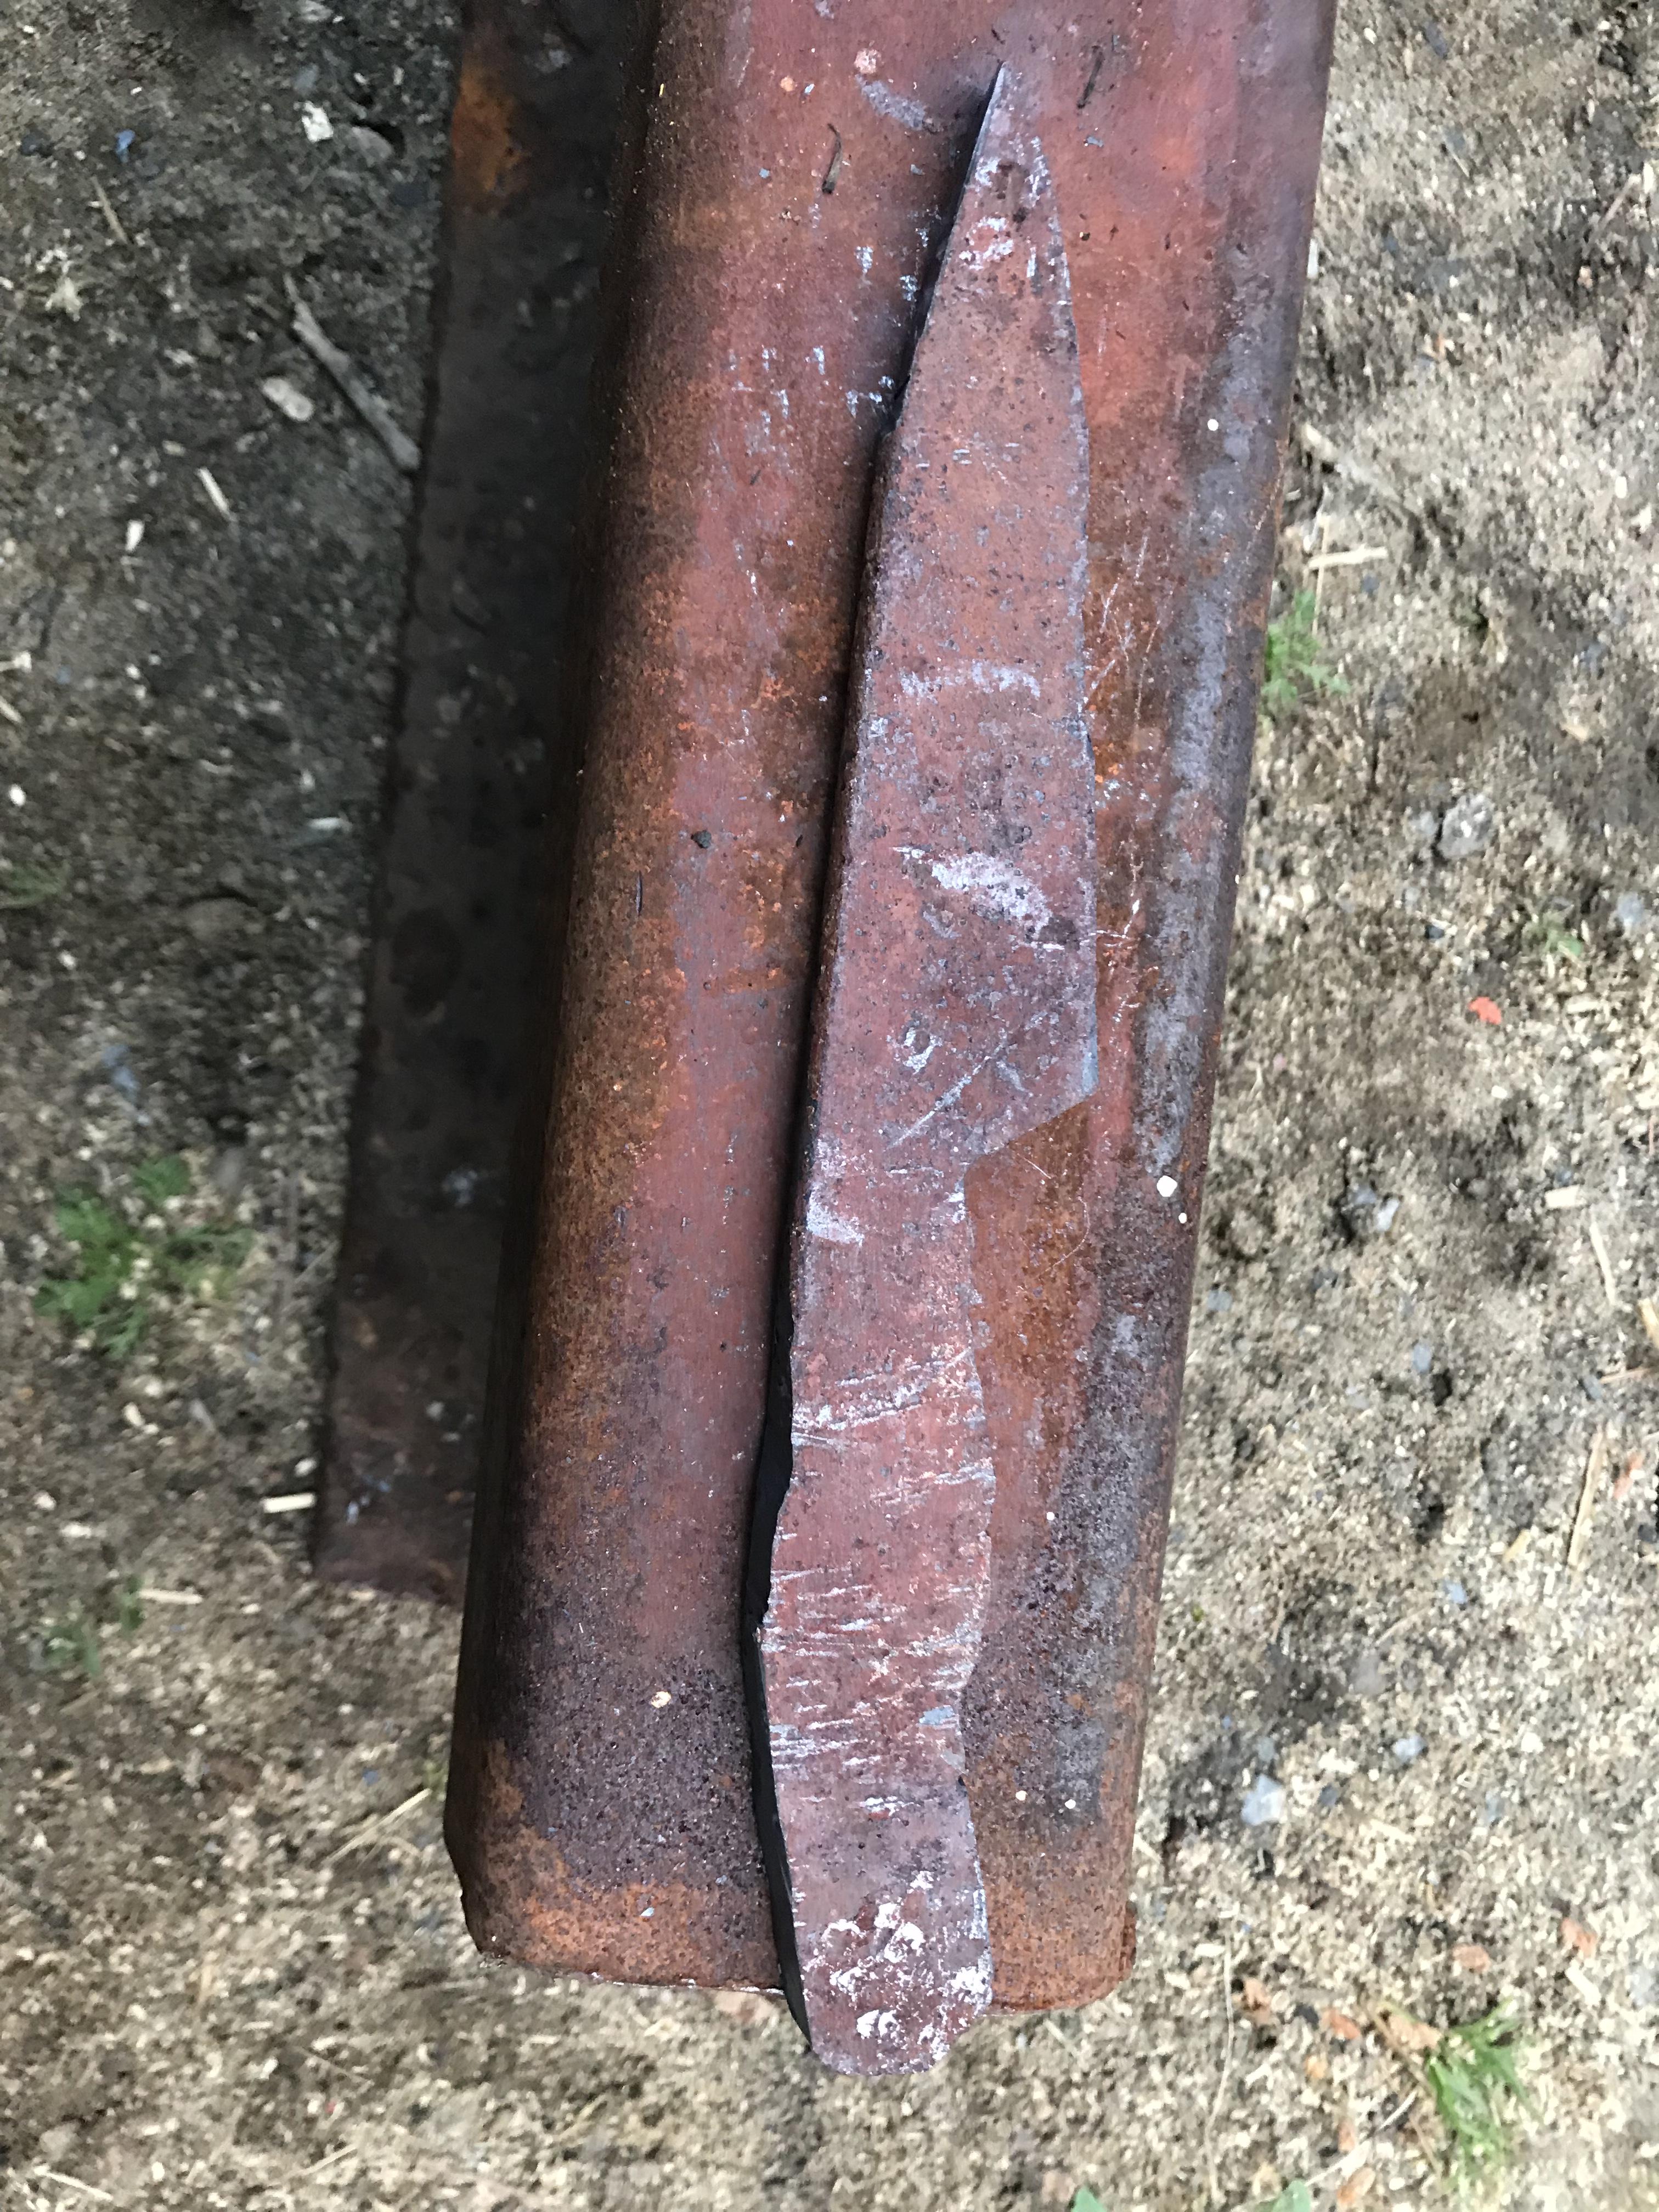
First knife ready for a hand. Felt pretty good about the grind for first full knife. Got mad when i ticked the heel with the side of belt but with small bolster it will remain behind edge. Any advise before handle goes on, or for future? I plan on making a few off this pattern and same metal which is L6. Handle will be a cherry wood with 1/4" brass pins. Heat treat also seems ok. Used canola oil heated to about 130* and 2 1 hour temper cycles at 400*. Took one that I messed up the grind on and chopped wood with it using another piece to hit the spine and drive it in and no chips or cracks so I'm on the ballpark
-
Ok so I made a knife blank out if 1/4" OCS (old Chevy spring). The thickness currently is a bear. As a newbie, what is the easiest, most aggressive way to thin it out for further profiling for bevels. Options I currently have at my disposal are: forge anvil and 3lb hammer, 1x30 belt grinder with various grits, 4" angle grinder, bastard files, and bench grinder.
My goal is to go the fastest route. If that means belt grinder I'm prepared to go through belts at an alarming rate for that size grinder, but before I needlessly kill belts, or ruin straightness hammering hot metal, I wanted an expert opinion or 10. Thanks!
PS. You have full permission to laugh at my first blank. Used my angle grinder and cutting wheel to do a rough chop off. Killed 4 disks not realizing it was somewhat hardened and I should have just cut off a length and annealed it first. Lesson learned

-
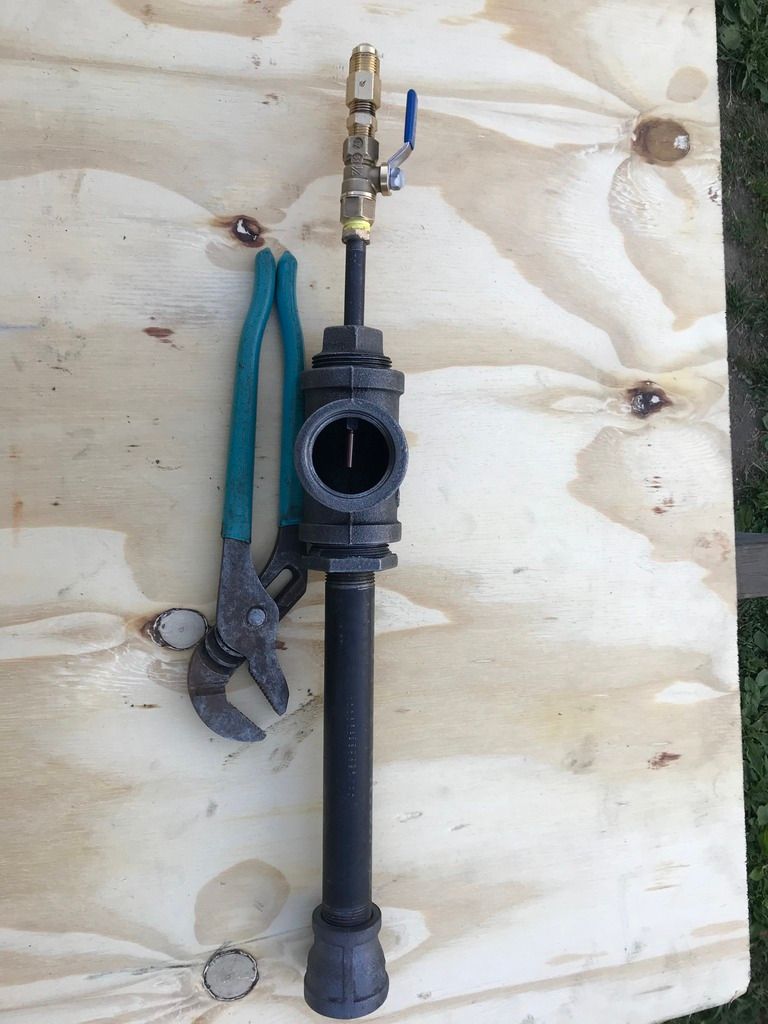
Thanks all for the help. Ended up being a bad regulator. Runs beautiful now. Still put a choke on and adjusted nozzle height and we're in the ballpark. Hammered on some steel tonight for the first time felt good
-
13 hours ago, Frosty said:
CJ: Look in the yellow pages (paper ones) for HVAC supply. I'm in Alaska and there are two within maybe 20 minutes of me and that's where I get my plumbing parts.
The burner in the video is burning very rich so having the choke plate partially closed just shows Mr. Lazy doesn't know what he's doing. That it works at all just goes to show these things aren't rocket surgery.
Using a bushing reducer induces bad turbulence in the mixing tube and greatly reduces intake air induction. If you really want to tune the one you built start by shortening the mig tip, the farther from the tube the more air it'll induce. If that doesn't work use smaller mig tips. Do it by increments and only do ONE thing at a time or you'll never know what change did what.
Ah, you flatter me Mike, I was just trying for something pithy and Thomas has used up all the good ones.
Frosty The Lucky.
Thanks Frosty. So far one says deeper in the tube, and you say farther away. Would this answer change based on mig tip size, or is it strictly getting placement of gas correct to affect incoming air on side port to increase?
-
1 hour ago, jcornell said:
Regarding parts - depending on where you live, you may not have easy access to a store that will let you look at plumbing fittings - so if that's the case, McMaster-Carr or Grainger is the next alternative.
This is definitely the case. There is a graingers about 1.5 hours away I guess I'll have to visit.
5 hours ago, Frosty said:Welcome aboard CJ, glad to have you. If you'll put your general location in the header you might be surprised how many of the gang live within visiting distance.
I haven't watched the video you linked I see all I need in the still. It's a perfect example of why it's so hard to learn anything useful watching Youtube videos. Not only is this a mediocre design it's incorrectly built and the flame shows it. It's running terribly rich.
Don't buy plumbing at a hardware store. Would you buy auto parts at a swimming pool supply? Try a plumbing supply maybe?
Frosty The Lucky.
Frosty, you'll laugh but there are no such thing by me, only hardware stores. I'min upstate NY and closest "metropolitan" area is Albany about 1.5 hours away. I'll have to eat up a Saturday and take a road trip. In that video I don't know if he was show boating and jacking up psi for a bigger flame, but I also noticed he had a choke on the hole and covering up about 1/4 of it.
I attached a picture of mine, and now the only problem is it starts off great, then after 5 minutes starts making the rhythmic woomph sound. I've tried straight pipe, 1" reducer on end of 3/4" pipe, and a flange floor on top of the forge ceiling. All ways it does this, and somebody smarter than me said to first get new regulator. I currently have an amazon special 0-20psi diaphram style. Should be here Friday.
PS I've seen your burner design all over the place too and will most likely give it a shot as well!
-
Hey all, new user here! I am beginning my forging journey and currently making a sidearm burner using the Zoeller design. First change I have to make is simply using a 1/8" brass nipple with black iron plug to create nozzle with tapped .035 Hobart tip. The big question is the reducing tee. No hardware store near me has the correct orientation of the 3/4 reducer hole (they are all on the perpendicular side instead of straight side). I can grab an all around 1-1/4" tee and a reducing bushing for the end. Will I only be able to tell the difference if I were running 2 side by side with the "correct" tapered tee, or will it be funtional for all intents and purposes. It is going in about a 8"x10" firebrick refractory lined forge. Thanks!
PS. I have seen a couple videos using my intended method with reducer bushing, most prominent being this video.

Fair Price for Vise?
in Vises
Posted
I ended up picking it up for $100. Good condition based on what you all have said. All of the hashmarks on the trips are there, threading is perfect, and it's complete ready to use. I'll try and get a couple of close ups later.