
Jon Kerr
-
Posts
293 -
Joined
-
Last visited
Content Type
Profiles
Forums
Articles
Gallery
Downloads
Events
Posts posted by Jon Kerr
-
-
Got it. Quenching = somewhat reversible. Cracks and shatters due to excessive quenching= significantly less reversible.
-
Very interesting, thanks both.
-
Understood, thanks.
 Can we have all our metallurgy lessons in Star Wars references? I'll understand it better!
-
On 5/25/2018 at 4:43 PM, ThomasPowers said:
On straightening Pandrol-clips; I think the important thing here is that it's done at forging temperatures; not cold! Also beware of contact quenching (put it back in the fire while it still glows, don't set it on a cold metal surface to cool or leave it in a cold vice, etc.)
(Here's a heap of idiot newbie questions sorry.... ) Whats the problem with contact quenching? Isn't quenhcing kind of "reversible", once the metal is glowing hot again its soft? If I were to take a piece of hot metal, quench it, then return it to red hot, is it just as workable as before?
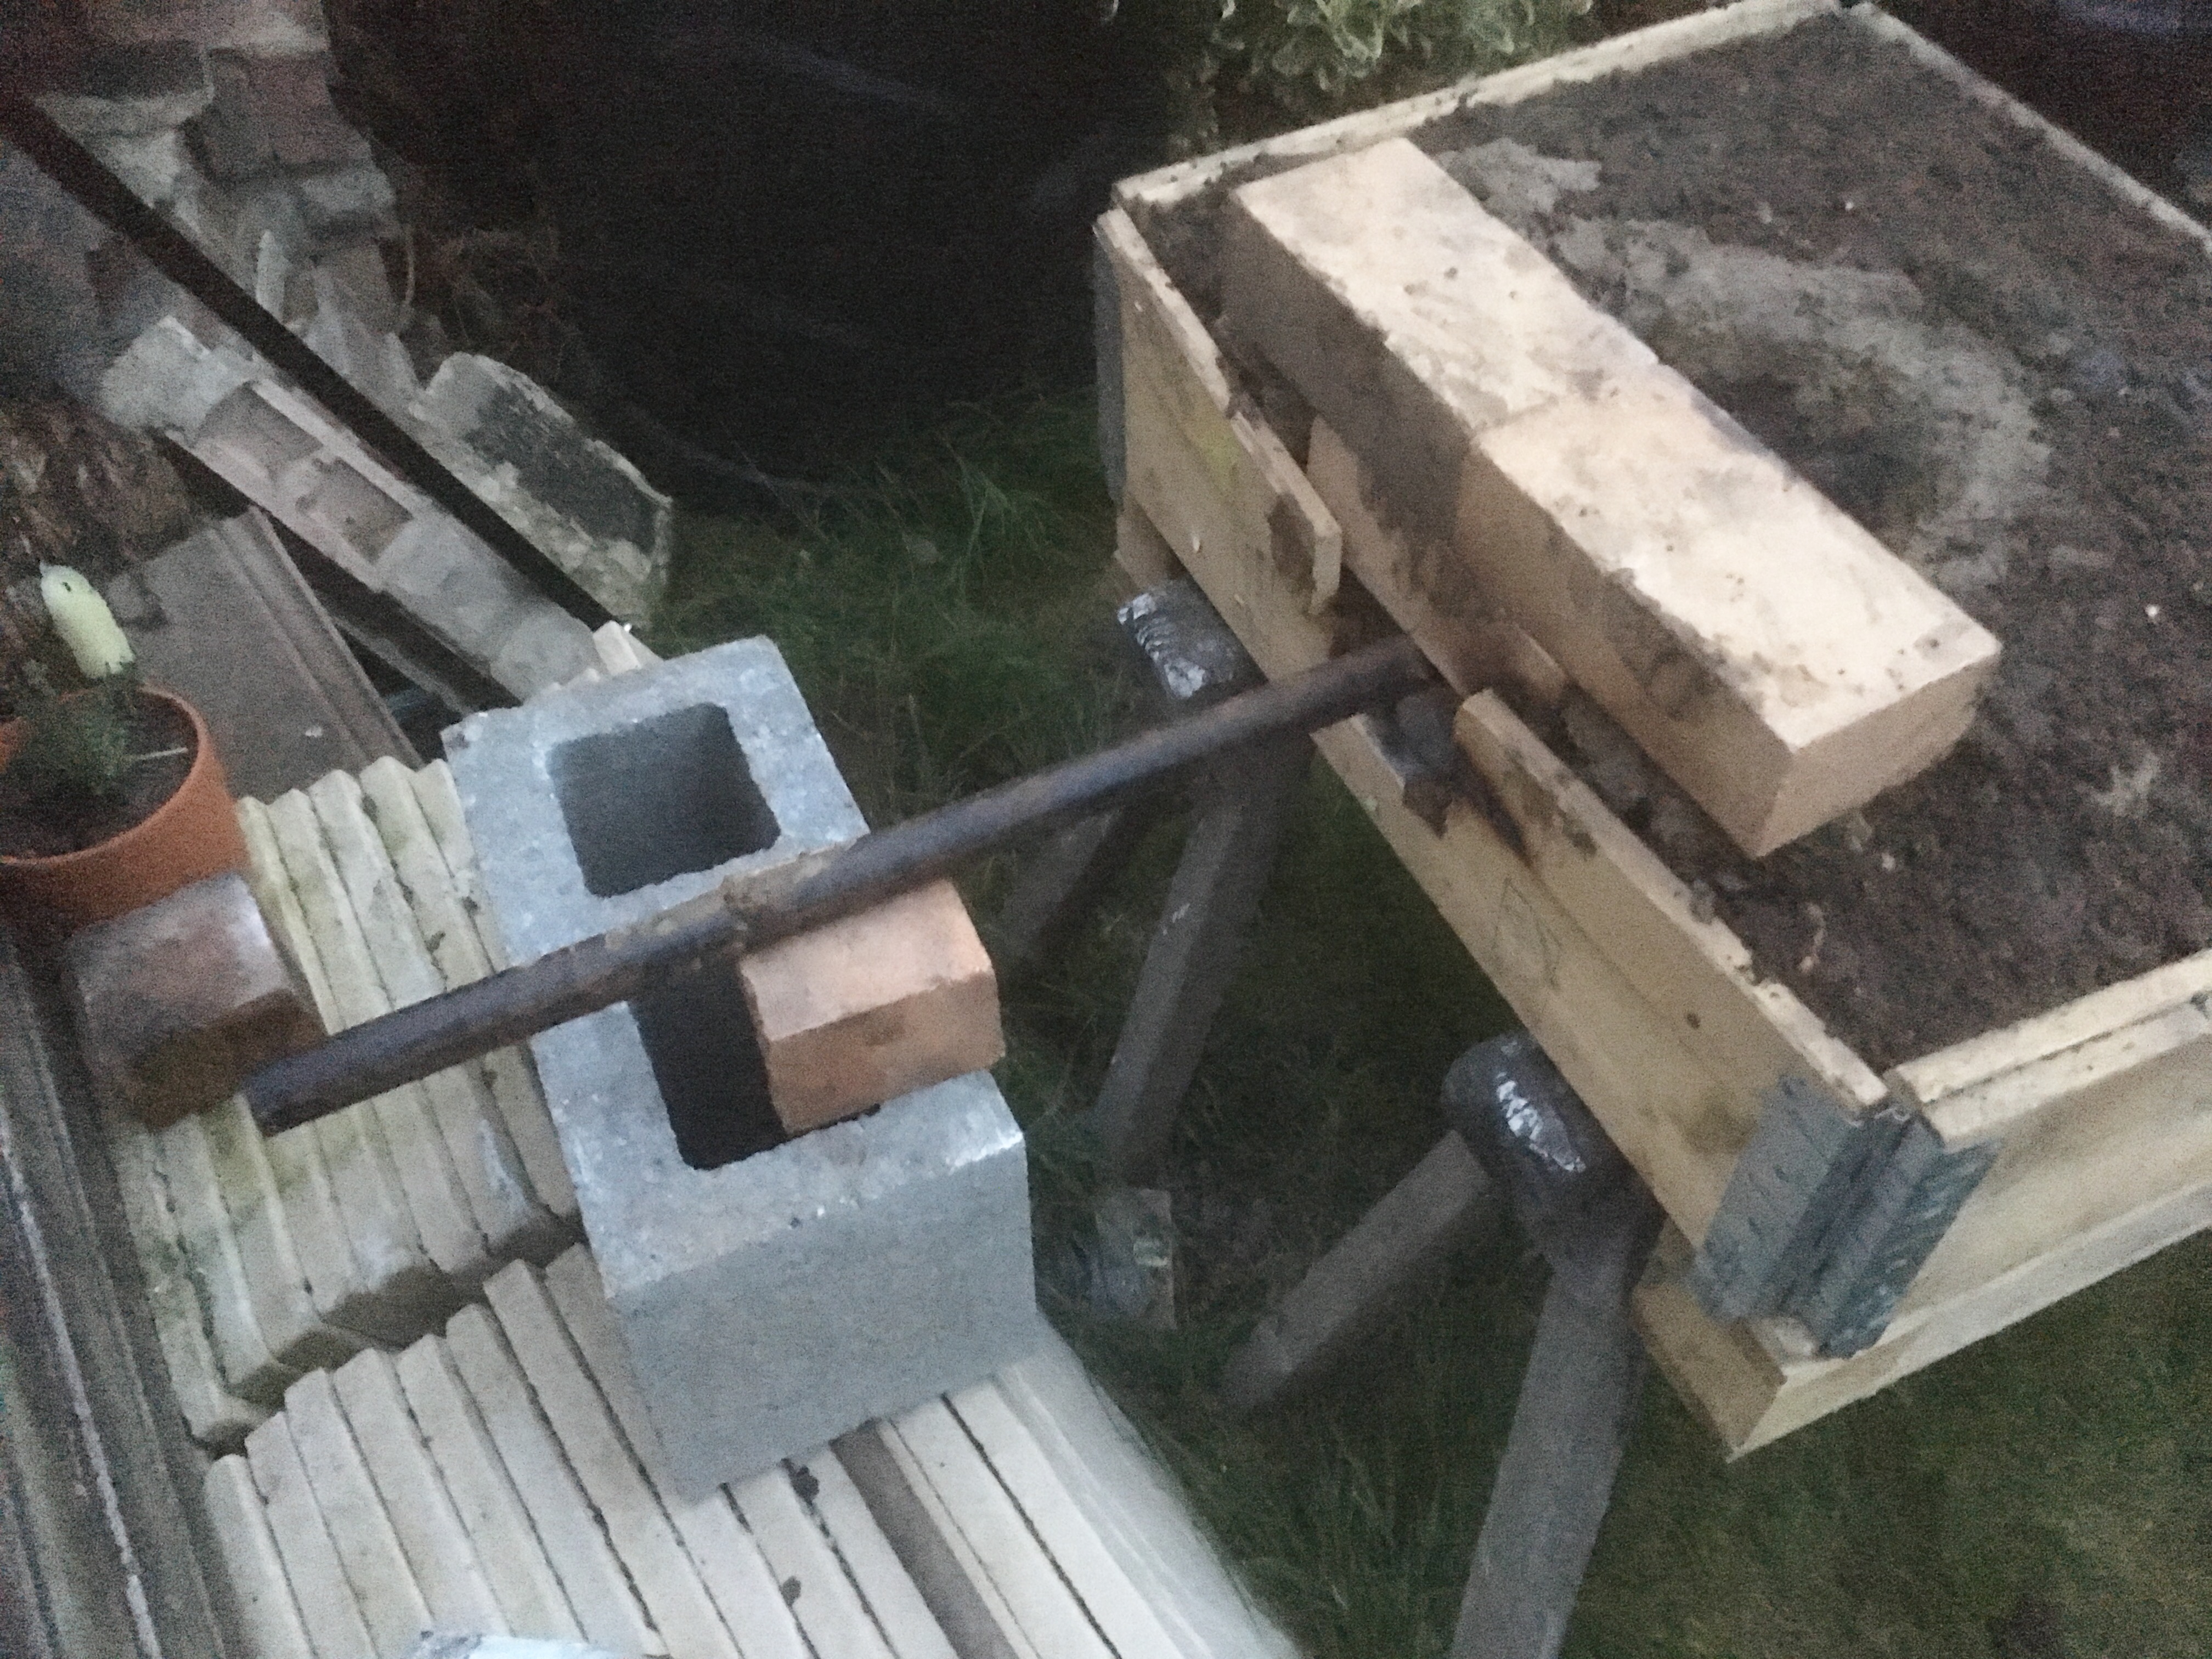
On 5/25/2018 at 3:34 PM, JHCC said:Pandrol clips are pretty tough and not thin, so it takes some oomph to get them straight. I've straightened them over the anvil, which is a pain, but the best method I've found so far is to heat them up, clamp one end in a vise, slip a heavy pipe over the other end, and use the pipe as leverage to bend it straight without hammering. See what works best for you and your gear.
If you don't have a vise and have to hammer them straight, make sure you have a good pair of tongs that's properly sized. It takes a fair amount of pounding to get a Pandrol straight, and you do not want it bouncing around or even flying through the air because you couldn't hold it solidly.
Great tips, especially the "pipe and vice" trick. Thankyou! I'm going to end up an expert in straightening these things as its probably my easiest source of free, good quality steel (legally!!!!).... thats assuming I don't lose any limbs or eyes in the process.
-
Thanks for the tips.
When you say you're "barely good enough", what makes blades so especially difficult? Is it the challenge of shaping the blade itself (including, as you say, the distal taper etc)? I assume that all comes down to hammer control and your ability to move hot metal?! Or does the difficulty come further down the line in terms of heat treating etc?
Good luck! Watching with interest.
-
On 5/29/2018 at 8:38 AM, JHCC said:
On a JABOD, the tuyere should be considered a consumable.
What about the pump/hose though? Does that not get very hot? The end of my hairdryer was melting.
-
What made such a difference to your charcoal "consumption"? The reduced air supply?
-
Hi all,
I've had a look at both these posts and they're very informative:
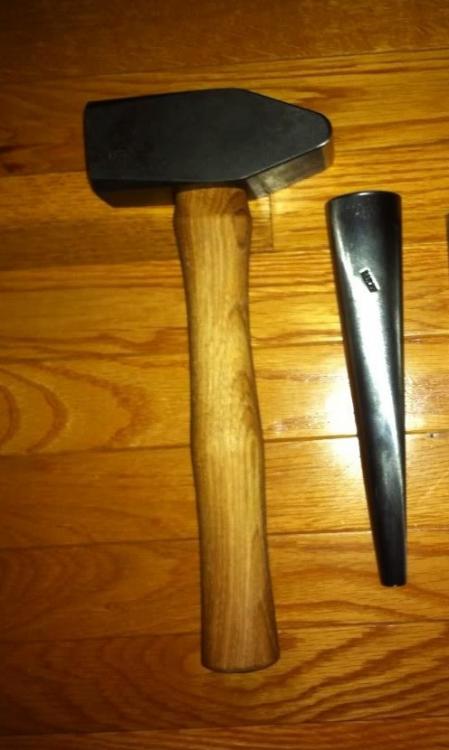
Does anyone have any further recommendations in terms of modifying a hammer into something more useful/suitable for forging?
Please excuse my ignorance, I'm very new to all this, but it appears as though a really good "workshorse" hammer is a Hofi-style or German style shape.... cross pein, with a square face, dressed as per the description in the above thread.
Is it reasonable to assume that one could grind a hand-sledge into a similar shape to a Hofi/german hammer for a similar effect? I guess you'd have to watch out for the balance, and ensure the face was dressed properly?
I bought a couple of old hand sledge's this weekend (at a car-boot sale, for 50p each). I'm hoping I can grind them into a cross pein, balance by removing material from the front, then dress the face. See the attached image (stolen from another thread on here) as an example of the basic shape I'd hope to achieve (then dressed according to the above post, 24" radius etc)
What needs to be done in terms of hardening etc?
Would this result in a good hammer? Any tips, warnings, pitfalls?
Cheers,
JK
-
That looks awesome JHCC. Can't wait to be good enough to have a go myself.
What size/shape stock did you start with? And how much of a taper/sharpness do you put on the blade at the forging stage, or is that mostly done in grinding?
Look forward to seeing the next step.
-
Anyone got any bright ideas for a JABOD tuyere cooler? Does anyone else have problems with the Tuyere getting too hot (and melting the pump/hose?)
-
So, unfortunately I didn't get chance to do any forging this weekend (depsite the bank holiday!). Too many other DIY/house projects to finish.
As such, I'm living vicariously through the users of this forum....!
In terms of a plan for my future projects (with a mind towards training, and building my set of tools) , I wonder what you guys think of this?
1. Hooks..... following advice found on this forum, I want to make a load of hooks. This will give me practice with the forge/fire itself, drawing out, tapering, etc.
2. Tongs..... I've actually now been given a pair of tongs (lucky!), but I'd like to make a flat pair also. I'll probably make these from rebar as I have it lying around.
3. Pizza oven bits.... I'd like to try making some door handles, a door hook-and-eye, a long ash-rake, fire poker, and some heavy duty log tongs/grabbers.
4. Bottle openers. I'll need to buy some square material, but I'd like to make some bottler openers for my gamer friends, and try a dice twist!
5. Knife...... I'd then like to have a go at a kitchen knife again, probably starting with a pandrol clip. Probably to soon to start bladesmithing but I'm going to try anyway.....
Any thoughts on the above? Any recommended training ideas or tools to make first?
Also, I have some random questions.
1. Do we say "smithing", or is that a phrase used by gamers and not really a word used by blacksmiths? Is "Forging" the proper word?
2. How long do I need to wait before attempting Forge Welding? Sounds like an incredibly useful skill.
3. Just how limited are you without a power hammer? So many videos I watch use the power hammer, especially for blades, axes, and forging hammers. Can this be done by hand? Without strikers? Is it just a case of determination?!
-
19 hours ago, 58er said:
Rose lamp.
This is beautiful.
I assume you make the component parts seperately and then join it all together? How do you join them? Forge Weld?
(Apologies for the possibly daft questions, I'm very new to all this!)
-
Yeah I can see a few things being an issue on the smaller anvil face but I’ll just have to learn other methods to get the job done. Determined not to spend lots of money on this hobby, and the challenge of scrounging/upcycling is actually fun.
I’ve been looking at Charles’ thread about rail anvils and its pretty inspiring....... he’s ground hot cuts, fullers, bending forks etc into his rail anvil. I’m keen to do the same but I dont want to turn my rail track on end just yet as it will mean I need more holes drilling and have to adjust the wooden stand, which is time and effort I could be spending on basic blacksmithing practice instead. Definitely something to look at in future though!
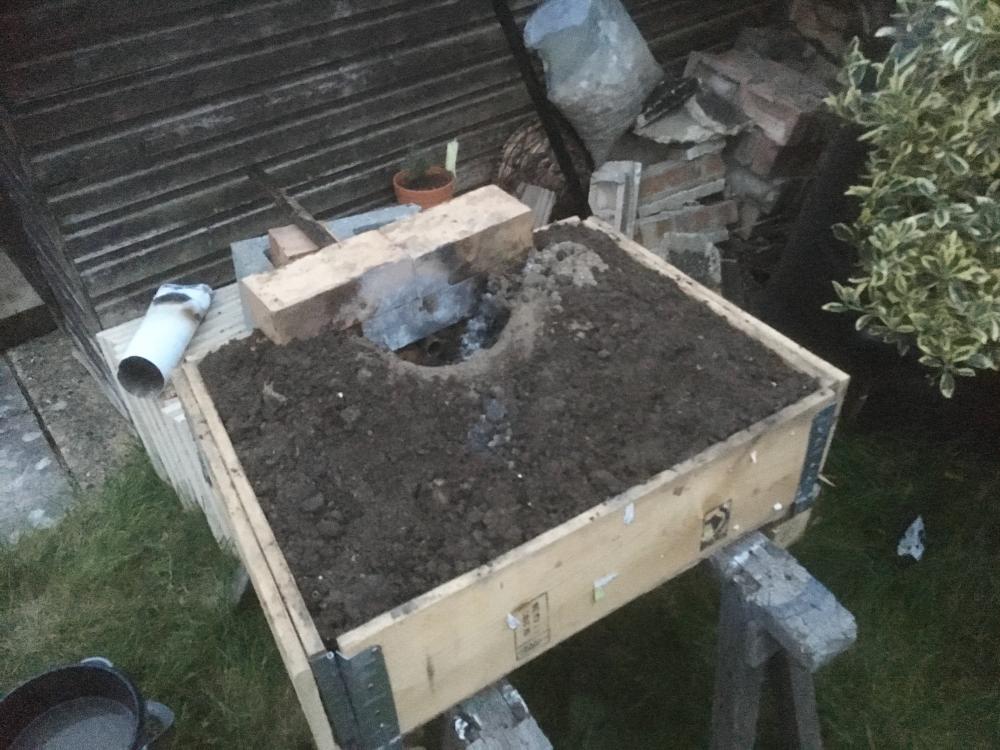
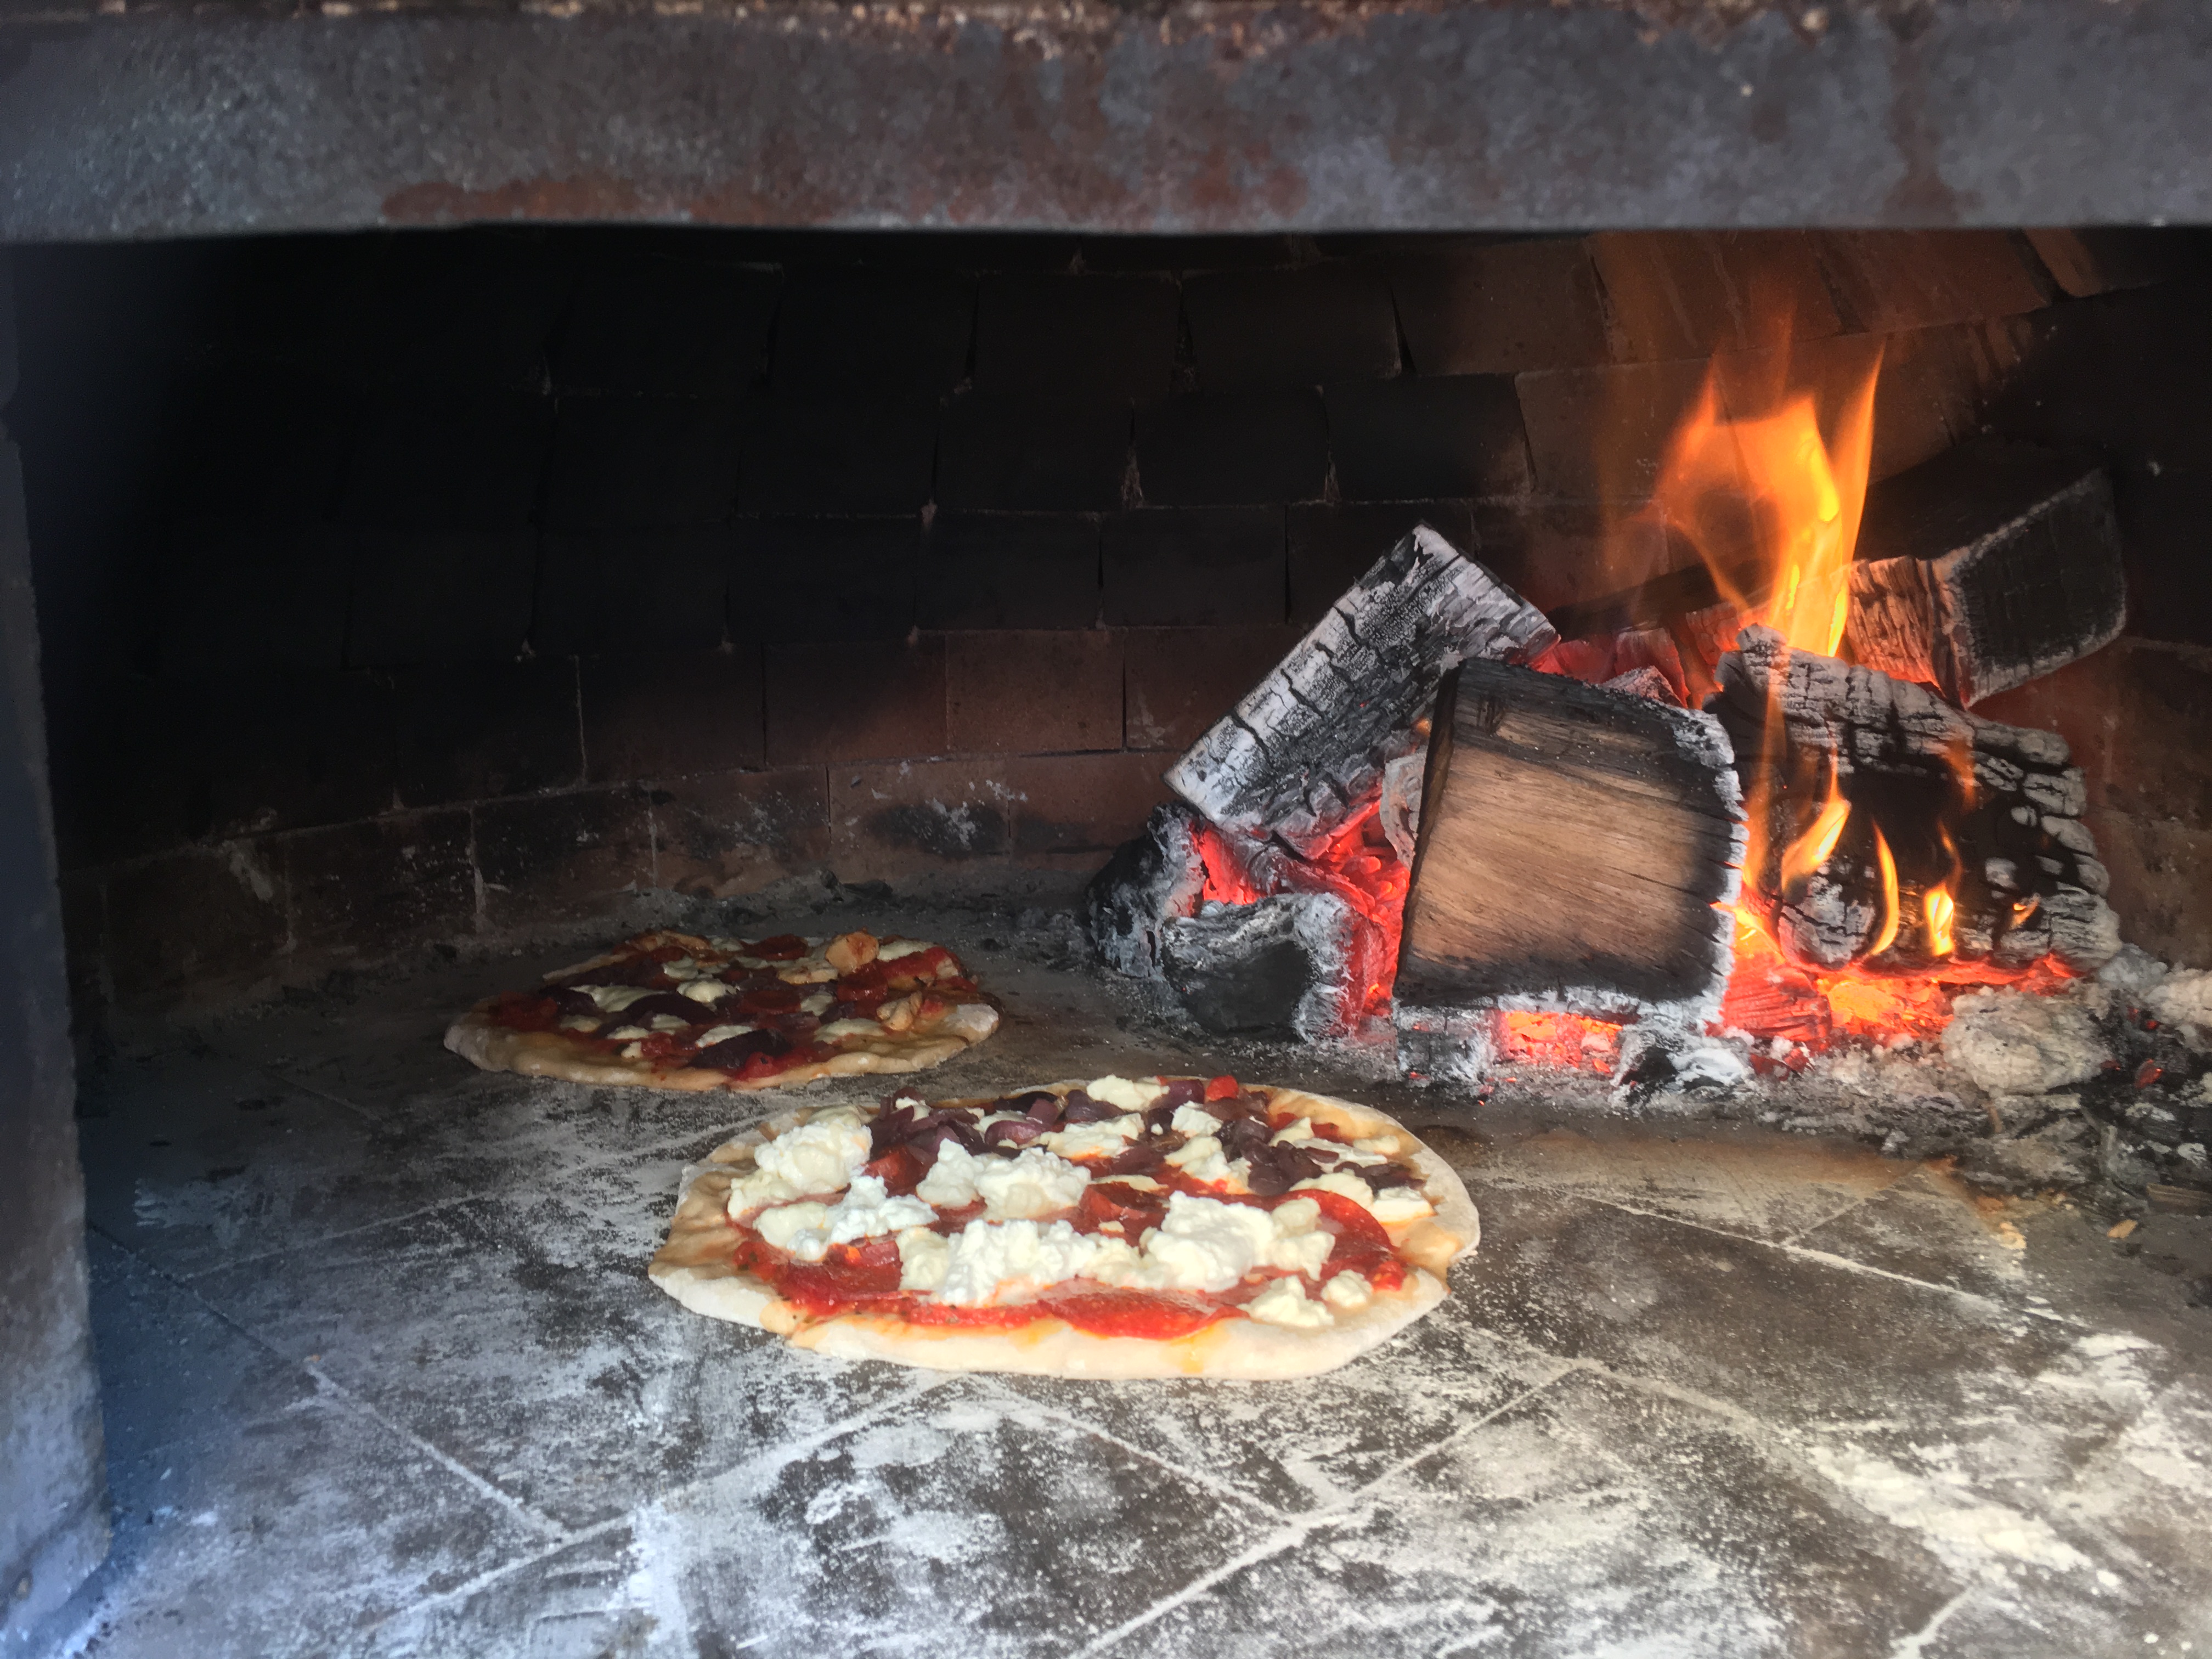
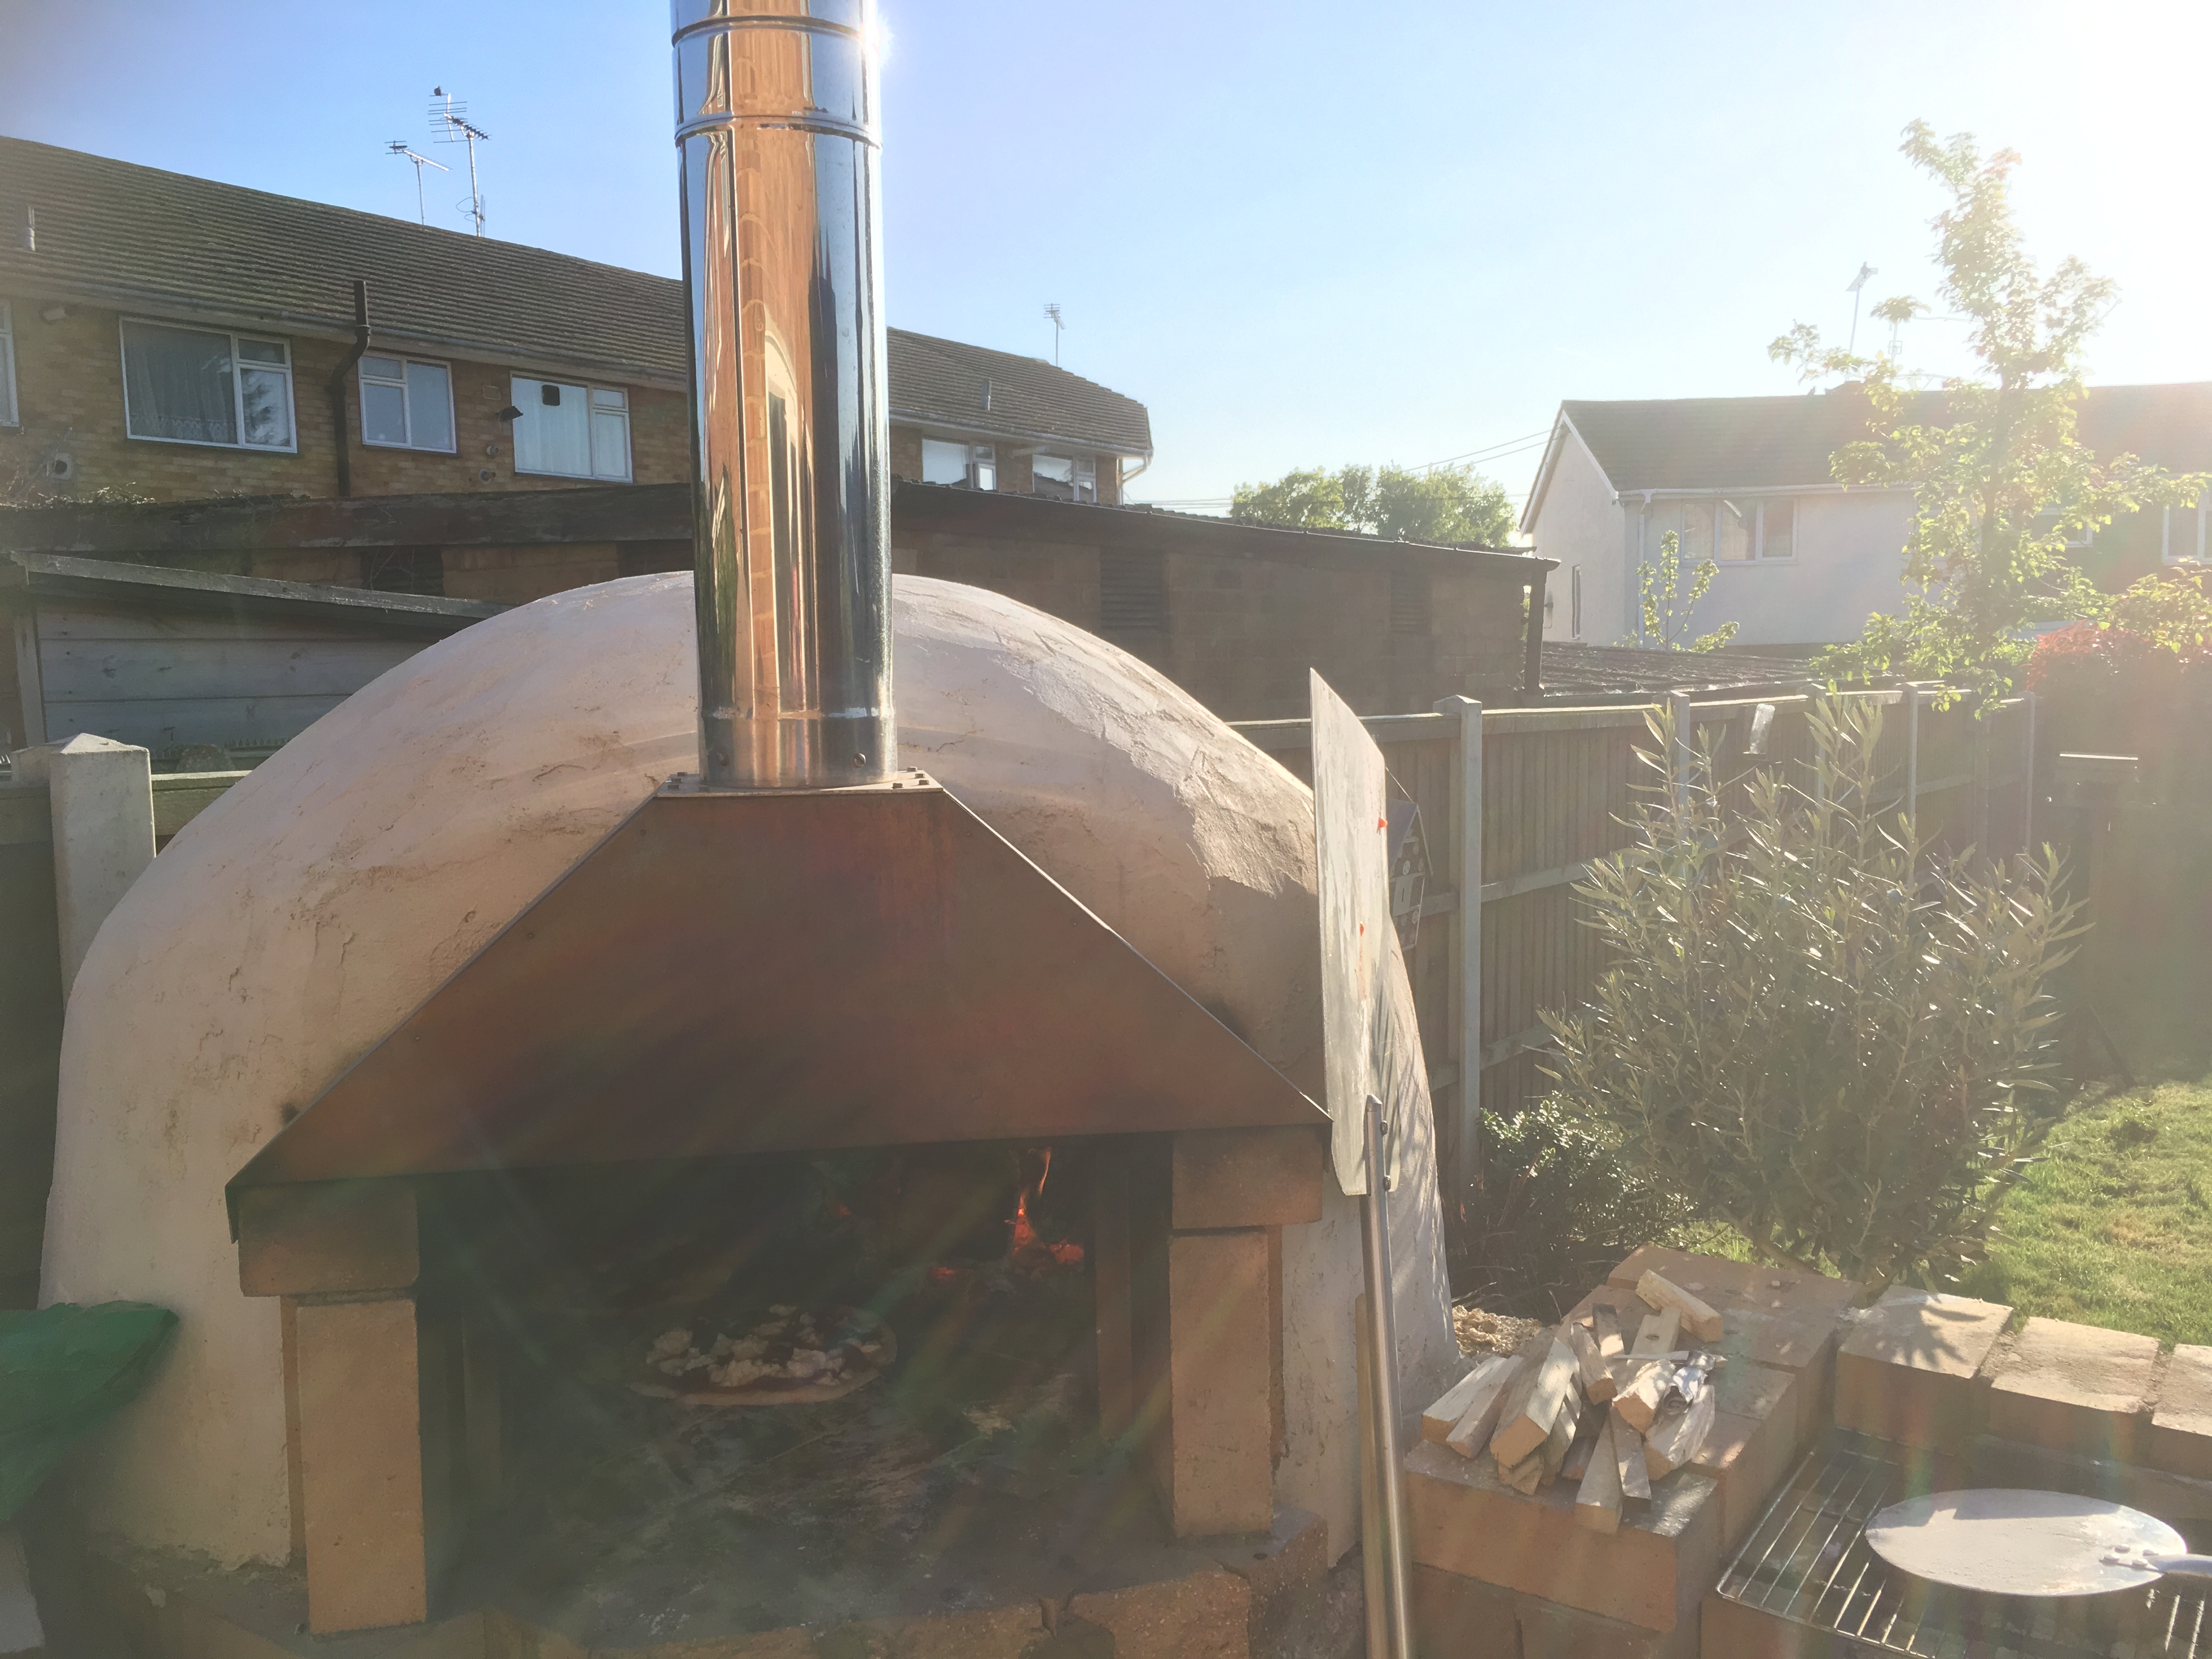
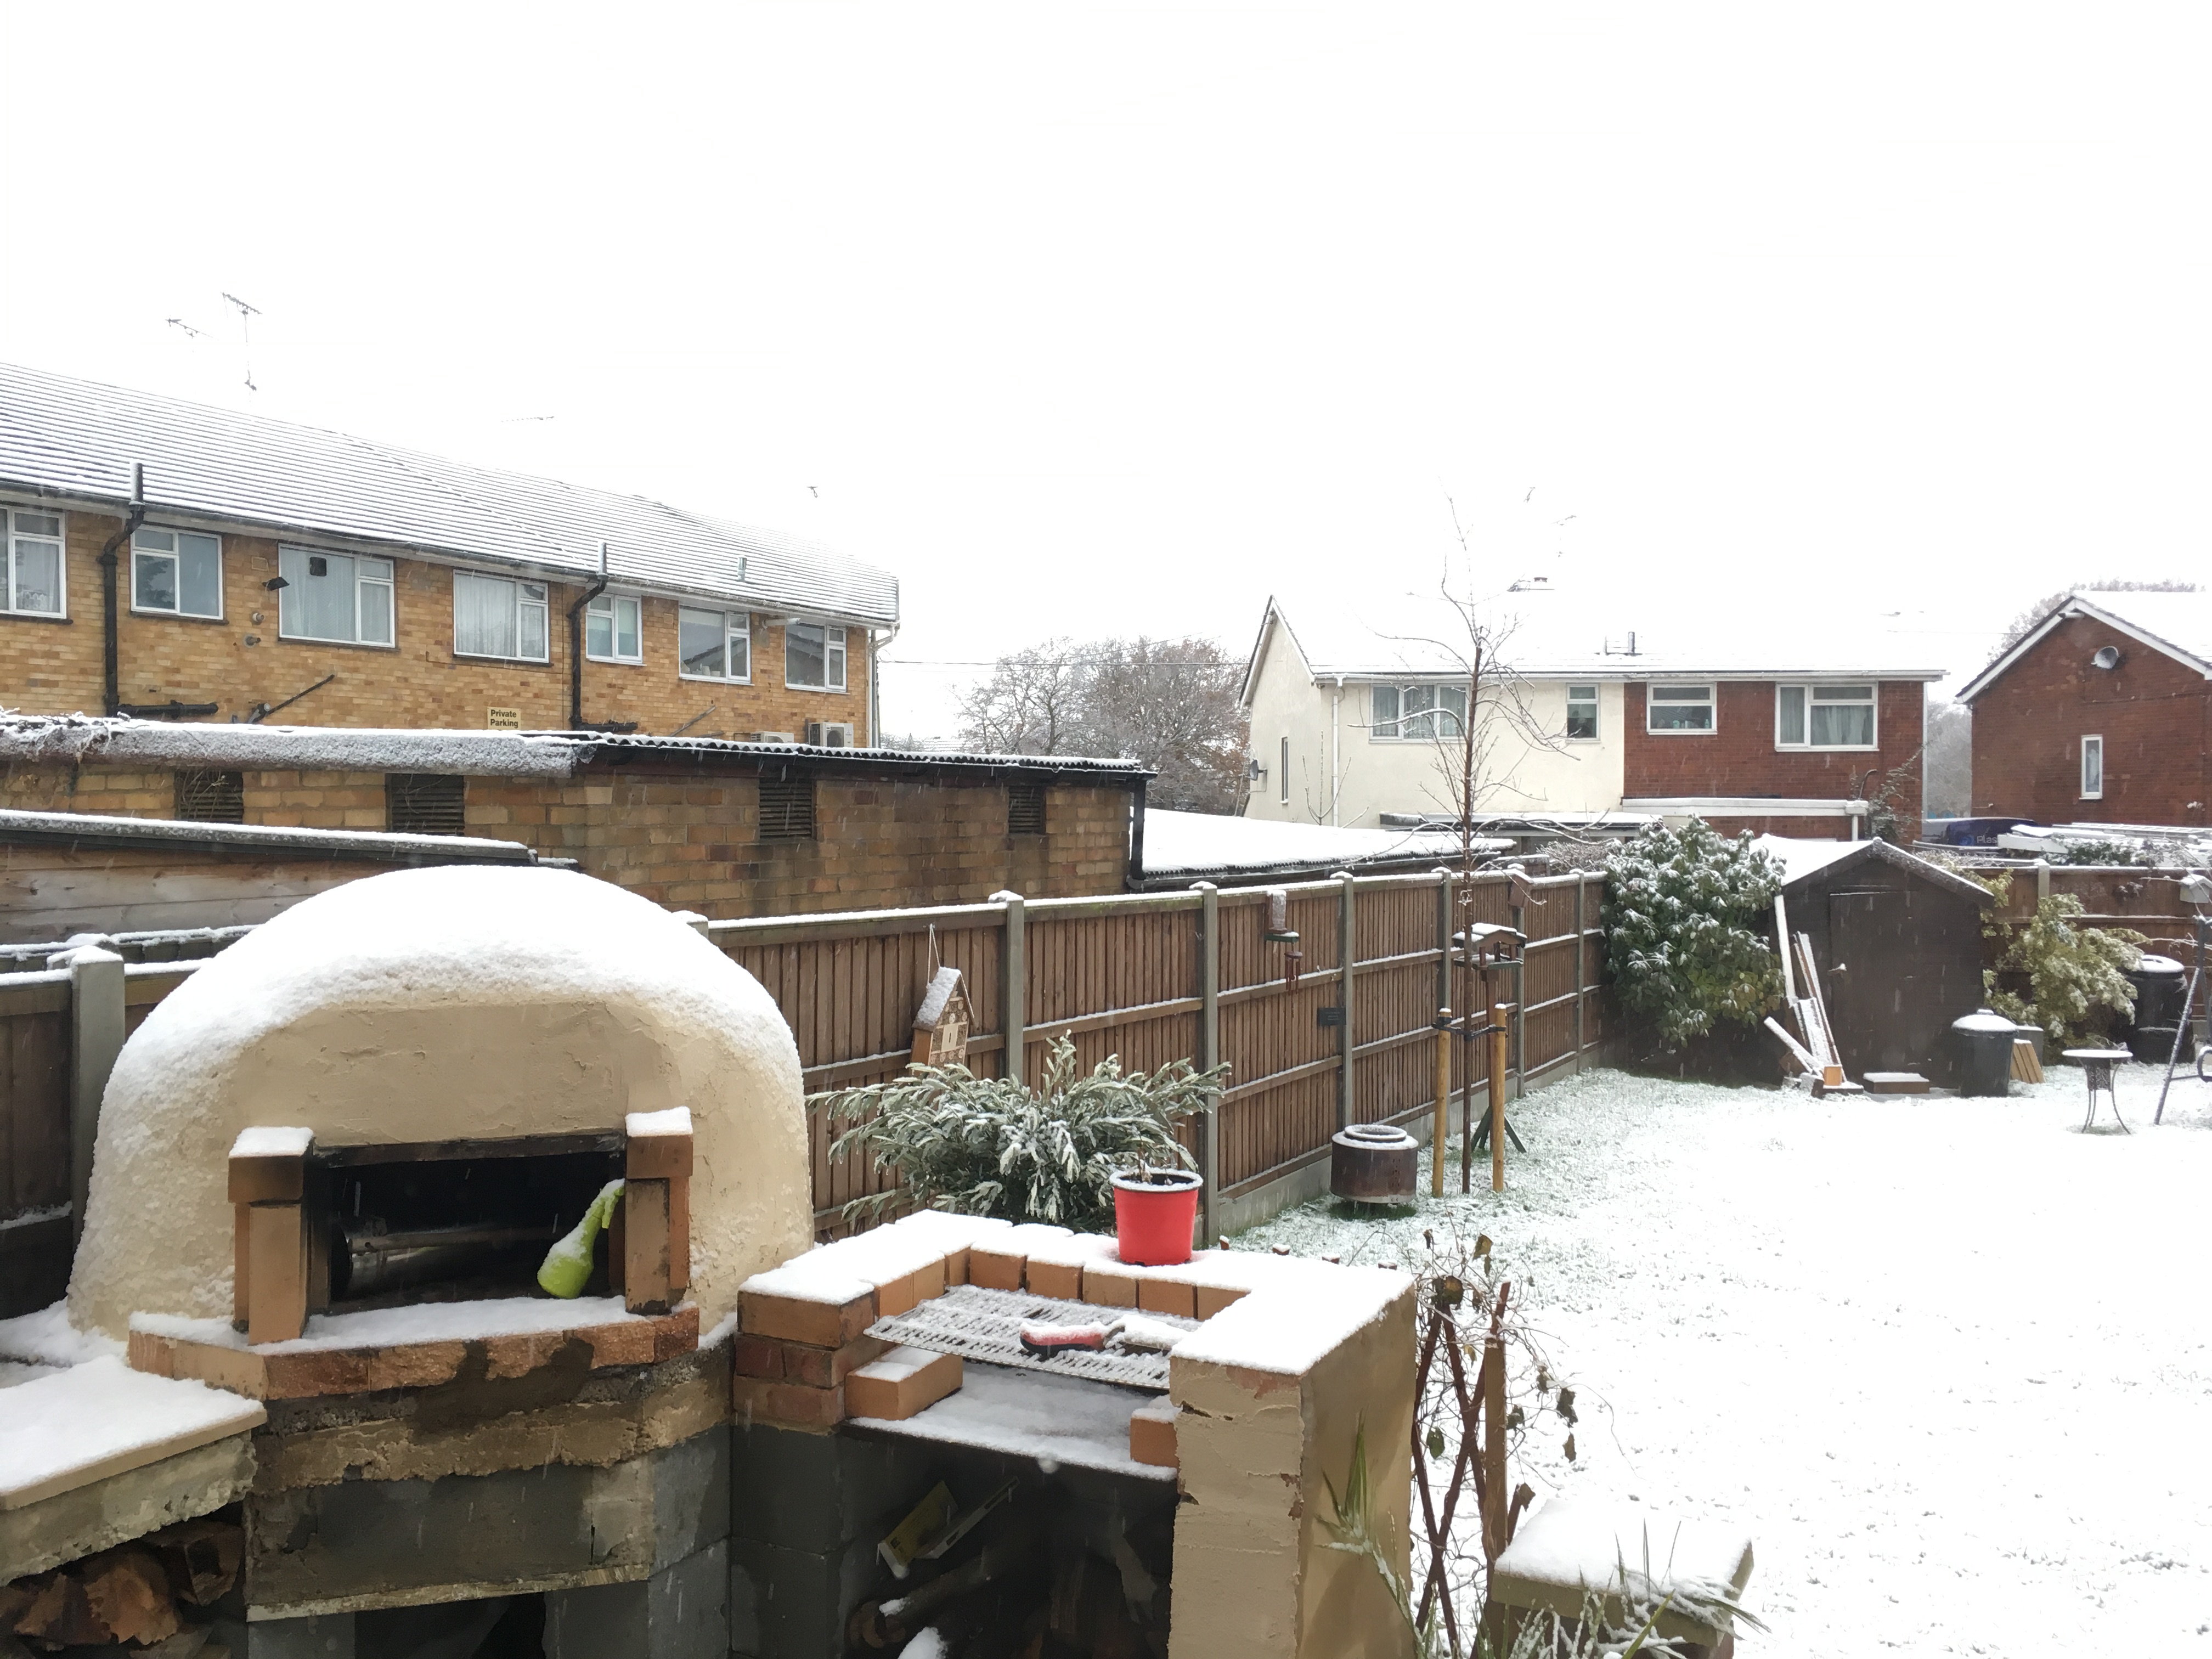
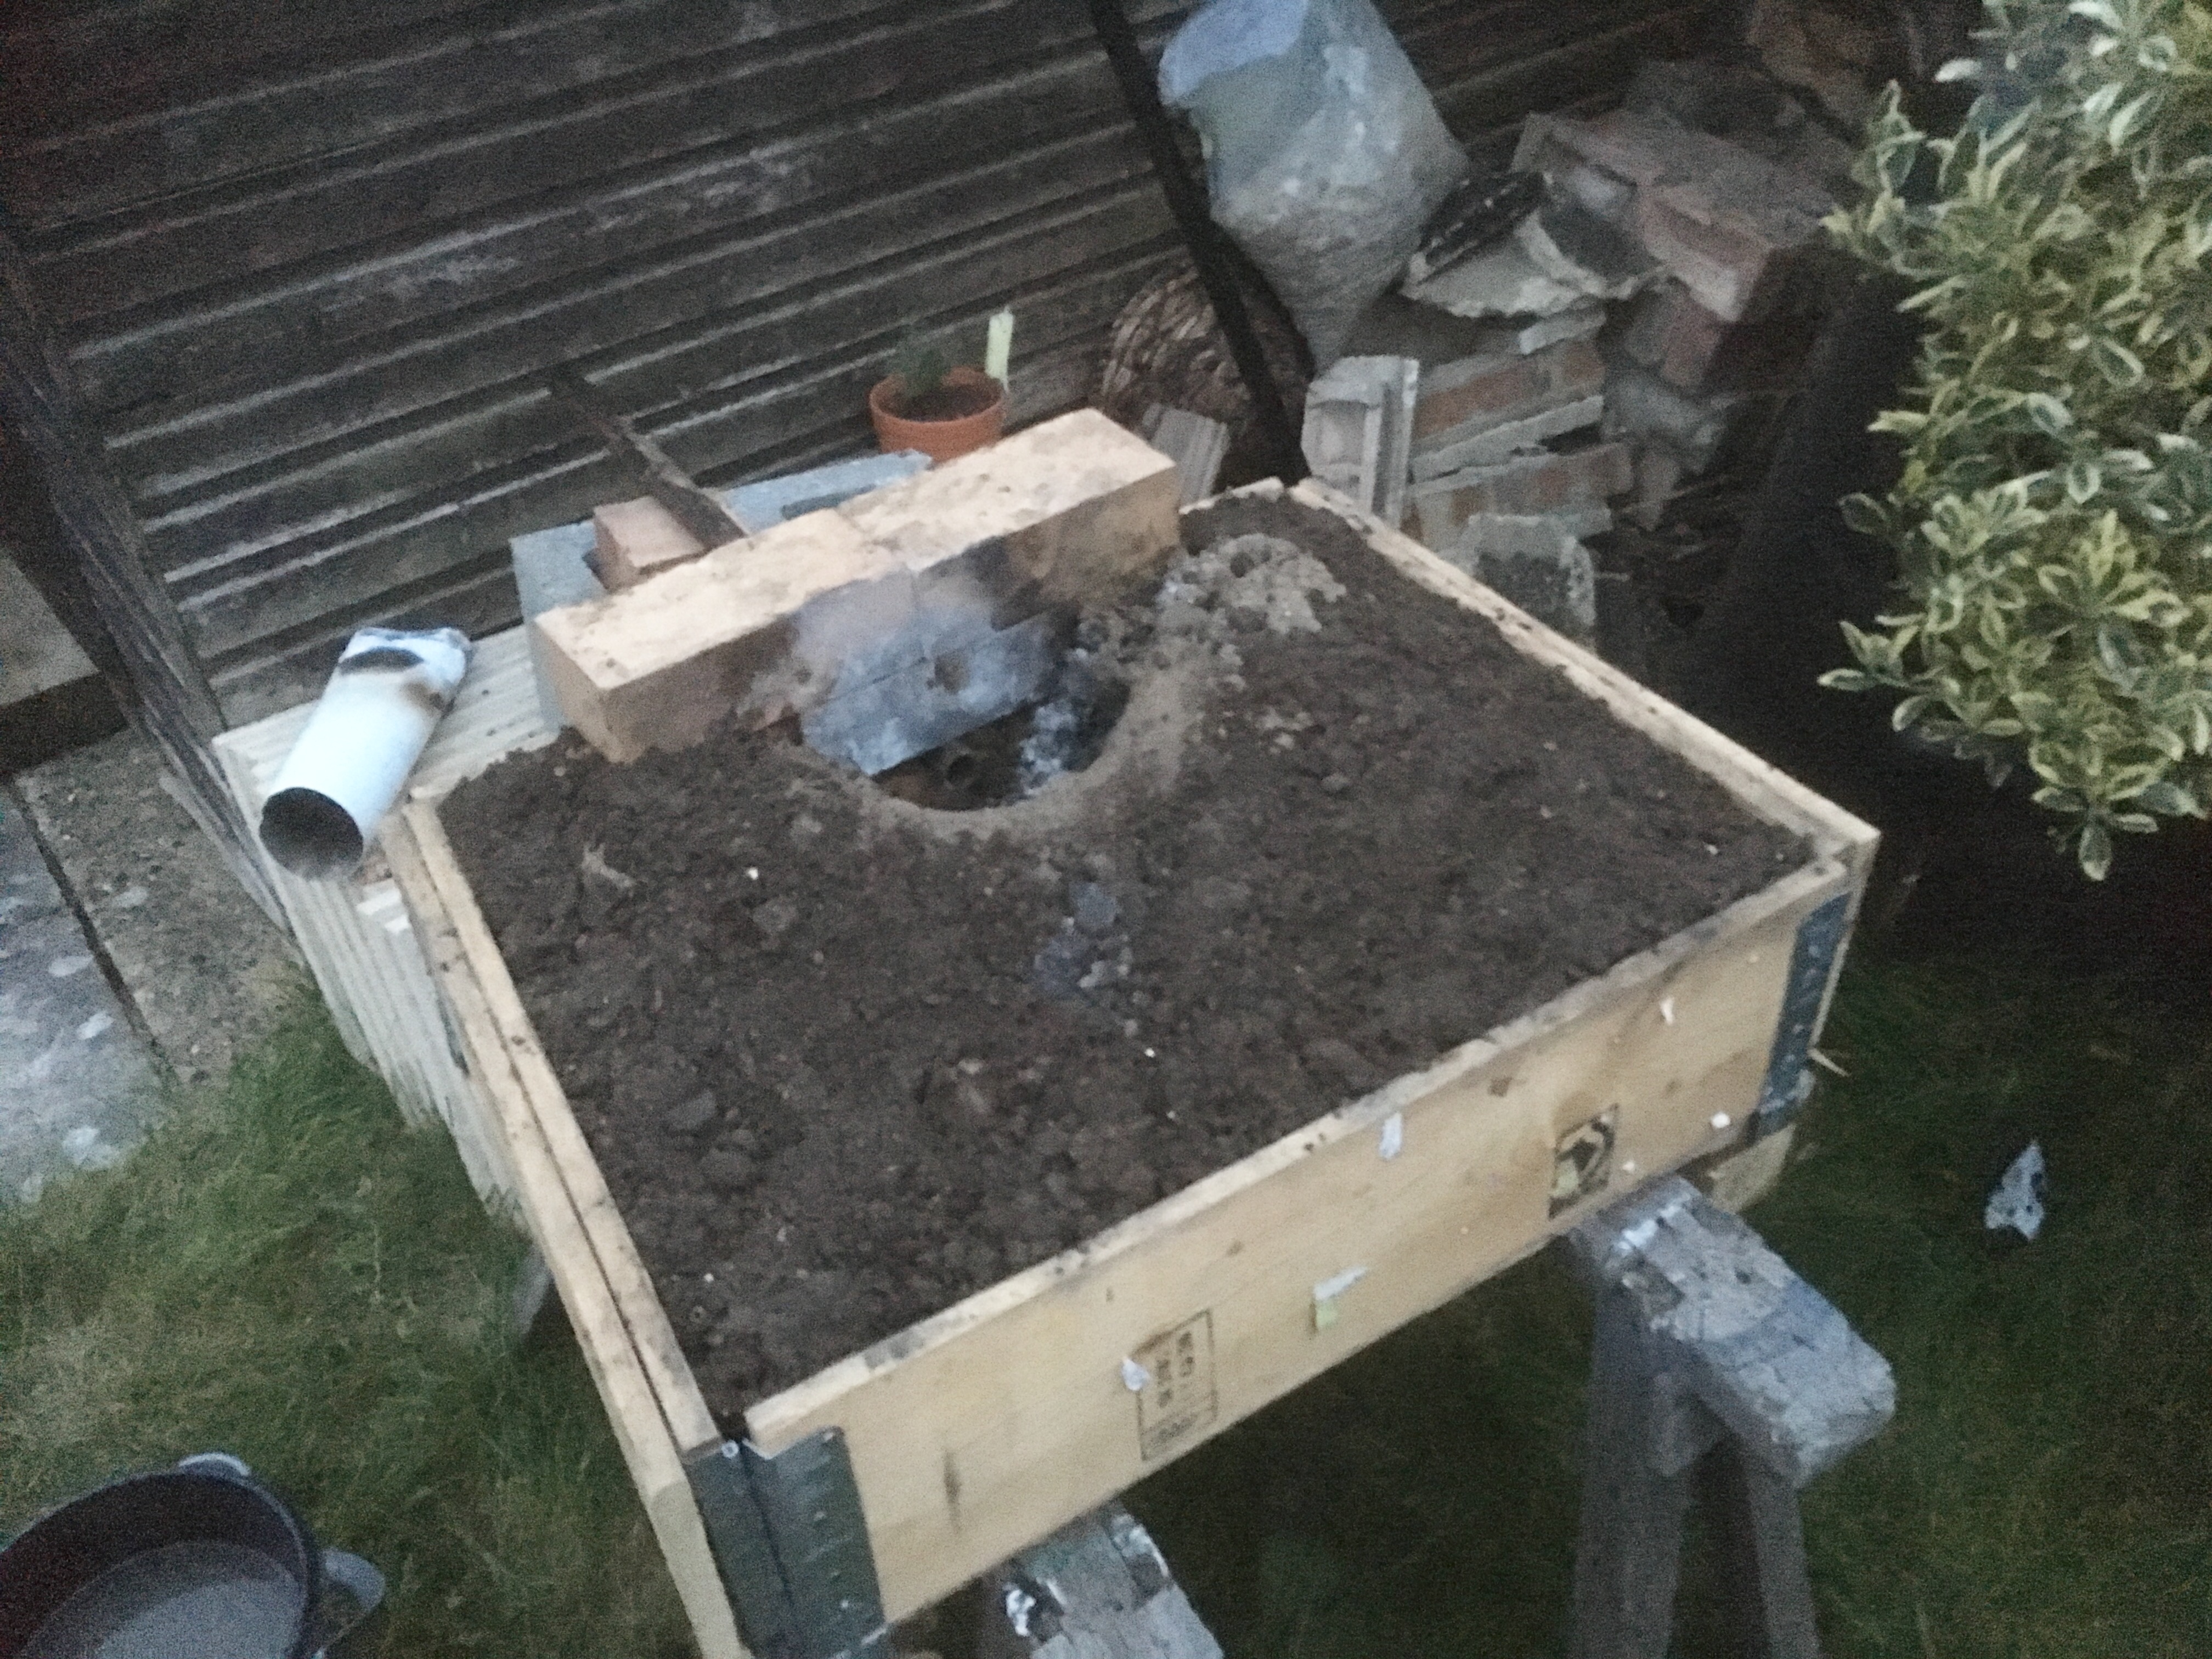
Not sure I’ll get chance to do much forging this weekend.... my previous project was a wood fired pizza oven and outdoor kitchen and it needs finishing while the weather is good! Pics attached incase anyone is interested....
.... Incidentally, on the list of ASAP blacksmithing projects is some nice handles for an oven door and wood store door, a set of log-grabber tongs, an ash-shovel, and a fire poker.....


-
On 2/6/2018 at 2:05 PM, JHCC said:
Pandrol clips make great chisels and punches, once you straighten them out.
Sorry to ressurect an old thread.
Any tips for straightening out Pandrol clips? Do they need to be softened first?
A friend of mine works on the railway and can get me scrap clips easily. I haven't even tried straightening one yet though.
-
2 hours ago, Nick Owen said:
Have you tested your chisel against metal yet? I tested my punch and drift today....
Not yet. Honestly, I cant work out how to hold the workpiece, hammer and chisel at the same time. Is there some technique to this? Do blacksmiths grow a third arm?
Shame about your punch. Was the metal just too soft? I just made one from rebar so will see if thats any good.
I continue to find free bits here and there. Managed to find a decent old set of tongs which is a great start! I still want to make a set soon though.
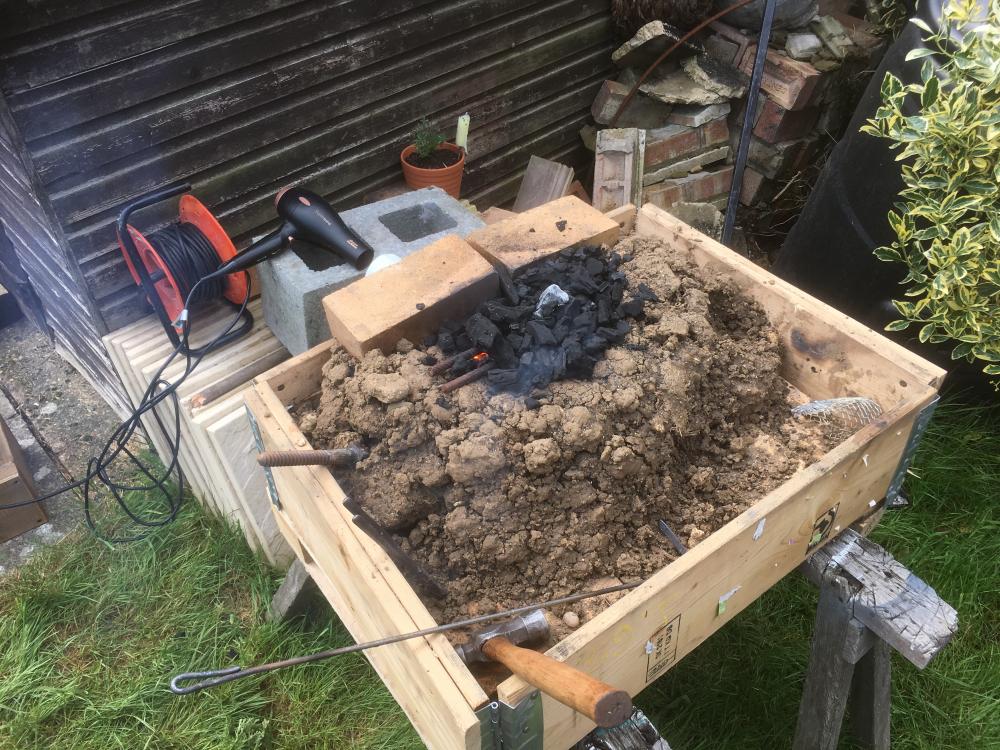
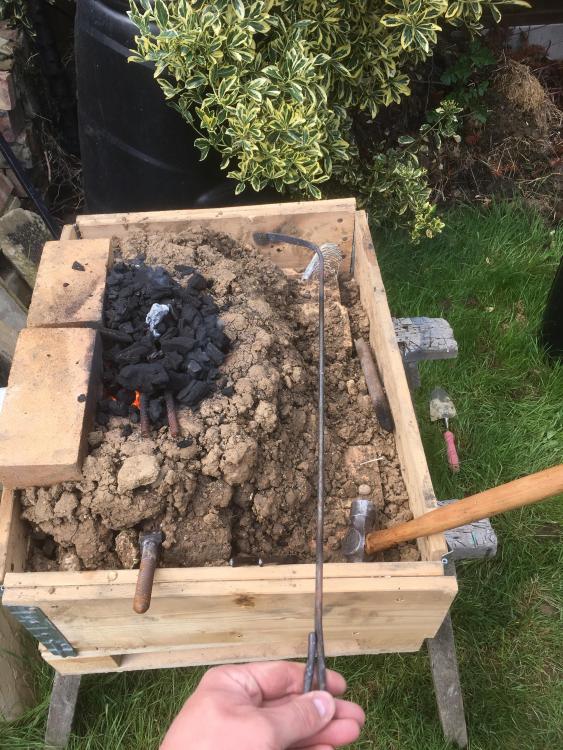
I finished off my JABOD today, including the correct size pipe positioned the correct distance from the bottom of the fire pit. Hopefully it will work better now it matches Charles’ design more closely.

-
52 minutes ago, JHCC said:
In short, you're making all the right mistakes. Keep it up!
This is extremely good to hear! Thanks.
53 minutes ago, JHCC said:Your forge looks good. Your fire is probably too small, so yes, build it up some. We sometimes say that the burning part of the fire (not including unburnt fuel) should be around the size of a small melon.
The temptation will be to increase the fire by adding more air, but charcoal is really sensitive to overblowing. You'll actually end up blowing the heat right out of the fire rather than into your workpiece. So, keep the air low, but build up the fire above what you have now.
Very helpful, thanks. I've read the posts on here about building a fire and fire size but its still quite hard to gauge without seeing it in person I think. Once I get it right once, I probably won't have a problem again.
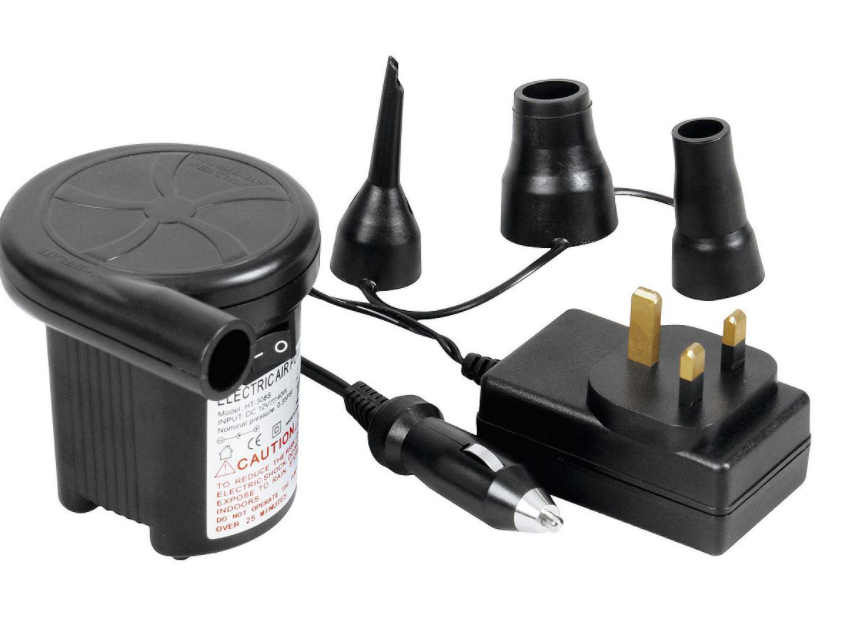
Lots of you have mentioned that the hairdryer is a bad idea and I think overblowing is probably one of my bigger issues. I've ordered this cheap air bed pump (£10, Tesco Direct for those in UK) so we'll see if it helps:
-
On 5/24/2018 at 7:15 AM, Jon Kerr said:
I had some scrap rod which I found and looked rusty, so assumed it was “safe”.
After a quick google search I reckon this was likely brass rod, and I confused the old weathered brass colour for rust, and the crumbling phenomenon I experienced was "red short".... I'm not dead yet.
-
So I fired up the forge this morning with mixed success.
I had some scrap rod which I found and looked rusty, so assumed it was “safe”. In the forge, it never really changed colour (perhaps a dim red) until it suddenly melted and broke (i was heating up a long bent u shape to do a hot cut). I thought that was odd but it was the first bit of metal into the forge so I tried again with a remaining bit. Once red(ish) I tried it on the anvil and it smushed into almost a powder. I have no idea what it is but its not steel. I was forging outside so hopefully didnt breathe in too much anything lethal.... I need to be more careful I guess. Any other safe way to identify metals than “rust”?
Following that I went back to rebar as its what I have most of lying around. I took on board the tips regarding hairdryer pointing “at” pipe rather than being jammed in pipe, and varying the angle to control flow.....
I’m still struggle with two things- the angle of the metal, and gettinv anything hotter than low-orange.
In the JABOD firepit my rebar still needed to be at an angle downwards to be in the heart of the fire and get hot. Should I be using a lot more charcoal and piling it right up?
The heat issue may be to do with the pipe I suppose. Still looking for a 1” pipe. I found one but I think its galvanised which is bad?
How much charcoal would you expect to be using? Today I used around 5kg (10lbs ish) in about 90mins. Is that normal?
I did manage to make a fire poker/rake/thingy, and a couple of rebar punches. Unforthnately since the rod wasnt what I expected I couldnt start training on the hooks.
-
2 hours ago, JHCC said:
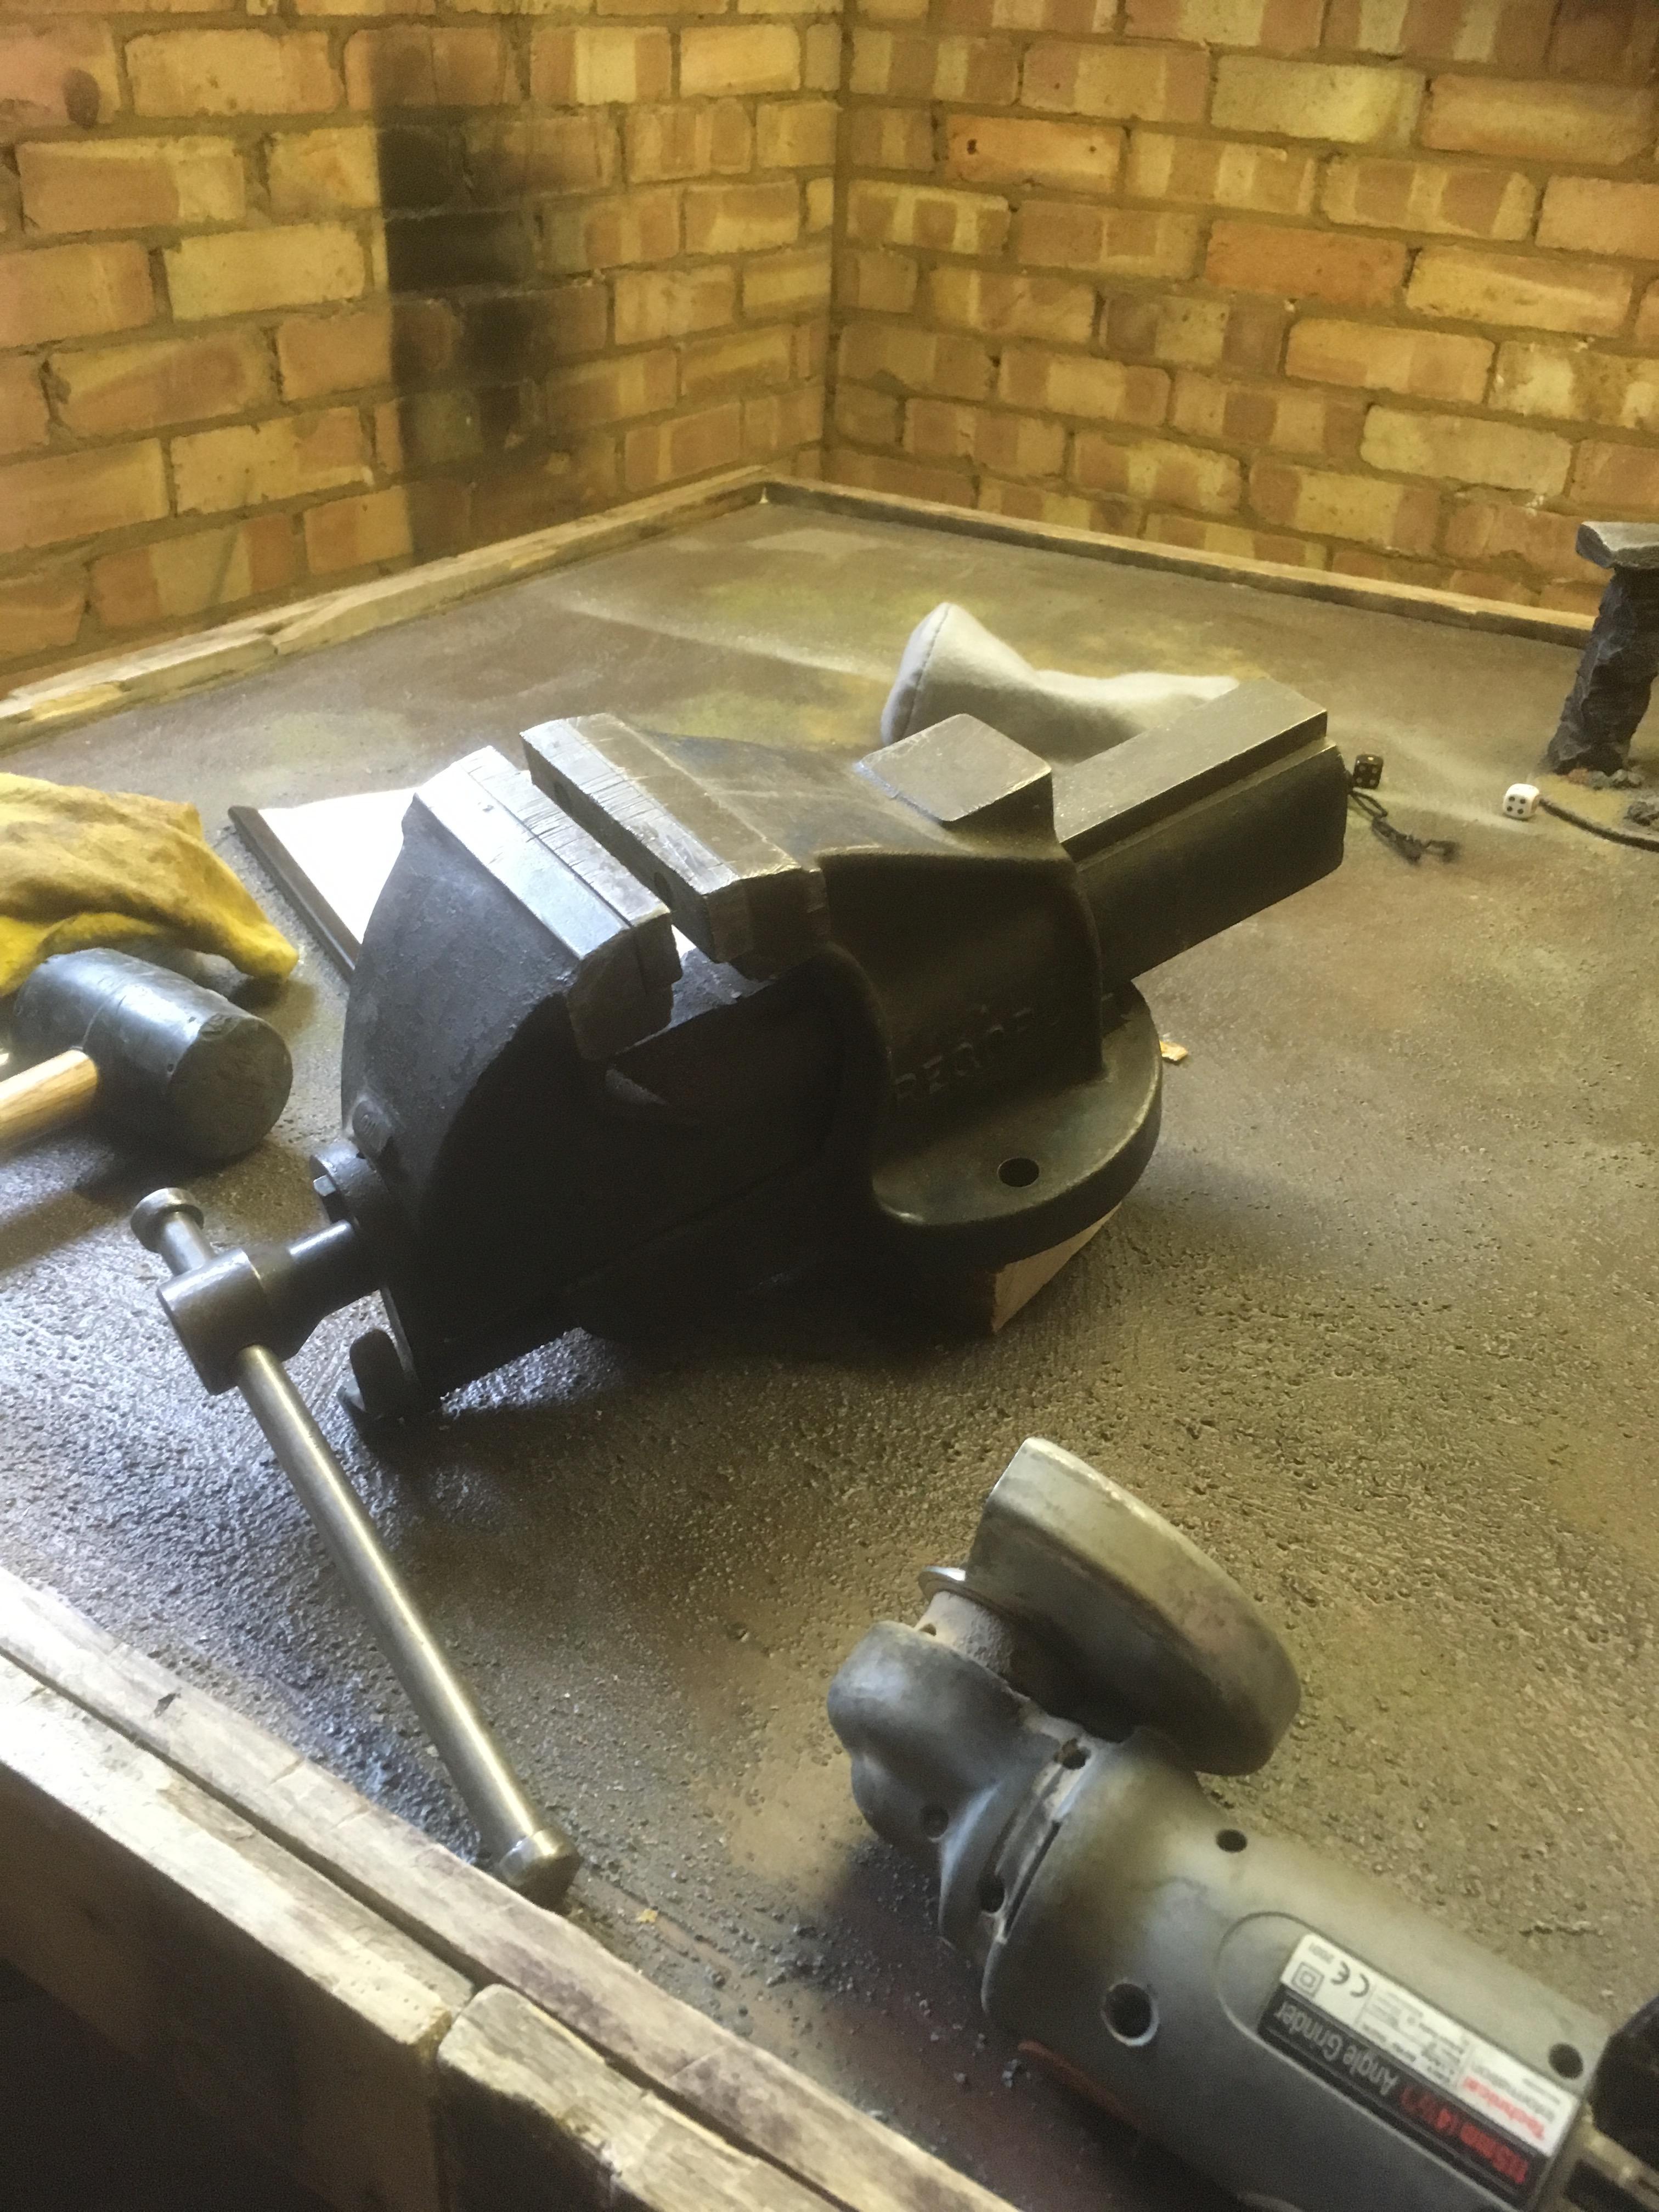
That is a very nice vise, but please don't do any hammering on it. Filing, twisting, bending, yes. Hammering, no.
Understood. I just read a long blog post about "How to break your vice." and had never realised how serious an issue this is!
Looking at eBay prices the vice is worth a small fortune so I definitely want to keep it good.
-
I’m possibly the luckiest aspiring-blacksmith as I’ve also been given a free vice today... and a xxxx good one. Its big, so should take some gentle knocks, and has a quick release trigger too! Who knows what/how I’m going to mount it. Possibly something portable similar to the anvil for now.
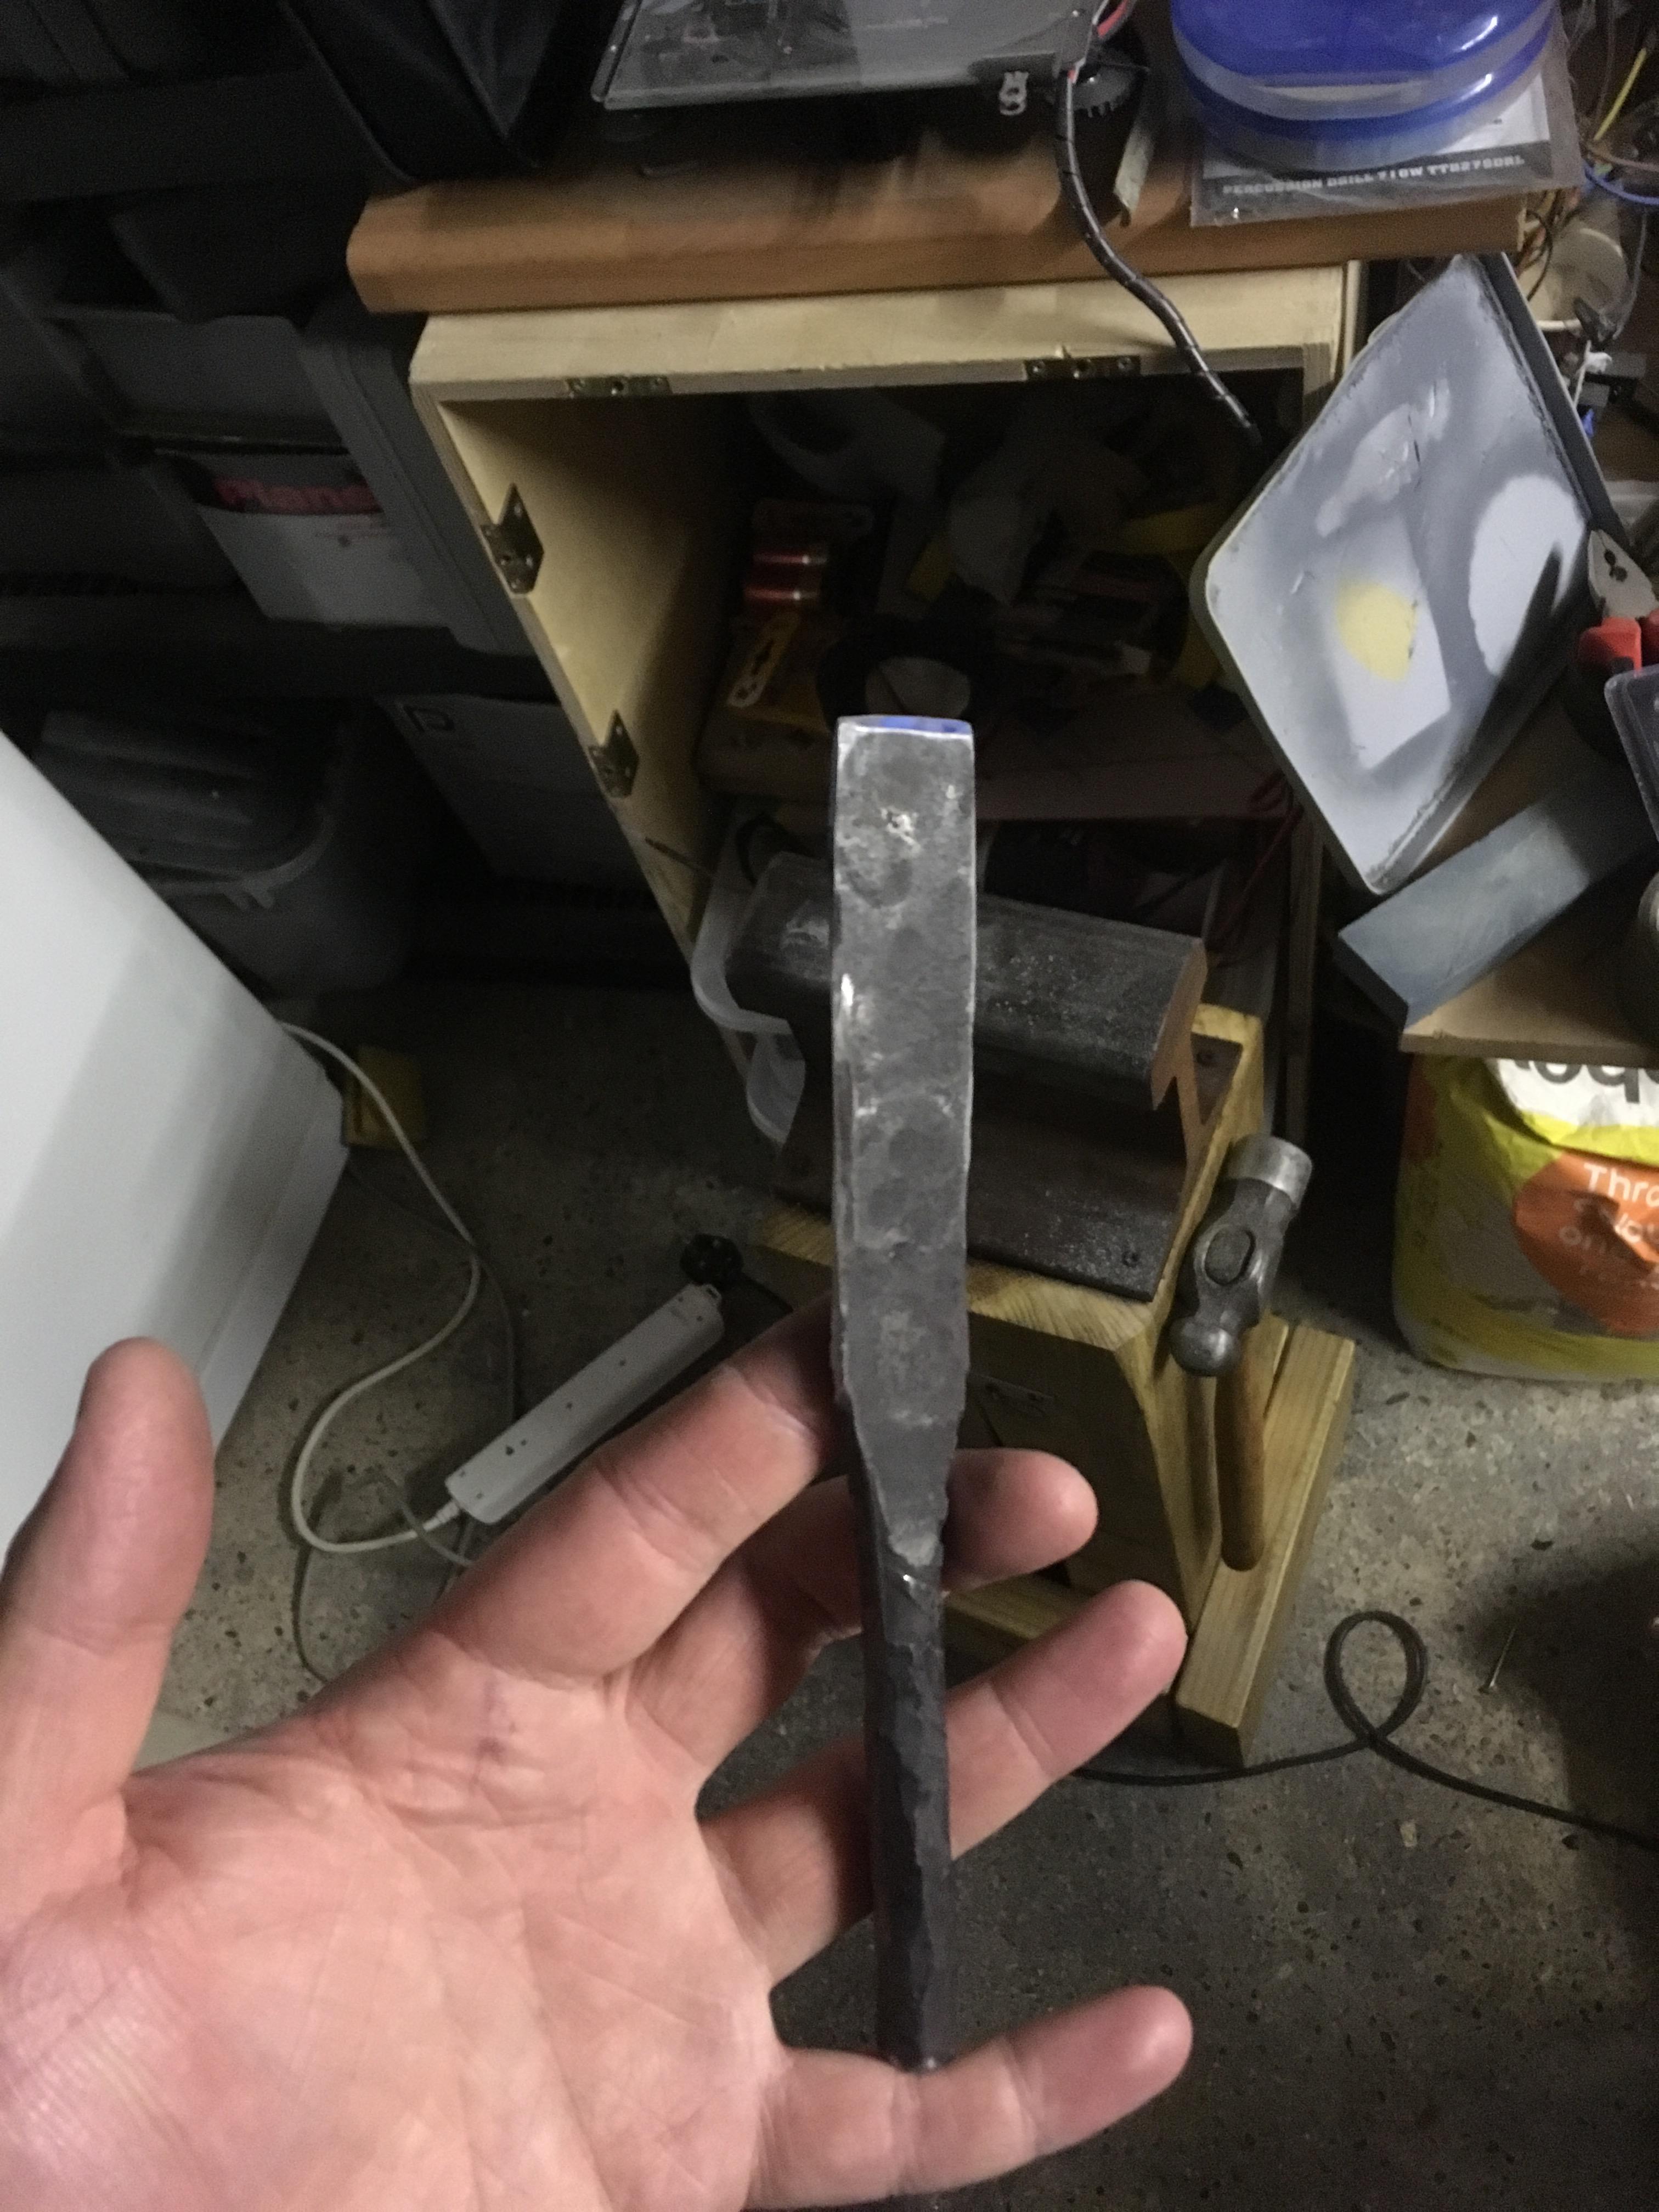
I also turned my “blade” (aka slightly flattened rebar) into a chisel for hot-cutting. My first home-made tool!


Once again I didnt get time to do any smithing tonight.... tomorrow morning I’m off work so definitely hoping to get some done. Depends how tired I am after watching “Solo: A Star Wars Story” tonight.
-
Oh that thread is fantastic, thanks again Charles!!!!
-
18 minutes ago, JHCC said:
Fasten one end of your bottle opener to the web of your RR track with a pair of vise grips or a C-clamp, grab the other end with your twisting wrench, and go. In this case, it might be better to keep the track horizontal, so that you (or an assistant) can sit on it to keep it from twisting.
Good tip, thanks. Fortunately I DO have vise grips so this will work!!!!!
Sounds like there are loads of ingenious ways to use the RR Track anvil? Any other good tips?
-
10 hours ago, ThomasPowers said:
Look up the "dice twist" and add the pips!
I just looked this up and they're amazing! Unfortunately I don't currently own a vice so twists might be hard. Though, I guess you can do it with two sets of tongs/pliers?
Great to hear everyone's D&D/gaming interests and "claim to fames".
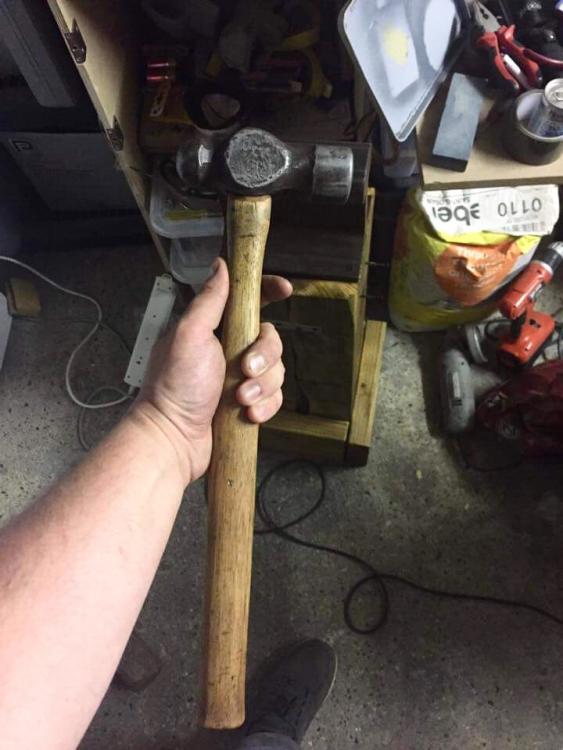
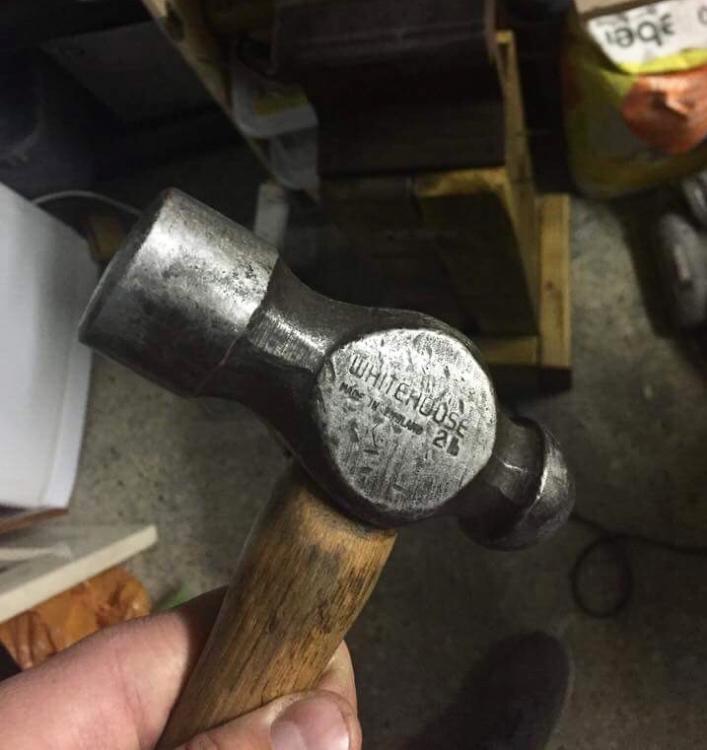
8 hours ago, Frosty said:Nice ball pein John, good score. I don't get what you mean by being your first real piece of gear, you have it hanging on the stand for a perfectly functional anvil. Folks who turn their noses up at RR rail anvils are too new to the craft to know what it really takes to do good work. No, it's not a particular shape anvil.
Hah, thanks Frosty. I'm excited to slowly build up the tools I need one job at a time, and hopefully learn a lot while doing it.
-
Haha, I’m a wargamer/roleplayer also! Not so much D&D for me- mainly Warhammer as I love the modelling/painting side. I also GM a Star Wars RPG though.
Making a bottle opener for each of my players is a FANTASTIC idea, thanks Nick!!!!! They’ll love it and its great practice for me too. Added that idea to my list.... perhaps after my first 20 basic coat hooks!
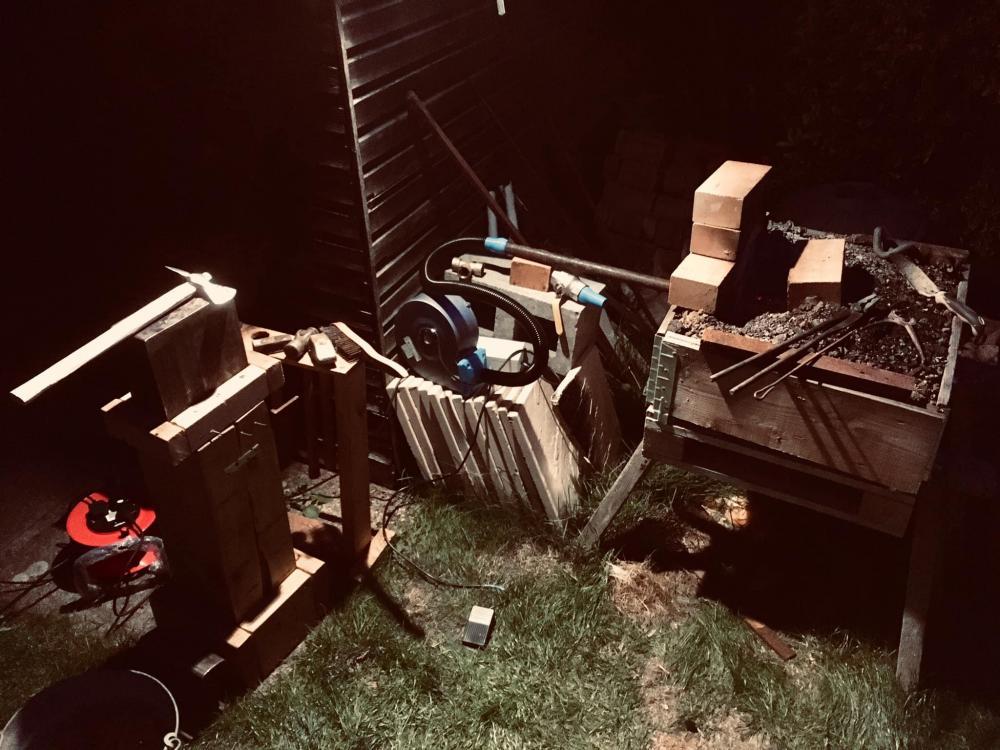
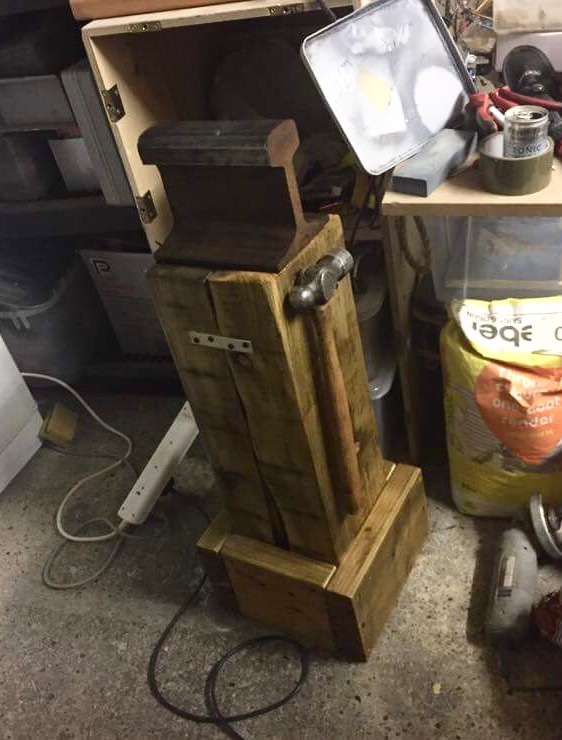
Tonight wasn’t a complete waste- I got home too late to fire up the forge and hit the anvil (neighbours...) but I could quietly work in the garage for half an hour....
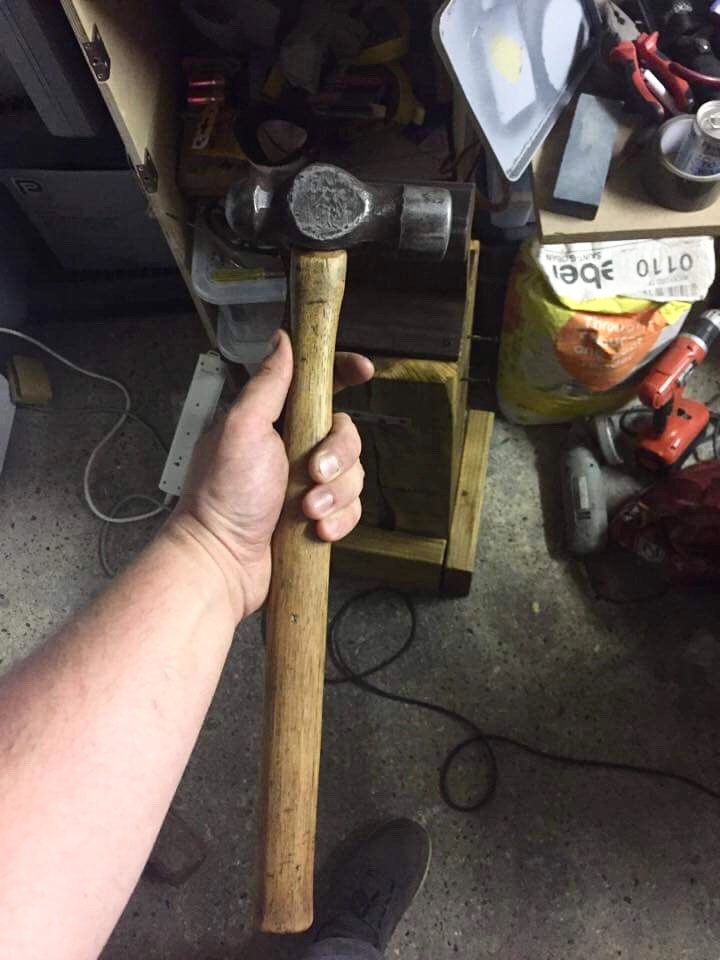
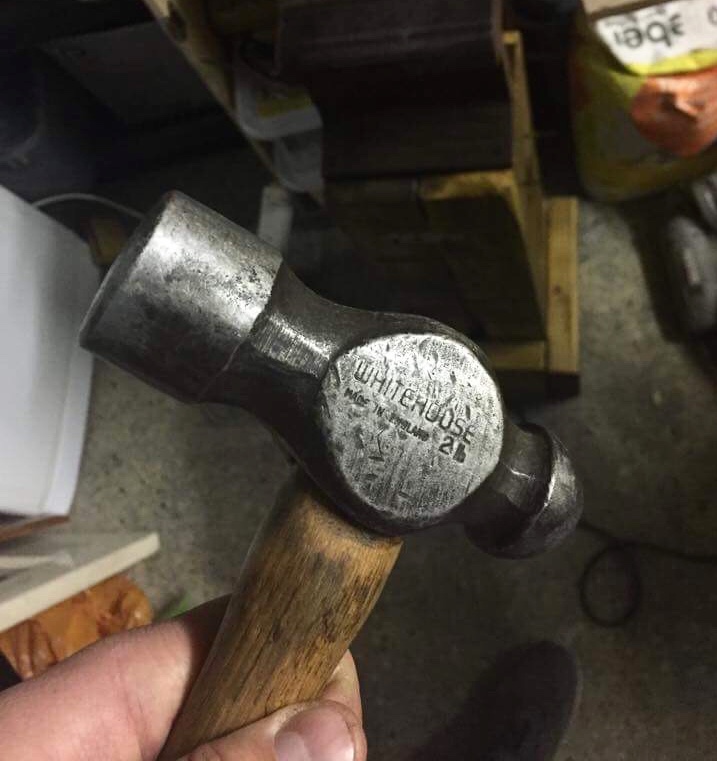
I was kindly given this hammer at work today. Its an old 2lb machinists hammer by Whitehouse. I believe (from a quick google search) the handle is hickory. My understanding from the post about Hammers on this forum is that a machinists ball peen IS a proper blacksmiths hammer here in the UK? Thas exciting! I own my first REAL piece of gear.
I gave the hammer handle a good sanding, and a coat of beeswax, and I also waxed fhe anvil post while I was at it..... (yes, the rail is still the wrong way.... *ducks for cover*). I even put some screws in the anvil post so I could hang my new hammer, because it made me feel fancy.


What did you do in the shop today?
in Blacksmithing, General Discussion
Posted
Oooh looking good!