Will42805
-
Posts
42 -
Joined
-
Last visited
Content Type
Profiles
Forums
Articles
Gallery
Downloads
Events
Everything posted by Will42805
-
Inswool htz 2in. front and back 3in. around and rigidized with simwool rigidizer sprayed on. Waiting on my bag of castolite 30 plus. How stiff should the rigidizer make the inswool. Thanks

-
Meeco's red devil refractory cement
Will42805 replied to Will42805's topic in Insulation and Refractories
Got it. I'm starting to think too much information is a bad thing. Better to stick with the tried-and-true methods. Thanks for being blunt -
Meeco's red devil refractory cement
Will42805 replied to Will42805's topic in Insulation and Refractories
Are there better Alternatives that deal better with flux or would this be adequate? -
I'm planning on using meecos red devil refractory cement after rigidizer my 3 - 1 inch layers of inswool htz. Has anyone else used this and how well did it work. I've come across a few reviews online of people who have used it for forges. Most of them seemed to go pretty well. It states that it's rated for 3000 degrees. And it $11 for half a gallon it's pretty cheap. Just wondering if anyone else has any experience with it. Thanks
-
Ok so i just got my 1" inswool htz. I am ordering Simwool Rigidizer Refractory coating which will be applied to each layer and allowed to dry before placing the 2nd and third layer. I have also decided to apply MIZZOU CASTABLE PLUS rather than satanite as the refractory liner. It seems to have a lot of good reviews from people. I was also thinking of using chicken wire to hold the inswool while its rigidized and as sort of a rebar effect when applying the refractory morter. Any thoughts or suggestions would be appreciated.
-
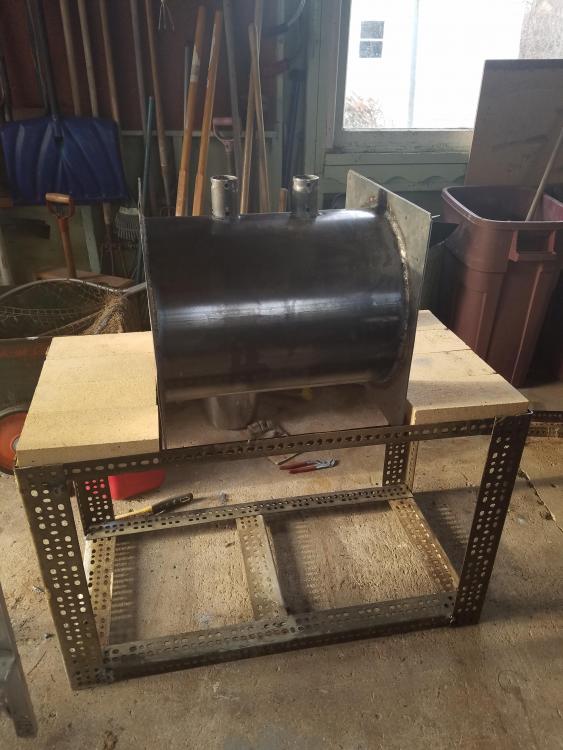
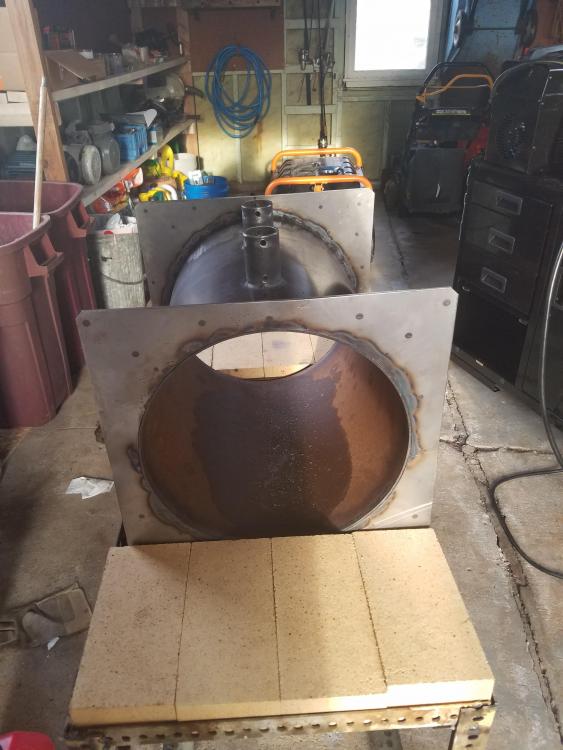
Just wanted to update it's been awhile and things are going slow. 20171103_160628.mp4
-
Just wanted to update it's been awhile and things are going slow.

-
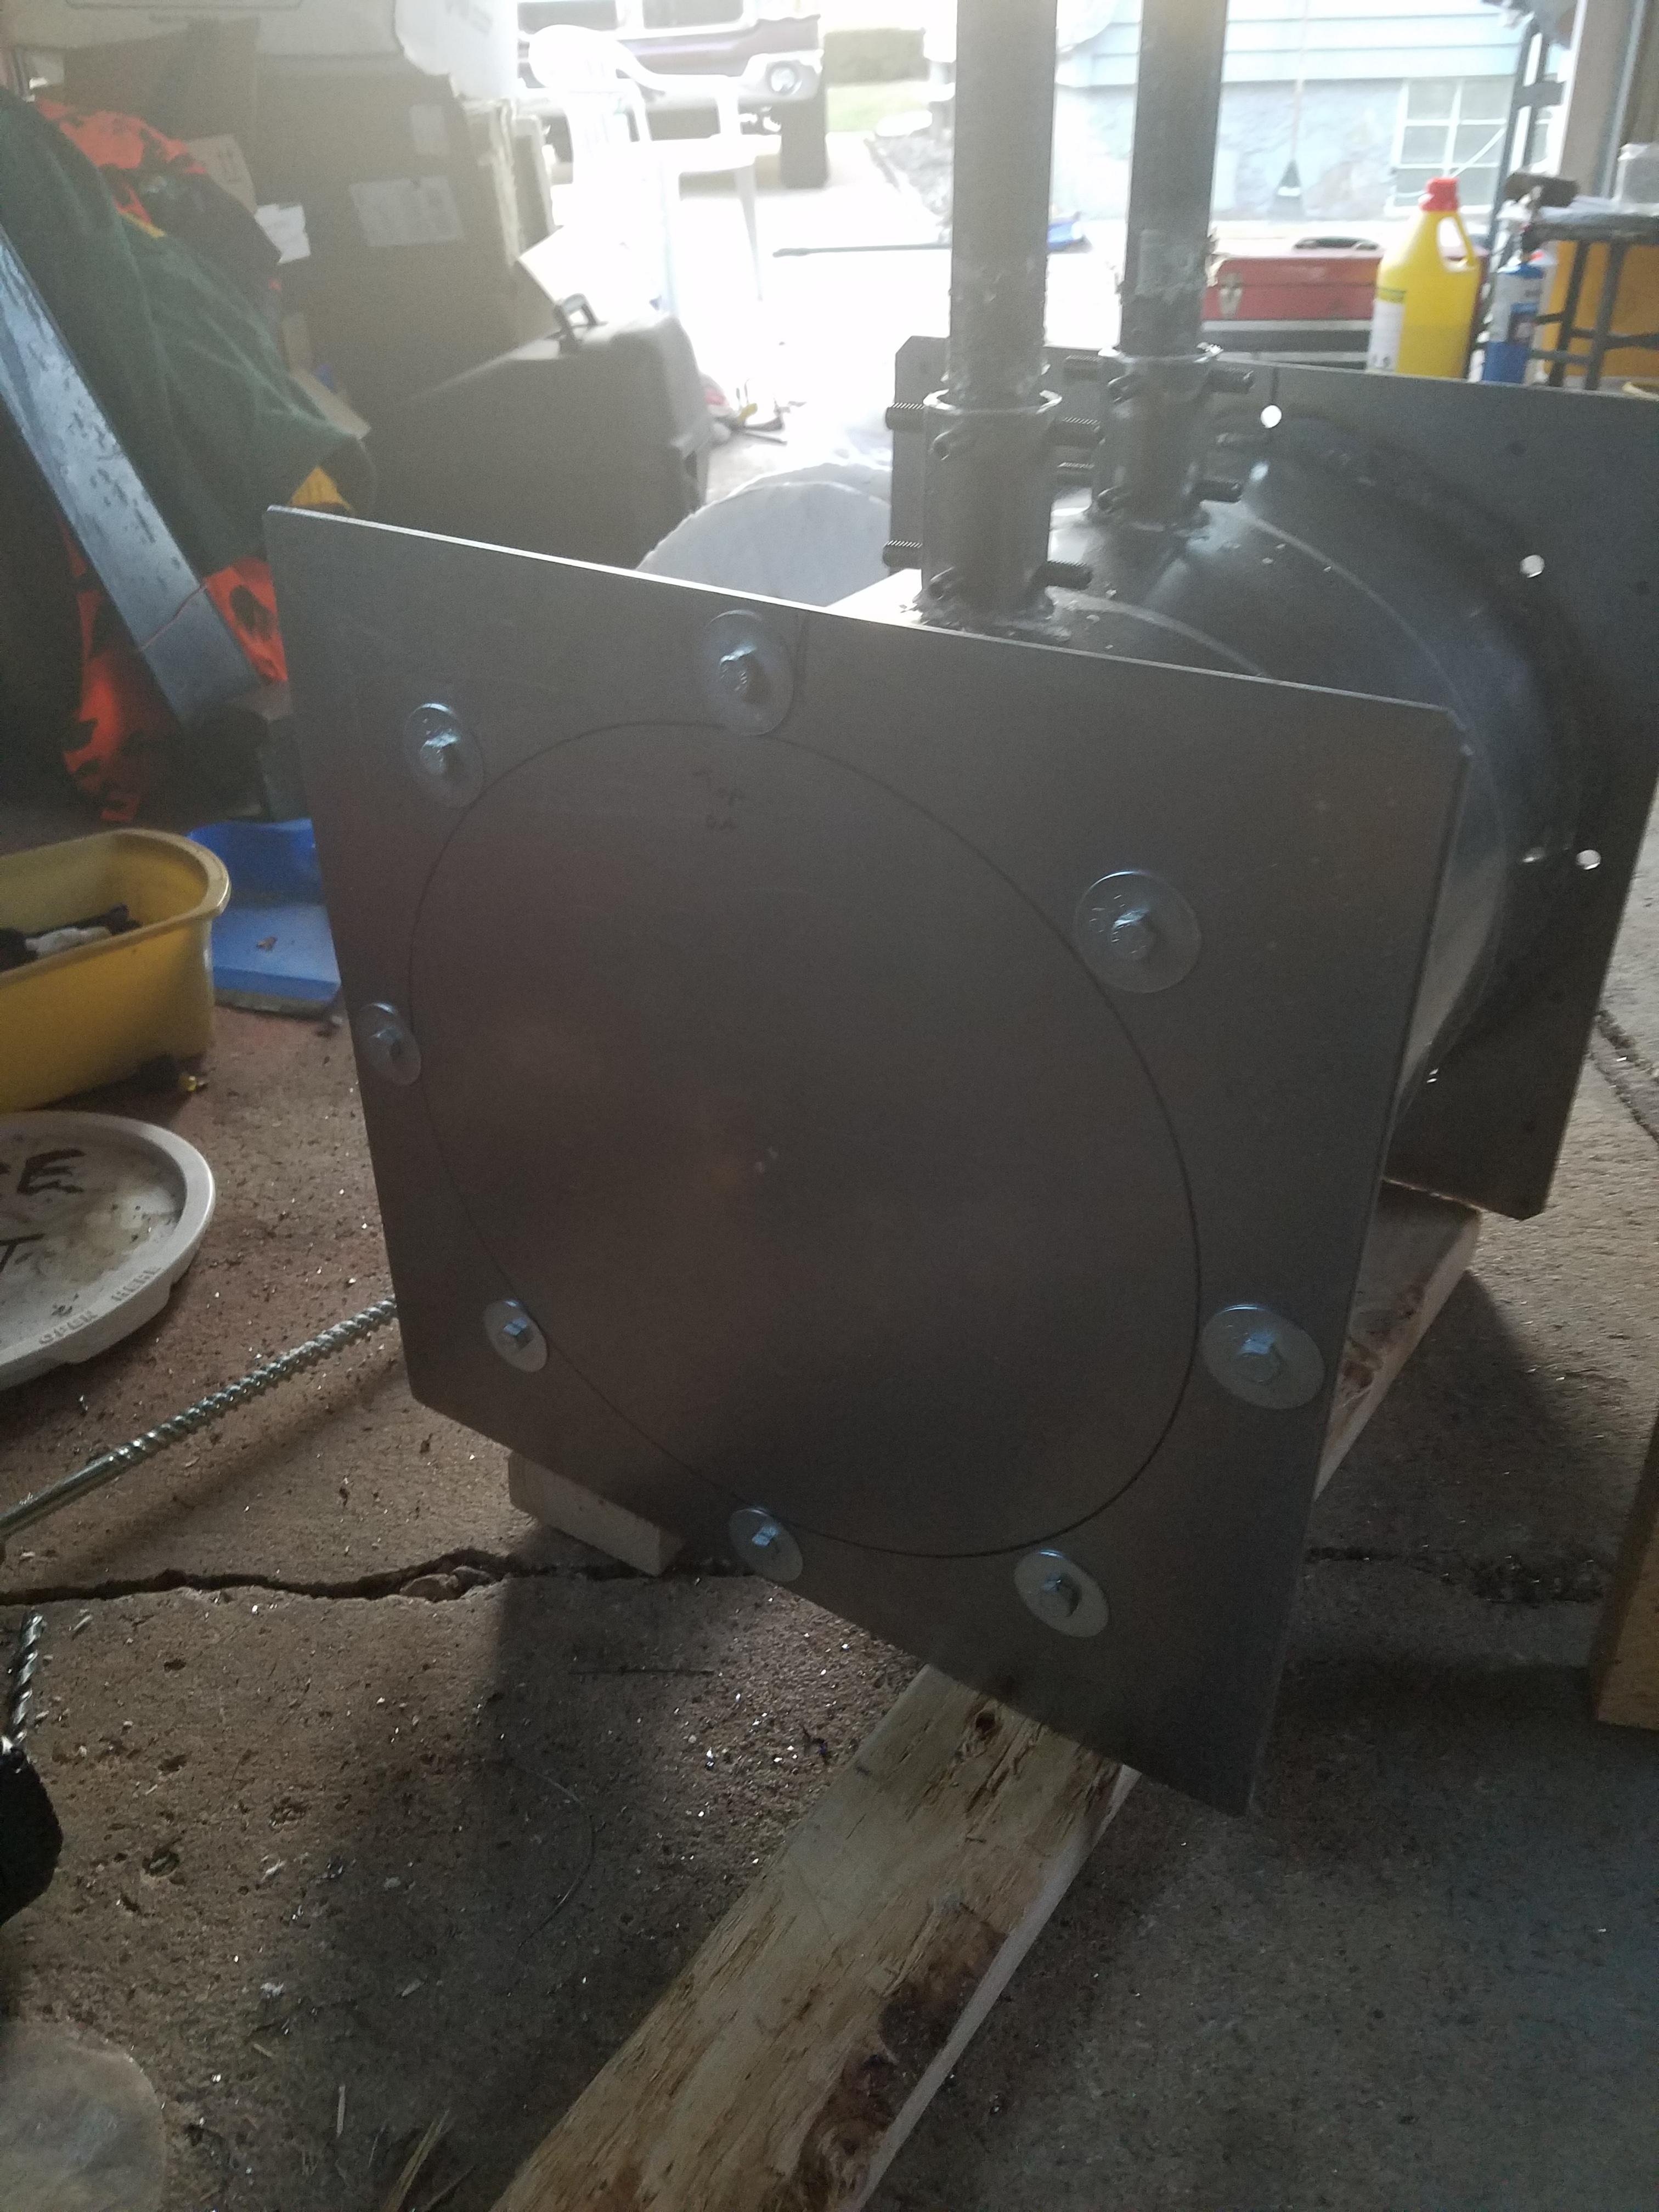
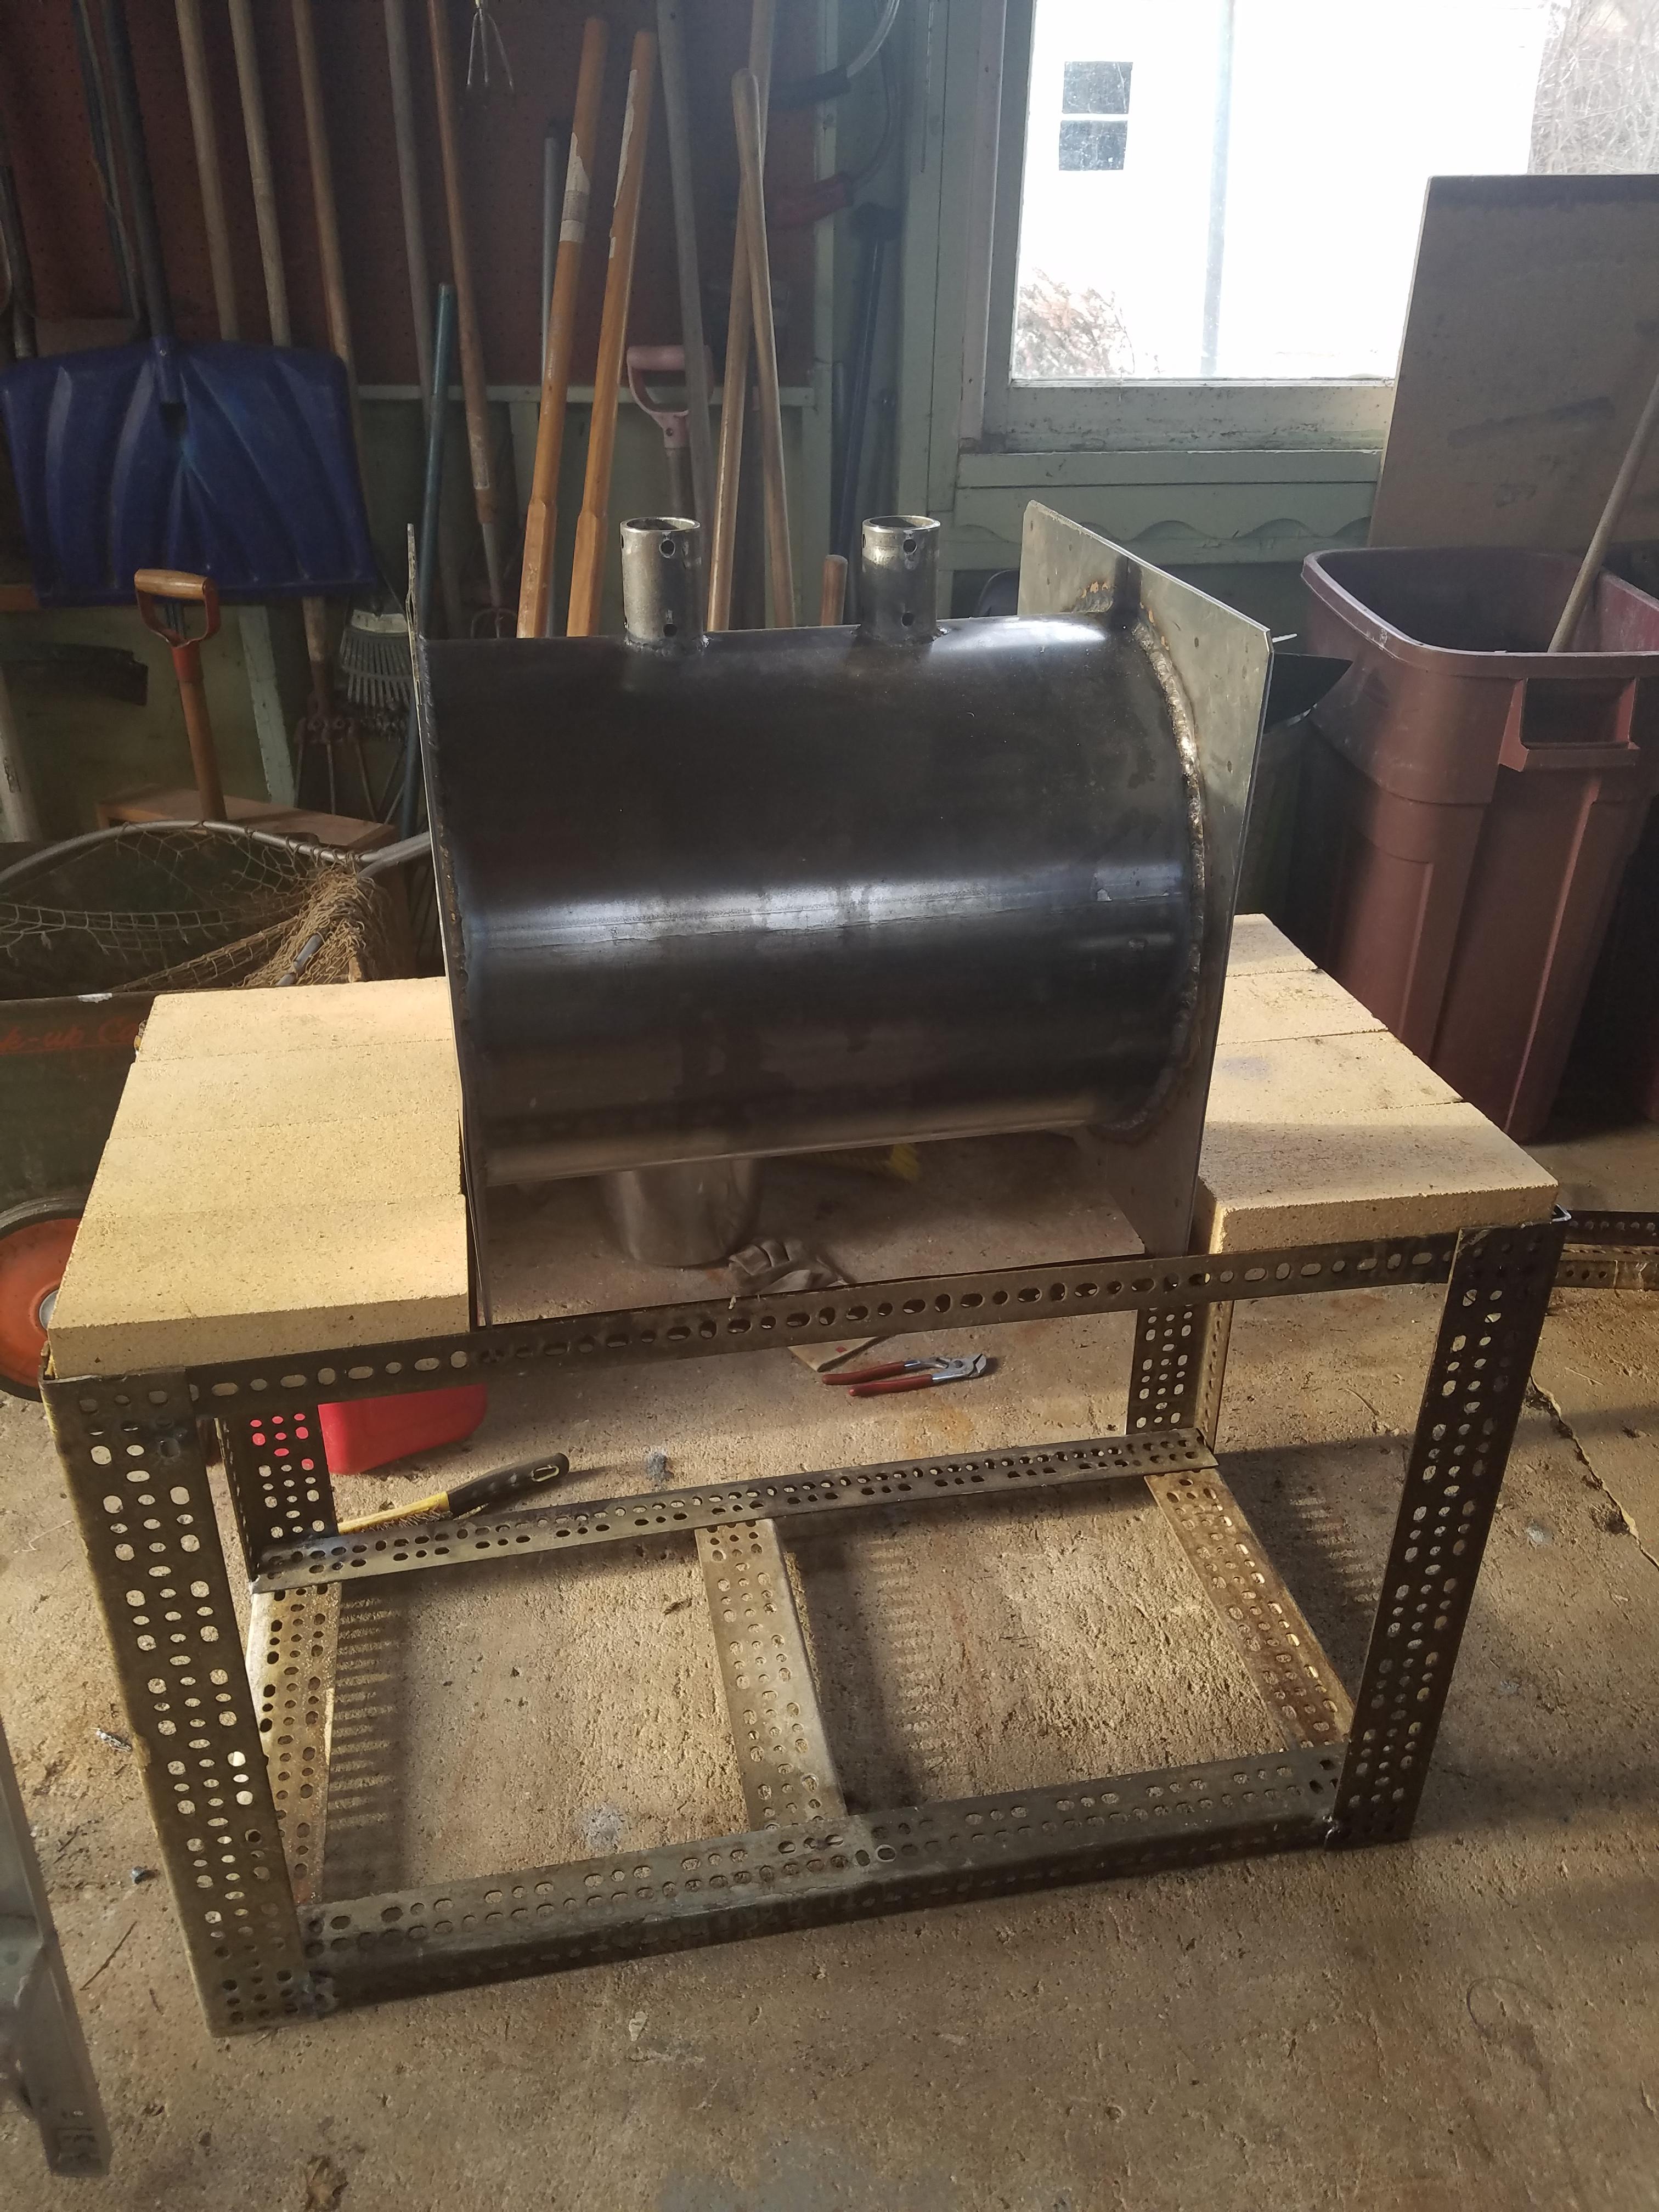
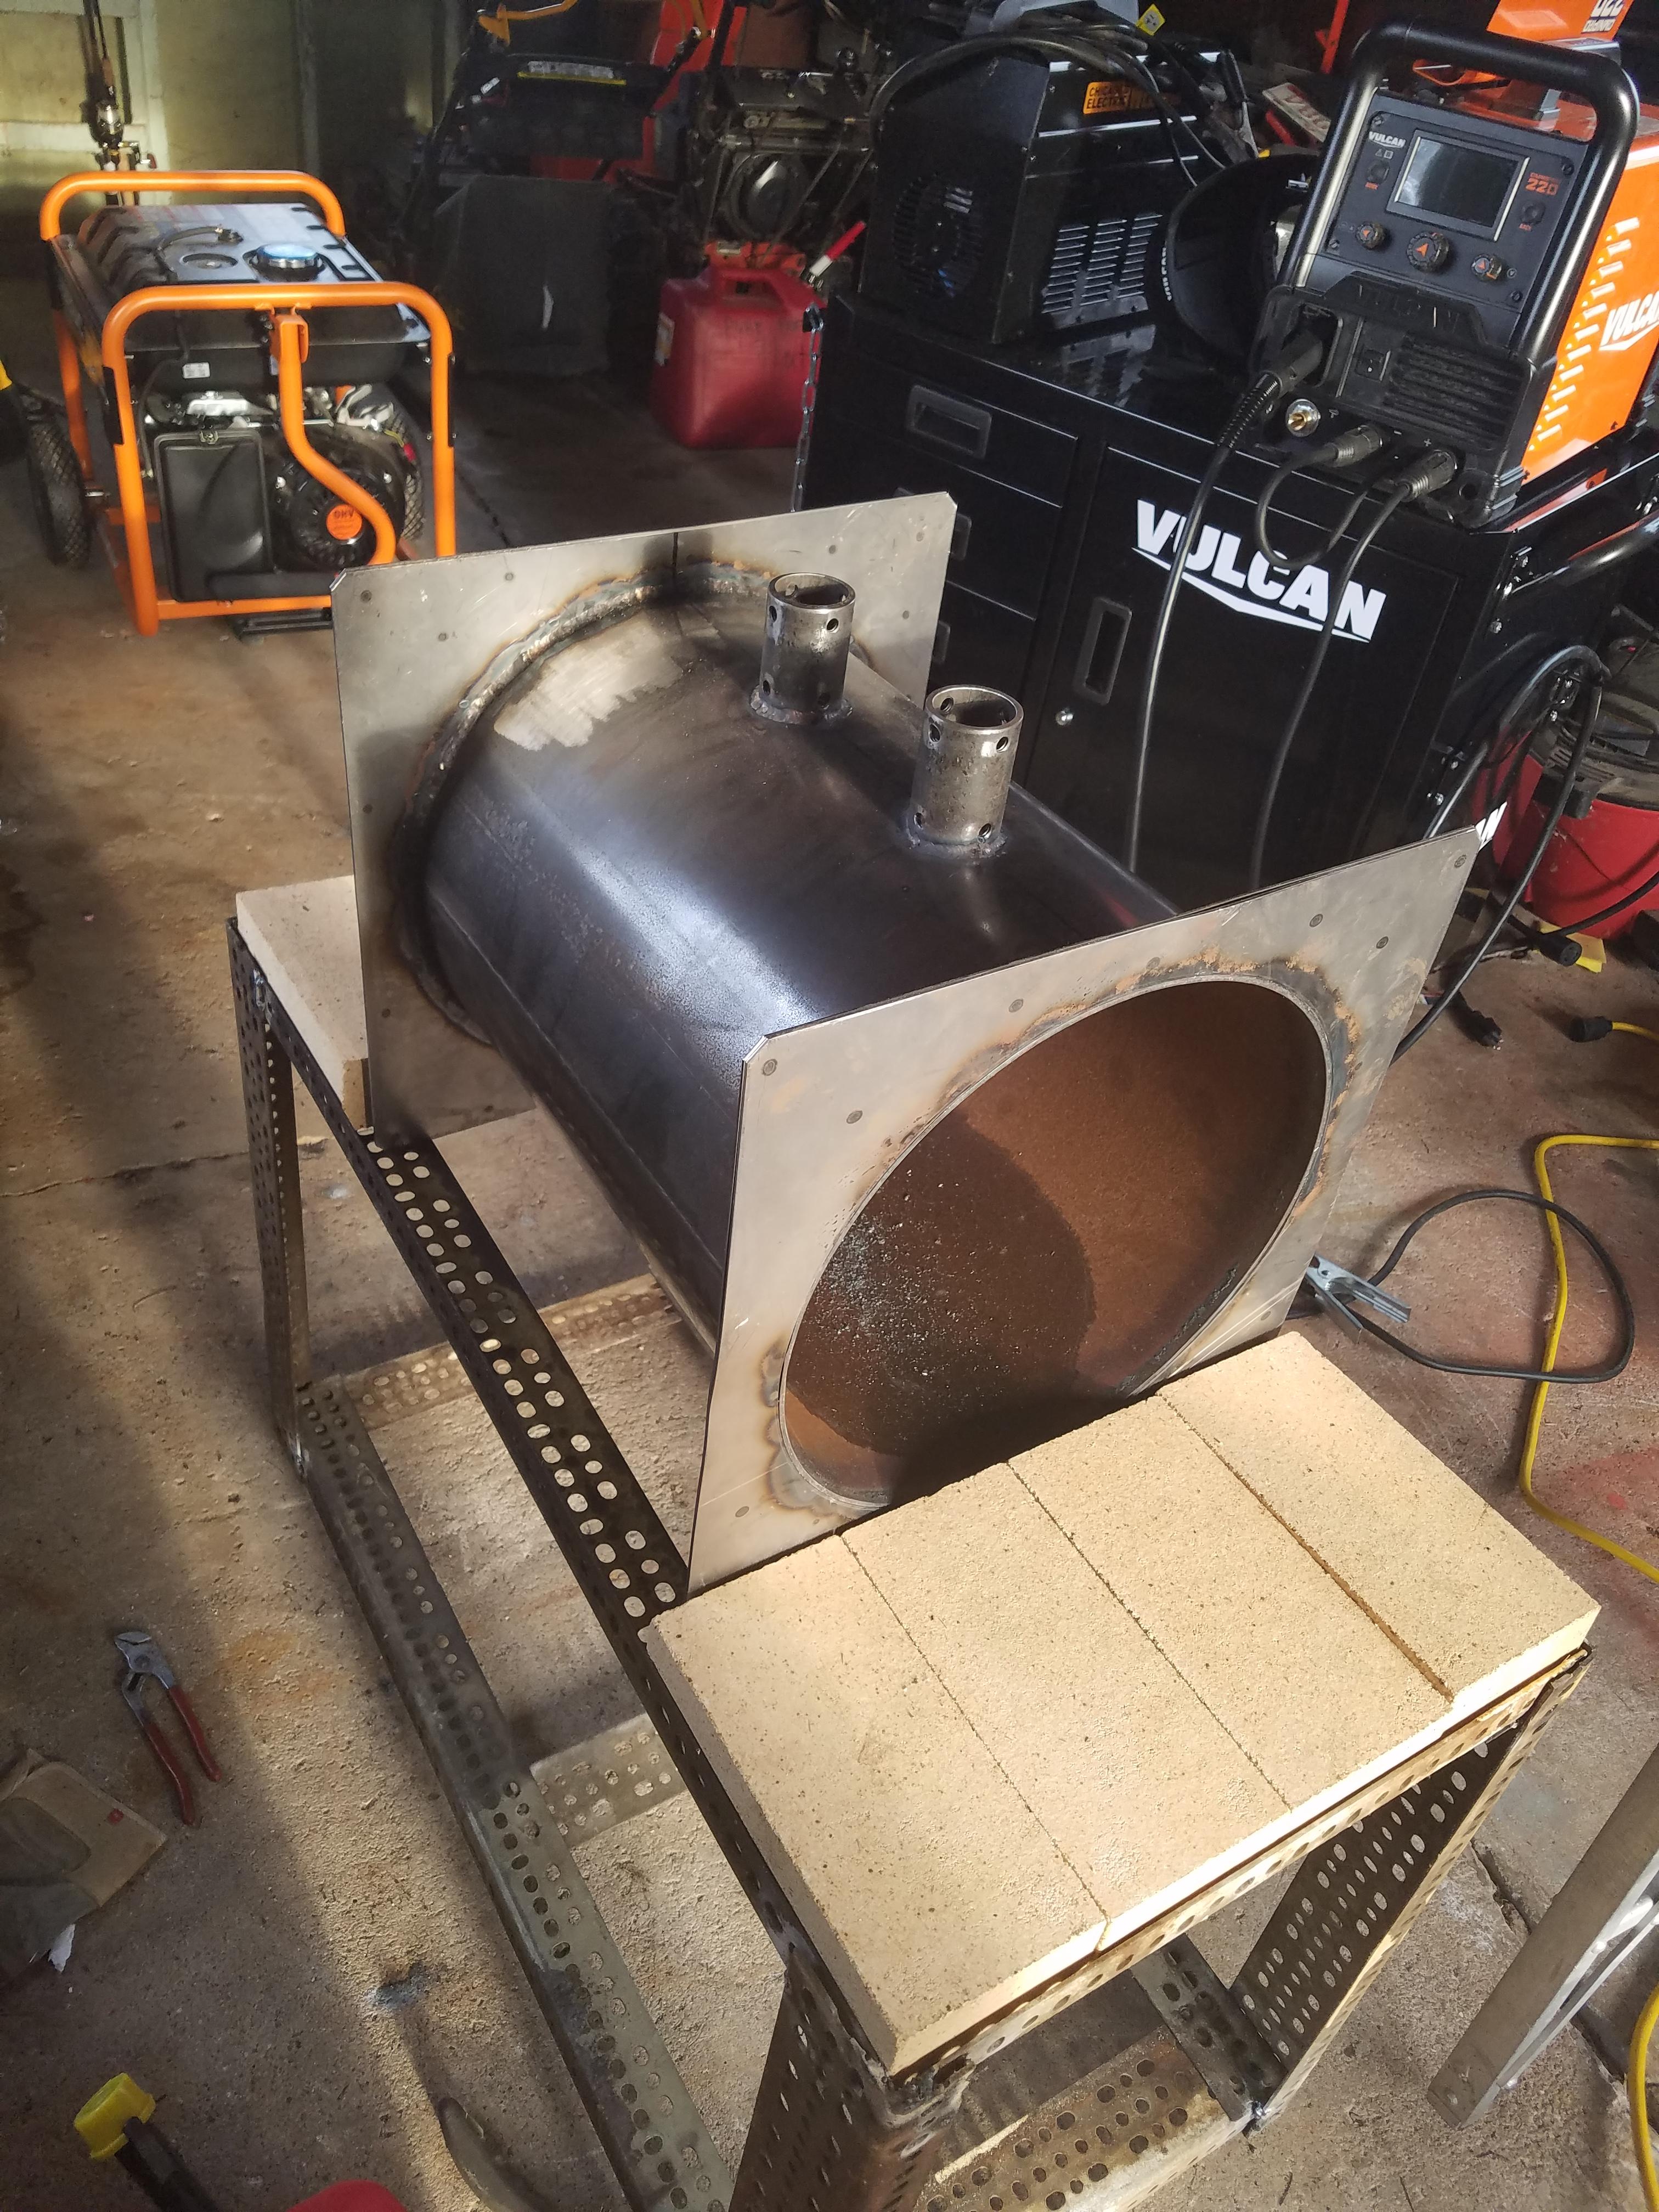
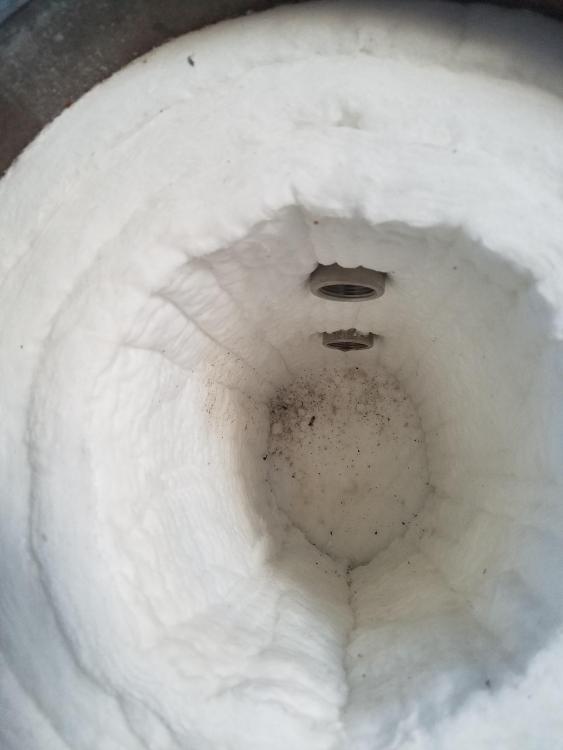
I should add I've already got the tube and the burner mounting tubes welded up. So these are sort of set... 4 inches of inswool are probably a bit much but if it won't negativly affect anything but cost it should work. Ive aldo concodered an inswool dam to temporaraly block the back and use only half the forge but ill figure that out later. Was planning on the Ron reil design. I have the 2 1 inch pipes and 1-1/2 to 1 reducers... I took 1.5 inch pipe nipples and cut and drilled them to hold the pipe across the top.
-
From what I understand the 2, 3/4in burners would be cutting it a bit close with the 704 cubic inches I came up with for my most recent plans. Binesman suggested I go to 2 1 inch burners. Ive also concidered 2, 3/4 inch burners and another layer of inswool bringing my forge internal dimensions down quite a bit.. I suppose 4in of inswool would only insulate better... I should add I've already got the tube and the burner mounting tubes welded up. So these are sort of set... 4 inches of inswool are probably a bit much but if it won't negativly affect anything but cost it should work. Ive aldo concodered an inswool dam to temporaraly block the back and use only half the forge but ill figure that out later.
-
Like what in particular. I'm not entirely sure as to the lifespan of these forges but I would like to make one that lasts quite a while and will exceed my needs for that duration of time. I've looked all over trying to find instructions for a 1in forge burner. I feel that two 1in burners should work well. However all the plans I can find are for three quarter and half inch burners. If someone could direct me towards 1in burner instructions I would appreciate it.
-
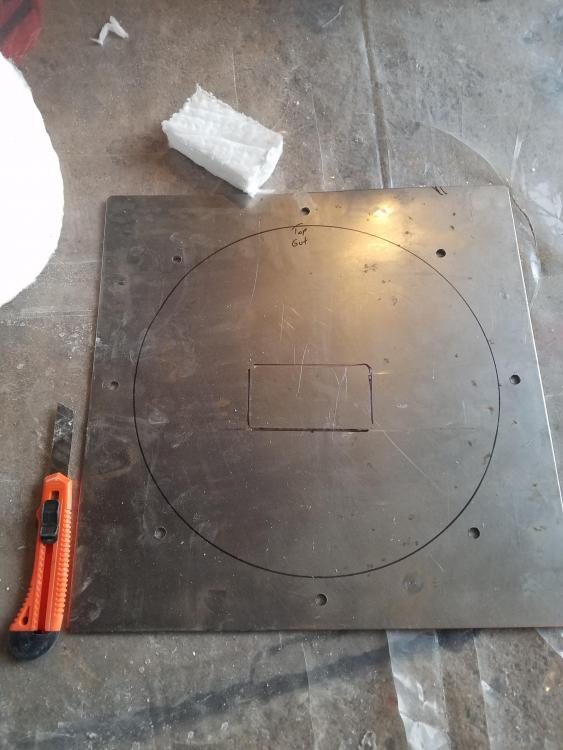
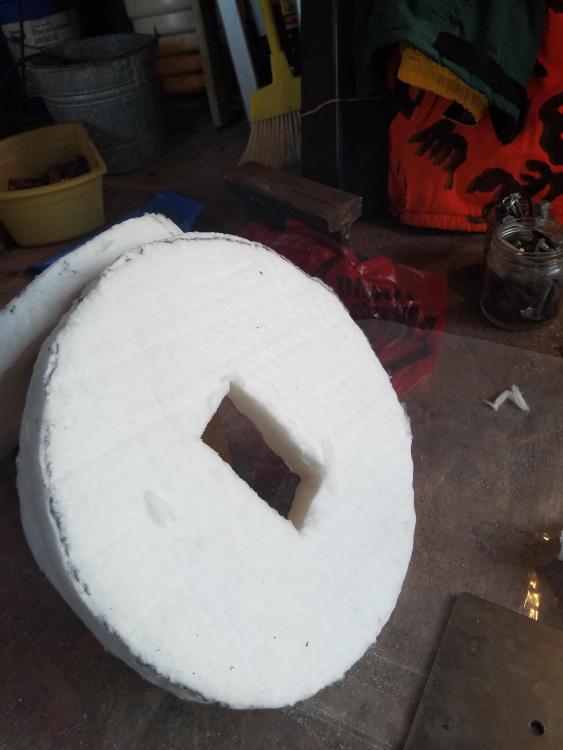
ok so after a lot of deliberation this is my new plan. It is 18 inches long and here are the dimensions. It will be powered by 2, 3/4 Ron Reil burners. The outside shell is 1/8in. thick steel. I am unsure which way to orient the burner Top/Side But i would like it offset to create sort of a vortex. The end caps will have 2 inches of inswool in each. bringing the inside of my forge dimensions to 14 long 8in wide giving me 704 cubic inches, not including the obvious holes in the end caps. If i remember correctly 1 reil burner should be ok for about 350 cubic inches. Obviously i will also coat the inside with rigidizer (actually am concidering rigidizing each layer so when i need to replace a layer I assume it would be easier and then coat the inside with itc-100. Hope i am getting closer, thinks for all the info guys

-
So what you're saying is it may be better to have a small Forge for knives and a longer one for longer objects.
-
Like what in particular. I'm not entirely sure as to the lifespan of these forges but I would like to make one that lasts quite a while and will exceed my needs for that duration of time.
-
I figured just thought it would look really cool. However function obviously comes before form. Thanks for the input
-
Okay so I am looking for materials to build an outer shell out of. Ideally I would prefer a 35 gallon air compressor tank or something along those lines. Due to financial issues I'm looking around to find out if there's anything in the house I could use. I have an old beer keg that is made out of aluminum however it's pretty sturdy. Would I be asking for troubles using this. I'm not entirely sure how hi the temperature on the outer material will be.
-
Ok then. So if i choose to go the inswool route. What is truly needed. I see there are a few basic options, the 1in , 2in, and then we have the hp or htz. The inswool htz seems to be the best due to the 2600 degree rating. I also would think 11g steel for the barrel should work fine if I use a 2 in thick layer of inswool htz. How long (approx) would this type last. I am just doing the hobbies knifemaker thing. I realize this forge i s probably a bit big for what I'm going to use it for but I also do not want to end up upgrading if I choose to perhaps twist long lengths of wrought iron or whatever else. I tended to build things to exceed my needs. It rarely leaves me disappointed. I would also more than likely try to angle the burners so that they create a Vortex and move air around to create a more even heat inside the Forge. I currently live in Sheboygan Wisconsin and have updated my profile thanks for the suggestion.
-
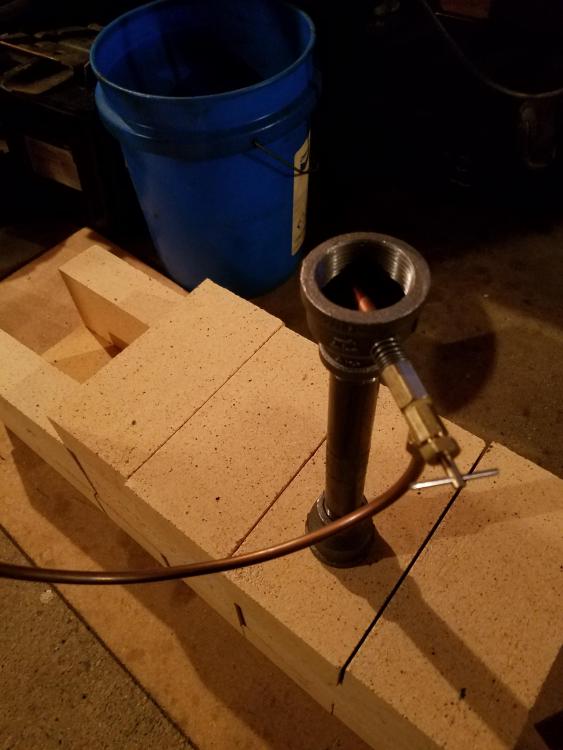
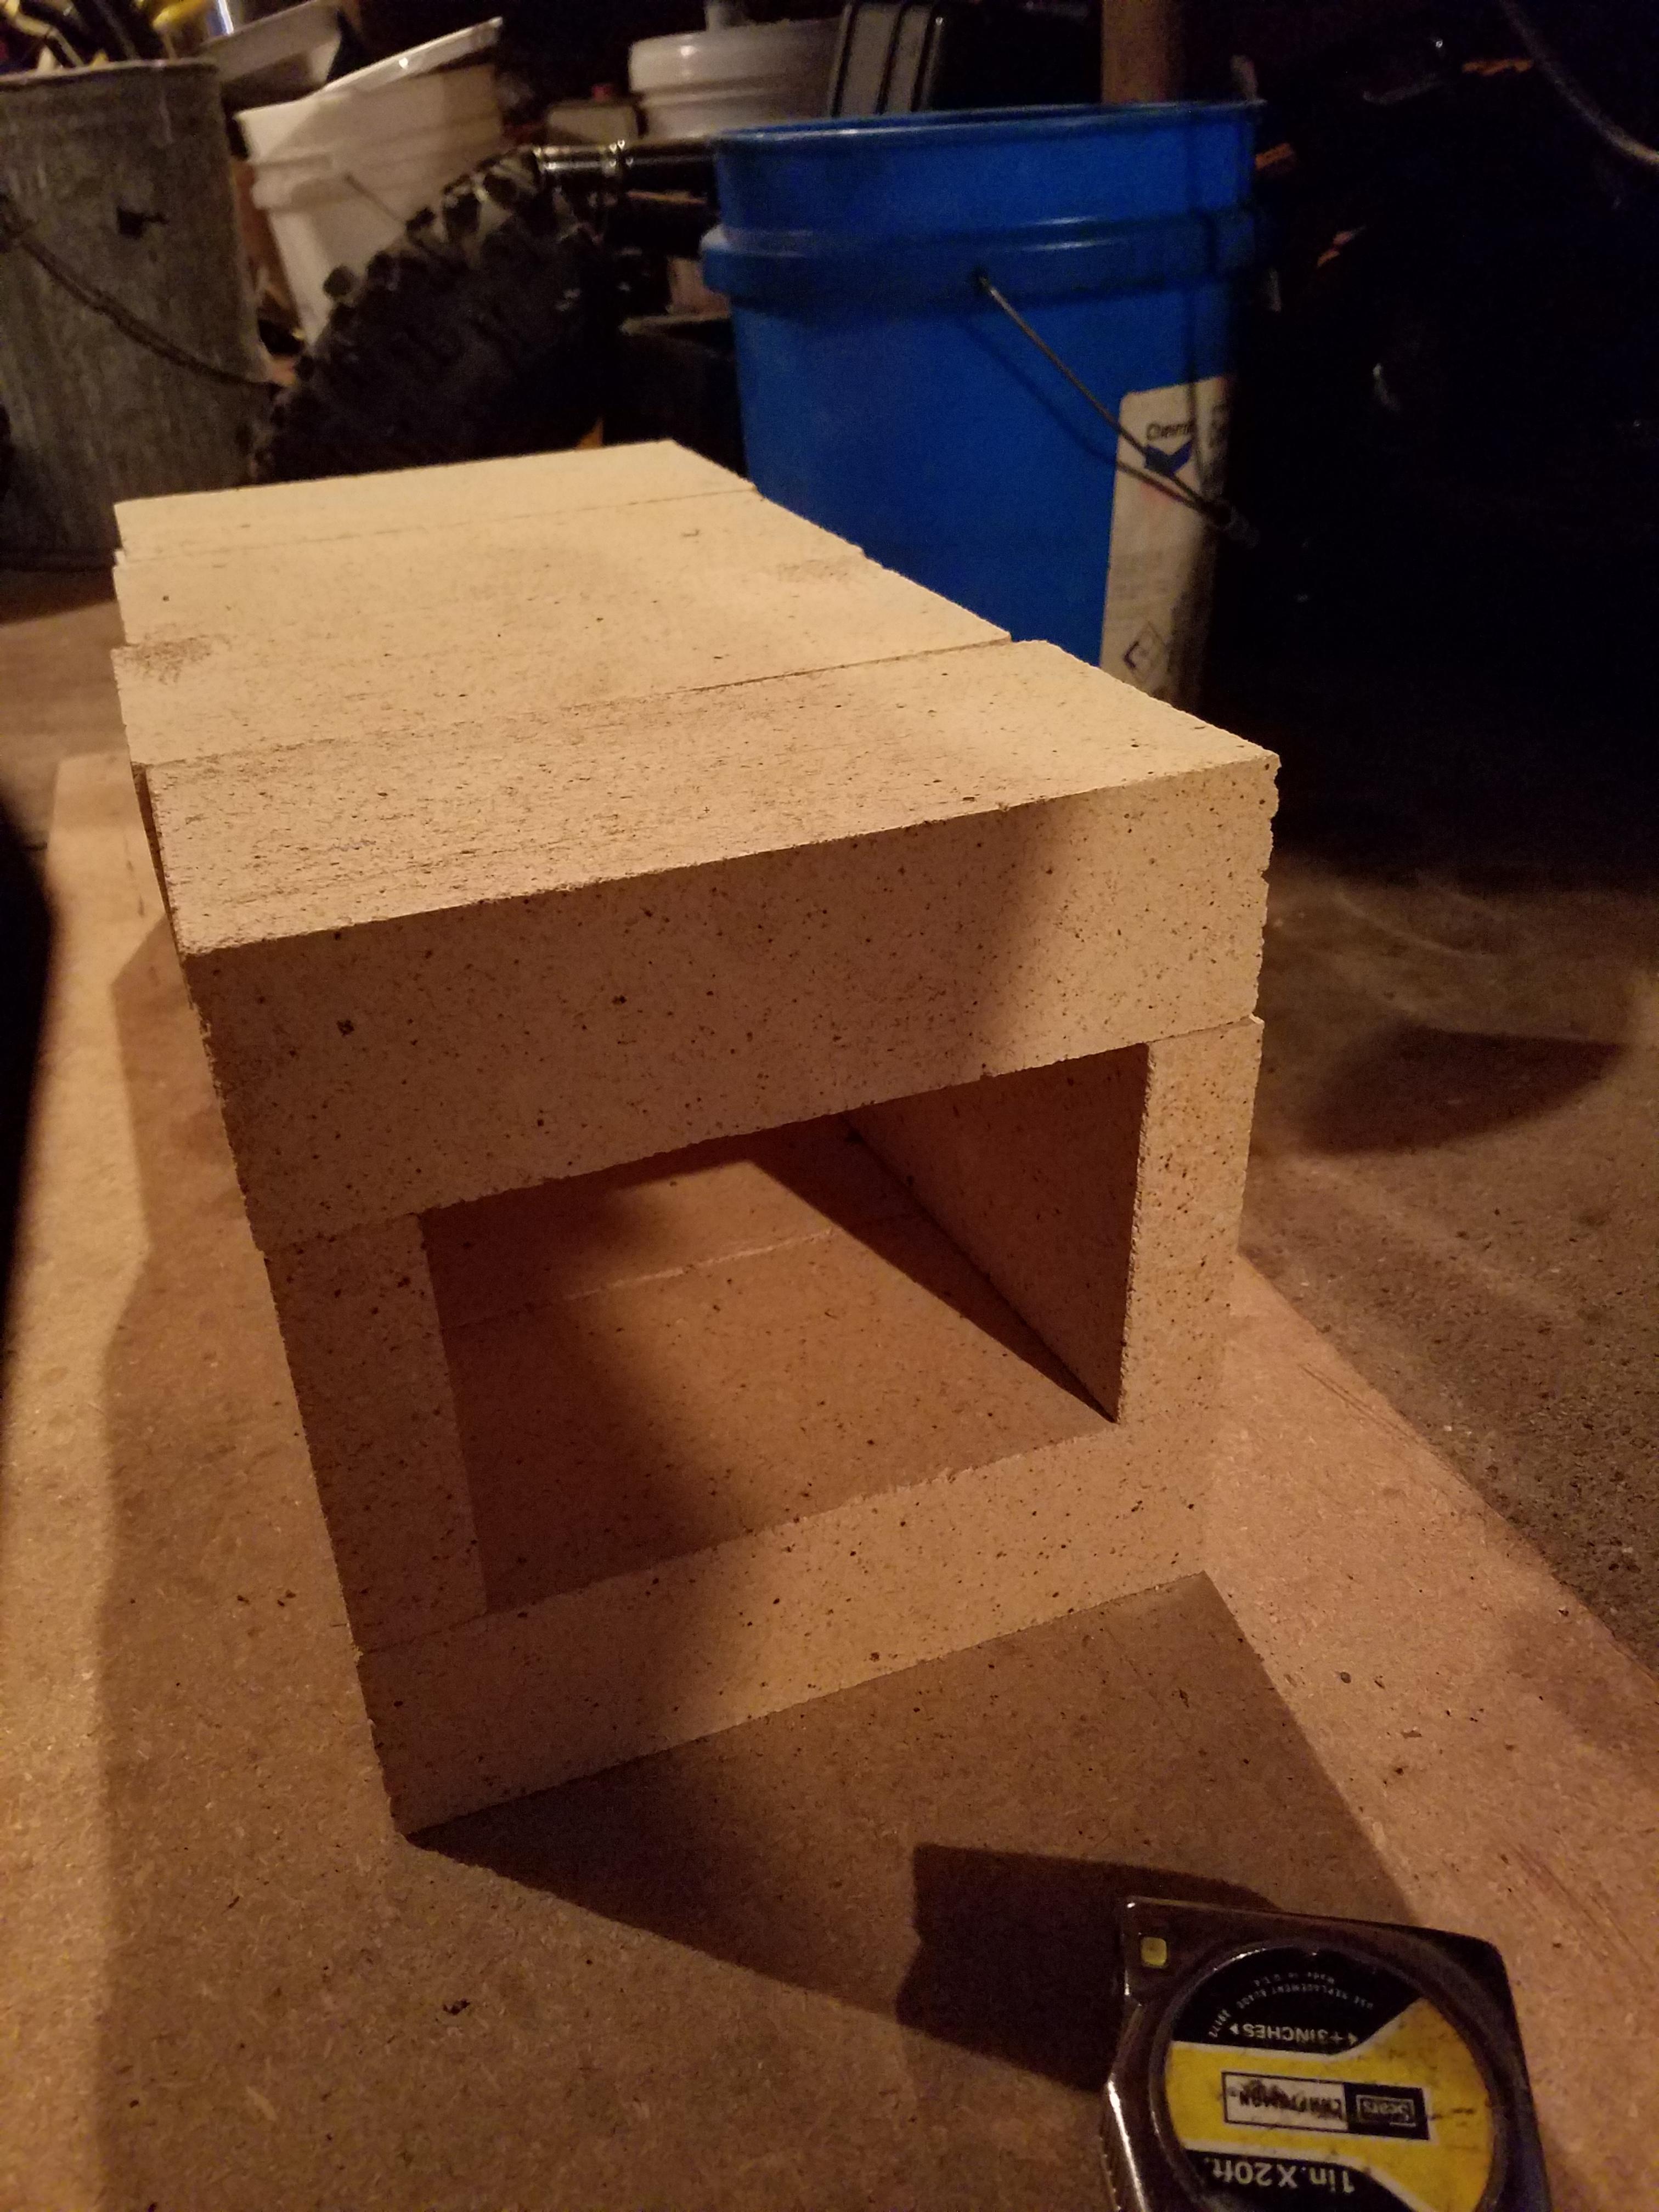
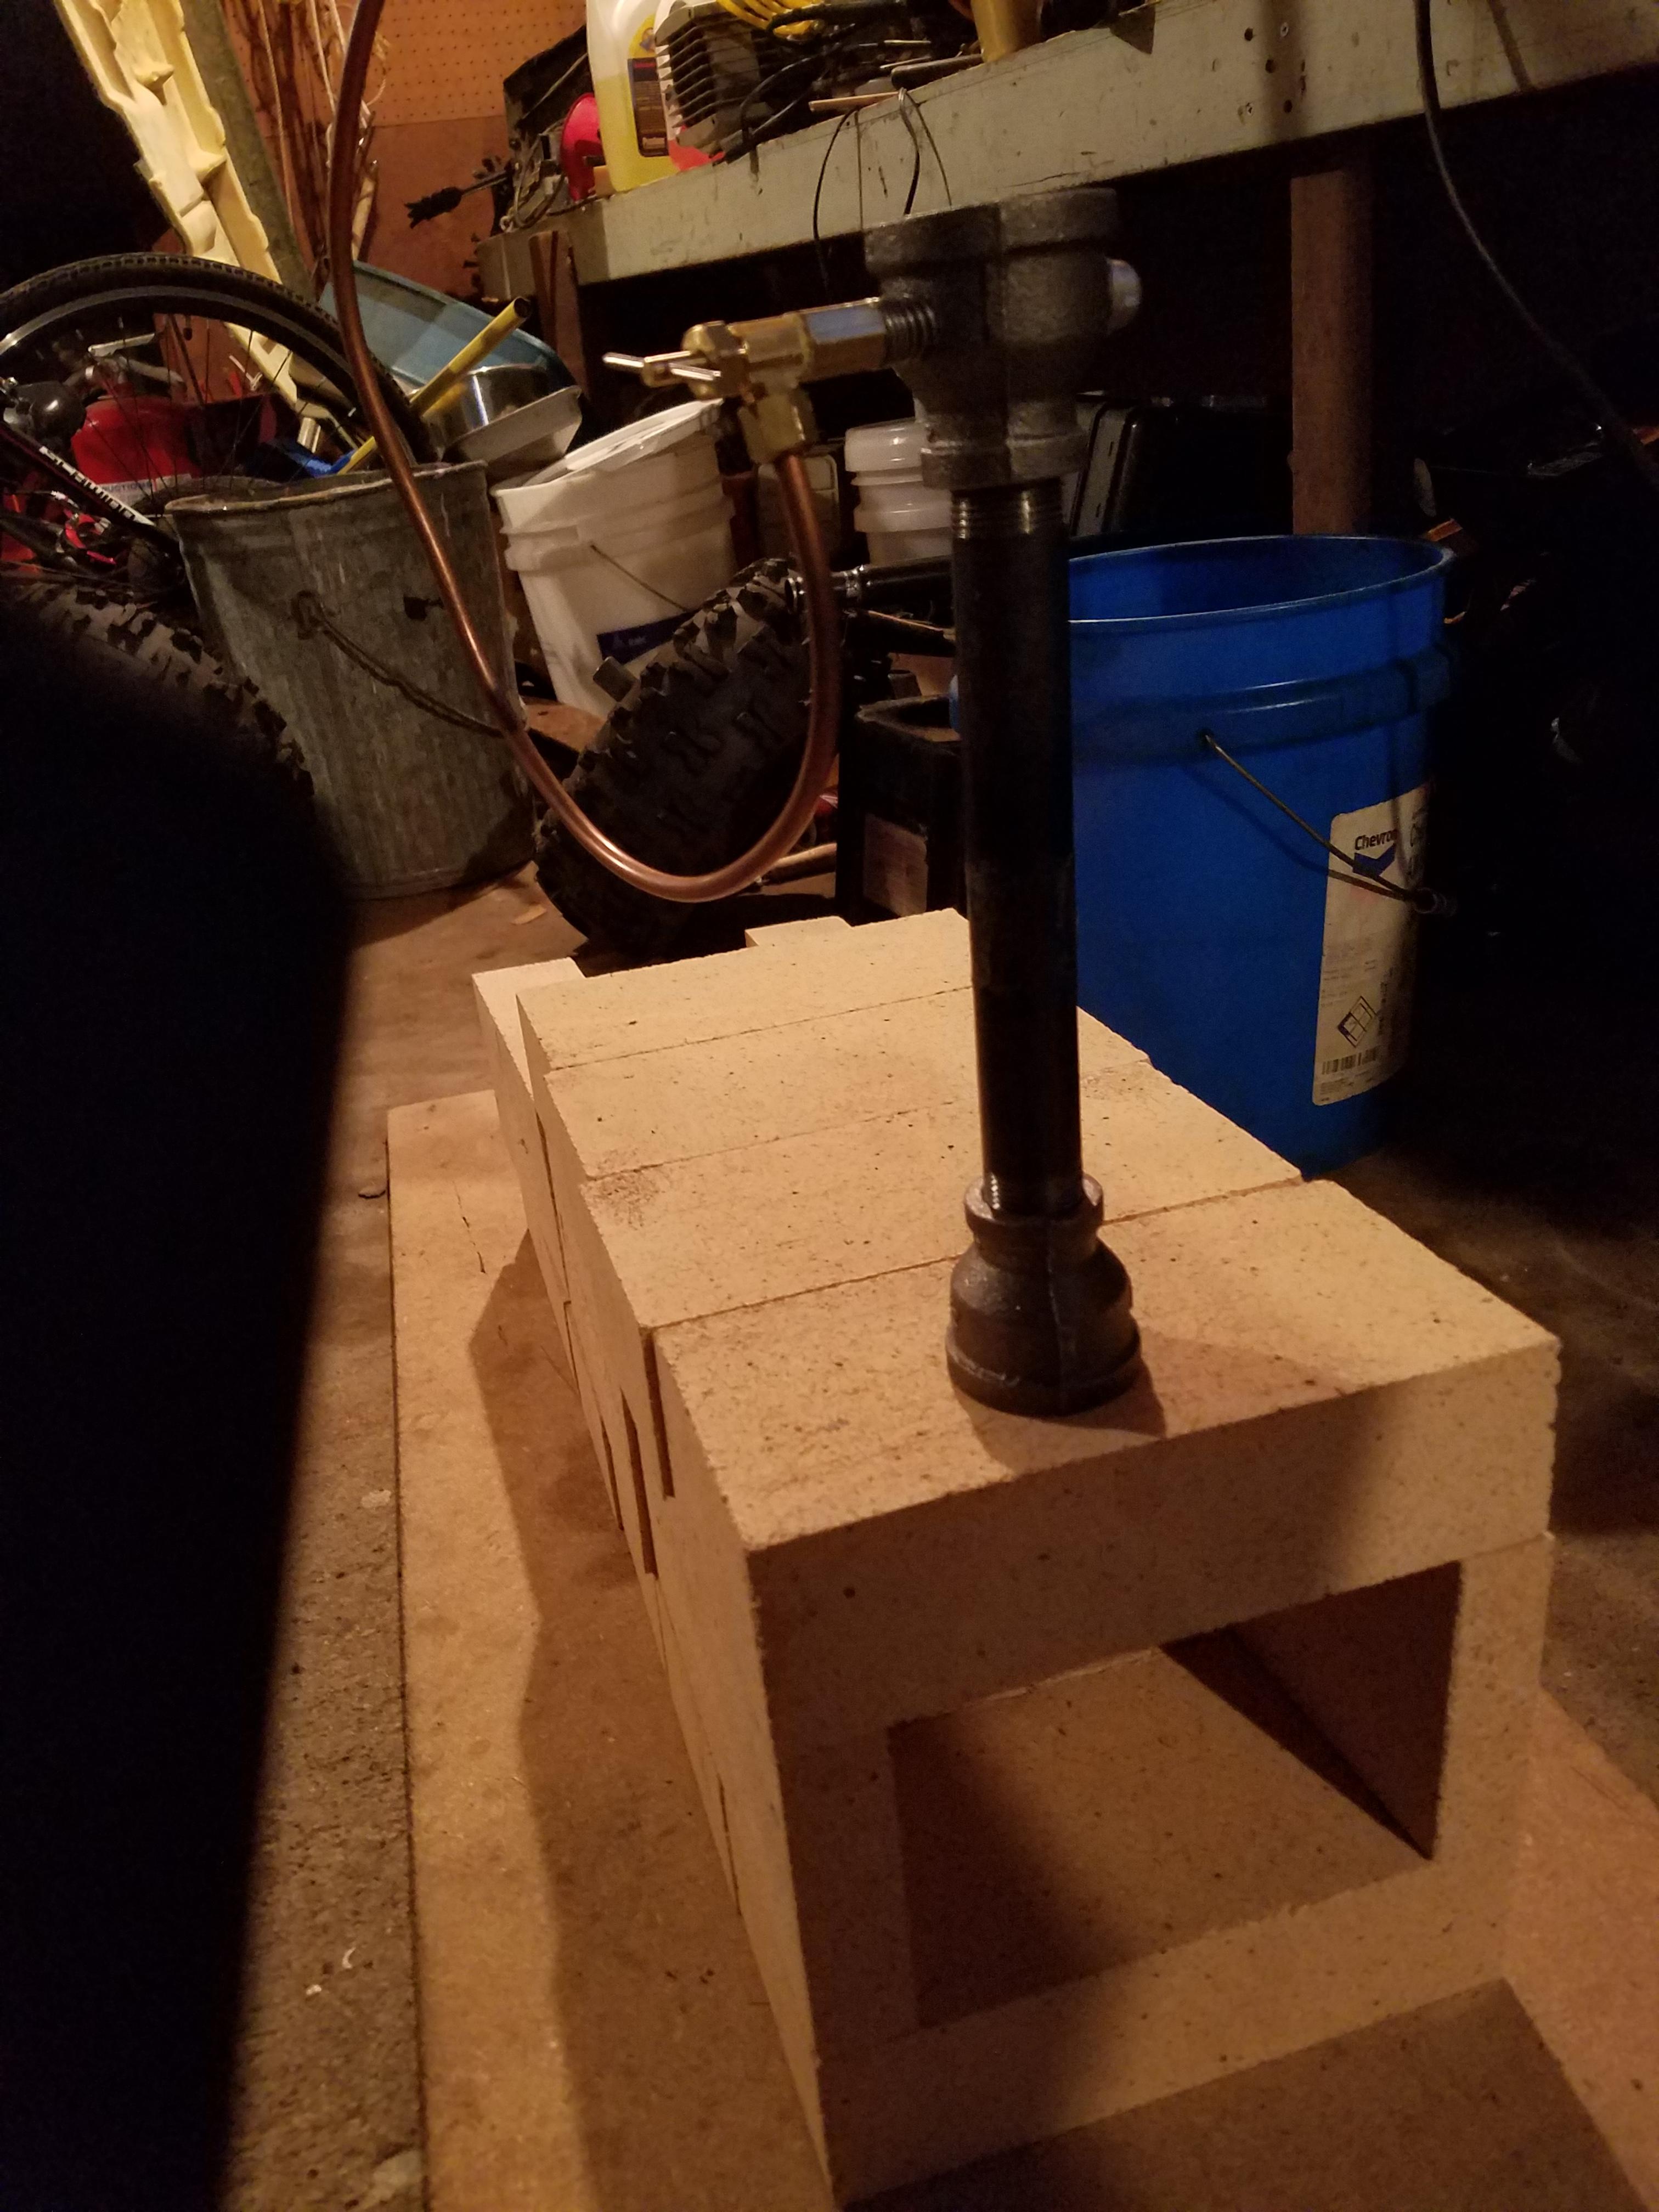
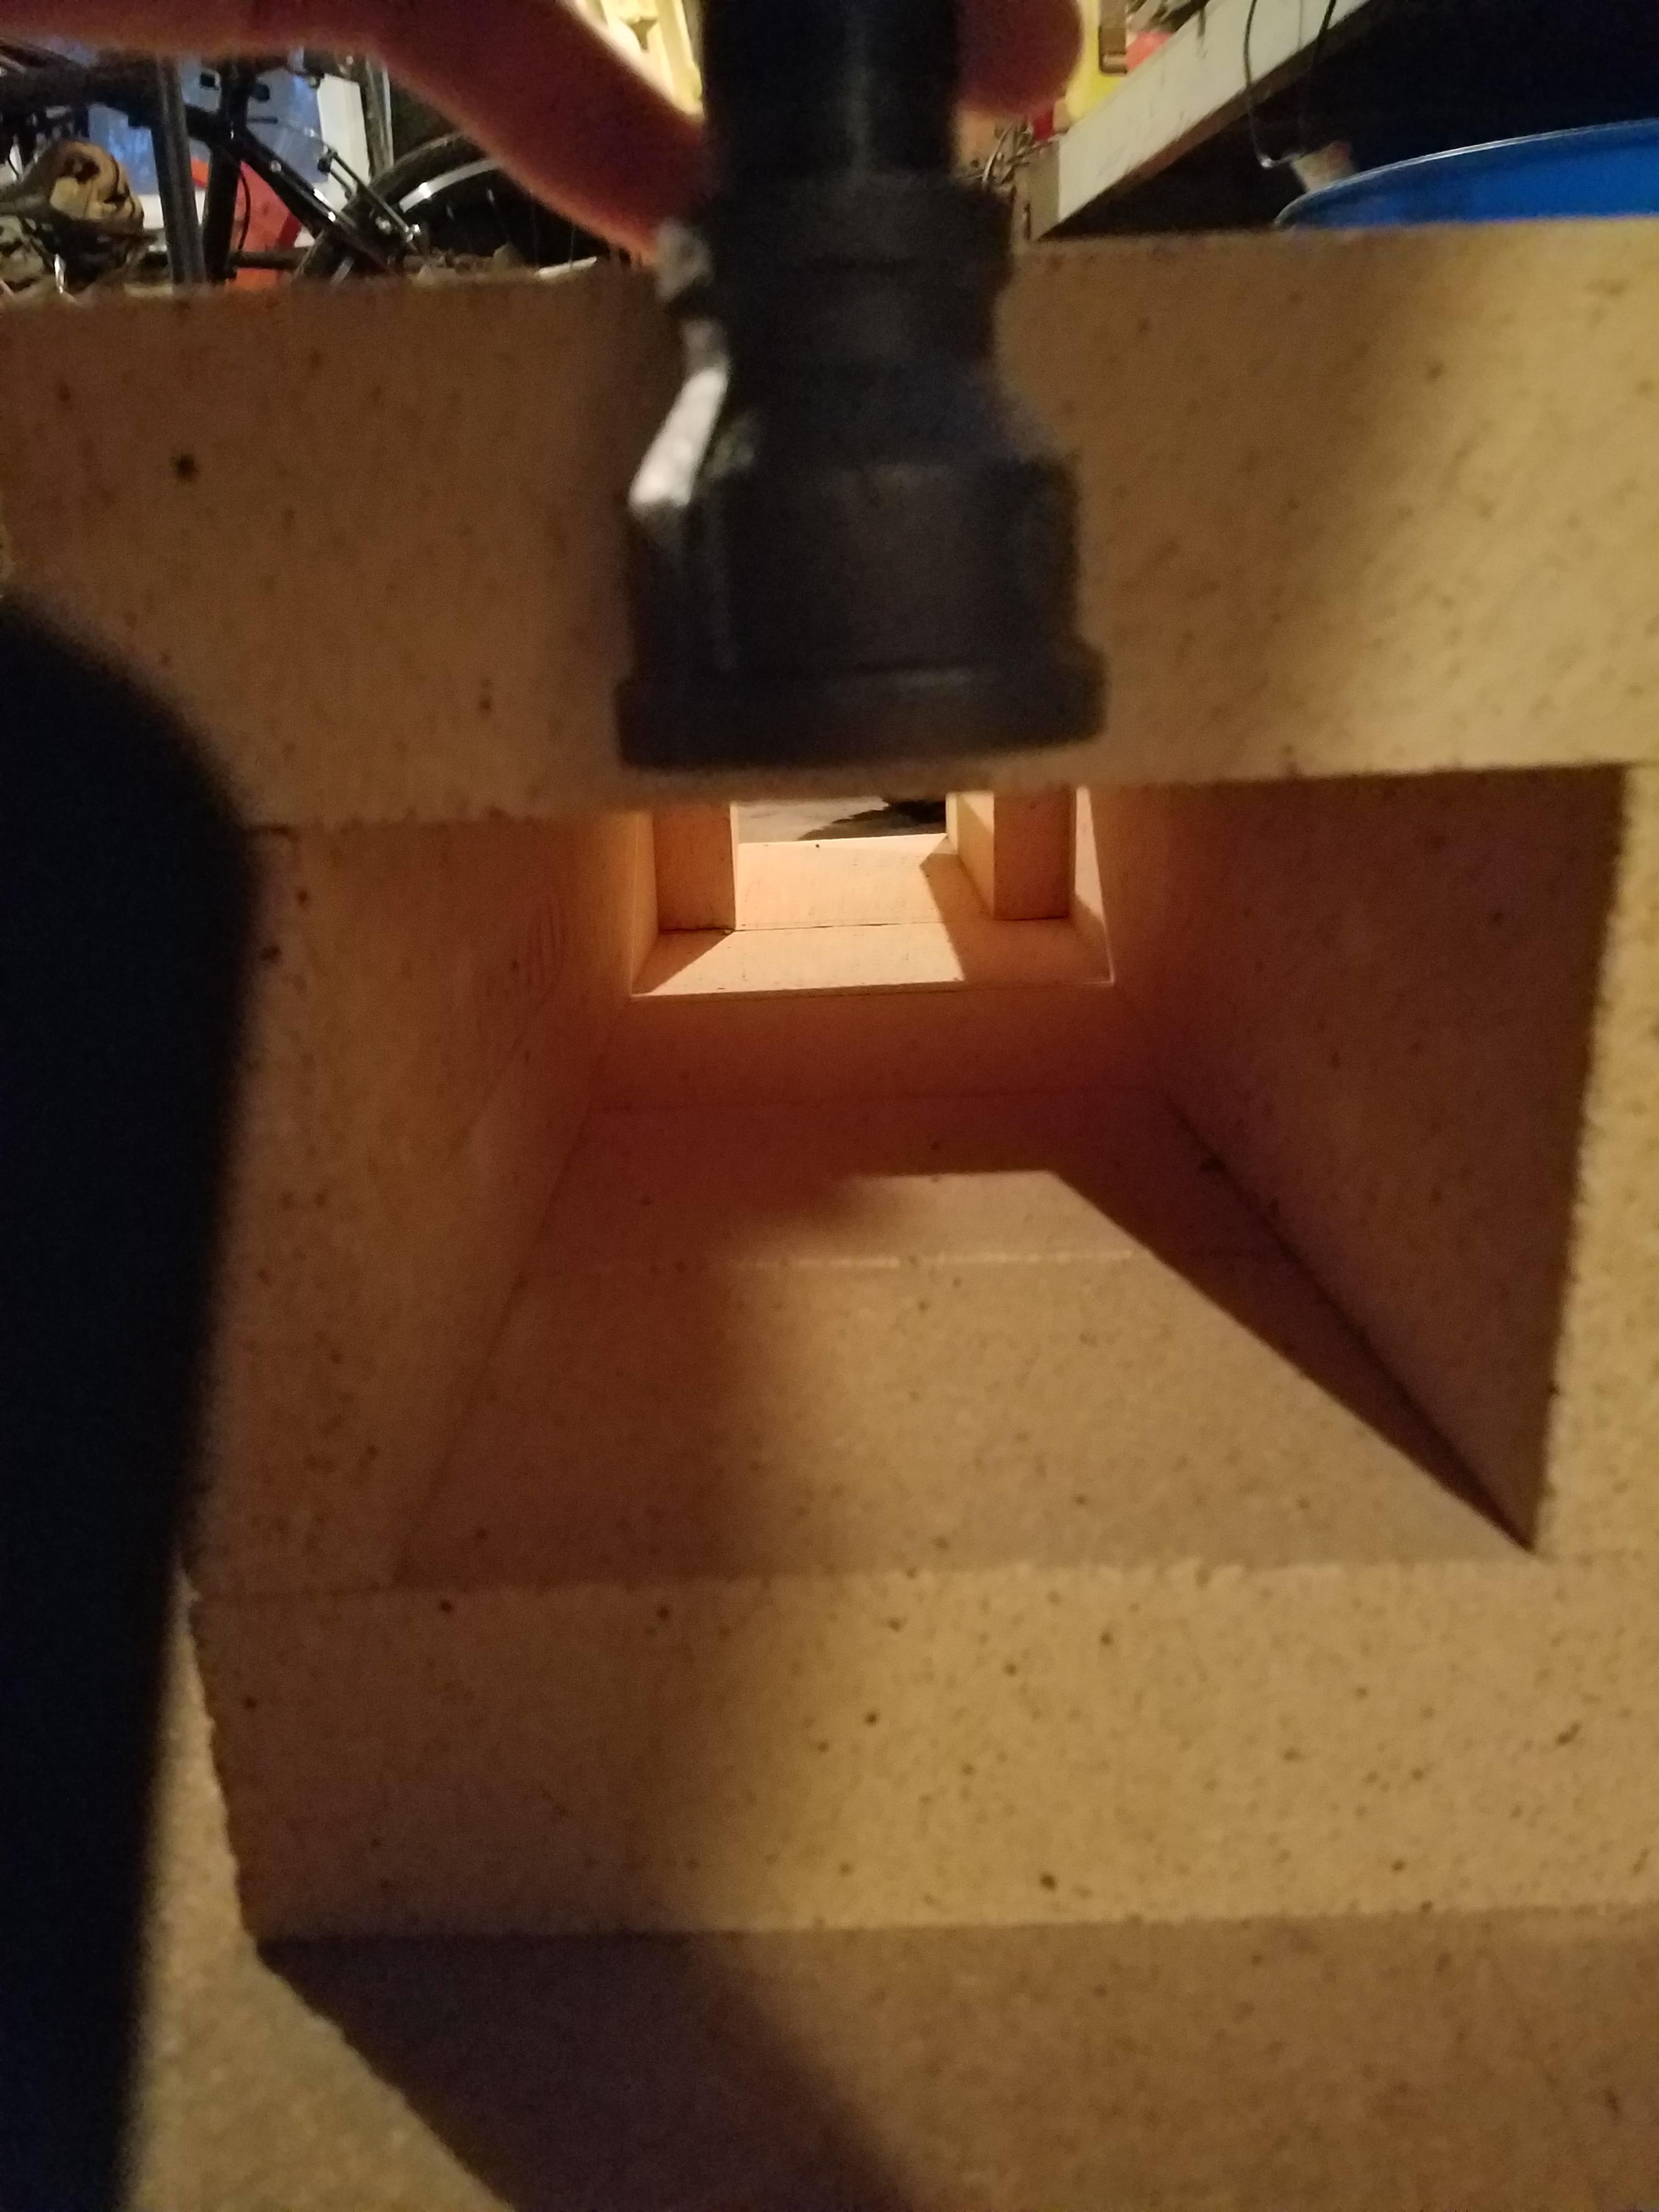
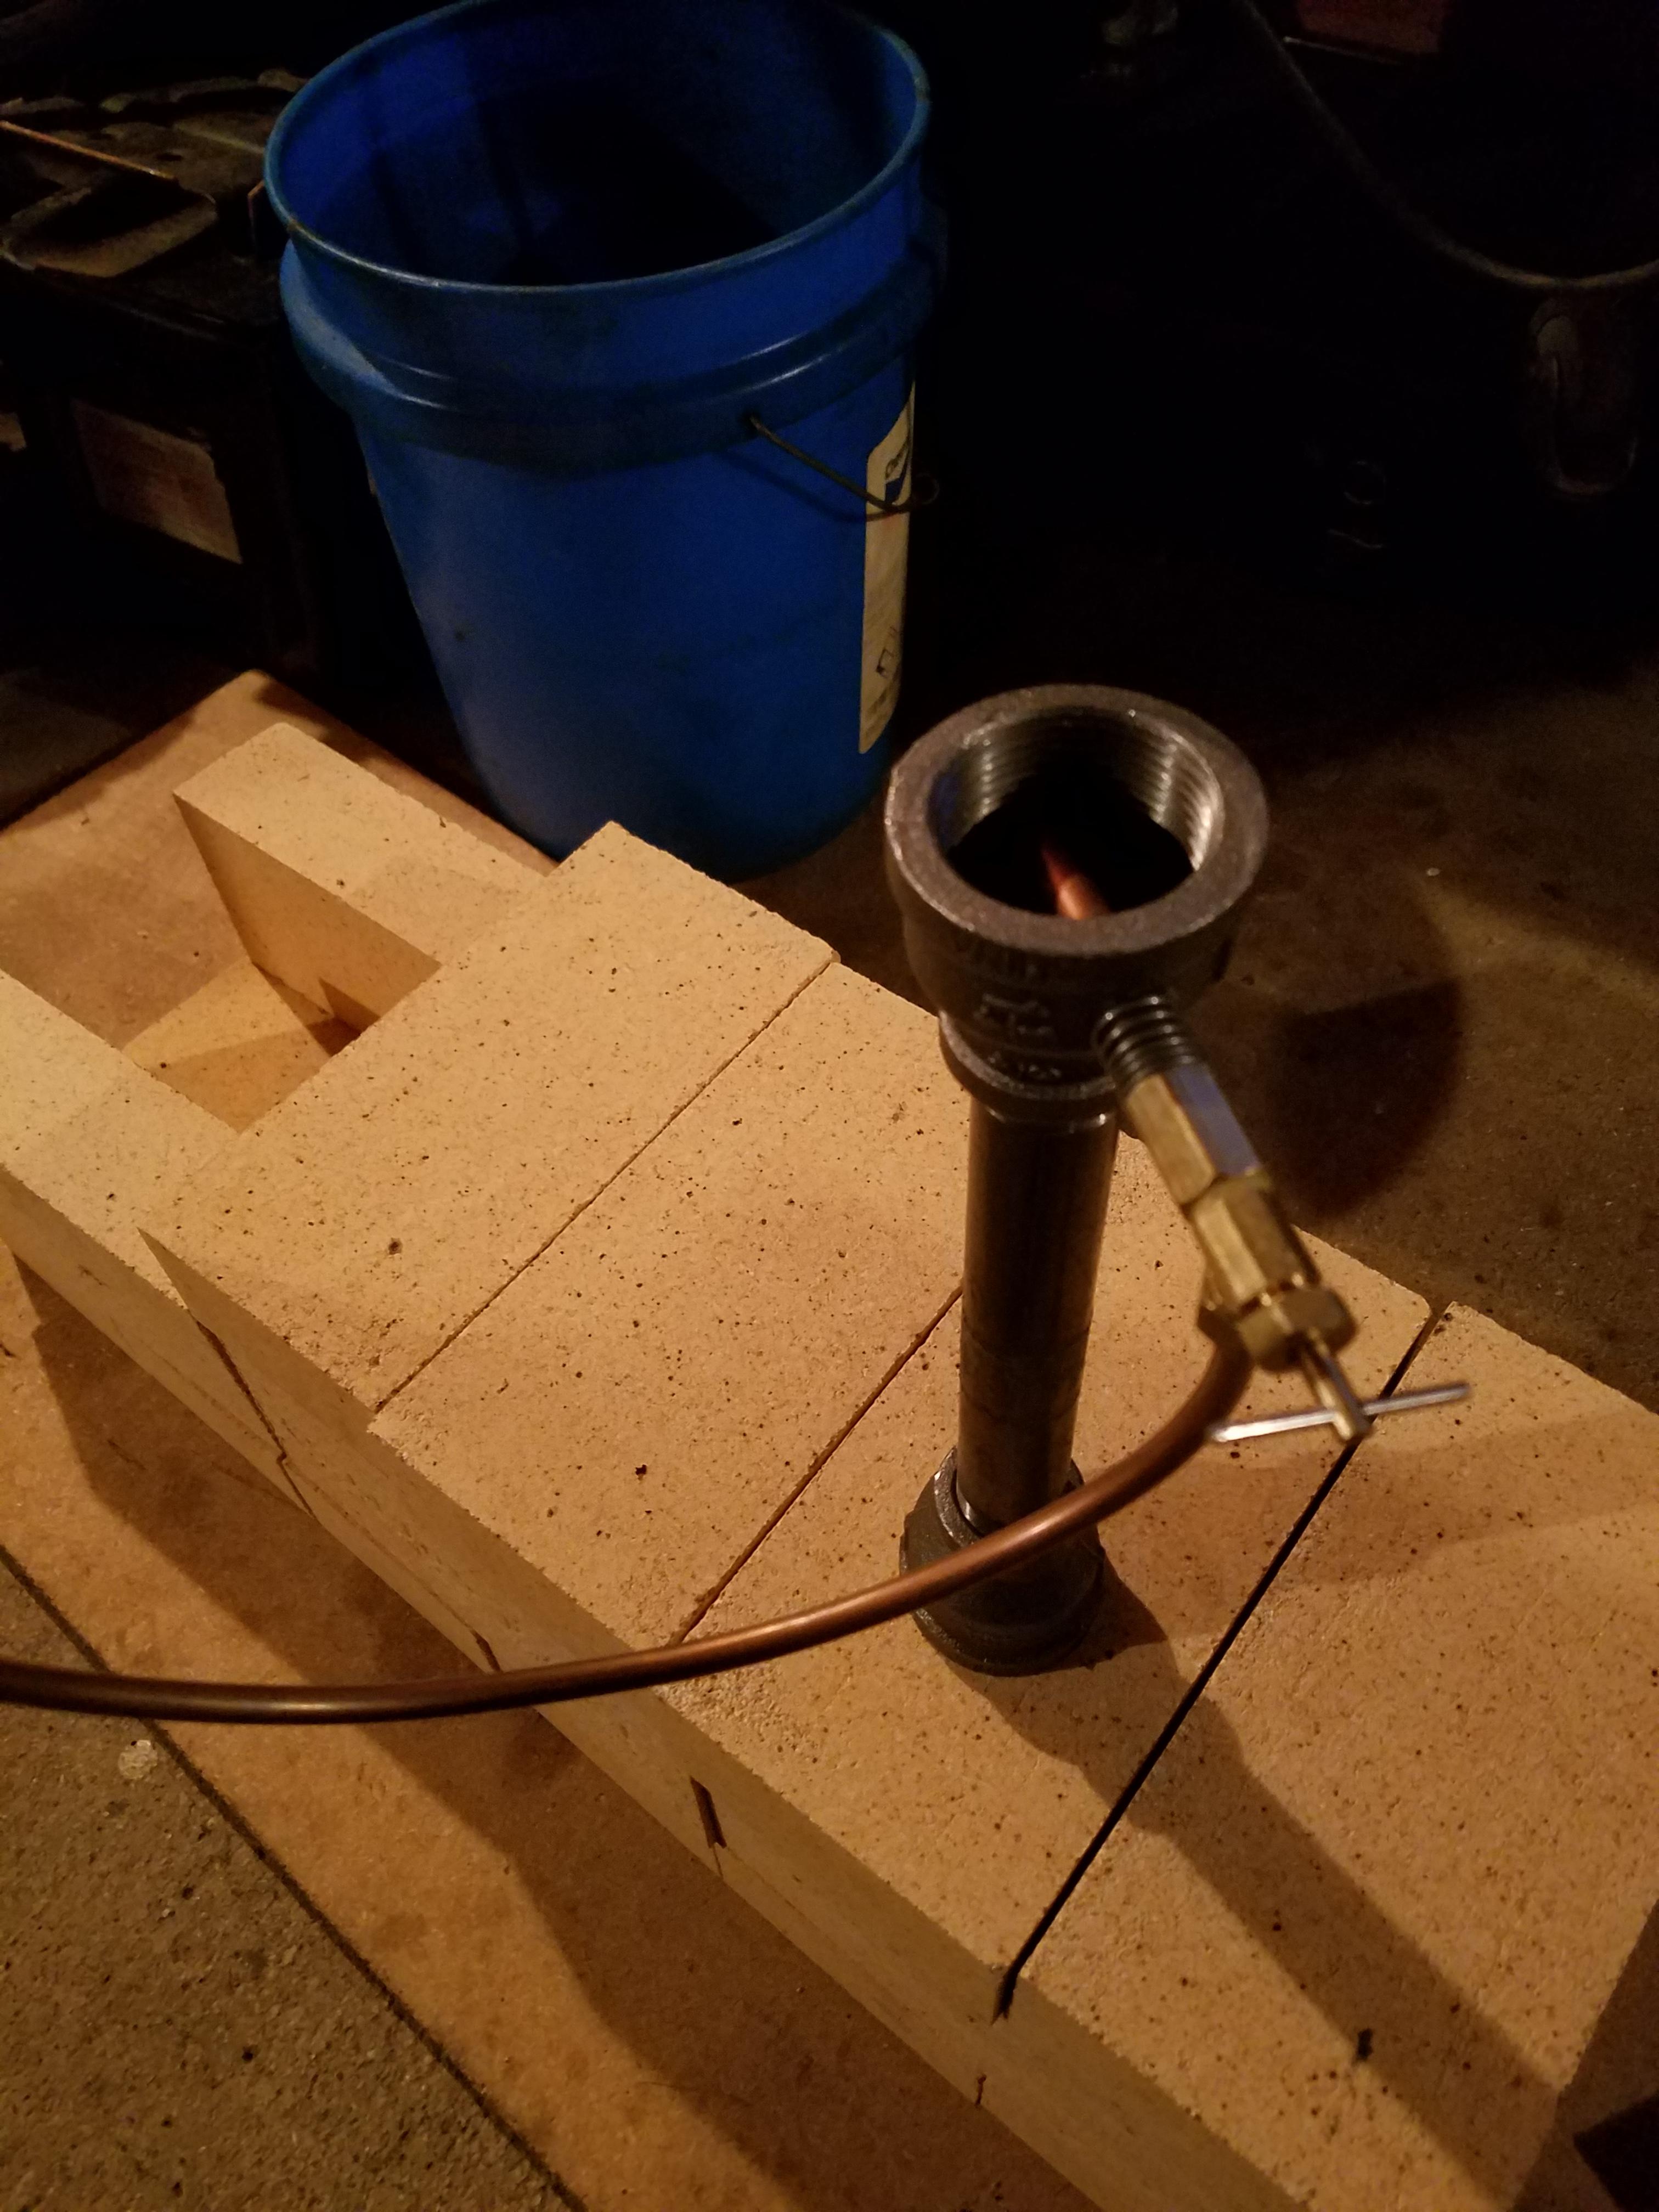
Hello I'm new to this forum. I'm also new to Forge building and blacksmithing. I'm trying to build a quality Forge that will last a while. The Forge is made of 9 by 4.5 fire bricks both 2 1/2 (top and bottom) and 1 1/4 (sides). The forge sides top and bottom will be a welded 11 gauge steel tube sized to fit tightly around the bricks. There will be two removable end caps that will protect the bricks on the ends from damage and allow replacement of bricks that are damaged. The forge OD is 27 in Long by 9 in wide by 9.5 tall. The ID is 4.5 x 6.5 x 27. Obviously seeing as I am new at this I am looking for any input both positive and negative. Any ideas warnings or additional commentary are very much appreciated. Initial questions that I have are. 1 I've noticed some Forge burners have the Bell on the bottom and some are mounted to a floor plate. What are the positives and negatives of both. If I should do the Bell how far into the brick should it extend. I have chosen to make a Venturi style valve using three quarter to 1 and 1/4 reducers. I'm also using three quarter pipe 8 inches long for the burners. I have used a number 58 drill bit for the office and a 1/4 OD brass pipe nipple for the Venturi burner. I expect to run all three burners off of a manifold. Each burner will have its own needle valve. I like to think I have most of this down but I'm sure I will find a few criticisms and learn something along the way. Thanks for your time in Reading this and I look forward to the replies.