
TastefullyPeenedIronWorks
-
Posts
65 -
Joined
-
Last visited
Content Type
Profiles
Forums
Articles
Gallery
Downloads
Events
Posts posted by TastefullyPeenedIronWorks
-
-
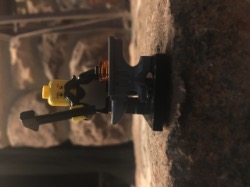
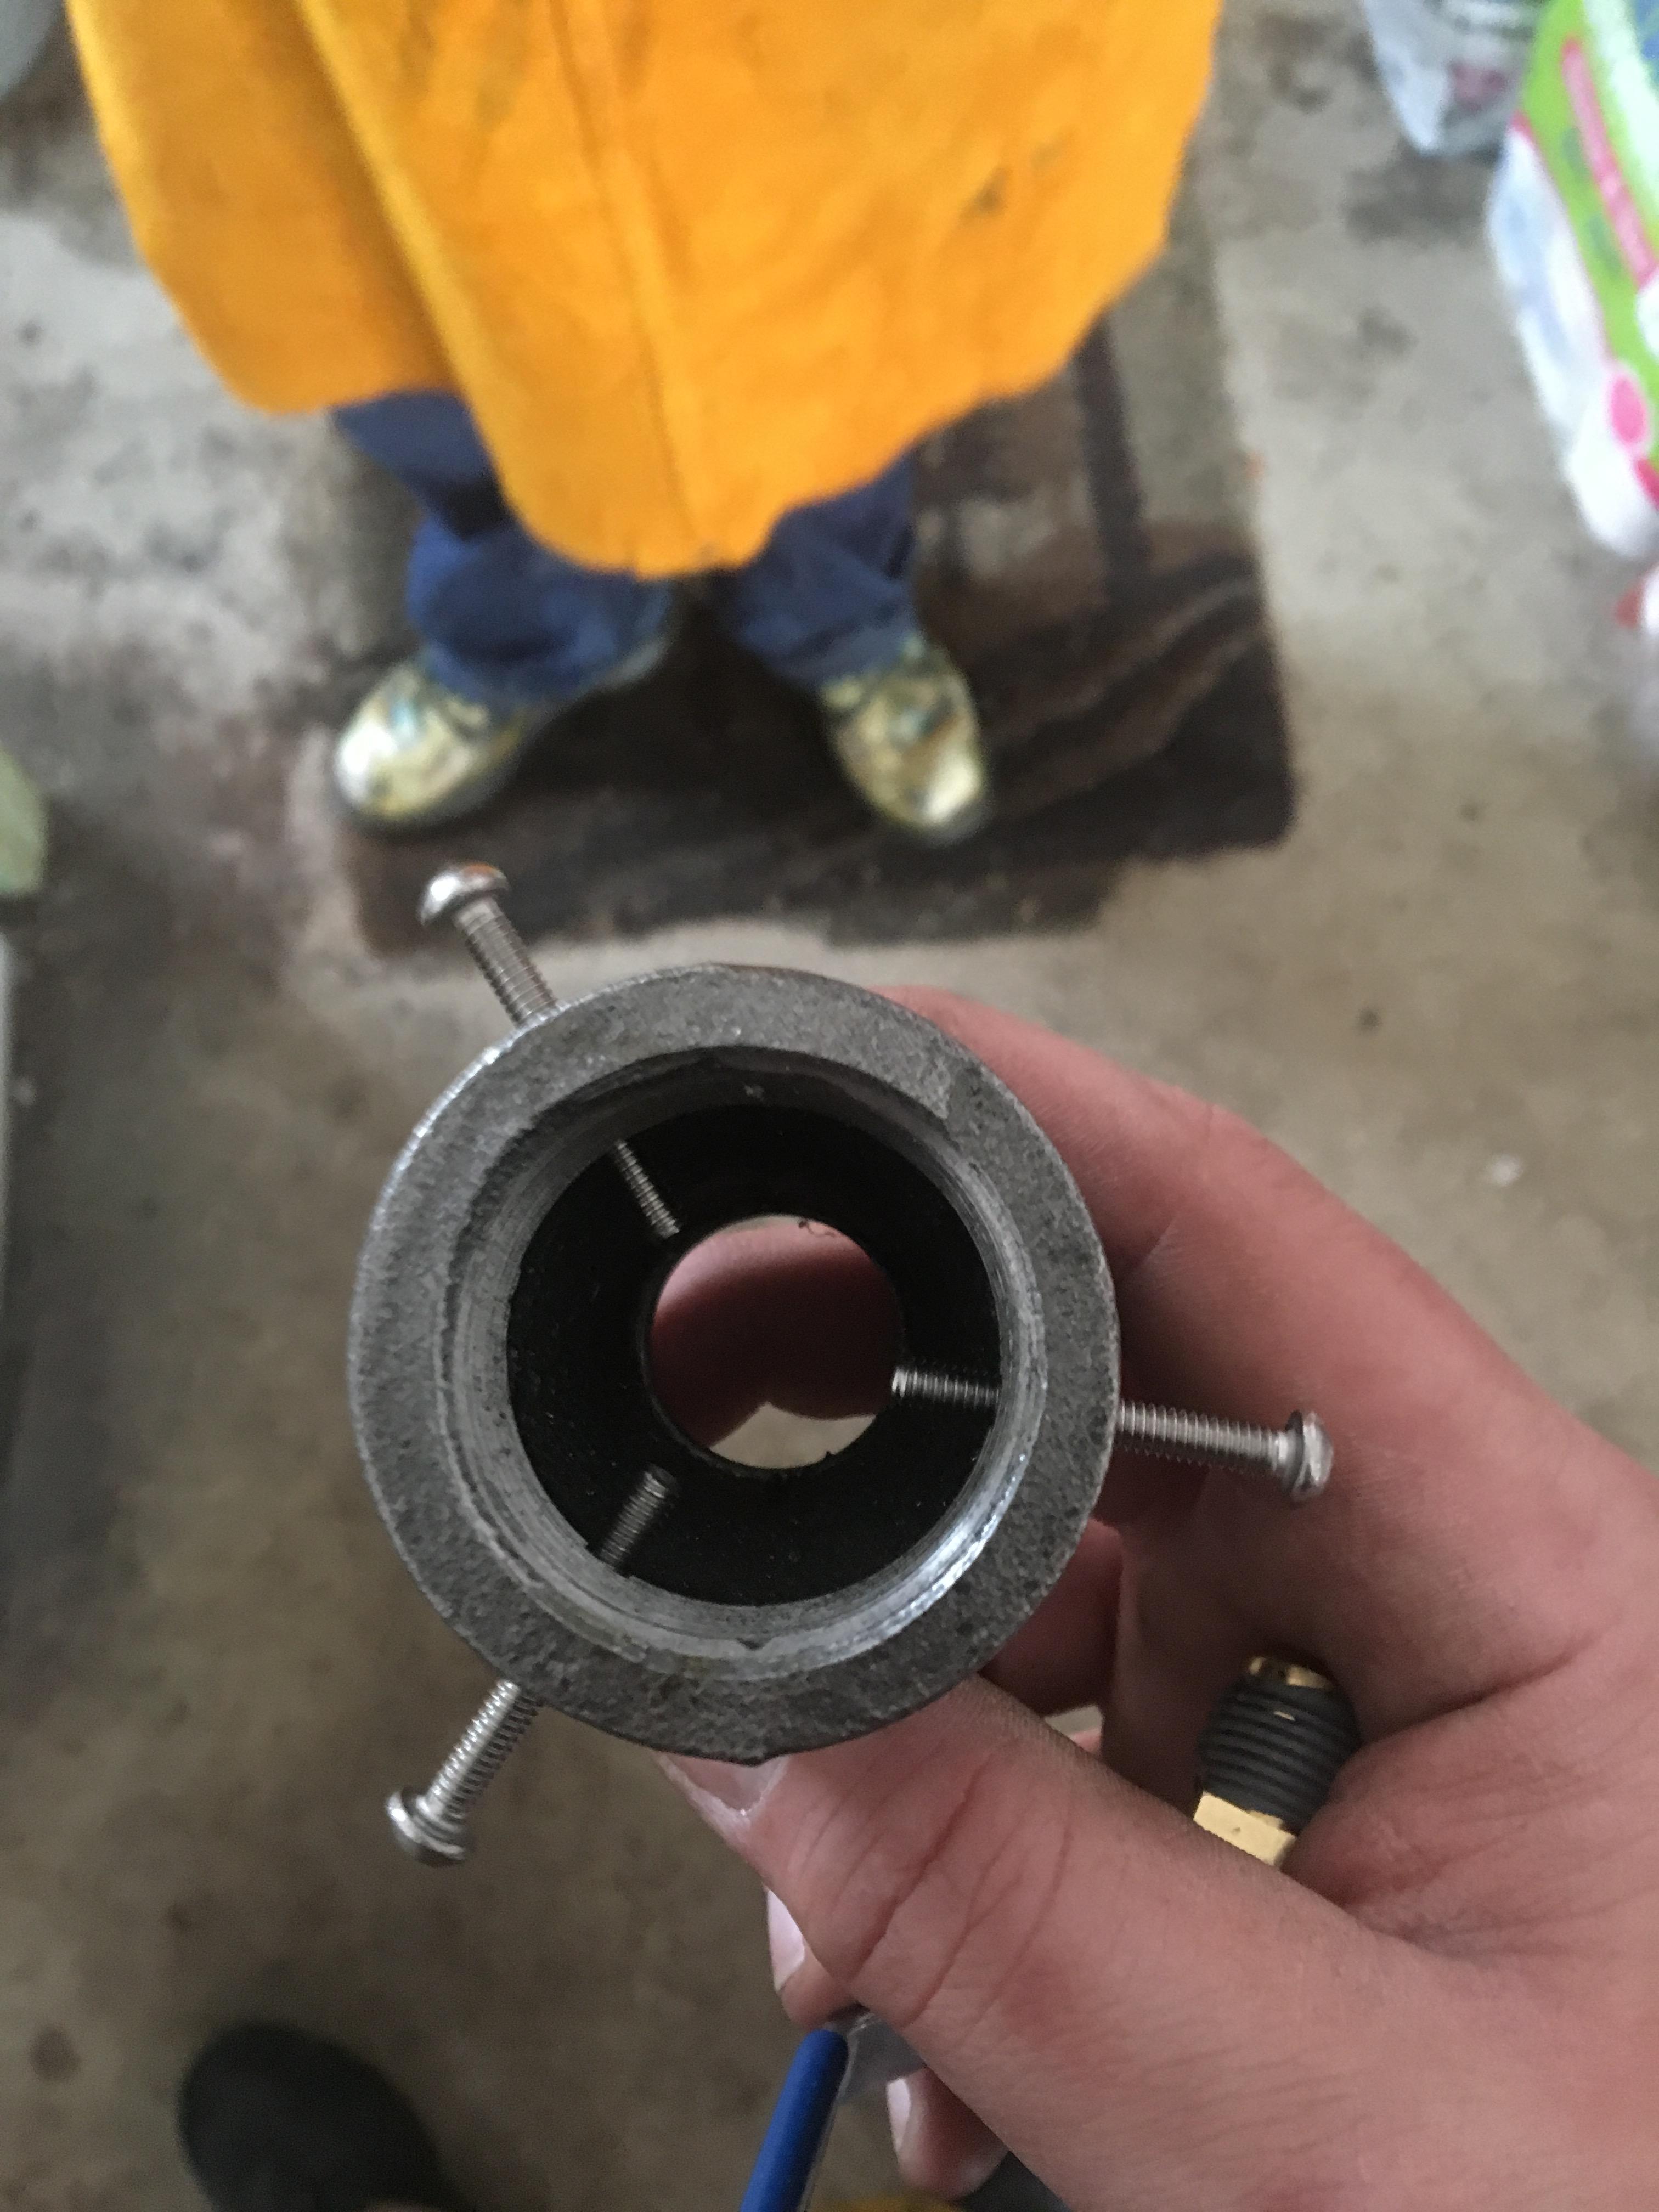
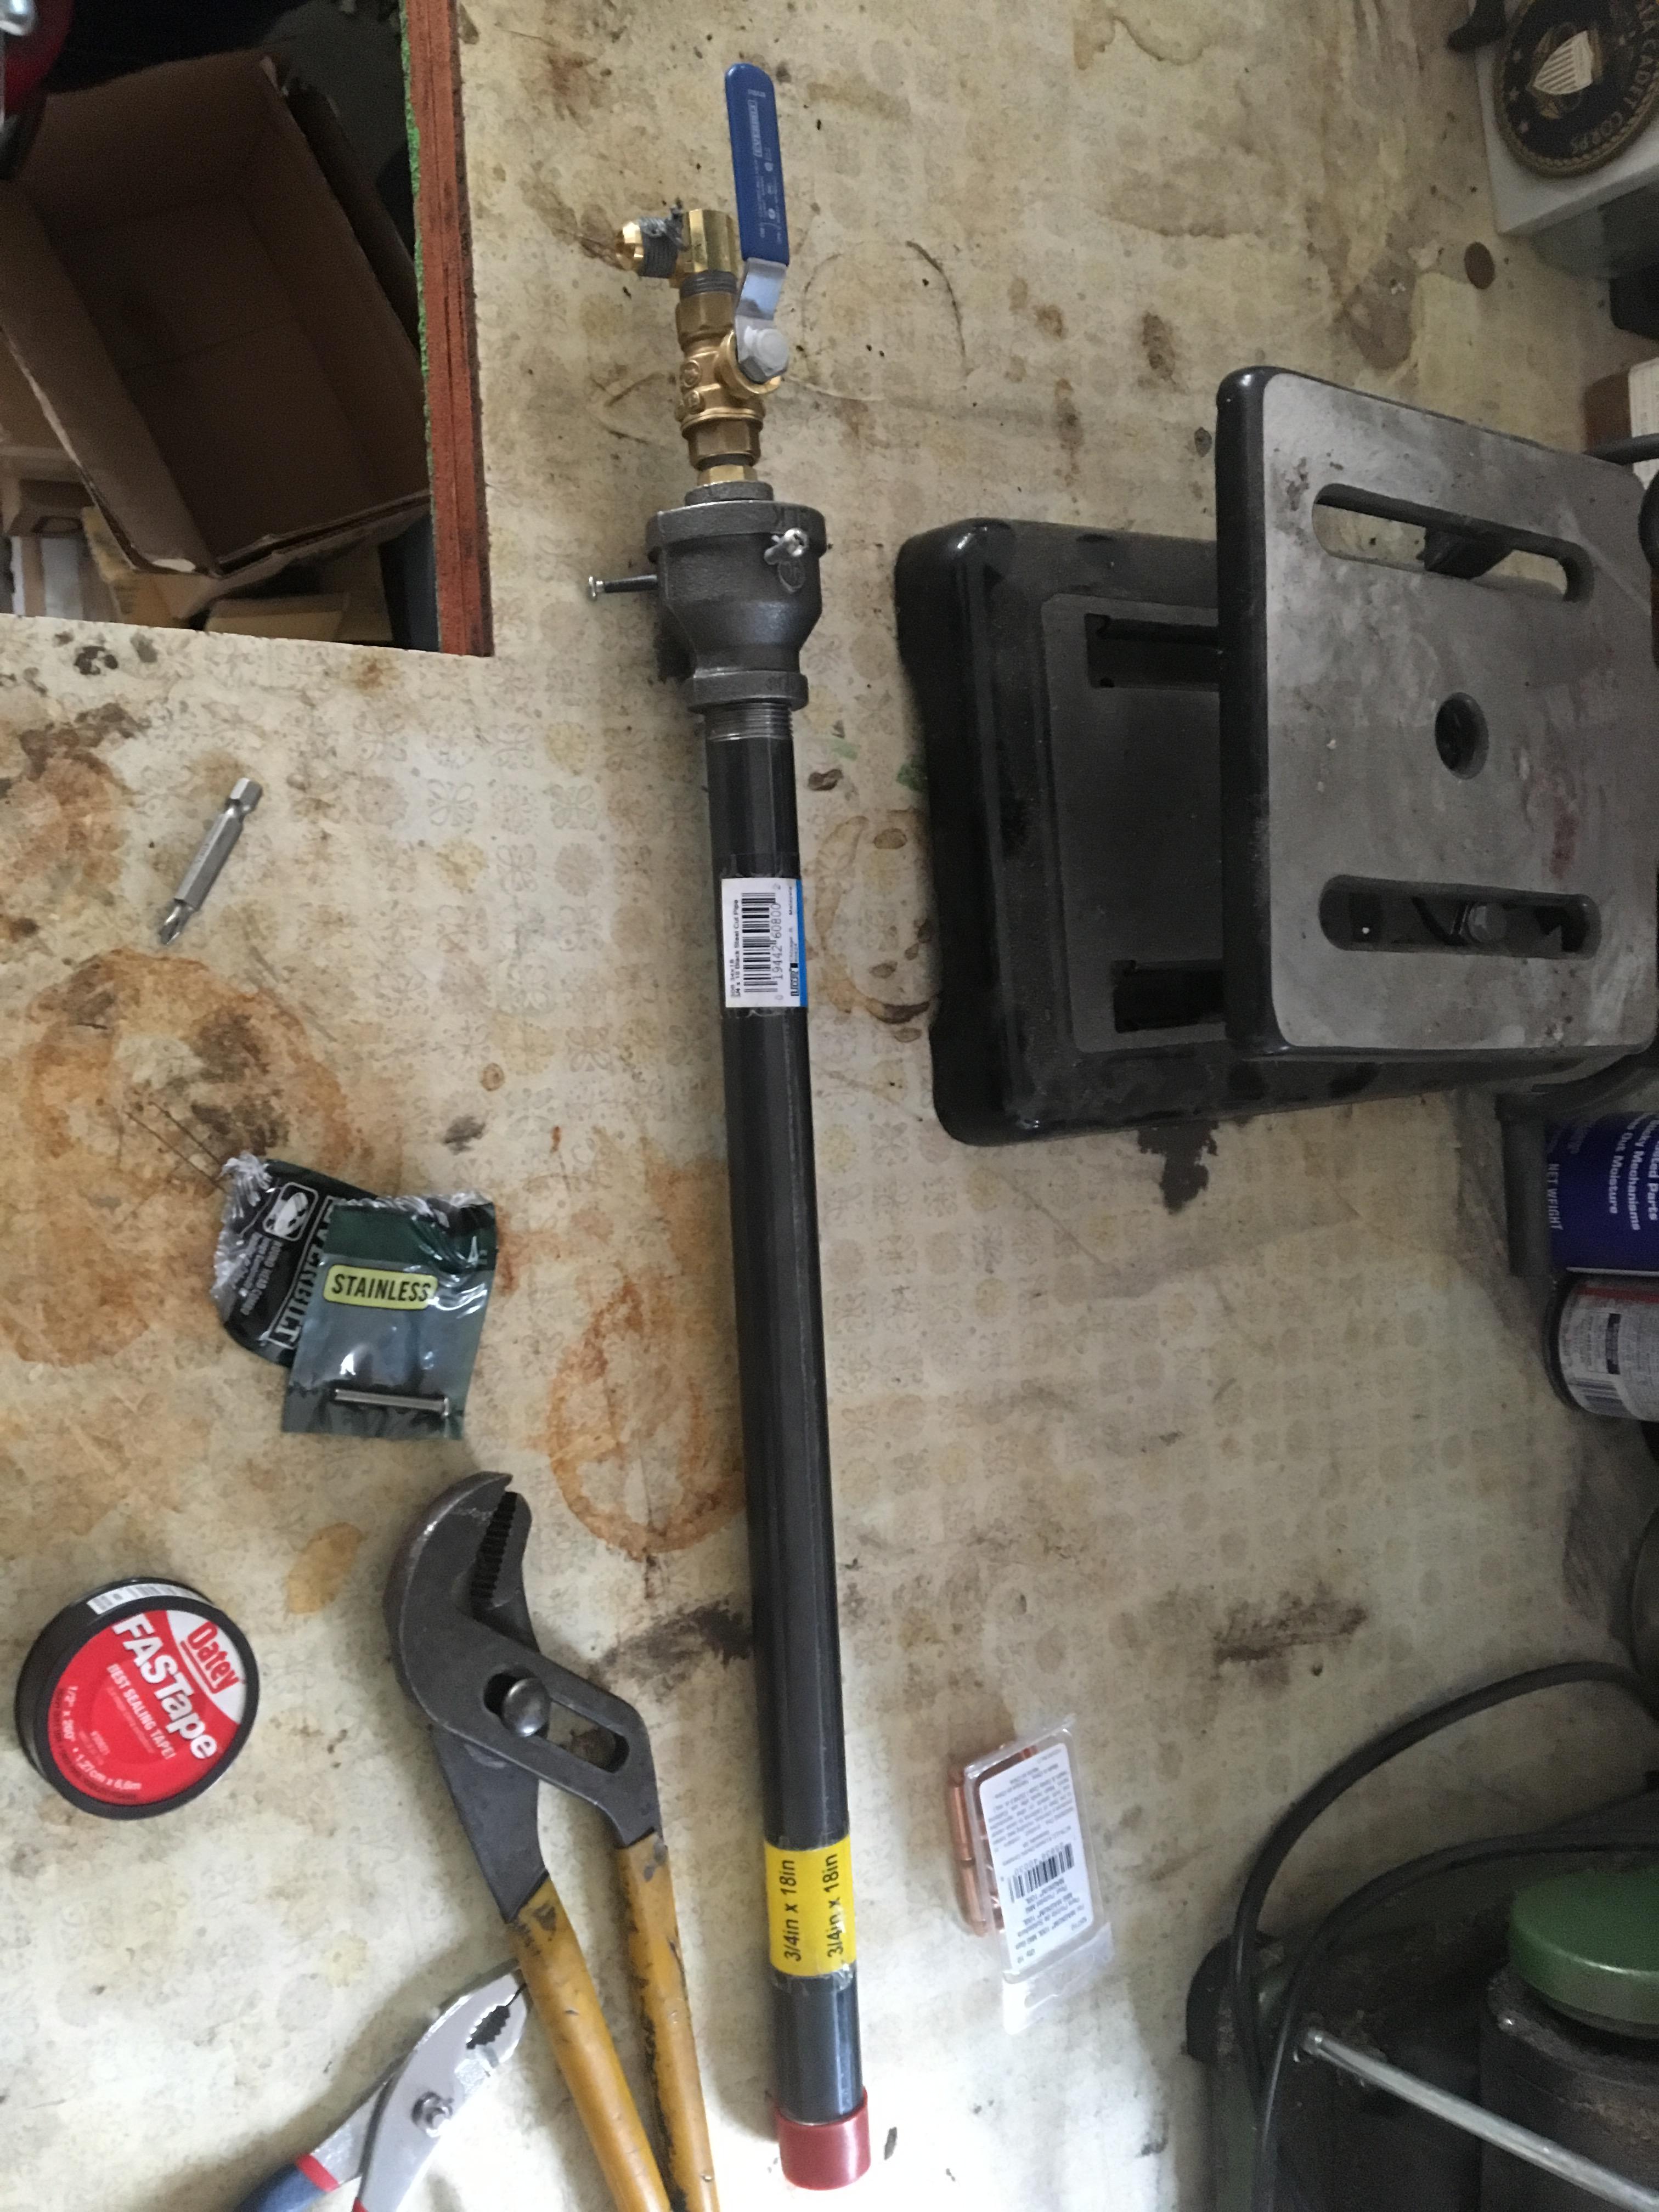
Here is the gas burner we are building. Along with being the first furnace I have build this is also the first burner. More pictures to come as things progress.


-
OddDuck,
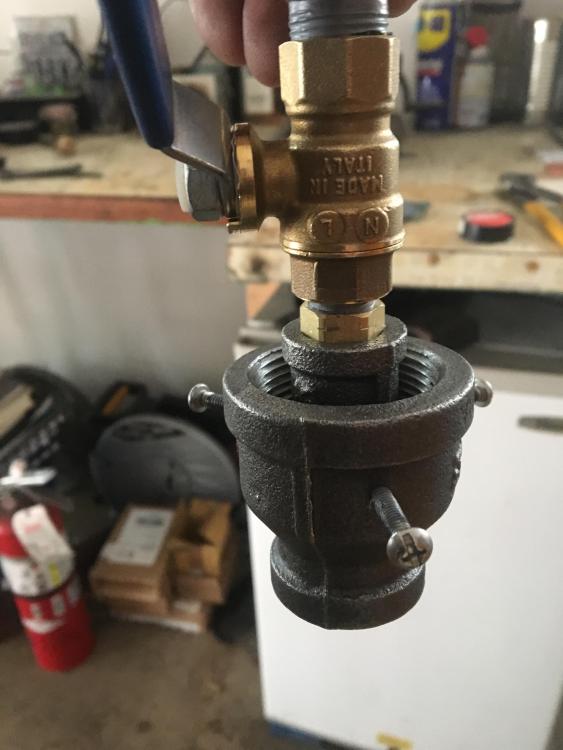
Thank you for the knowledge. The furnace will be gas powered. The pipe going directly in was a minor oversight on my part. I believe the circular flow of heat is referred to as angular momentum. With a masonry bit and my drill I’m sure I can correct it with minor difficulty.
I was fairly sure I was overthinking it at least a smidge.
-
I have been trying there, for some reason I don’t have any posting power or privileges, I have emailed them but nothing back just yet. Besides, I am more familiar with iforgeiron, it’s an easier platform. Thank you for the response, hopefully someone can shed some light
-
This is Kerry, she is 16ish? Don’t know for certain. She has had a tough life but she is rocking out to some Black Sabbath and Iron Maiden here at home/work. She also has pretty much no teeth.


-
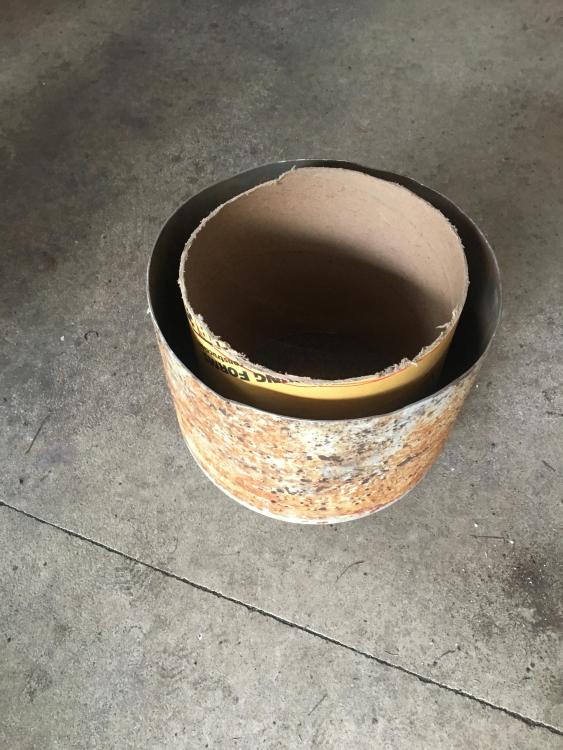
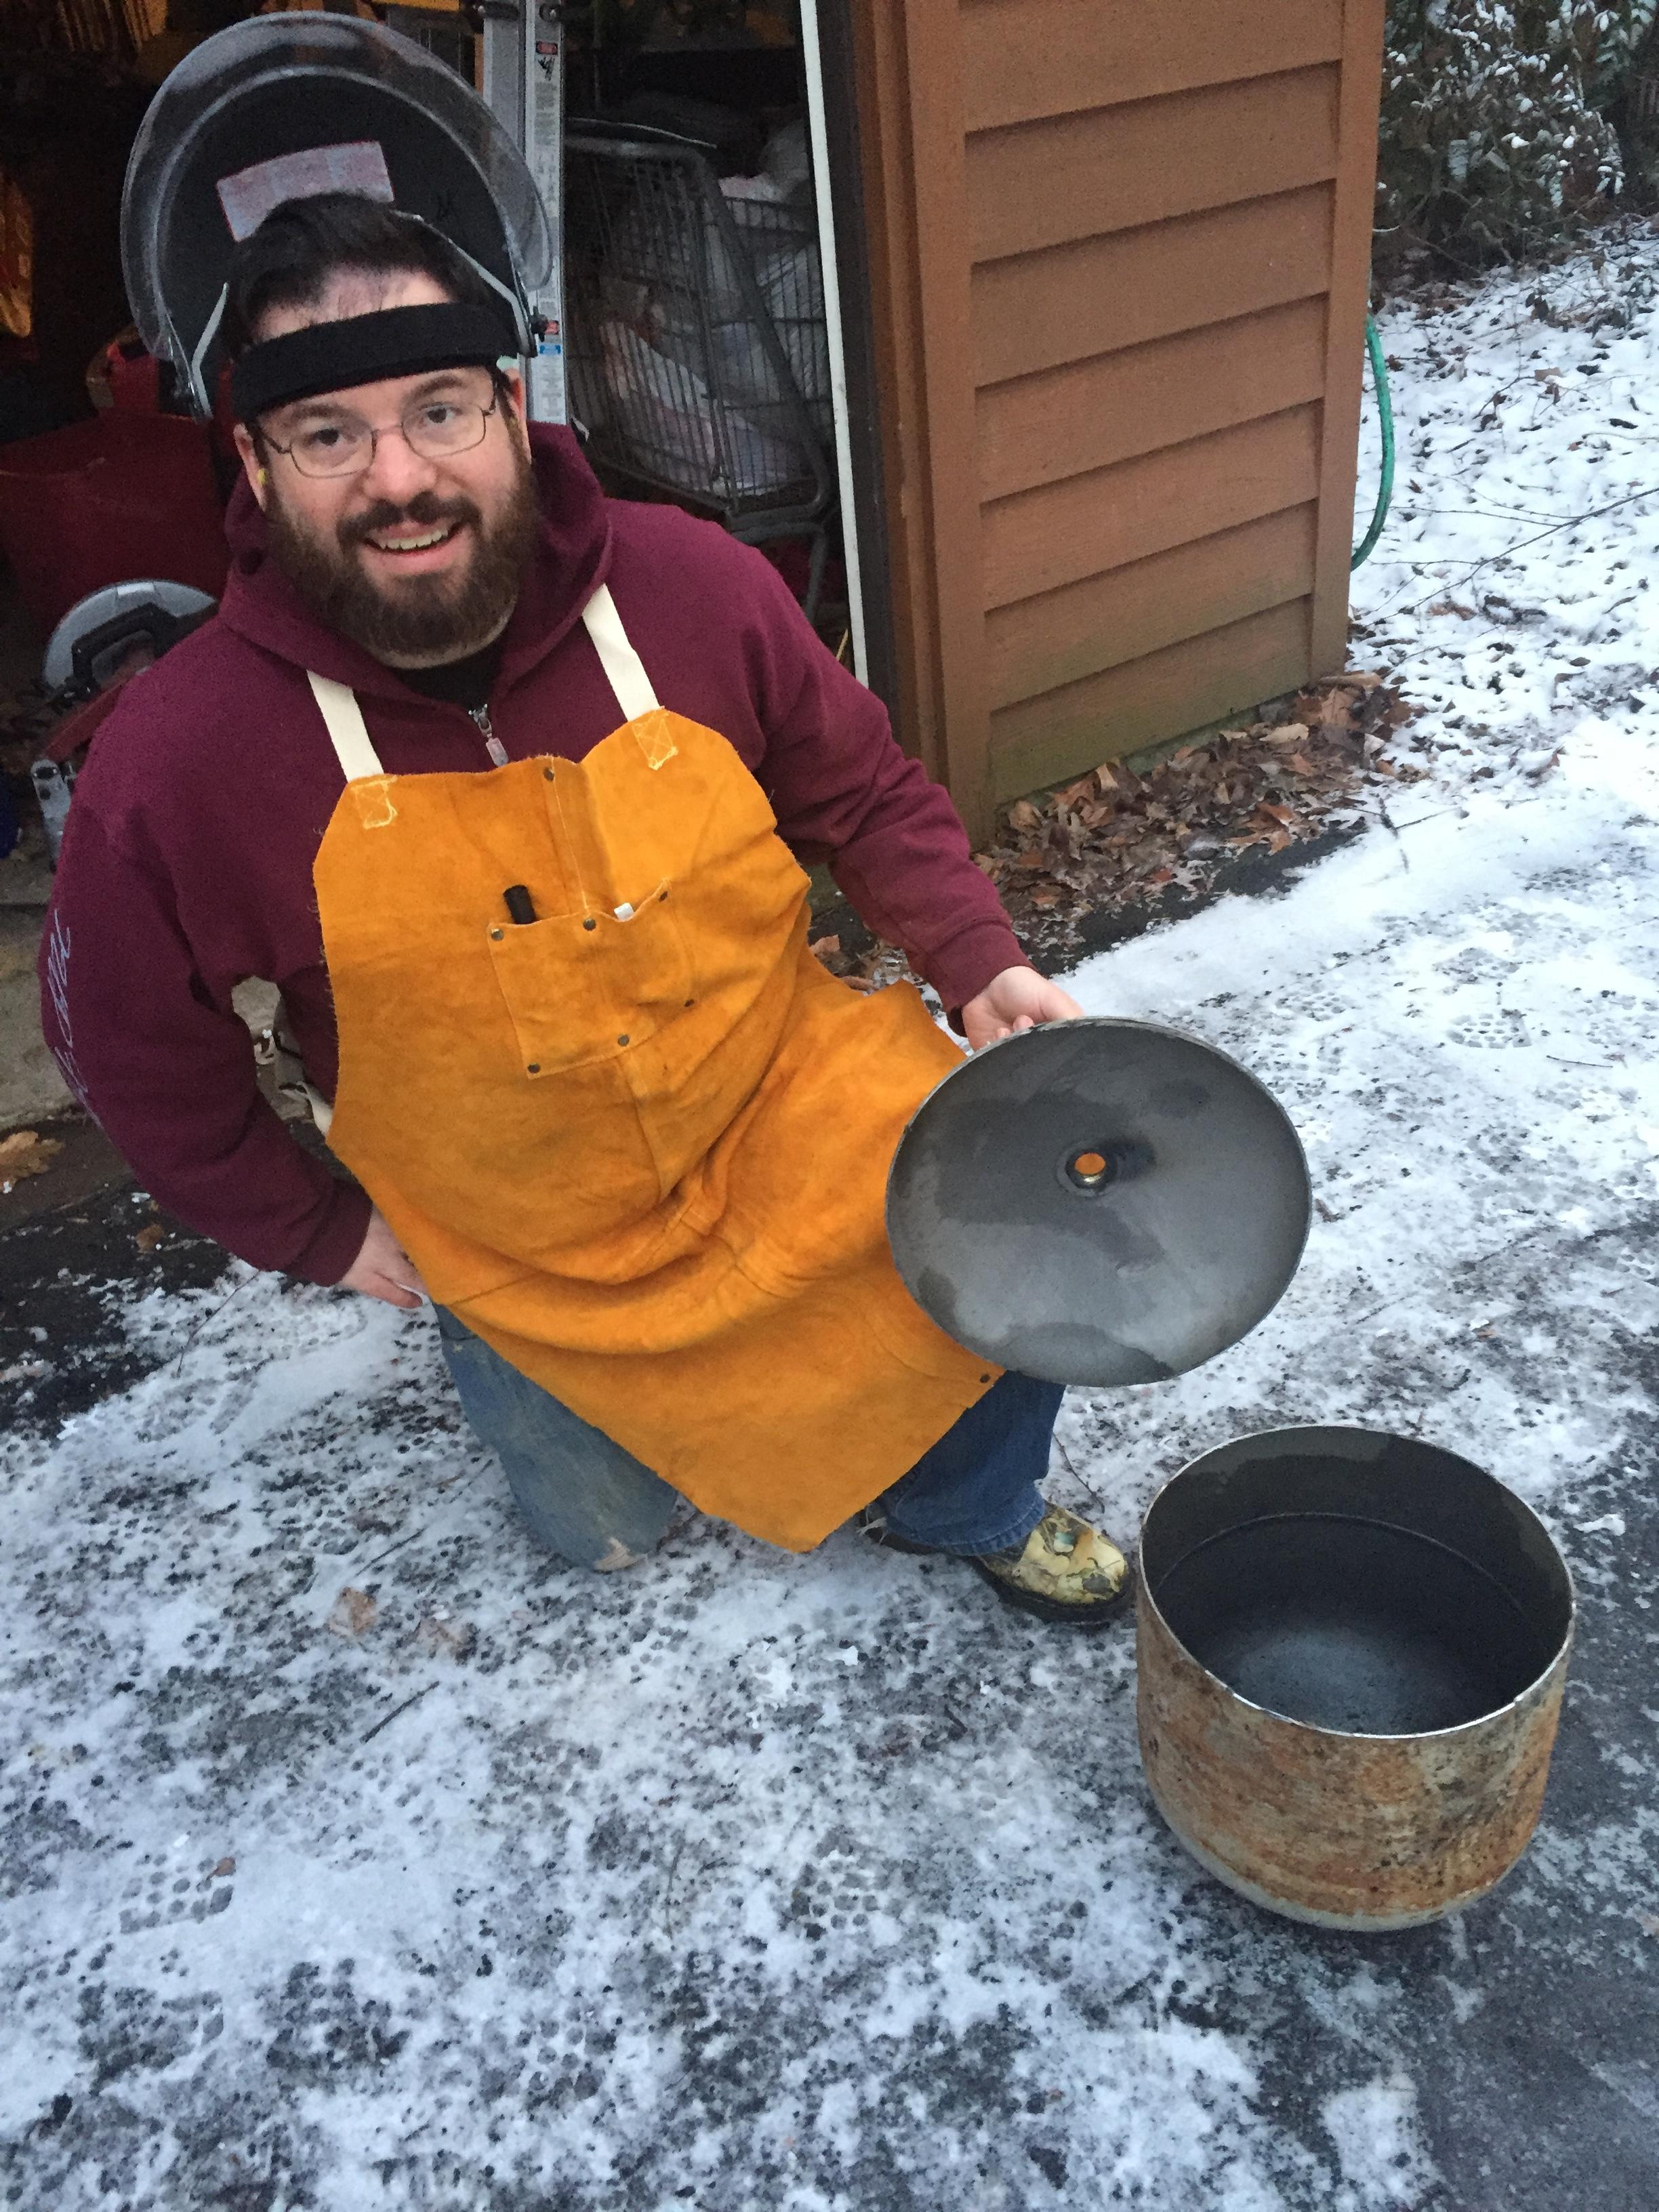
So here is where I am at; I have been forging for a few years and a very good friend recently approached me with a proposition. He is an amateur astronomer building his own telescope. He has the mirror cell ground and finished; we are working on a wooden frame to house the entirety of the telescope but the mirror cell presents its own challenge. The mirror cell needs to be mounted in a rather unusual metal bracket. He has persued the option of machining but it would be rather cost prohibitive. He has done some aluminum casting and I am quite familiar with the process and the safety equipment required to perform the task of melting metal. We do intend to make this metal bracket out of brass as he is a tall ship deckhand in his free time and he likes the overall aesthetic. We do intend to melt and cast some of the lesser alloys with this foundry. We have purchased good, reliable safety equipment but were rather fond of the idea of building a home foundry ourselves. We procured, for no cost, a solid #20 propane tank from my gas supplier and, having him bleed it thoroughly, we took it to the shop. After removing the brass valve, filling and draining the tank with soapy water (to remove any excess heavy gas) we cut it in half. Cleaned and dried the tank, sanded down the sharp edges after cutting:
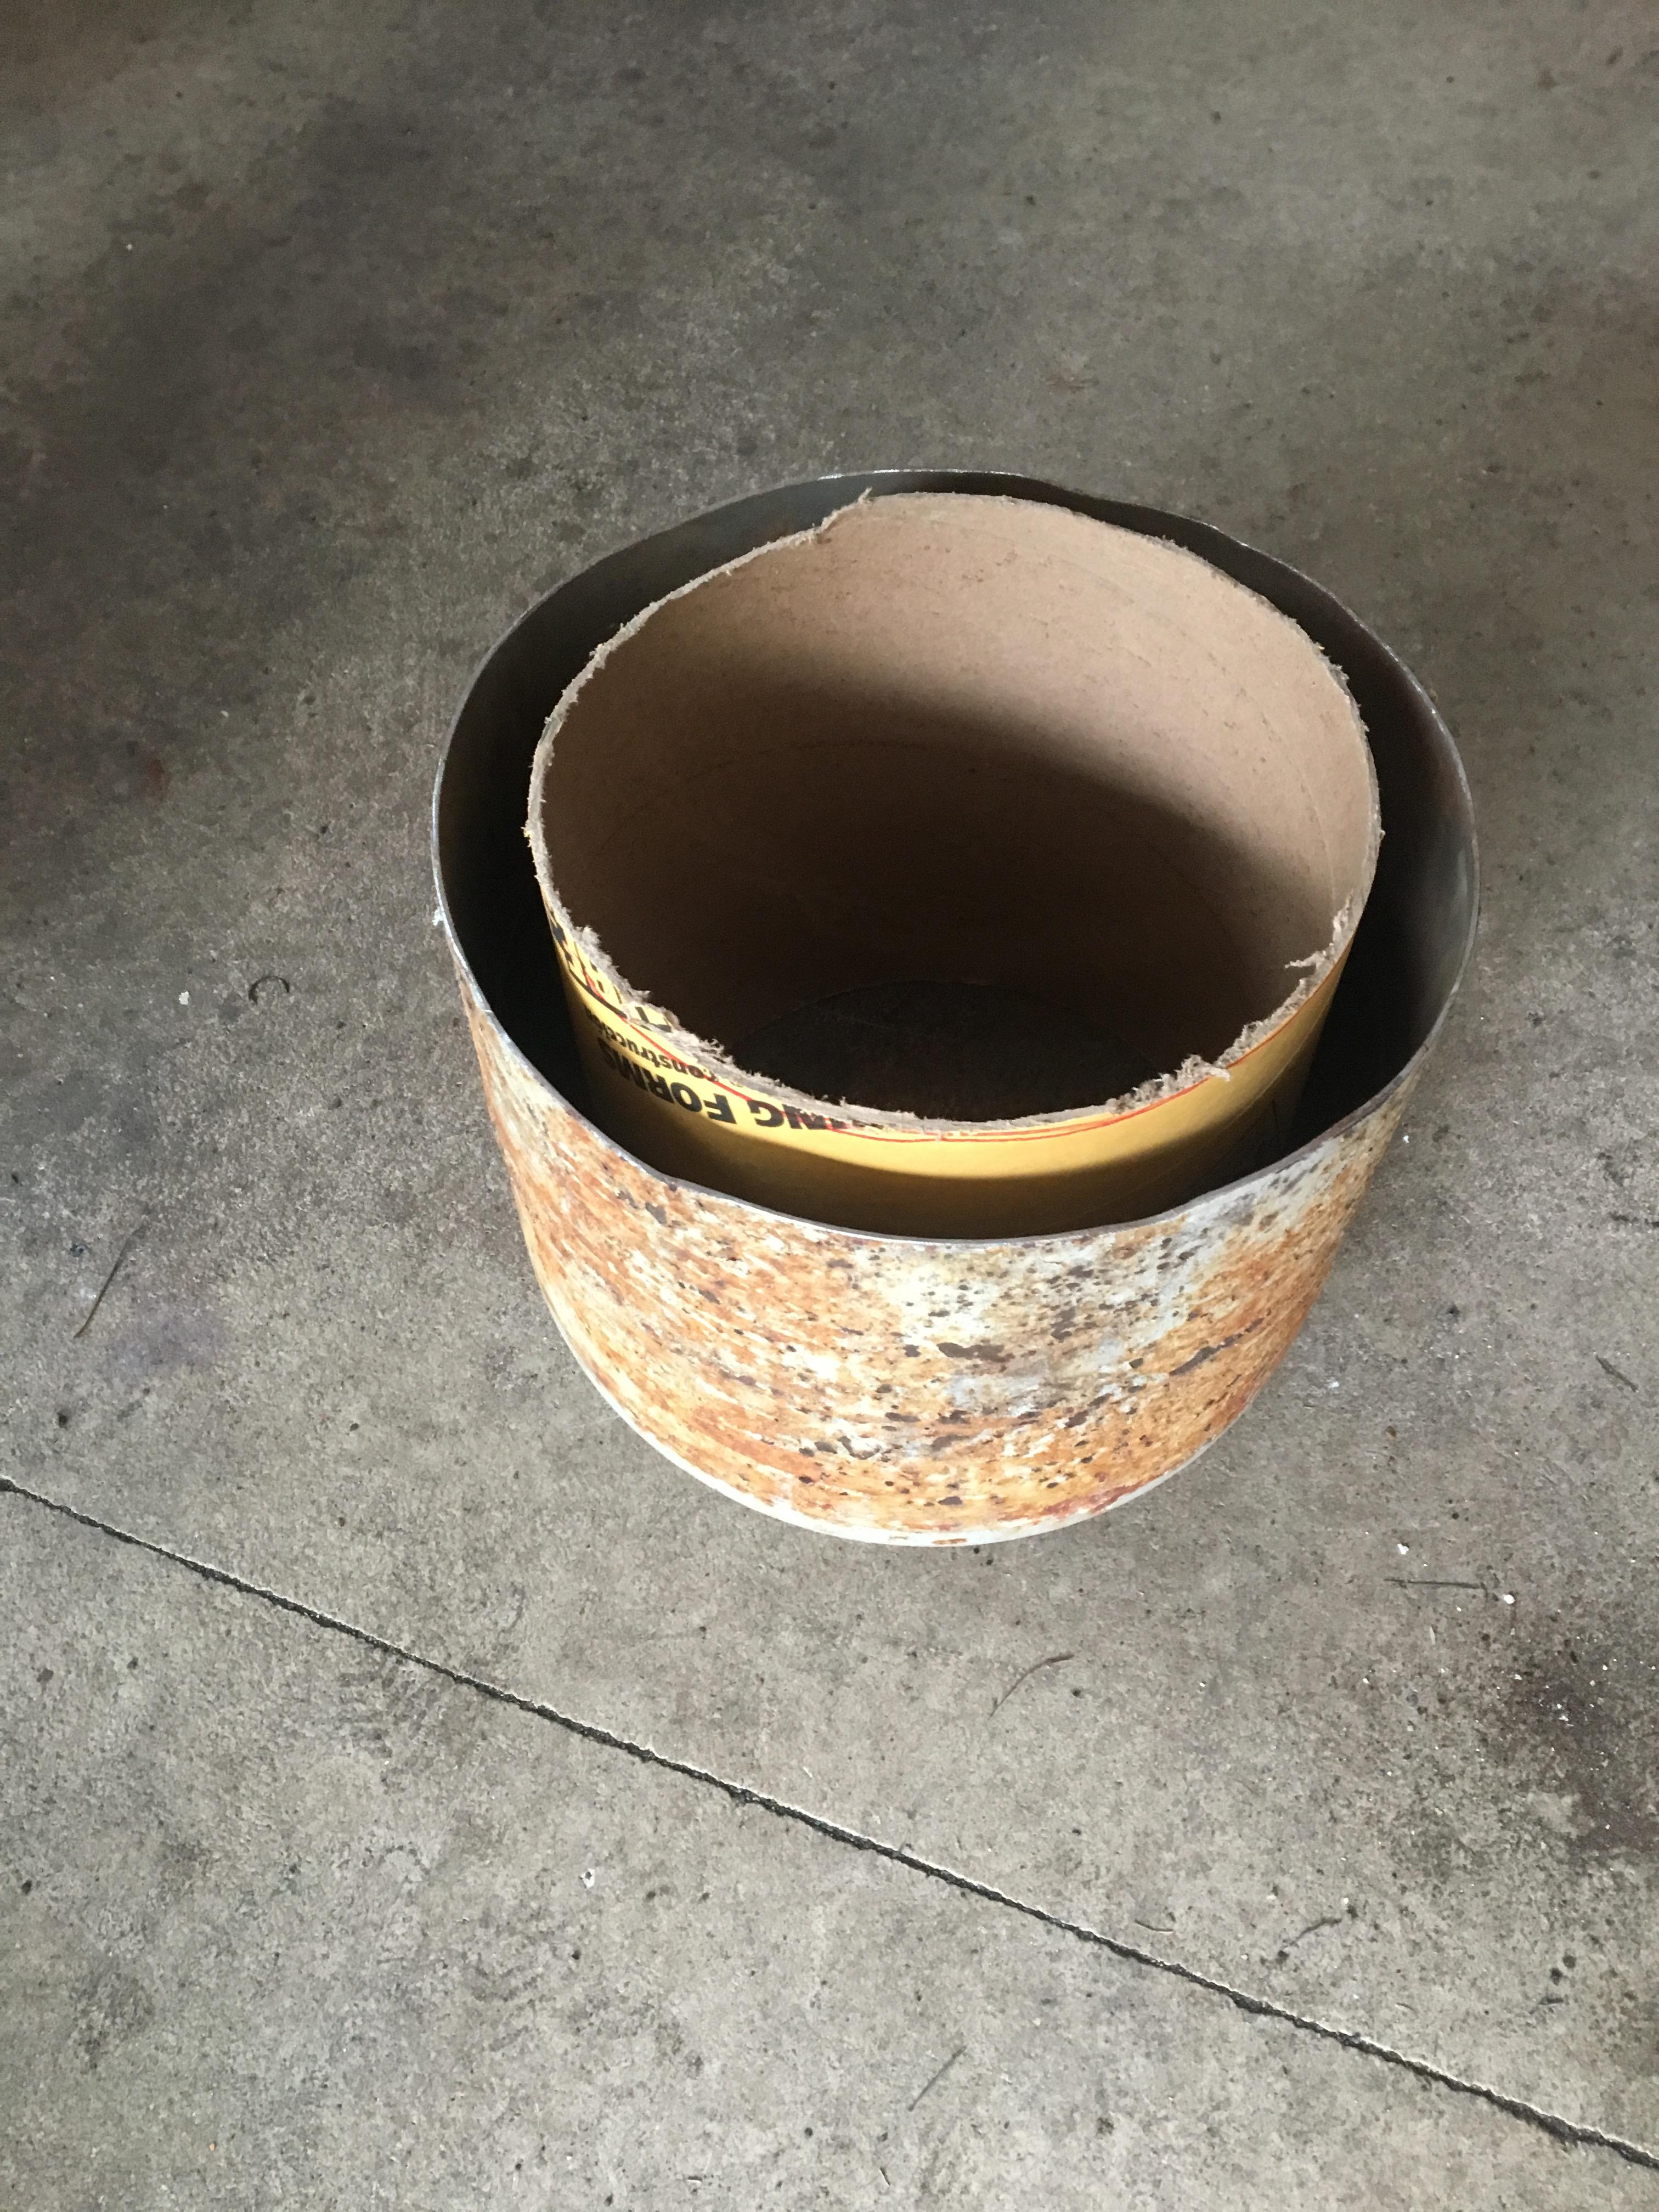
we have a usable hunk of metal. We cut a hole for the burner and one for a spill spout, should we have a failure in a crucible. The base of the tank has kaowool and a fire brick to give a very flat surface for the charge. After this lining was installed and a cardboard tube placed to hold the refactory we mixed and poured genuine refactory, rated to 2000 degrees. At this point in the pictures you are probably wondering what is the deal with the yellow cardboard tube, No One had “just the right size.” So, we cut it, punched a few holes and laced it up with some leftover leather to make it work. We finally duct taped a cardboard base on the bottom of the cardboard tube, and along the seams of the lacing. Doing this allowed us to keep our perfectly level fire brick base and have nice smooth foundry walls. We are a little short, as you will see in the photos, and need to mix more to finish filling the rest of the base and the lid. We intend to weld a hinge on it to keep the lid and tank together when loading, unloading, or adding to a charge. I have a few questions and I was hoping you guys could help a bit? I know I can try alloyavenue and I have searched both here and there for these answers but can’t seem to find them, anywhere. Here we go,
1. Once we get this furnace going sitting it on any surface, that surface will act as a heat sink. Will it pay if I weld a few legs on this puppy and get it off the ground?
2. (Rough calculations Ahead) Diameter is about 7.5in and height of the cavity is 8.5in yielding a total whopping volume of 1.625gal. How do I now figure out the diameter of the chimney?
3. Where the spill hole is drilled, does it make sense to weld a little spout on the outside of the tank to guide any molten metal? should the unfortunate event arise.
4. How does it look so far? Please be honest, critical, and patient as I work 2 jobs, one overnights, am getting married in June, and have a 5 year old.
I will I’ll try to respond to everyone ASAP and I hope you have some great feedback for me. The guy who I am doing this project with is one of my oldest friends and my best man at my wedding. That is him in the picture I don’t photograph well.


This picture failed to upload. This is the poured refactory.

-
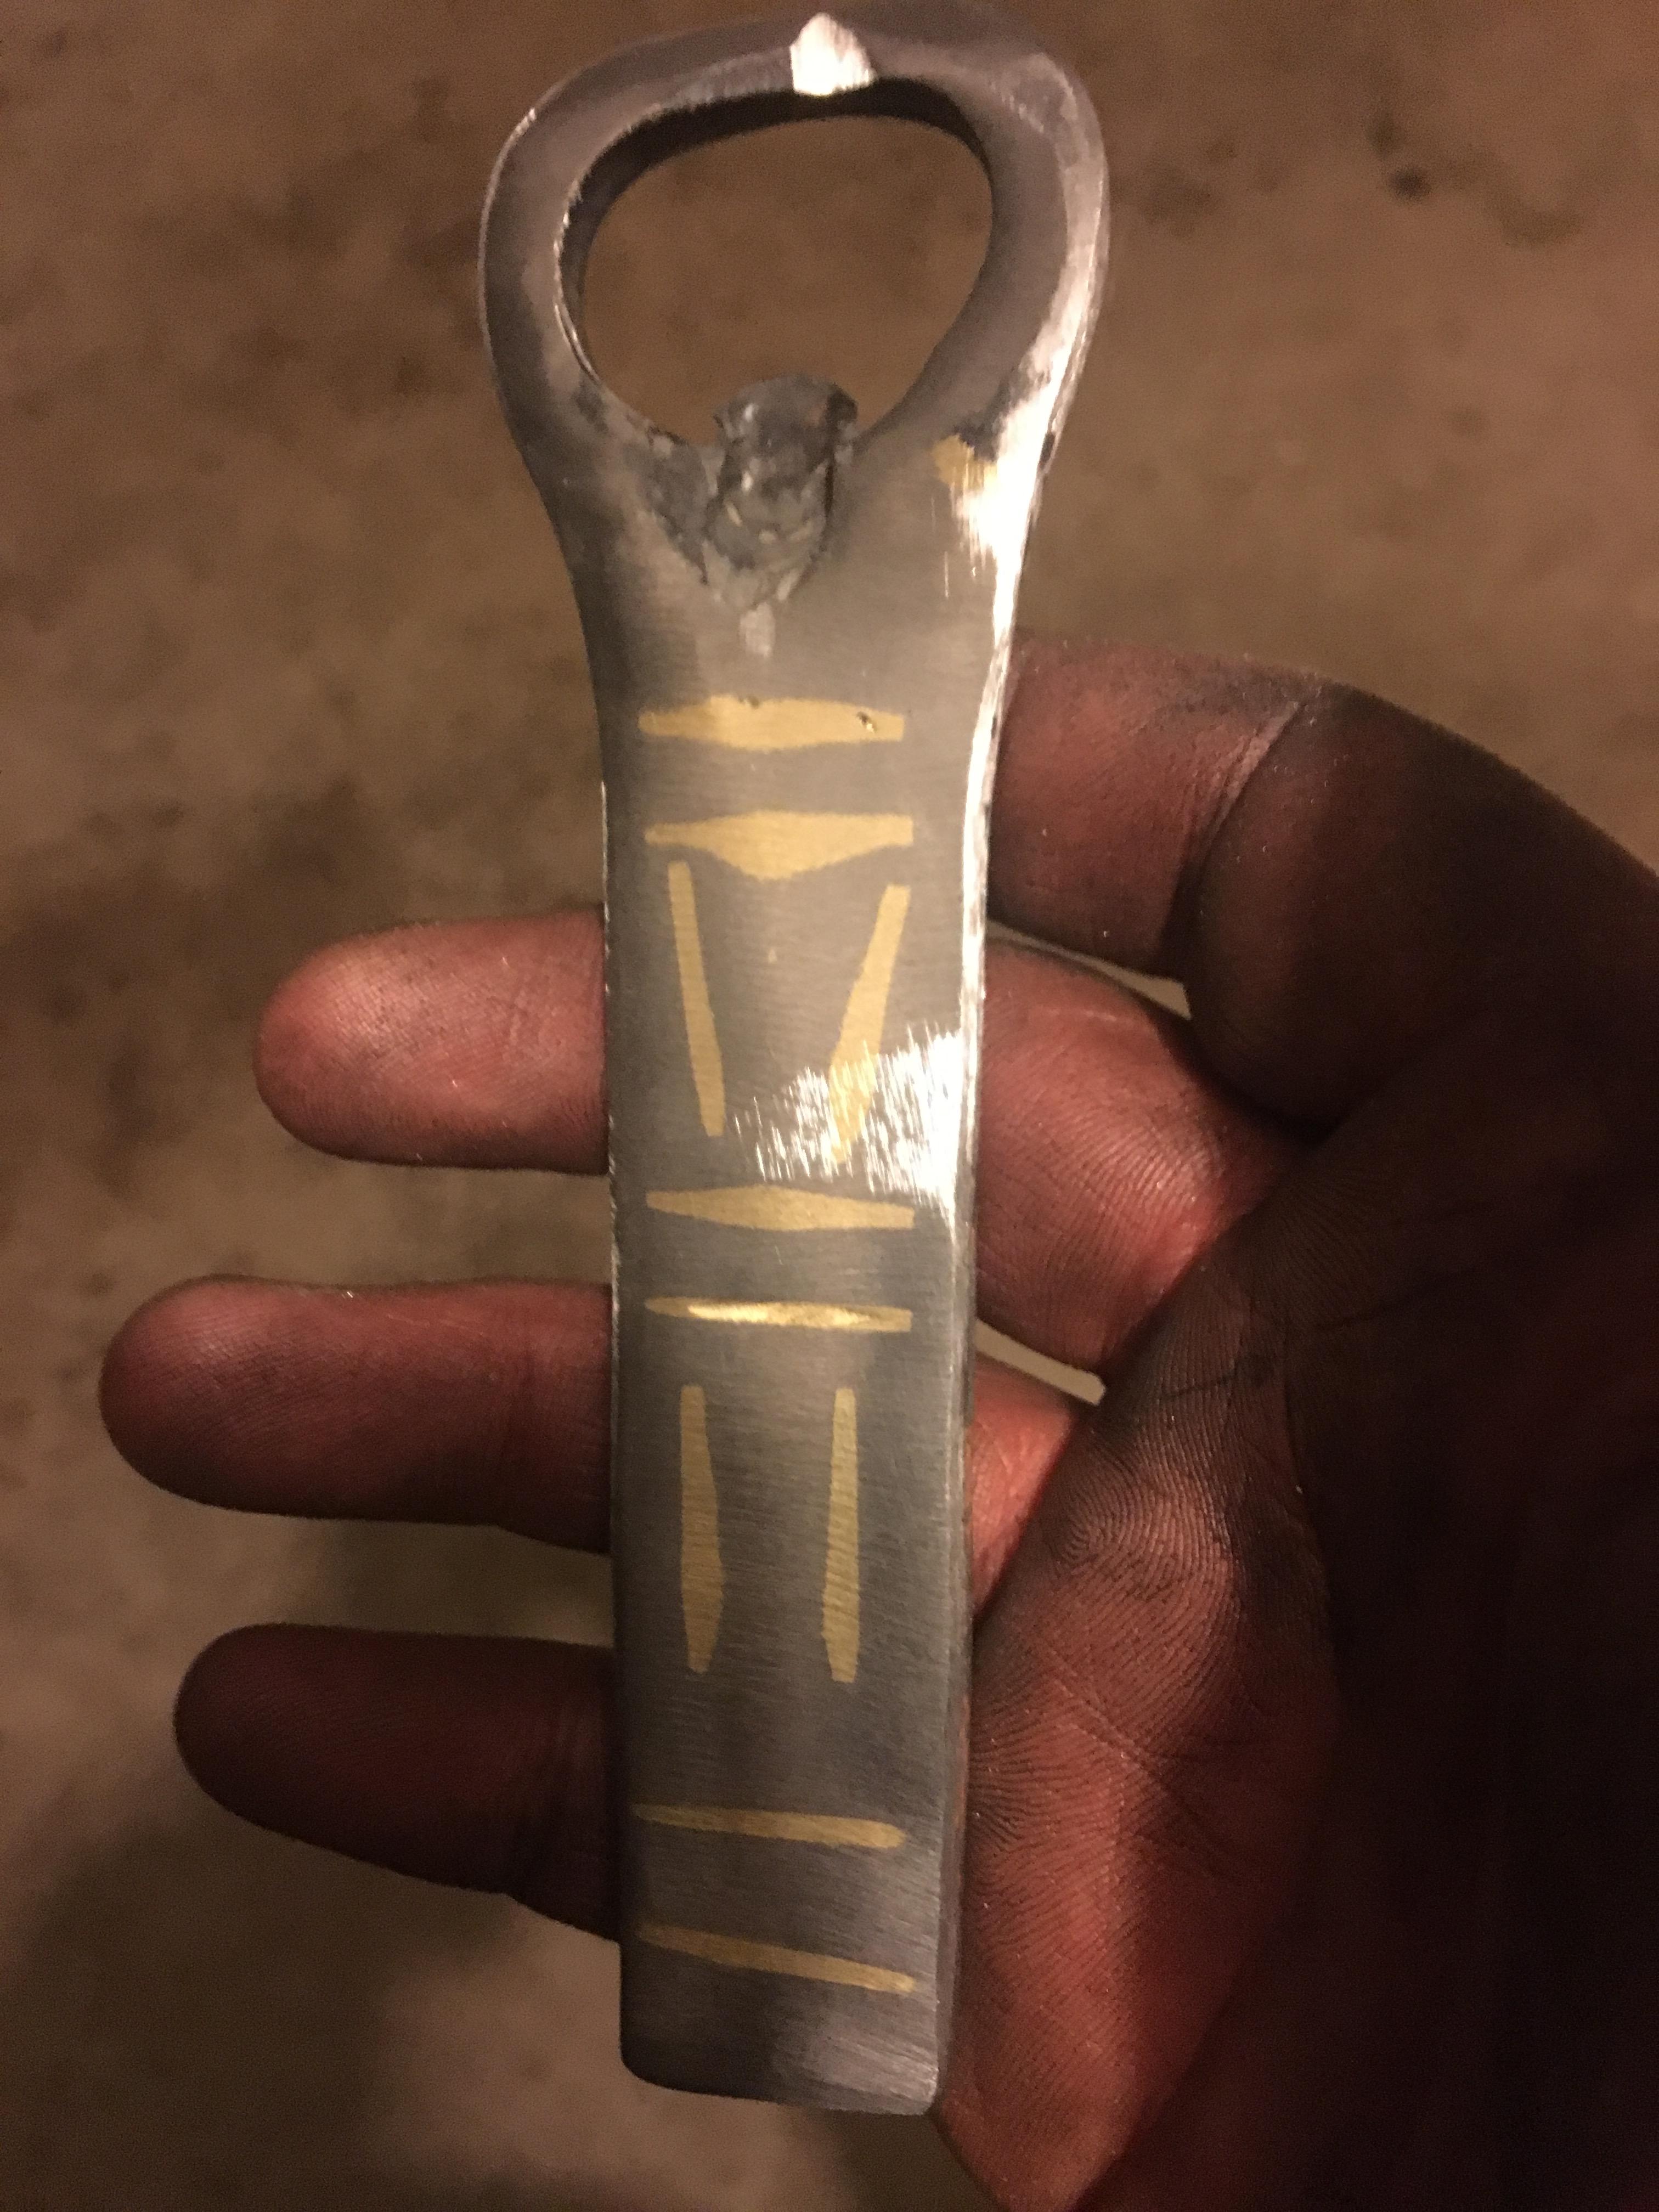
Thanks to some suggestions from my local ABA members I have been playing with mixtures of both bee’s wax/graphite powder and Dish detergent/graphite powder mixed into a nice slurry. I have Much Better results with the Dish soap/bee’s wax
-
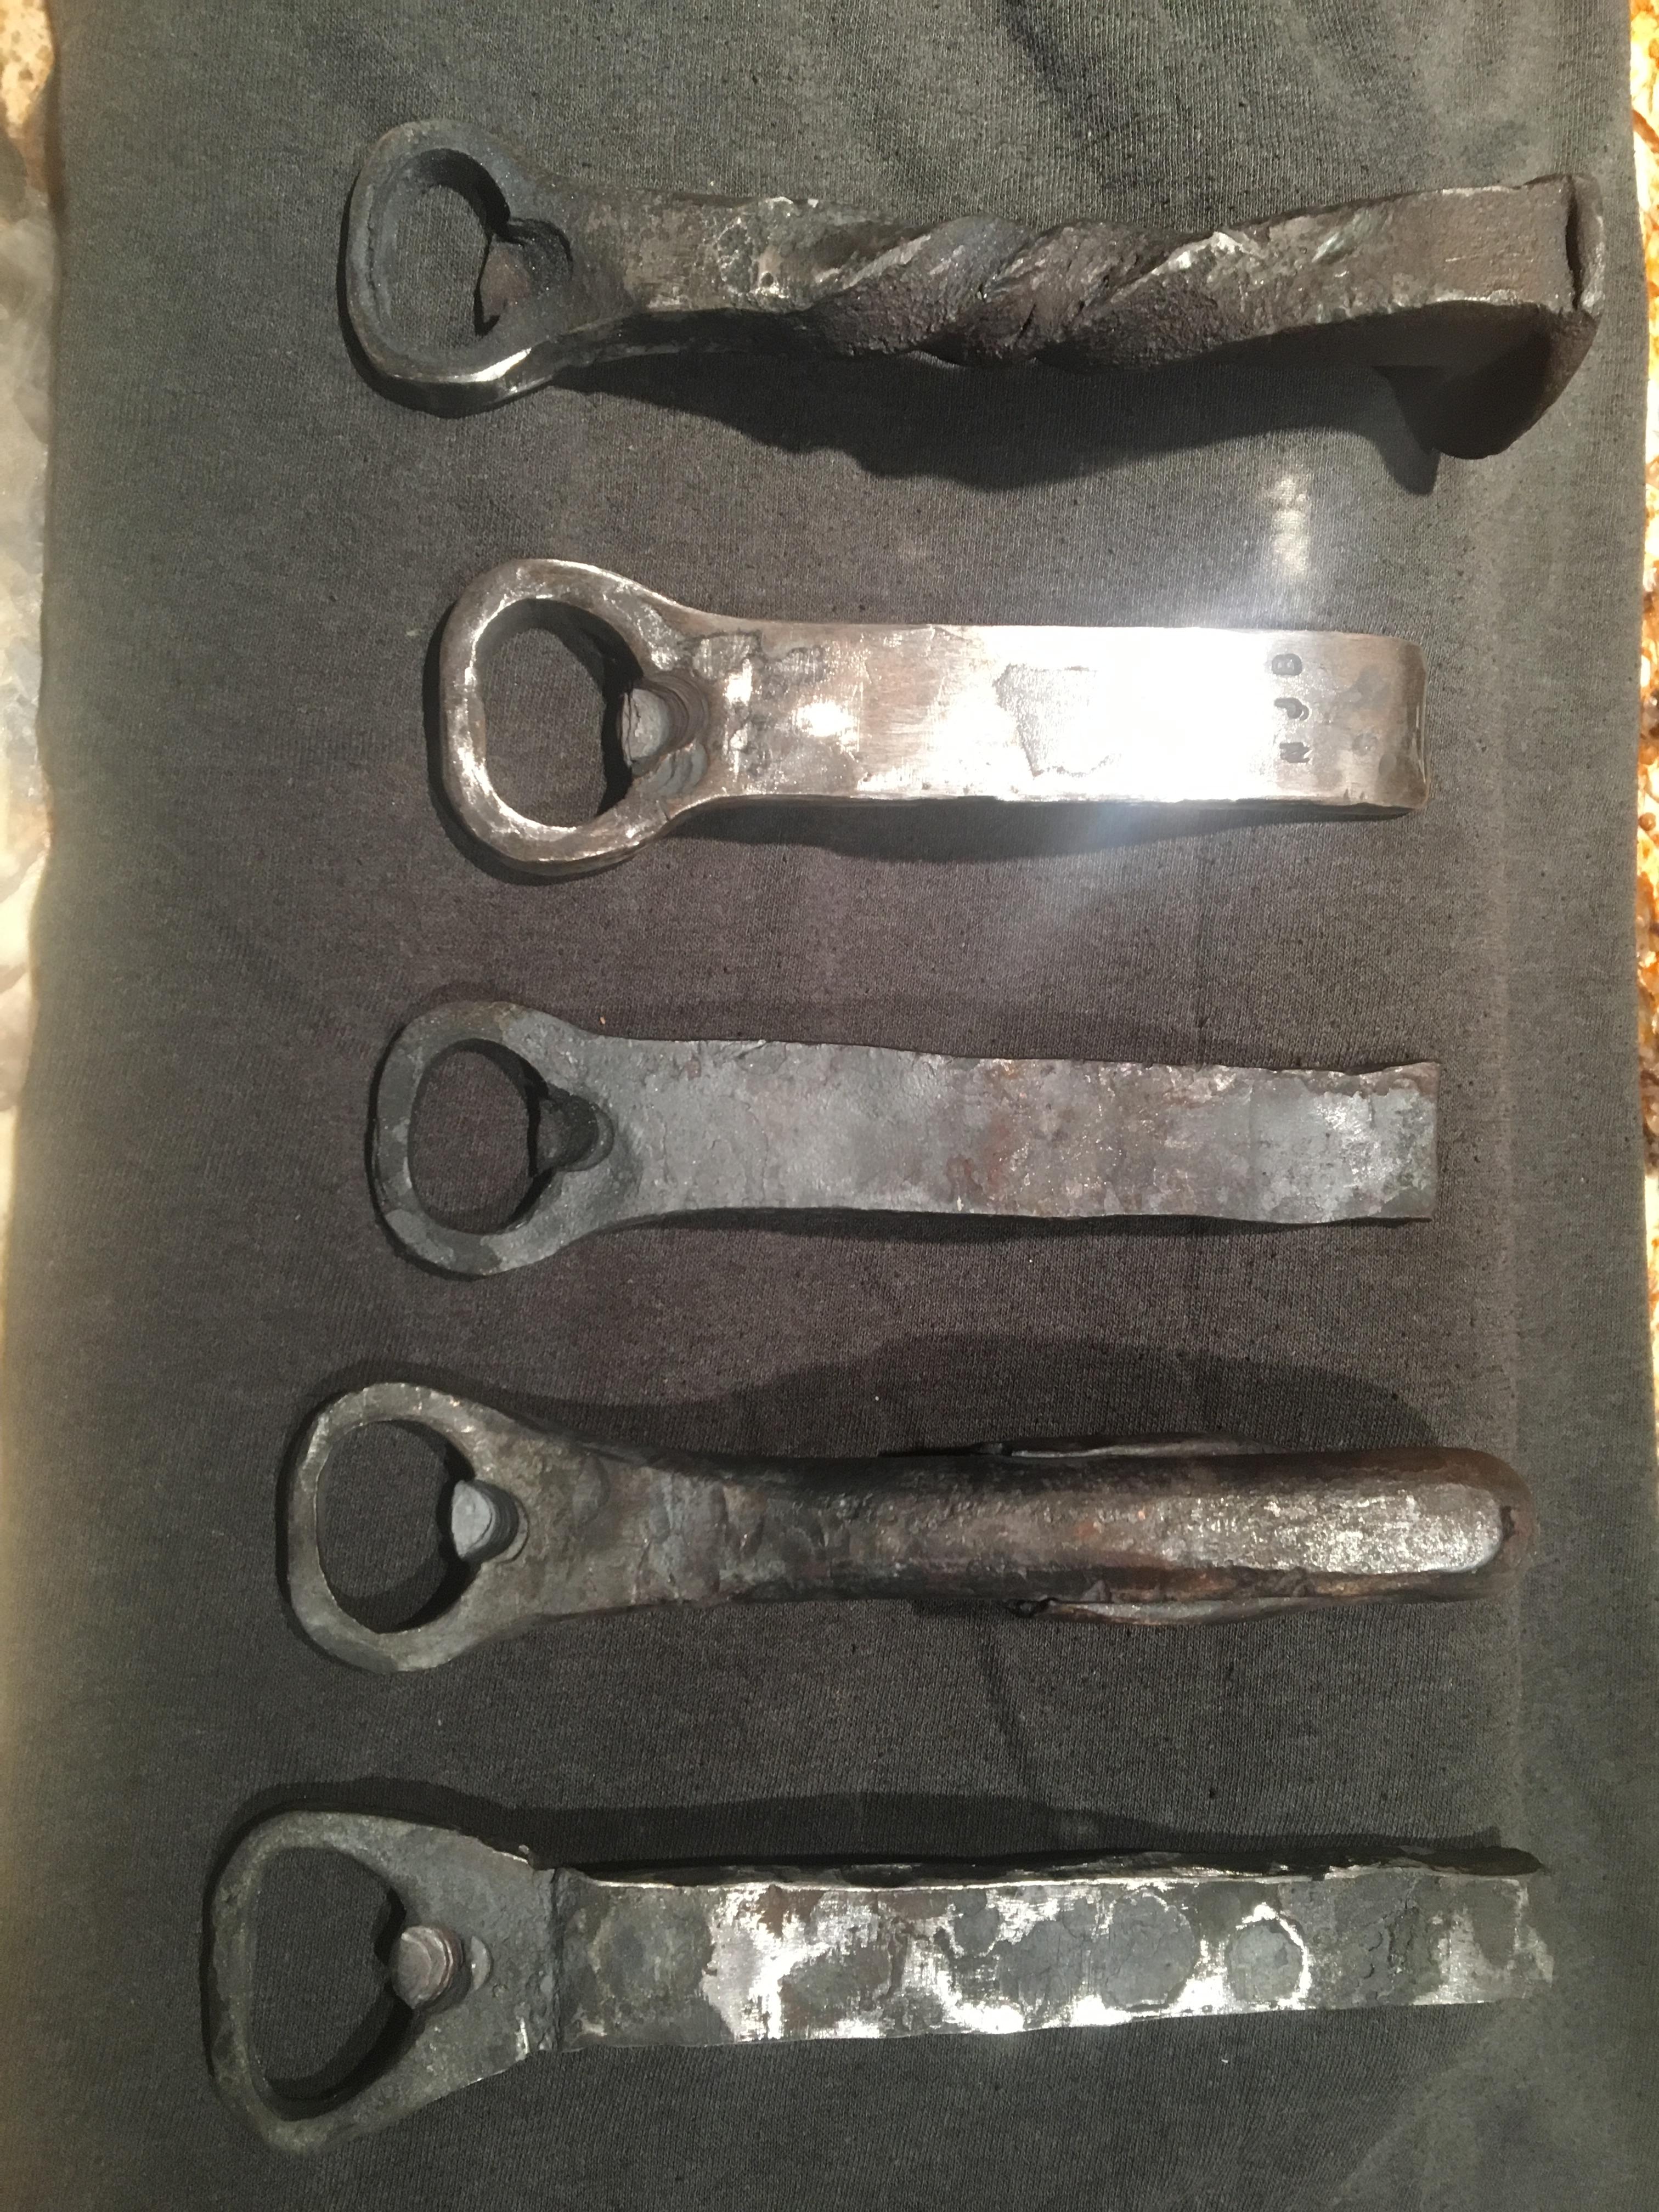
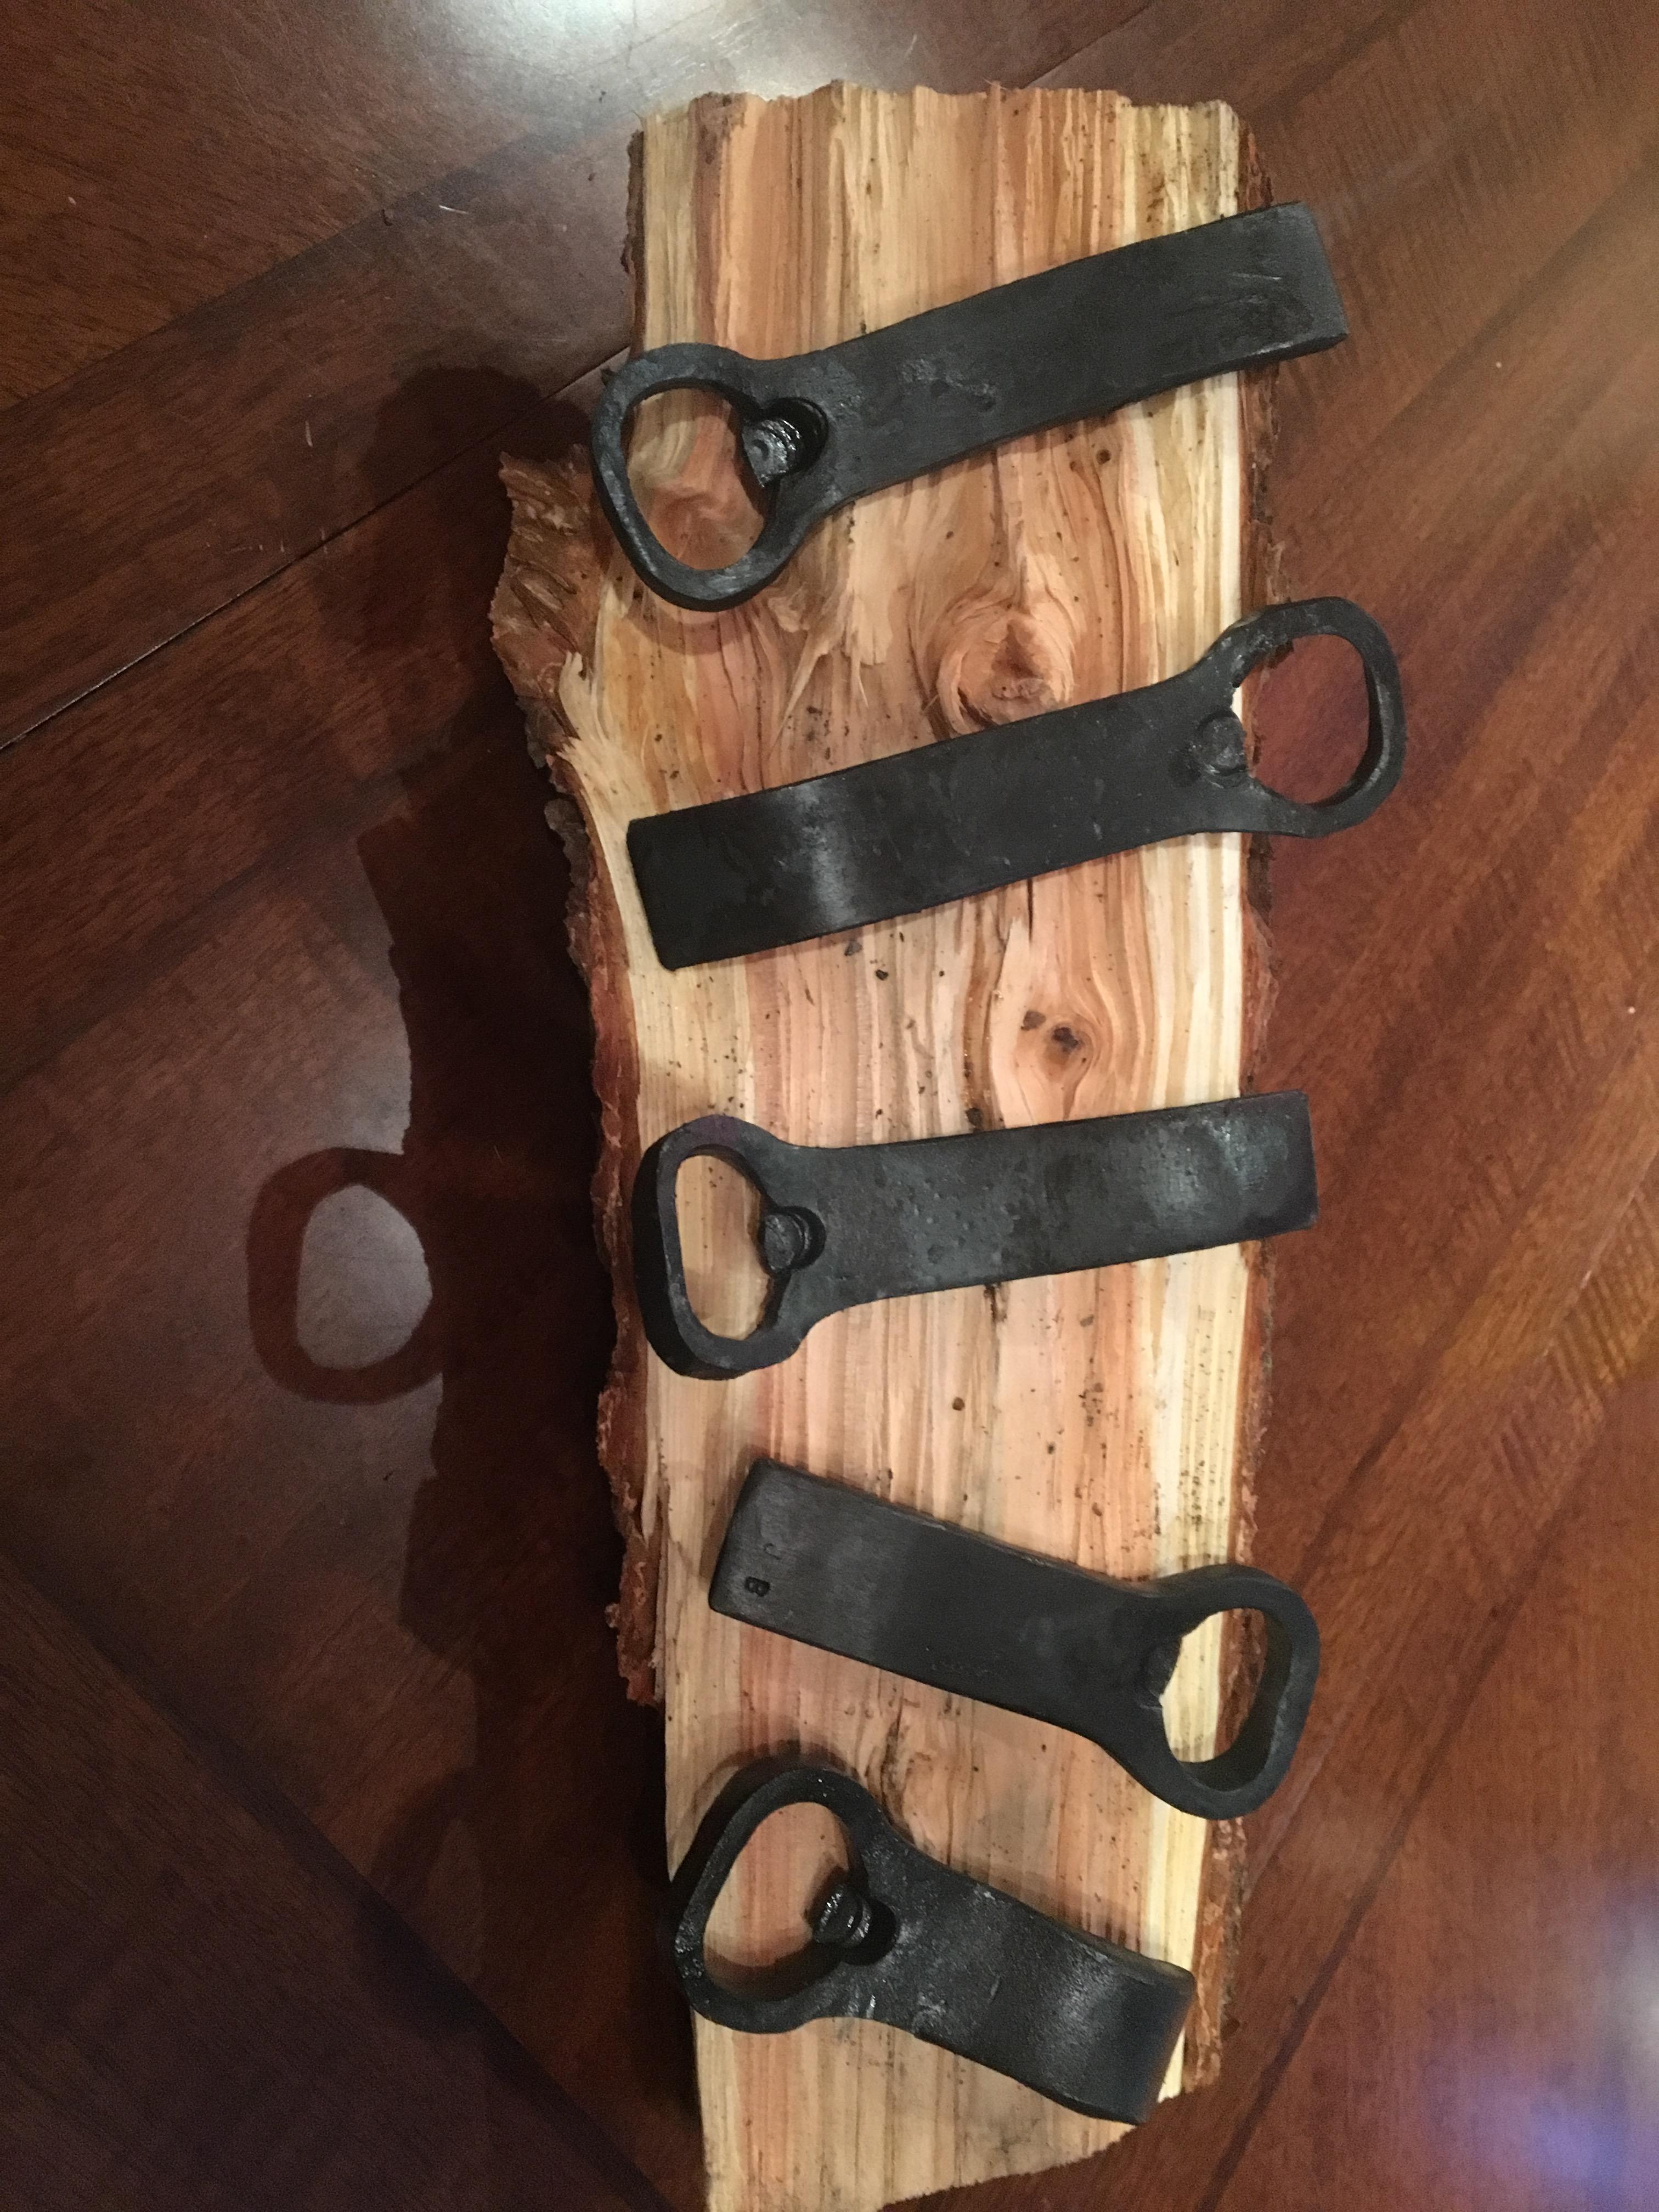
Those rock! What’s going on with the punches holes in the hanger? Did you use the ball peen first and than hot punch? Drill? The cube twist might be slightly beyond me at this point, but I’ll try it soon enough. I imagine, were you not to have even, smooth lines in the cuts, it would be a nightmare to file clean.
-
Thanks Ausfire! The lifting tabs come out a good amount, I thinks it’s my photography skills that are really lacking. As I have been taught, quality control is critical, at least six beers per opener...I believe that’s right. I haven’t done much with making decorative markings, honestly, it could be a bit crisper and more controlled in the marking of the iron. These guys are almost pure iron, they forge down so much easier than the spring steel I normally work. In regards to what I use, I am what some might call a “gaser.” I start with upsetting my pointy ends, I know, it’s a bit of extra work but I find the transitions from neck to head seem to look nicer and the flow looks more uniform when I do so. After the upset, I use the ball of a 4#, courtesy of CrazyIvan, to mushroom those guys down. Been playing with some oval shaped pill punches to punch those eyes, saves a ton of time in drifting that hole. To isolate the material for the lifting tab I am using the end of a round punch. Honestly, I hadn’t considered a tiny ball peen for the job. Very thoughtful idea, sir! The one in the second photo does not look terribly pretty, I concur. I had considered forging the opposite end of the spike down, I live within about 45min of the Reading RR, they might be a little on the heavy side but I have trouble keeping them in stock. Hey, make what sells, lol. Thank you for your kind words of wisdom and advice, I like the idea of a chalk board for the days work.
-
-
A mess of them. Some are clearly prettier than others. Feel free to comment and critique, don’t need to be polite. Every bit helps!


Help with new furnace
in Smelting, Melting, Foundry, and Casting
Posted
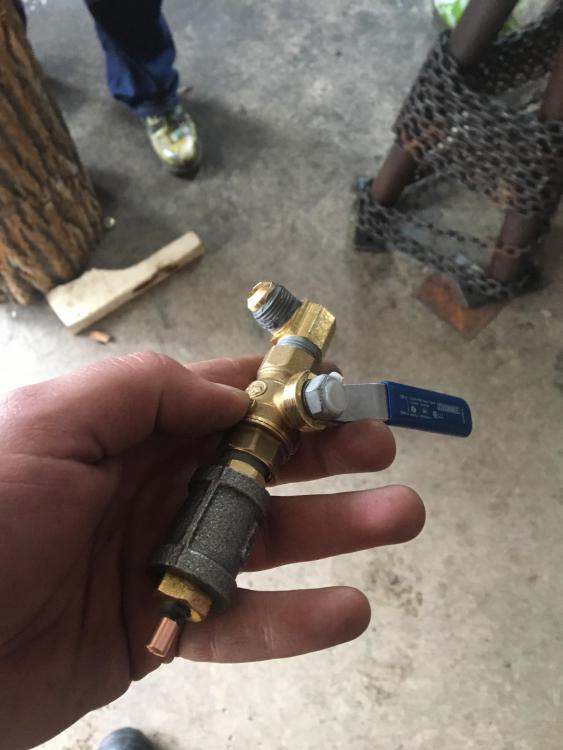
Frosty,
it is a combo of both Ron Reil’s Burner Modification found on abana and a simple build we found from, “kingofrandom,” If I have that correct. The guy I am building this with came across that one, seemed feasible. Any suggestions, pointers, tips are welcome and appreciated.