Soopafeen
Members
-
Joined
-
Last visited
Everything posted by Soopafeen
-
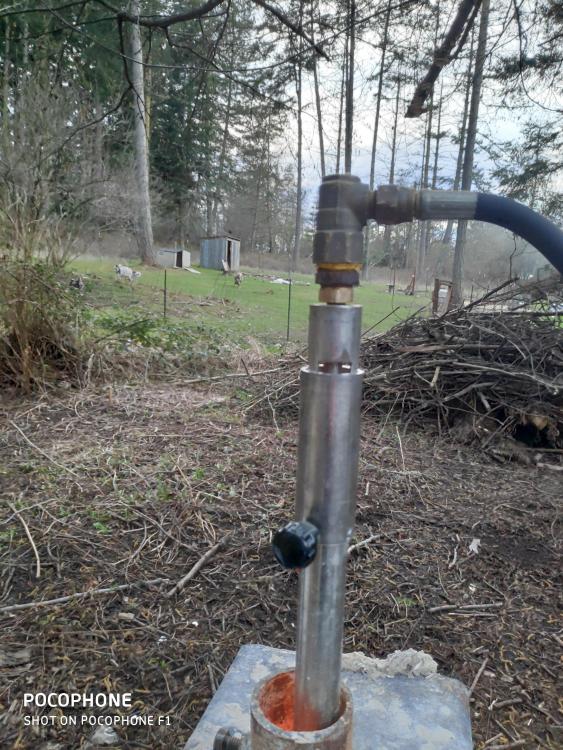
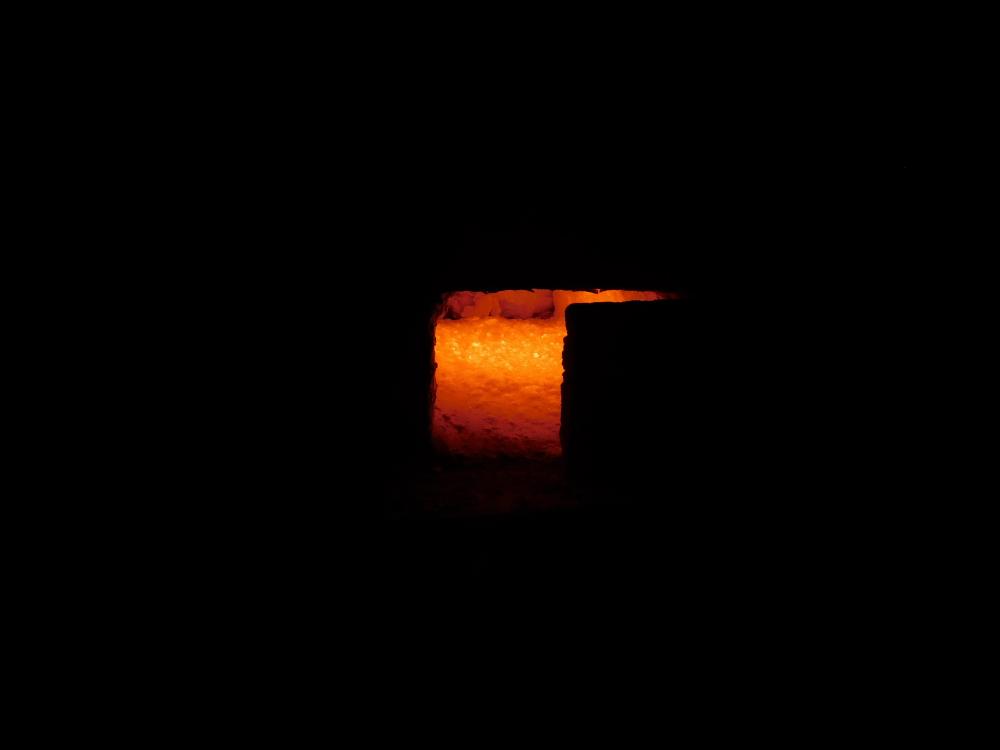
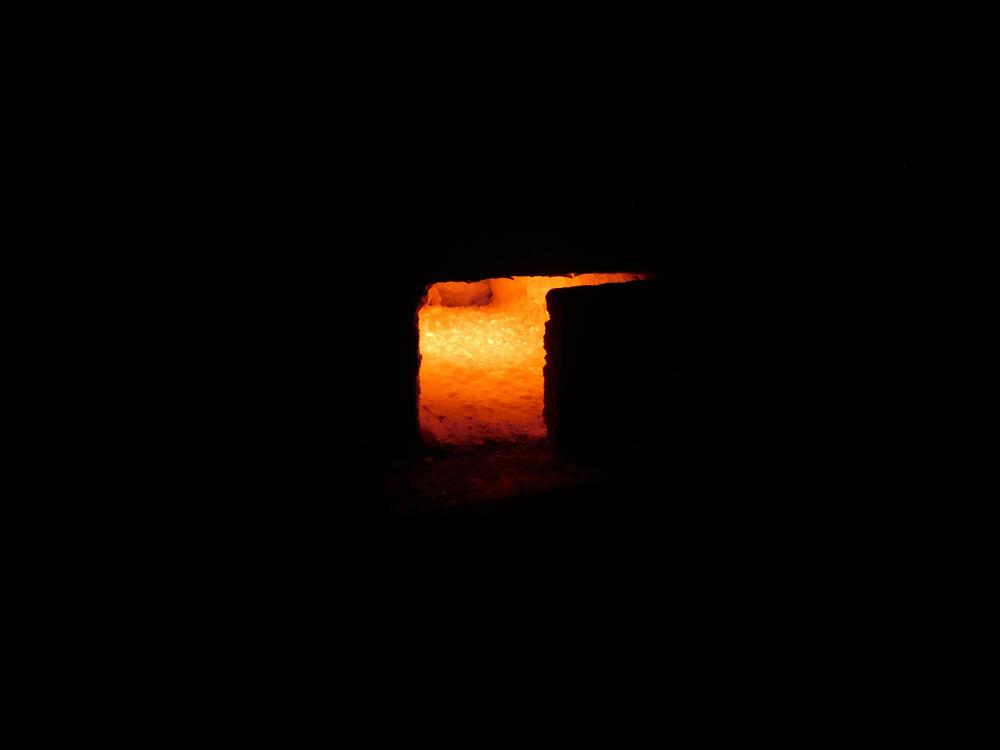
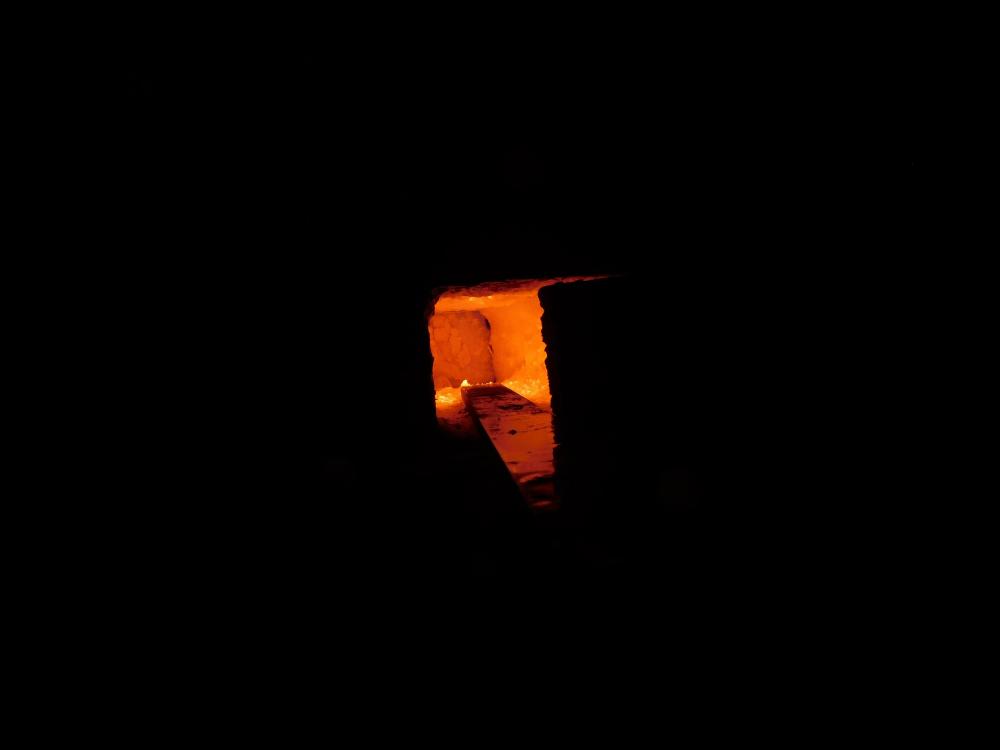
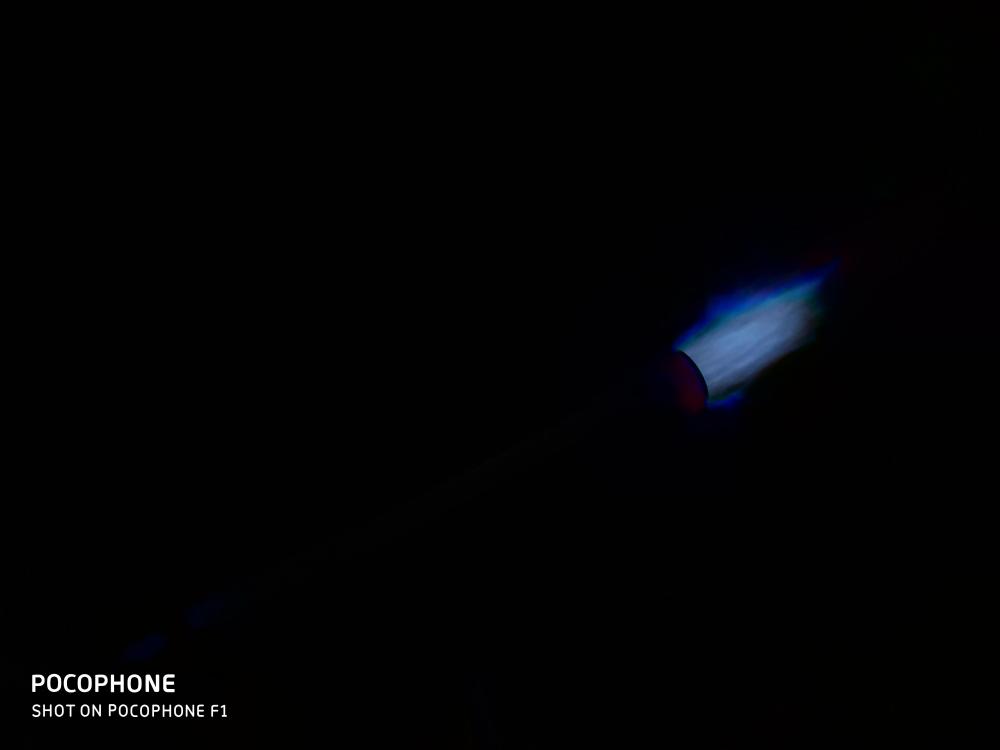
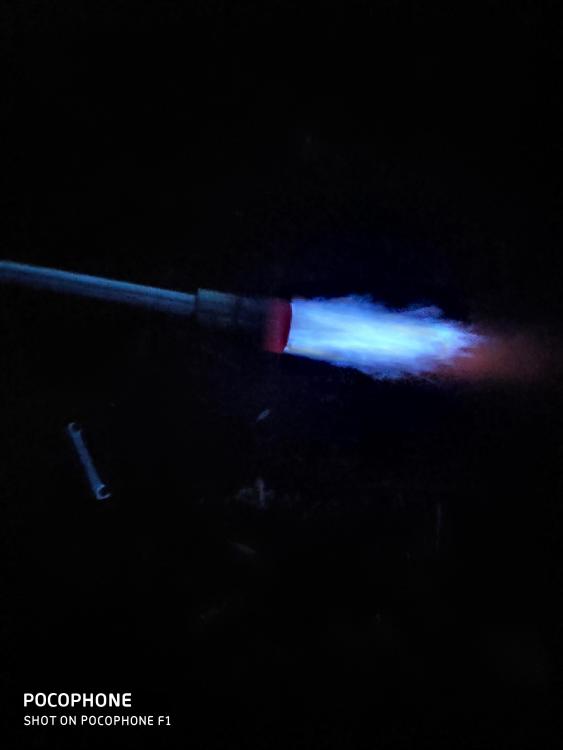
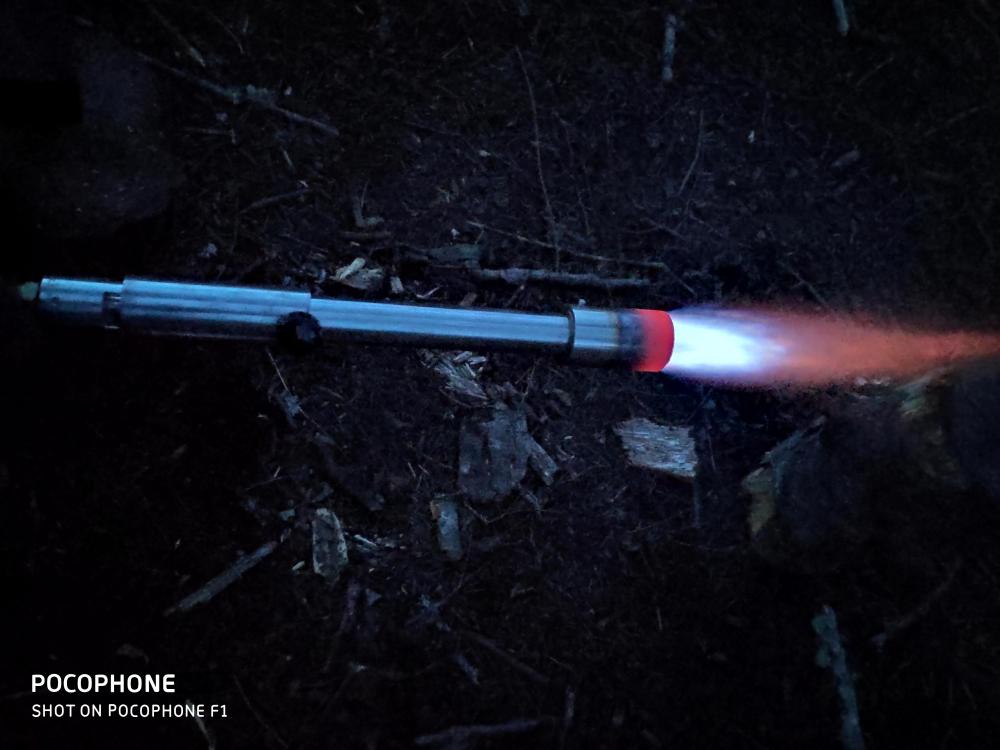
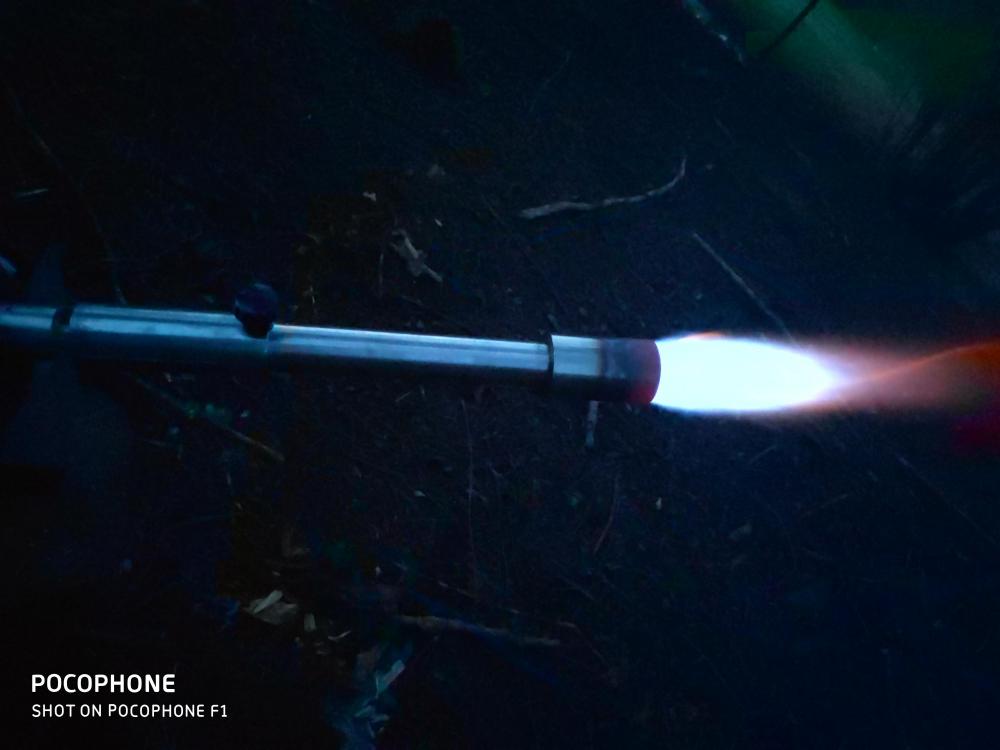
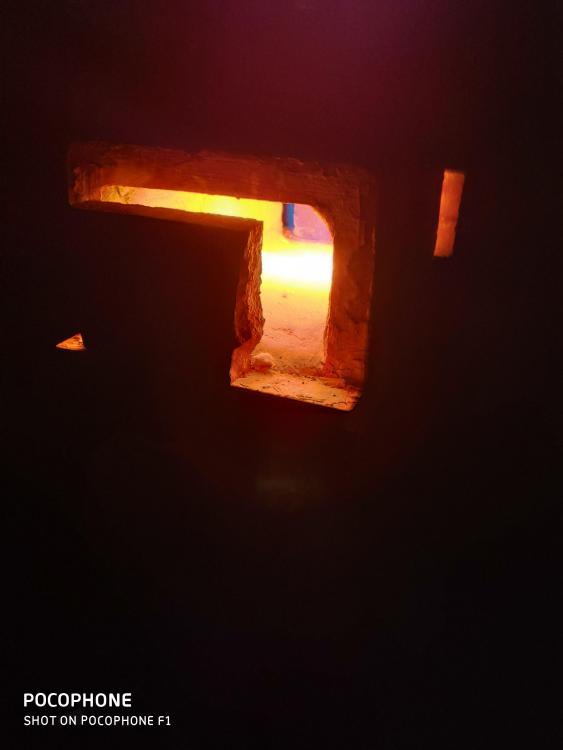
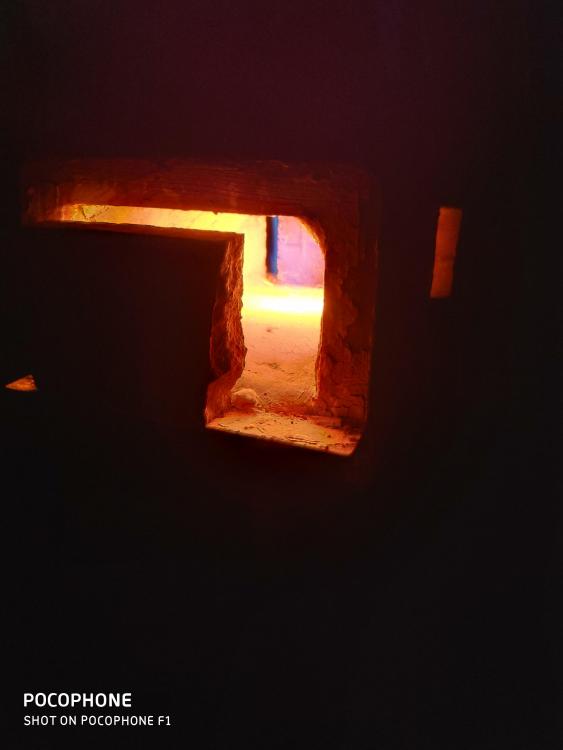
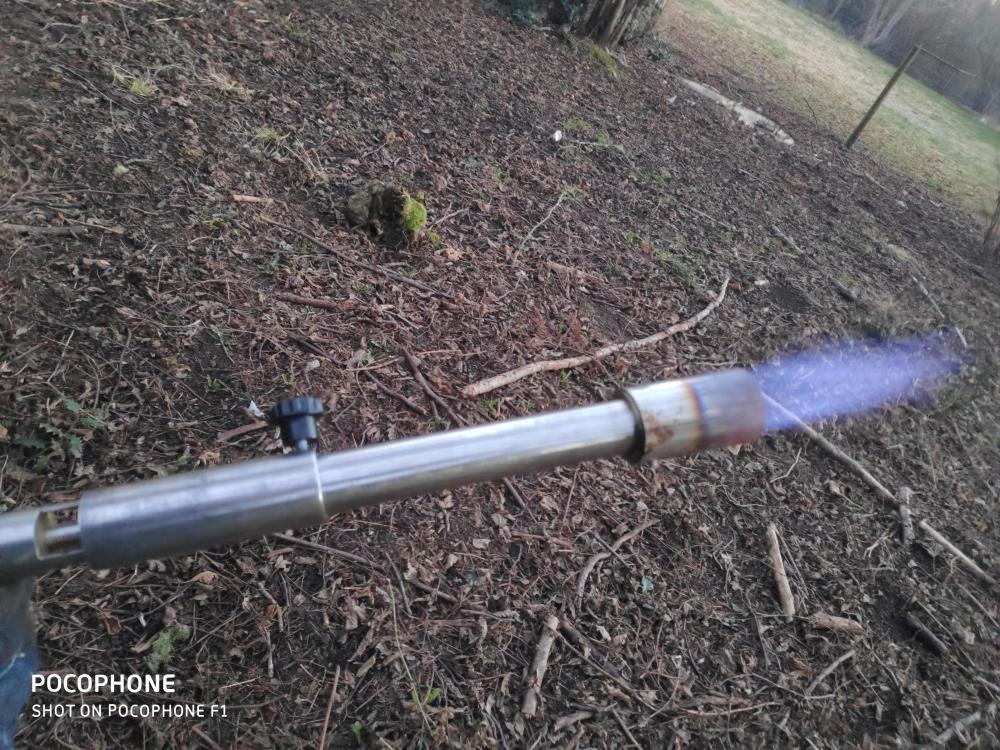
Wind breaker, 1-1/4" stainless tubing with 2" of push fit flaring to ~1-1/2", It appears to be burning happy from what I can tell and no more fluttering. I have been thinking about adding thin mesh air filters to test if it promotes a cleaner burn without restricting too much airflow. Picture #1: Two PSI cold burn. Picture #2: Ten PSI cold burn. Picture #3: Full Burner. Picture #4: Looking down wind breaker. Thanks Corey.

-
Mikey, I find it funny that you posted a 0.030" mig tip works properly with my burner mixing tube, I was pondering the other day and I noticed that my burner either was really lean or rich and I already had a 0.030" mig tip so I threw it in this evening before seeing your post just to experiment and lone behold the flame it made looked similar to the flame from the previous 0.023" mig tip at 20 PSI but was running at a much lower 5 PSI. Living at sea level so close to the ocean I often get fluttering with my burner what I mean by that is that my burner with go from lean to rich in a split second, wind can be a problem for naturally aspirated burners due to the induction being such a low pressure when an equal to or greater than pressure collides it can render the Venturi effect inert causing your burner to gasp for oxygen, I had only noticed this issue more because the larger jet stream produces a weaker vacuum due to less pressure. I plan to fashion a dog cone style funnel attached to the top of the choke to help prevent the interruption of flow. Picture: 5 PSI burn after few minutes of warm up. Thanks, Corey

-
Addition to above post. Frosty, I thought about heating it but I thought it required higher temperature for enough thermal expansion and the freezer trick is smart stuff, great info thank you. Also high speed burners are more susceptible to secondary oxygen due to higher vacuum current which should be easily felt with your hand. Mikey has given me a statistic of up to 20% increase in performance for his burner design.
-
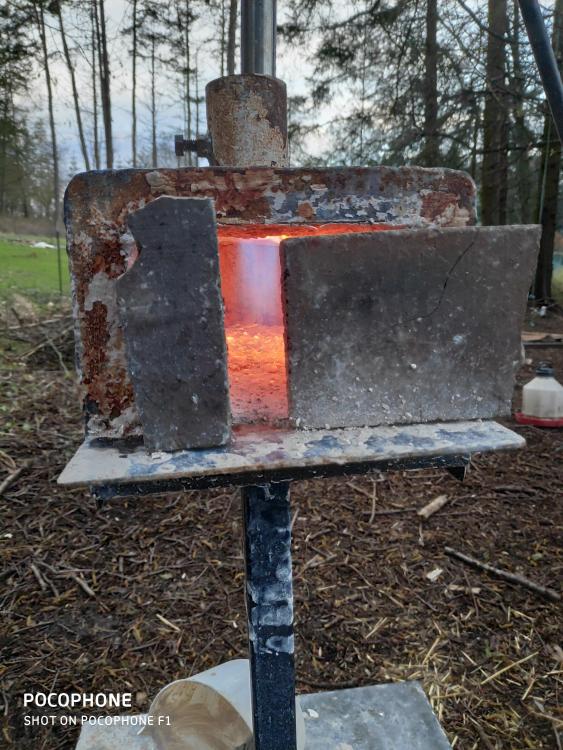
Frosty, Thanks for the comments on my burner it was a good process I am glad it actually works well to be honest. Mikey had noticed that there was a considerable amount of oxygen being pushed up into the burners airflow by the gap between my burner and the burner portal into the forge, I planned to close it up already but the suggestion he made to resolve it was much better. I found a stainless washer at the exact 2" diameter of the portal to my forge all I had to do was bore out the center with a file until it slid over my burners mixing tube pretty simple and effectively blocking secondary air by ~95%. Oxygen molecules when heated want to separate and seek out moisture while cold molecules want to stick together, secondary oxygen has already been combusted so the molecules are thin and inefficient for re-combustion it is like eating a soggy half eaten burrito. Oh and was she beautiful with a good nights rest with the air filter on, the forge purred beautifully after increasing the cold airflow and there was instantly a noticable amount of increased infrared heat. Picture #1: Forge with stainless choke plate installed. Picture #2: Forge at 20# burn after just a few minutes. Thanks, Corey

-
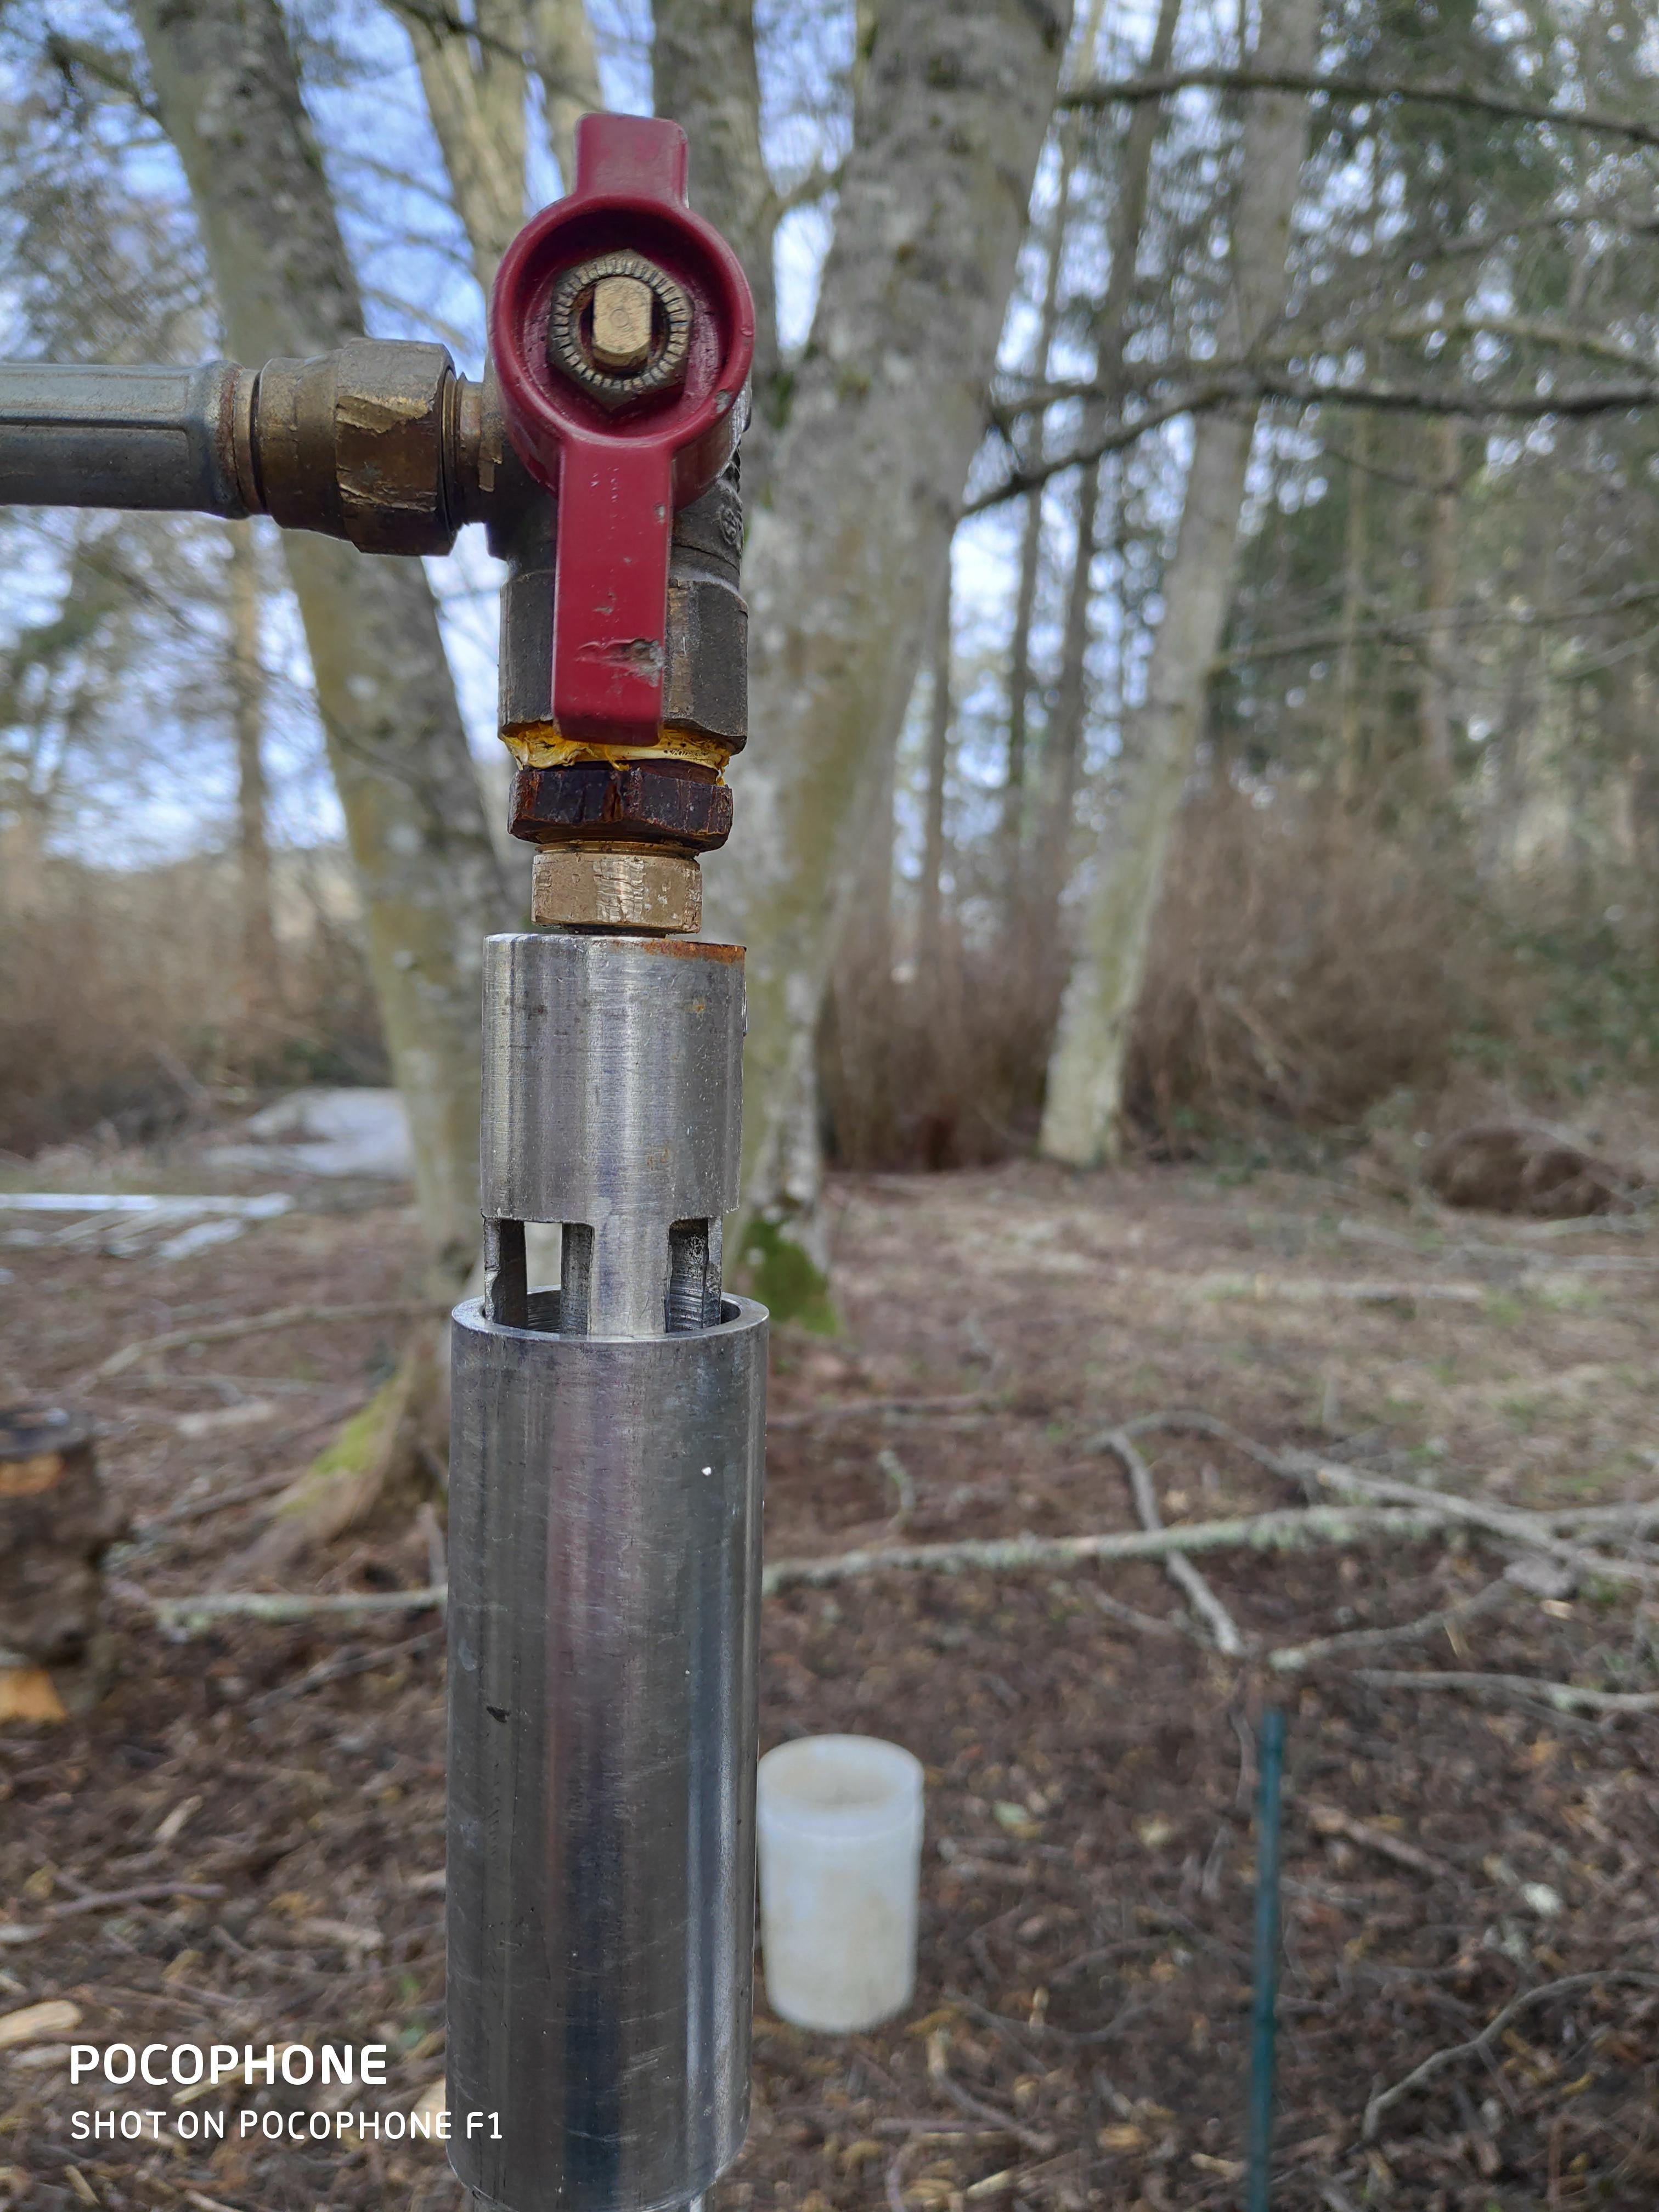
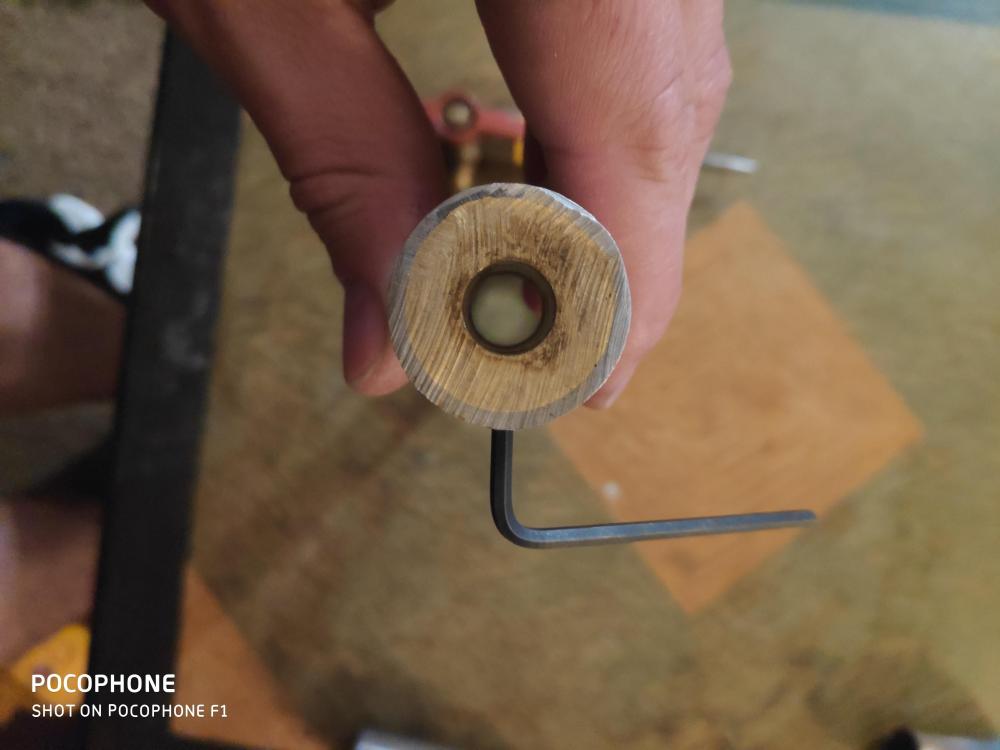
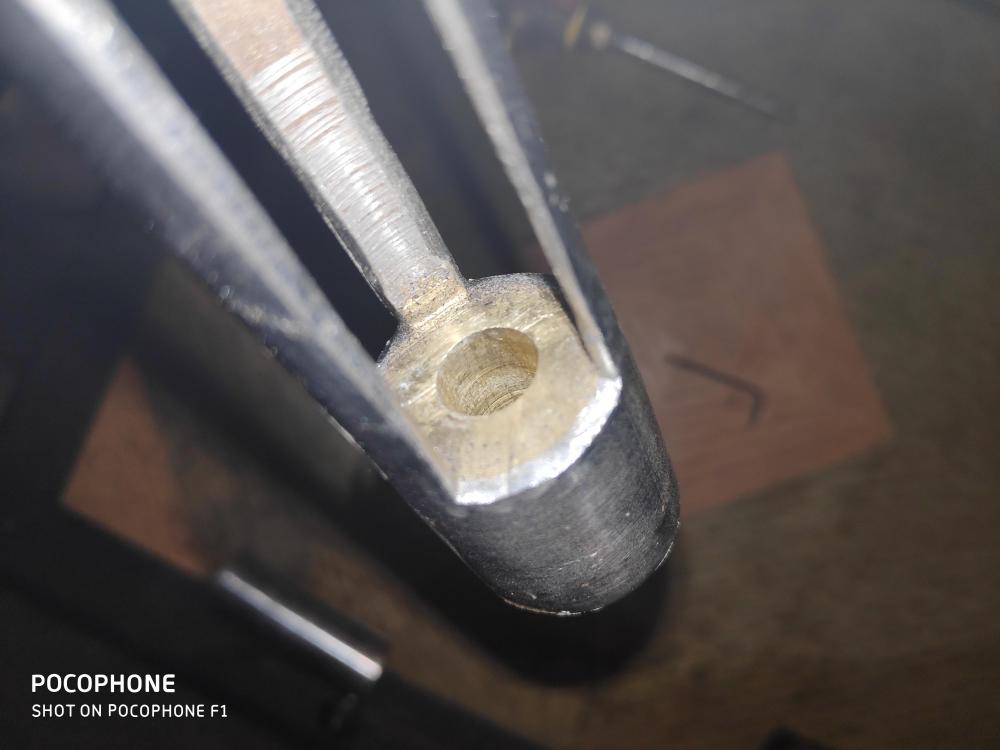
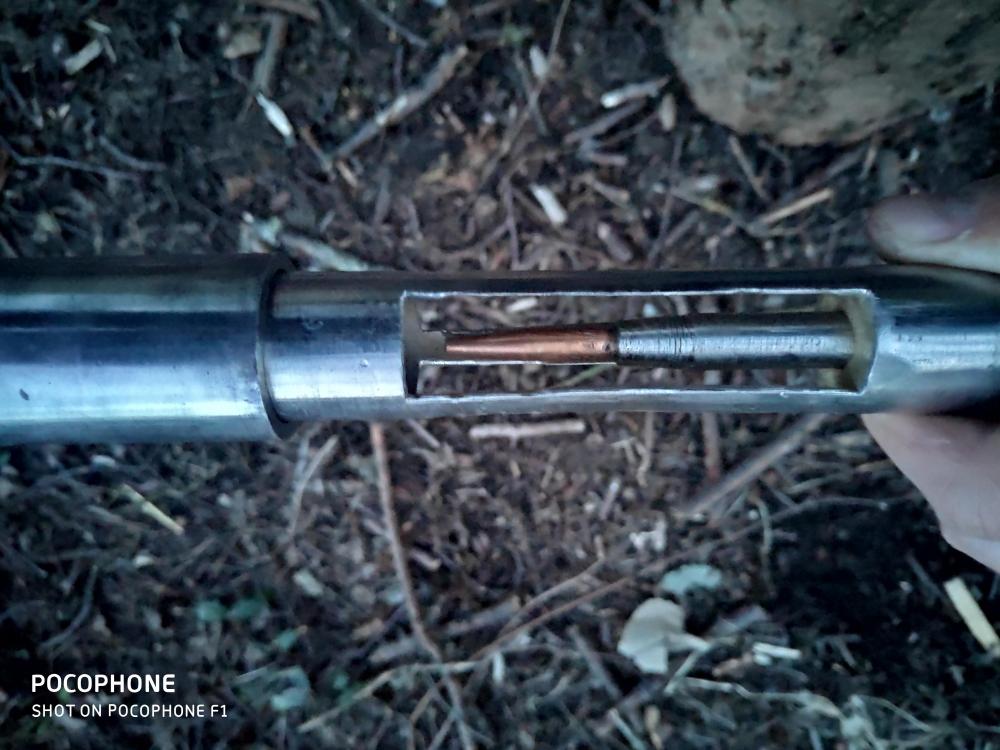
Hey U_P_Country, Mike has been more than helpful on my adventure, I just want to start off by saying he is the MVP here to be pointing us all in the right direction here on IForgeIron so we can all have a great experience hammering. The new Mikey Burner design utilities a brass plug pressed into the end of the mixing tube for example my stainless 3/4" burner actually has a nominal I.D of 0.884" so by employing a slightly oversized Brass round bar at 0.937" and taking off enough material that it wants to mate with the end of the mixing tube and applying enough pressure that the mixing tube blooms out a little bit the brass round creates a air tight plug almost like it's been welded together, the brass bar is soft enough to work with so for what ever you are unhappy with the fitment you can easily take off material as needed. My burner started with 1-1/2" of brass round length and due to having already made my 3" gas accelerator (wish I had bought one at 3.5" instead) I had to take off about 1/4" to get a proper adjustment for my jet and the alignment has been spot on, I would say you could probably get away with 1" of length which is still massive surface area to hold your accelerator parallel to the mixing tube. Picture #1: Complete burner parts. Picture #2: Burner accelerator port. Picture #3: From inside the mixing tube. Hope that answers your question. Also Mikey recommends using gasket or thread sealer on gas plumbing for a proper air seal and I have to agree with it's results. Thanks, Corey
-
I did not think of that, a stable is flame at 60PSI in open air is quite impressive, well done Mikey. Also you are smart to smoothing things out after it was proven to be stable in some what unrealistic circumstances.
-
Did a test burn this evening before nightfall and lone behold my burner was running quite lean to my surprise I under estimated the efficiency of my Mikey burner there was definitely a more even heat. Also noticed considerable difference in scale which leads me to believe I can back off the airflow a bit more. For adding glass bubbles to refractory would something like microspheres advertised to be added to resin epoxy work? Picture #1: Airflow adjustment difference.(Don't mind my goats in the background) Picture #2: 20# Burner flame while cold. Picture #3: Temperature after 10 minute soak.

-
Mikey: No typo 3/4". A little confused though in our private messages you said the burner looks to be burning well but I will mess with the airflow a bit to see if she is running a little lean. Burner only had about 1/2" of the air slots open. Hypothetically speaking couldn't we just shorten the air slots to say 1.5" long on Mikey burners if properly rectangular and perhaps take 1" off the mixing tube to compensate? It seems unnecessary to have massive 3" air slots like my burner has if I only use at most 1" of the slots.

-
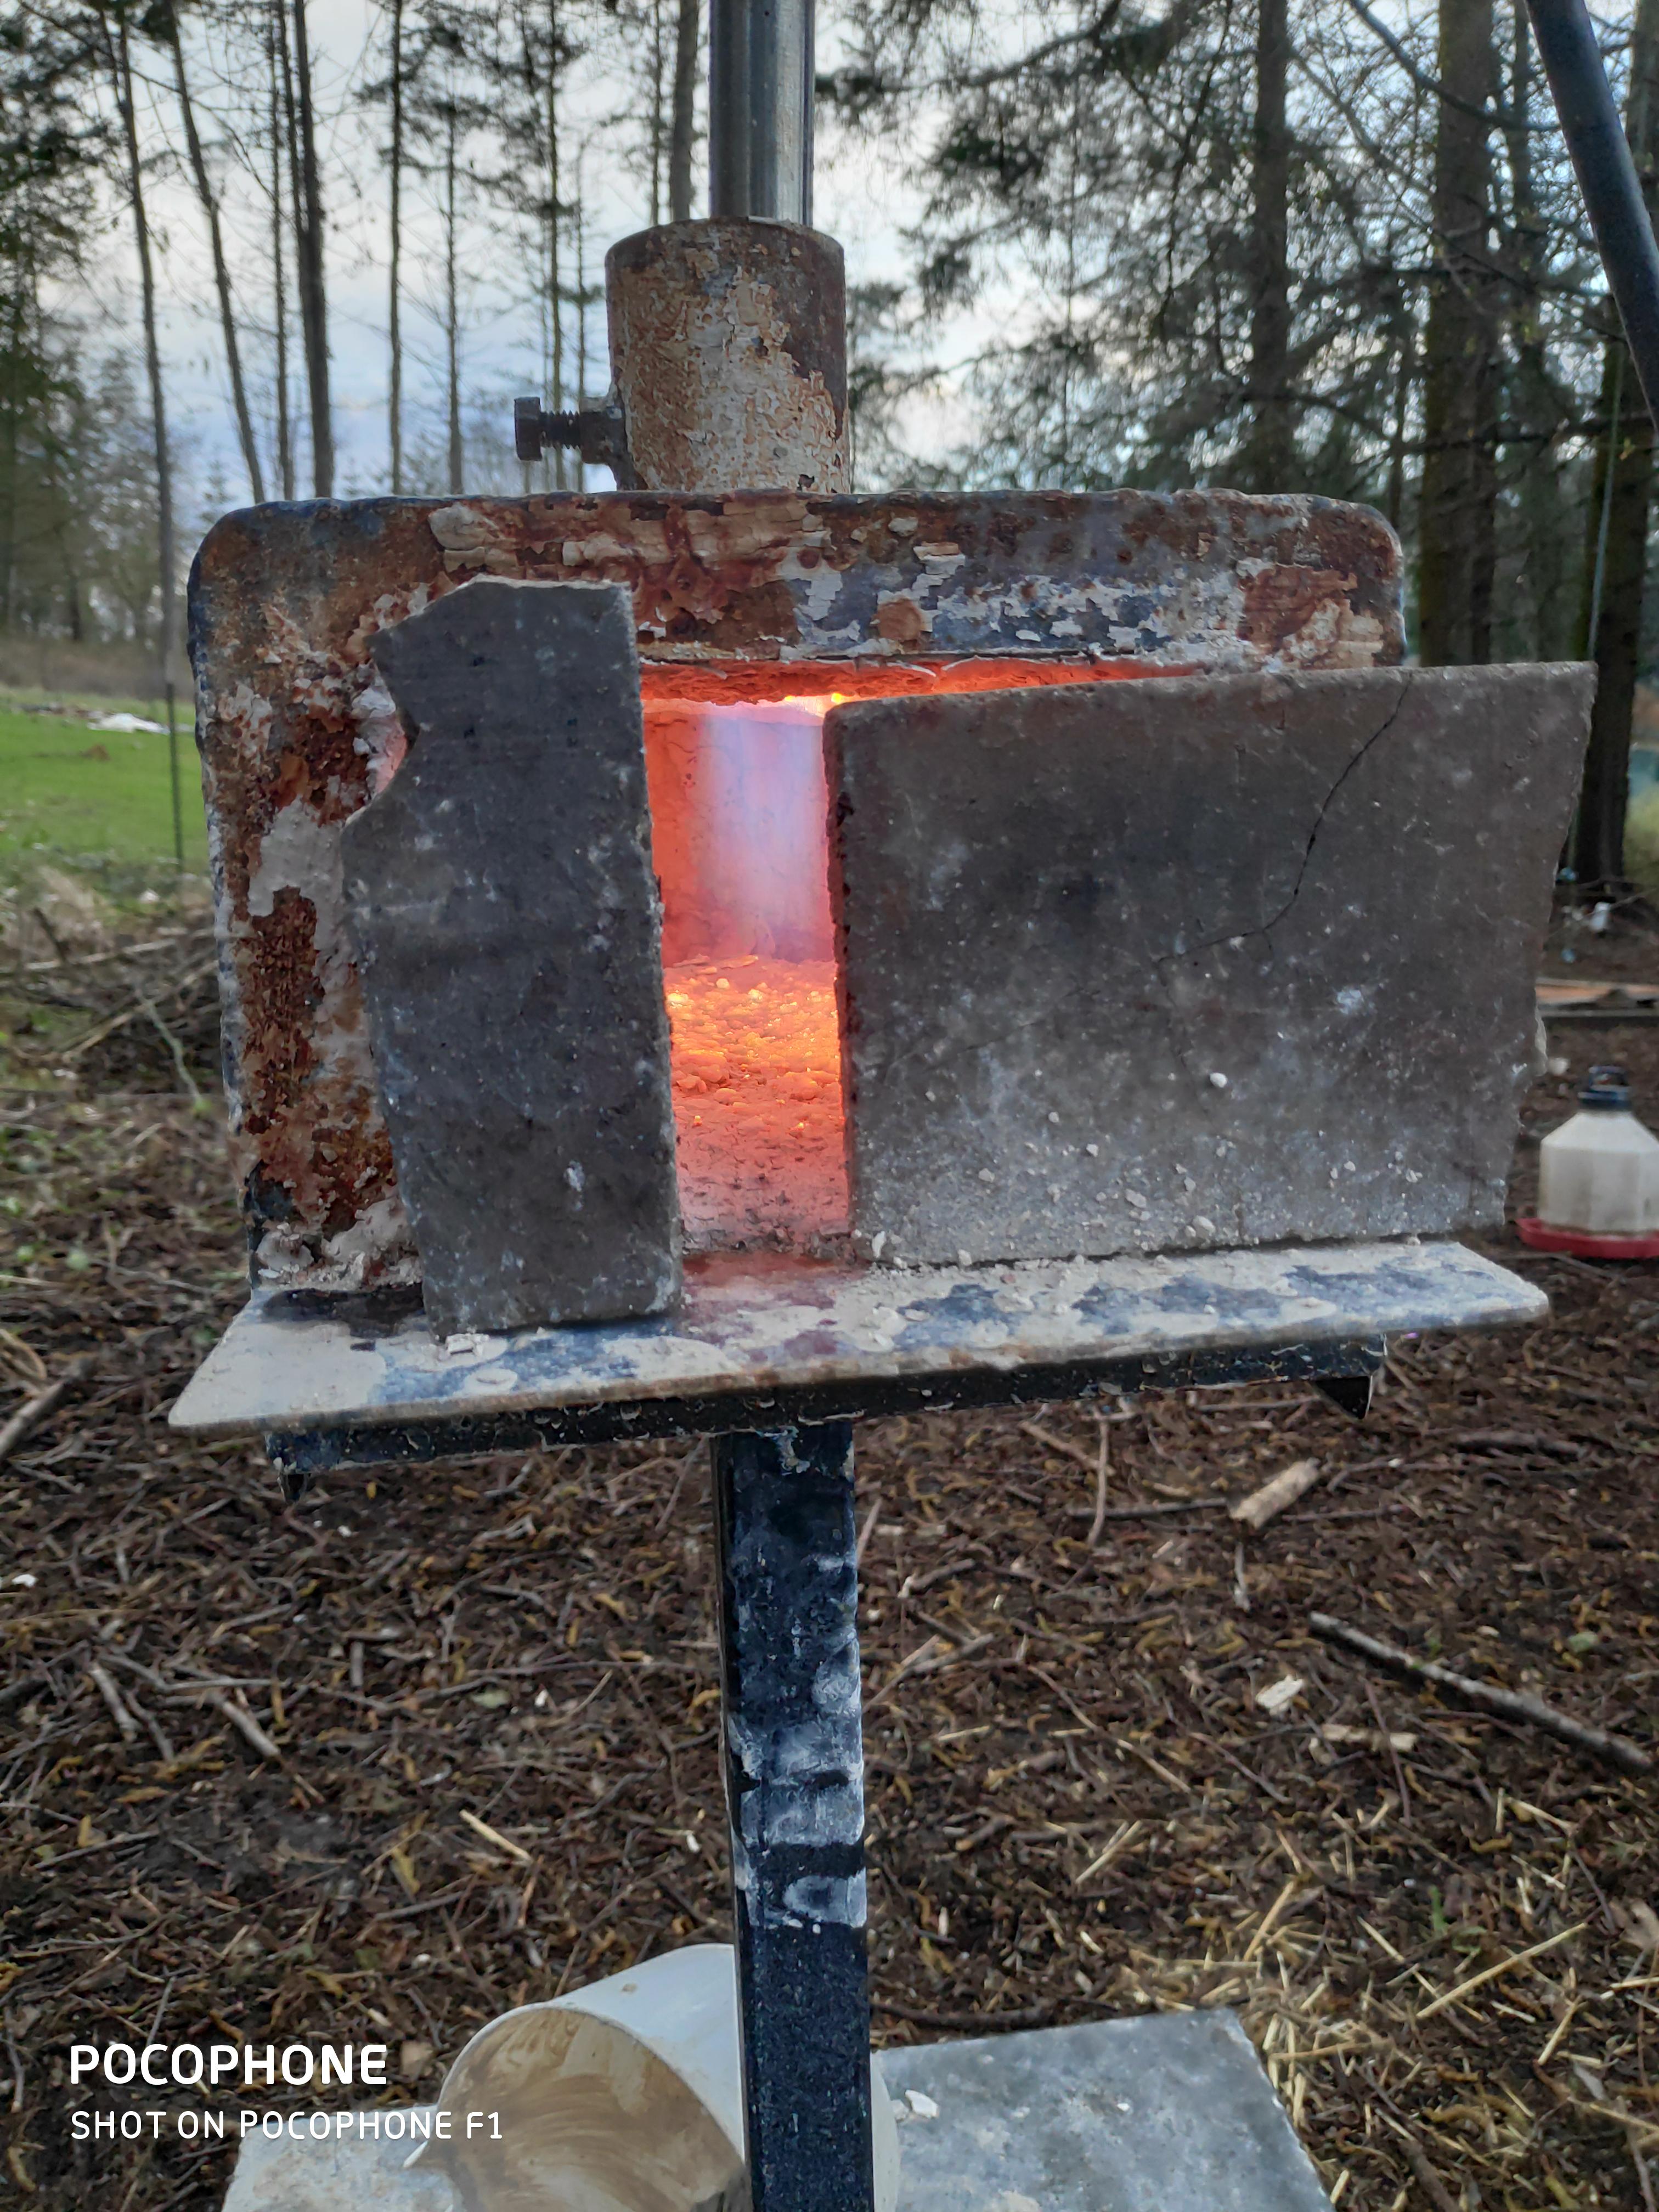
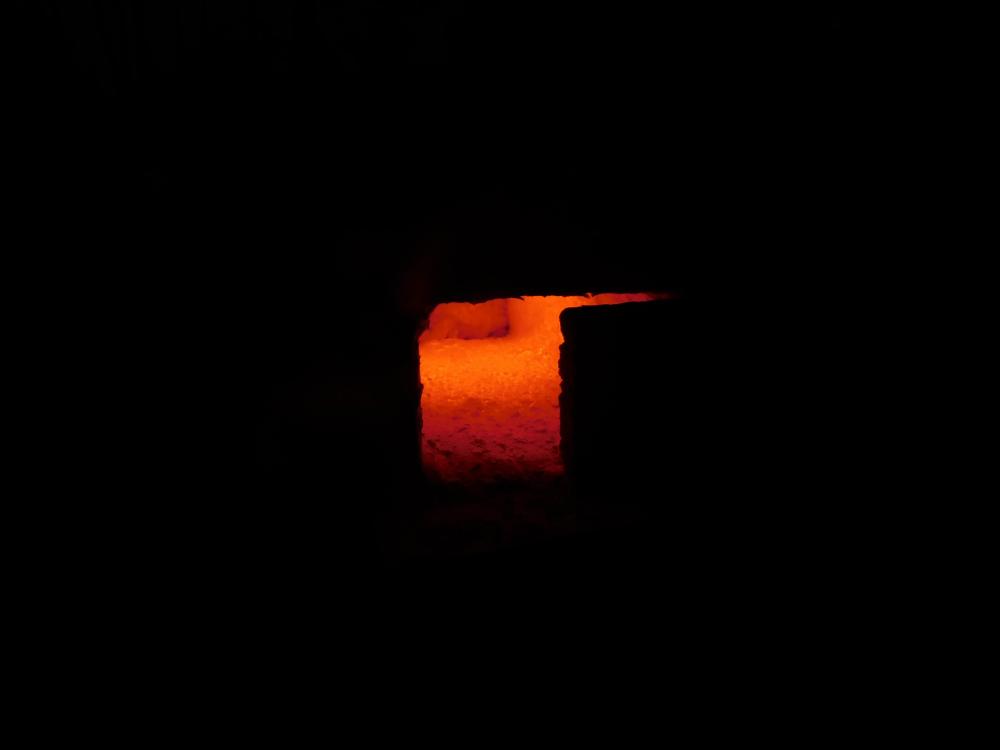
Hello, I have been tinkering with my forge for sometime now and just finished a 3/4" high speed Mikey burner (pictures in Burner 101) but I have noticed my heat doesn't quite seem to be high as it should be, I lack proper exhausting of gases which I know hurts me so I plan to purchase some K26 or K28 bricks so I can make a moving wall. My current forge is 12" long x 6" wide x 3" tall including 1" walls and ceiling with 2" corner supports and floor 8# kaowool ridigized with kaolin since I ran out of Zircopax I mixed it with some Calcine kaolin and some grog. It works but cracked quite a bit. Plan on picking up some more Zirconium Silicate as well open to trying other recipes if recommended. I feel that my forge isn't hitting temps that it should be below are pictures of a burn test with the openings closed as much as I could for the time being. If I were to guess it hit ~2300F. First picture 10# burn. Second picture 20# burn. Third picture 20# with 3/8" x 1-3/8" 1018 bar inside. Forth picture bar after 3 minute soak. Fifth picture just shut off burner. Thanks, Corey
-
Construction was good I would probably recommend just spending the extra money if available on tubing for the mixing tube if you are going with stainless it took me around 5 hours of filing to remove the weld seam and achieve good roundness by my standards. The brass plug is by far the most intricate piece on this whole burner providing massive surface area of 1.25" I had to file mine 1/4th" from 1.5" due to the length of my burner accelerator being a tad short (3" stainless 1/8th pipe would advise going with 3.5" instead, link for the one I used in 3.5" below) but I have no issues with alignment and it works very effectively, I was fortunate enough to have mine hydraulically pressed in almost mushrooming the back of my burner tube but it is just a matter of taking more material off for proper fitment. I was able to taper the threads on the accelerator with a hand held belt sander so I could obstruct the airflow as little as possible. Overall the burner looks great and works great couldn't be happier with the result. Burner accelerator :
-
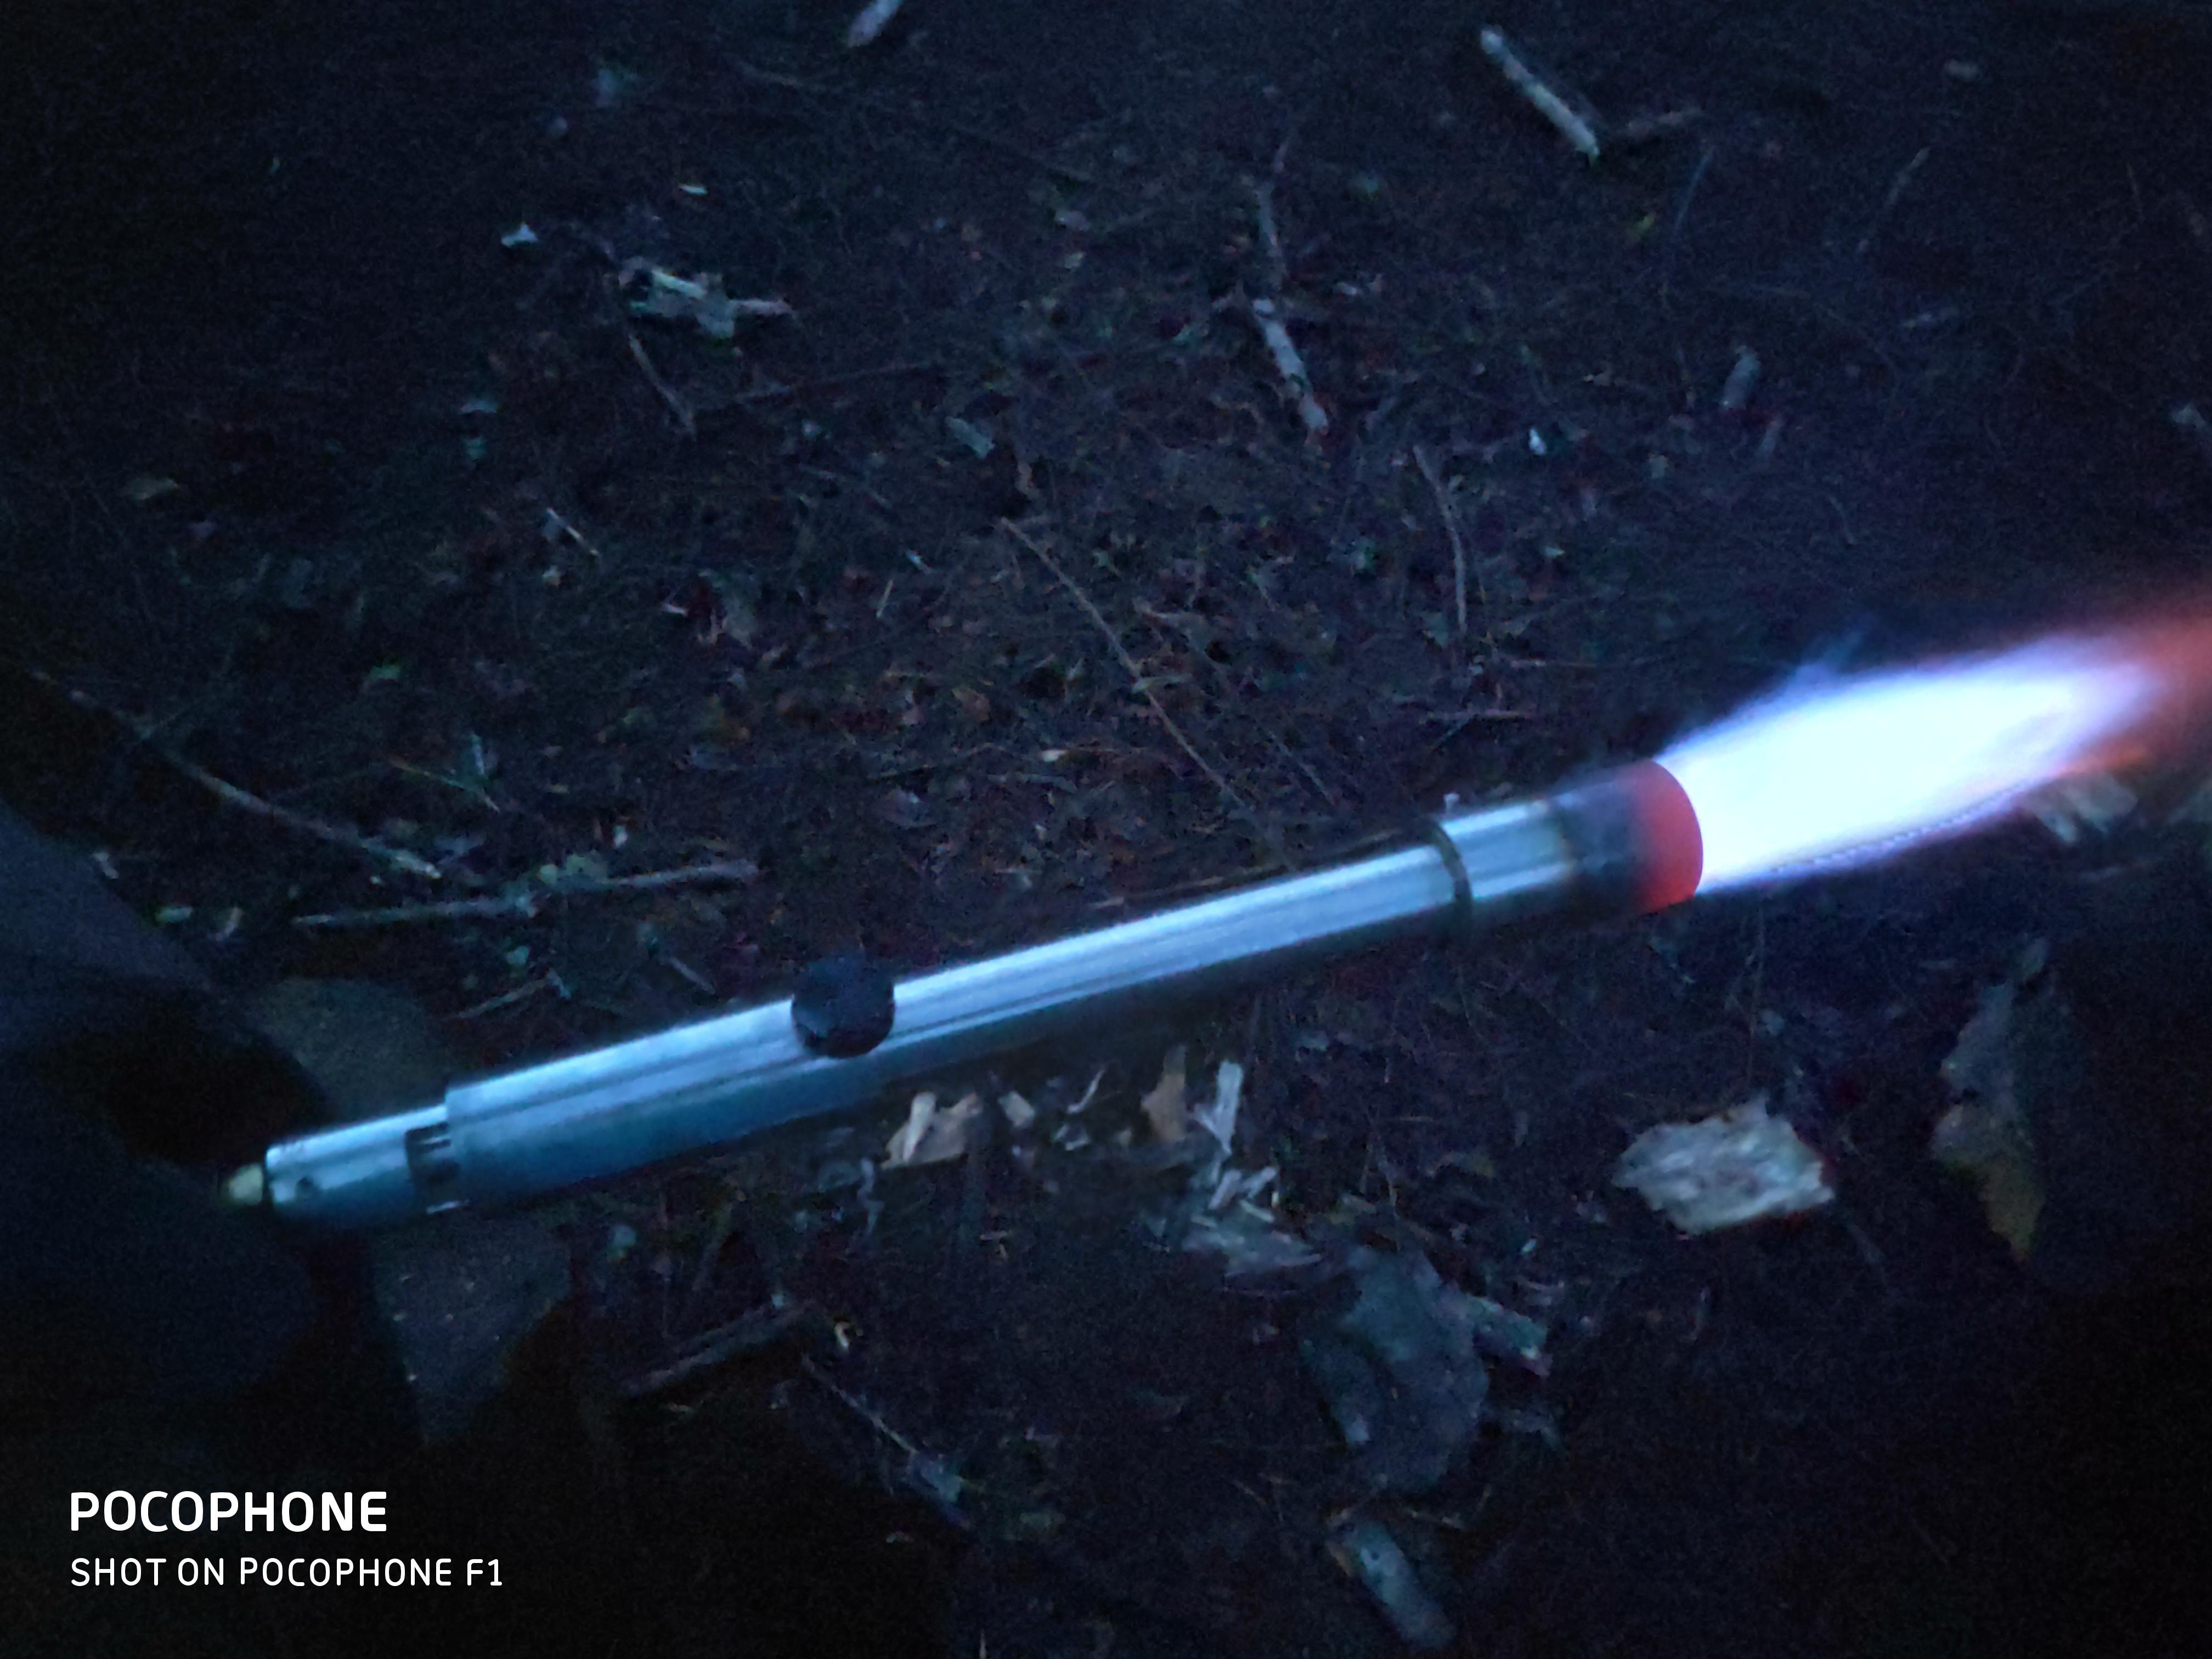
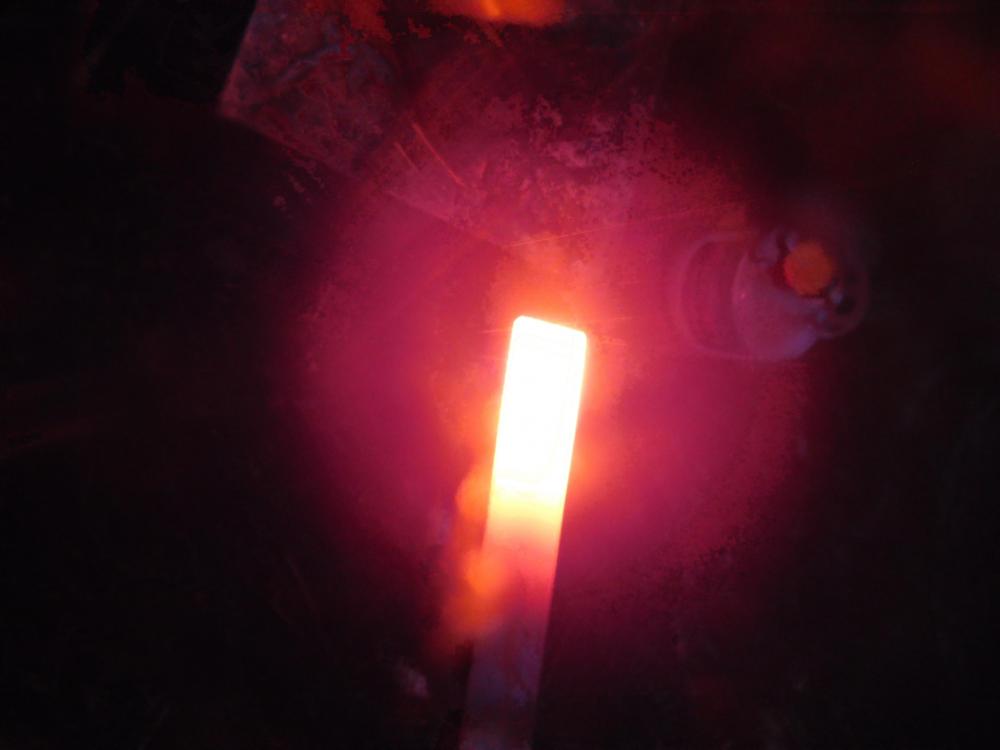
Thanks again Mikey your burner design is sleek and very effective. I took several dozen photos with all the same basic result of over coloration although it makes great for art I apologise it is hard to learn from, I will take some more photos with a different camera to see if I can get a more educational result. Thanks Corey. PS. I was able to snap a decent picture of the actual flame last night.
-
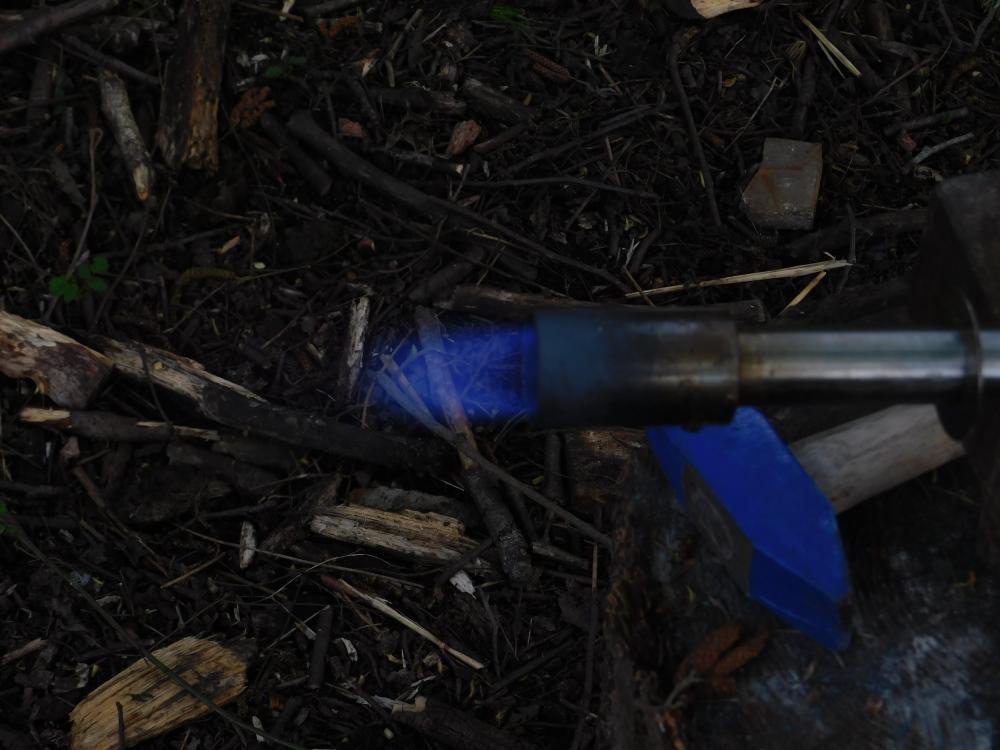
Update #2 decided to do an after work burn fine tuned the airflow by moving it just and watching for a second then just before it would blow out gave me a beautiful blue burn so I decided to throw it in the forge for a test run. Picture #1 Tuning burn 10 PSI. Picture #2 Tuning burn 5 PSI after warm up. Picture #3 Tuning burn 20 PSI. Picture #4 Five PSI warm up soak. Picture #5 Twenty PSI burn. PS. Nozzle never got passed the red shown in picture #1.

-
Additional picture #3 early morning test burn between 11-12psi.
-
Updated 3/4" Mikey Burner Mikey: I am not getting much change in flame when adjusting retention nozzle besides it going out. thanks Been working hard to finally light her up, here is how she looks so far. First picture is finished construction. Second picture is between 4-5 psi. Thanks to Mikey for taking the time out of his day to give me a parts list and instructions to construct the burner. Thank you, Corey