TheNewbieForger
Members
-
Joined
-
Last visited
Everything posted by TheNewbieForger
-
-
-
-
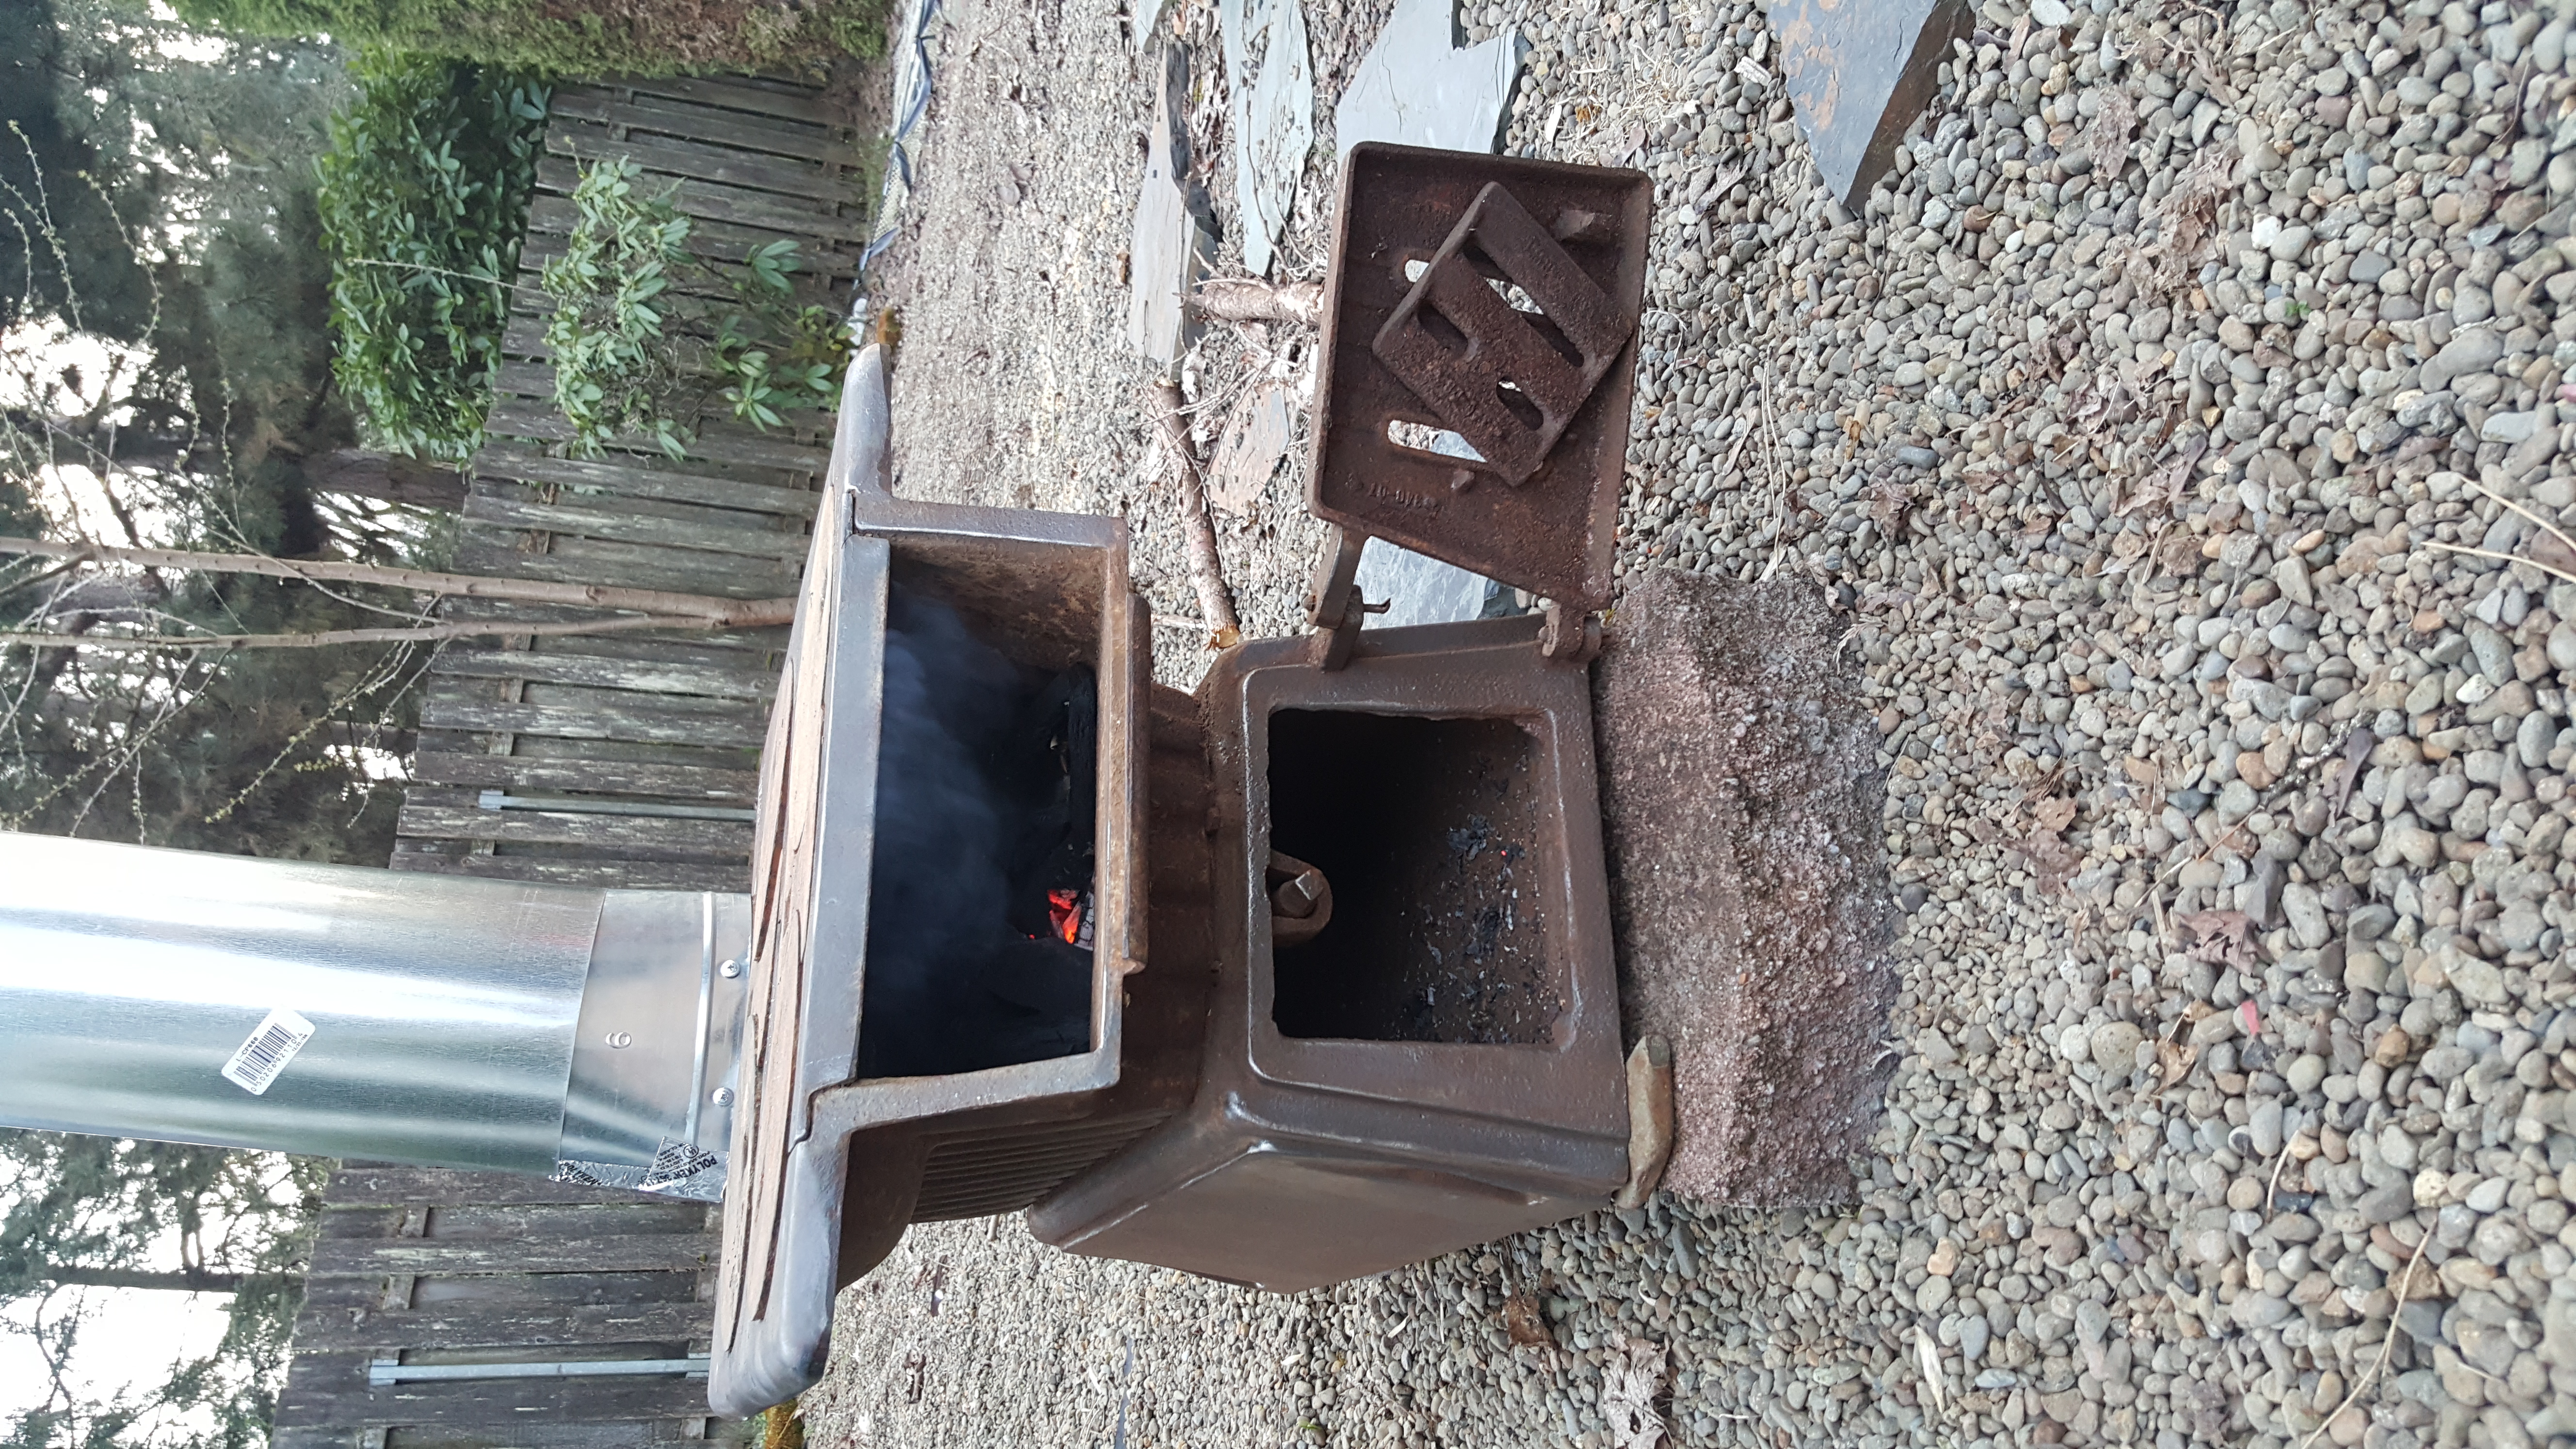
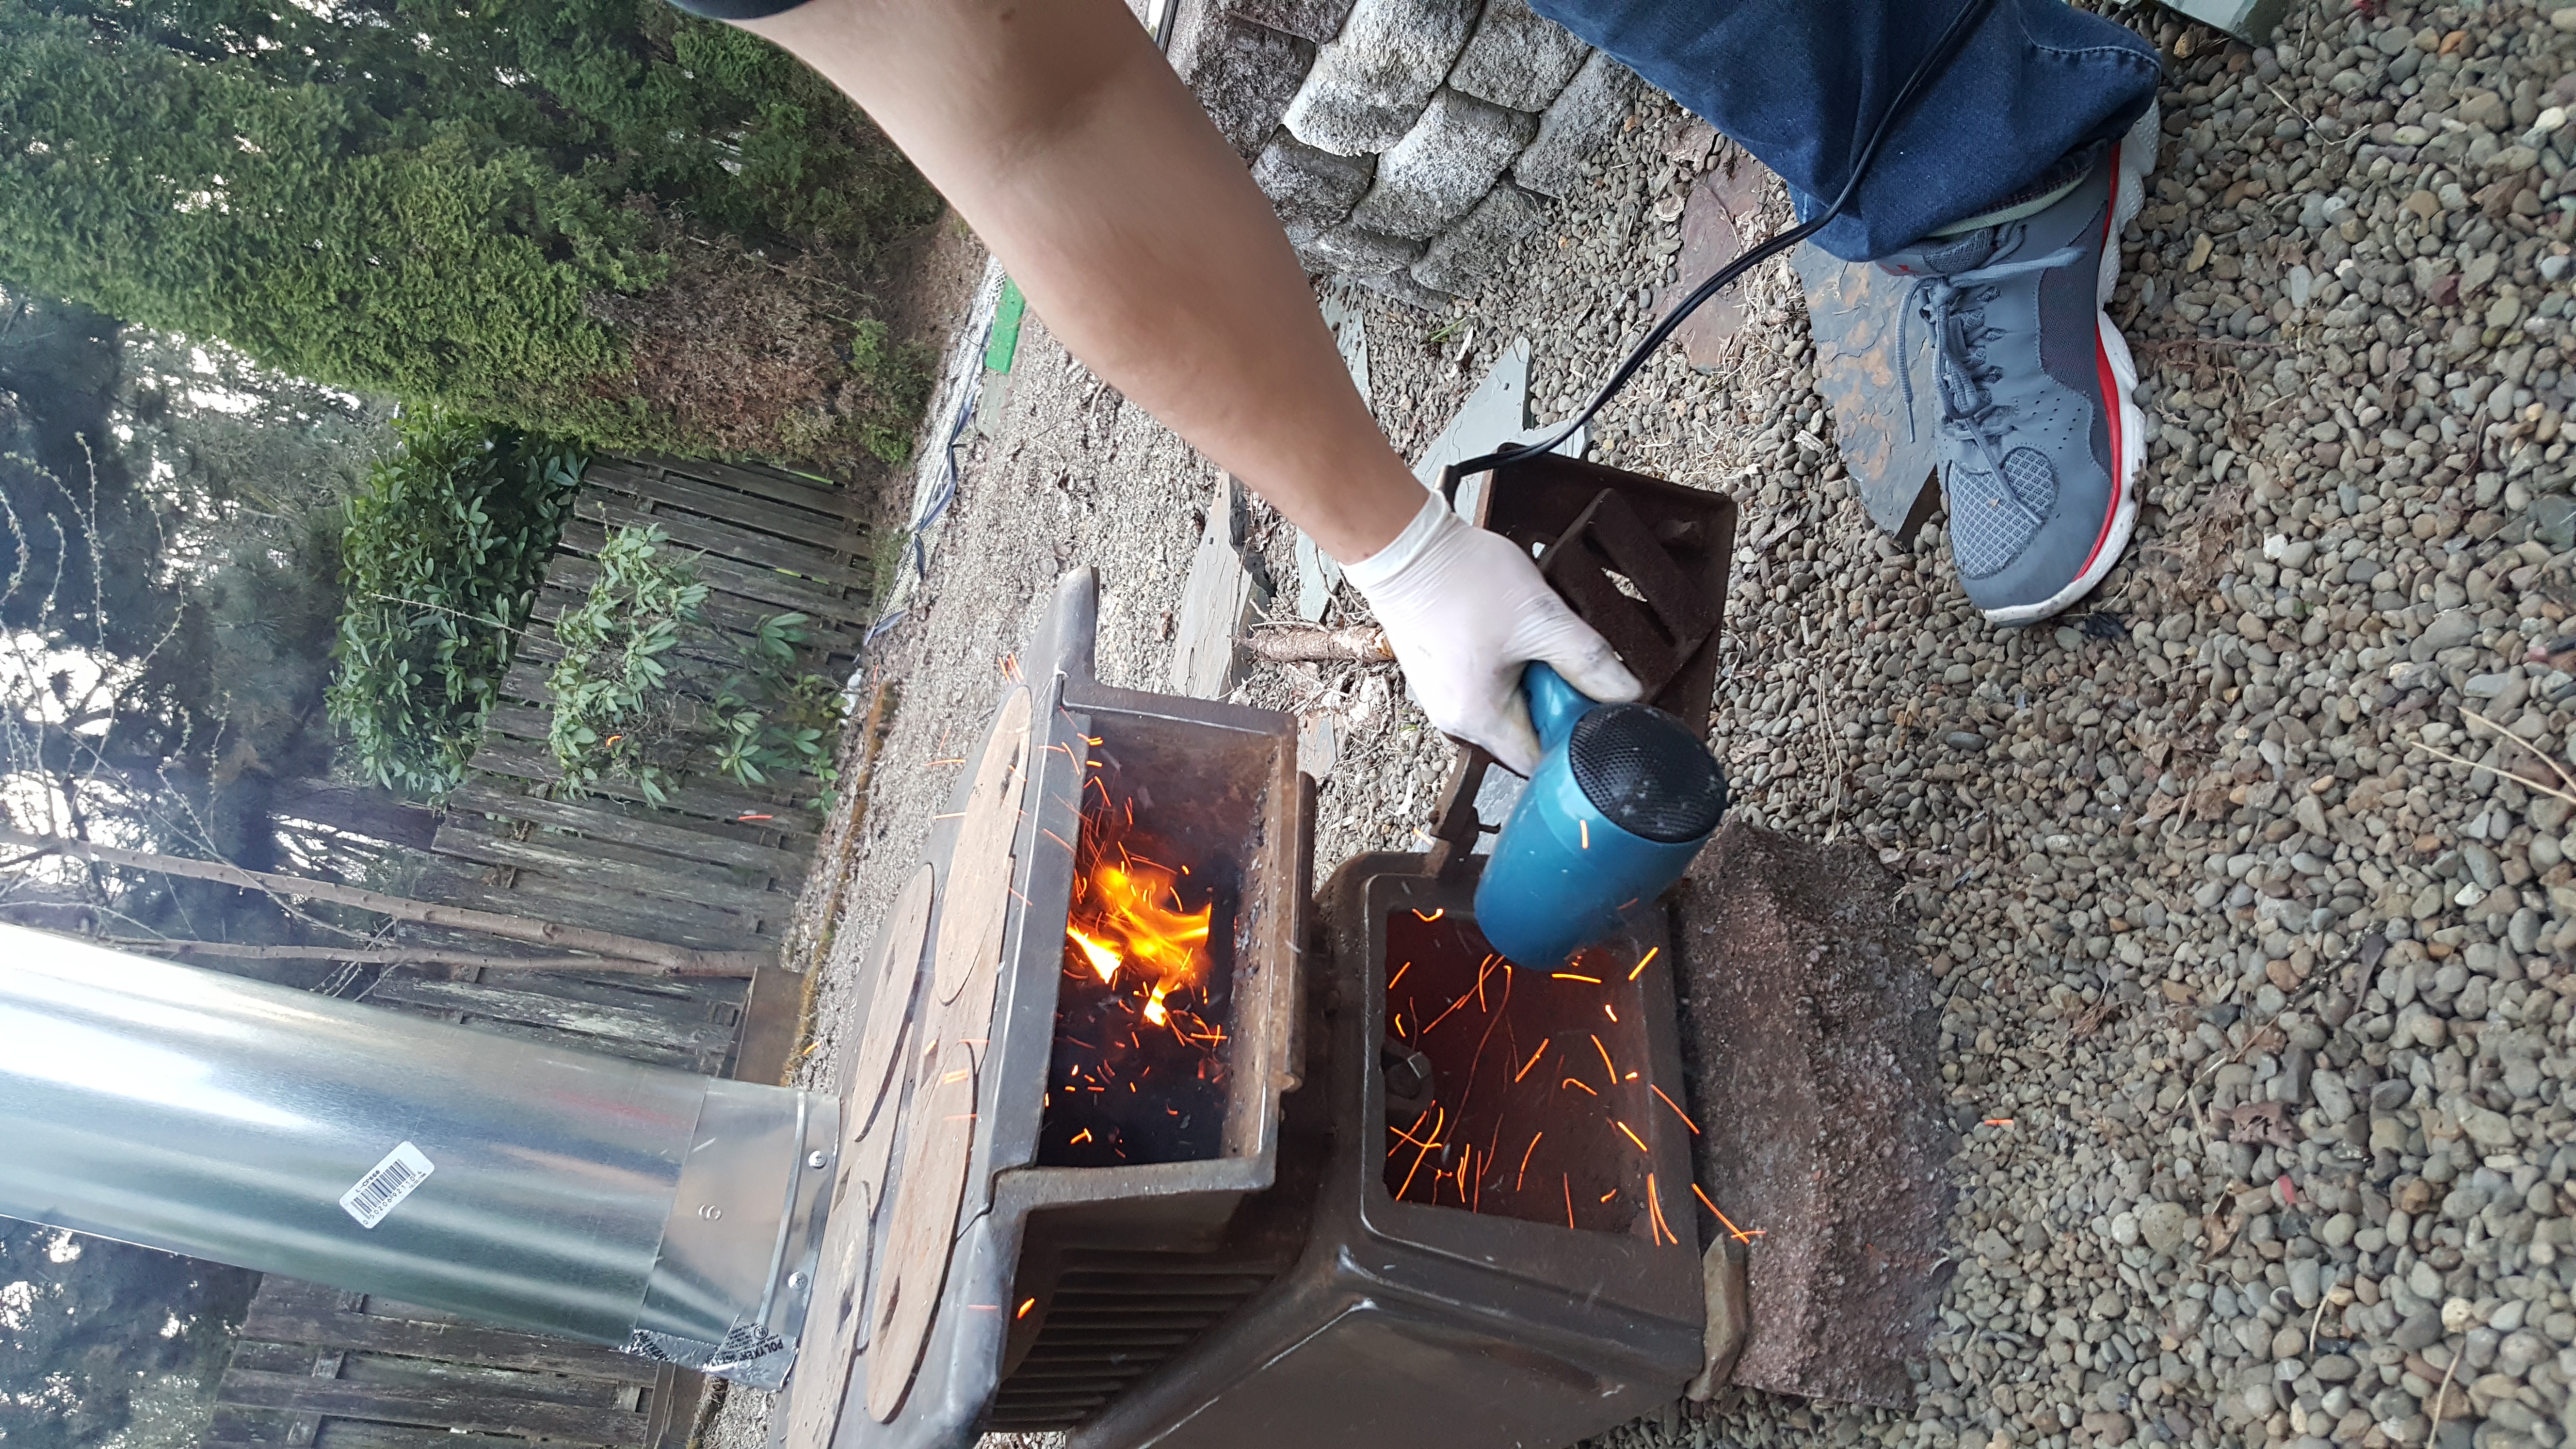
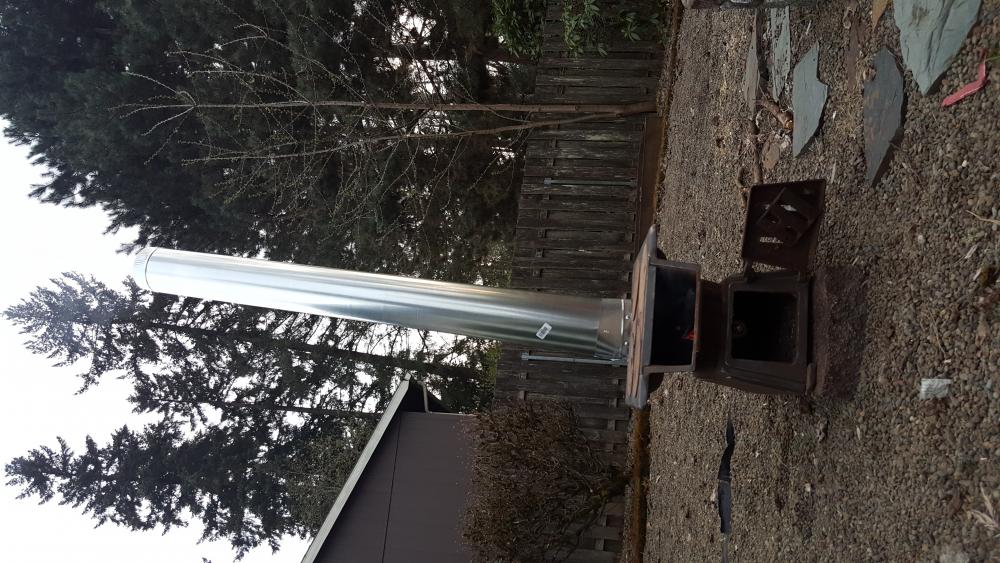
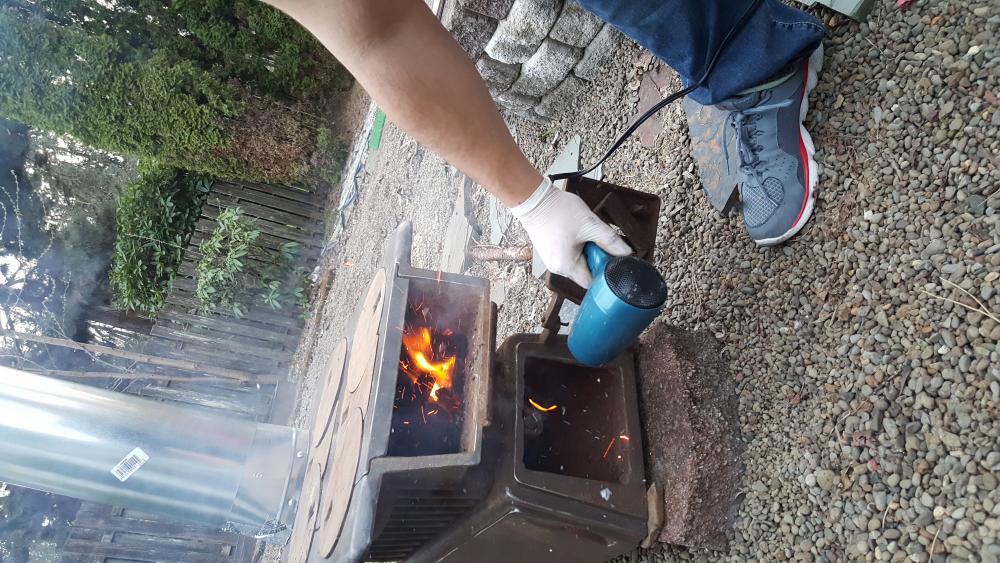
So are you saying take out the center one and fill it from there back with dirt? Or the bottom portion of it? (where I am blowing the hair drier in) Cause there is a rack in there that you can turn to drop ashes down into the lower part, and that is where I had the coals sitting, that way I could get the airflow going up through the coals. Also little side question, is A 36 steel fine to forge with?
-
Right now I do not have the material or money to make a new forge and a hold in the ground is out of the question since out backyard is mostly gravel with a liner underneath. So for the time being I'll have to use the oven, It seemed to work fine it was getting the railroad spike white hot so for now it will have to work. And the anvil I can already tell is a p.o.s so I will be on the lookout for a new one.
-
-
-
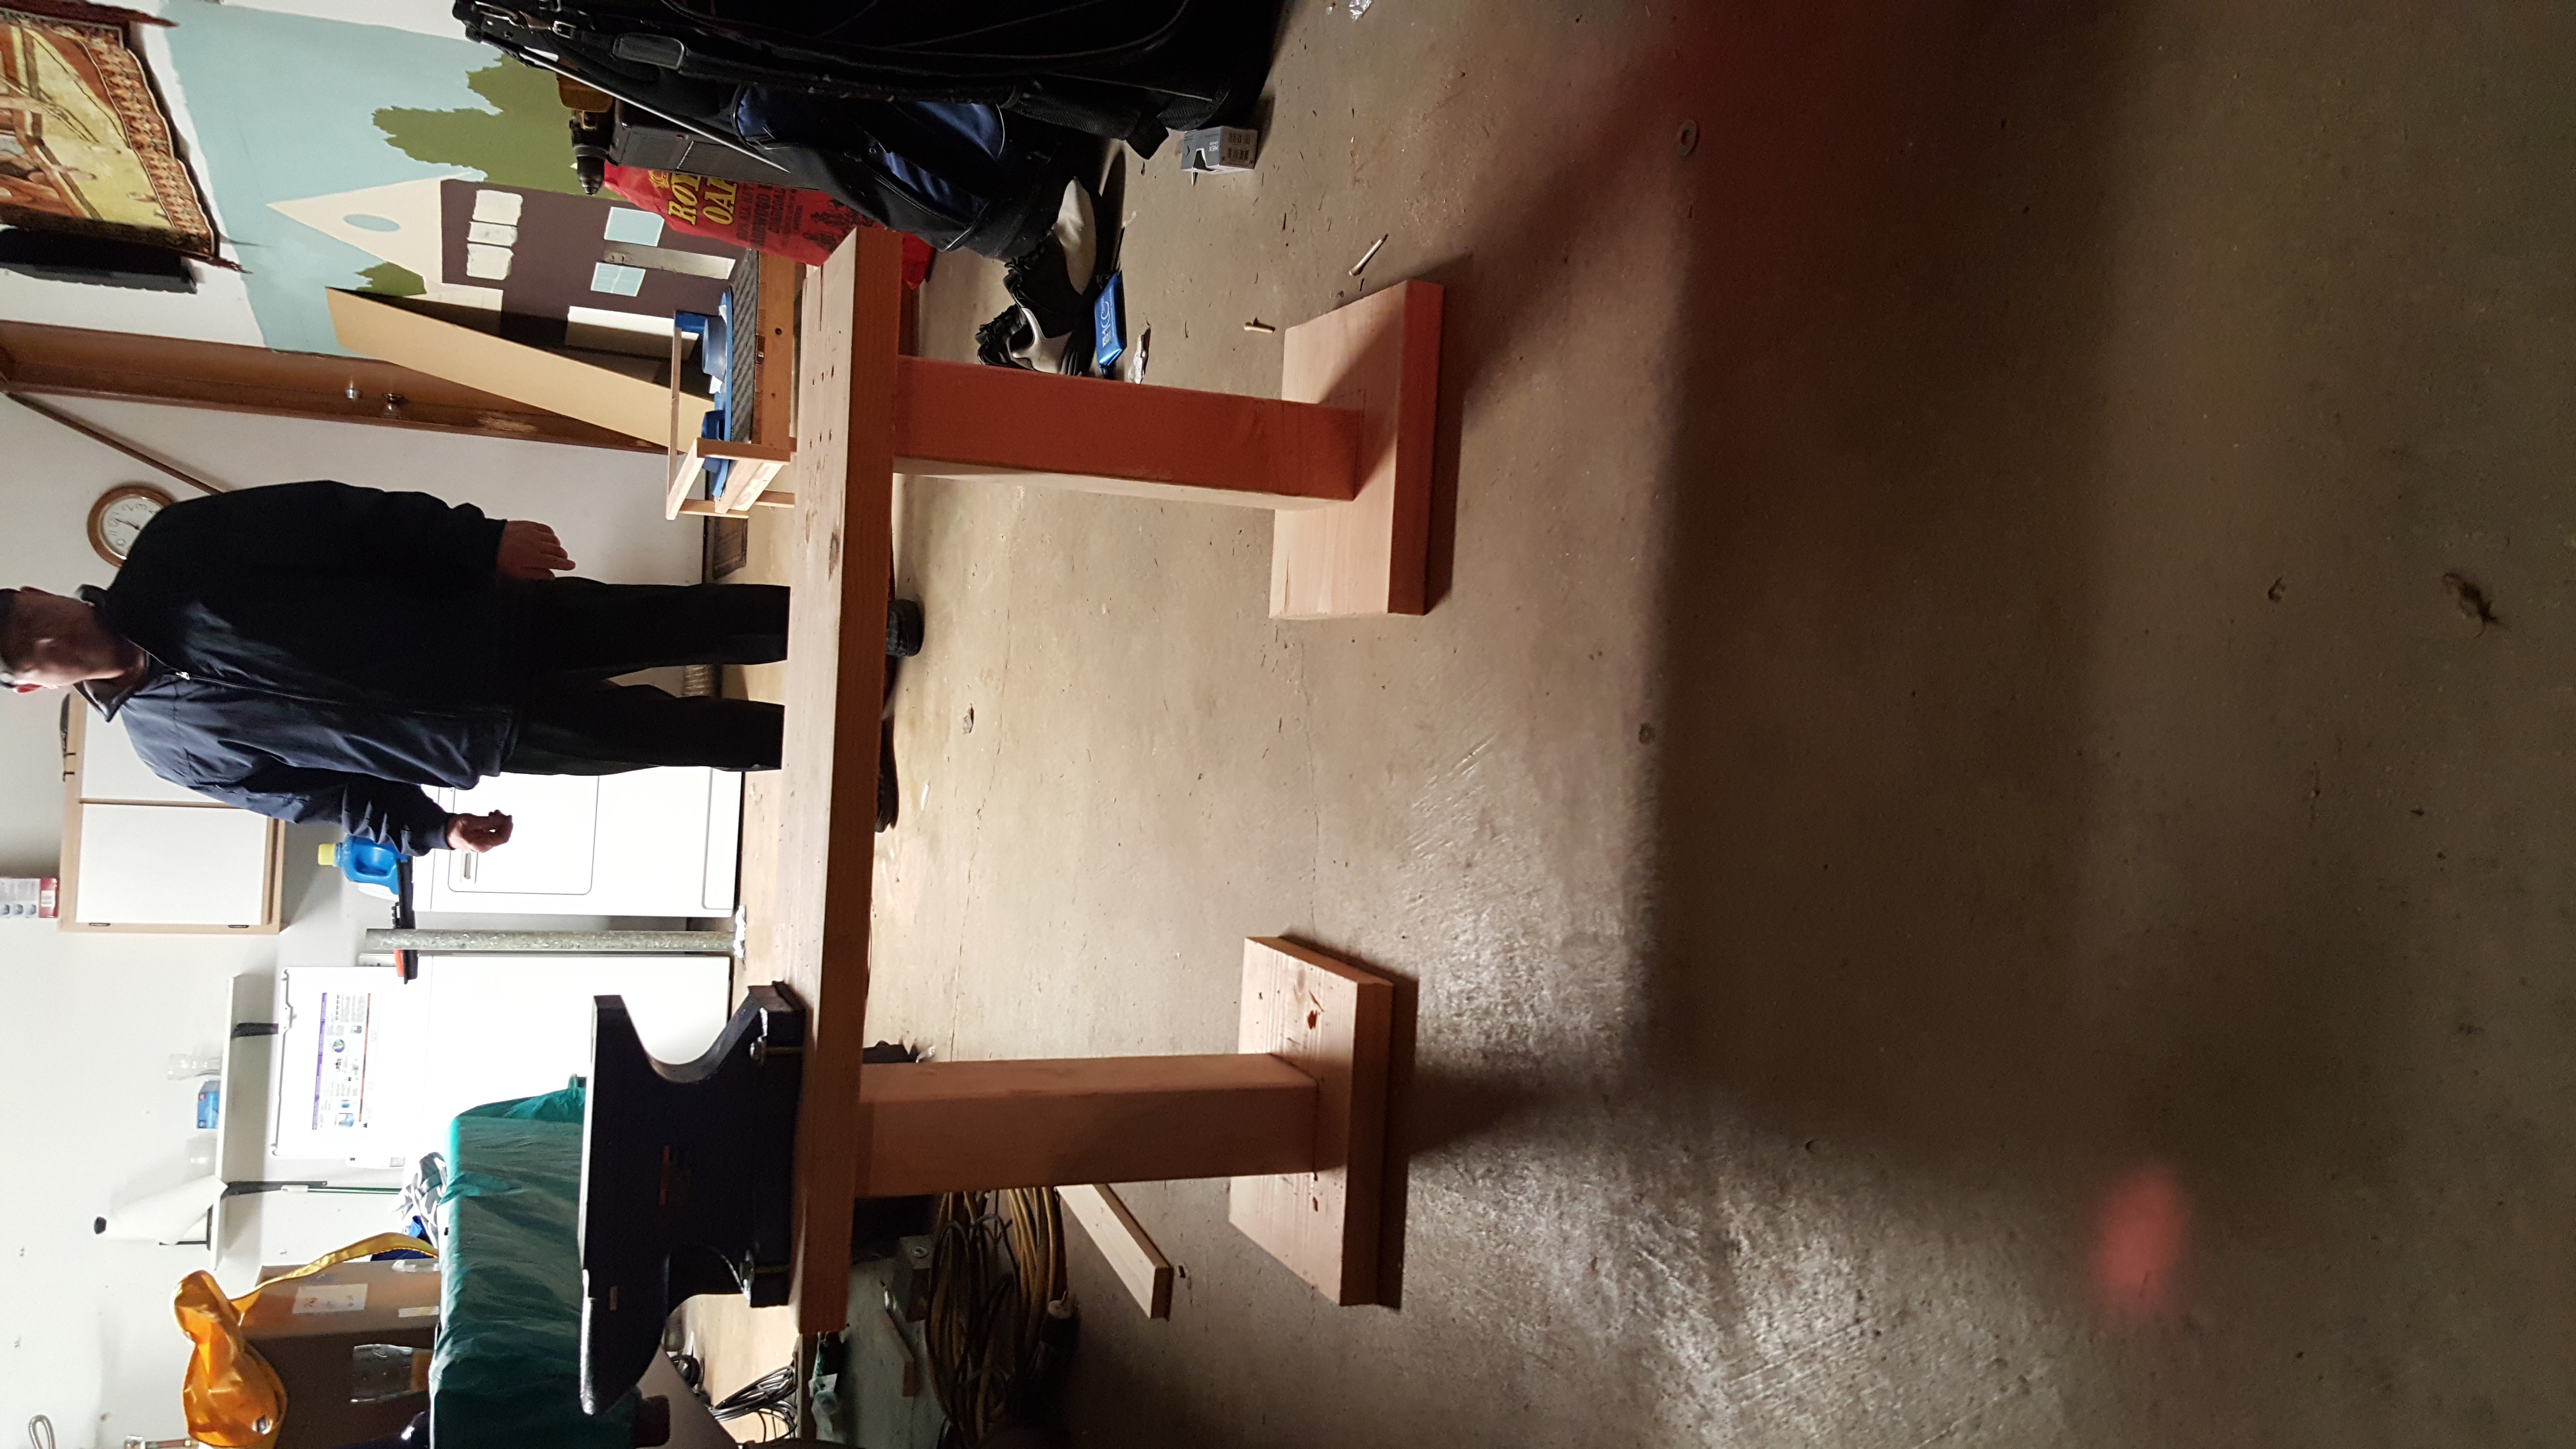
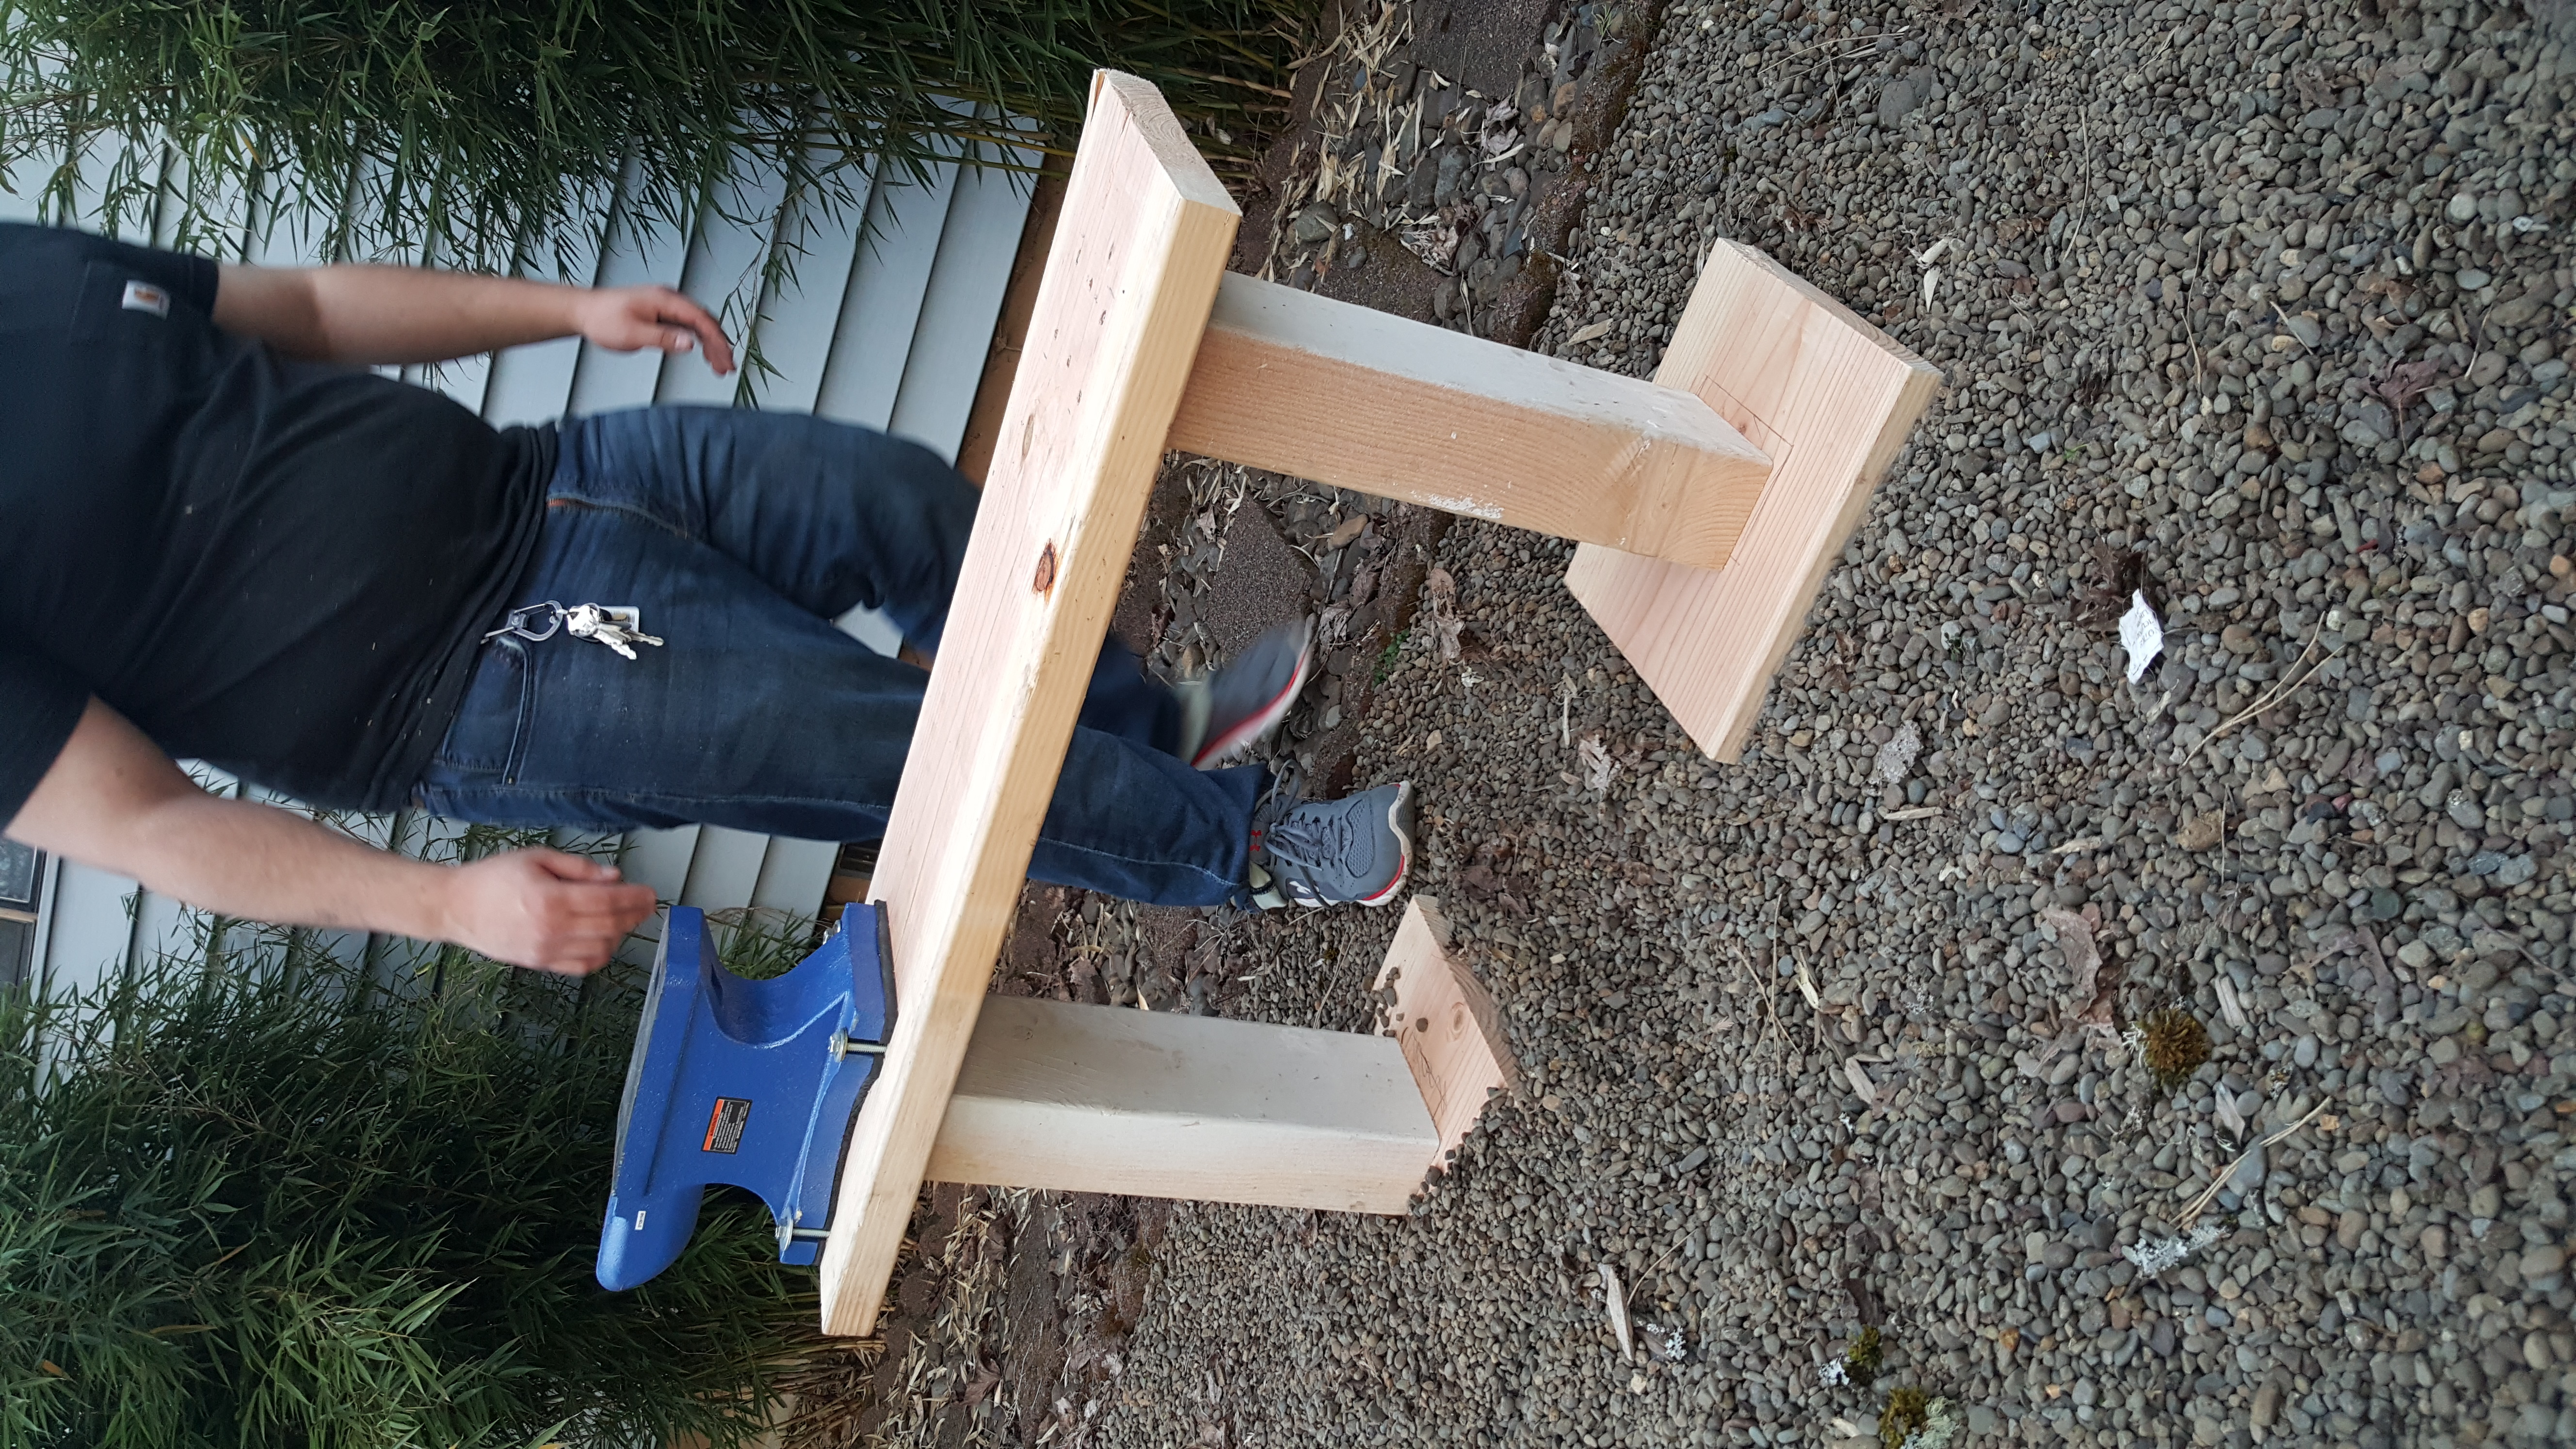
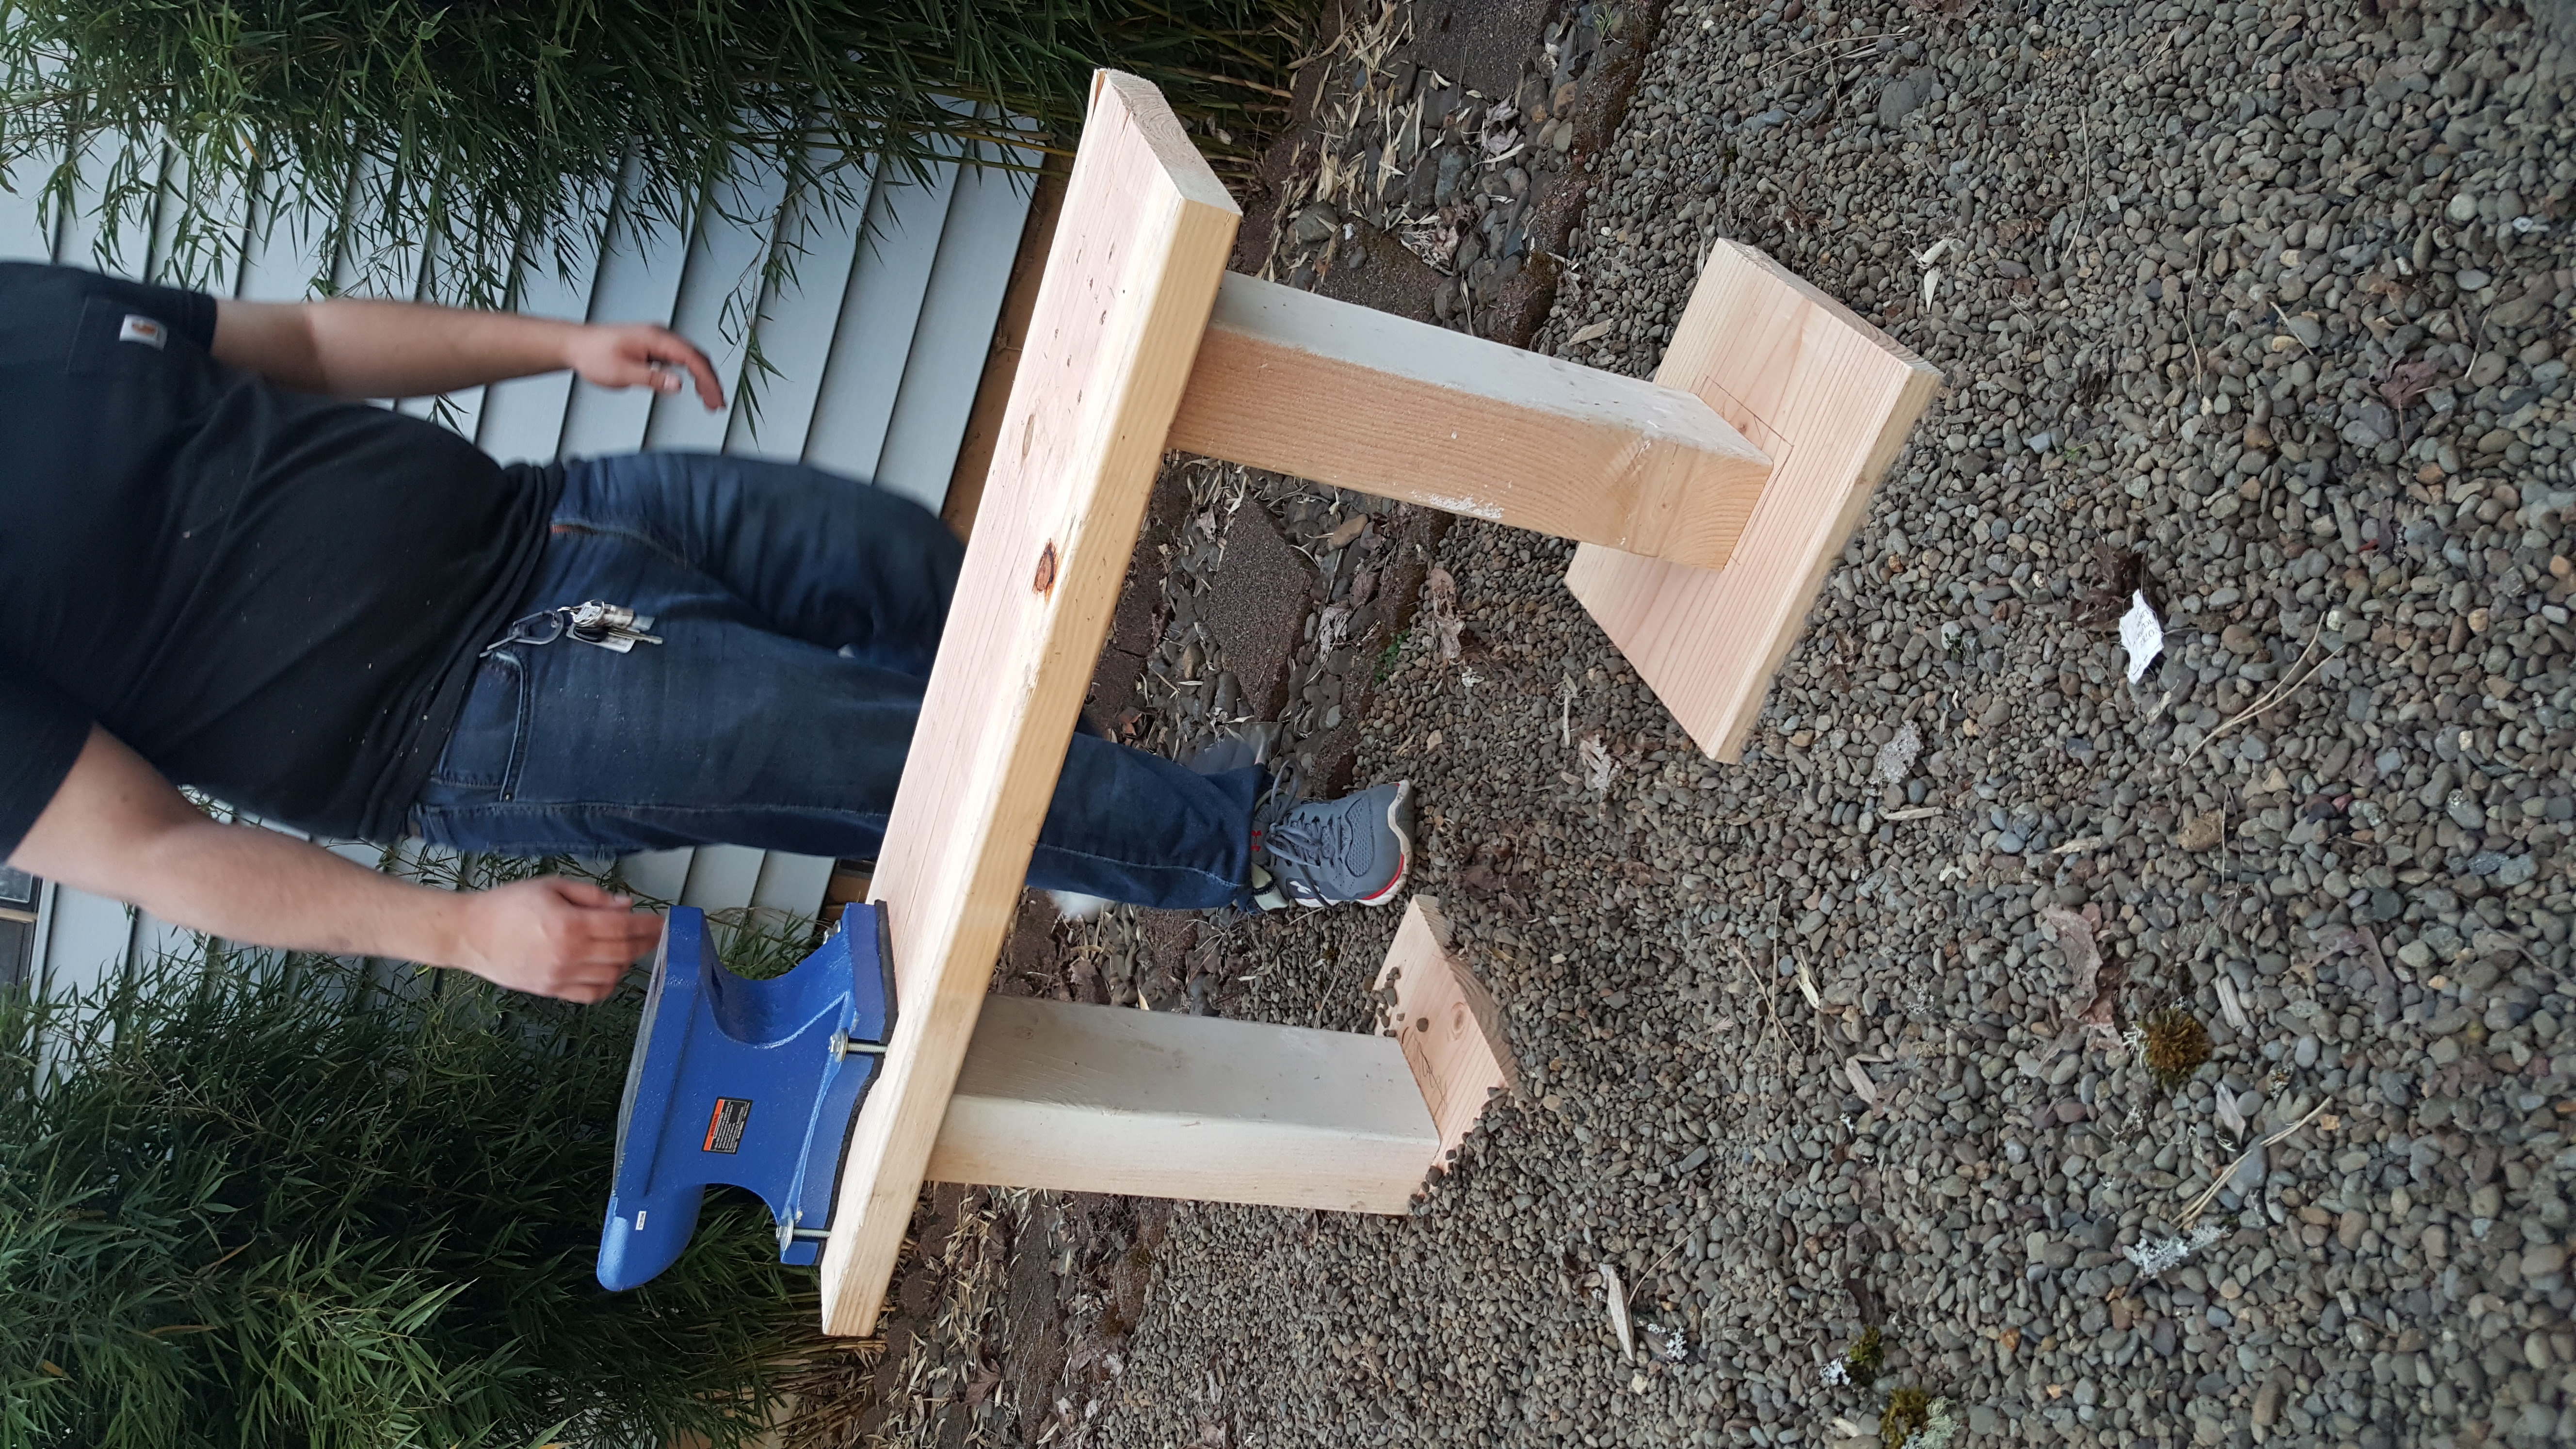
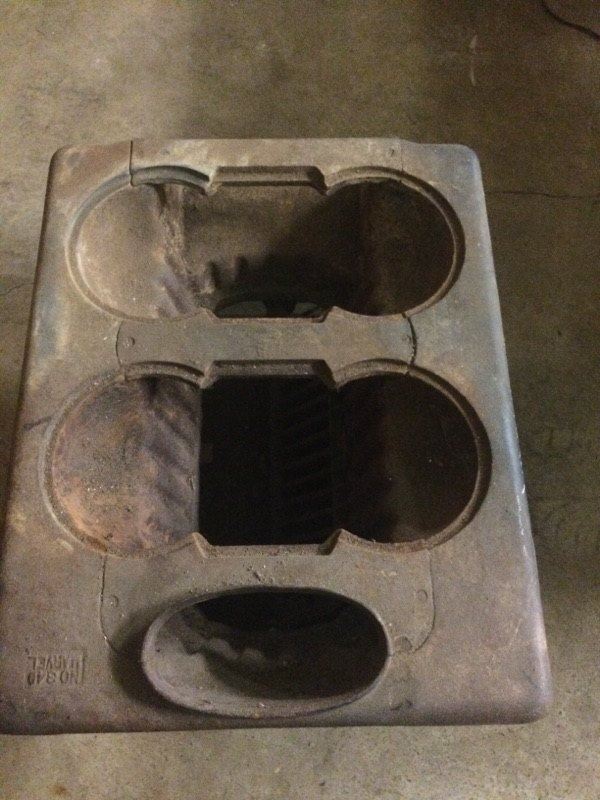
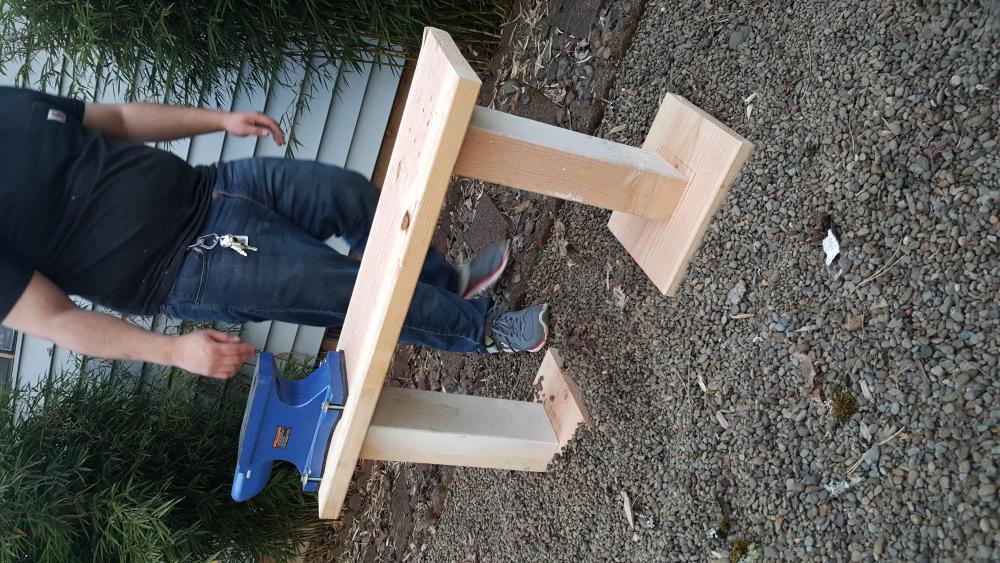
Hello, I am brand new to smithing and I am excited to start the craft. I have a makeshift forge and i am in the process of building a anvil stand. (Pics of the forge below) I am looking for any tips/tricks that you guys/girls would be wiling to provide. I will post update pictures as I progress. **update** Here is the anvil stand I made, I plan on reinforcing the legs and I left room for a vise on the other side. The face of the anvil is just about at my knuckles which i read is a good height. ***update*** Started the first fire and started to smith a little, the forge worked fine just have to get used to the whole craft, I am going to be buying some rebar to forge with to get used to it. The forge heats the stock well which was a railroad spike in this case, I need to get used to holding the stock and holding it still.


-
-
****update***** Here is the anvil stand I made, I plan on reinforcing the legs and I left room for a vise on the other side. The face of the anvil is just about at my knuckles which j read is a good height. (That is not me in the picture). As far the forge goes, I have already put sometime into it so I am going to test it out and see how it goes. I will post pictures of the first fire in the forge.


-
-
Hello, I am brand new to smithing and I am excited to start the craft. I have a makeshift forge and i am in the process of building a anvil stand. (Pics of the forge below) I am looking for any tips/tricks that you guys/girls would be wiling to provide. I will post update pictures as I progress.