

AdamG
-
Posts
106 -
Joined
-
Last visited
Content Type
Profiles
Forums
Articles
Gallery
Downloads
Events
Posts posted by AdamG
-
-
Why not make your vertical piece twice as thick? Just weld squares together until you get a rectangular prism that's at least 4"x6" on top. You can weld on harder steel if you like, or a hardie hole on the side, but just get a mass of steel together and start pounding! With that much iron, you can make ten of them, all in different shapes!
-
I would love an Anyang. I just got my Kinyon style hammer going but my skills are rough, so the hammer is too! Nice to have something that hits harder than me for a change; I had the valve plumbed so that air was trapped in the 'up' side of the chamber and never hit worth a xxxx. Now it hits hard enough to make me worry about my welds!
-
This is amazing. Thanks for that chart. I have been planning to go back to the single valve, but being able to fine-tune my existing setup is also great. It would have been difficult without knowing this.
In the end, I'll have a single valve that can be moved up/down based on where it pinches onto a vertical rib on that slide/retaining bar on the left side. I just replaced my garage door opener and the old one had a long acme threaded rod that I was contemplating using for this, but I think it's simpler to stick with my current design.
One other thing... I think I have noticed that the bolt heads that hold the ram onto its back plate are grazing up against an unevenness in the slot I carved for them on the back side. This creates some lateral motion (elbow articulation at the clevis pin) that I don't like. Next chance I get I'll tear it down and grind out that slot to avoid this rubbing.
-
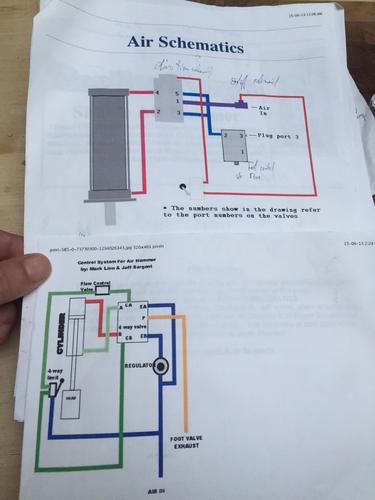
...going to the control valves...
-
Just in case, I will increase the pressure going to the co trip valves and make sure they both leak a bit so that the shuttle inside the main valve gets moved back and forth properly.
That's part about the original plans that didn't make sense to me; you may send air to one side or the other, but unless the other side can vent somehow, the shuttle won't see differential pressure and move!
Muhahaha!
-
-
Wait a minute... I think the issue is with trying to use this 'balanced' system as in these diagrams:
I need to ensure that the exhaust of the up stroke goes to exhaust when moving down (i.e. not to a sealed dead end), and vice versa. I thought it did, but I'll have to check. If on the 'down' stroke the air can't vent, I need to rearrange the P and EA/EB approach for exhaust. I see bleeding knuckles in my future (hose clamps always seem to bite me).

-
I think you have nailed it. Even though I have a needle valve regulator on the up hose, enough air gets trapped in there that I can hardly contact the dies at full throttle. But if I power the second valve any further, stock wider than 1" will make it stick closed like in the video.
I was going to go back to the single valve, but this is the reason I went to two.
The hoses, threads and barbs are all 1/2", which is the biggest I could find for the 6-port valve and cylinder. Do you know how to avoid this cushioning? I could also extend the exhaust and branch it (in place of the silencer) but I'm not sure the issue is exhaust, or this air cushion.
As for binding, it does shudder a bit, but not terribly. Maybe I'll make a new video today.
Just in case, I will increase the pressure going to the co trip valves and make sure they both leak a bit so that the shuttle inside the main valve gets moved back and forth properly.
That's part about the original plans that didn't make sense to me; you may send air to one side or the other, but unless the other side can vent somehow, the shuttle won't see differential pressure and move!
-
I'll have to look. I think it was 12-13 cfm at 90 psi. It's a 4-cyl compressor with 5 hp motor on a 60-gal tank. That pneumatic cylinder on my hammer is pretty wide... if I could have found one narrower, I'm sure it would be more efficient. I think the reason I went with this one was the shaft diameter (which was beefy). I might see if a smaller cylinder would fit, but I might have to make an adapter plate, as I drilled out a big hole for the actuator/shaft, and the bolt holes only have so much steel.
I told myself that the cylinder would probably be the first thing to fail, so when it goes, I might try the other size! I couldn't figure a way to run that ram through a round bushing (I don't have a lathe etc). The plate-bolted-on design probably doesn't win any awards, but at least holds it roughly aligned vertically, and should keep the ram from flopping off, but it isn't a precise kind of system. -
Hmmm. I did buy a big compressor... 5 hp 60 gal tank, but it might be a bit less than 17 cfm. I figured I should get at least a few good hits before it slows down, especially with 1" hose (until the final piping around the valves etc, which are 1/2". I might take the silencer off the exhaust to check if that helps.
-
Just google for Kinyon air hammer and you'll find his website. He also sells what he calls sidearm burners or something like that, so you can search that too.
I just built one, and would have to say that while it is compact, mine is a bit finicky (see thread from today's date).
-
Hi all,
i am just about our set up with the basics in my garage now, including the pneumatic hammer I have been working on for some time. It doesn't hit as hard as I expected though, so I thought I would check here and see if anyone has suggestions.
have a look:
-
Yeah, my anvil is quite soft (I'm not sure of the specifics but it's so ductile I can 'form' the roundness of the edge with a hammer with relatively mild blows).
My question was whether non-hardened 4140 would be hard enough to use as tools like hammer eye punches, hot chisels, and maybe hammers. I thought the hardness would be pulled out as they heated from the work, but I think I need all the efficiency I can get from my tools if my anvil is that soft. But I risk denting the anvil (no big deal if it's that ductile - I can just pound/grind it back into shape, as it won't chip).
I get that hardness is both a preference thing and a safety thing; being a new guy, I was wondering if non-hardened 4140 was just not hard enough. I'll just have to use these tools some more to see!
-
This is great material to read, especially as a new guy (which I am).
I would guess that if internal stress is that big a deal, the piece should be normalized before heat treating to reduce those stresses. Then you would have a safer quench, but still need to temper.
I have been trying to decide whether top tools made of 4140 need to be hardened, given that they are in contact with hot metal so much (even if cooled as you work). For example, I made a handled hammer eye punch and a hot chisel, and am planning some hammers, but I was not sure whether to bother hardening them at all. For one chisel, I hardened, but will have to temper before using (I forgot, but in future, I won't stop a project until tempering is done, just in case-- even if it's just fire tempering). I made a little hot cut hardie out of W2 welded to a scrap hardie plug and quenched in water, but it chipped to bits even against hot metal.
I was wondering if I should harden the hammer heads for the same reason, but I think I will, and then temper to dark straw. I like the hot drift approach. Right now I can't keep water in my shop because it freezes so xxxx fast (-20*C).
Please read up, Annealing is a form of heat treating
-
On 5/23/2016 at 6:37 AM, JAllcorn said:
I have a VFD on my Anyang C41 (88 lb) but my VFD is a different brand/model from yours, or at least looks different. I watched my electrician program it. You really need to know what you are doing. The (at least mine) VFD's are computers and have many settings. My VFD was made by Schneider Electric and I d/l a 90 something page manual from their website. I suggest you try to obtain a detailed programming manual and get someone knowledgeable to program it. It must be set correctly to work properly.
Good luck
James
Why use a VFD? Are you trying to slow down the flywheel? If so, please post again to let us know how it's working. Residentially, where I live, we don't get charged for electricity based on peak amps (just on total energy), so I can't see why you would use a VFD unless you were trying to slow it down. Maybe use it for speed control on a grinder instead?
-
Thanks, guys. That's about what I figured. That's the largest stock I have ever worked, and even with one of my burliest friends on a 12 lb sledge, I could see the surface moving more than the core. I was running out of propane, but I think the issue is that my forge just doesn't get hot enough. Or we were a bit impatient, but 2" is probably beyond the limit for my shop.
-
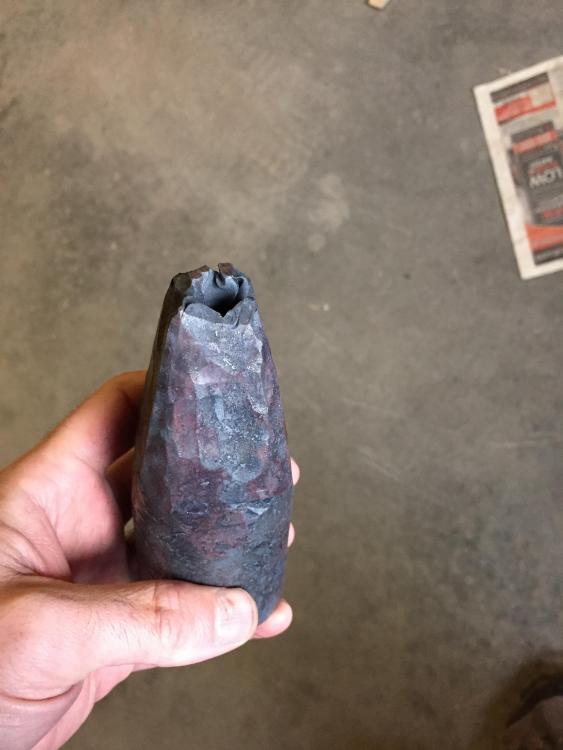
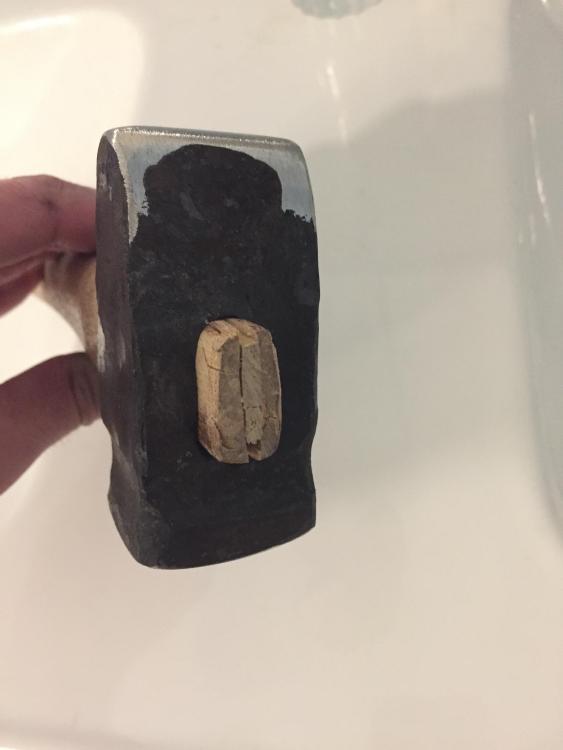
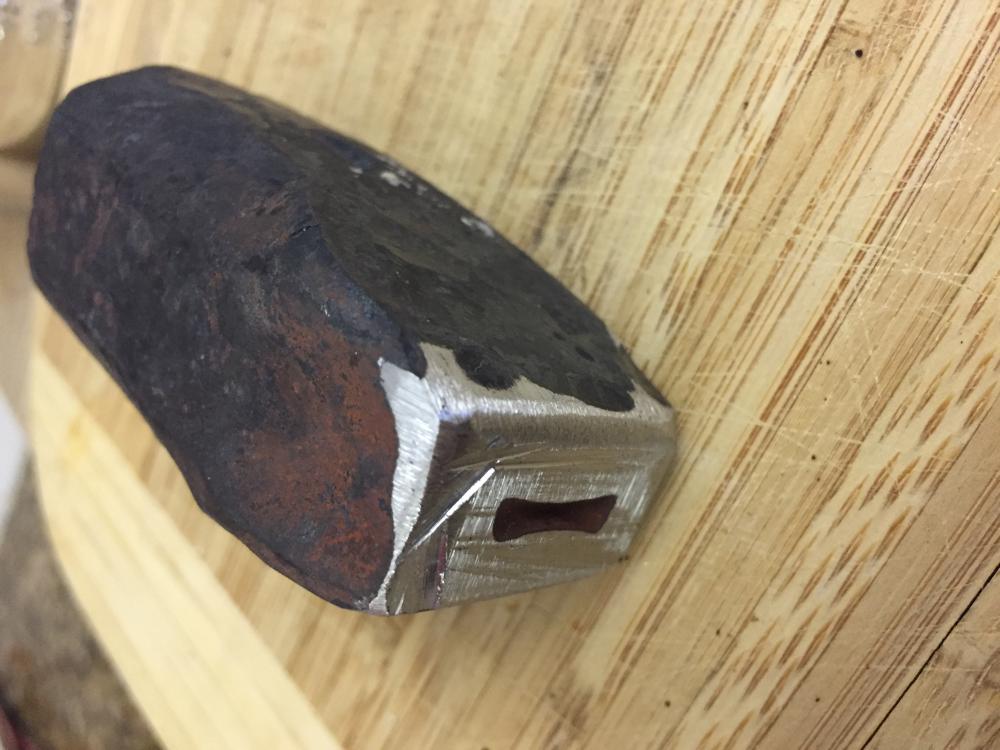
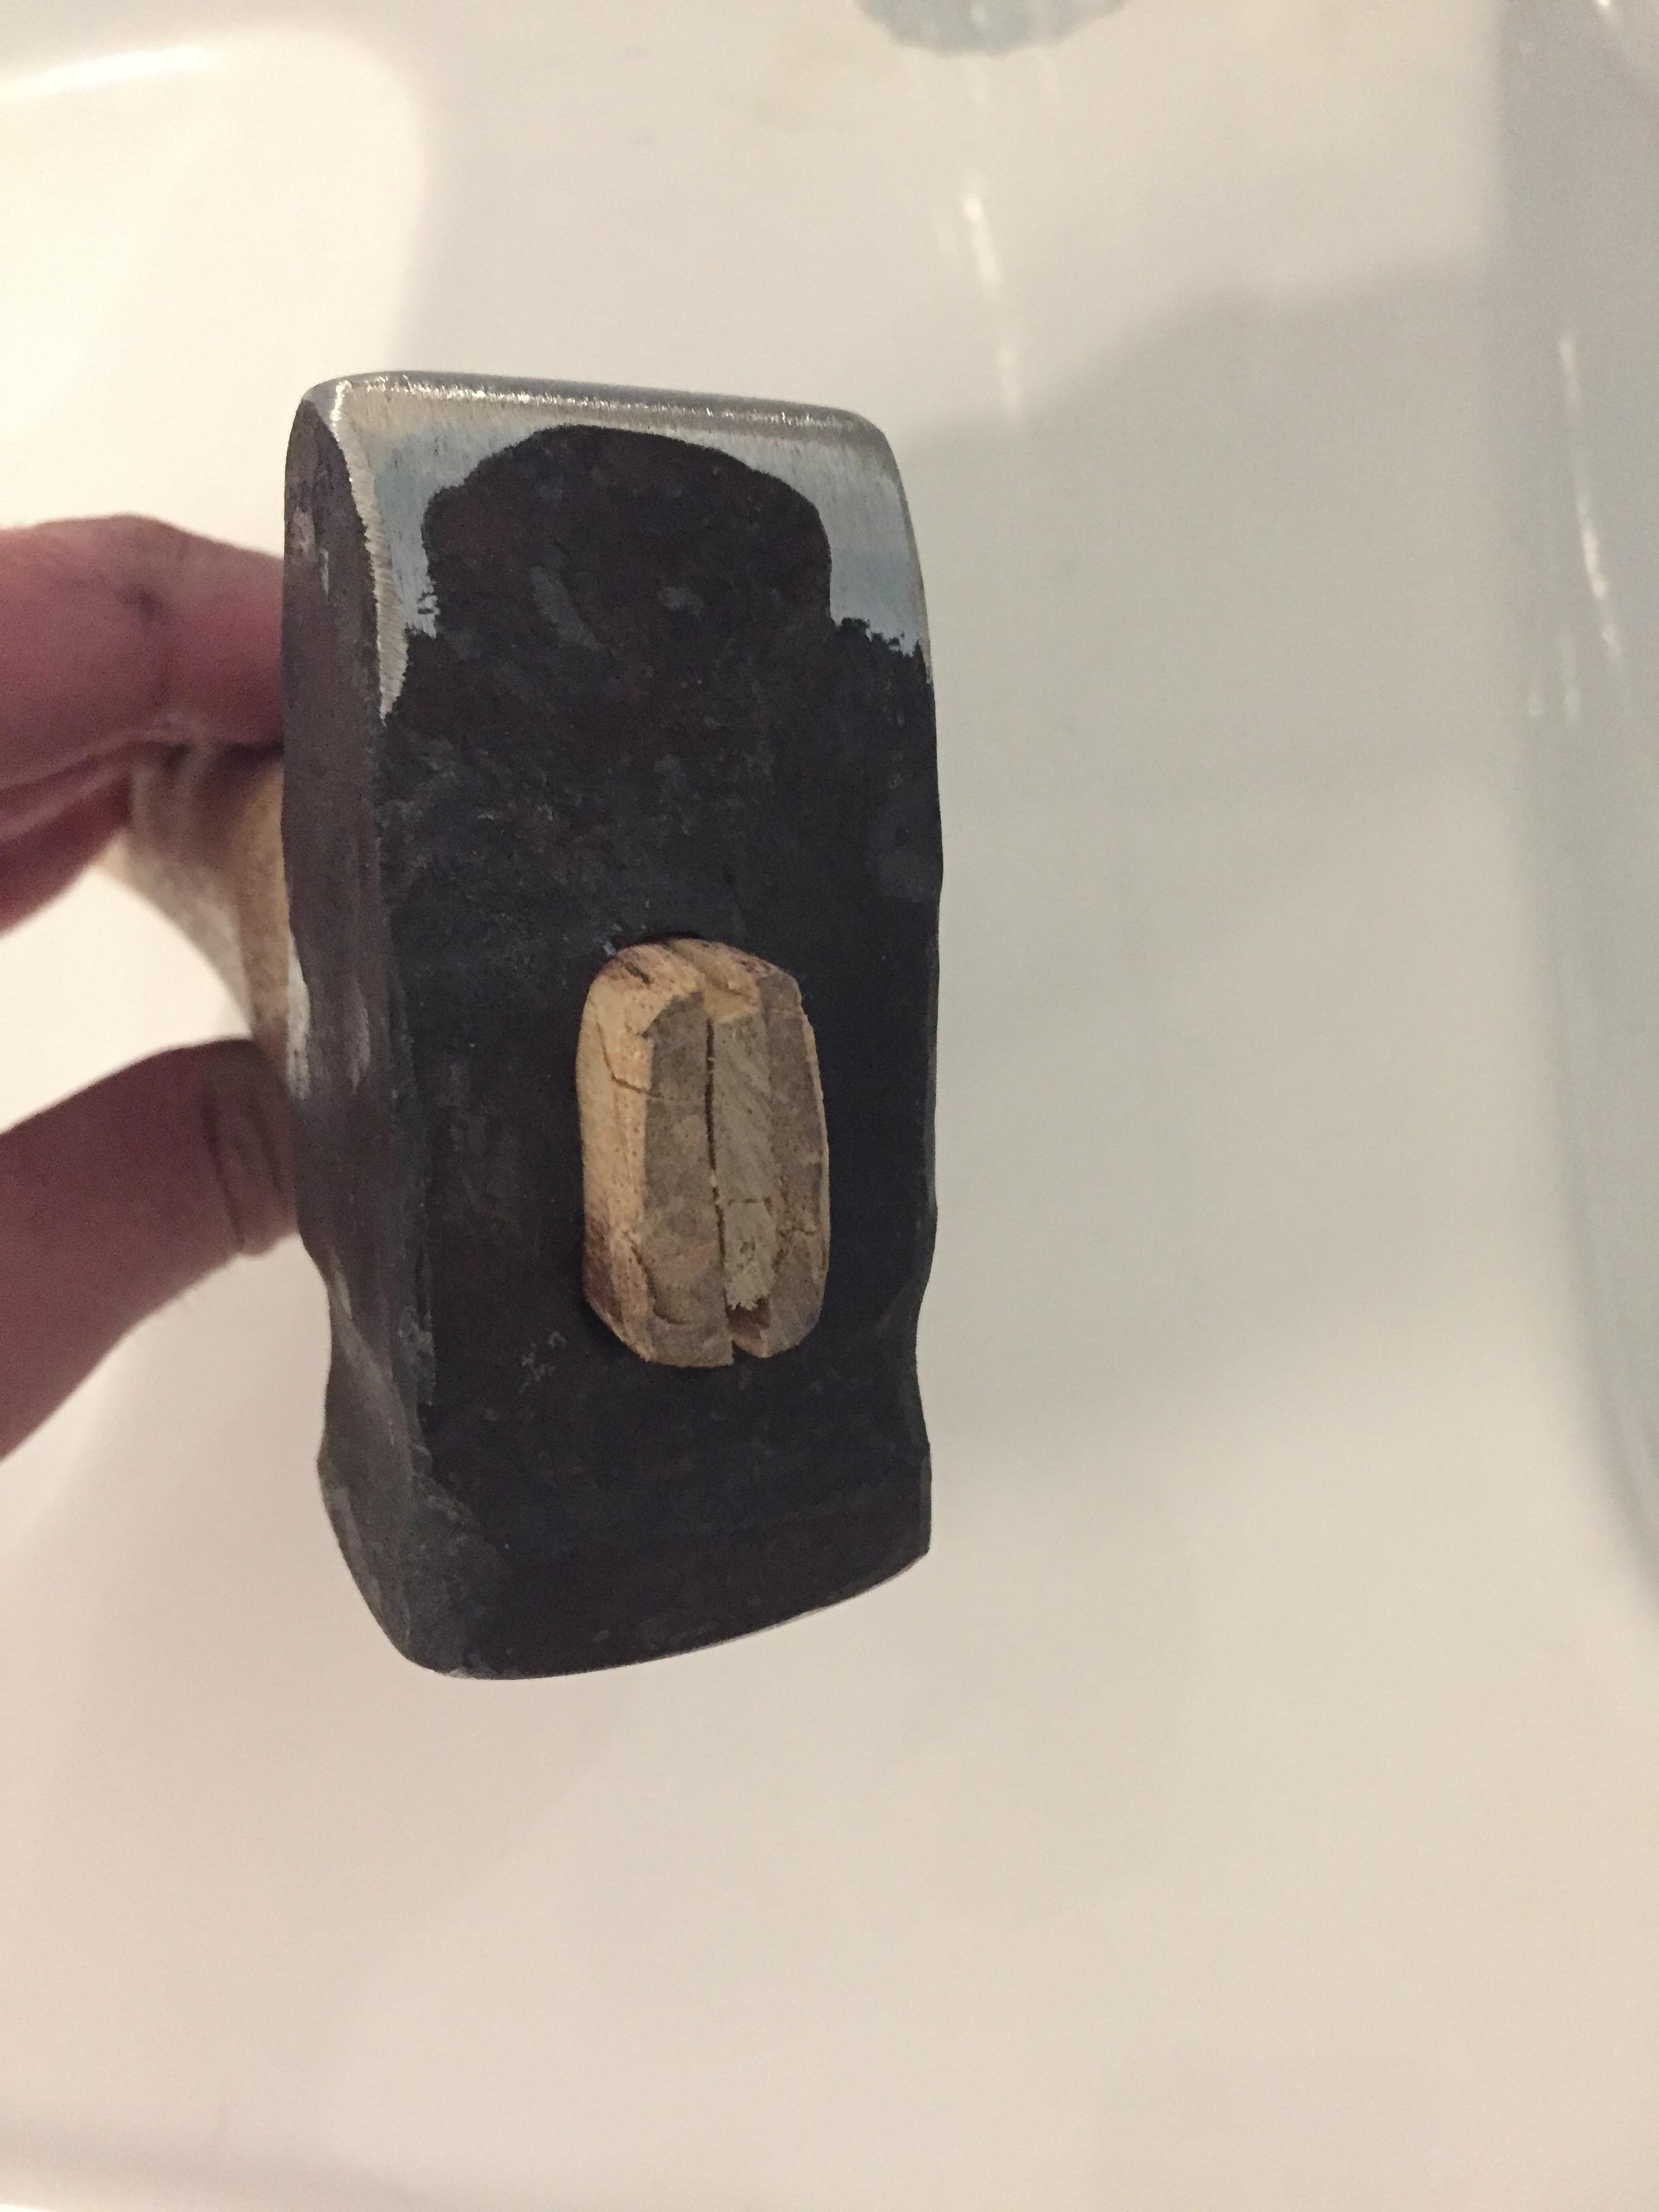
How much puckering is too much?
This is the start of a cupping tool, made of mild steel for making hammer heads of medium carbon steel (1045 or 4140 seem to be what I can find).
This picture is the tapered end of the hardy. Is this a problem?
-
I just hold the hammer face to a slack portion of my belt grinder and make a circular rocking motion, moving up in grit from 36 to say 120. Pretty forgiving unless you get your hand on the belt!
-
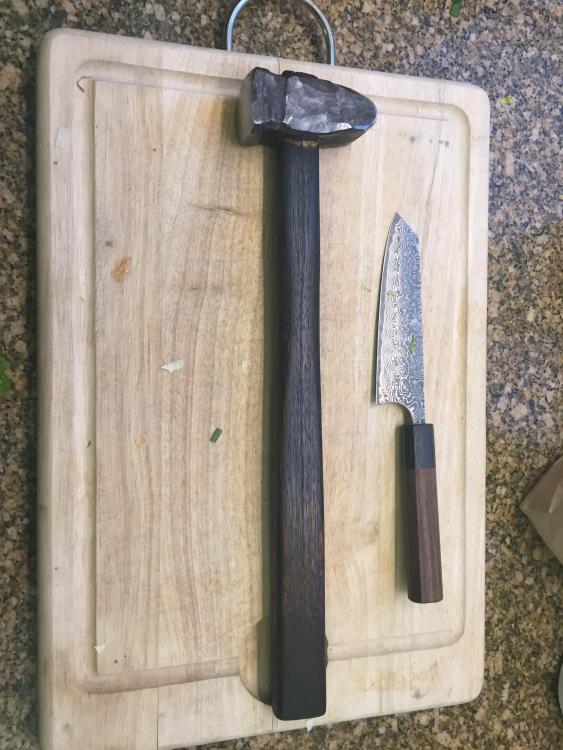
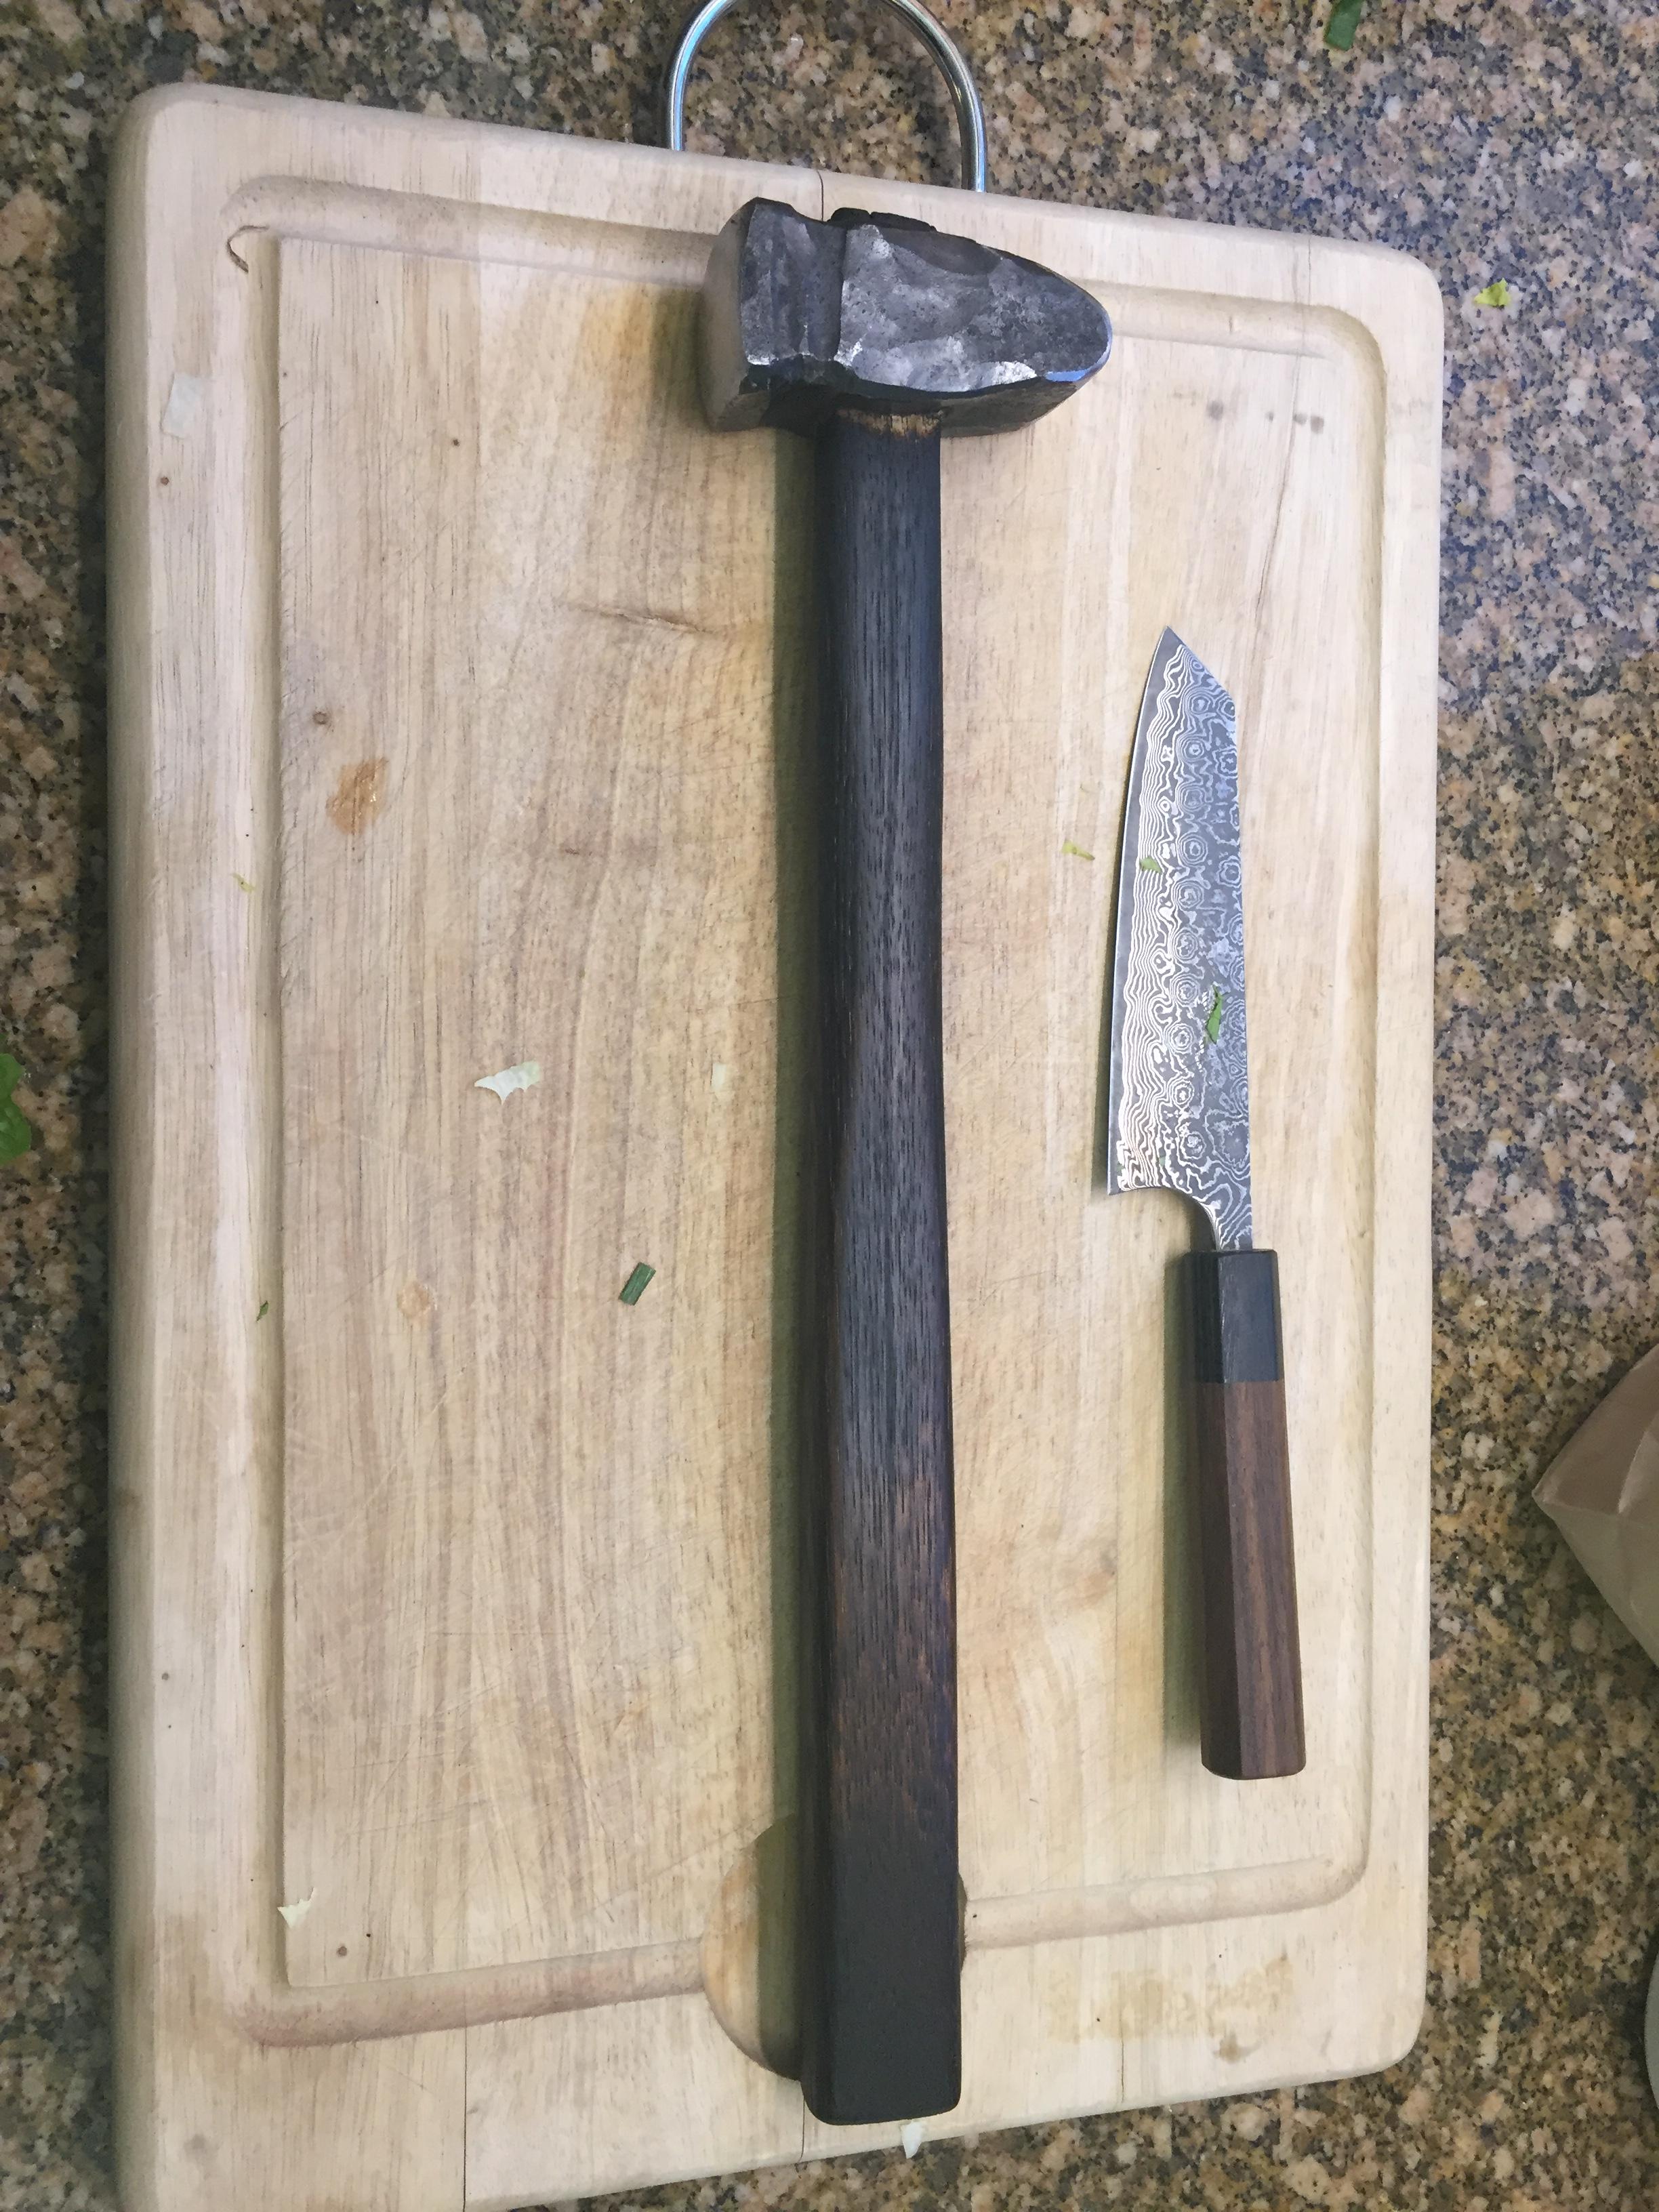
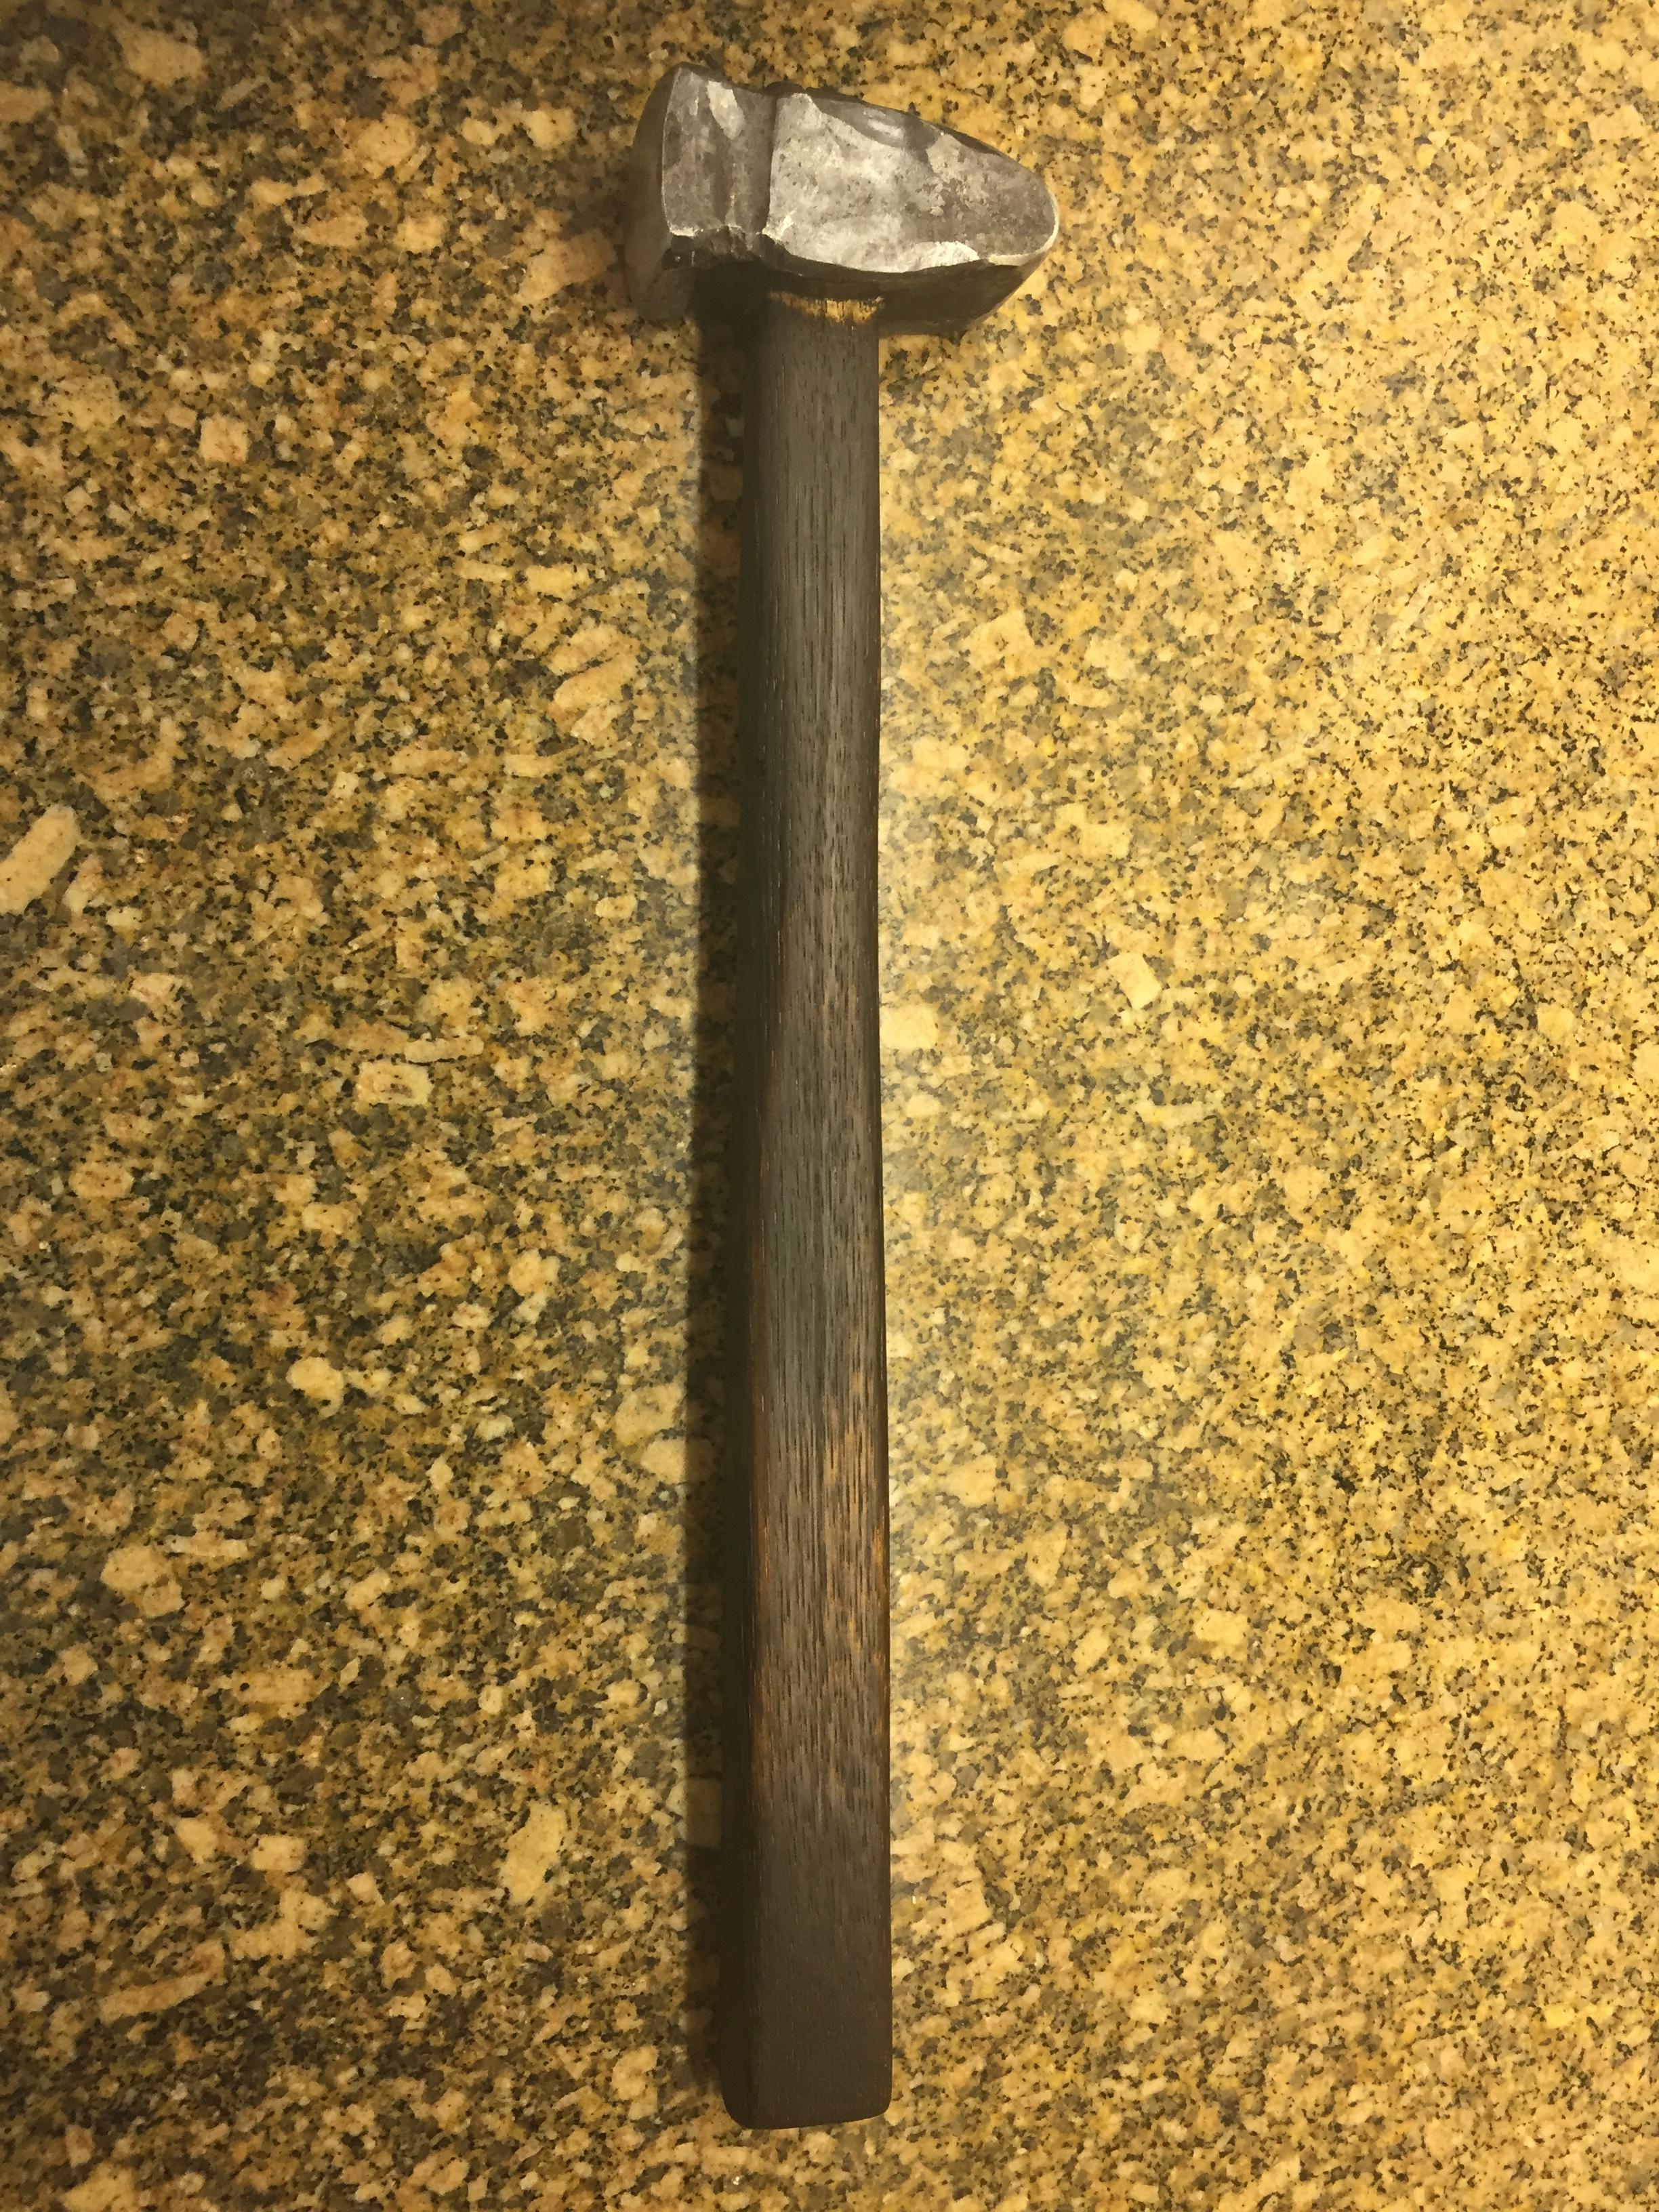
Just had to post. This looks way better with a filed-down and treated handle.
The knife is not my creation.
-
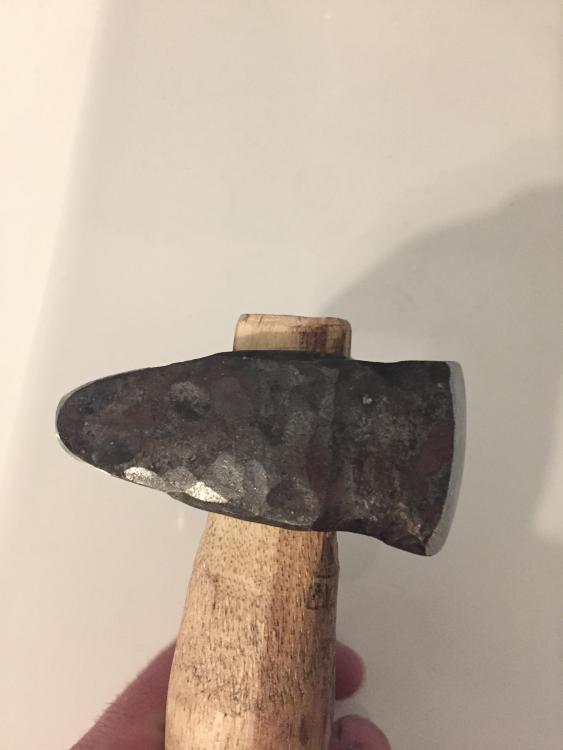
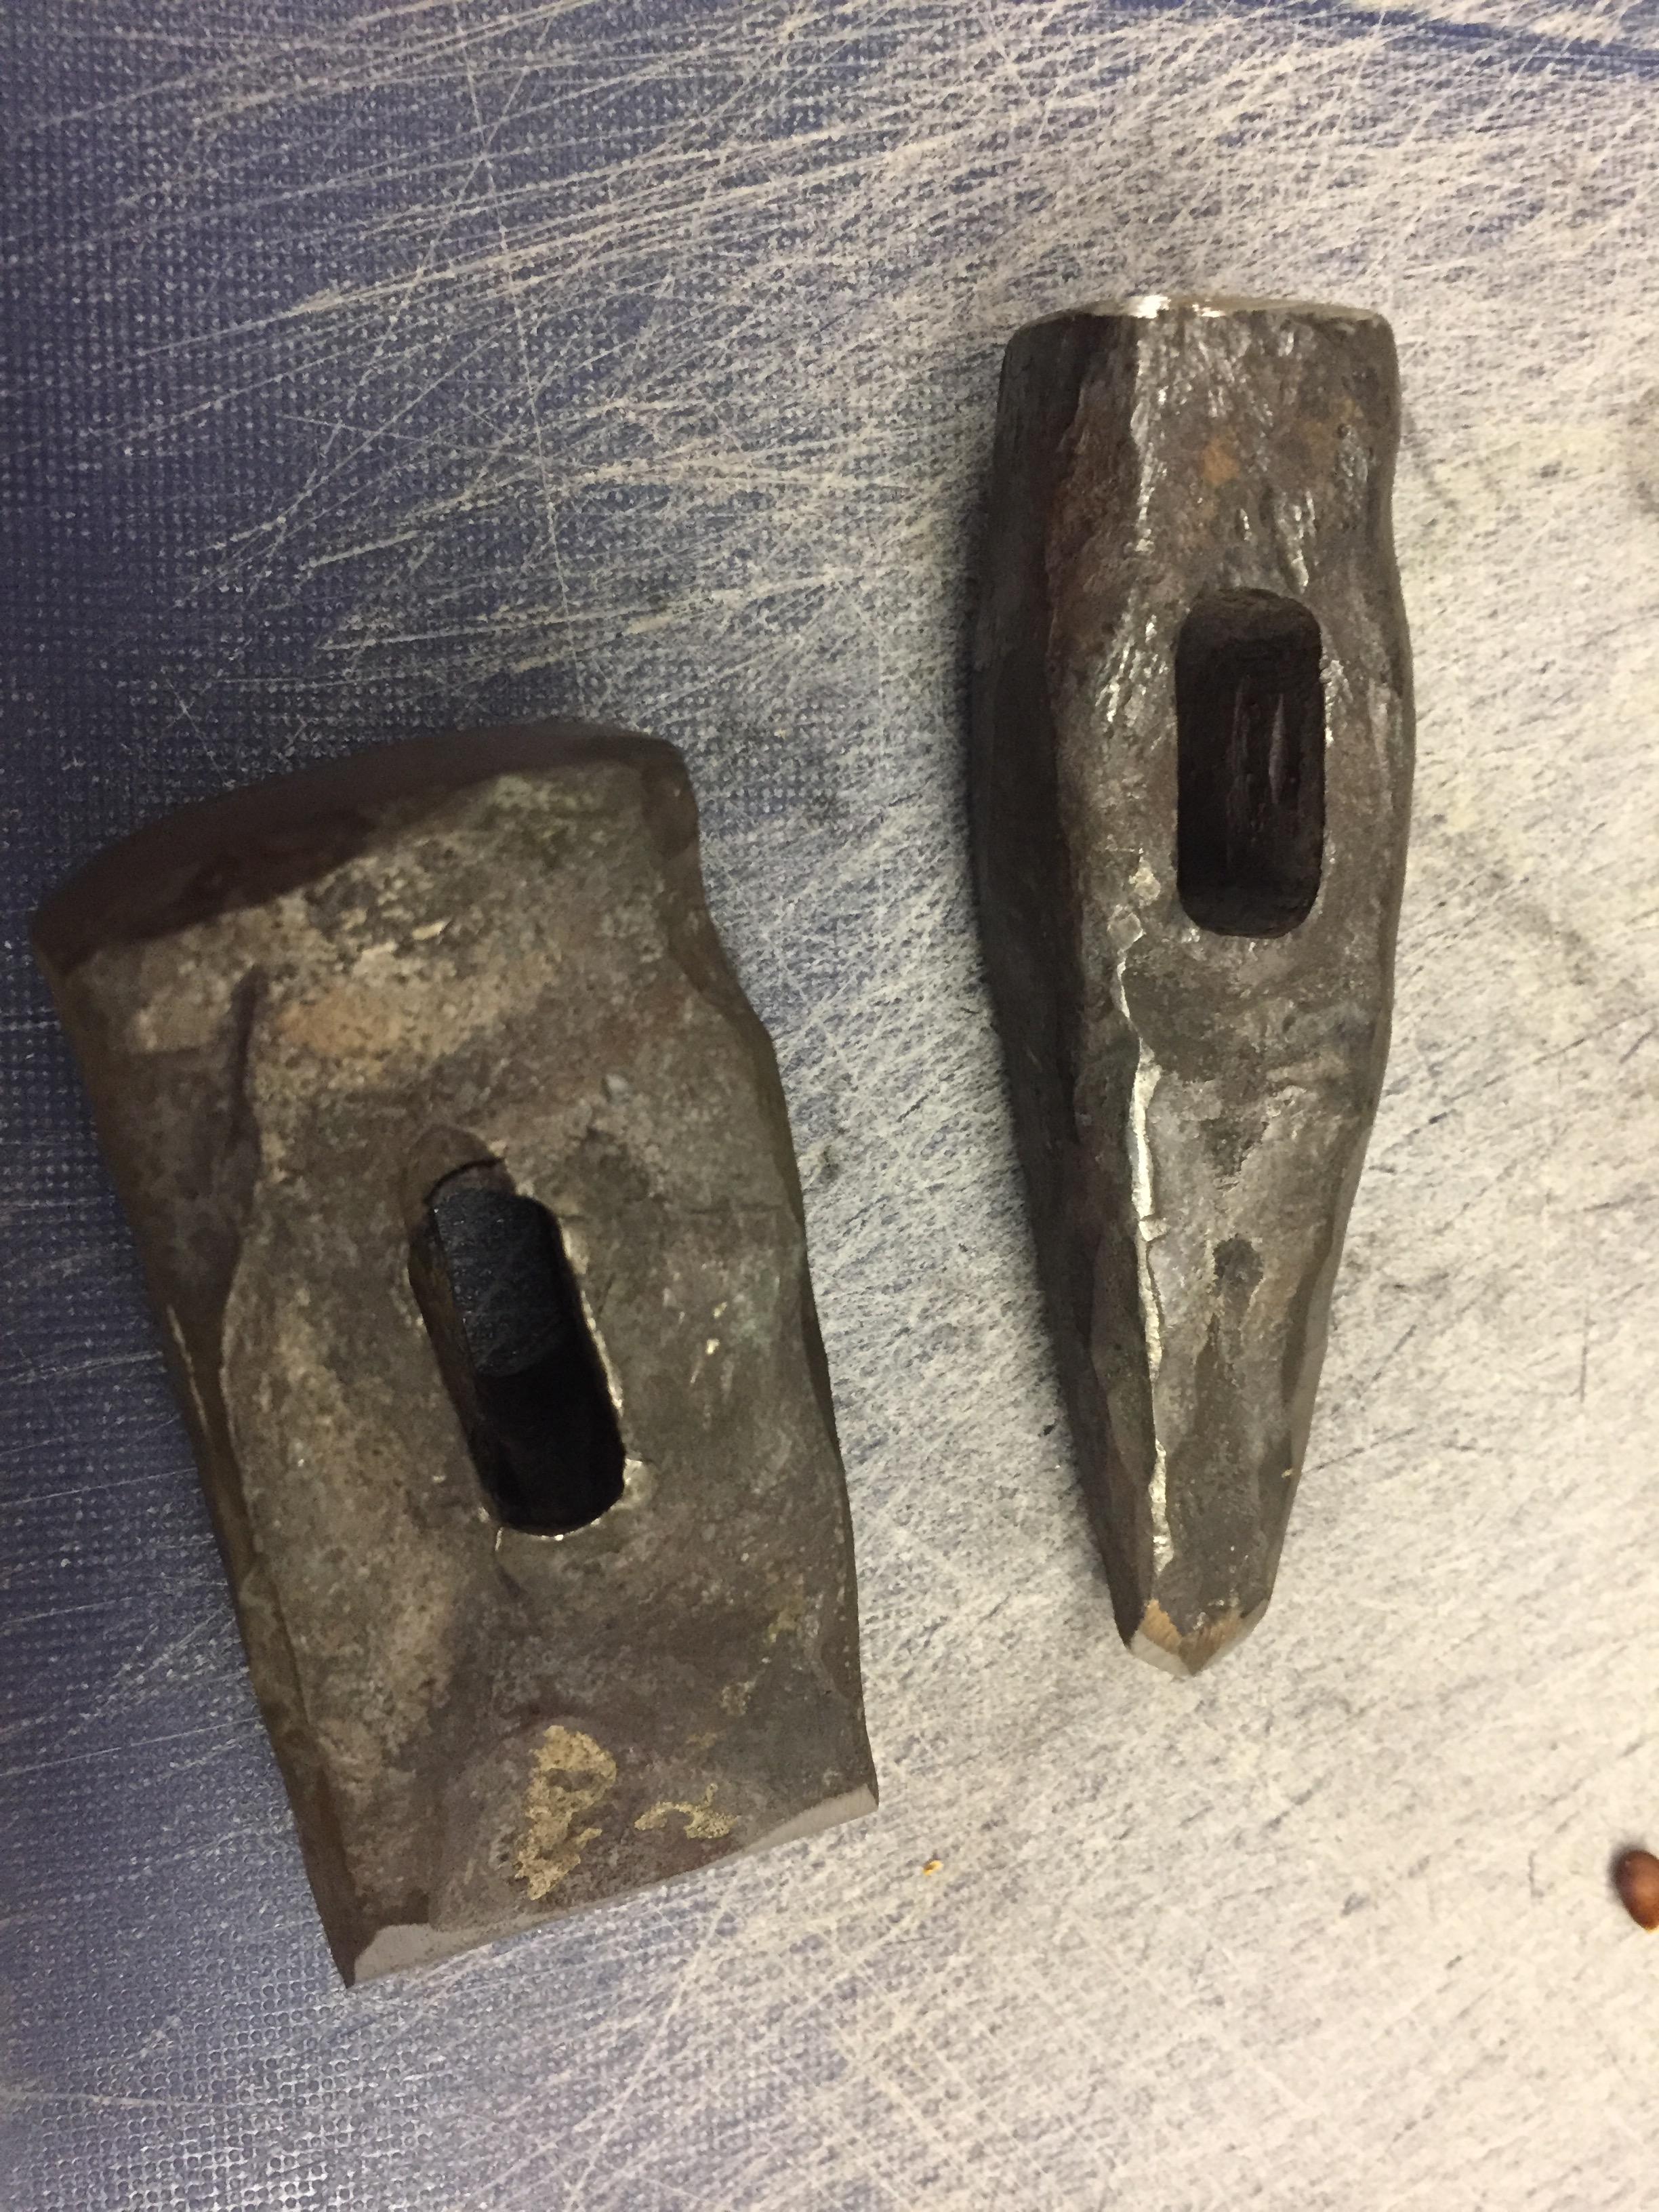
Finished my hammer eye punch and fuller. I think if I were to do this again I would change a few things with dimensions, more fullering on the hammer face of the cross-pein/fuller, etc.
I think I might need to make bigger eyes for future hammers too.


-
-
Well, those tongs are a bit weak, but they work. And I tried making a handled hammer eye punch, but decided it was too big so I made it into a cross-pein. However, it puckered up so much I had to cut off about 3/16" and still was left with a deep divot. I'll have to pay more attention next time.
-
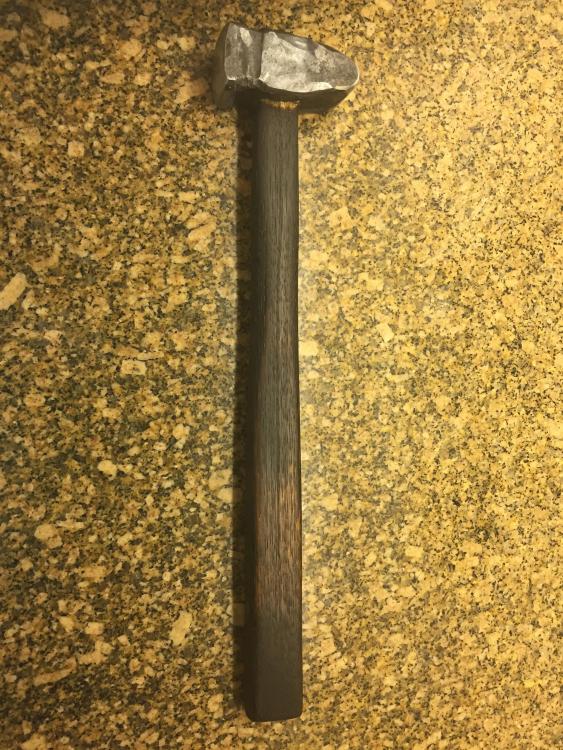
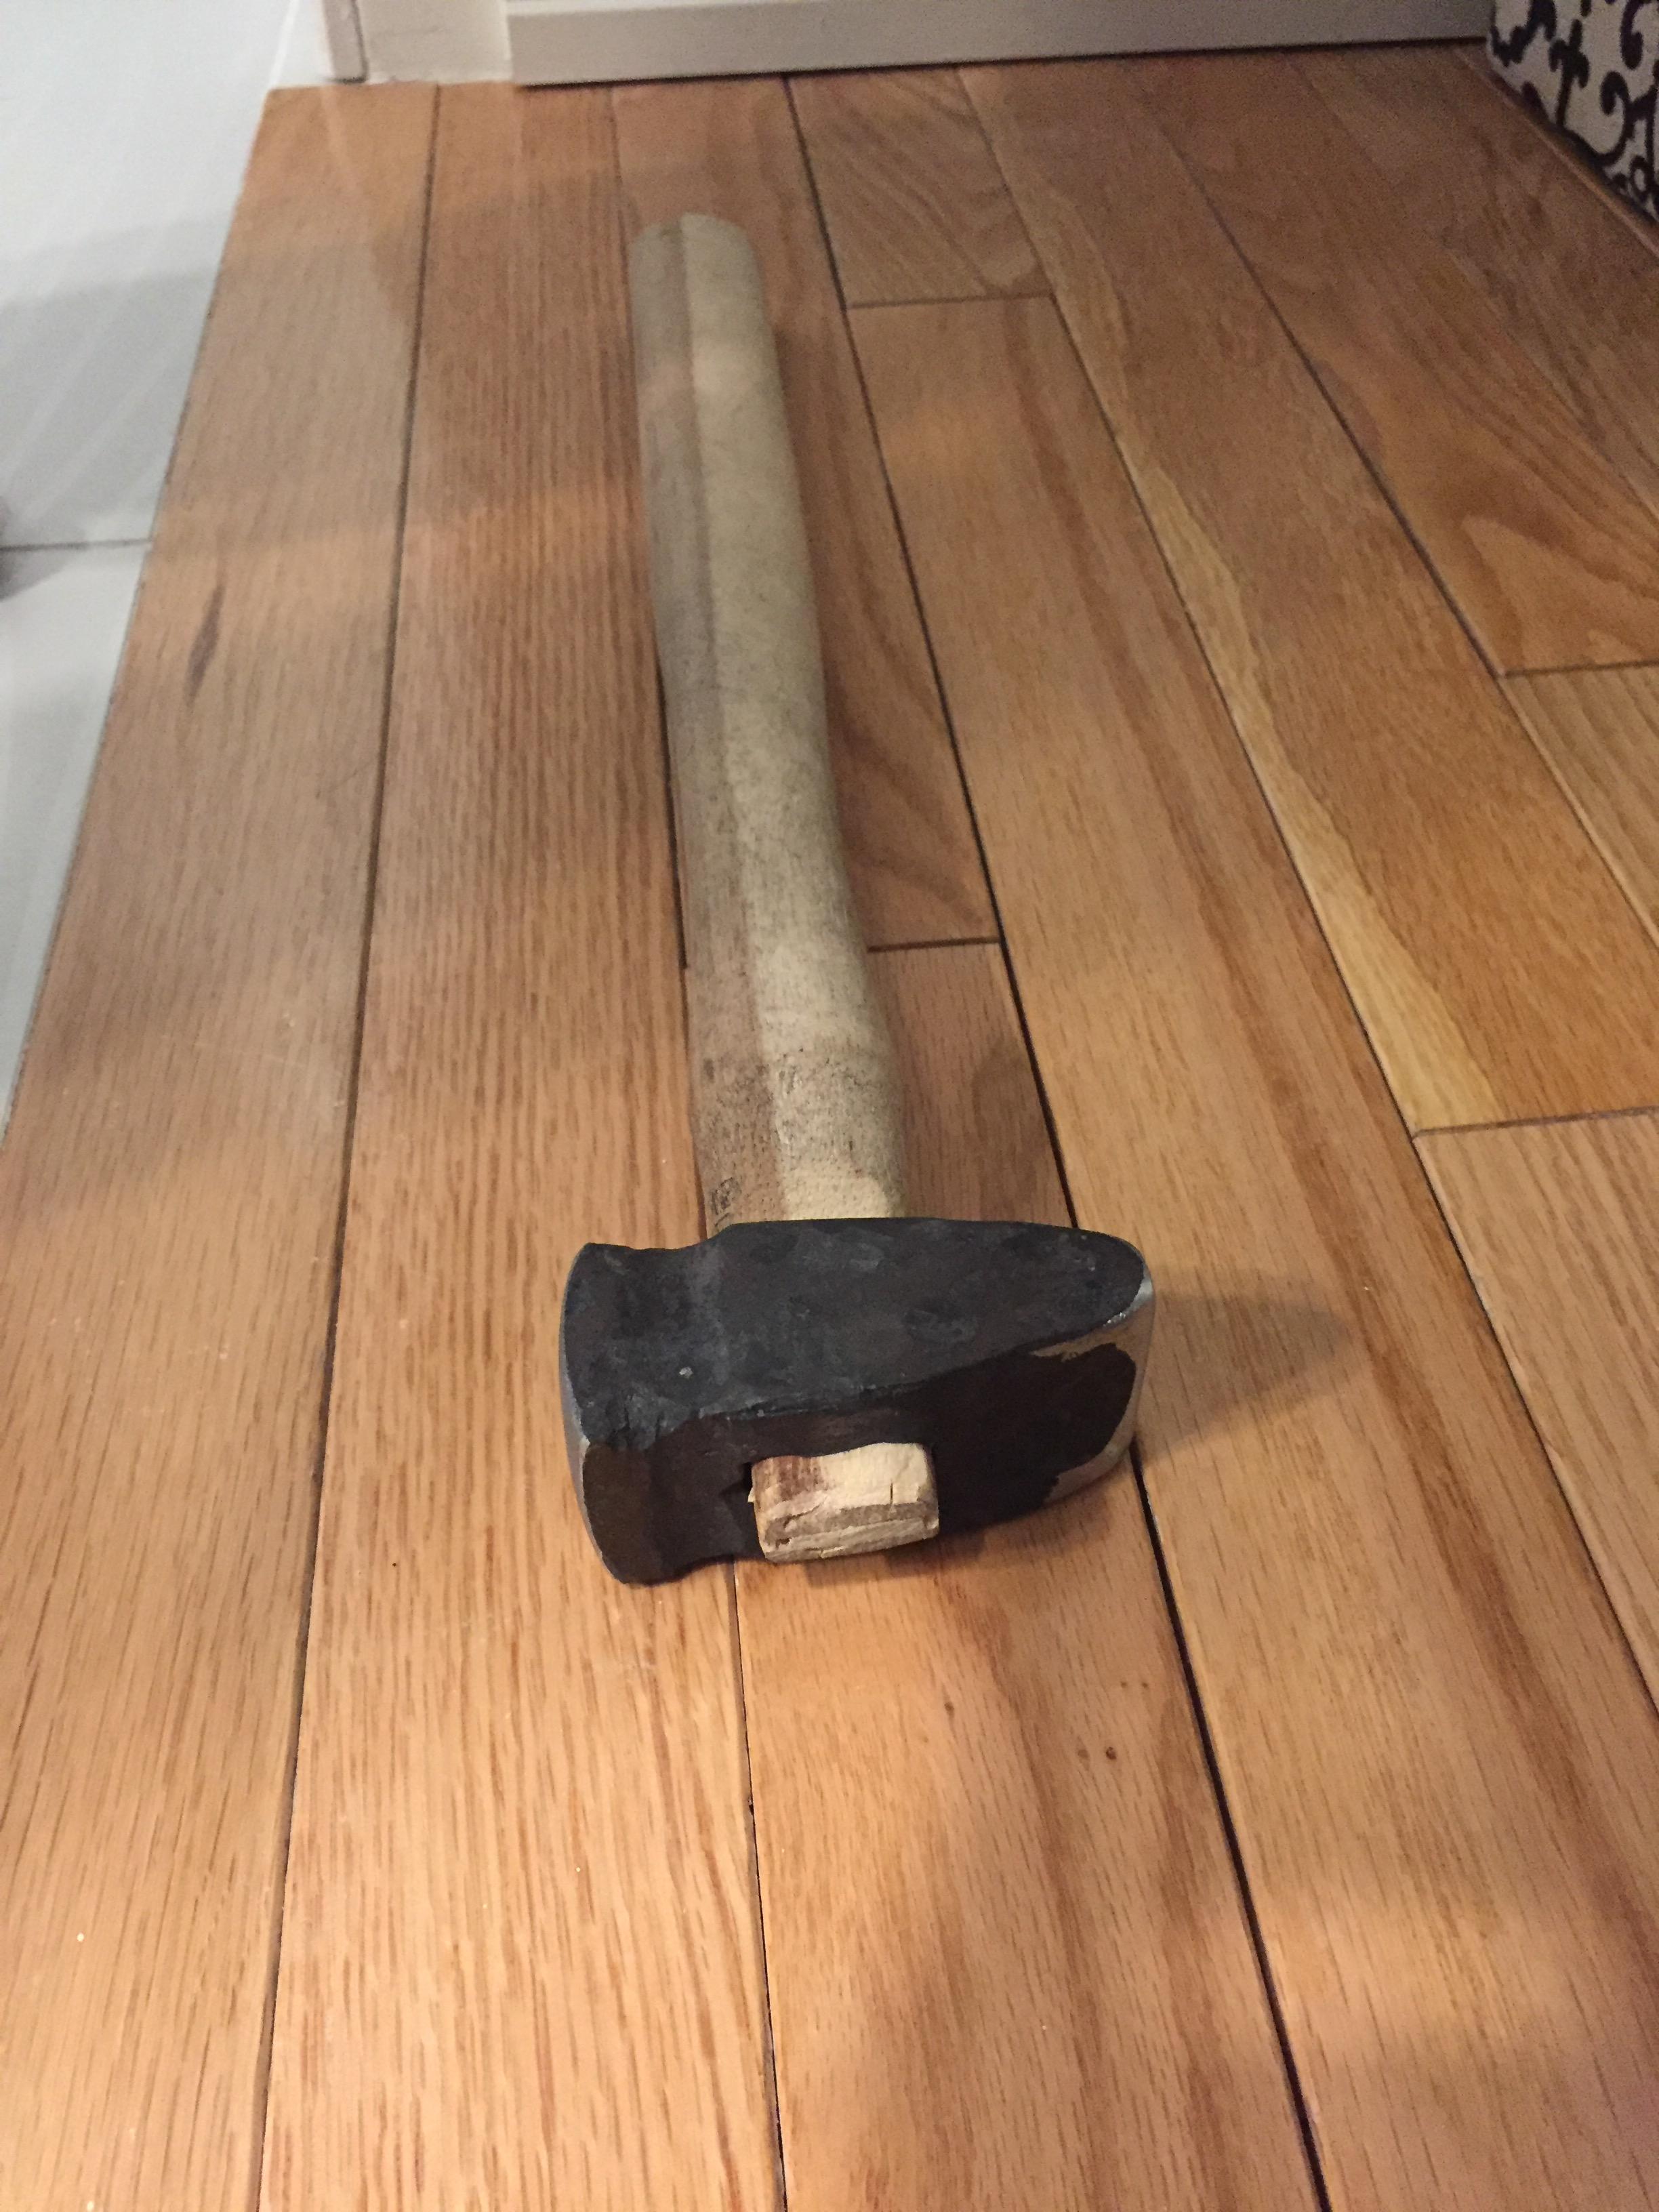
The slack belt section of a belt grinder works too, once the profile is mostly worked out.
I shaped my 6 lb sledgehammer into a rounding hammer that way. Right at my upper limit!
-
Wow. That's amazing. Nice work!


Bladesmithing hammers
in Hand Hammers
Posted
Hoping to make some myself. Poco a poco.