
Bayshore Forge
-
Posts
55 -
Joined
-
Last visited
Content Type
Profiles
Forums
Articles
Gallery
Downloads
Events
Posts posted by Bayshore Forge
-
-
That is pretty darn sweet!!
-
I second what Gote has said, it's difficult to understand how the pictures were important without being able to view them. If somebody has saved them all, it would be REALLY REALLY appreciated if they would repost.
If this isn't possible then thank you for your time reading this
Brent
-
Thank you for the insight Thomas!
-
I'm interested to see if the OP went through with any of these ideas? They all seem really sweet.
-
No problem!
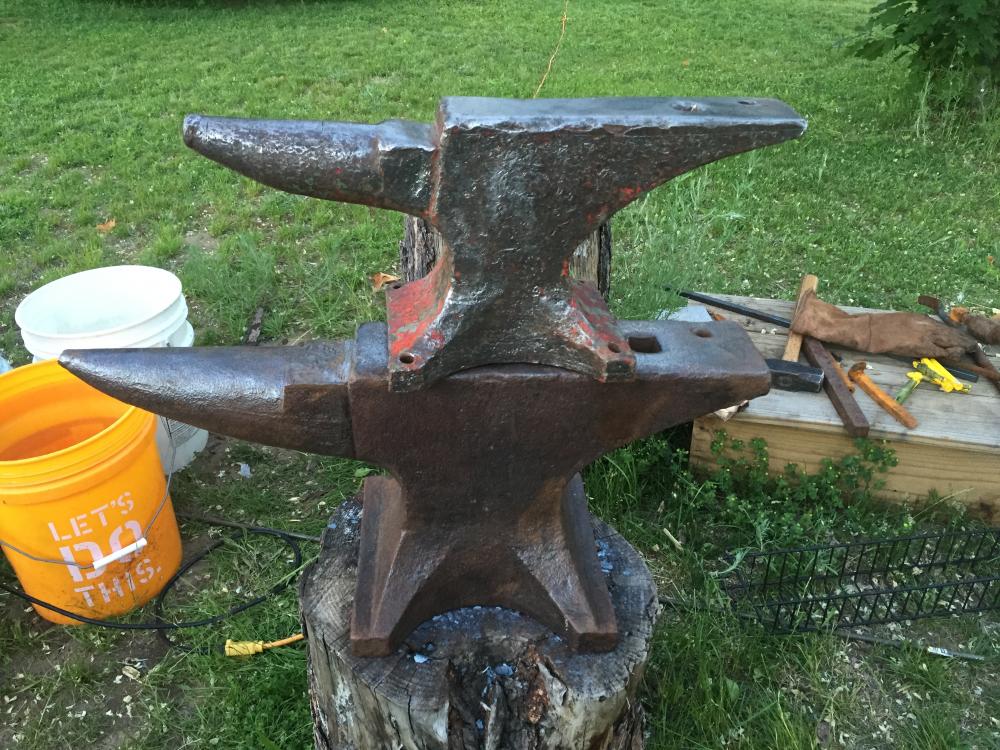
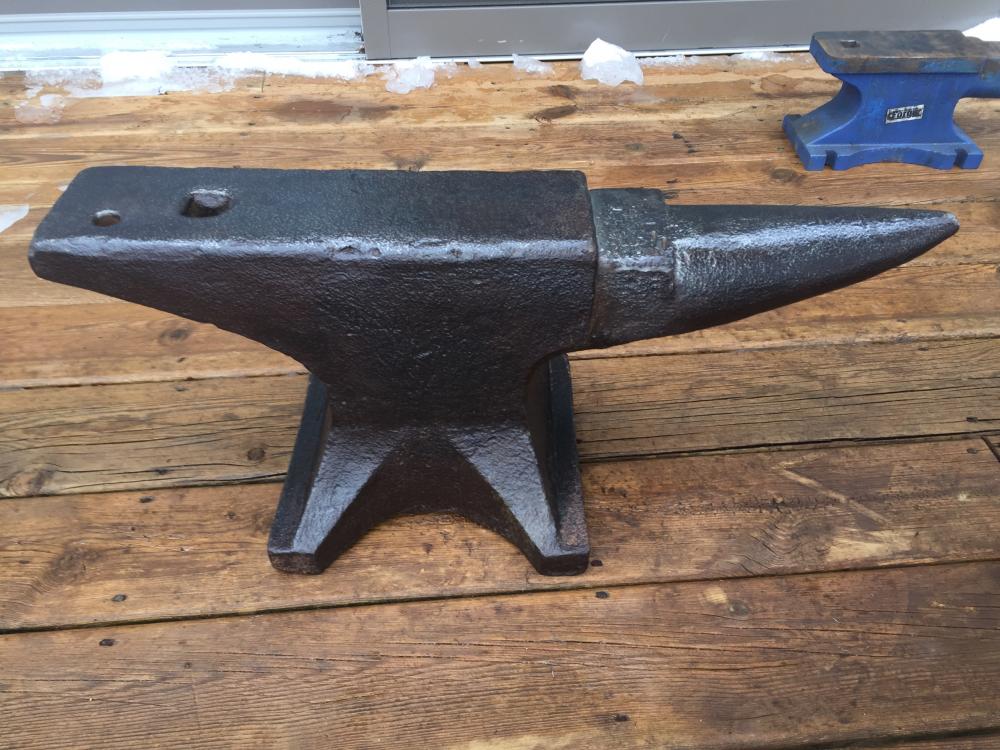
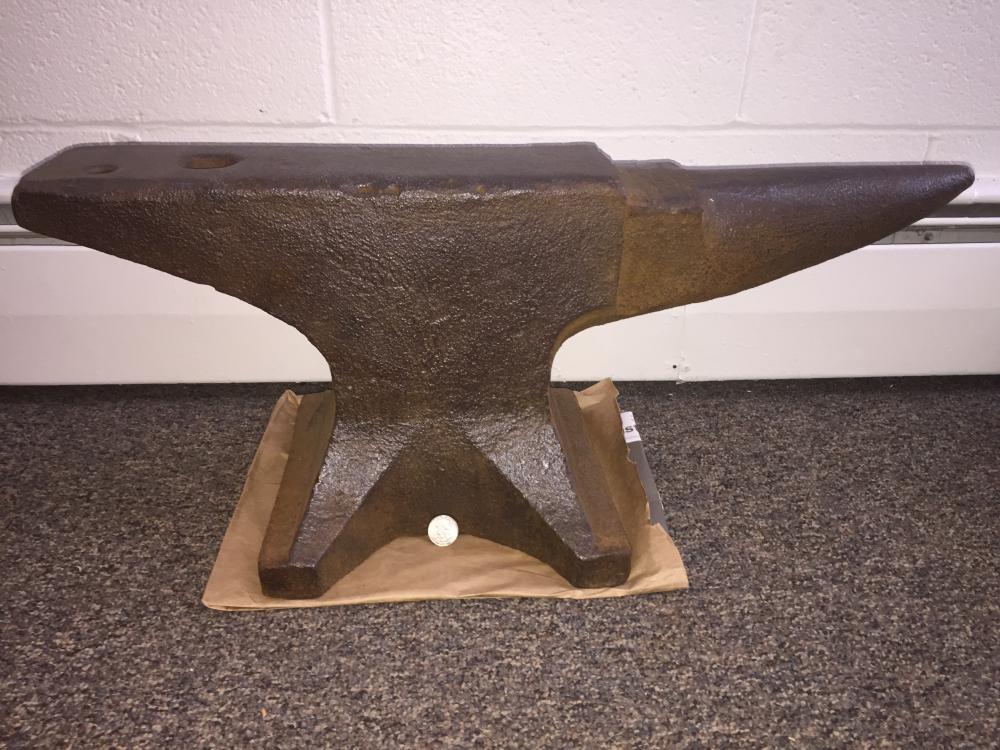
Funny thing, just bought a littler anvil, I believe it's a Trenton now too (no idea before I bought it since it was painted). Rebound about 70-75% with BB test. Nice ring, semi painful pitch on the heel. Was told it was 75lbs, haven't weighed it myself. For some reason the pictures make it look bigger than it is, it is quite a bit smaller than my previously posted 180lb Trenton. Yes I know the horn tip is messed up, any thoughts on if I should try to shave it back down? Looks as it someone peened it back upon itself.
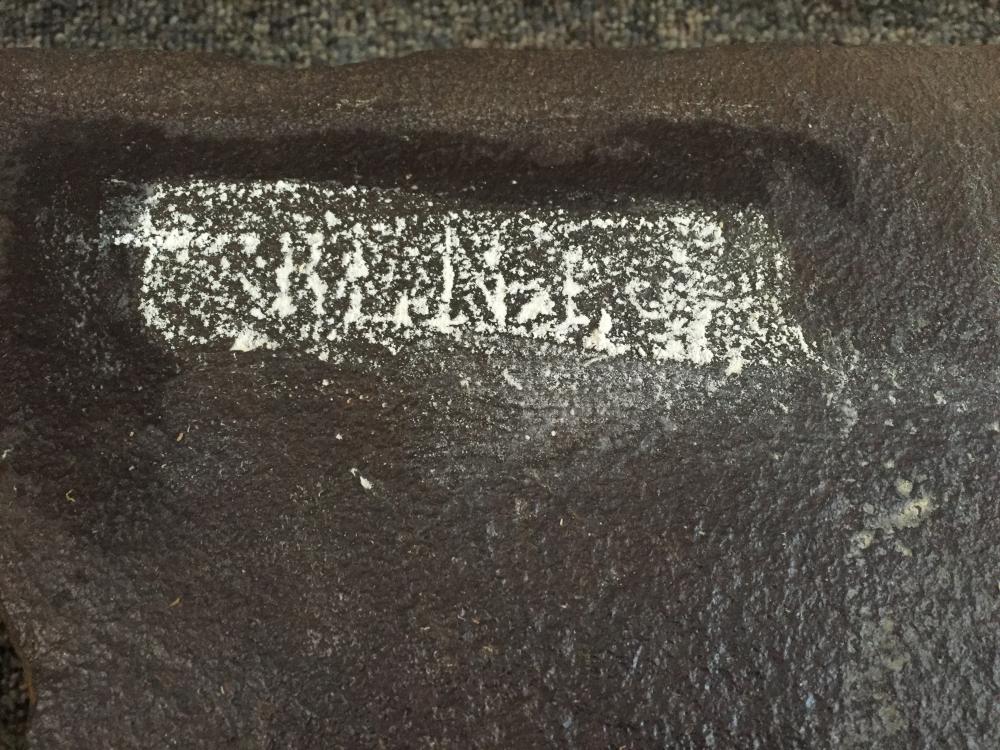
Pics for you Black Frog:
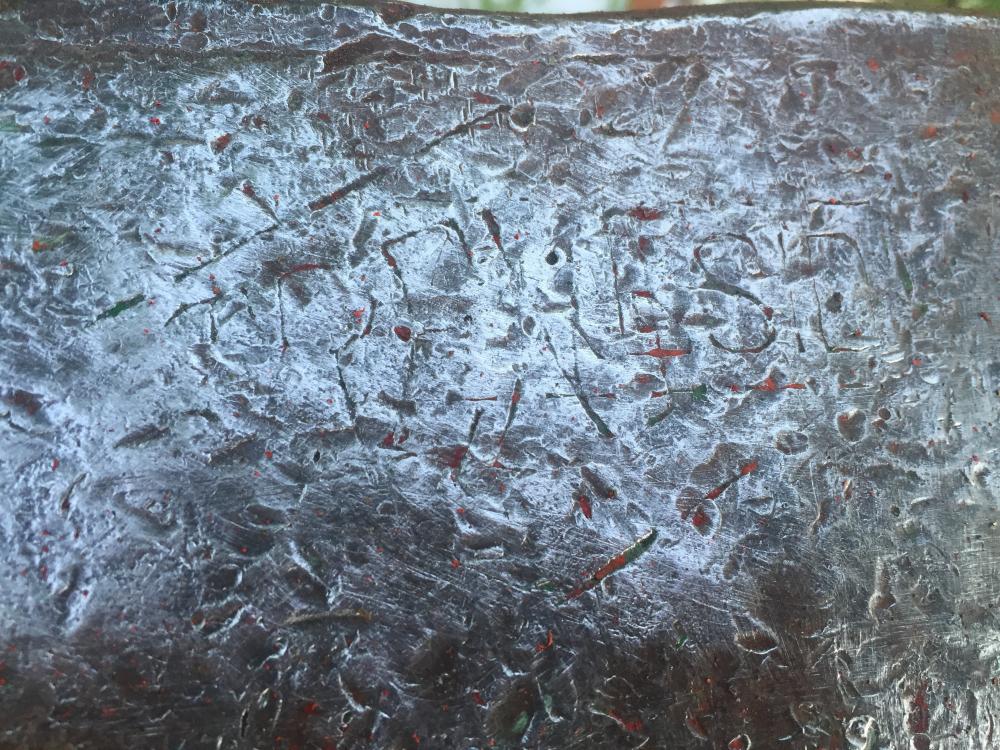
I can make out the Trenton logo, but over the logo is something else.. Looks like -SID-

-
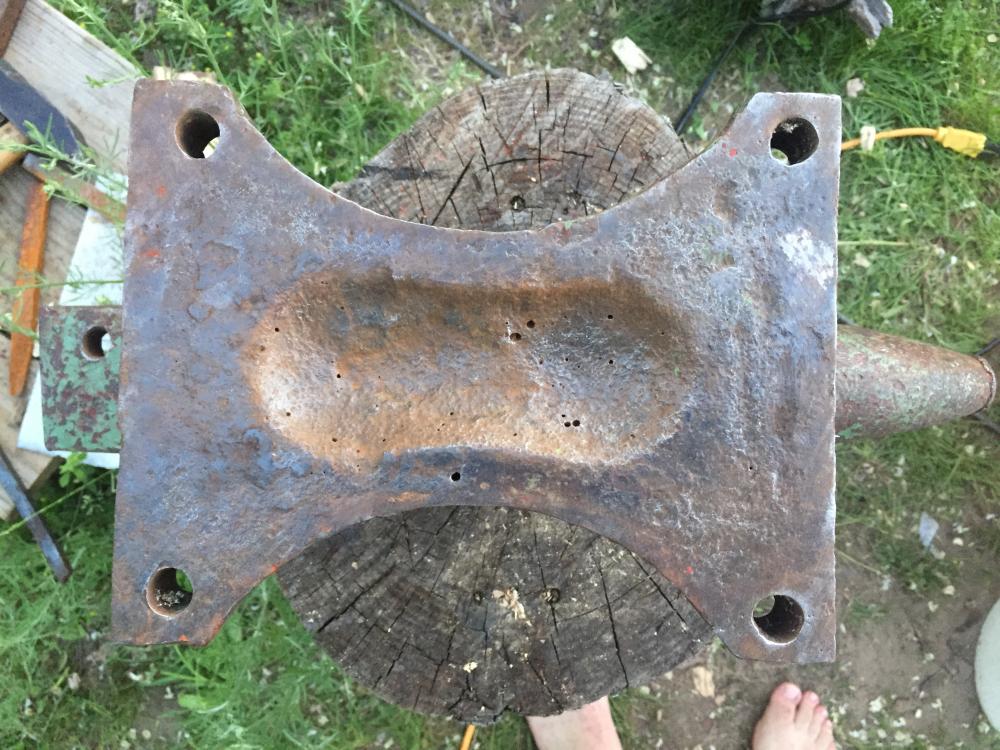
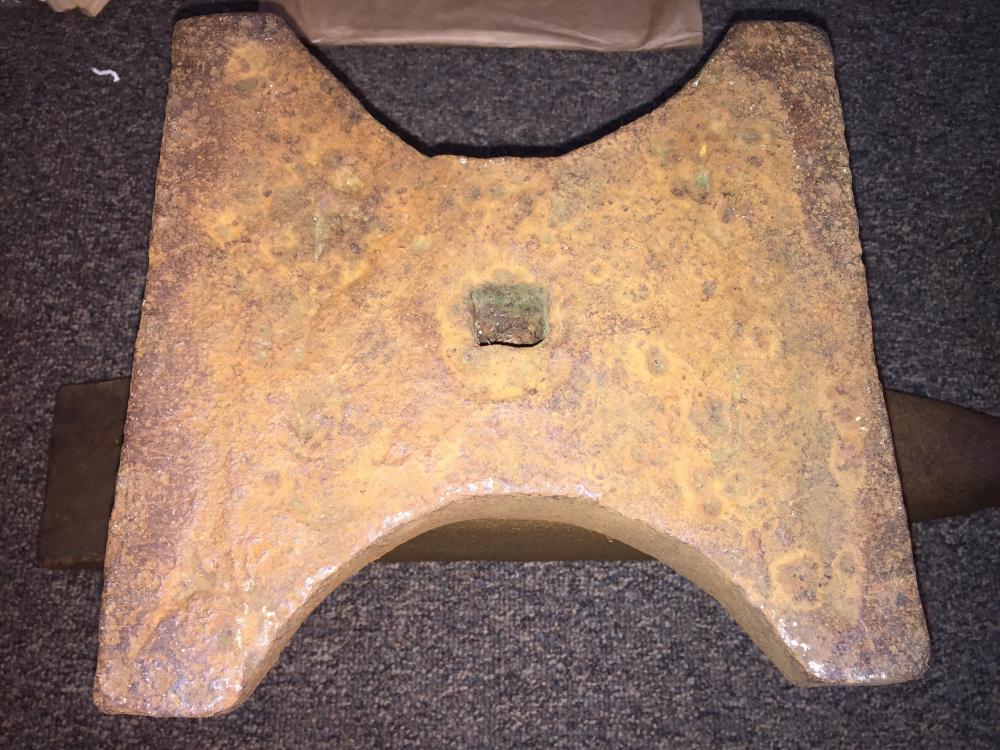
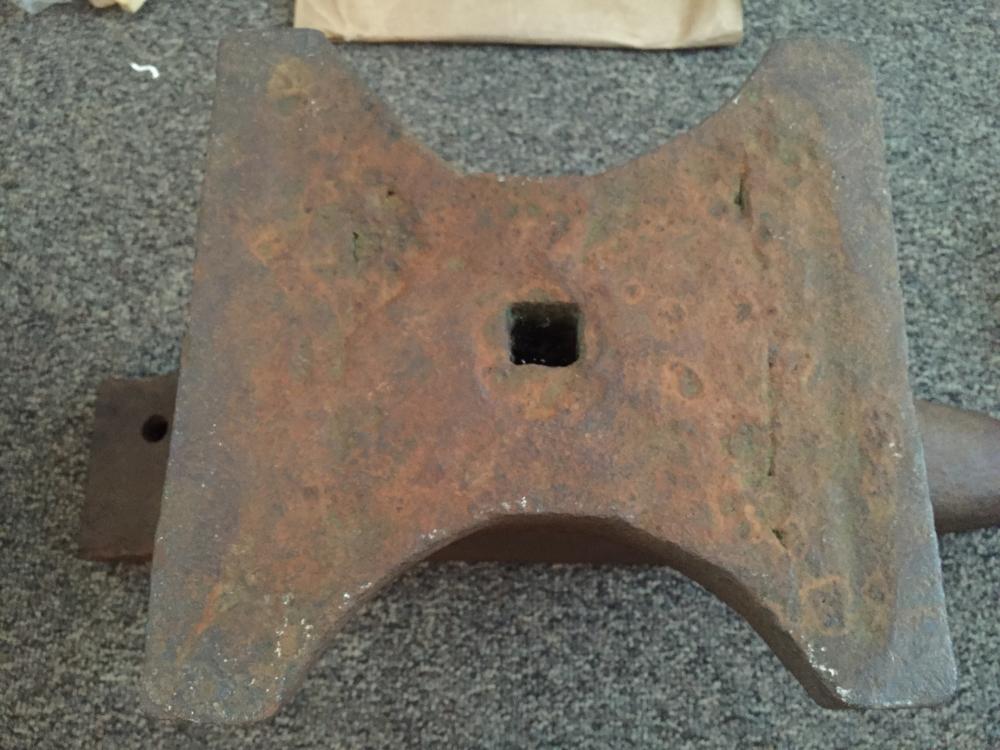
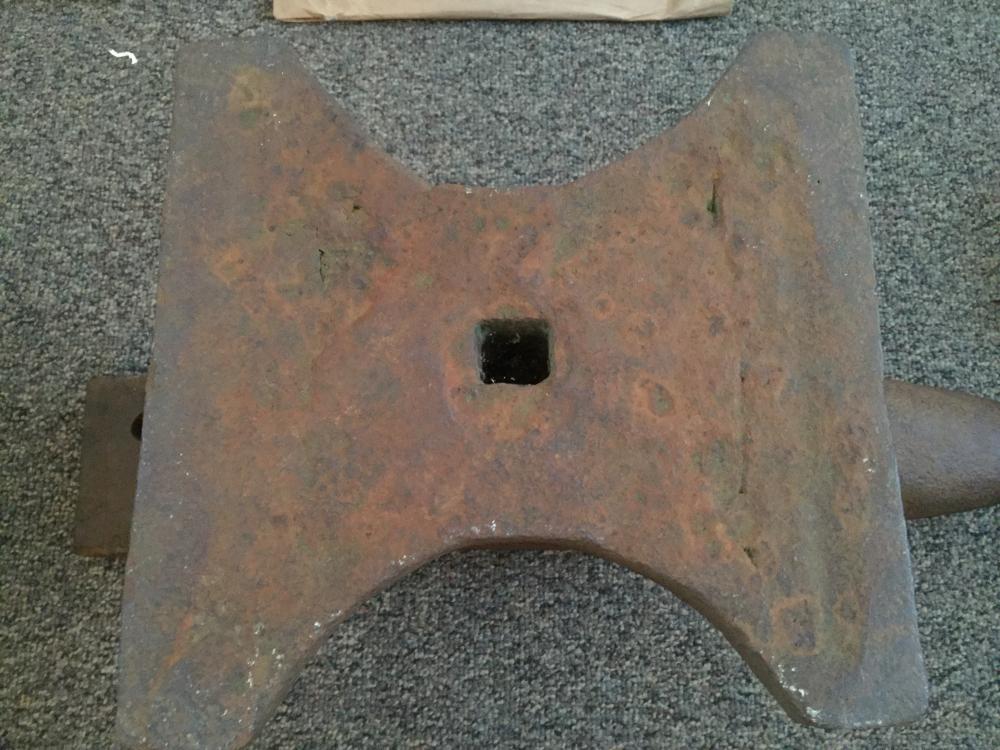
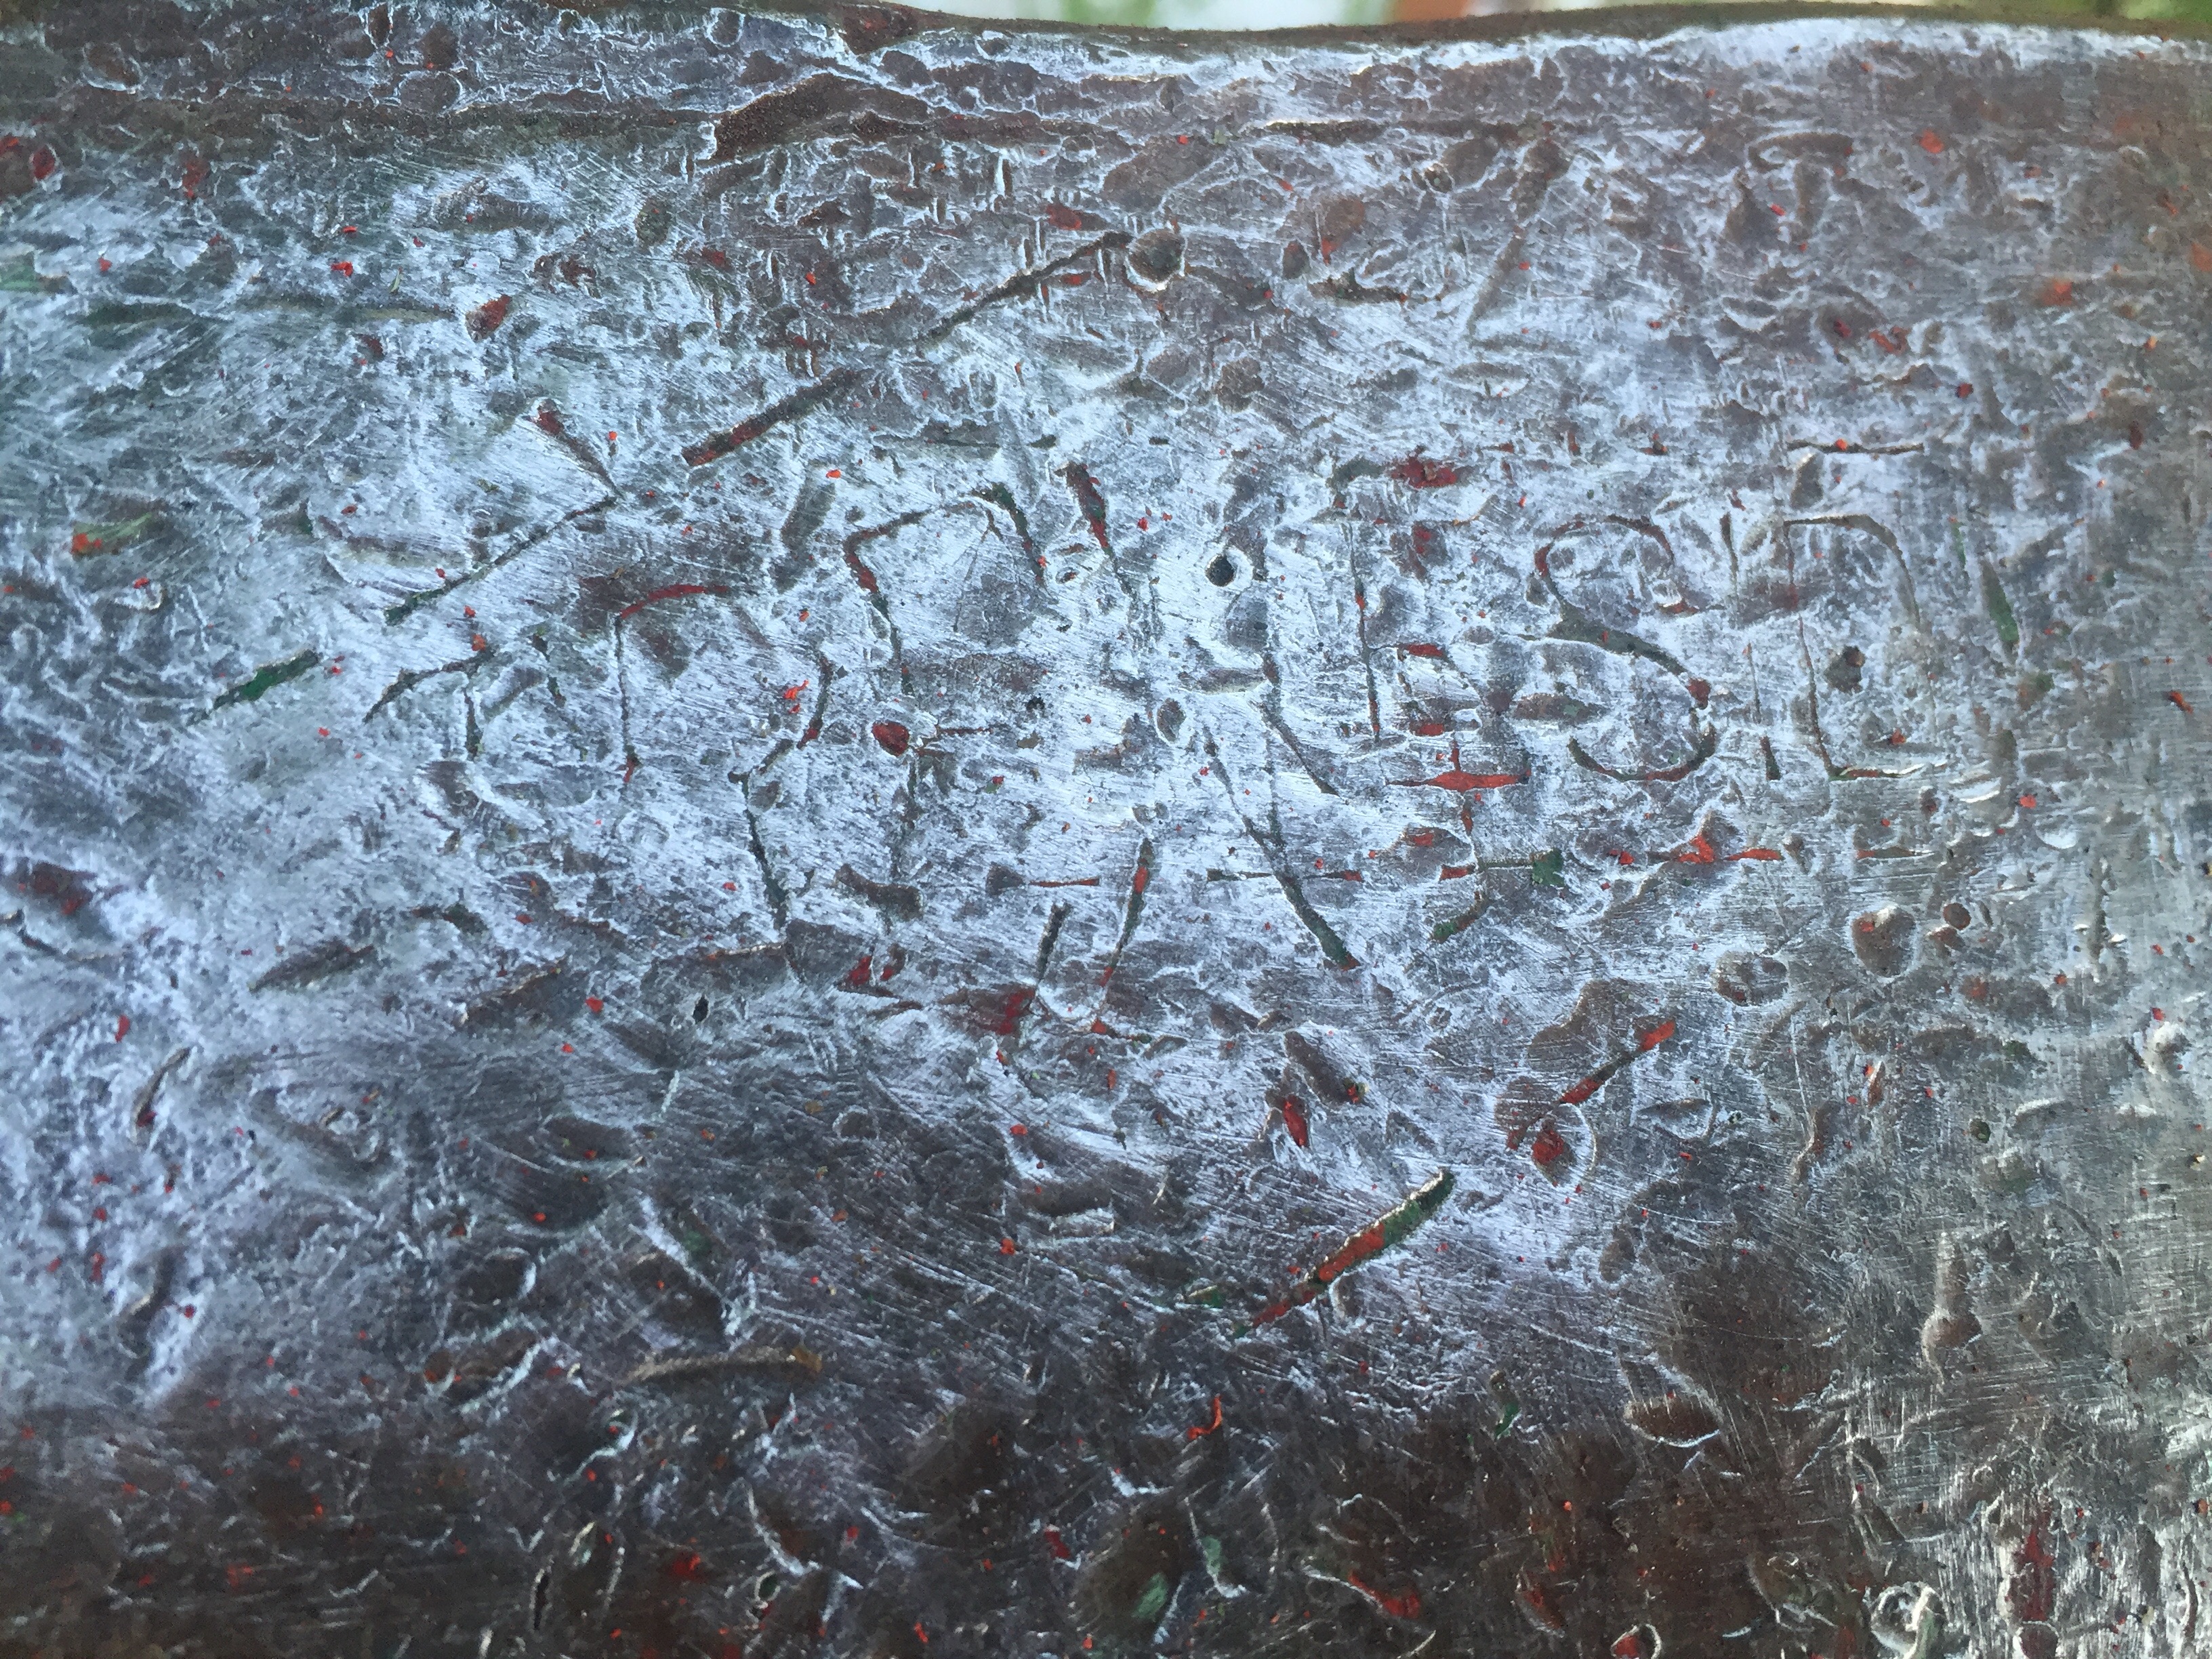
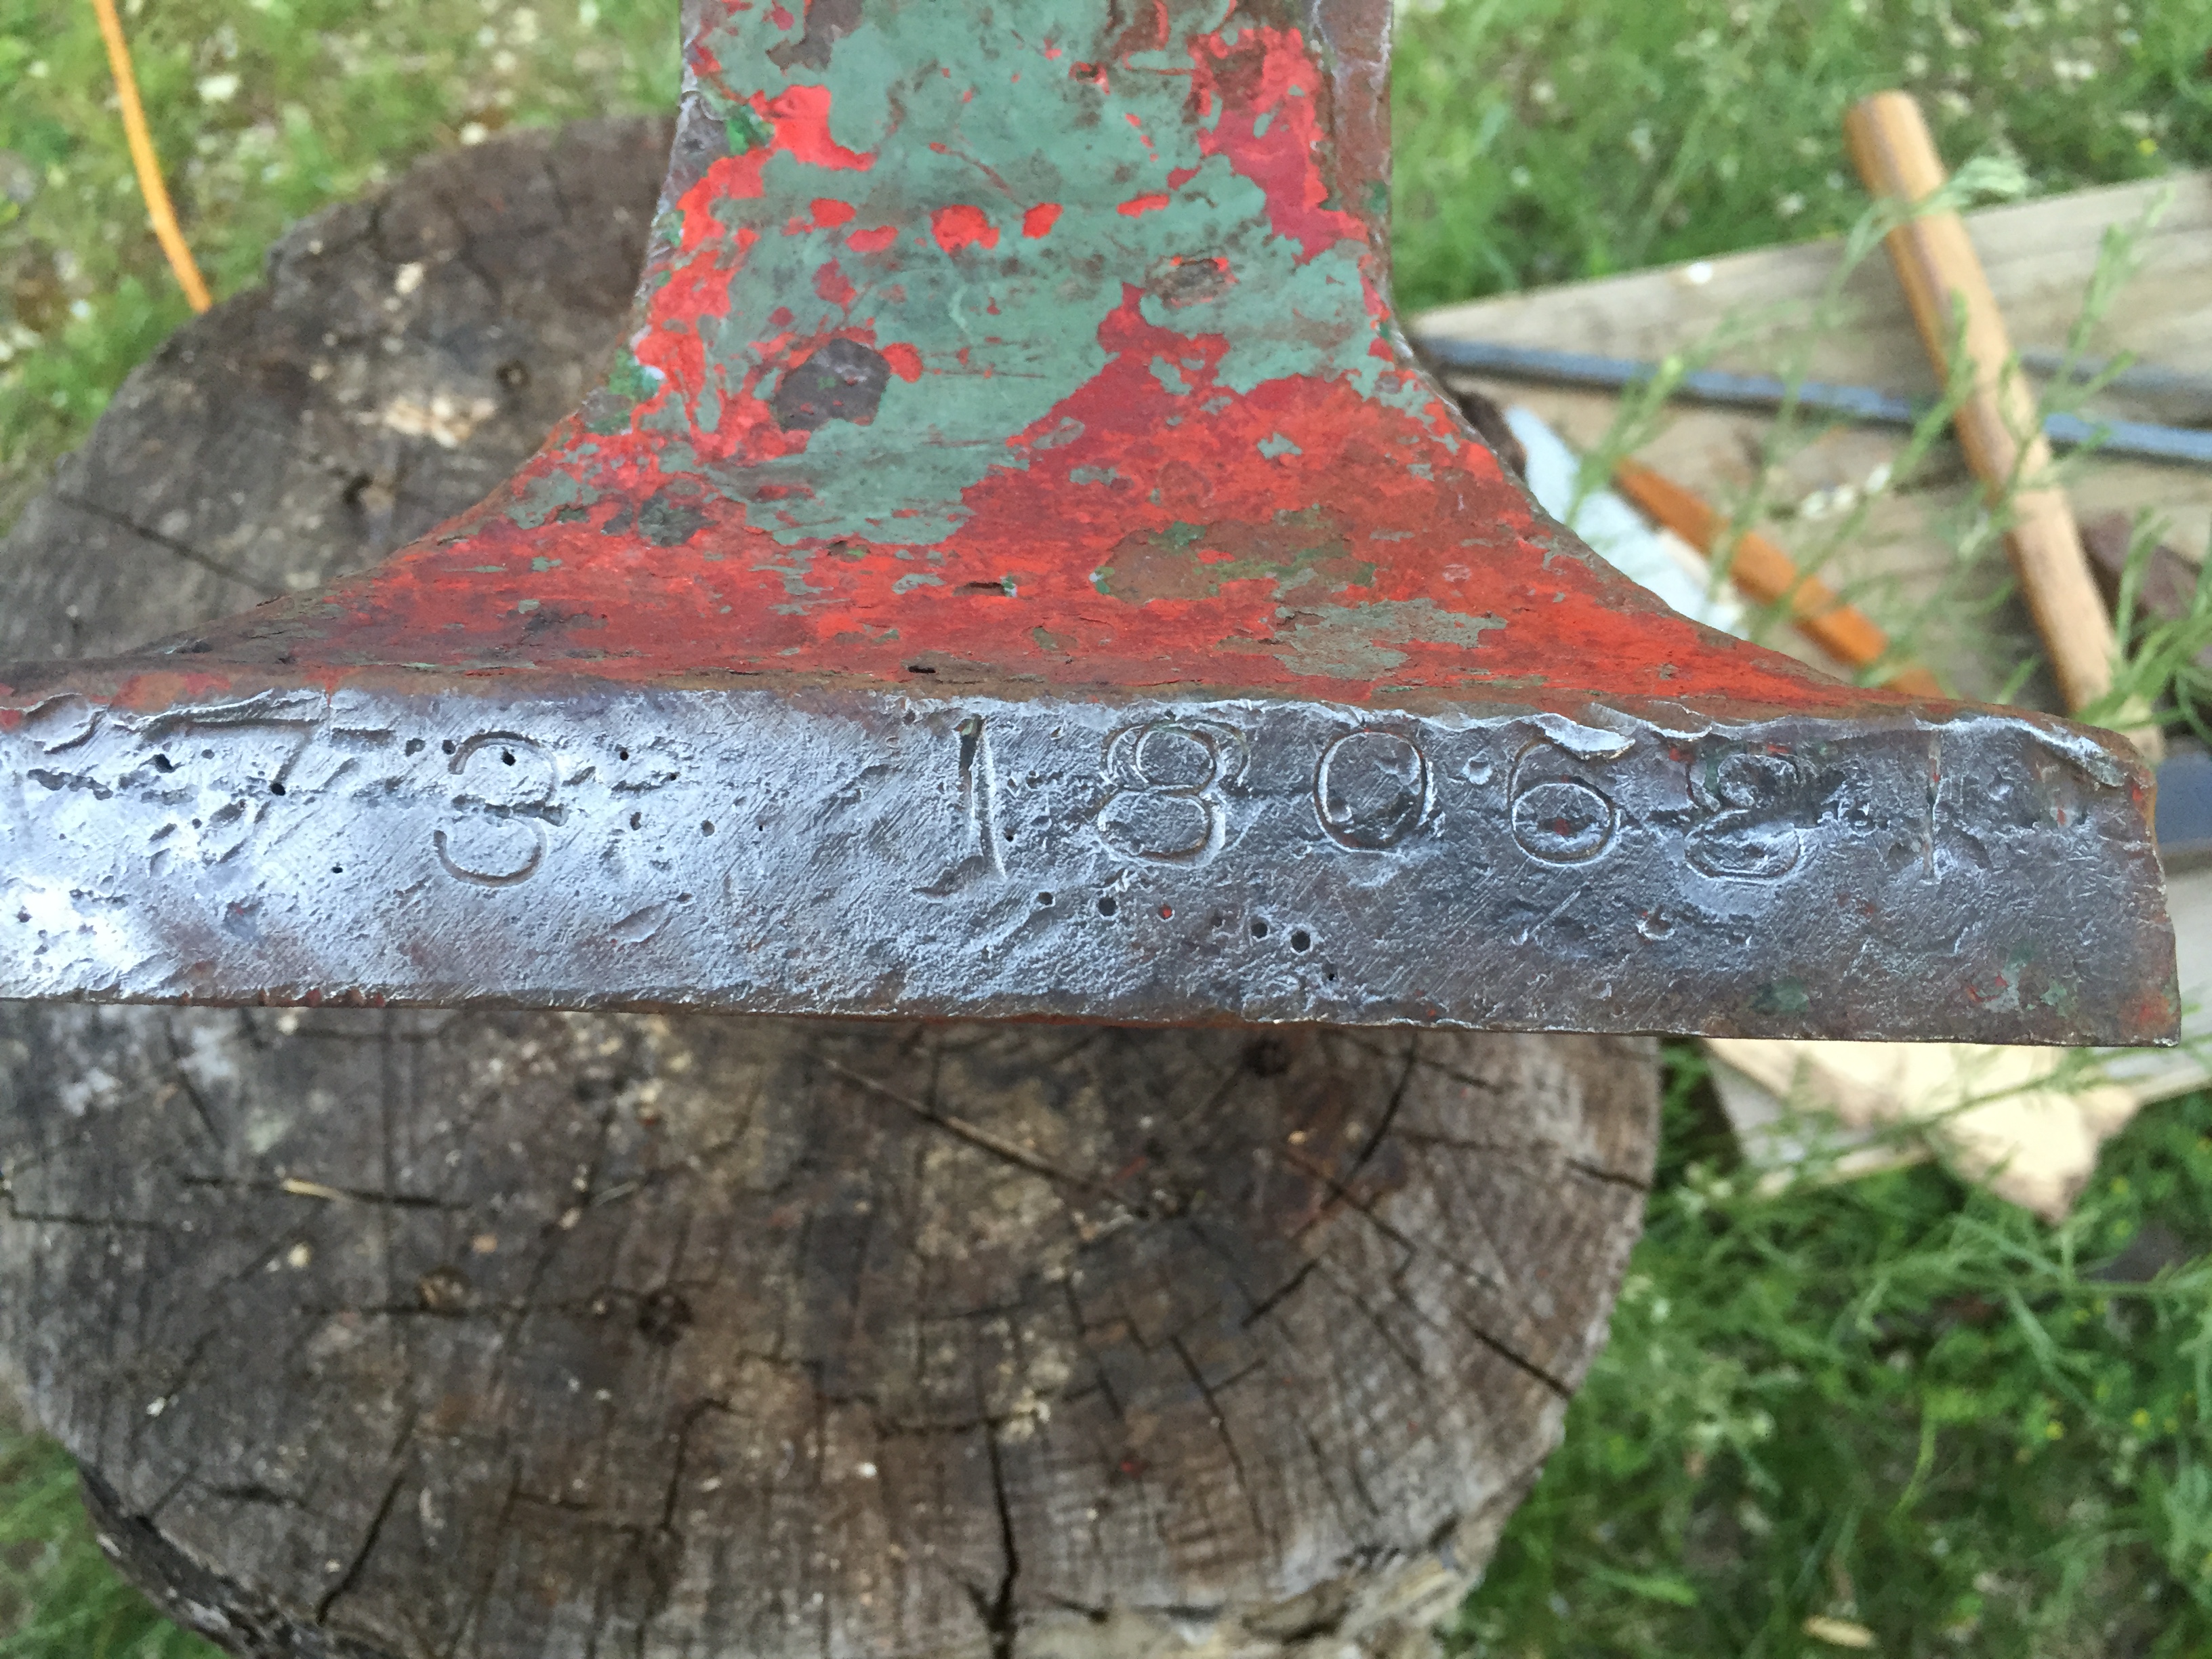
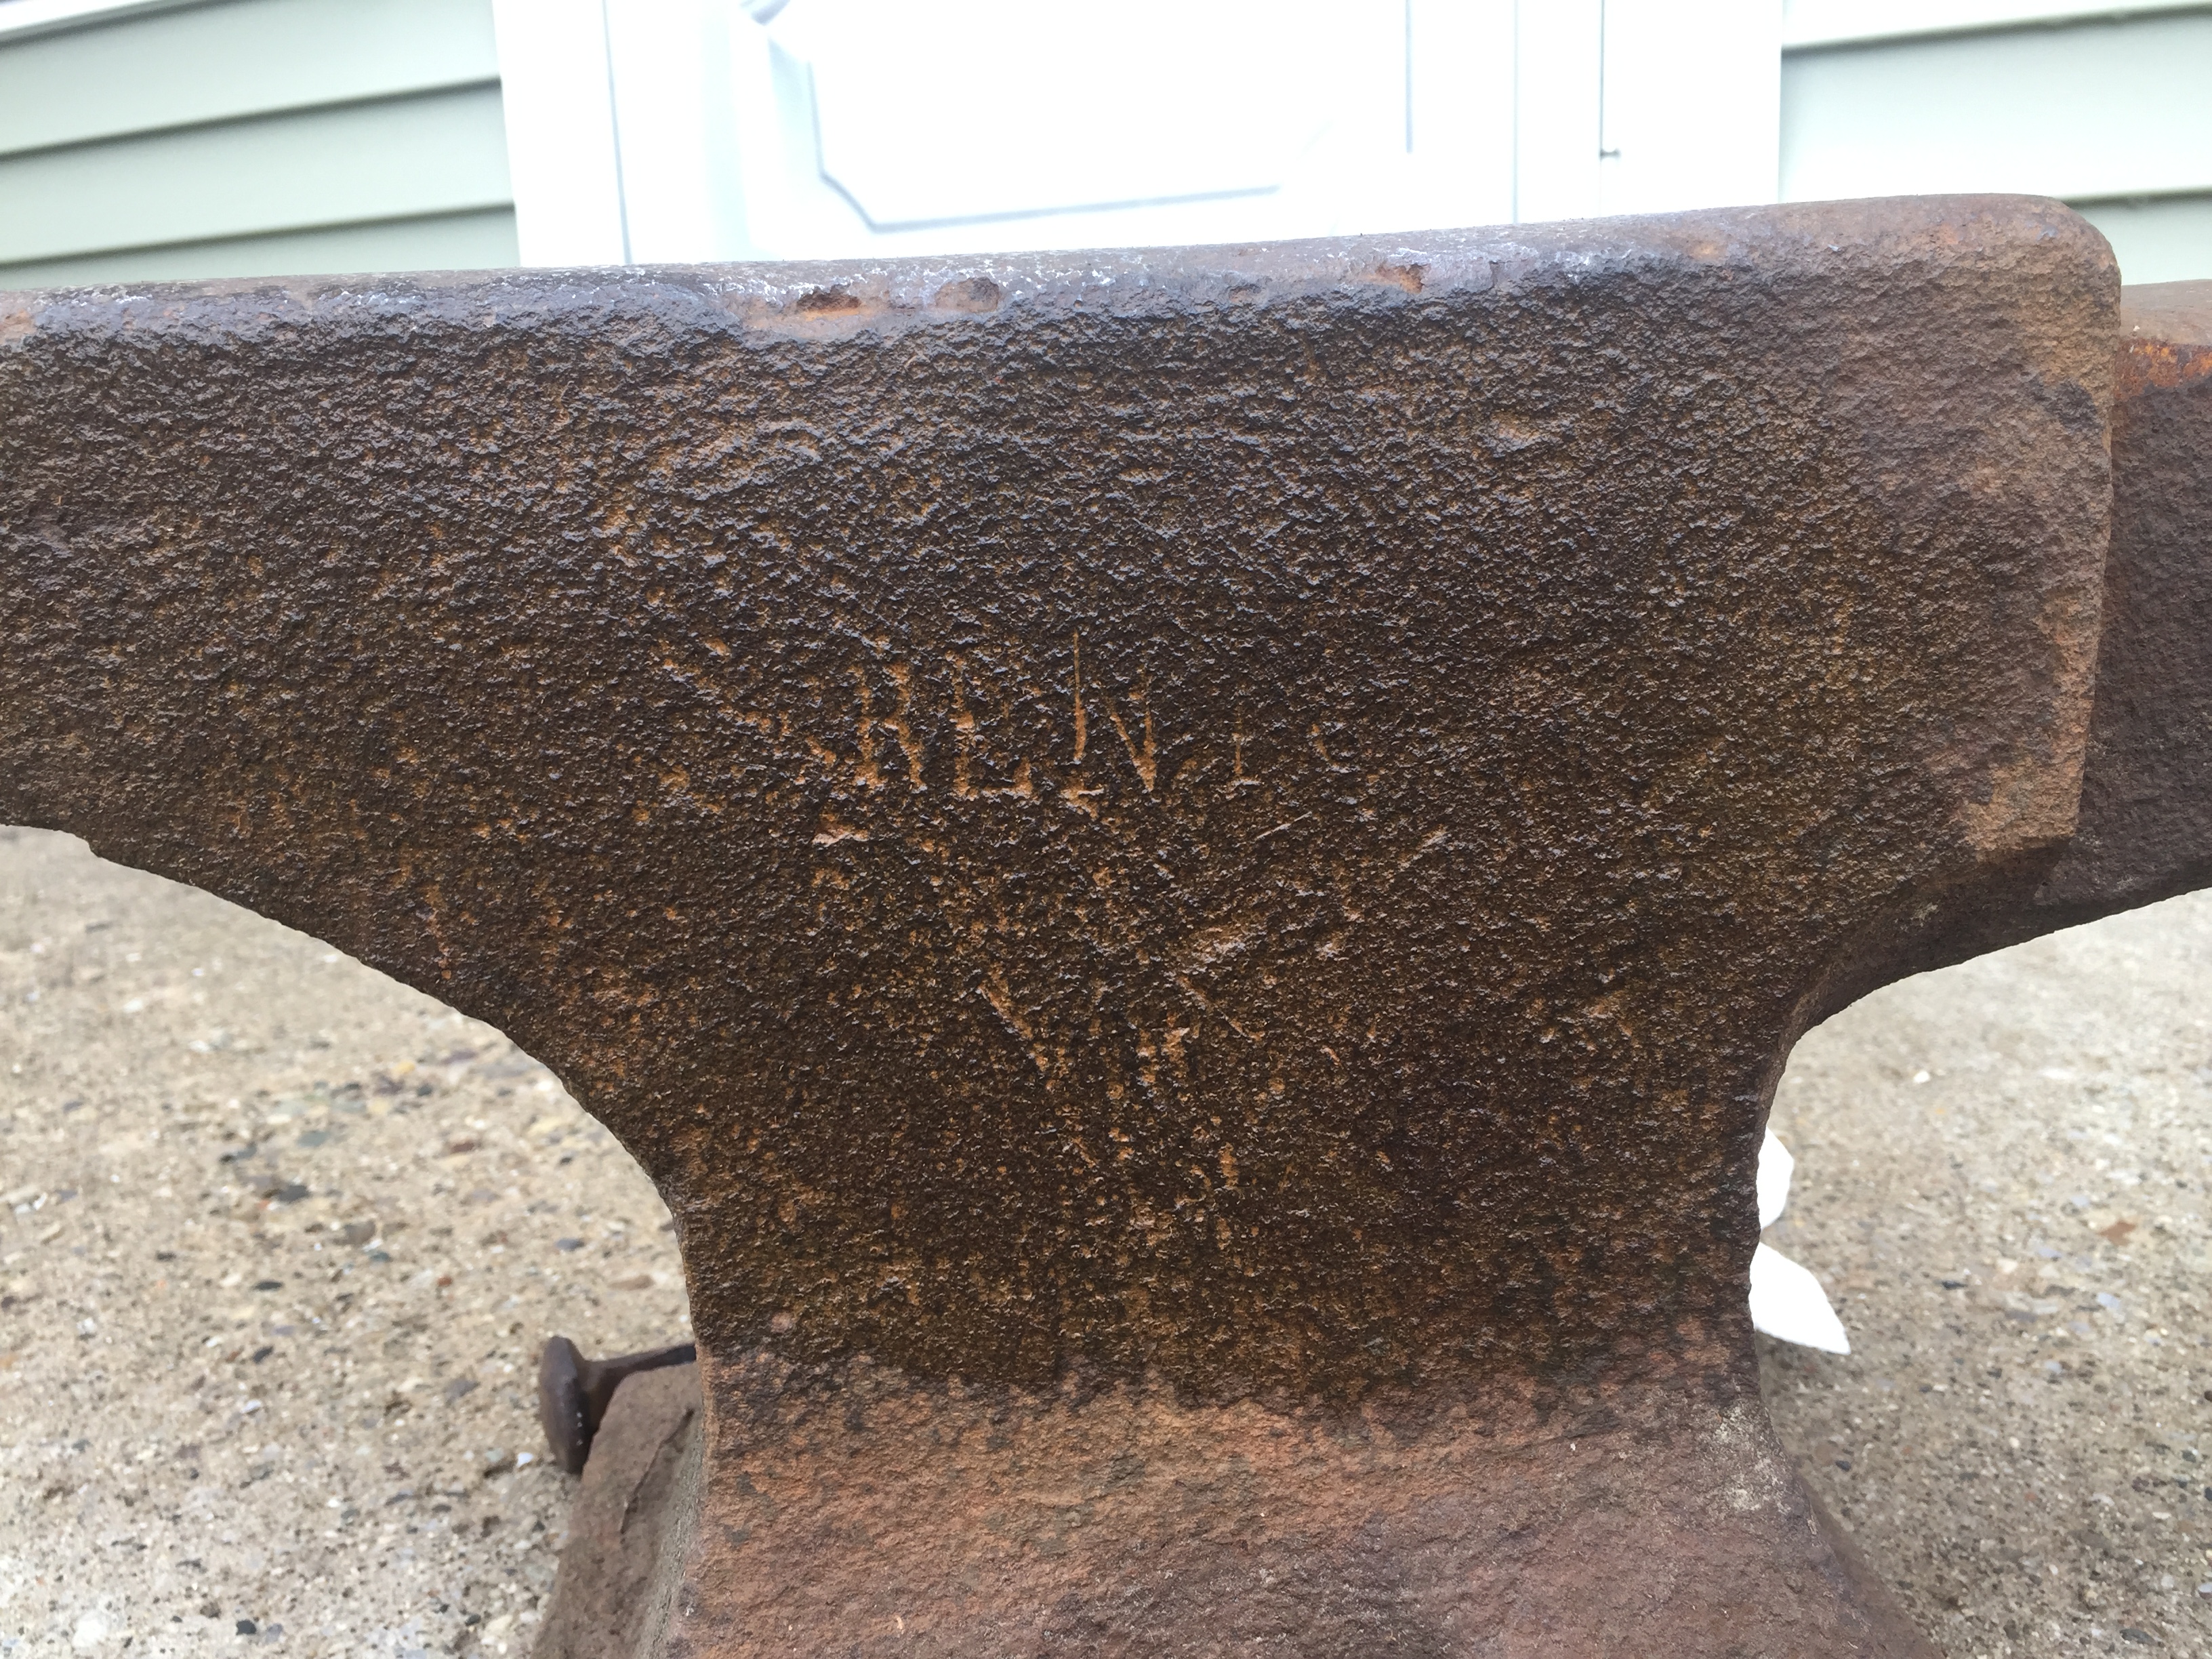
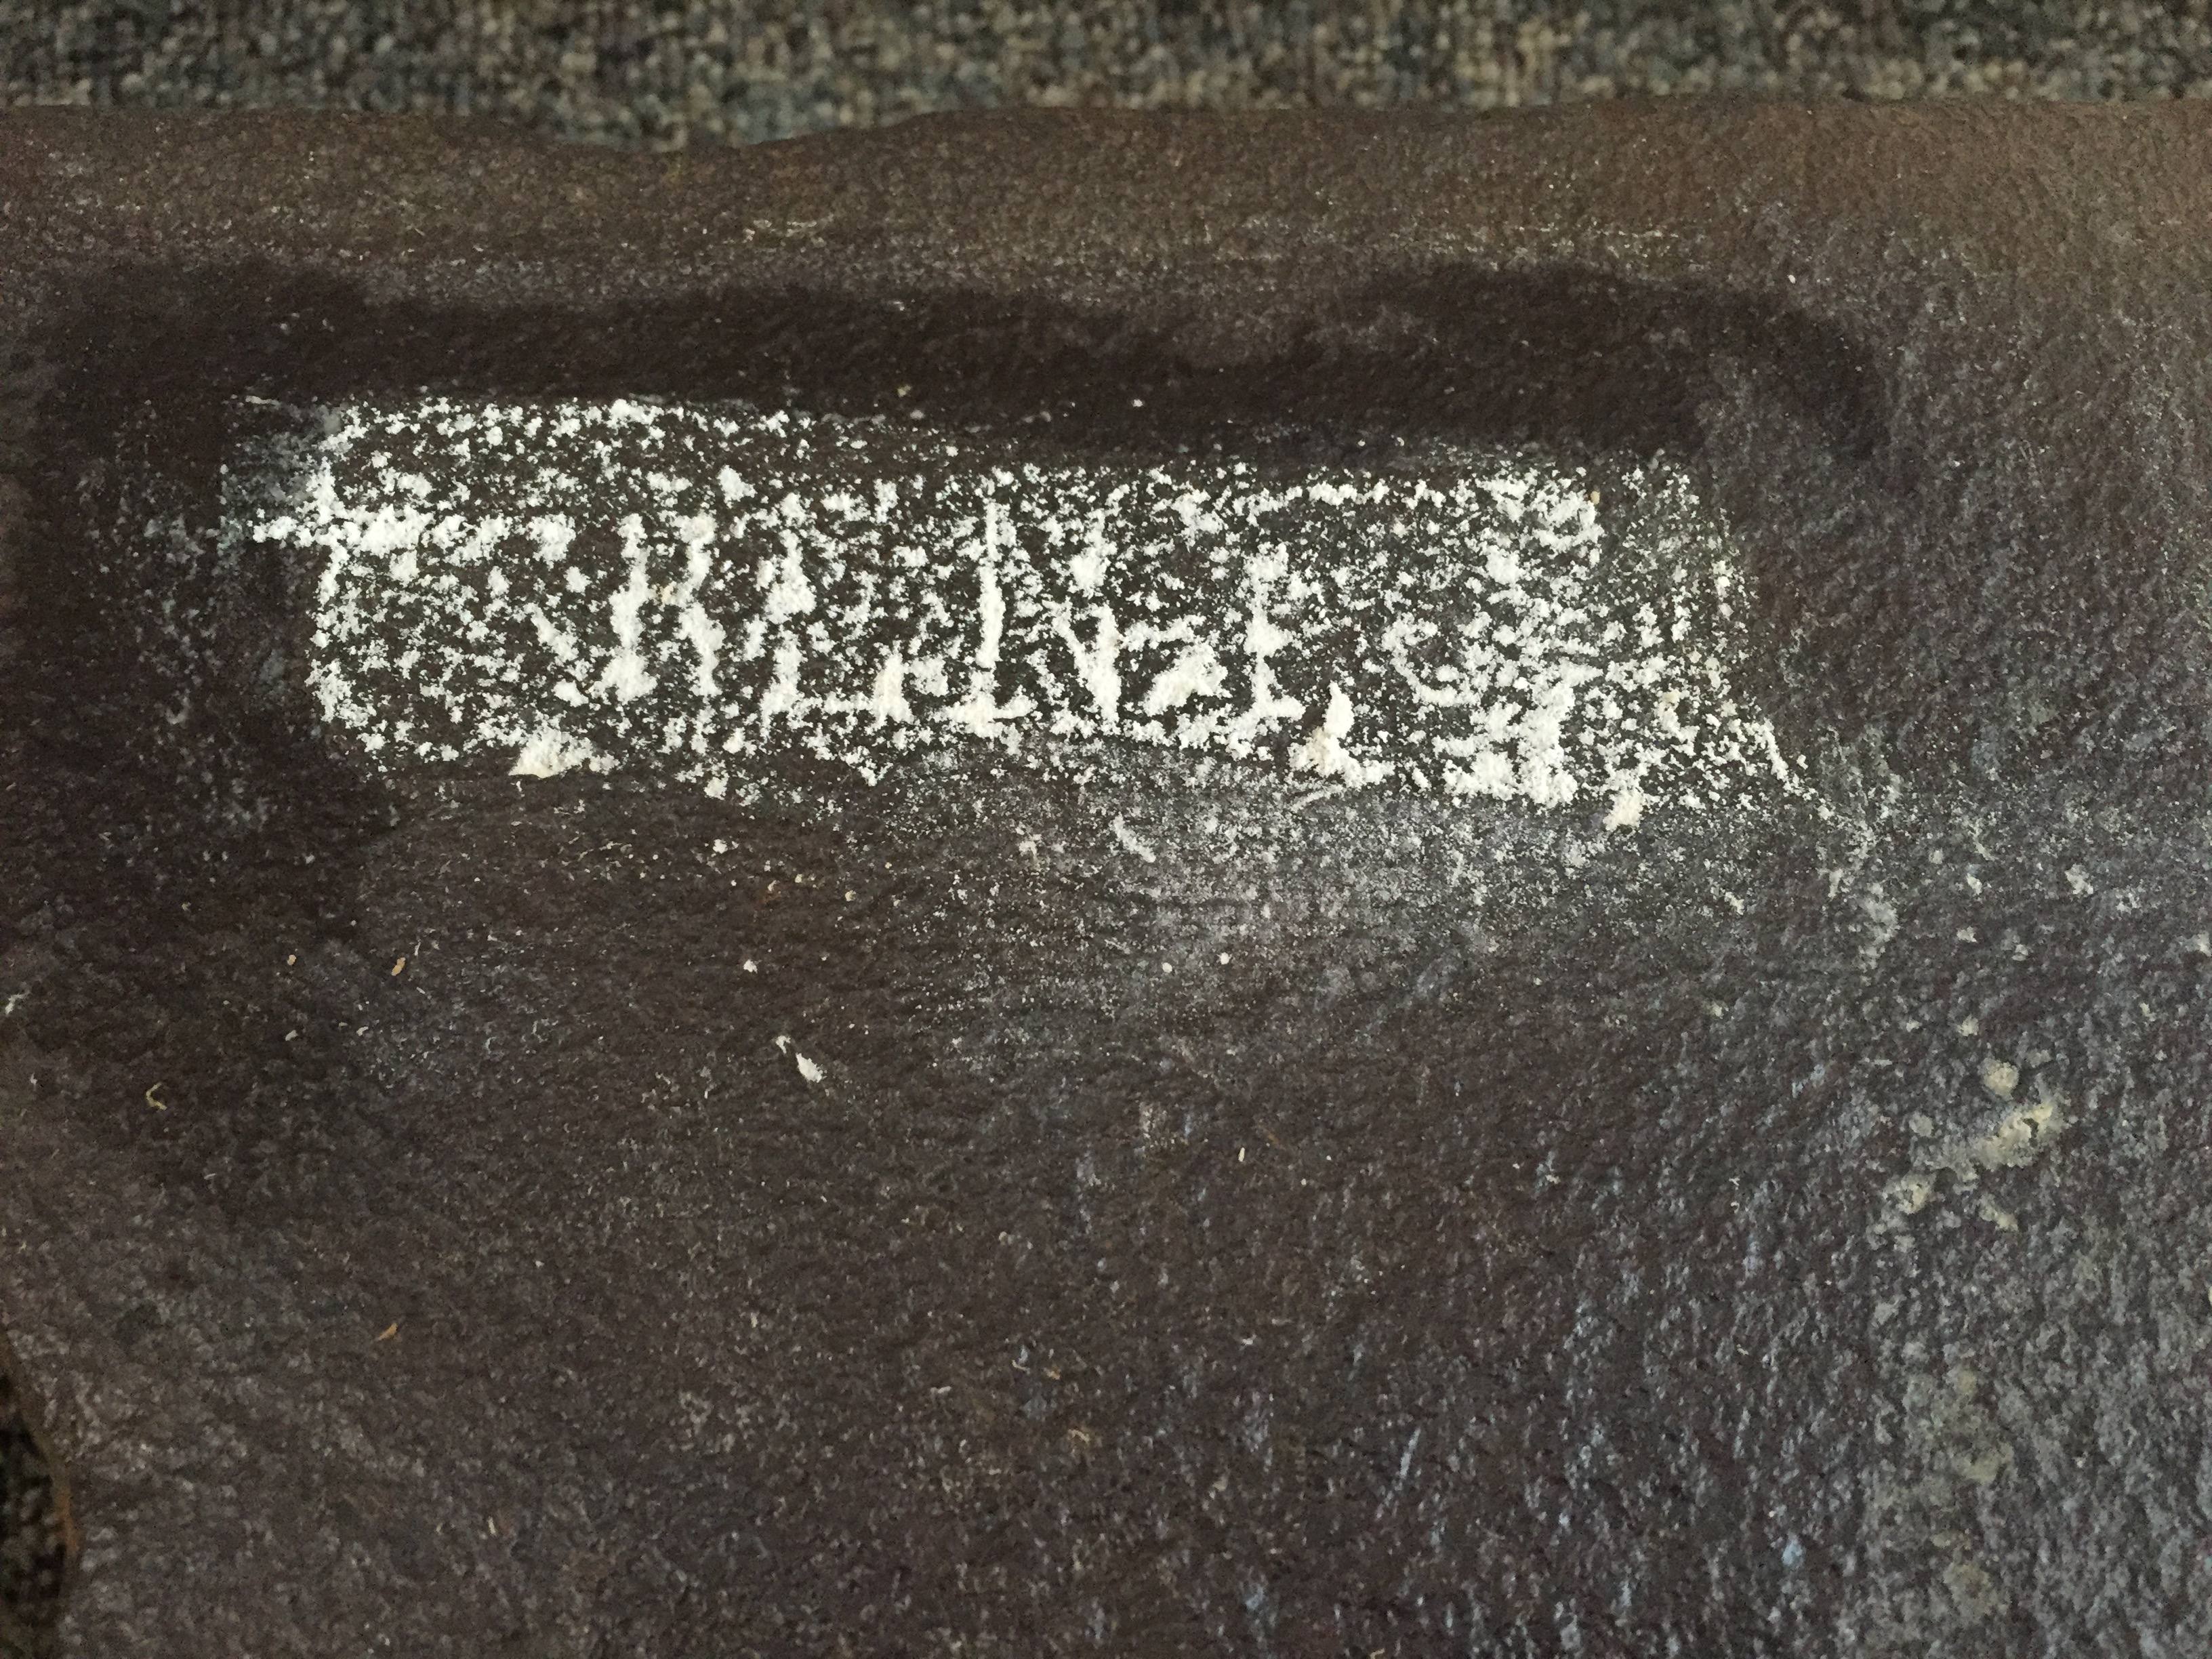
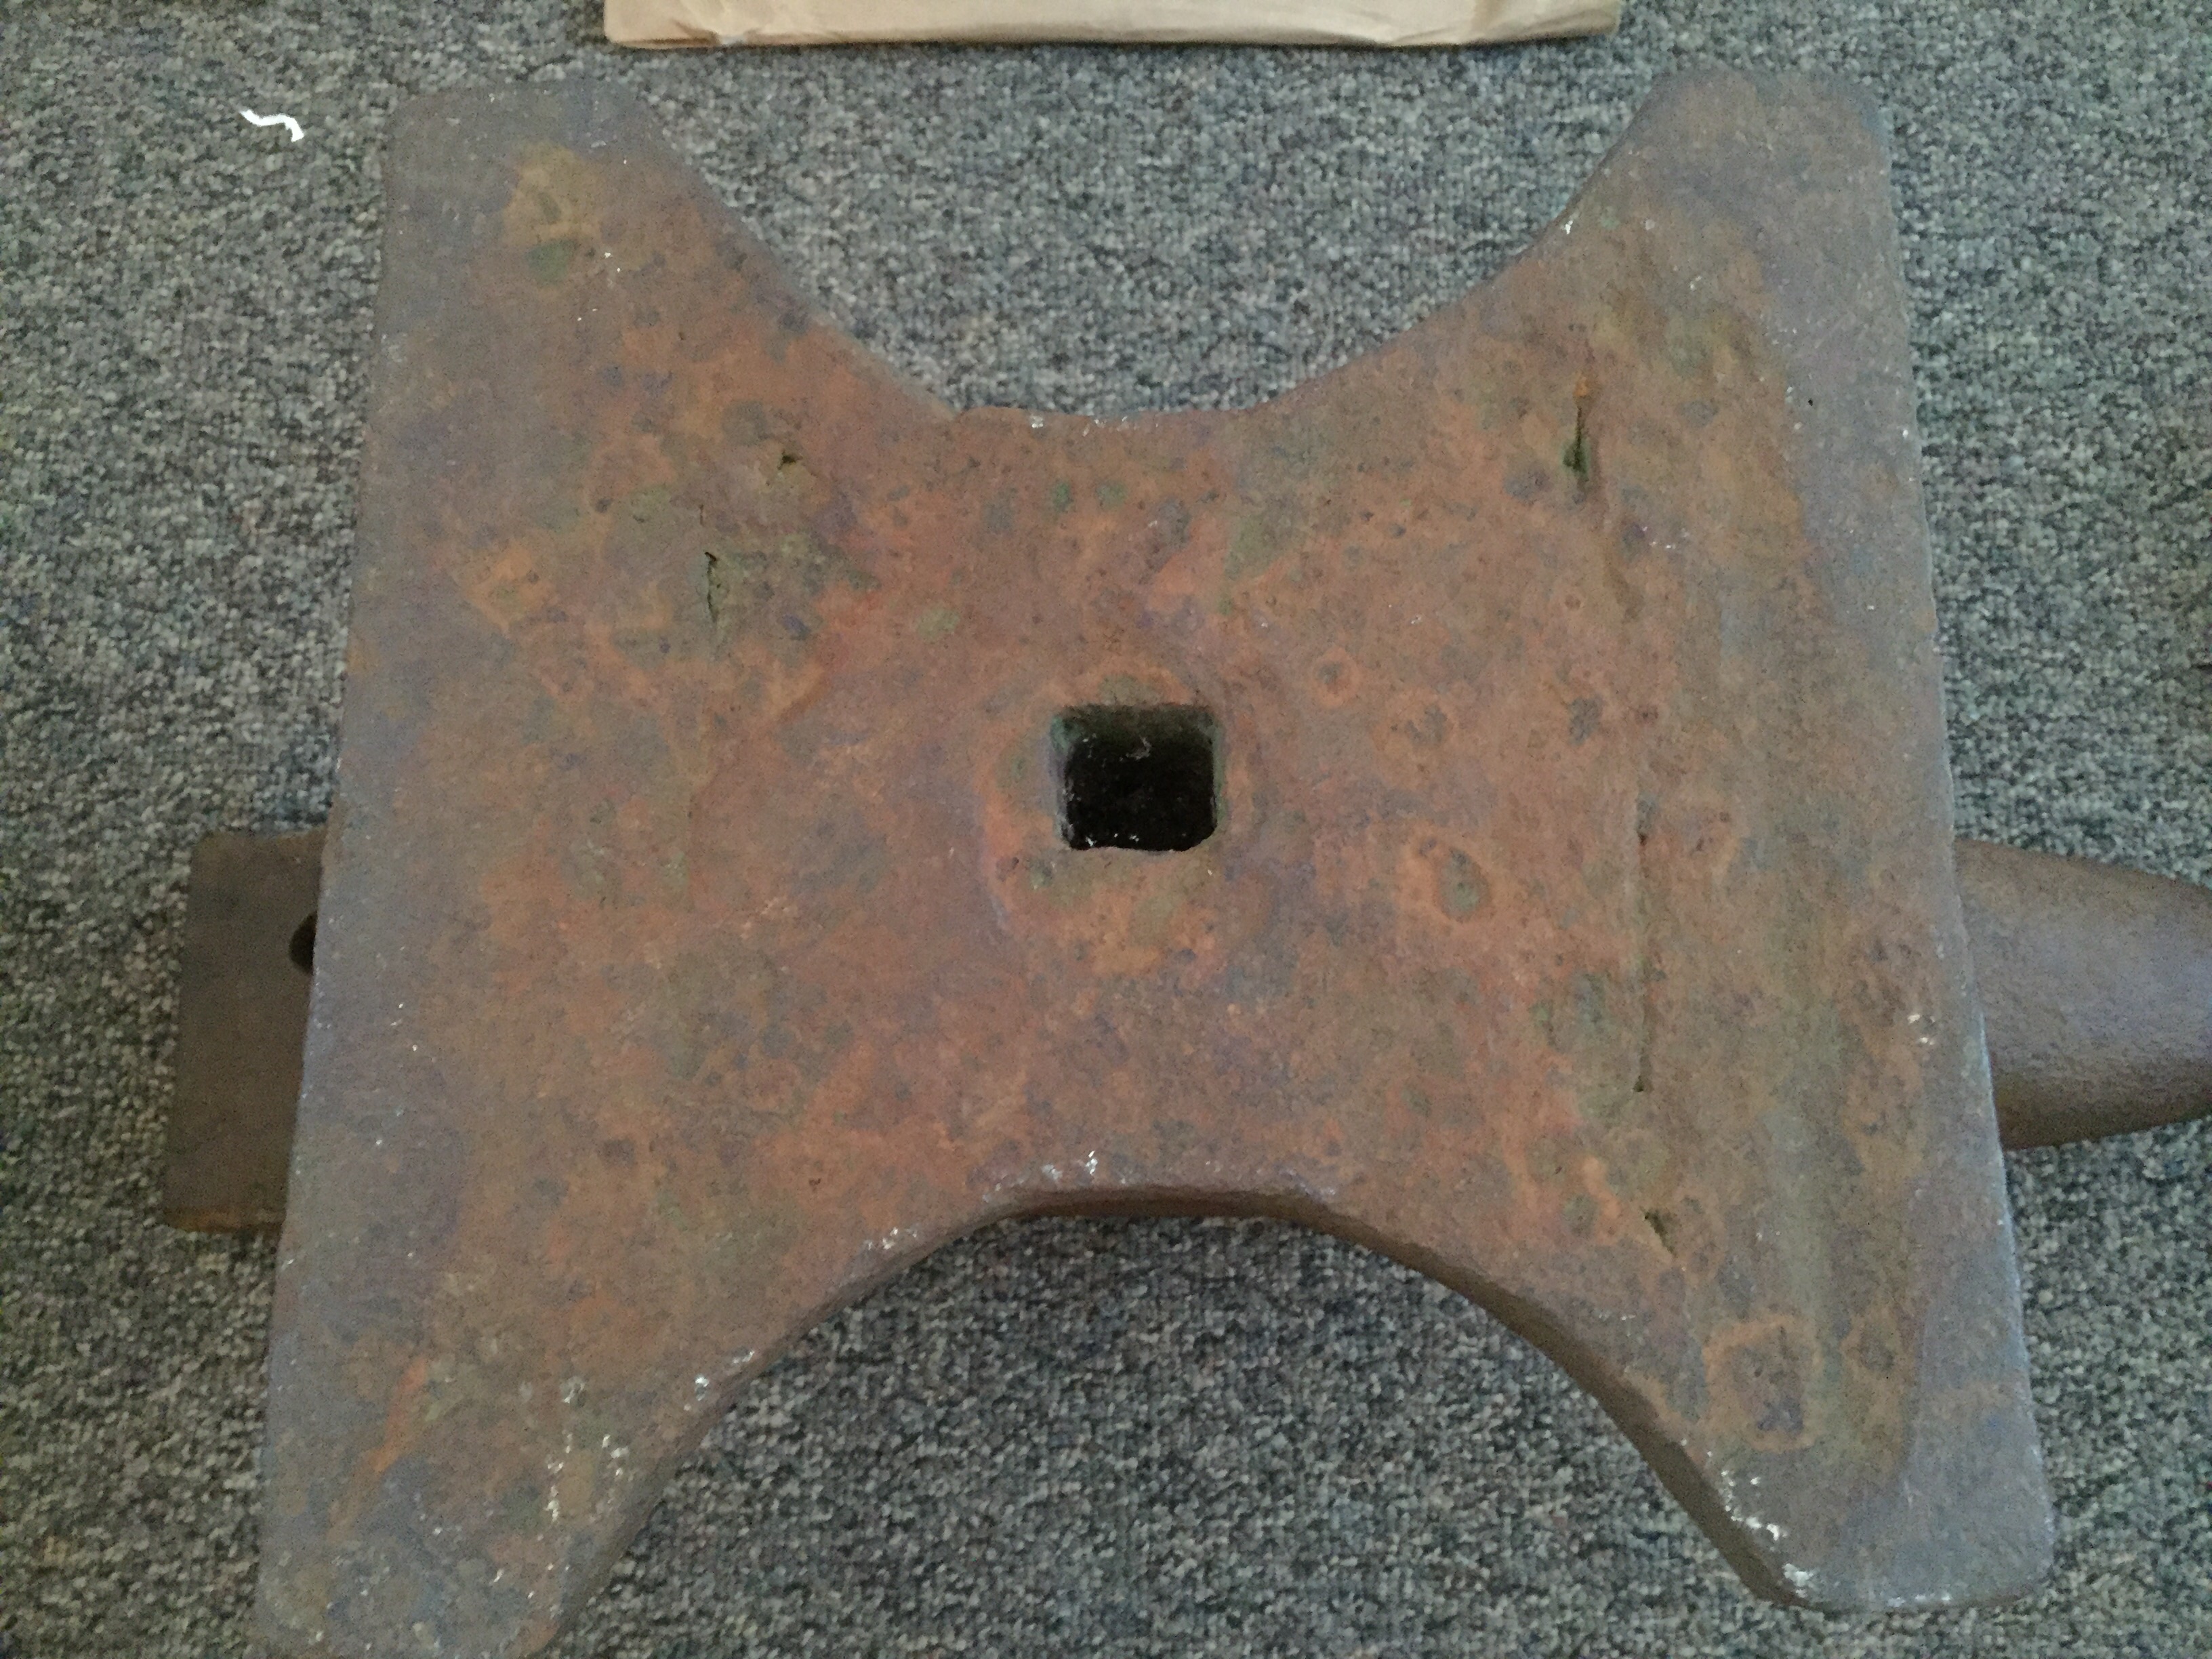
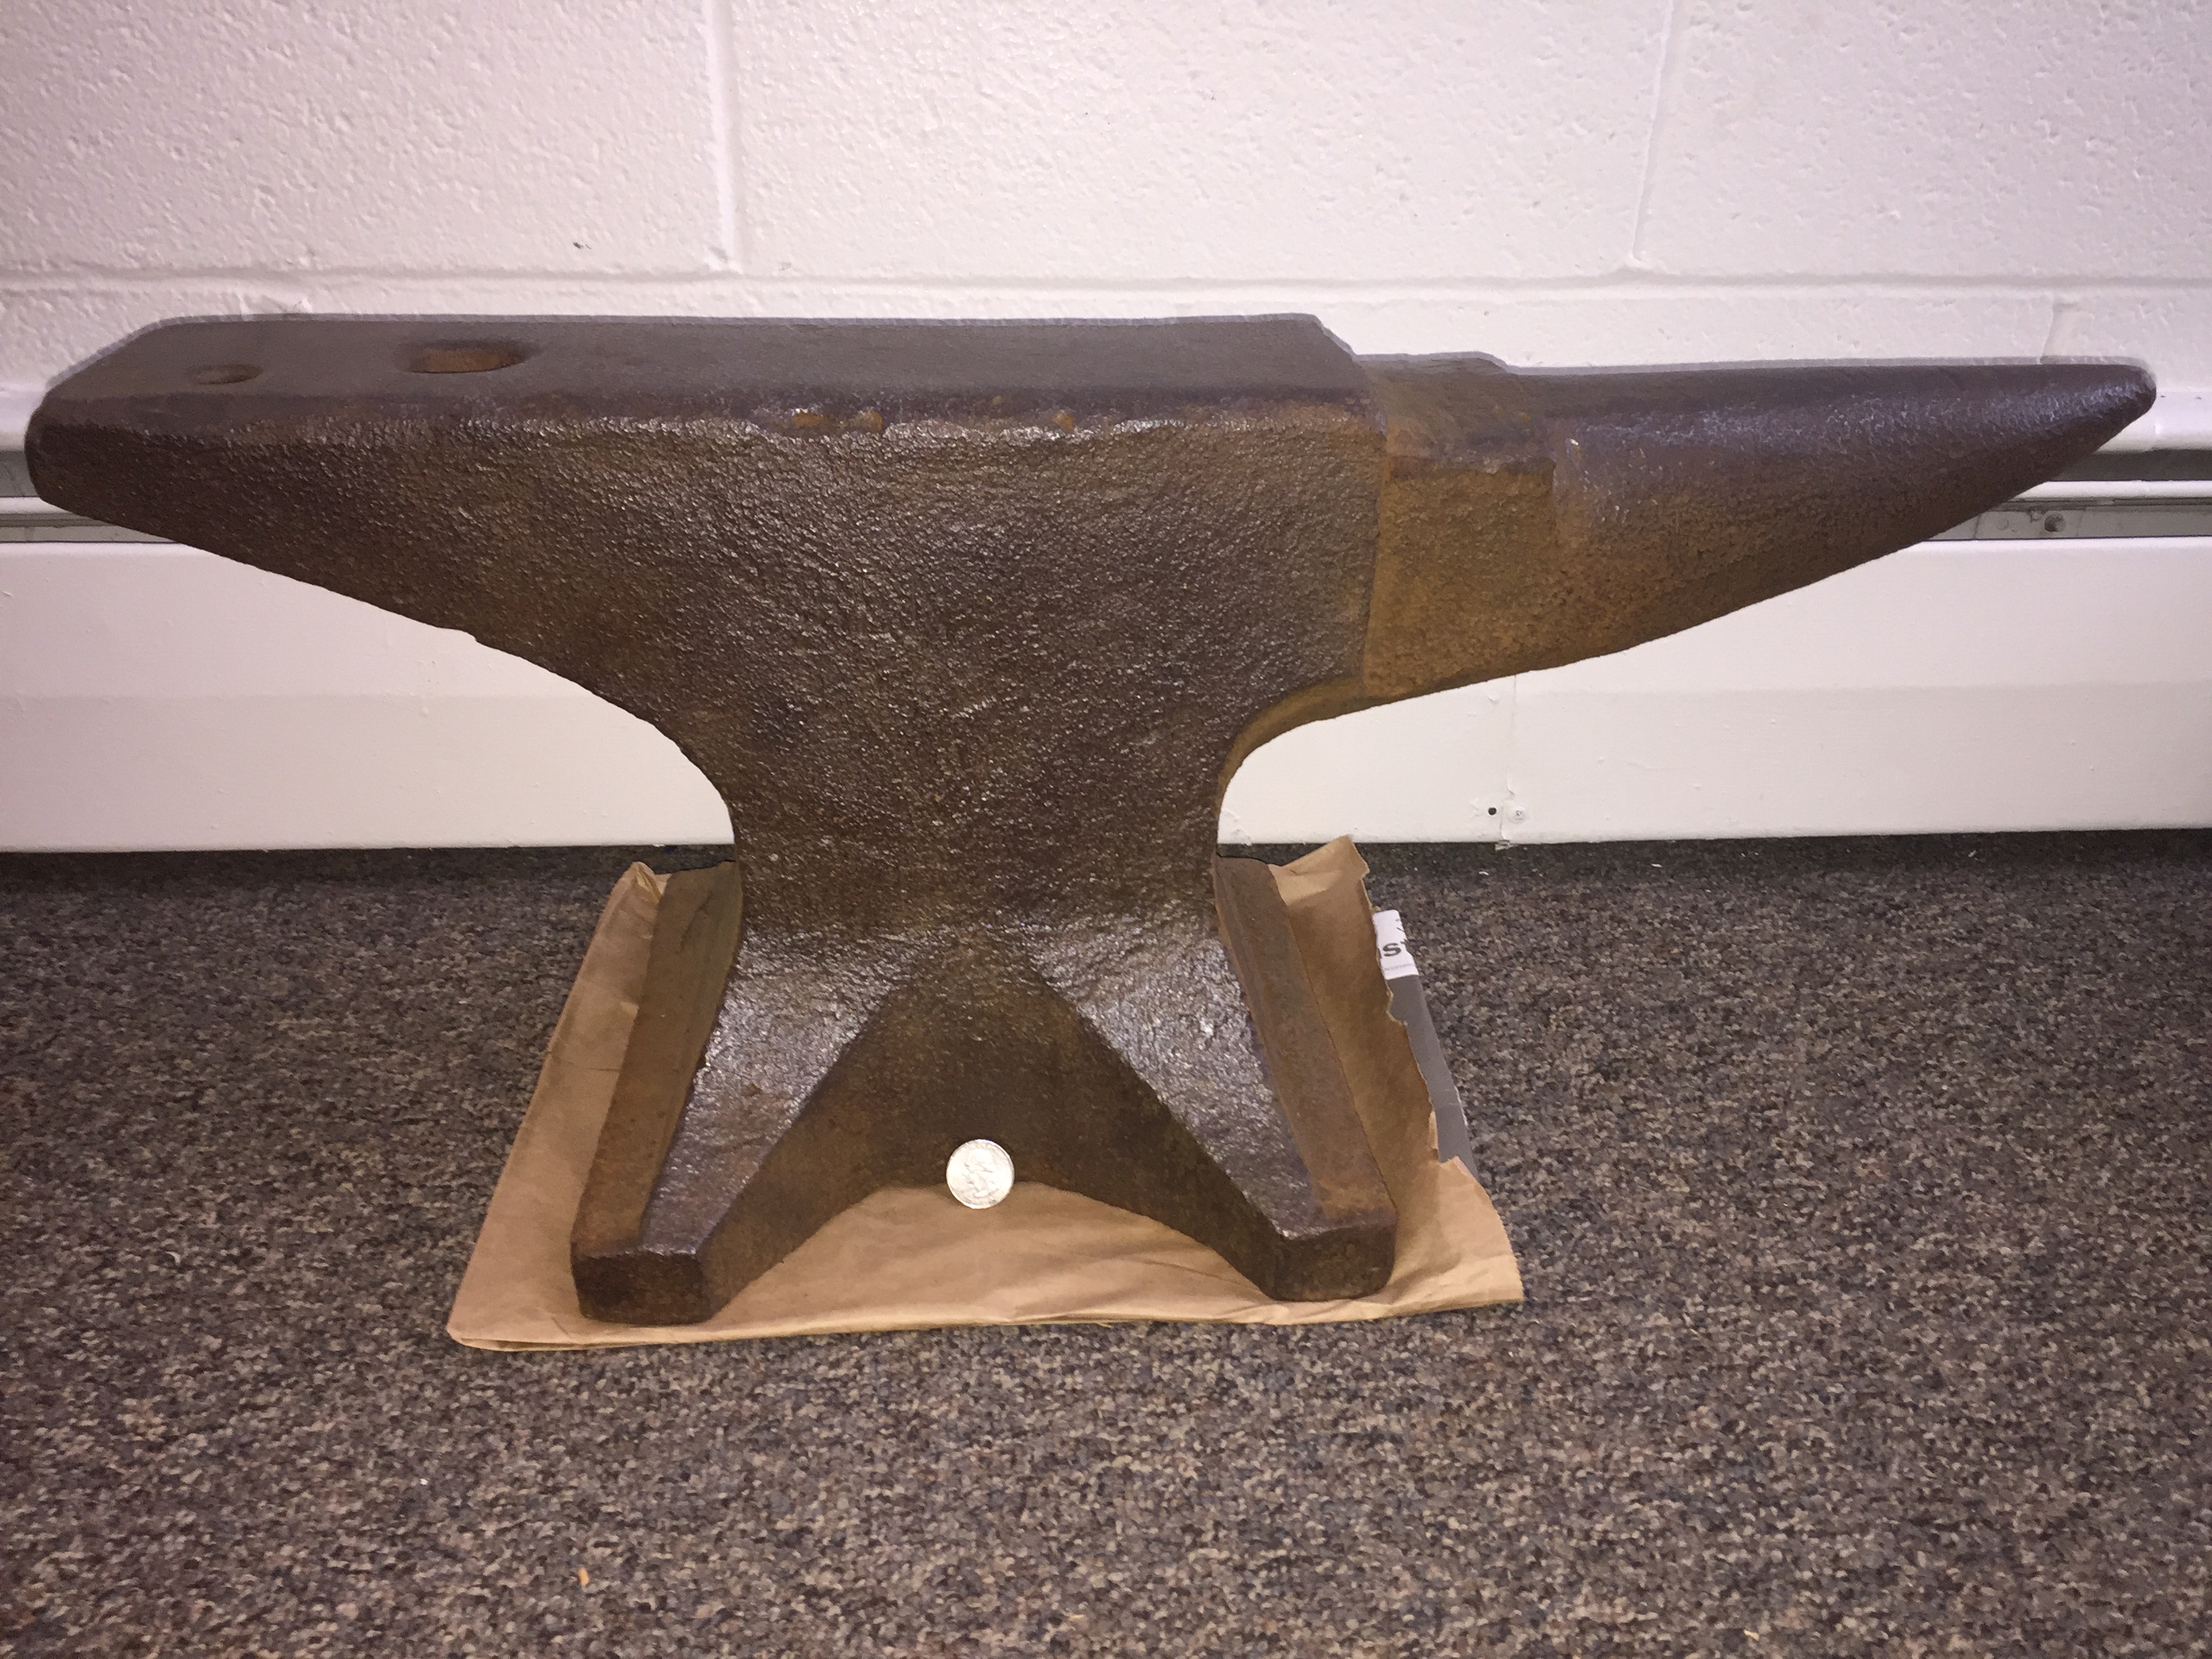
I know I'm a little late to this topic, but in an effort to help black frog, I also have what I believe to be a Trenton. It is a more stocky shape though, and has square handling holes present on underside and under horn & heel. Pics will follow
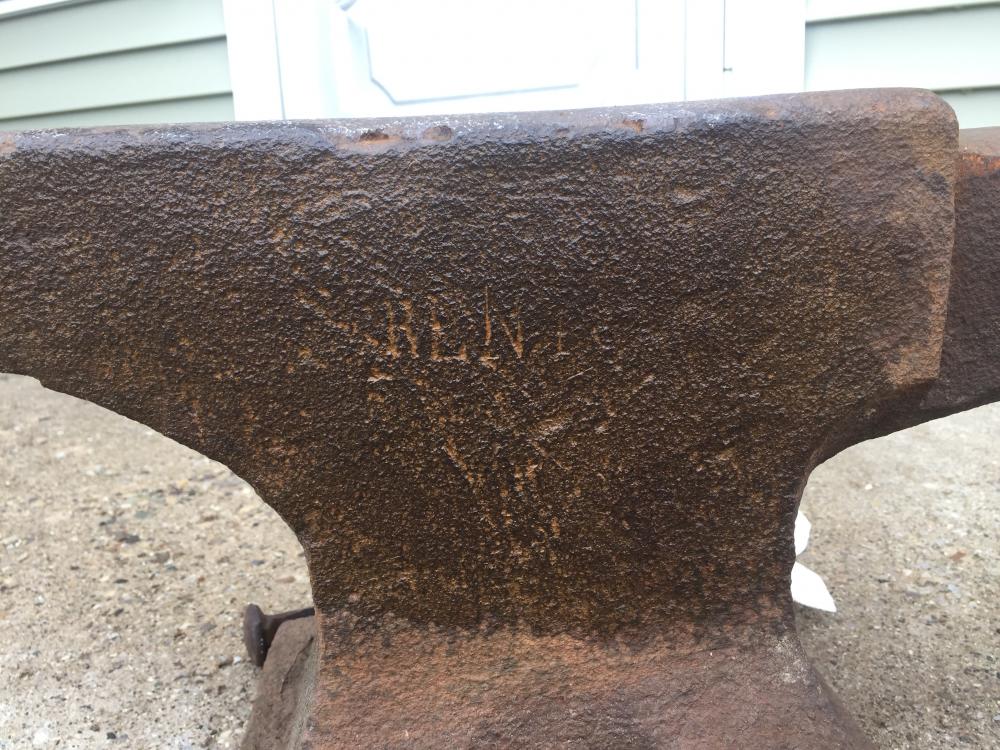
These are some of the pics I took when cleaning it up a few months ago. It's easier to make out the "RENTO" on it in person inside a diamond. The part I am confused about is most Trentons I see are a different shape, and don't have the square handling holes. Any info would be appreciated. I think I had this on here back in January also, but mainly wanted these pics to get to Black Frog incase they were of some use.
Brent


-
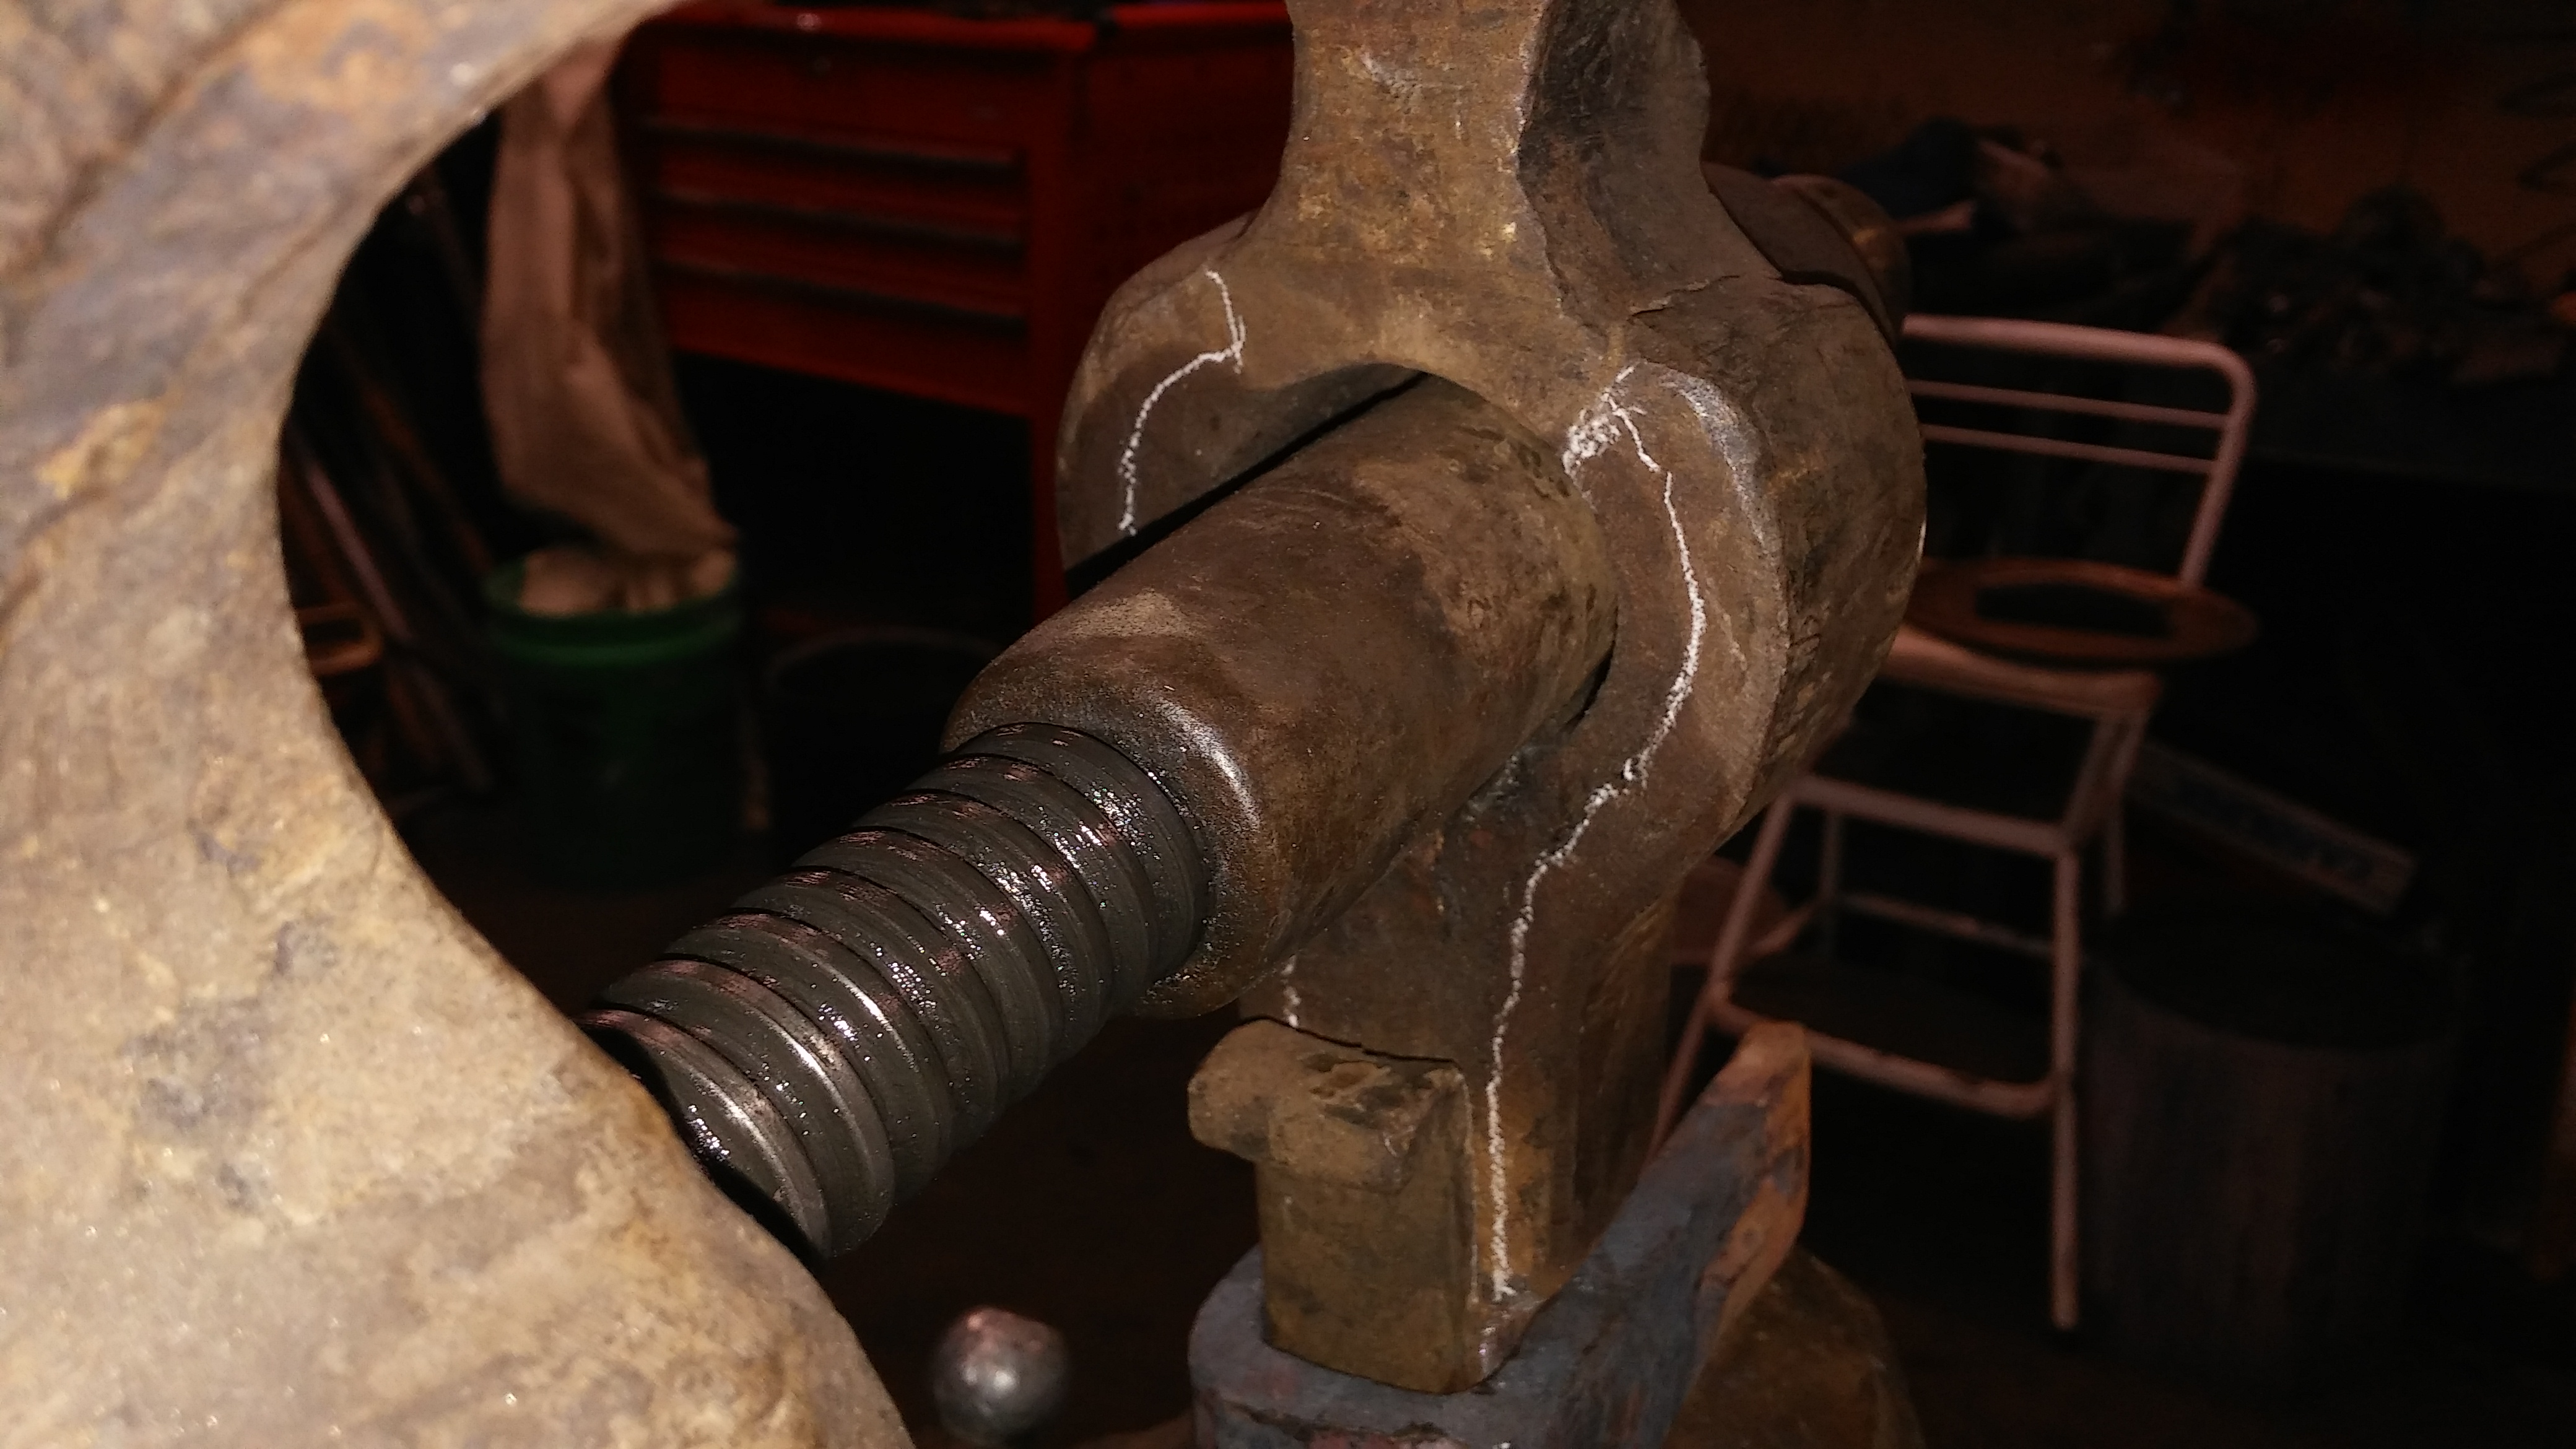
On January 27, 2016 at 10:38 PM, Kevin_Olson said:
Heres my beatup vise. Broken leg and one jaw was broken and reinforced. See chalk lines. Material outside of lines is aftermarket . Threads are perfect.


Kevin, I'm impressed at your resourcefulness to fix that jaw. This notion of fixing something when it is broken rather than finding a new one is what drew me to blacksmithing. I feel like much too often my generation simply throws the broken object out and buys a new one.
-
On January 20, 2016 at 9:03 PM, House of D said:
B,
That looks like a fine little Columbian post vise. What are the jaws 4, 4.5"? Nice vice. I have a 6" that I use daily. Good pick up.
D
I believe it is a 5" however I don't have it with me to measure.
On January 20, 2016 at 9:07 PM, mlinn77 said:Nice they are getting hard to find in nice shape they got pretty abused in there life. This is my best one it's has 7 inch jaws I'm pretty sure it's a Peter wright.
This vise is astounding. Very nice Sir
-
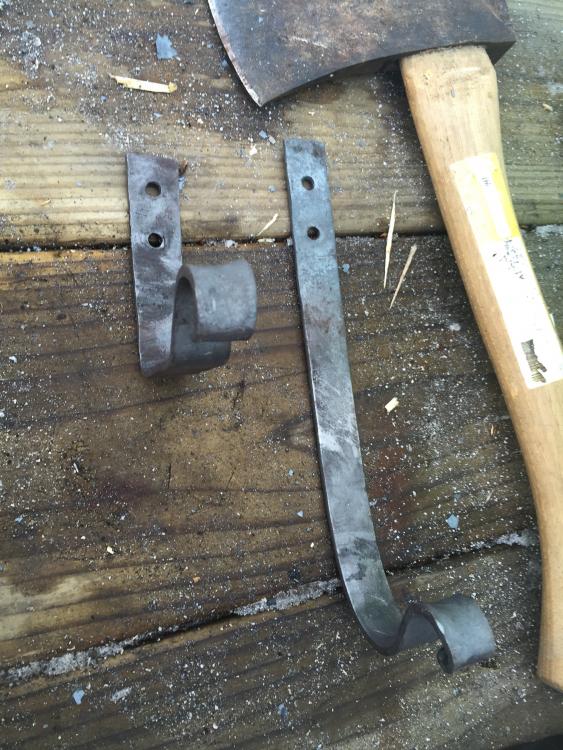
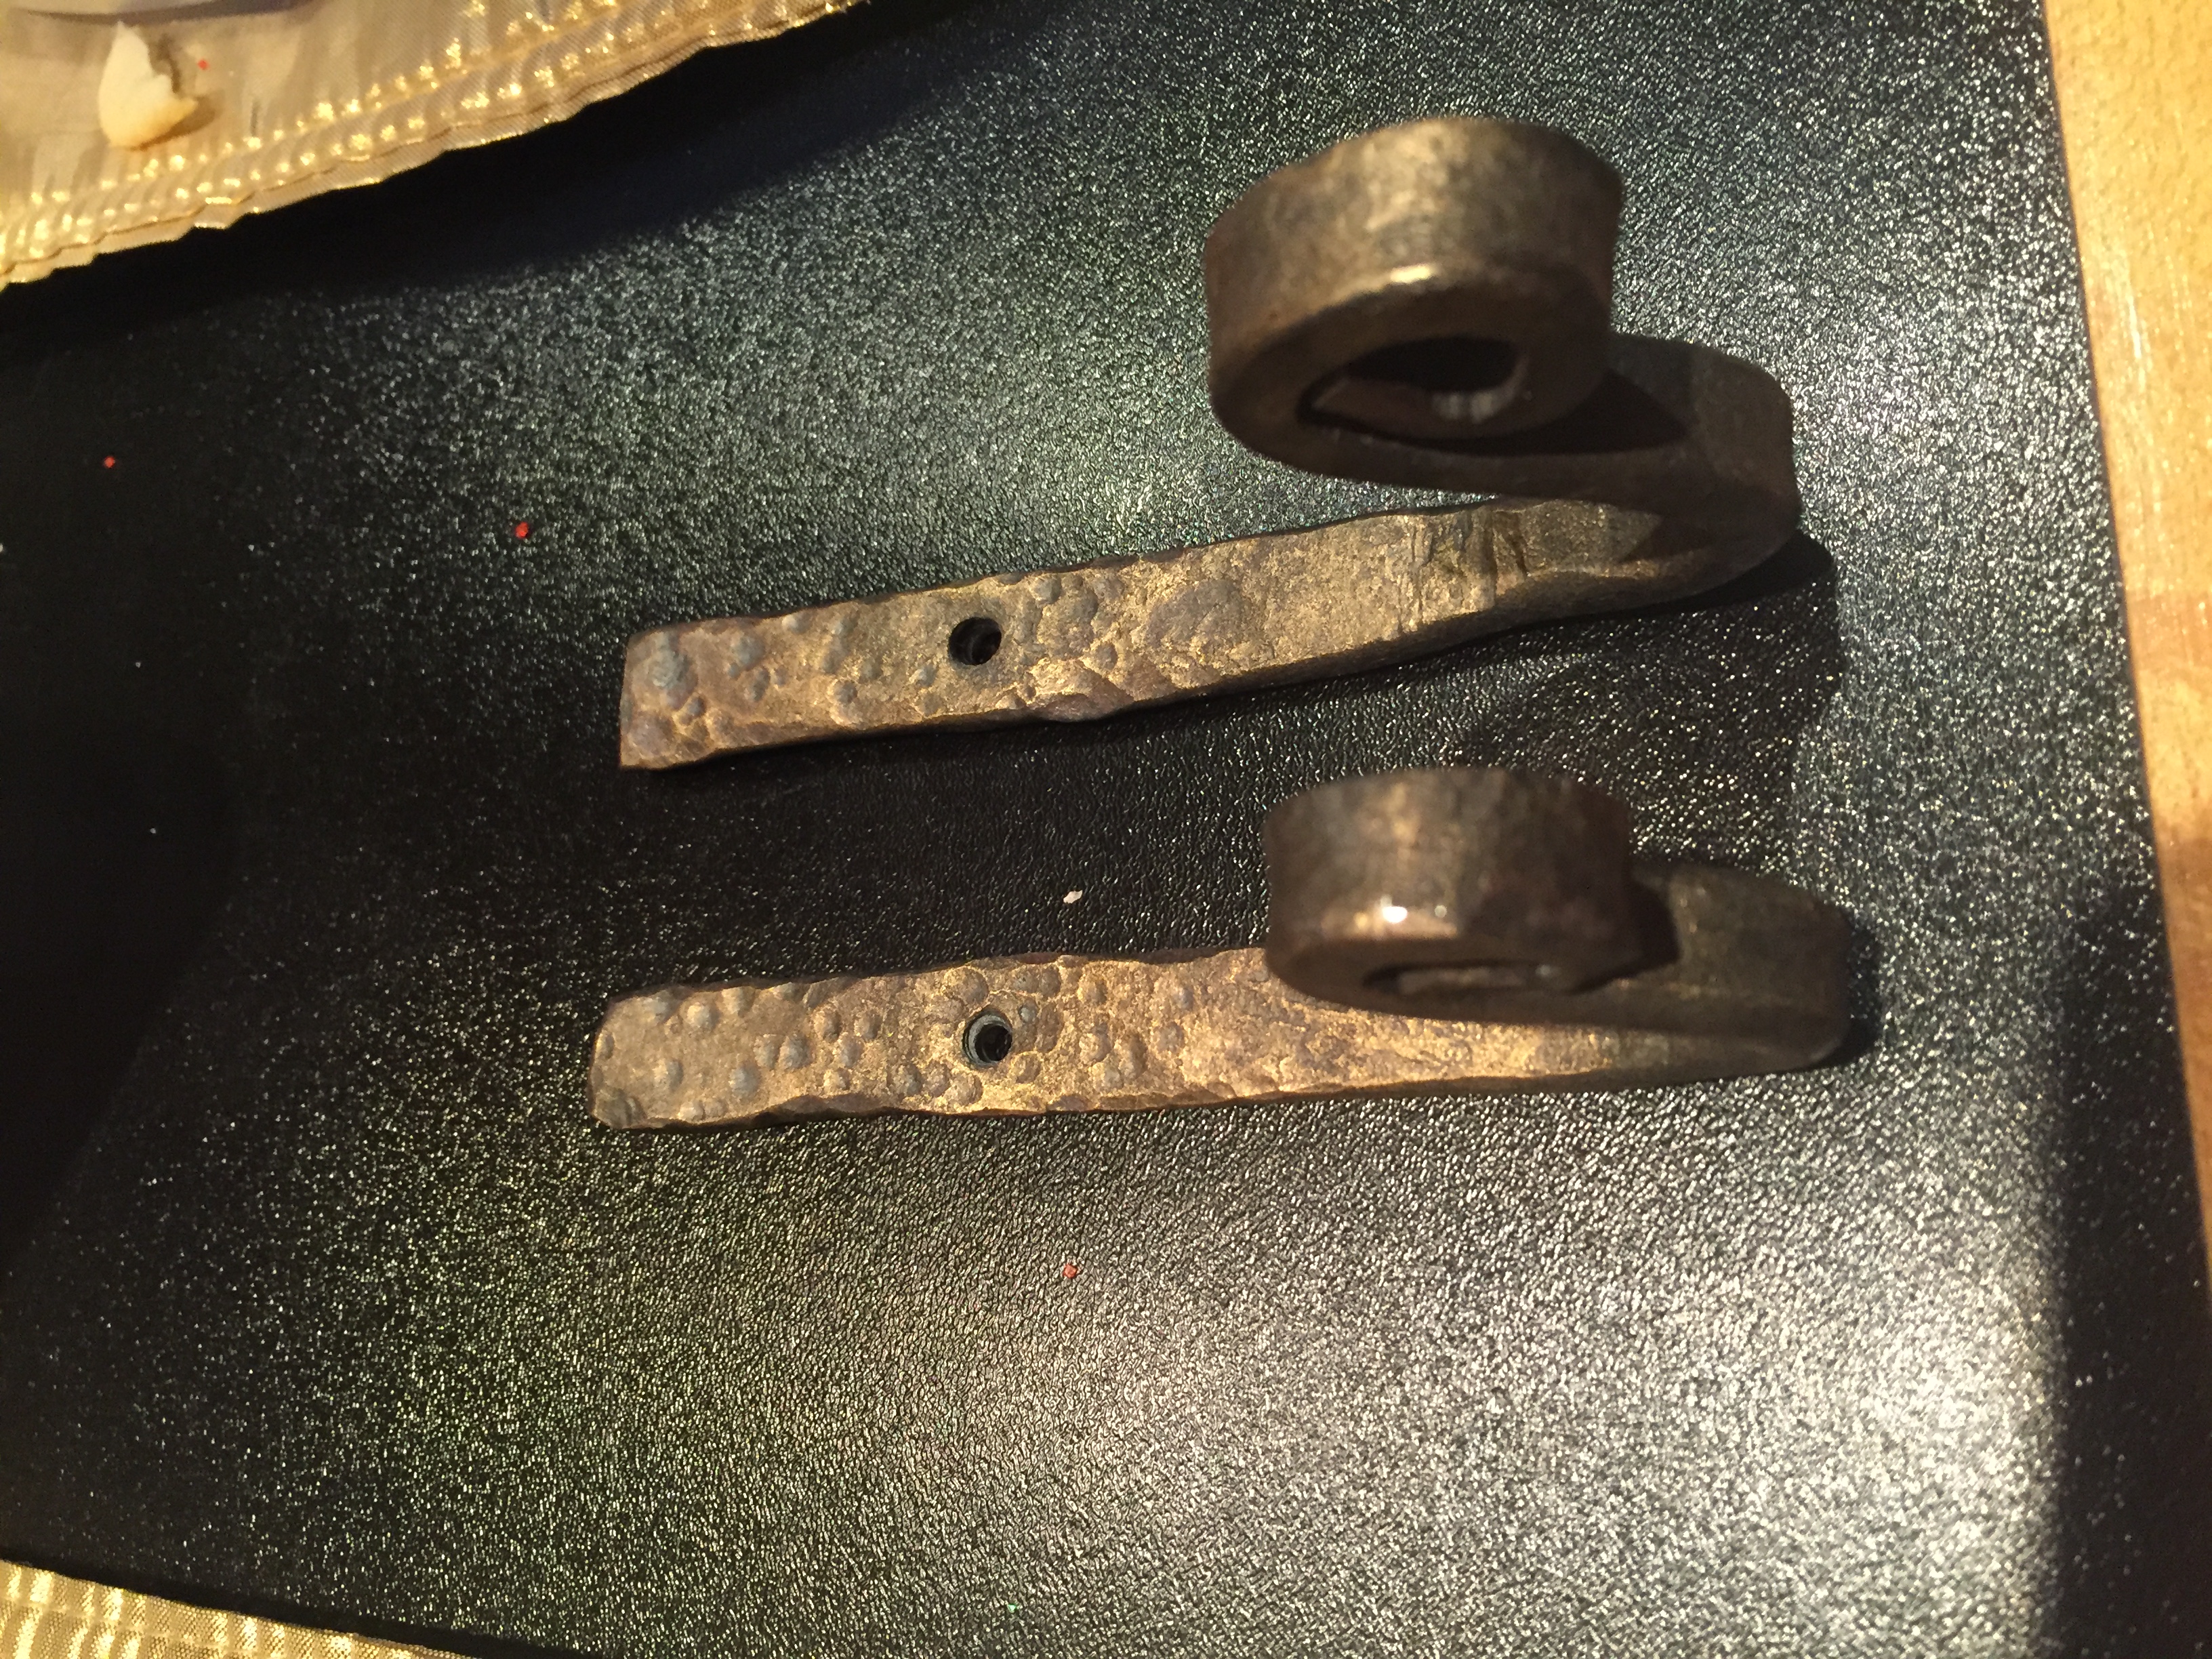
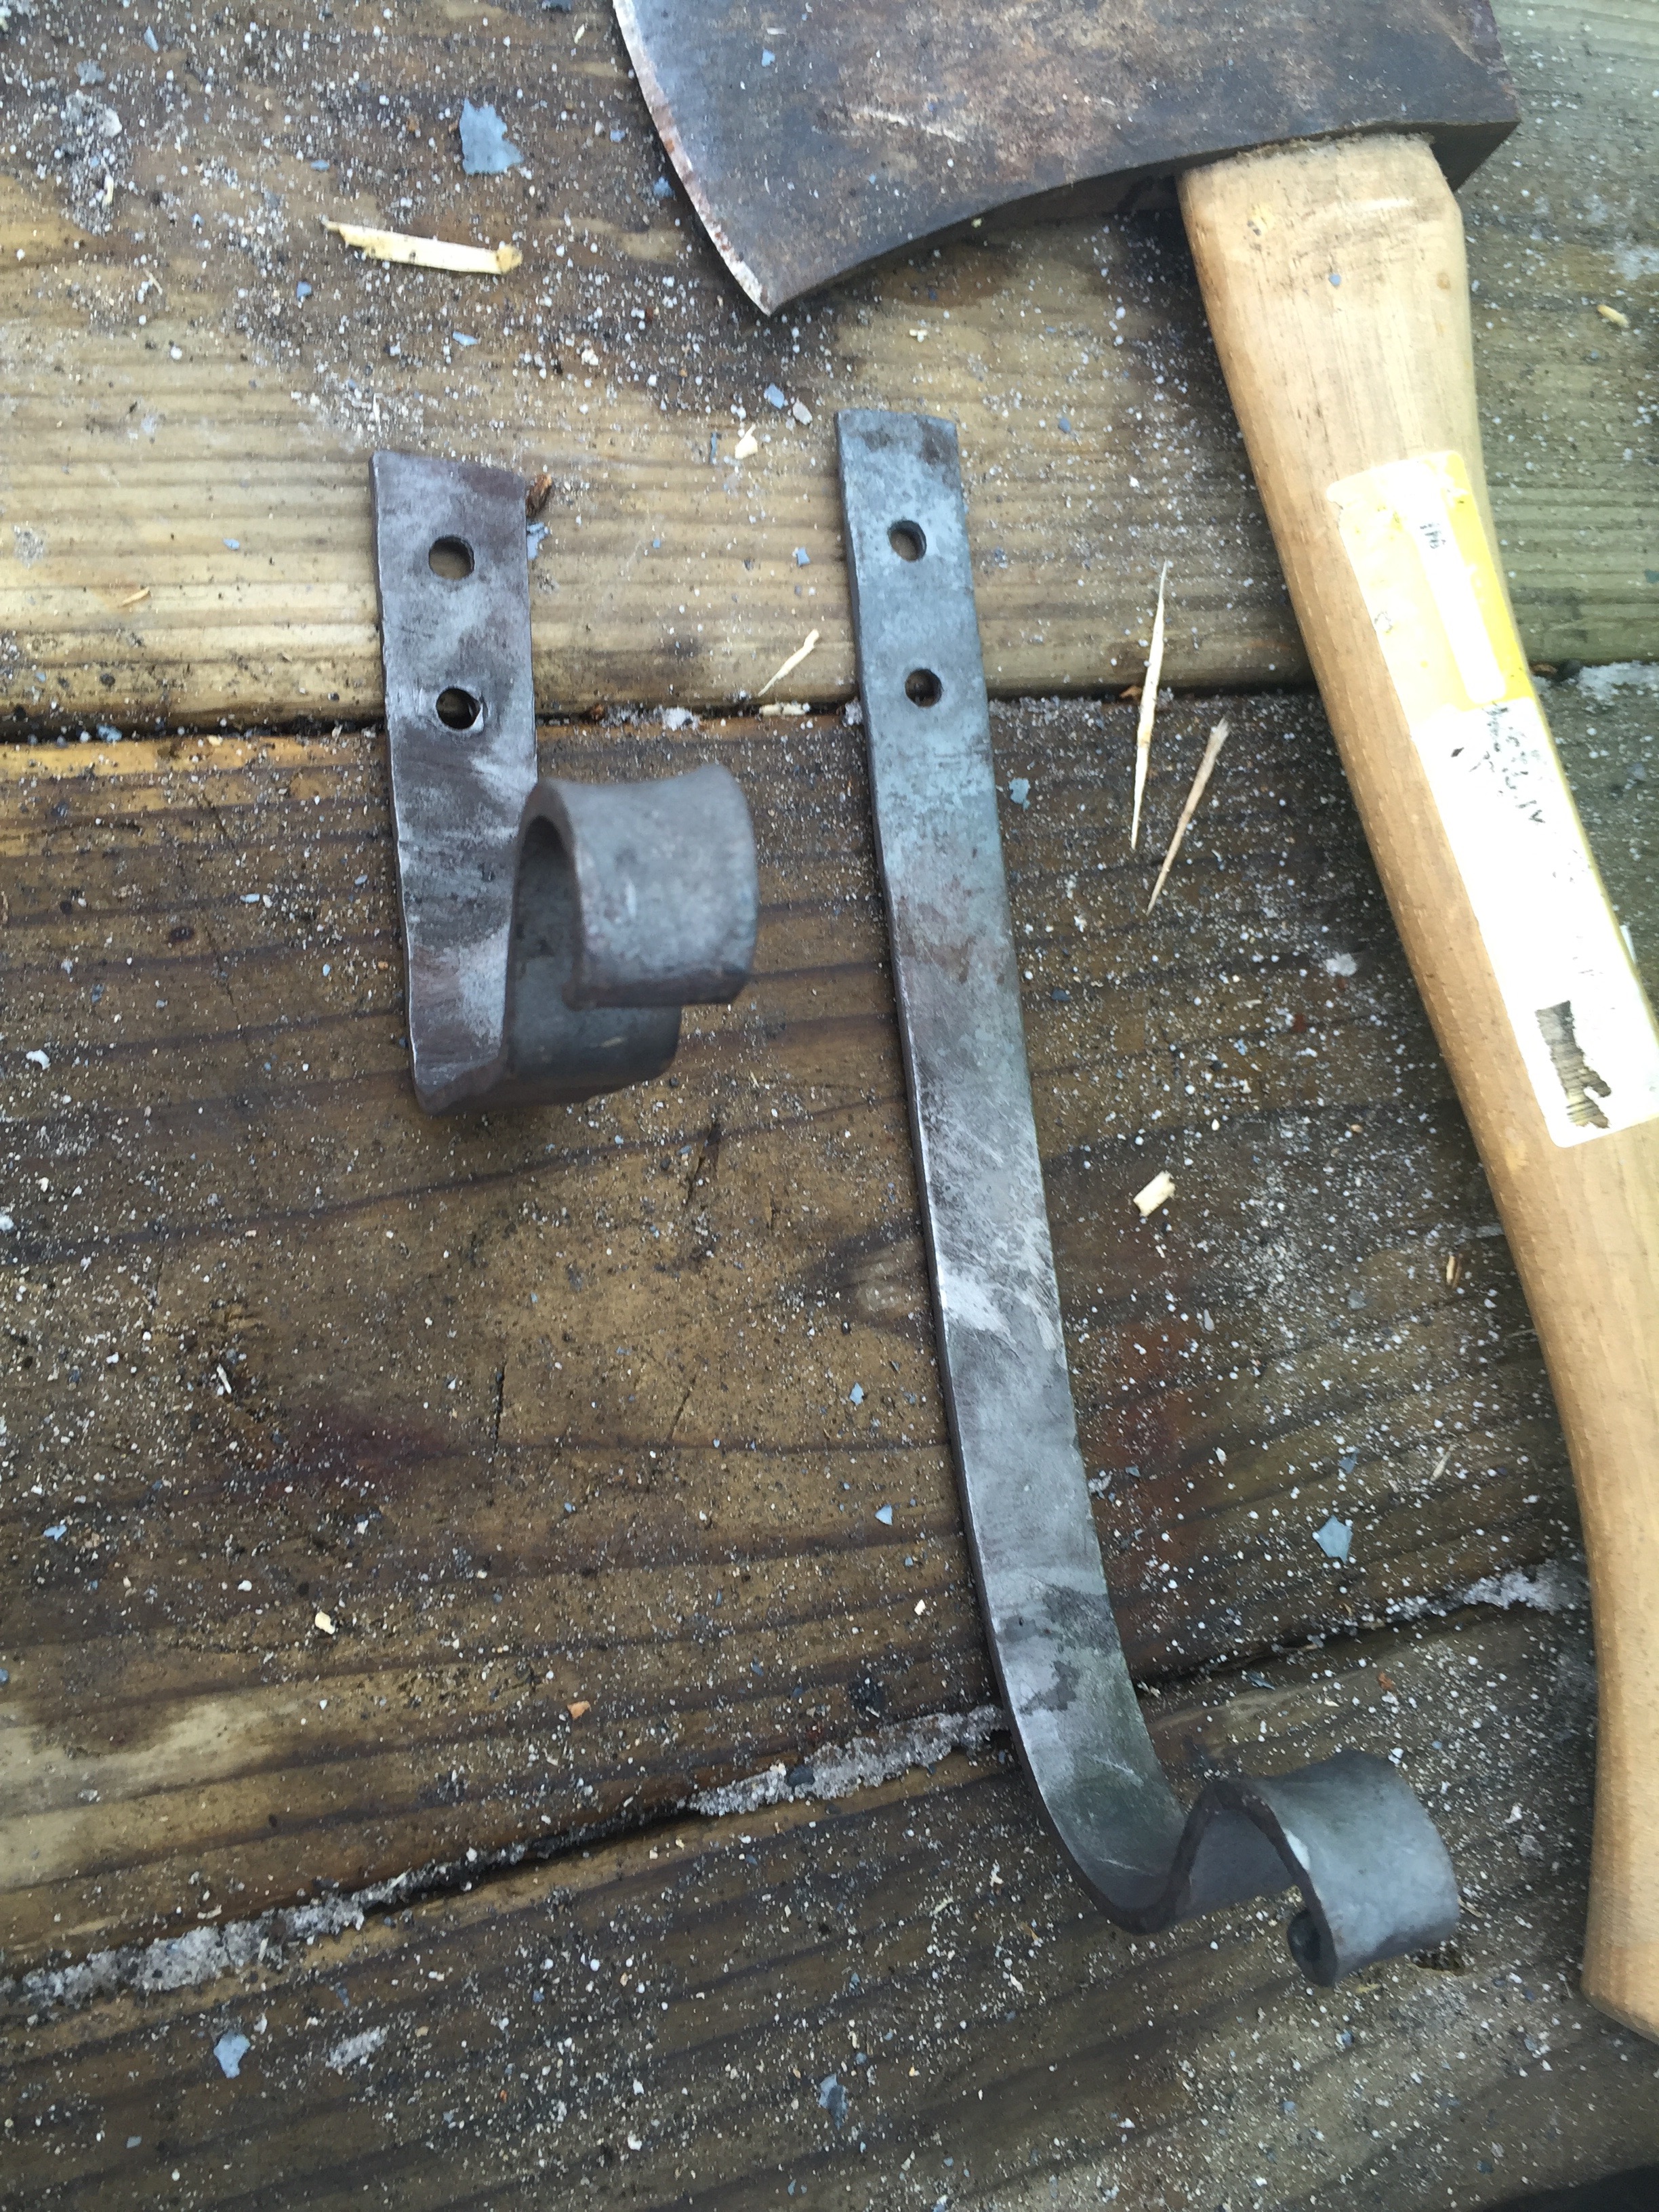
Here are two sets, one smaller generic hooks brass brushed, and one set special made to wall hang my friend's late 1800s Belgian black power shotgun. If holes are lined up level on wall, the shotgun will hang level.

-
On January 18, 2016 at 6:52 PM, Jim Coke said:
Greetings all .
At 72 I am I the same boat but have found a soloution. The person that I have selected for Richard I employed and taught for a summer . I spent the evening hours in the blacksmith shop training and passing on what I could . He has been employed with a friend in a true blacksmith shop and will soon be teaching at JC Campbell . He is branching out on his own and I am watching his progress .. I spend 3 days a week at a local vocational school as a mentor and most of the summer teaching black smithing at my studio at no charge for prospective future artist.. That's my way at this time but I will soon pass on some of my equipment as I see fit., If we don't who will.. let's keep the forges going..! Just this ol boys2c
Lets keep the forges going and make beautiful things
Jim
Jim,
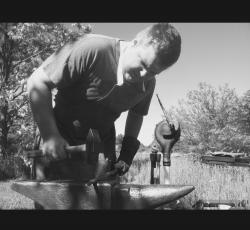
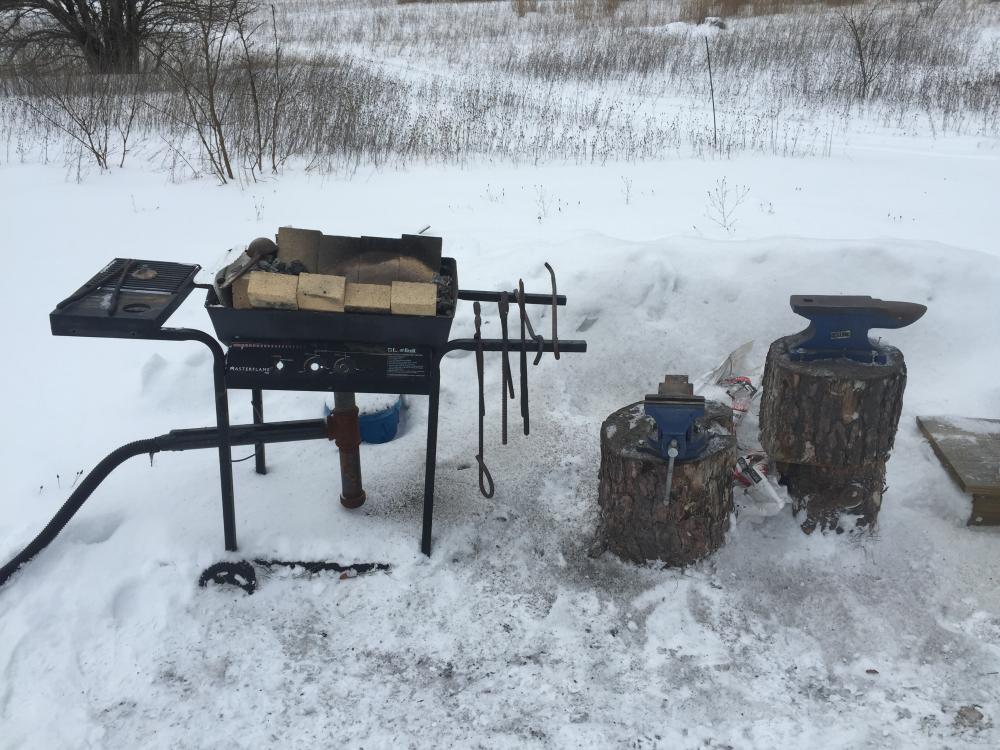
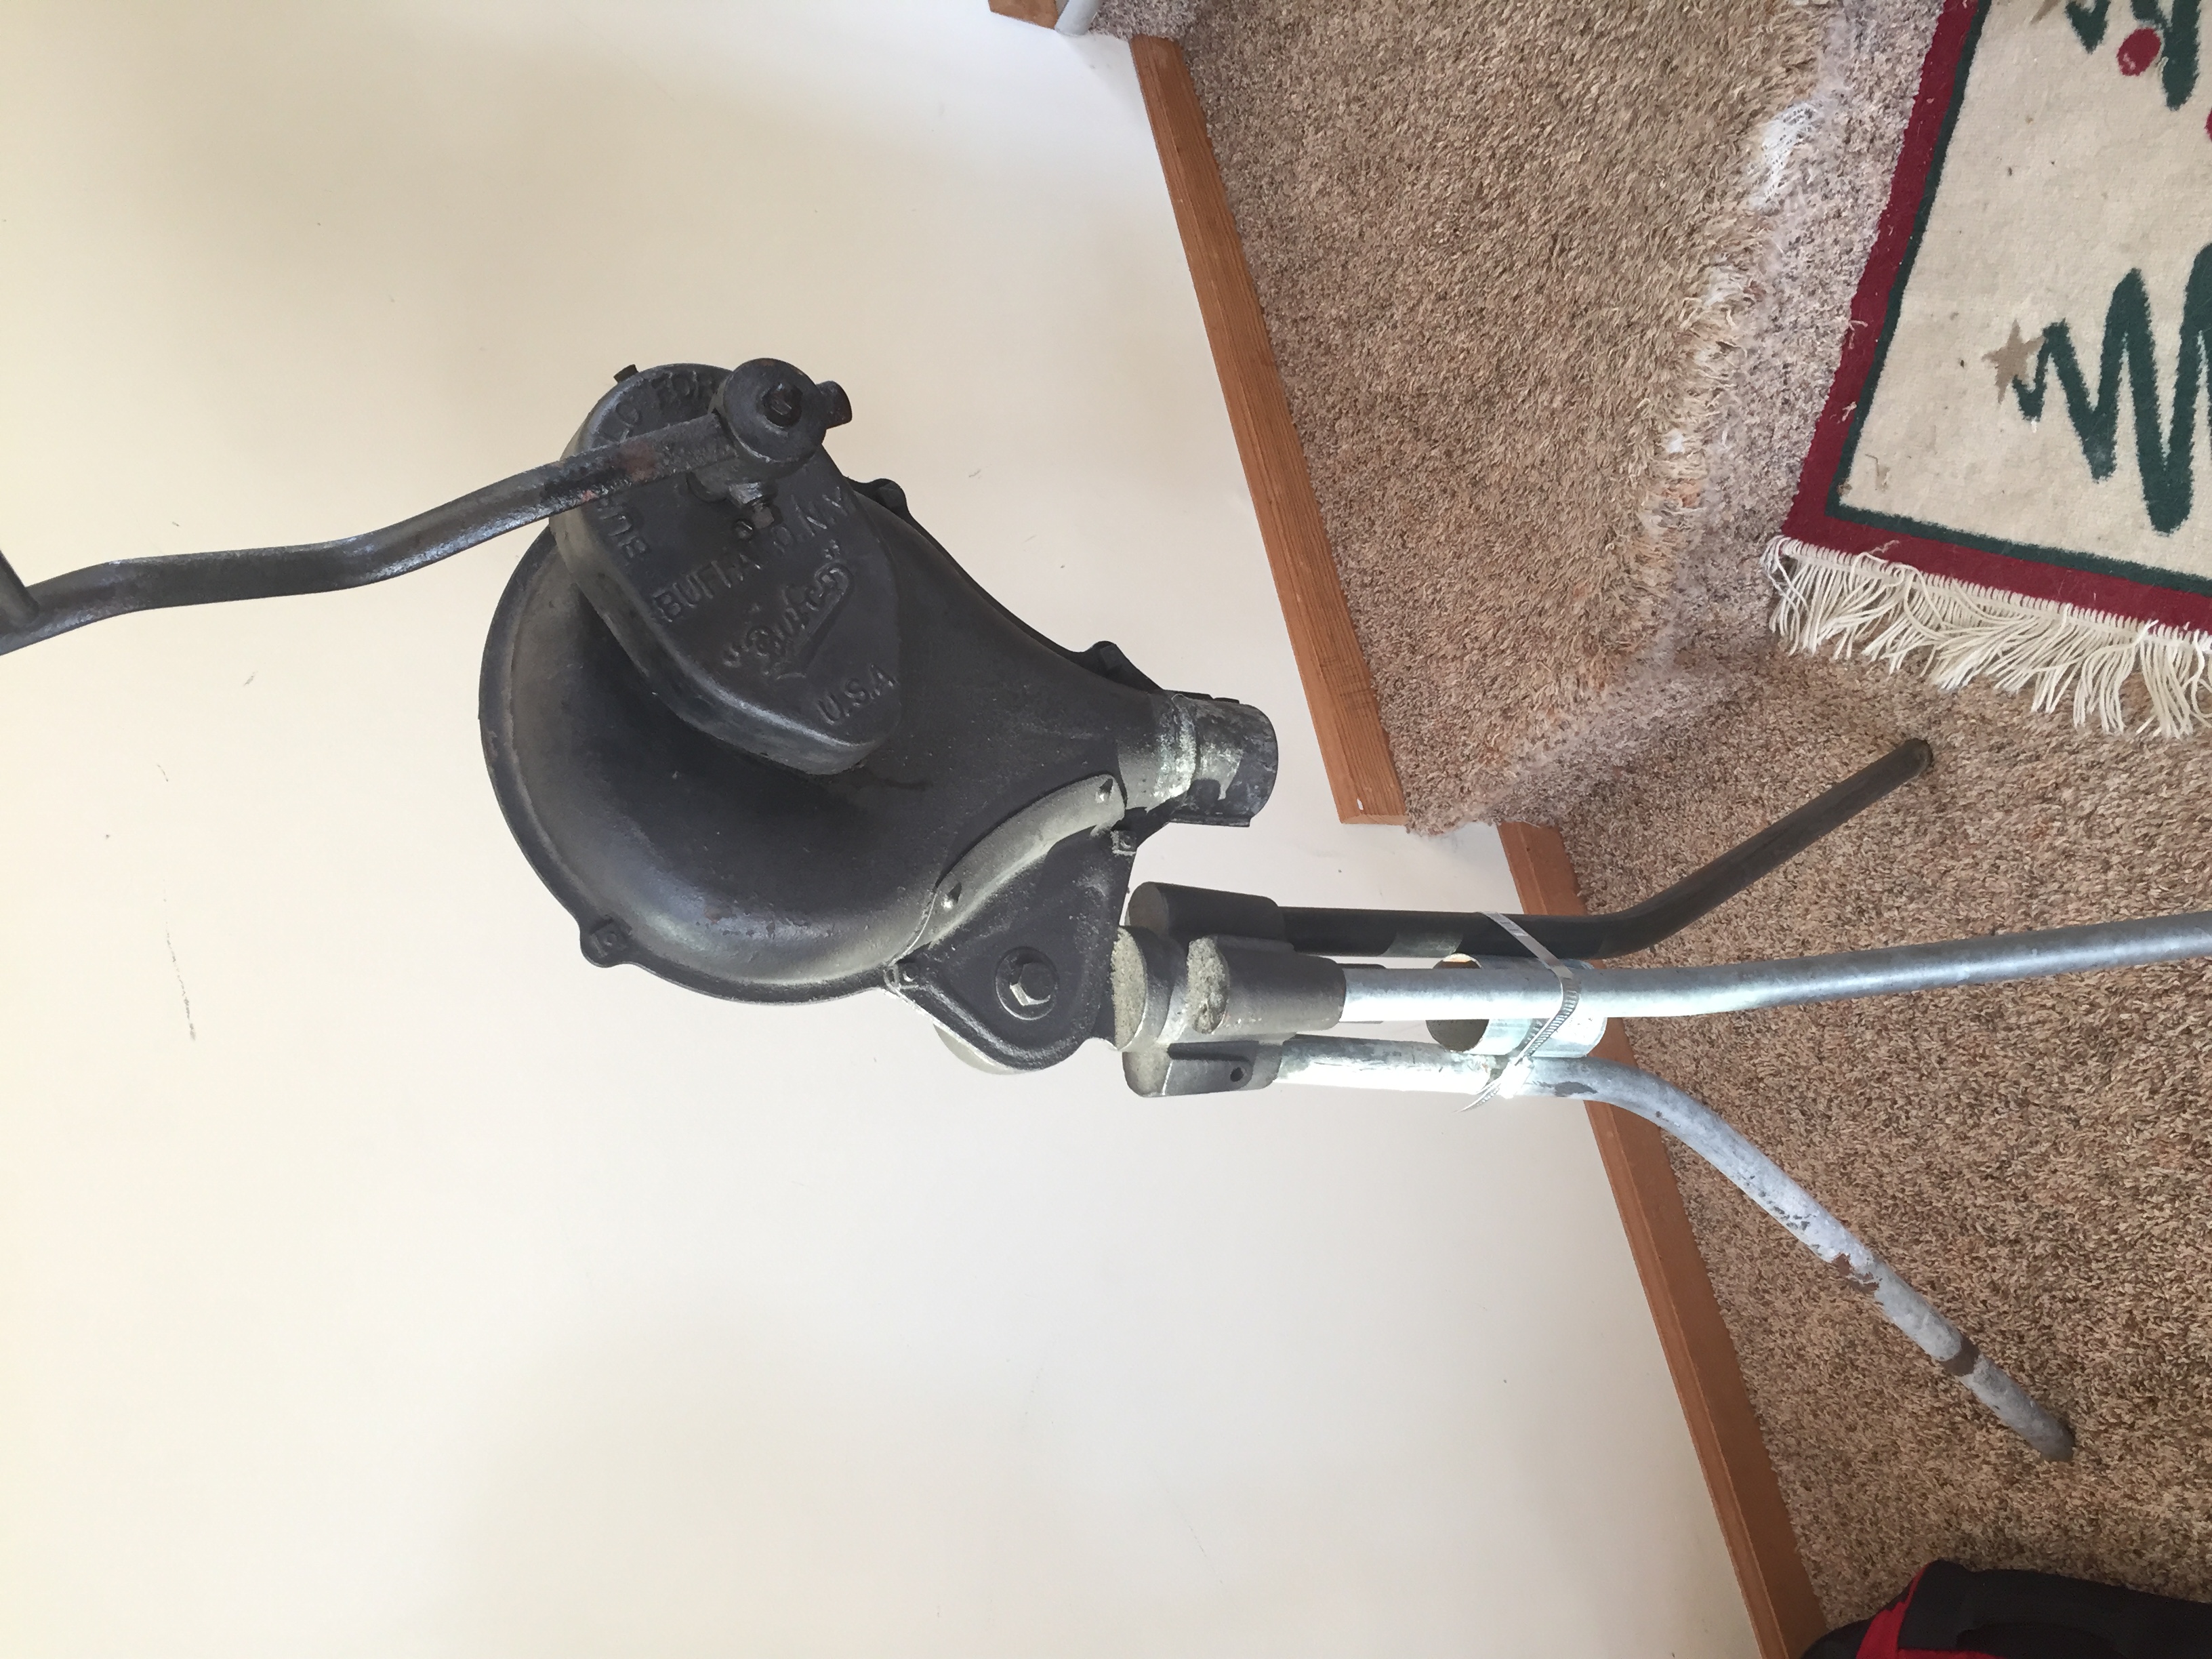
I'm 20 and started blacksmithing this past summer. I have so far acquired an anvil, hand crank blower, and post vise. The forge I built myself out of 2" iron pipe and an old grill. I work outside since I have not invested the time or money in a structure for a shop yet. For Christmas I was able to make a gift for each of my family members and they seemed to really like them. I have found that for me the draw to smithing is not only what you make, it is instead what you COULD make. I feel as though with enough effort and guidance an experienced blacksmith can just about make anything.
I live in Suttons Bay during summers (rest of the year I'm at college studying Mathematics), and I was wondering if you would be willing to critique me and show me how you go about doing things sometime? Everything I've learned has been from IFI, YouTube videos or I figured out a way myself. It would be really nice to be able to watch someone such as yourself in person and be able to ask questions. I'm a really quick learner, but usually need to ask a lot of questions.
Thank you you for your time,
Brent J Duddles
-
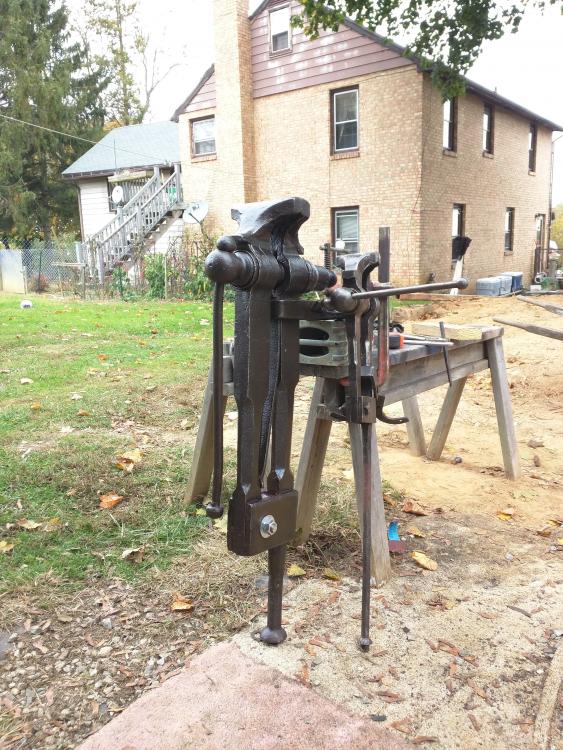
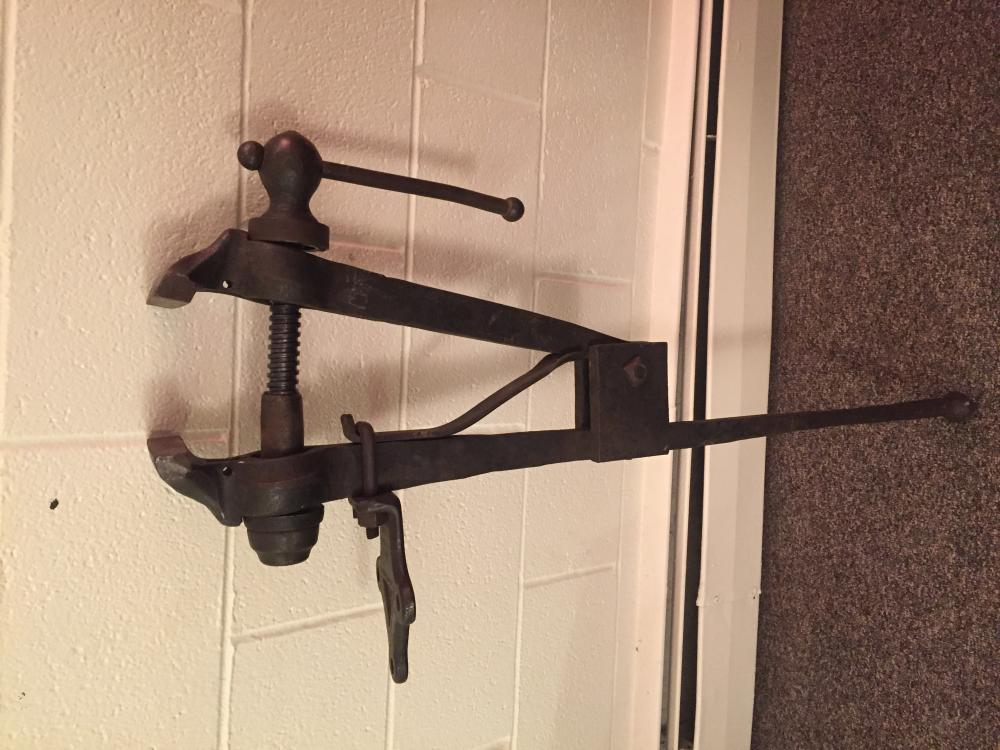
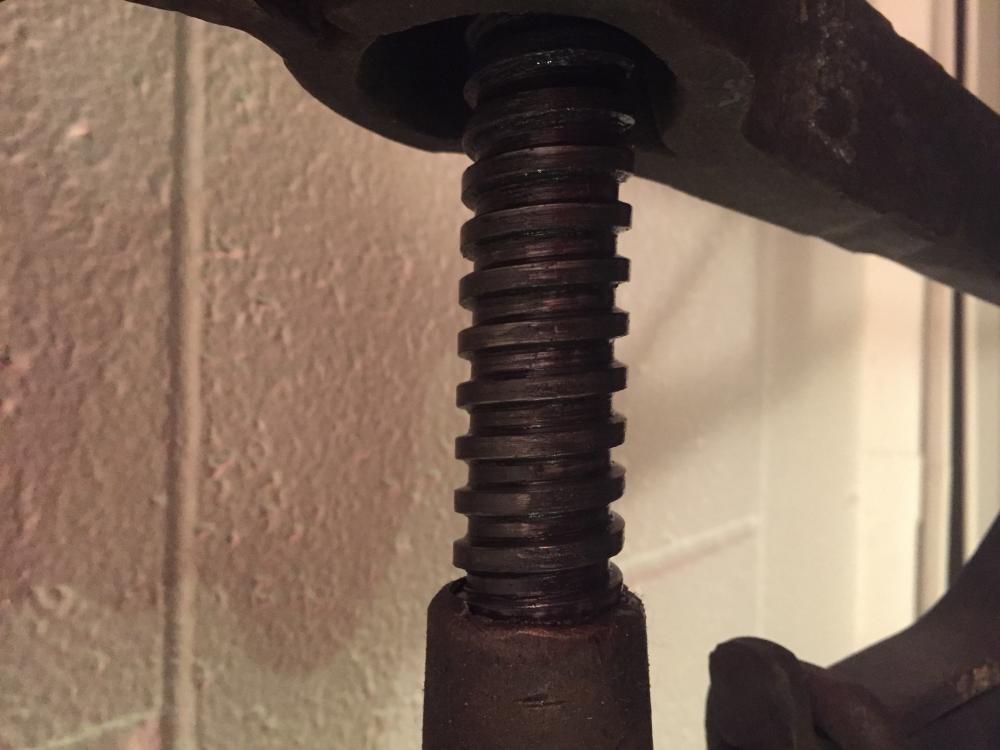
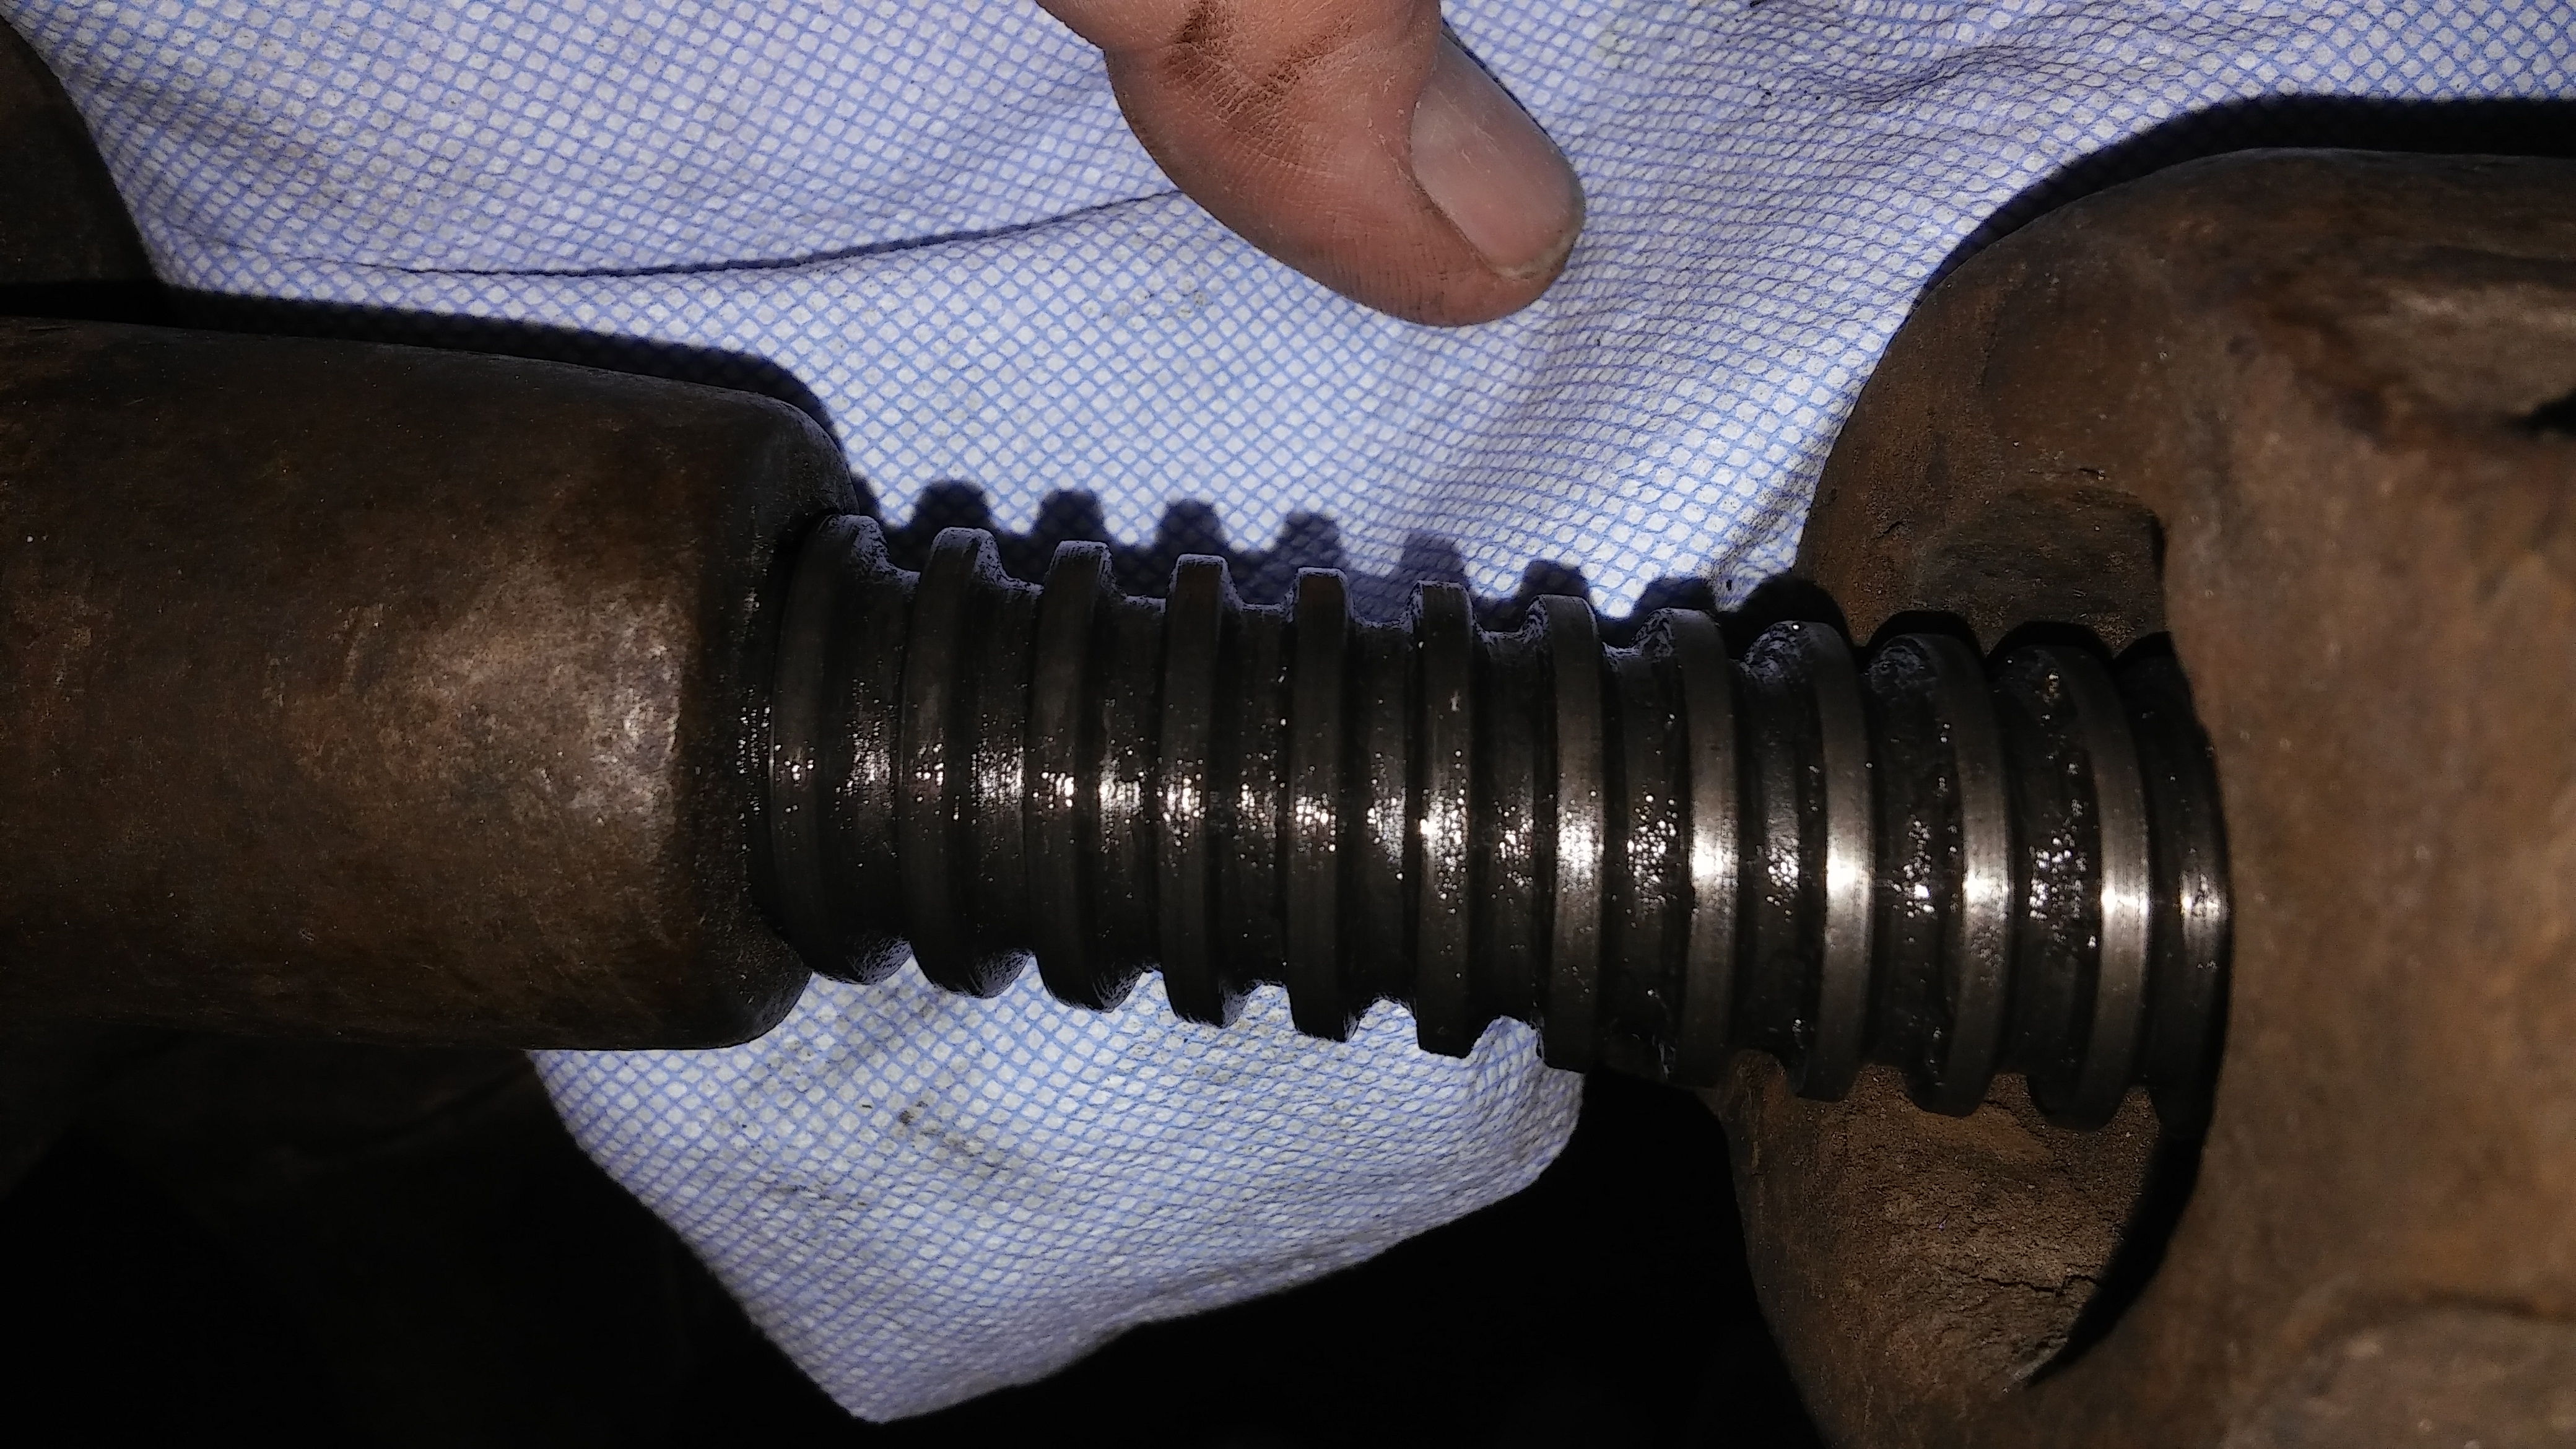
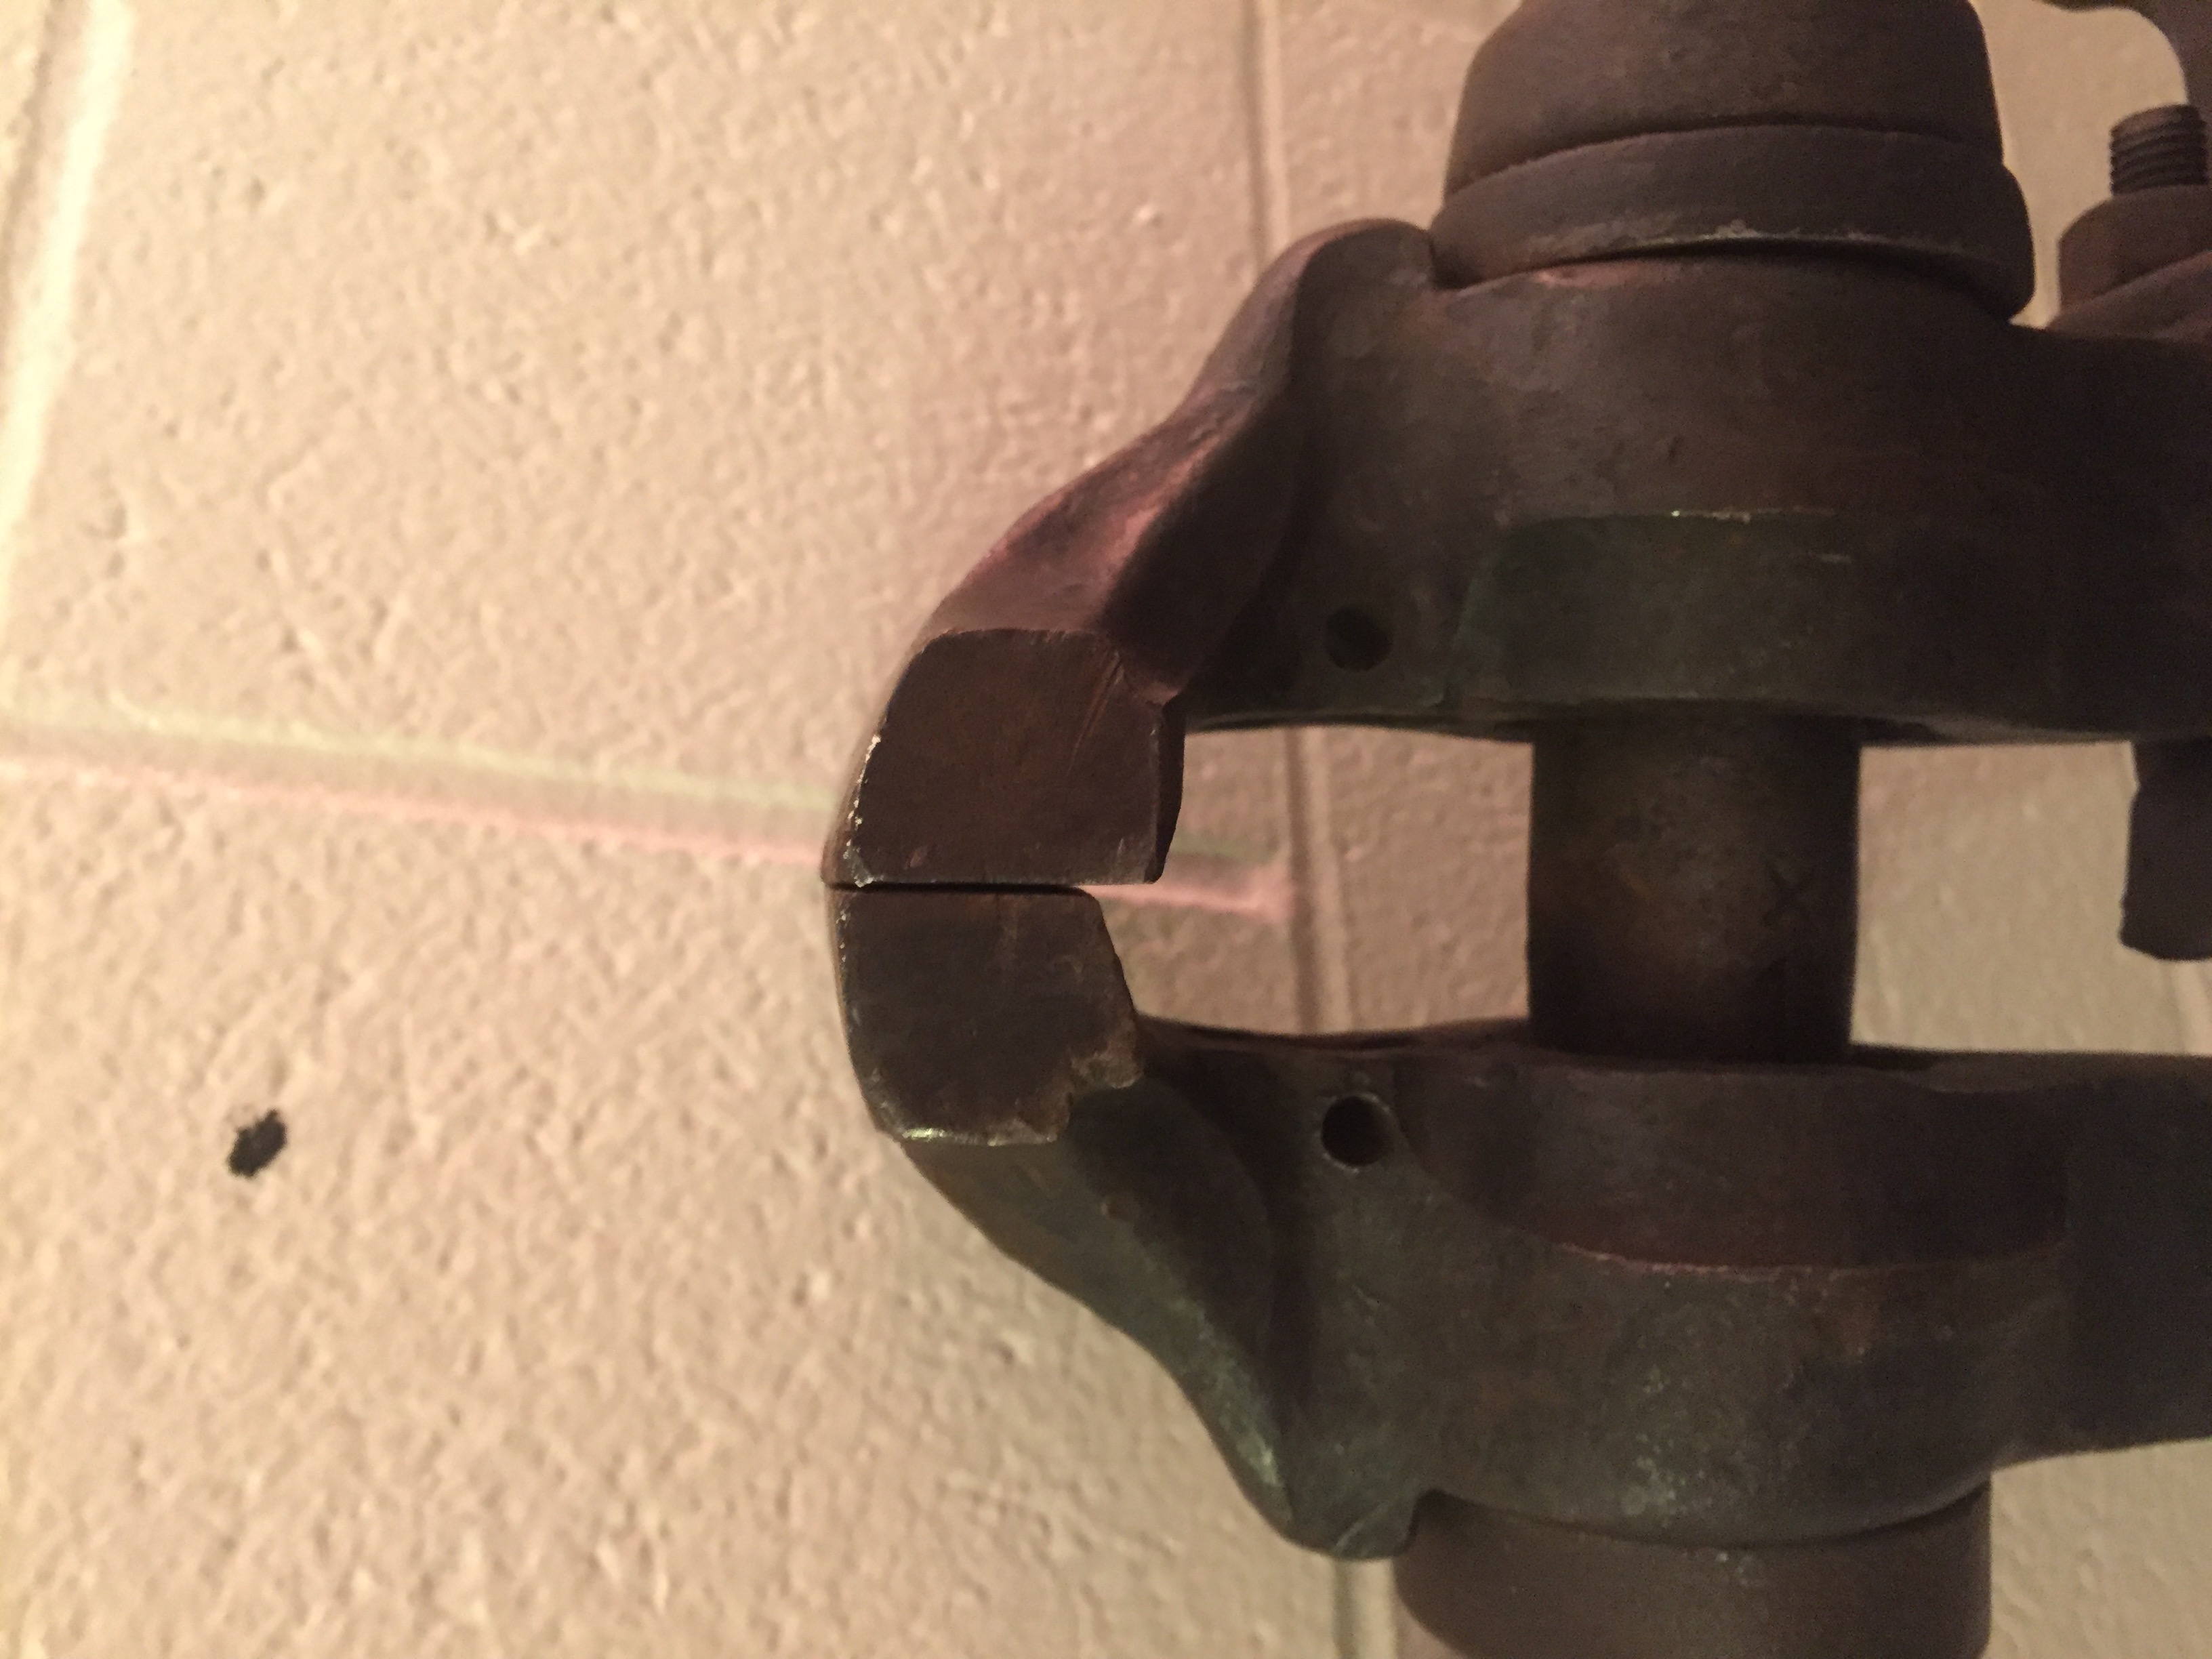
Hello all,
I just thought I'd share what I was able to pick up from a smithy near Detroit today. As far as I can tell it is in amazing shape, has all the parts, and is ready for me to start using it. From browsing craigslist and eBay this is the best condition screw I have seen for sale. The jaws also meet nearly perfectly square.
Post pics of ya'lls screws if you have nice ones. I'm sick and tired of seeing worn out looking ones in posts on eBay and the such.
Brent

-
4 hours ago, Frosty said:
A covered box filled with dry sand will do nicely, perlite will go a long way toward annealing. As to your original question for Thomas, yes he was serious you can normalize by laying steel heated to critical on dry ground and letting it cool in still air. Believe me the ground's DRY at Thomas' place. Well it usually is it might not be this weekend. It's a weather thing.
Frosty The Lucky.
Thank you Frosty, just one question - what is perlite? I google searched and got a volcanic glass and a metal structure but can't figure out if you were hinting at putting this volcanic glass in the box or if you were referring to the metal structure that is annealing? I'm sorry if this is a dumb question, I've just never been taught this stuff.
Thanks again for your time,
Brent
-
Thomas,
if I remember right somewhere you said you just normalize everything by putting it out in the desert there. Were you joking or were you serious? Would it be beneficial for me to make a "box" per say of firebrick to normalize objects in? I can't just set things on the ground, it'll fry the grass and start fires. And in winter it just melts snow and quenches anyway (I don't have a shop, I work outside). I work mostly mild steels along with found scrap. I'm not forging blades either (yet).
Let me know your thoughts,
Brent
-
Thank you very much Jim! I'll keep you in mind for the next time I have a question.
-
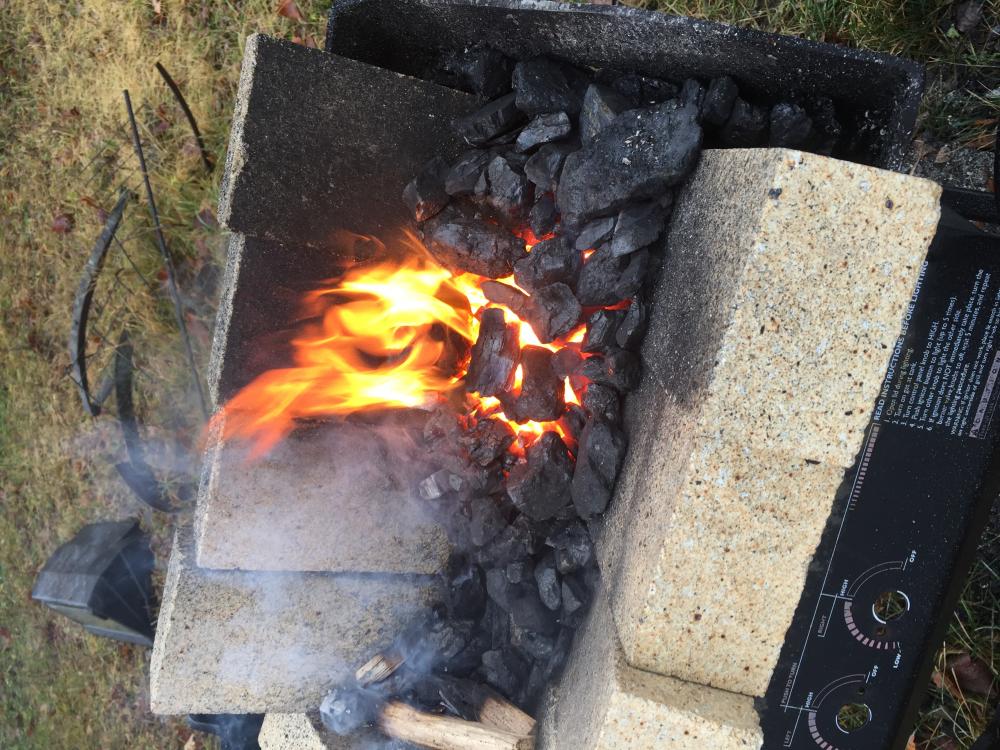
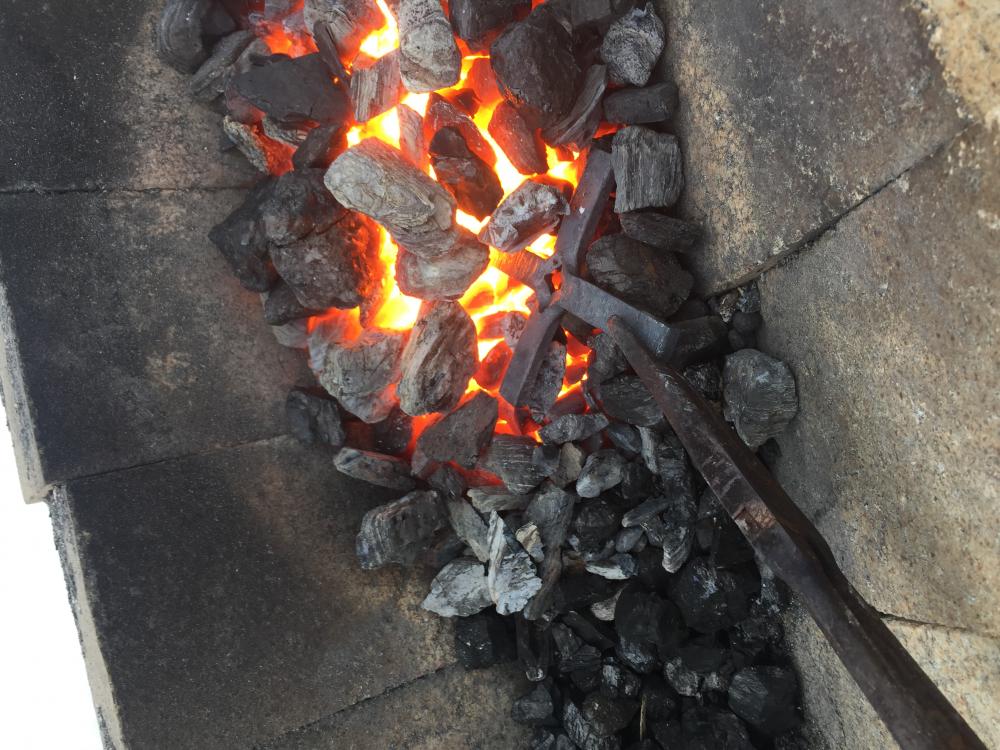
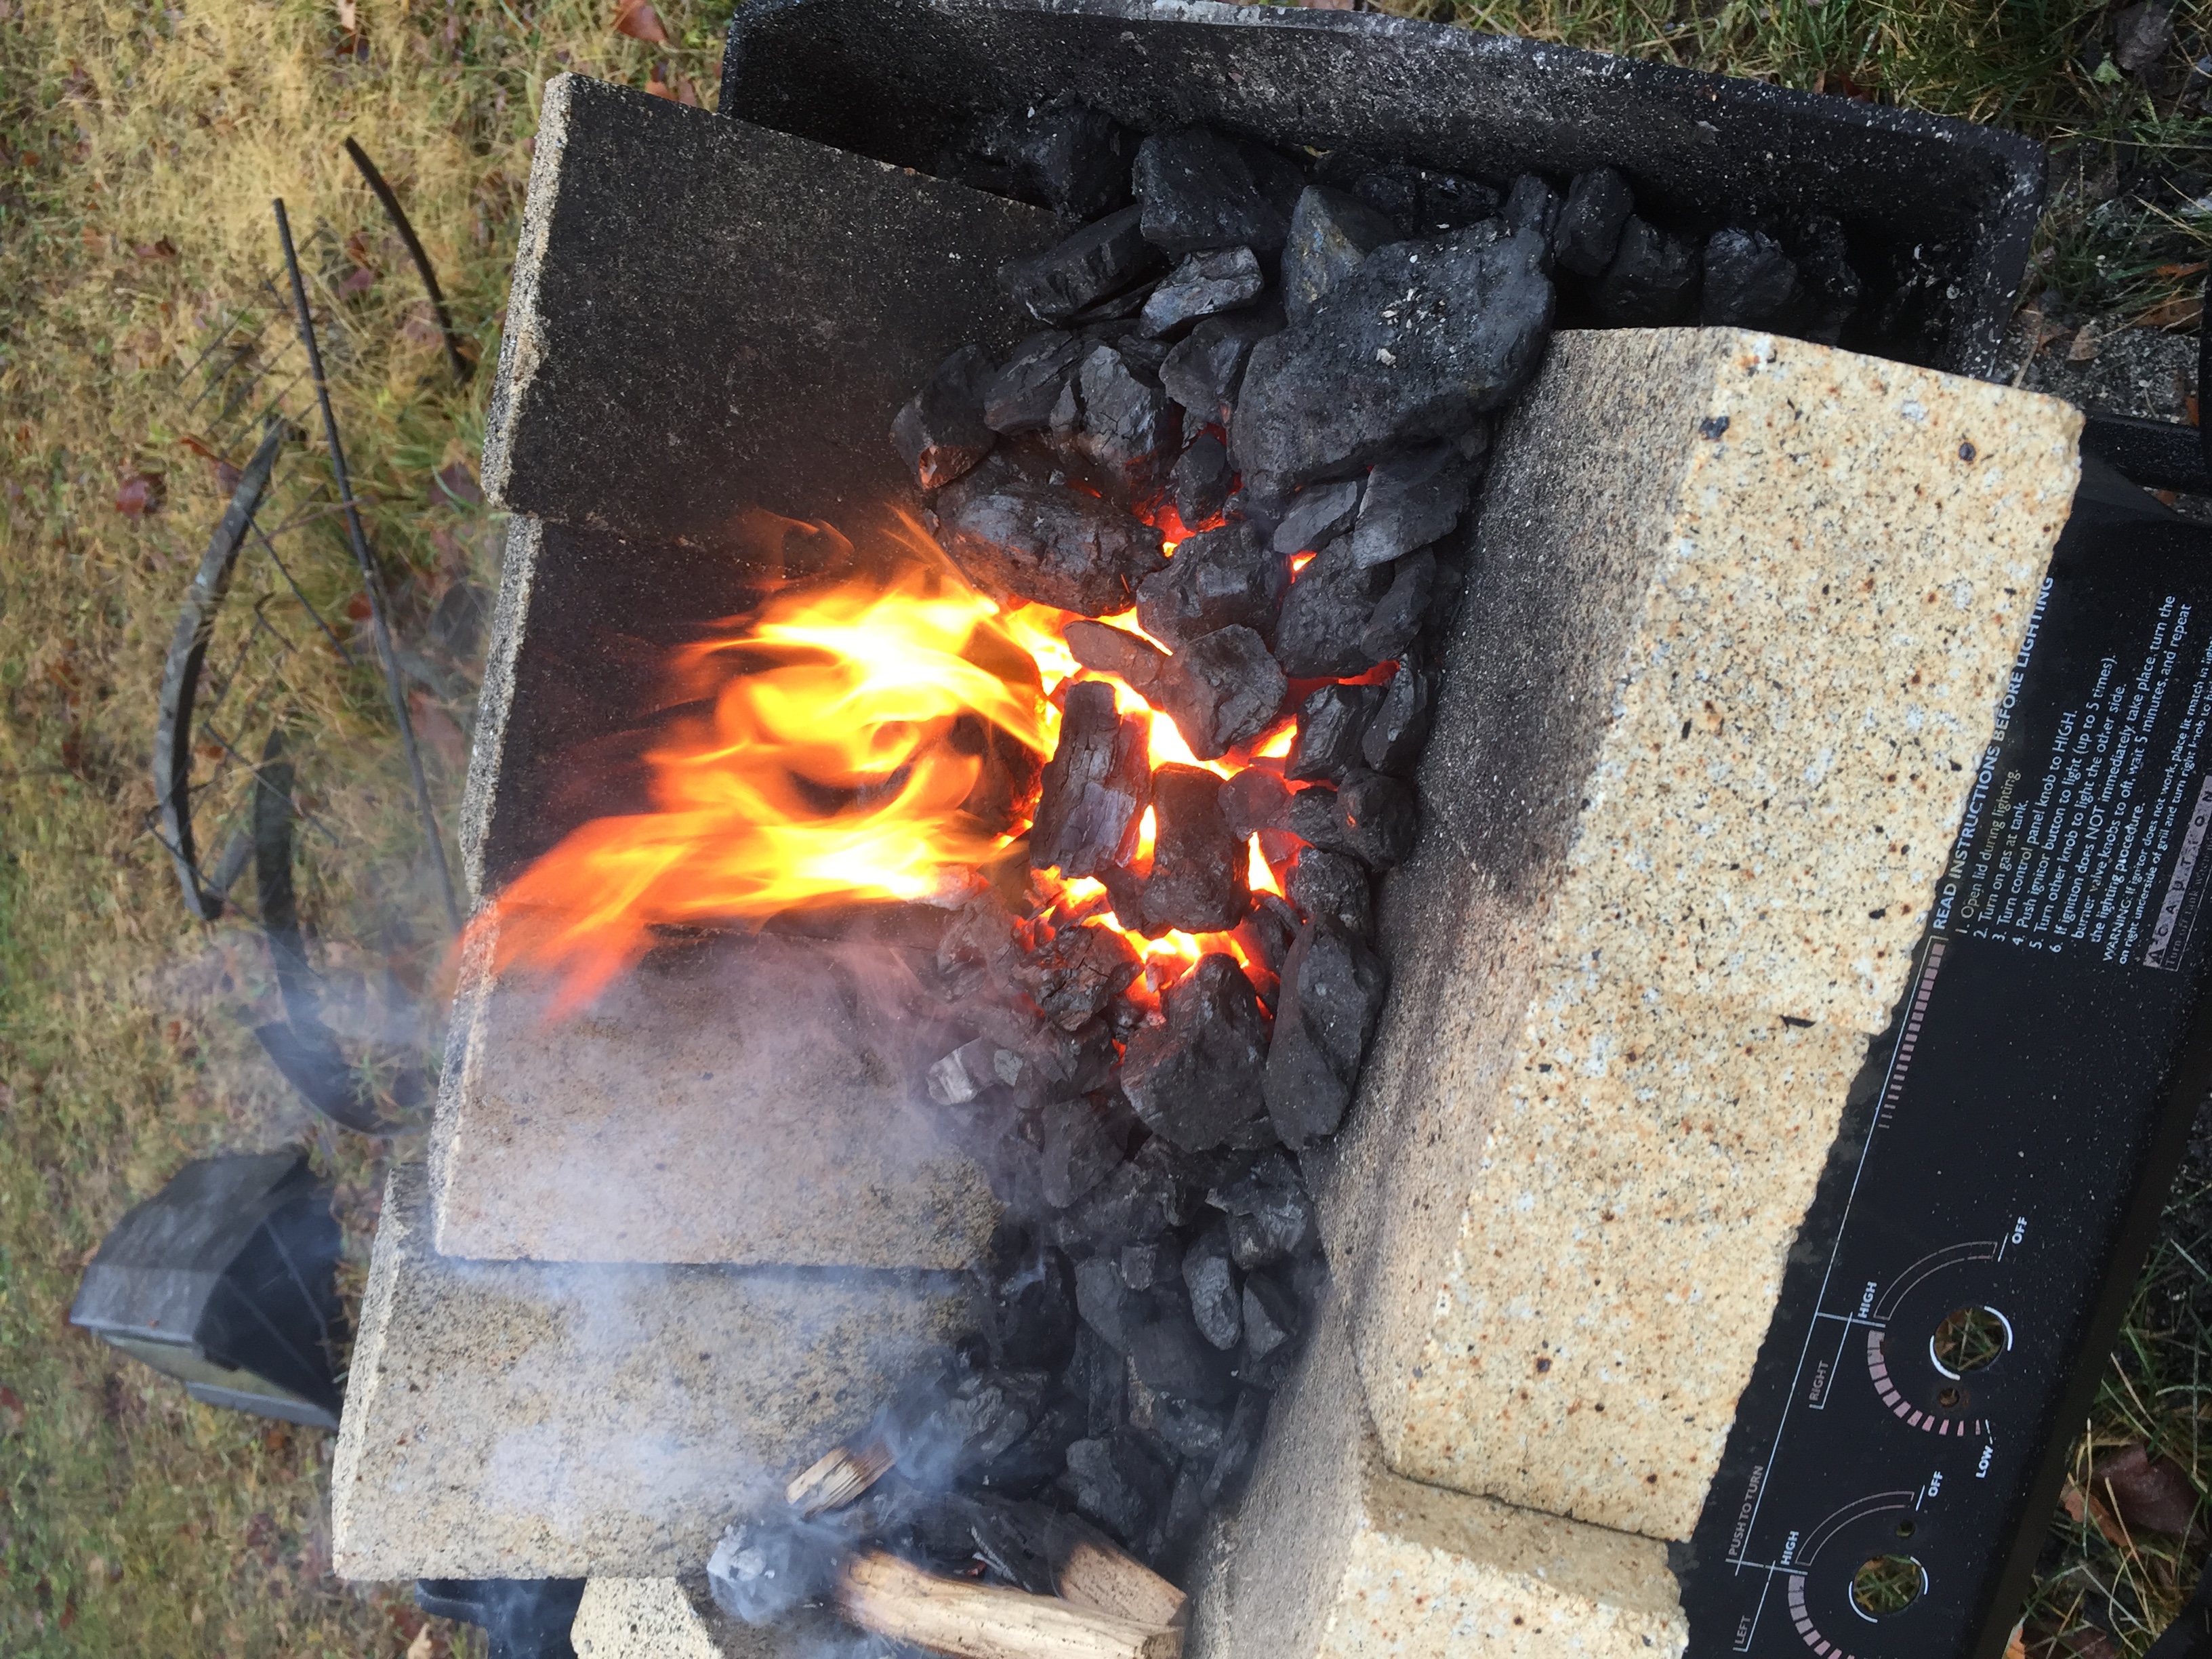
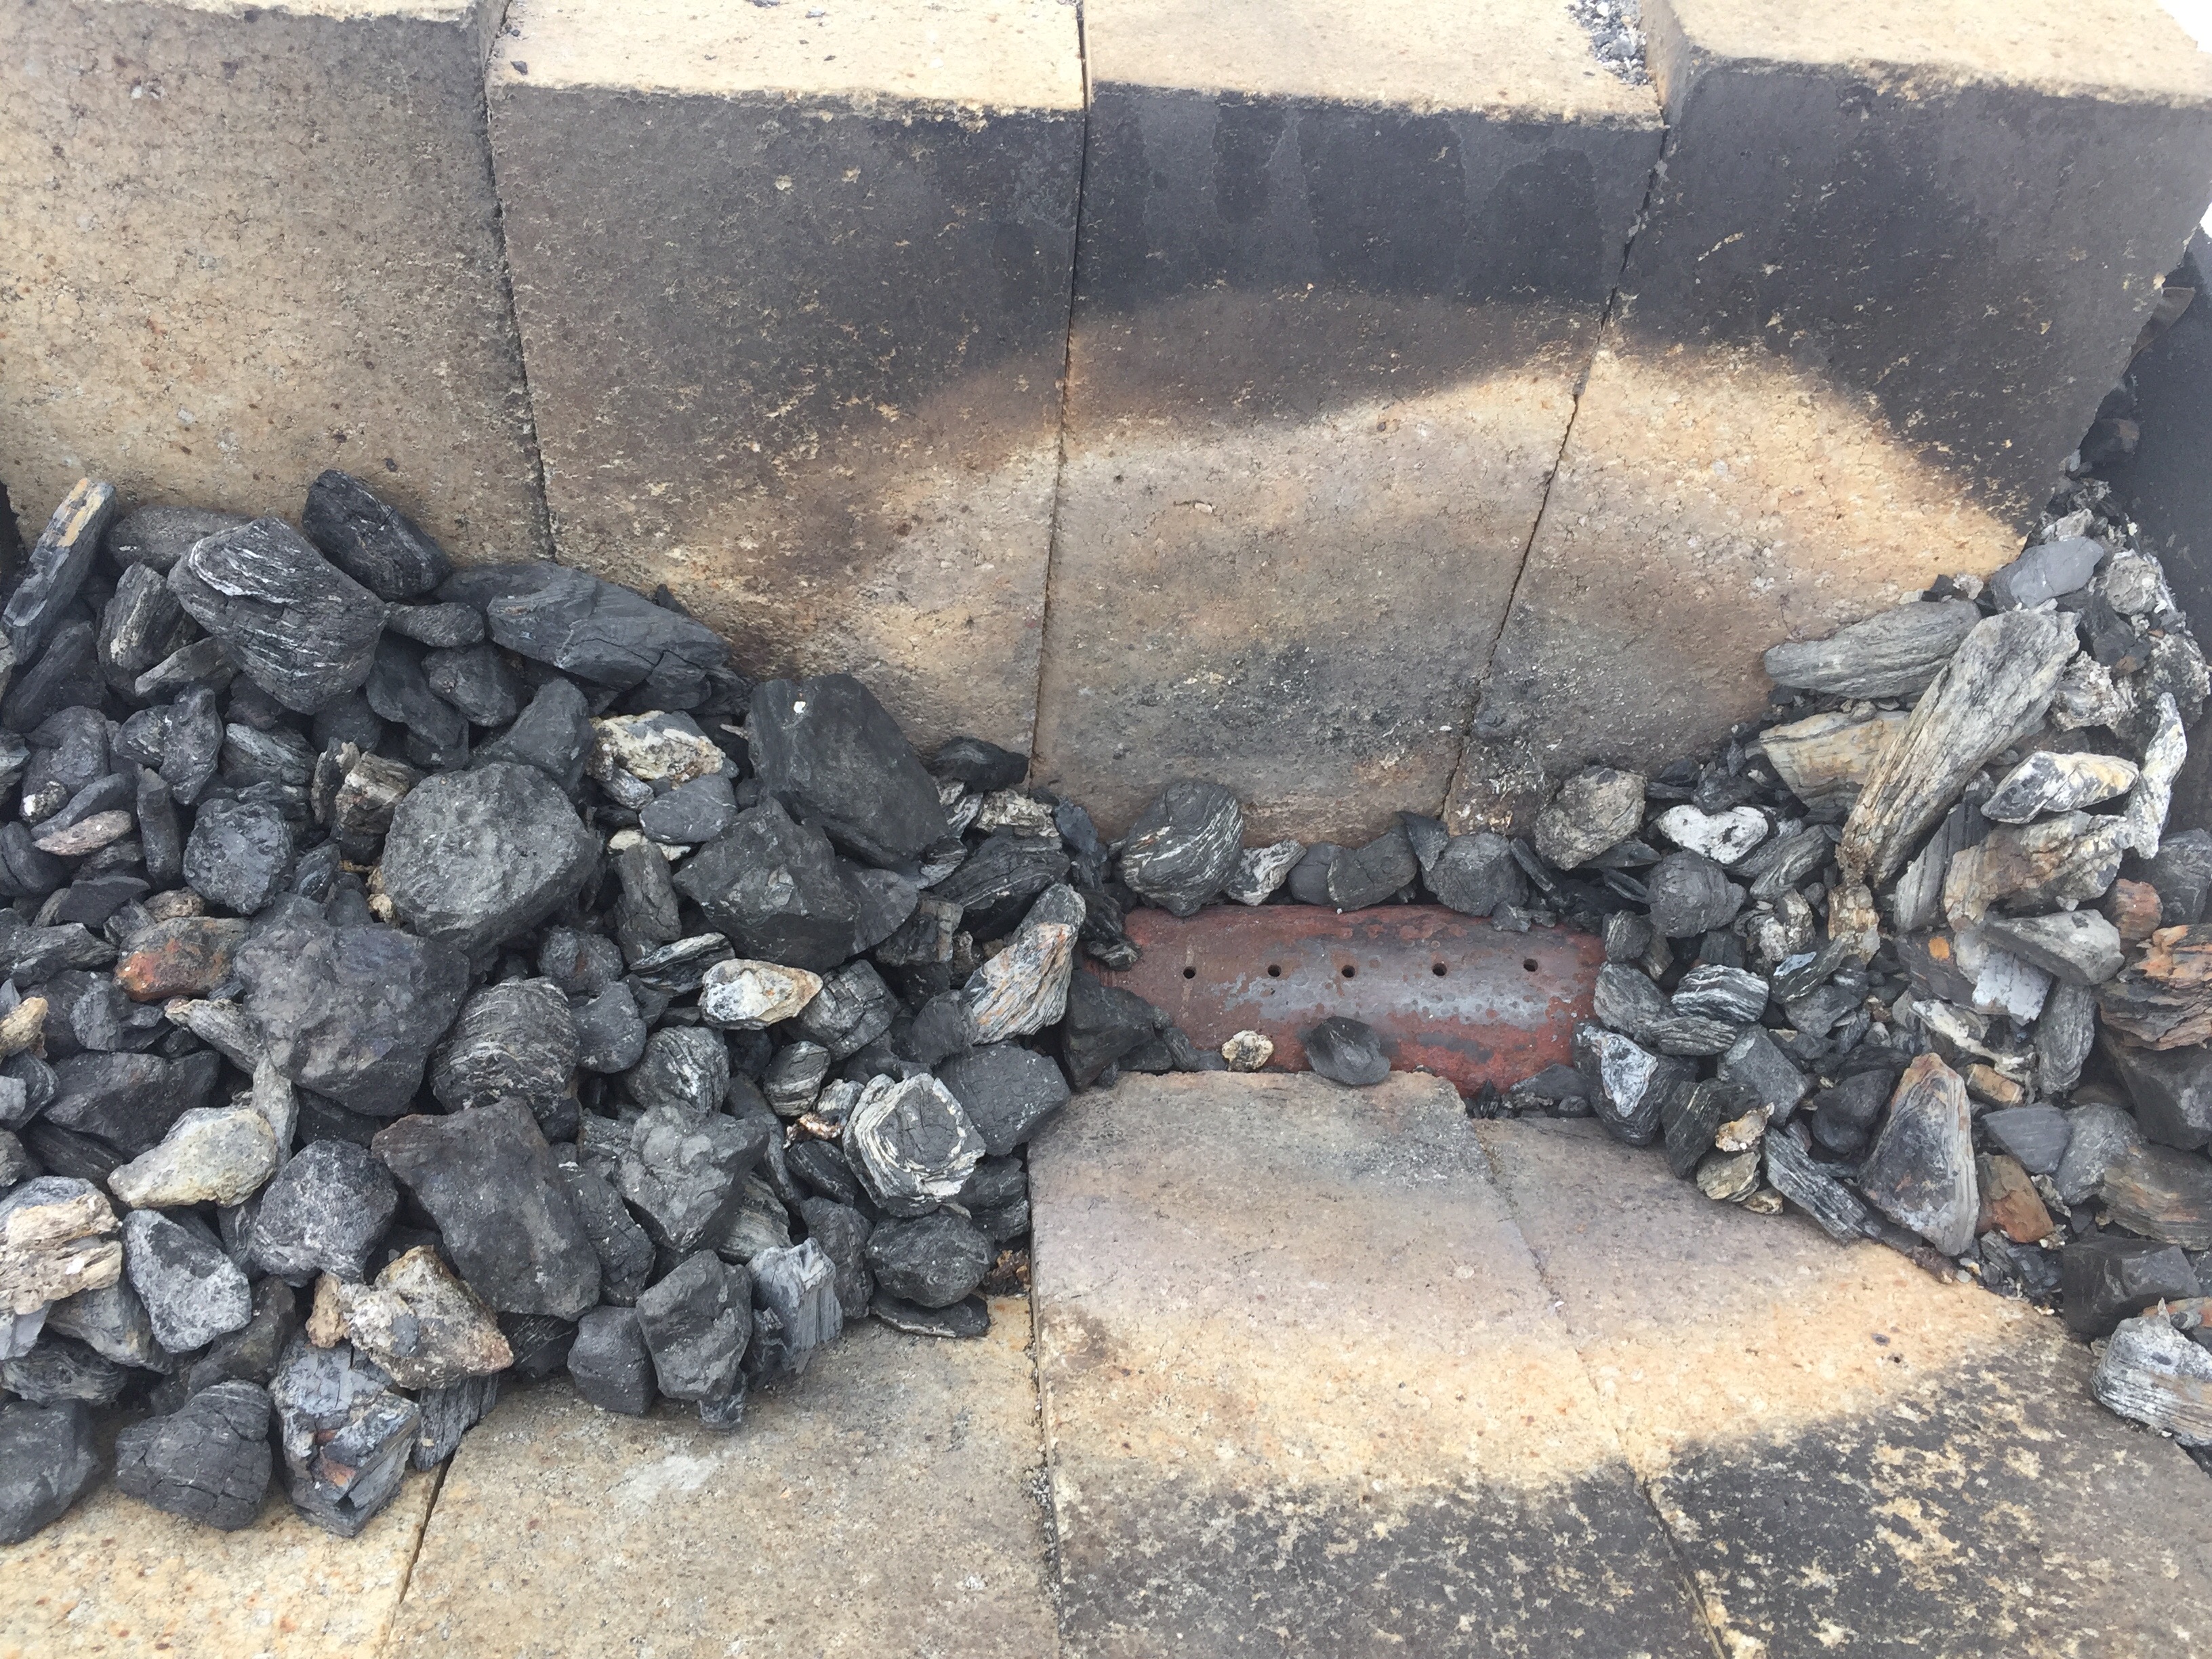
Originally I had designed my forge with a shop vac blowing the air. With this, the nut sized anthracite from TSC was pretty good. Nice and hot, but hard to start. Then I got a hand crank blower...it is very difficult to maintain forging heat with this hand crank blower. From what I can tell this anthracite likes constant air. I will try to enlarge the holes that air comes through and see if I can get the hand crank blower to work with the anthracite this way when I get a chance.
PS pics of large flame is with shop vac powering, not hand crank blower. I know my anvil in the pic is a POS ASO, I have a Trenton now.


-
30 minutes ago, HEAP of JEEP said:
Greetings from Northern Michigan. I'm still to much of a newb myself to offer any helpful advice , but had say hi to fellow Michigander.
Heap where in northern Michigan? My "set up" is near Suttons Bay, but I go to college down in Ypsilanti. Therefore I put greetings from SE Michigan.
30 minutes ago, ThomasPowers said:I'd start with bigger. The goal is "whatever works" for your system. Clinker buildup is a function of fuel use and scale creation; both go up with more air.
Should the air flow be constant or intermittent in a forge? YES! (depends on many factors) eg. If you are working 1" stock or welding up large pieces, constant may be a big help. Small work may be best with intermittent so you don't burn it up.
Supposed to hit 50 degF today; of course with the blinding sun it feels warmer...I got one of my degrees from OSU so just had to rag on the folks in the state that must not be named...
Thank you very much for your time and thoughts Thomas, means a lot to me.
Brent
-
Thank you Thomas!
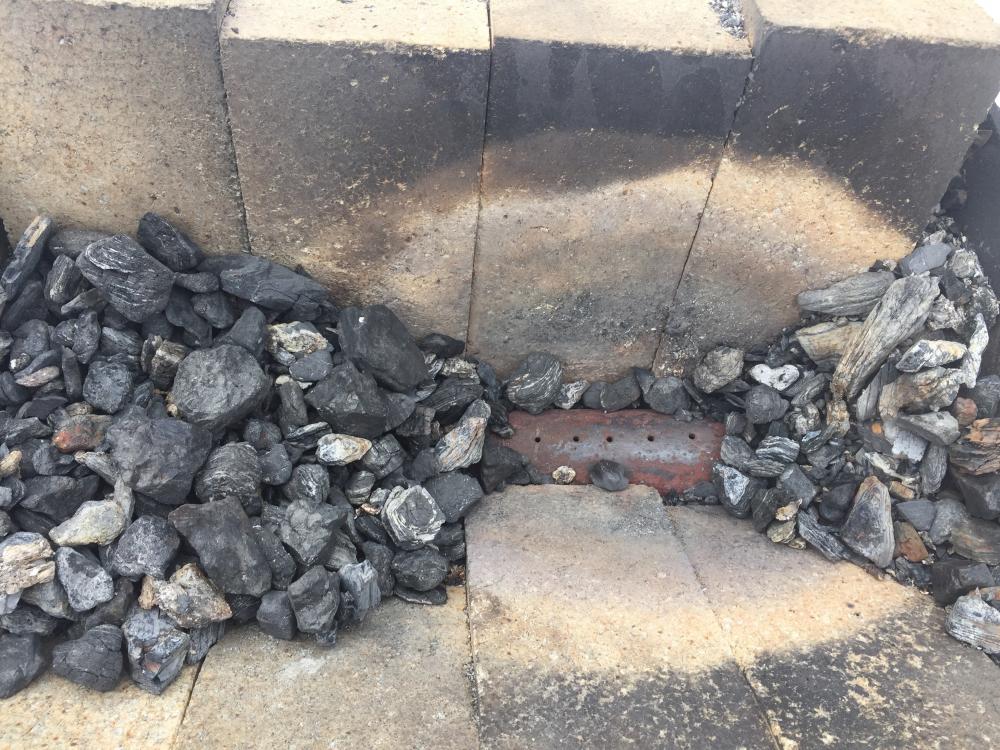
Do you think just enlarge those holes or group them together more also? All the forges I see have a "cluster" of holes instead of a linear pattern as I made. Is this a flaw in itself? I also am a little confused about clinker..I get tons with the shop vac if I leave it blowing constantly but not much if I turn it on and off a lot. Why is this? Should air flow be constant or intermittent for a forge? Sorry for not knowing this if it's simple.
-
Hah that's pretty sweet. You're right tools could be helpful, but I get sick of packing them all into my 2 door civic on the way back and forth from home. And as for a forge in my room..I don't think that would fly here (I've considered it though).
-
10 hours ago, Frosty said:
A college living room is a near perfect home for 20 year old guy's anvil. I used to keep the Chevy 327 I was rebuilding for my '67 pickup laid out neatly on a tarp in the living room of my apartment.
Those are pretty nice pieces especially for a beginner. Have any pics of how the forge is put together, that hand crank blower is more than enough air to melt truck axles. Your forge itself needs some tweaking.
Frosty The Lucky.
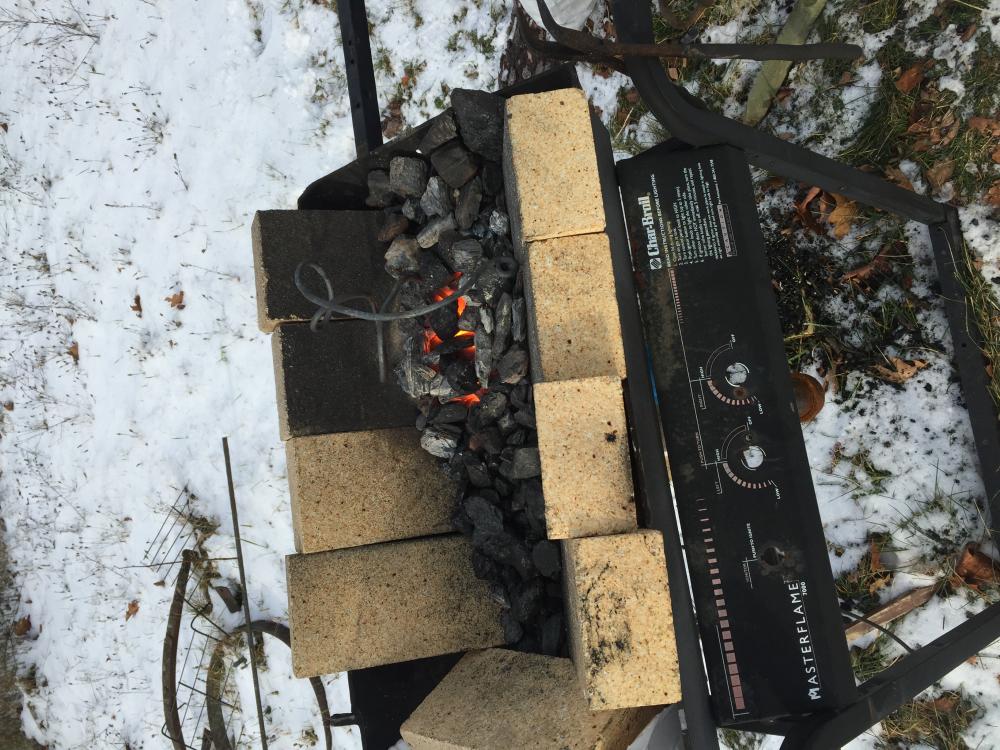
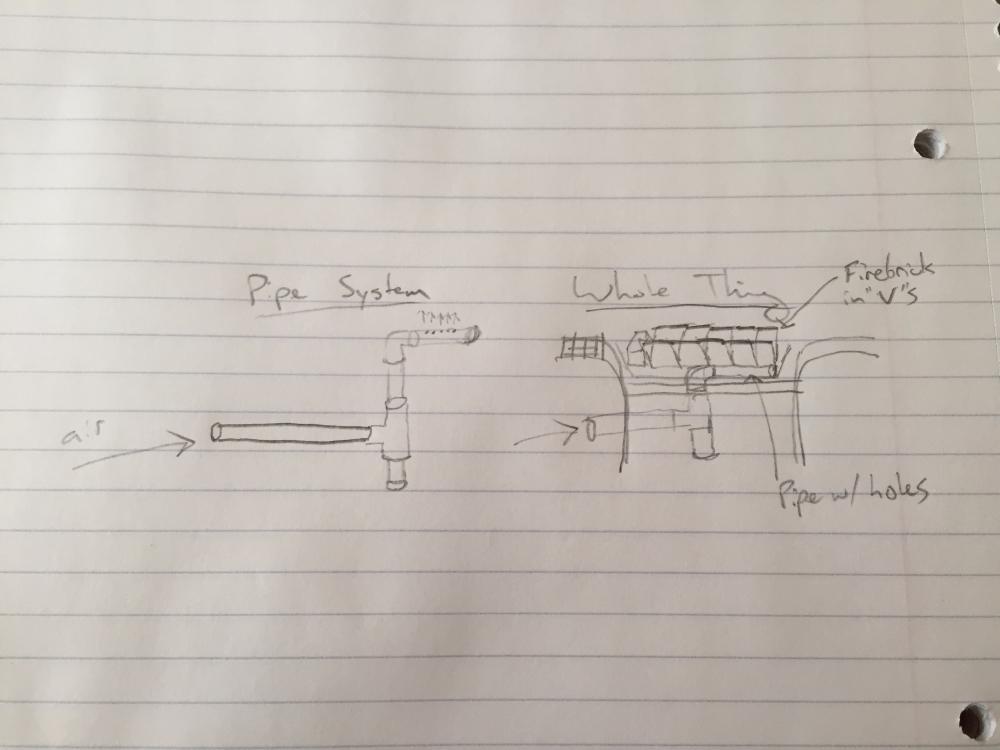
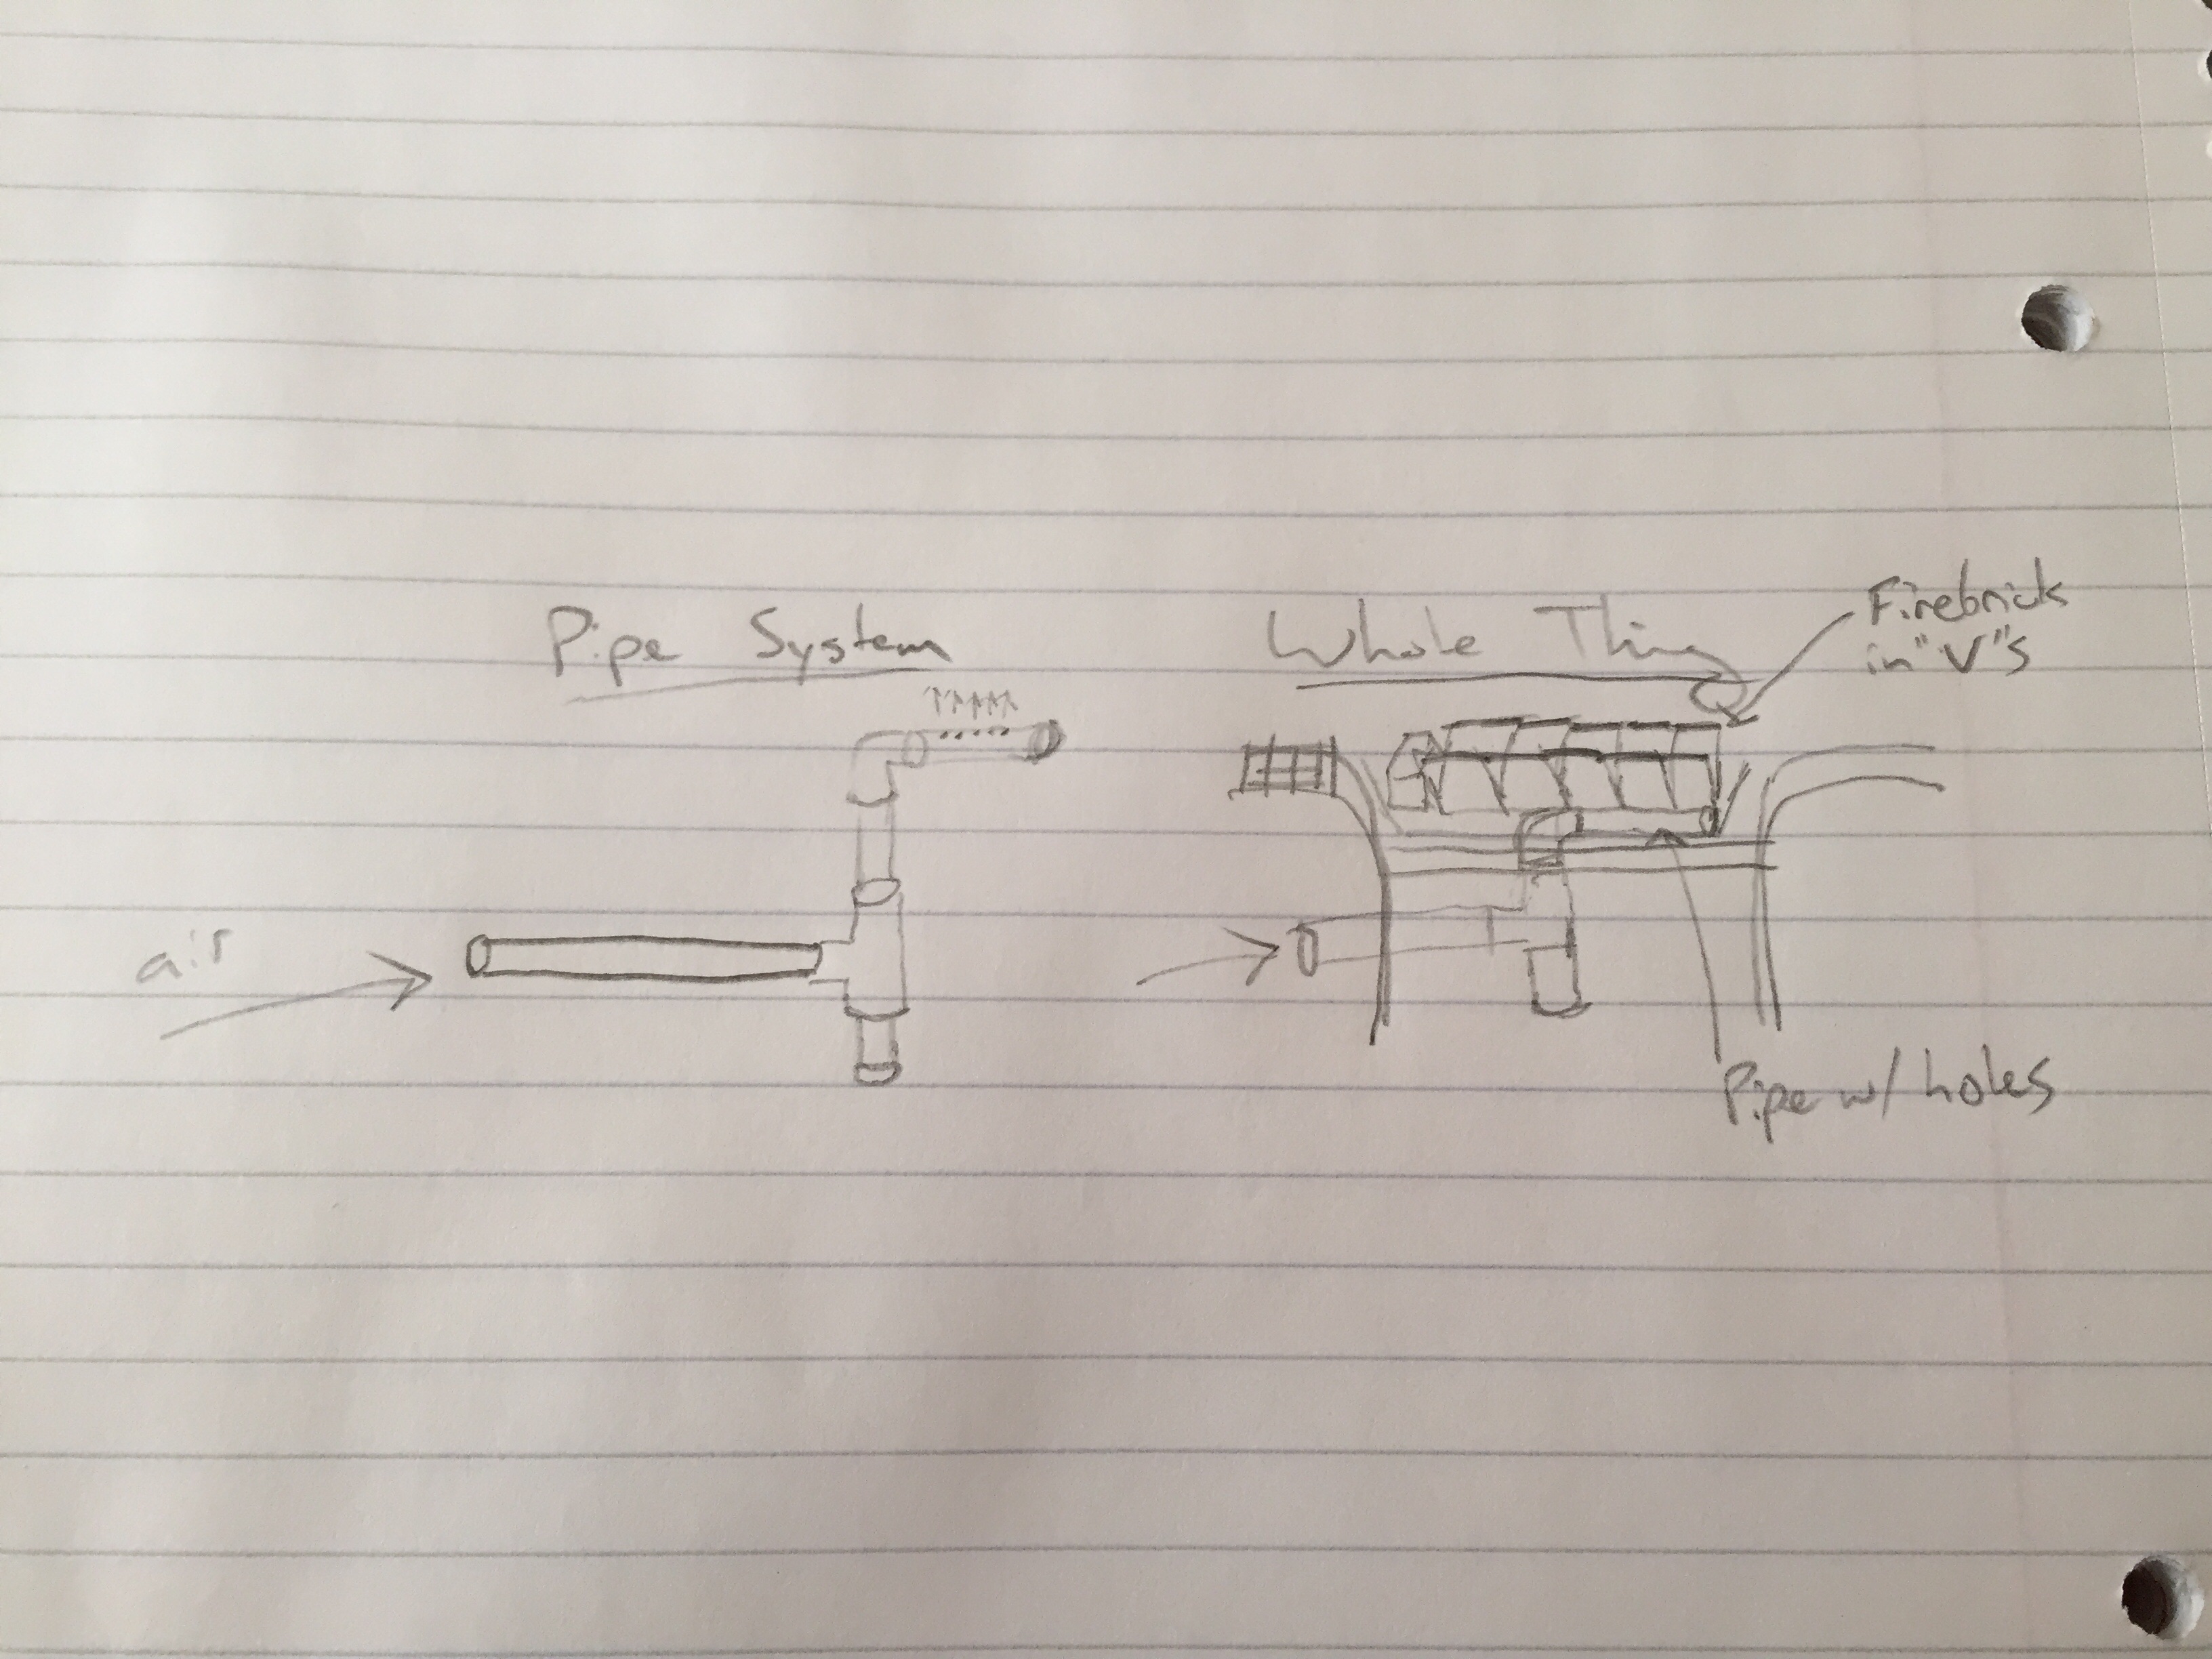
Unfortunately these are the only pics I have of the forge. In the one pic you can see the 5 holes I drilled in the 2inch pipe, there are the only exits for air. I also included a sketch of the forge to the best of my ability.
Im thinking I either need more holes or holes closer together for the hand crank blower. What do you think?
Brent
-
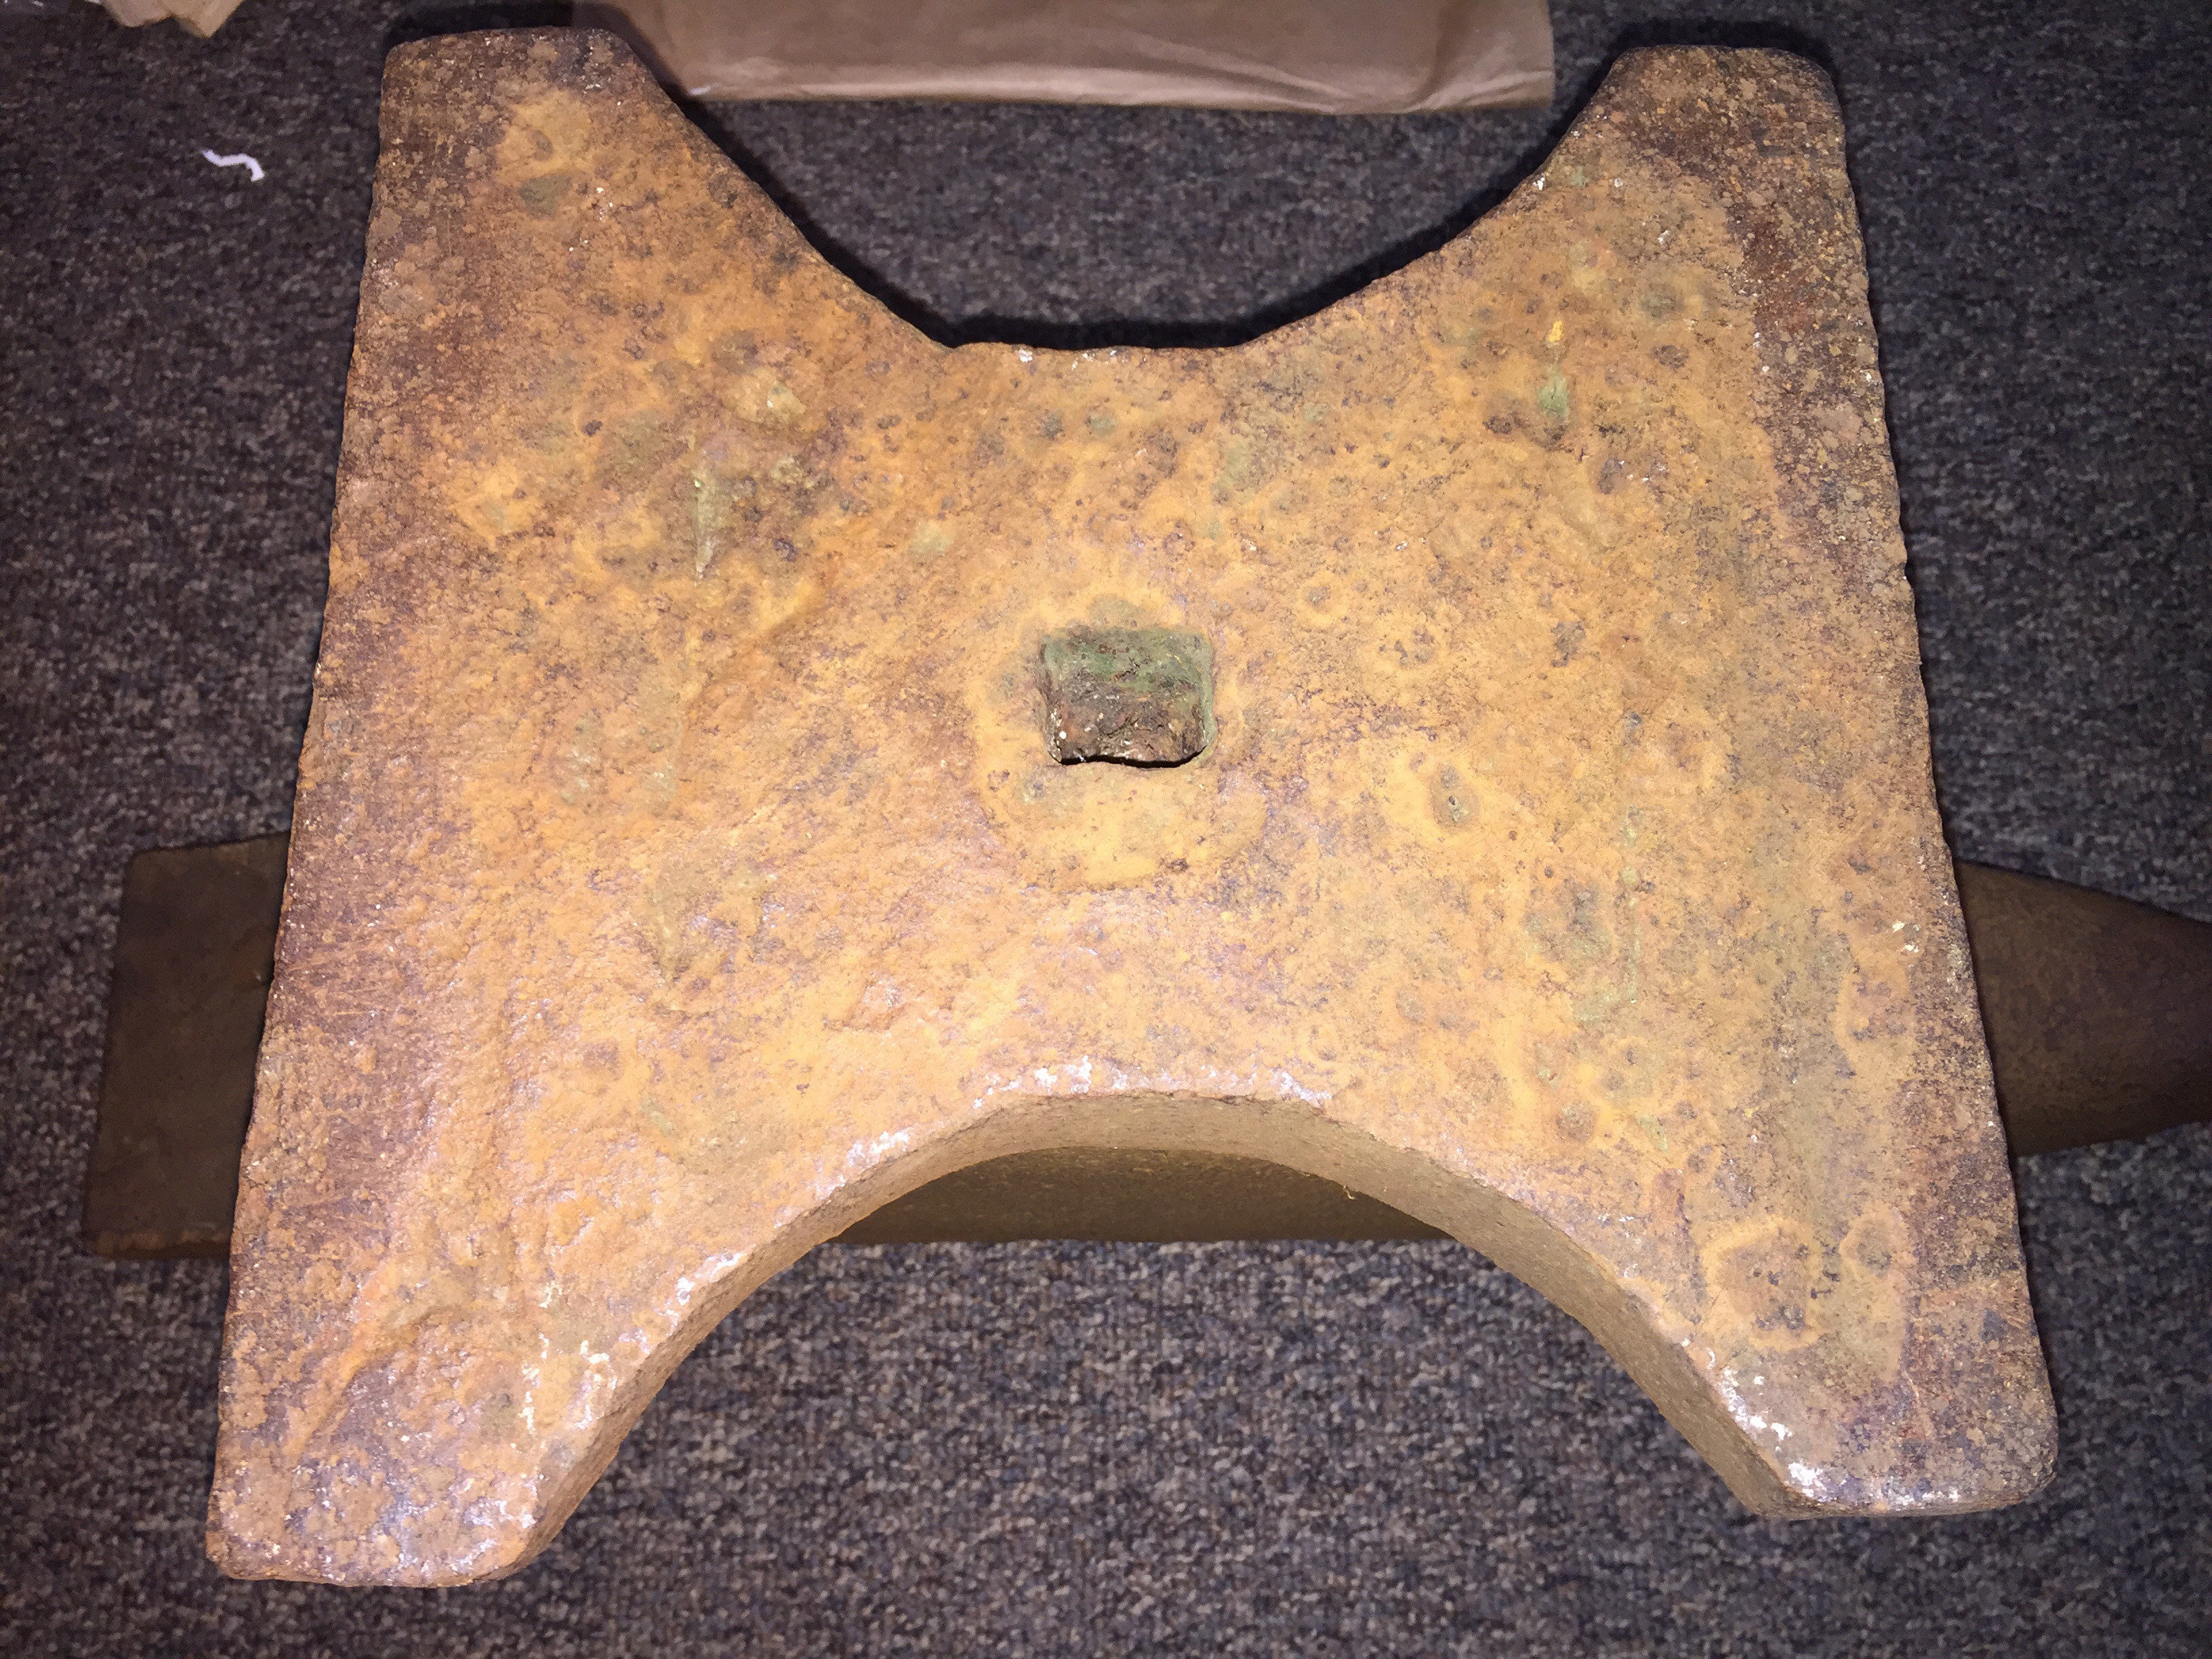
Sorry but what is IIRC? Here are more pictures. There's an hourglass shaped color difference, like maybe at one time it was there and has rusted full or been shaved down? The anvil was COATED with deep rust when I got it and haven't been able to do more than use $2 wire brushes from harbor freight because all my tools are at home in Northern Michigan while I'm at college.
-
I also recently acquired a Trenton. I'm no expert but I think mine is of European decent, as from what I can tell mine does not have the same hourglass shape in the bottom. Pics below.
-
Thomas,
the bottom is not very uniform looking at all, so to me it is very hard to tell if it has an hourglass depression, but I would go with no. It has a square hole on the bottom, and one on each side as well. No square hole on front foot like seen on some Peter Wrights. I'll post more pics later today.
Frosty,
thank you! I'll post a few more pics of the forge later today as well. It's basically 2inch iron pipe screwed together with firebrick used as a wedge to keep heat off the grill material itself. When I made it I unfortunately did not (and still do not) know much about what a successful forge needs to have. with the shop vac and anthracite nut coal from Tractor Supply it gets really really hot (hot enough to burn any stock I've put in it), but with the hand crank blower it didn't seem to get very hot at all. I suspect maybe both the forge and coal are to blame.
Brent
-
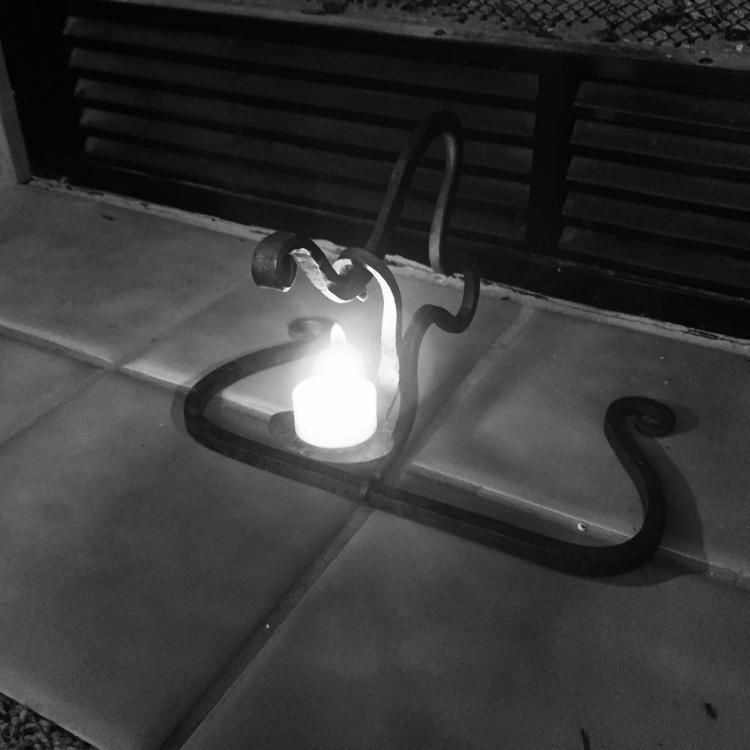
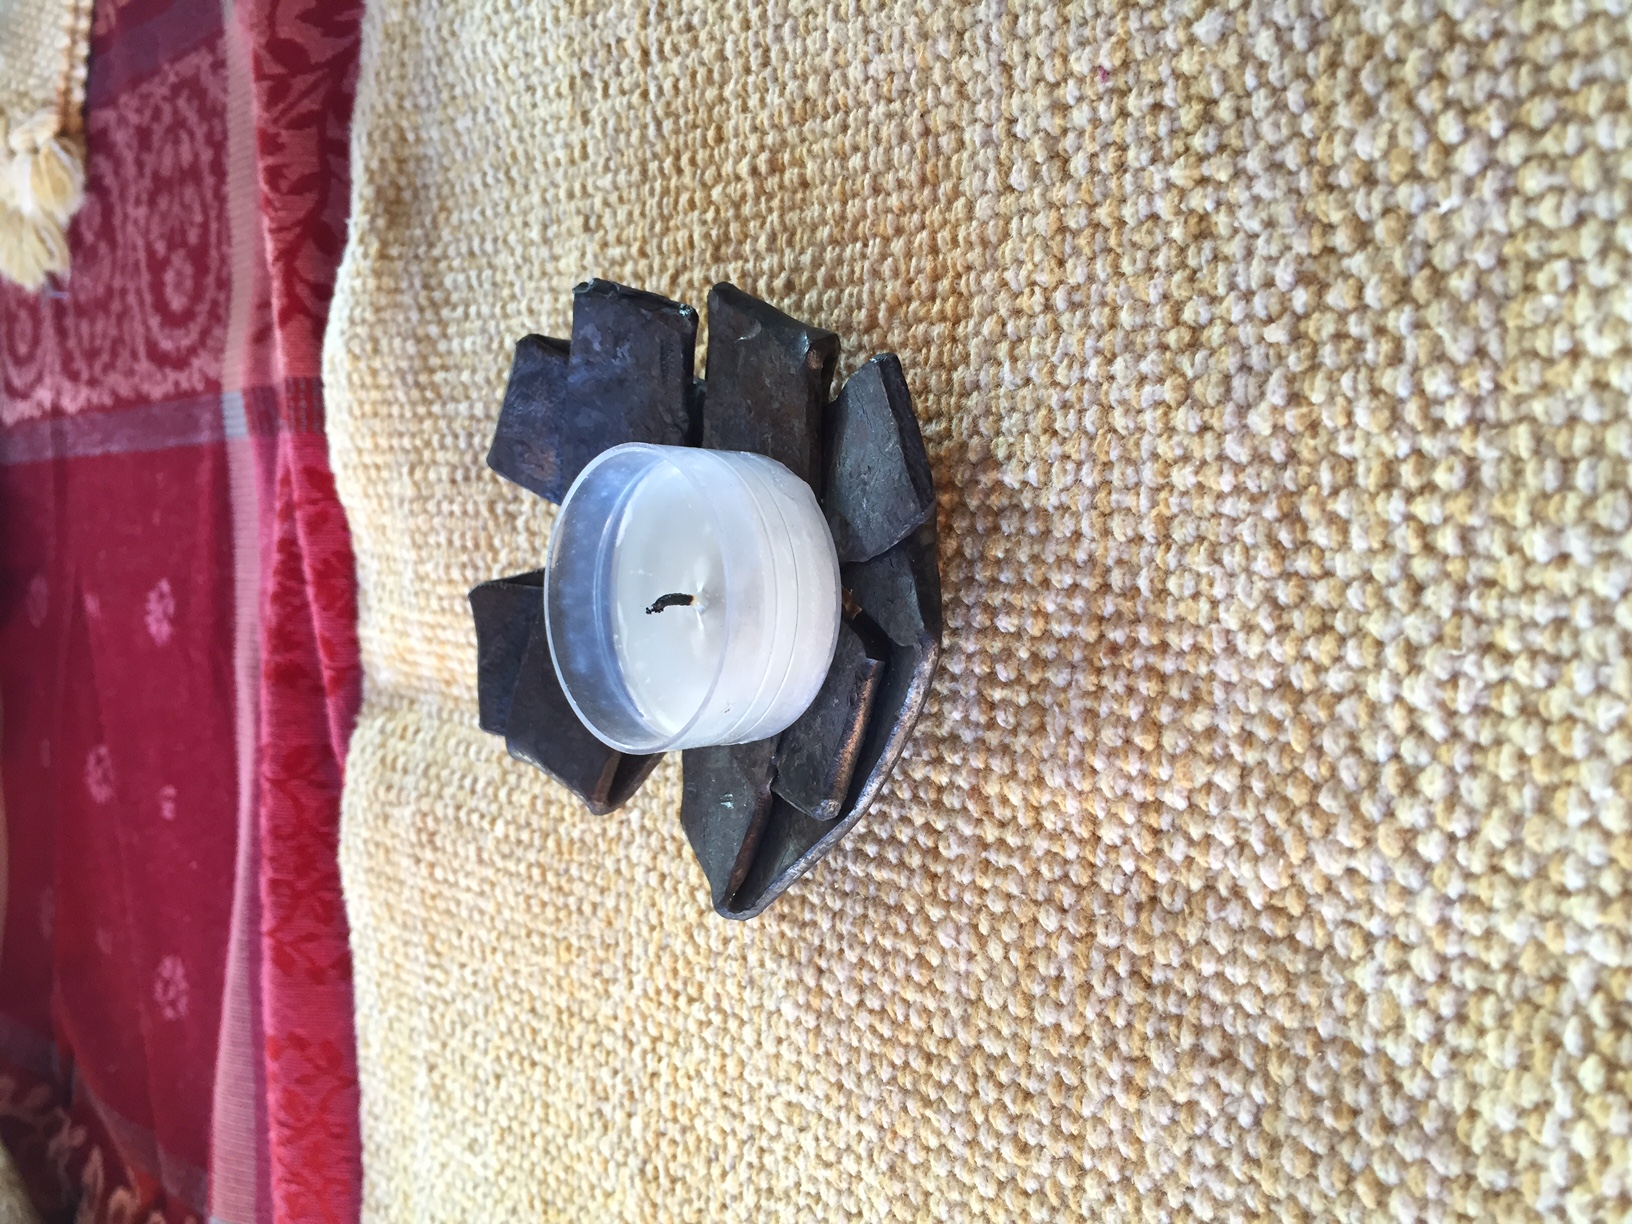
Here are my first two candle holders, very different designs. The first is on a hanging platform and the second is a sort of metal bowl made with a ton of folds. I appreciate any thoughts, positive or negative. Sorry for sideways pic, stupid IPhone.

-
I went and got a 5 gallon bucket from the local hardware store for $3.. my quench bucket. Haven't melted it at all, seems that by the time the piece falls to the bottom if it is extra that I cut off it is already too cold to melt the bucket. I really like the wooden barrel and beer keg ideas though, doesn't look as trashy as a plastic bucket.


New hammers
in Hand Hammers
Posted
I was hoping someone could better explain the need for two sides for a rounding hammer to me. I've seen many pictures, but I can't tell if one side is flat or if they are both convex but at different rate? Sorry if this is a stupid question I'm just curious!
Brent