Curtis87
-
Posts
49 -
Joined
-
Last visited
Content Type
Profiles
Forums
Articles
Gallery
Downloads
Events
Everything posted by Curtis87
-
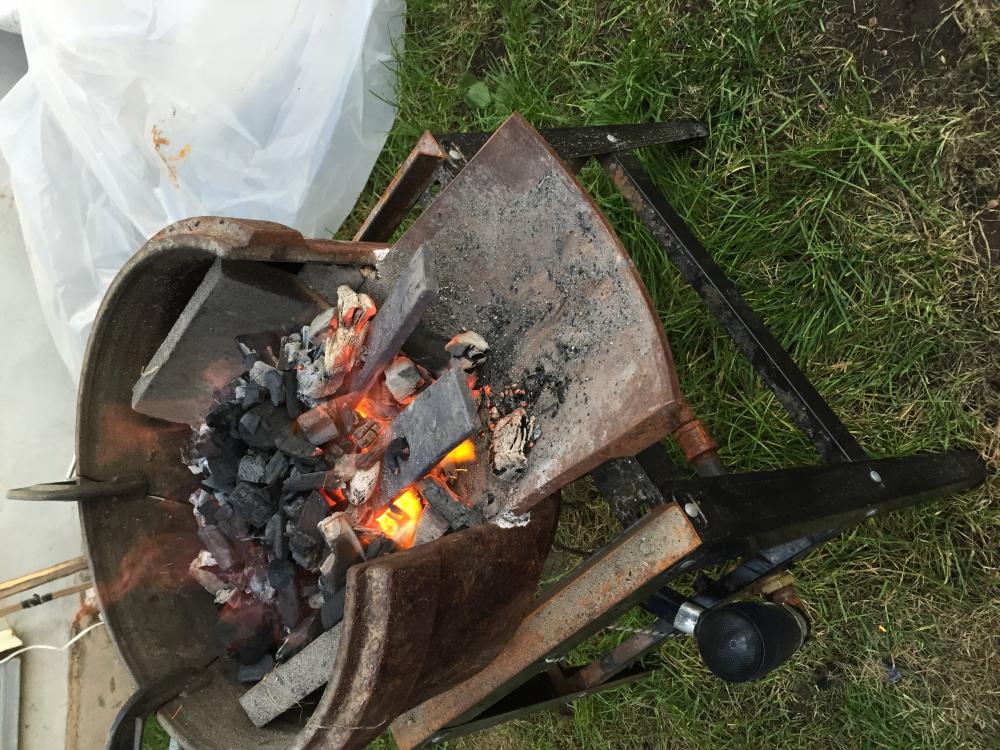
Ya I'll definitely try that. Another lesson learned I guess. Should be less of an issue now that I know what to look for. It was pretty frustrating when I was trying to forge weld and my fire was secretly losing its heat.
-
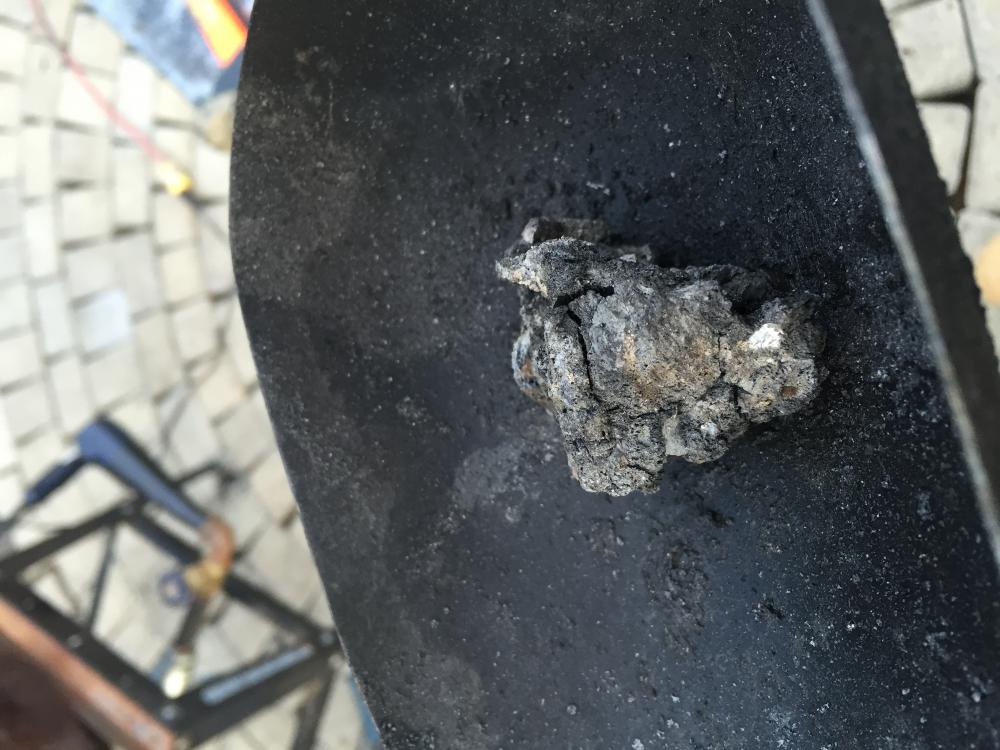
So after using my new forge a few times, every thing runs smoothly until after about an hour or so of forging I end up with a chunk of clinker that blocks the entire fire pot. Is there's way to spot this Before it gets so large? Or am I just burning way too much steel?
-
Using coal for the first time
Curtis87 replied to Curtis87's topic in Solid Fuels: Coal, Coke, Charcoal, Wood, etc
Yup, that makes a lot of sense, thanks guys. -
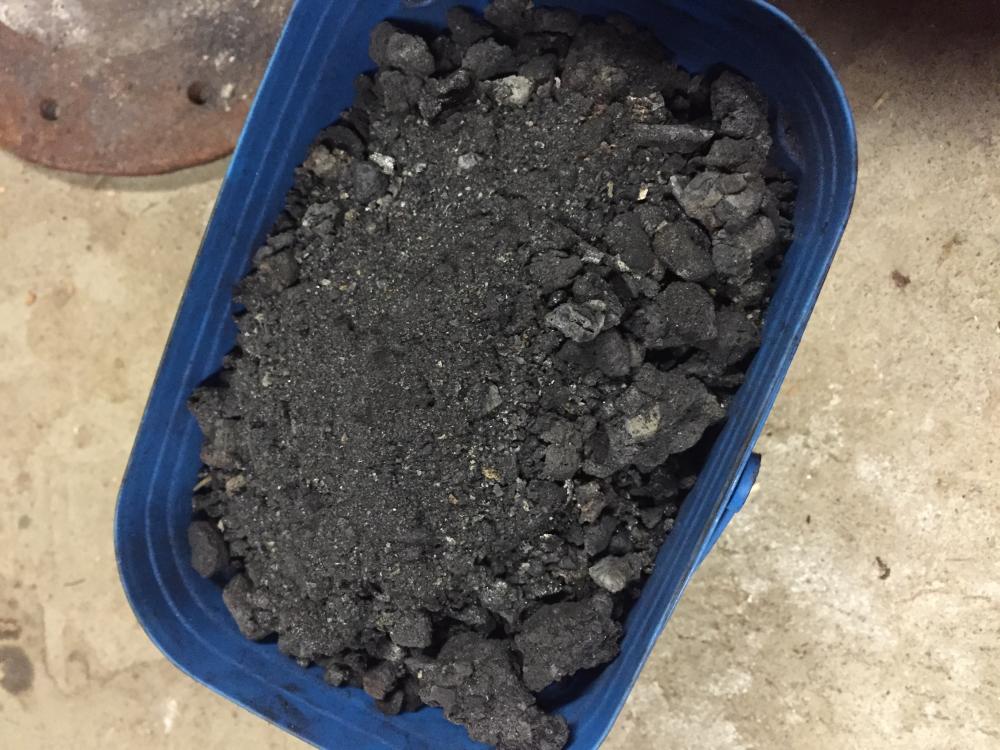
So this is the left over coke and coal from my first attempt at smithing with coal and I was just wondering if I should try and strain out the dust? Or will it still be useful? My coal comes with quite a bit of dust out of the bag and if it's better to use just solid pieces I'll filter out the fines. All opinions are appreciated, thanks.
-
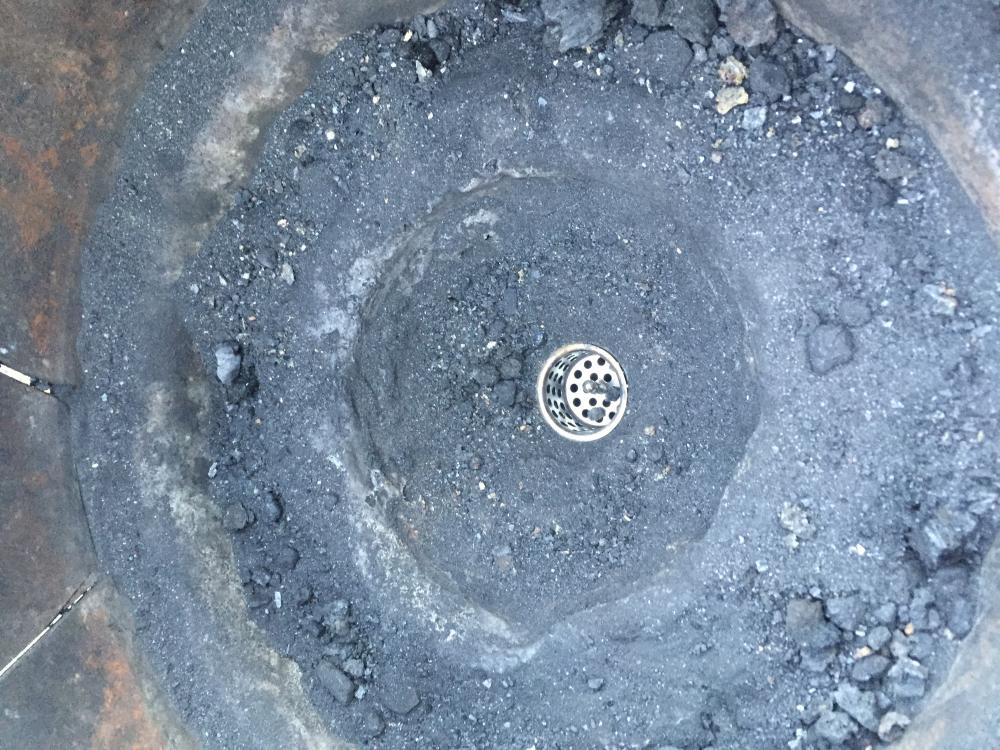
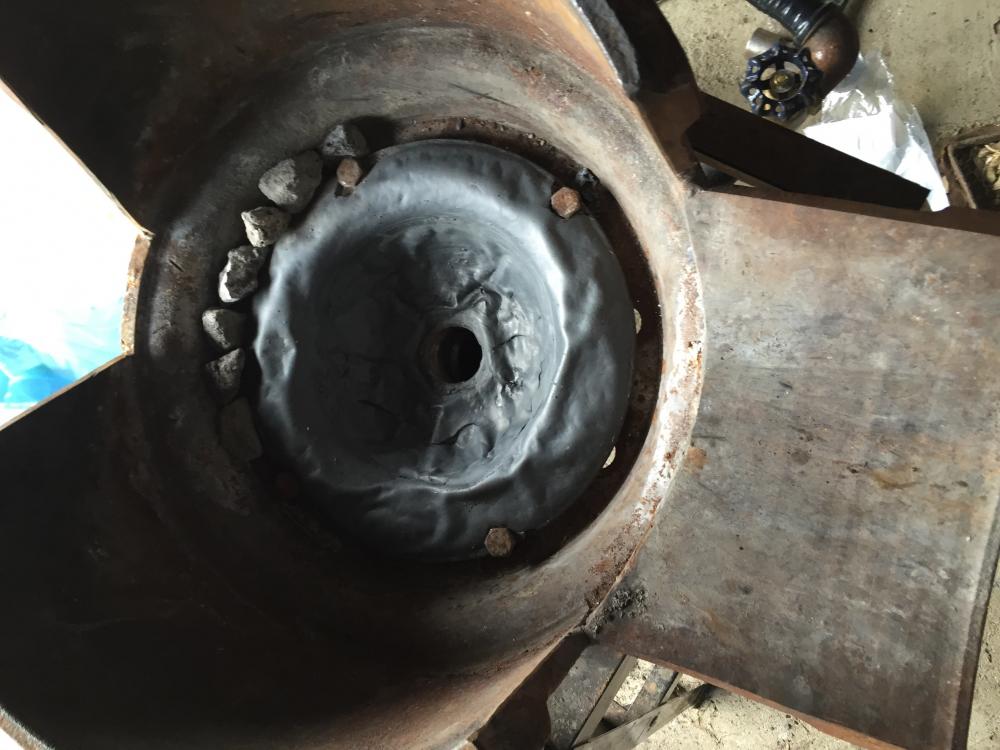
I had a small drain cover lying around the garage that fit the hole perfectly, so I figured it wouldn't hurt to try it. To my surprise, after running an extremely hot fire for a couple of hours, the cover was completely unscathed. I think this is because it sits inside the tuyere, rather than on top, so it's not in contact with any heat. I'm also quite sure that if I shut the lower off it would melt quickly
-
Coal at local Tractor Supply
Curtis87 replied to Technician.Austin's topic in Solid Fuels: Coal, Coke, Charcoal, Wood, etc
This thread makes me extremely jealous.... I pay around $80 for a 70lb bag of soft coal -
-
Around $40 with tax I believe
-
Thanks a lot everyone.
-
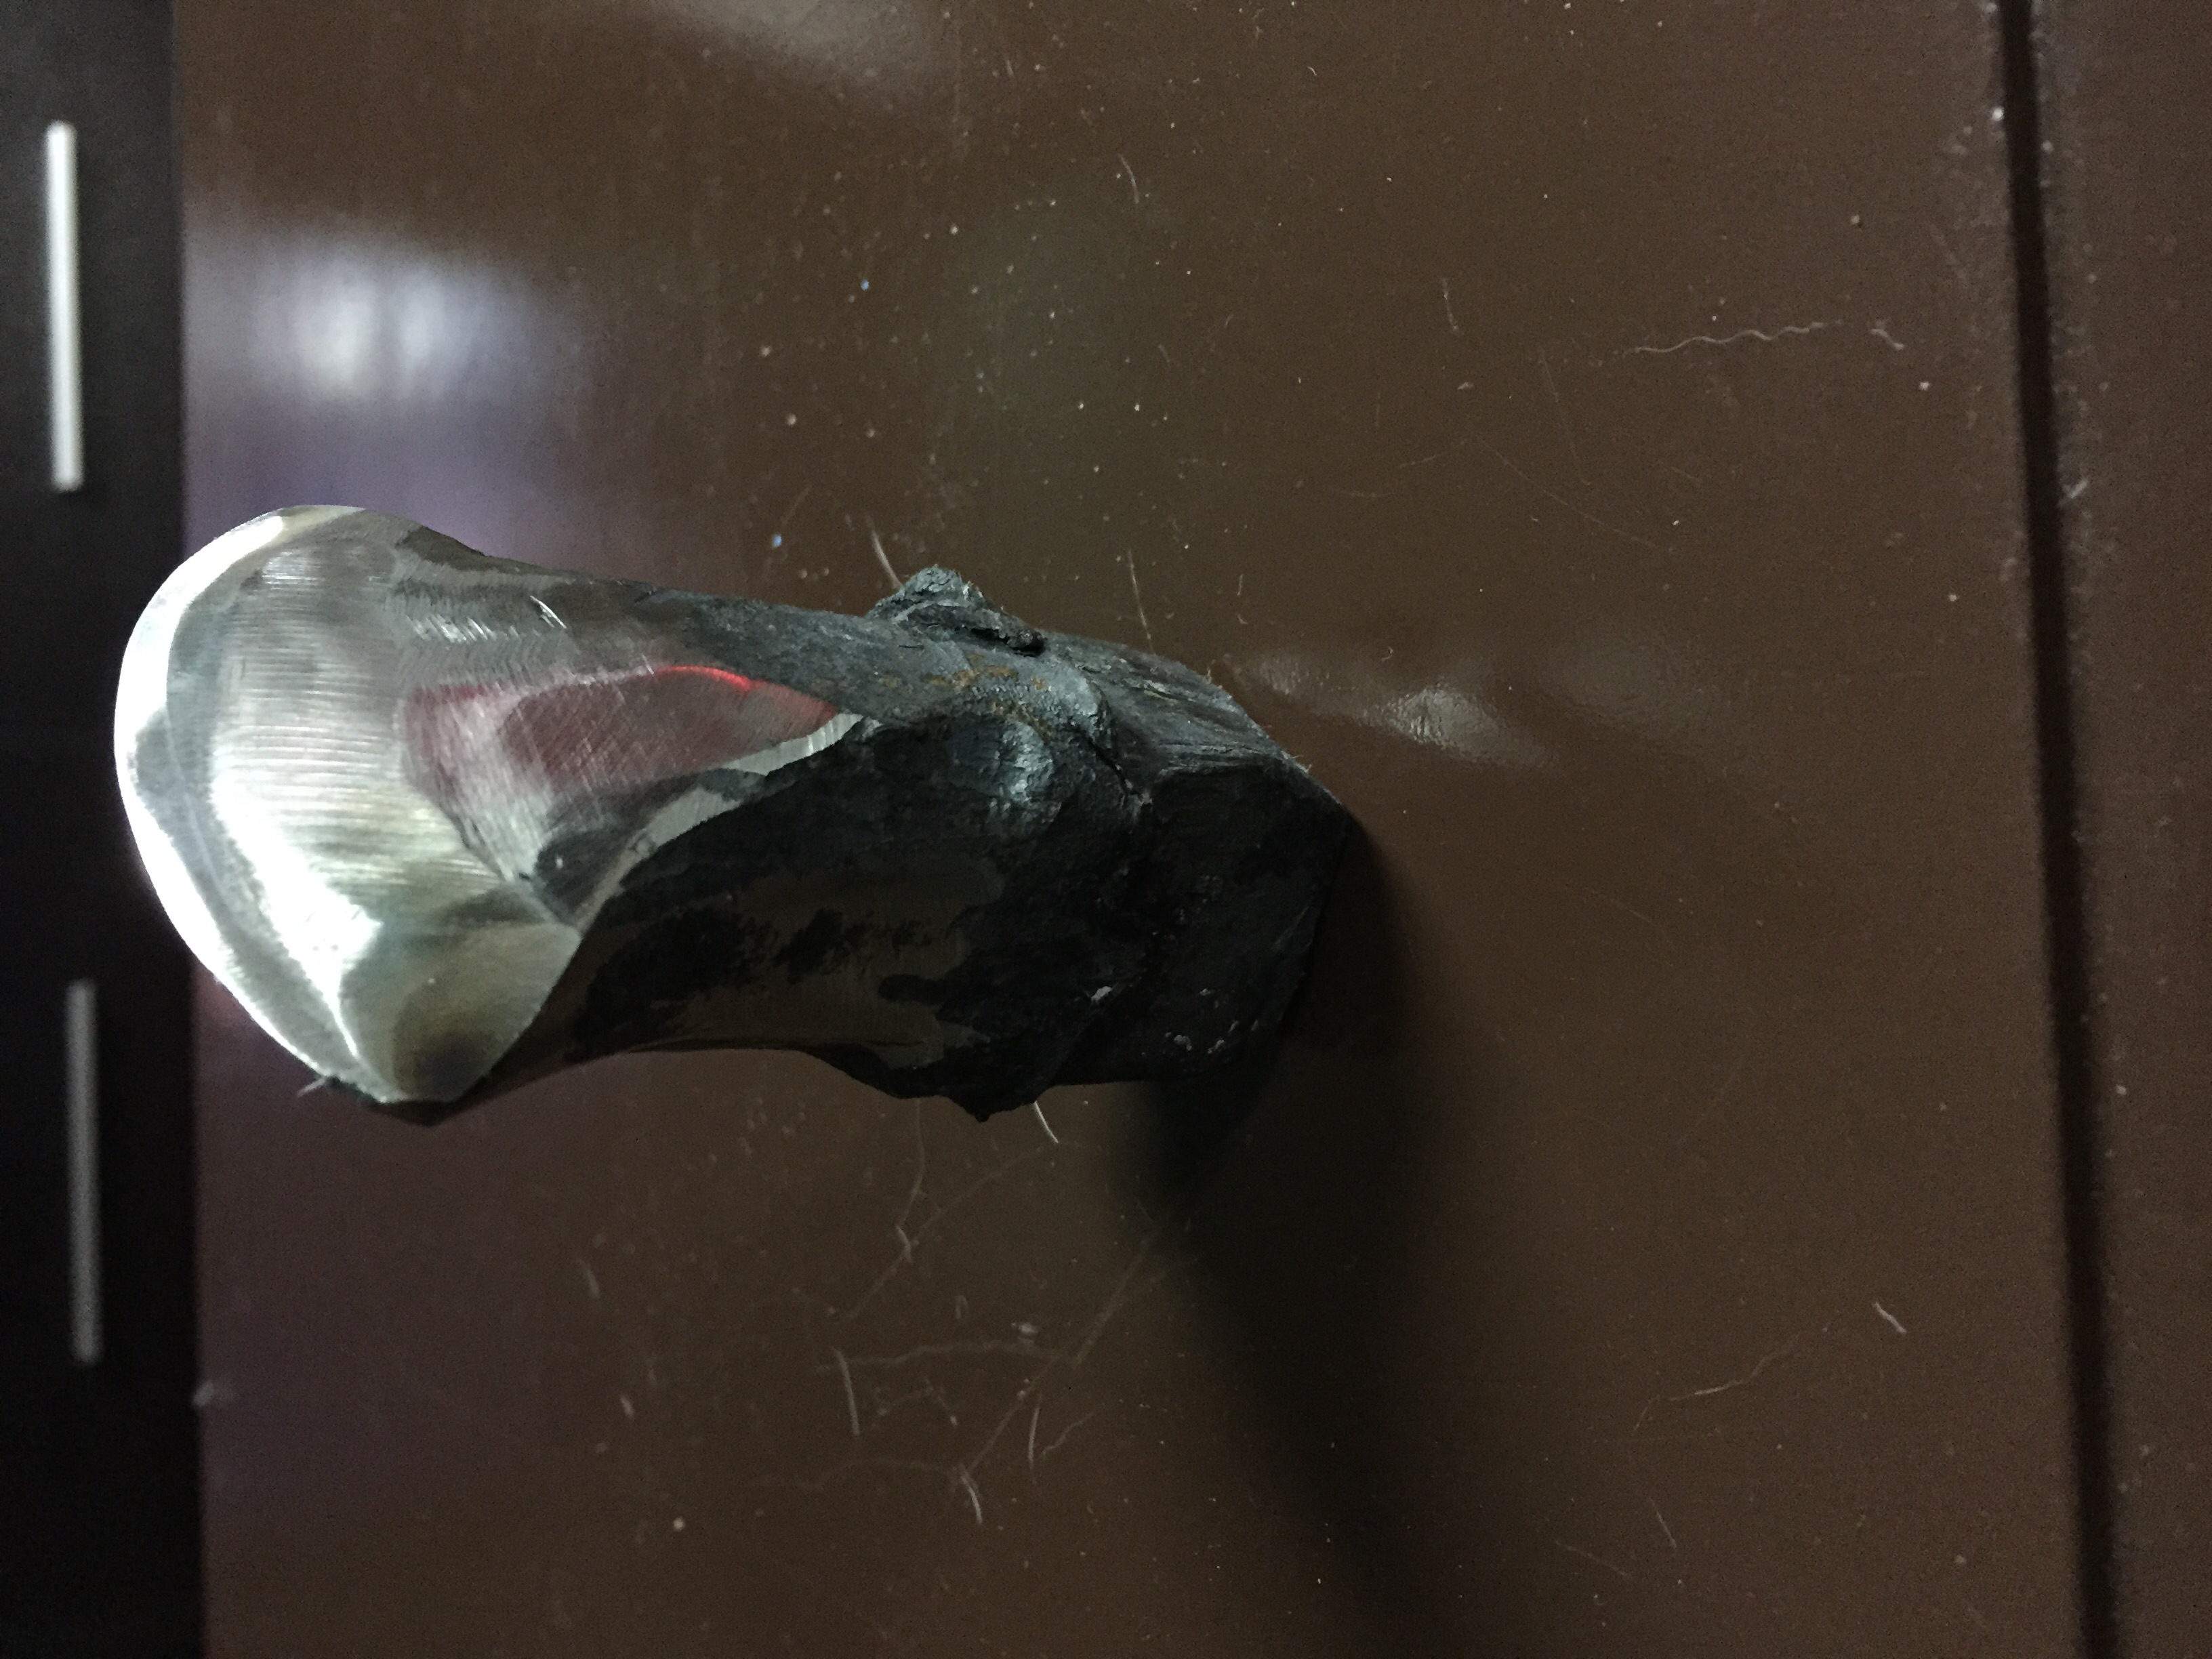
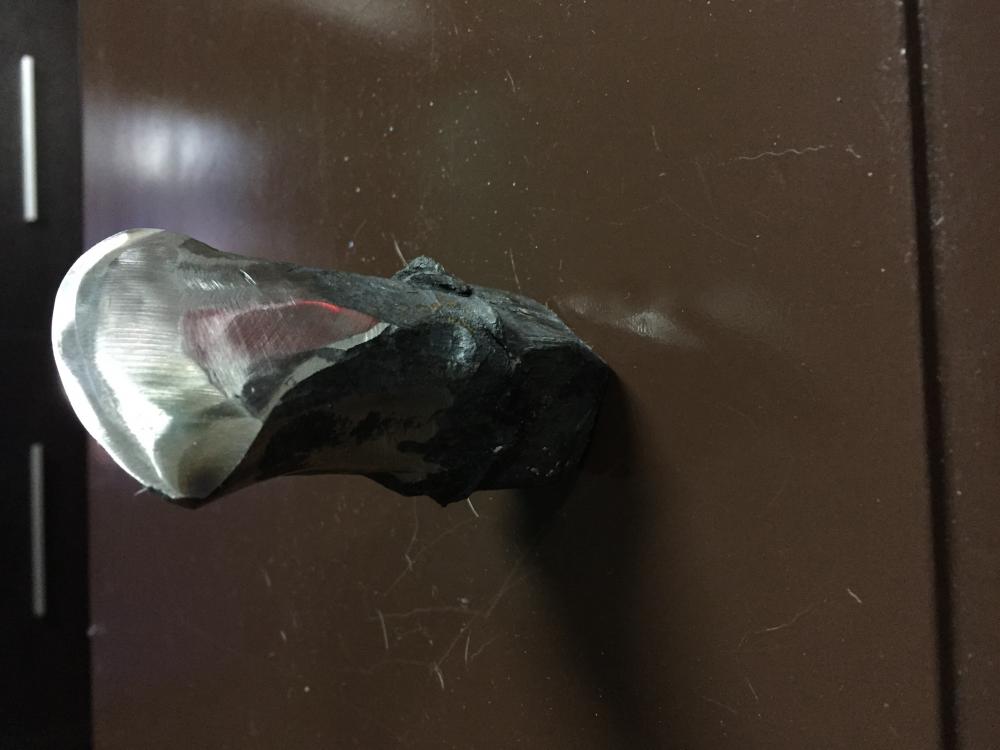
I have no idea. On an interesting note, the forge is definitely capable of melting steel.... Learned that the hard way
-
Coke or Clinker?
-
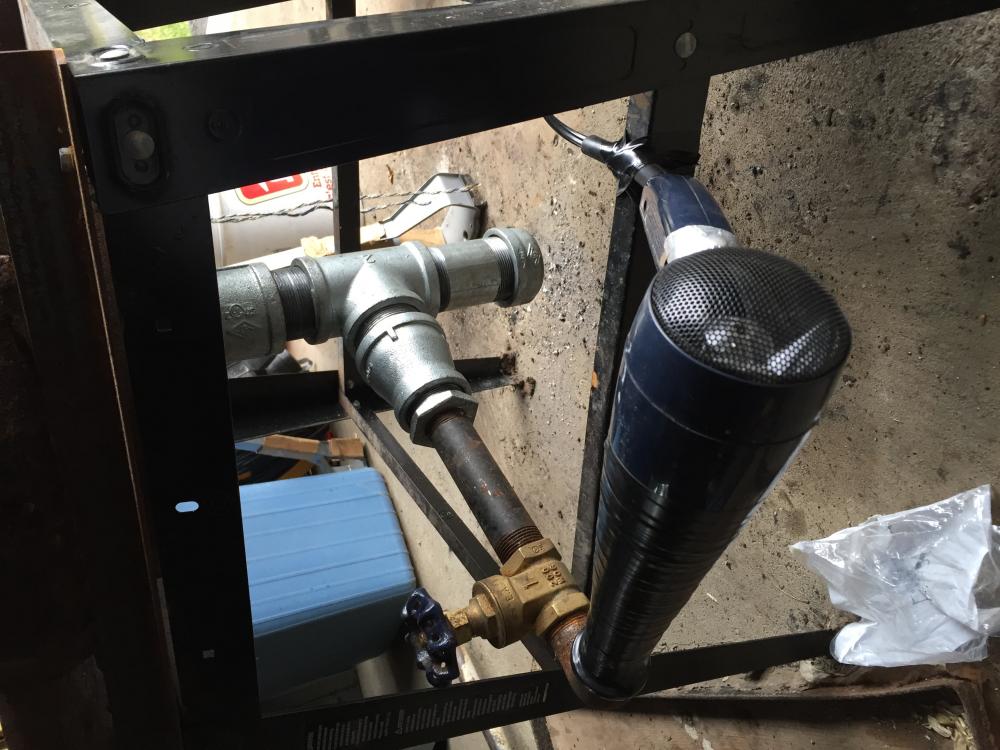
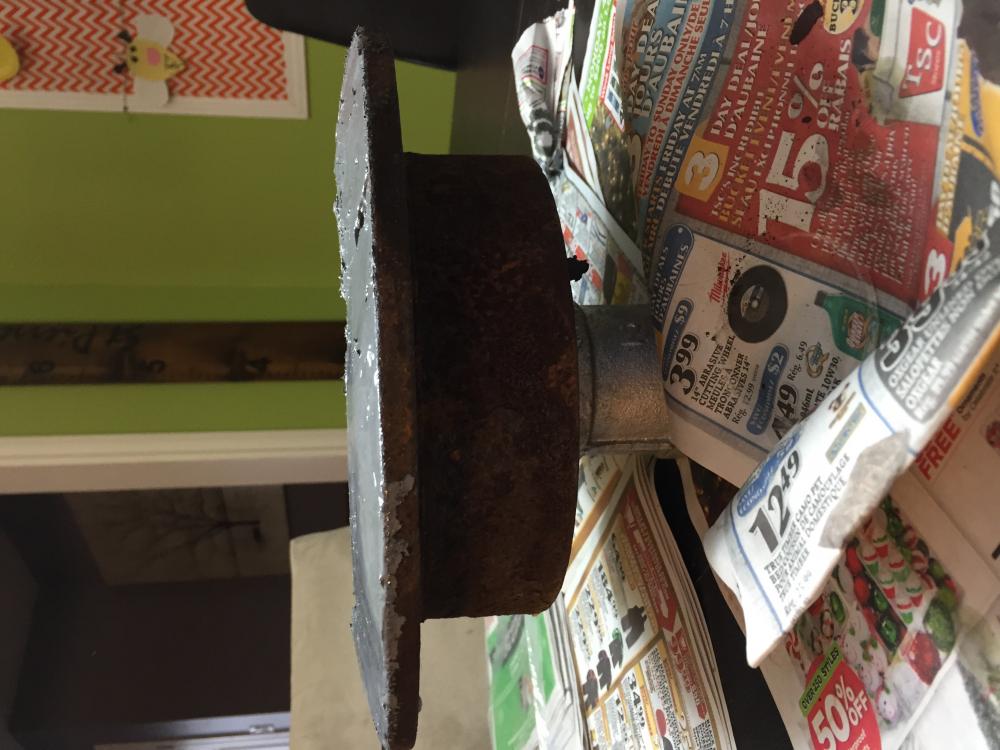
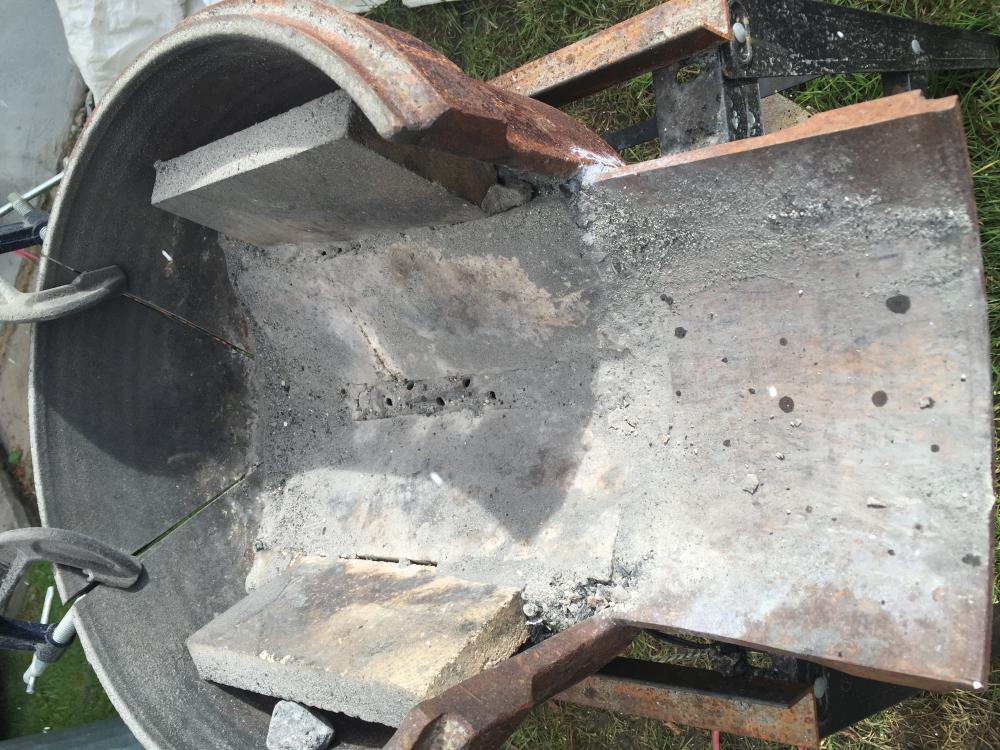
Alright, so i got a little impatient with the cement and threw it in the oven before it was fully cured.... And maybe I set it a bit to hot. anyway I was able to push it back into shape, sort of......it was so perfect before. i included a picture of my air supply, is there a way to know if you have enough airflow without starting a fire? the dryer has two speeds and I can control the flow with the ball valve. But even at full it doesn't feel too strong. I have no idea what would be too strong though. Is there some kind of "rule of thumb" for this?
-
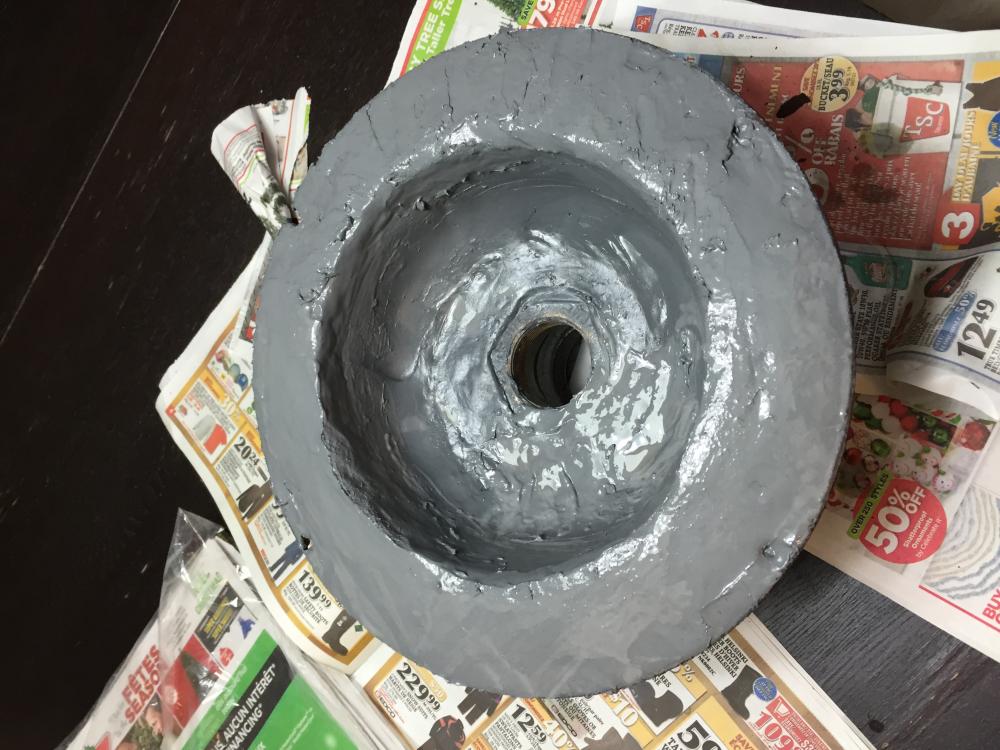
Awesome, thanks! It says to let it air cute for 24 first before any kind of heating. So i guess I'll play the waiting game for today
-
Just an update, got the cement done and I like how it looks. Does anyone have any pointers on how to "heat cure" this stuff? is a regular oven sufficient or would there be some health risks?
-
Pretty clever, I think I'll try it out. At least, this way, I can apply my cement beforehand. Once that's done, all that's left is to make some kind of chimney.
-
Do you have any pictures of the 1/2" grate you used? That is my next step before I can cement everything.
-
I'm back to square one, everything is cleaned out of the large brake drum and I was lucky that the smaller one fit right in there with out any more grinding. Right now the depth from my little table to the bottom of the pot is 4 3/4". Is that deep enough/ too deep for coal? Also, would it be better to do a side best set up here?
-
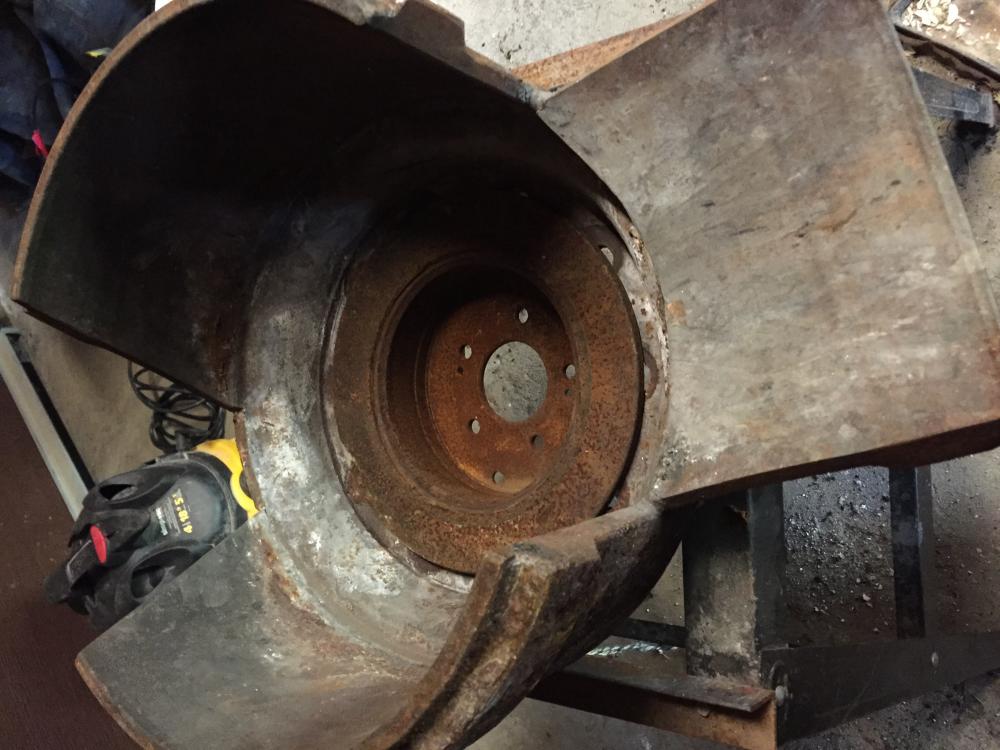
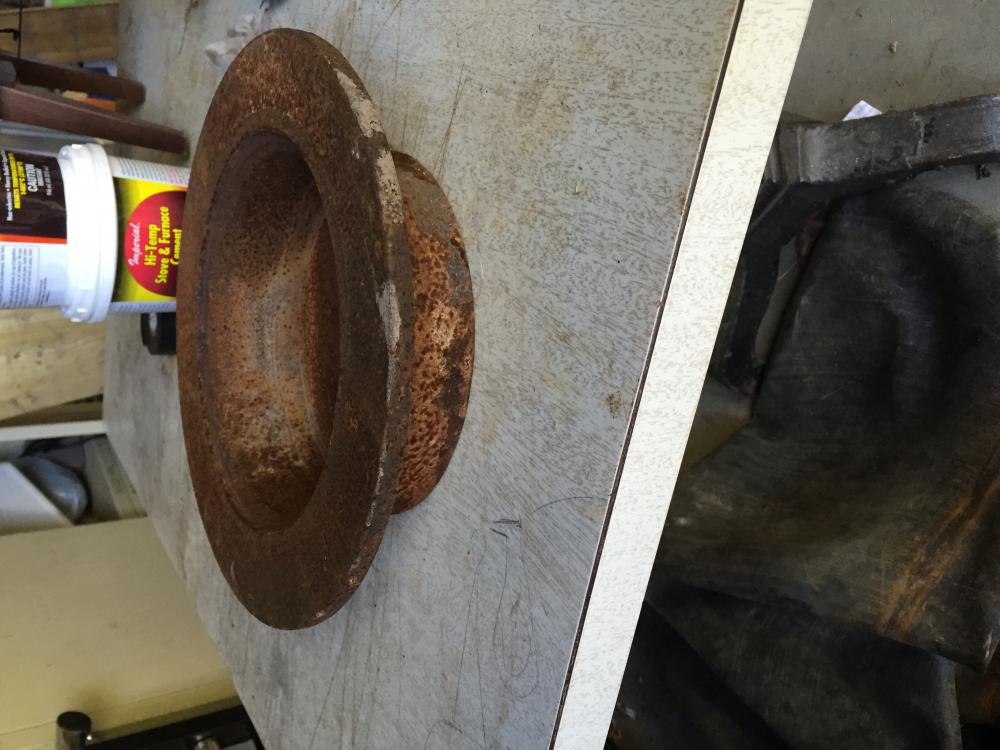
So I got this old brake from the scrapyard for $3. As is, the pot is 2 1/2" deep , roughly 7 inches in diameter and the centre hole is 2 1/2" in diameter. I bought some furnace cement to build it into a cone shape, but what I need to know is if I should make it a bit deeper. Also I need some advice on working with the large centre hole. The real trick here is that I don't own a welder. So I'm trying to affix a smaller pipe into that hole somehow. As usual, I appreciate any and all advice and constructive criticism, thanks in advance. Curtis
-
I knew someone would make a comment on the briquettes. I didn't want them there but it was all I had left, so there is some hardwood charcoal in there as well. They did turn out quite well. I plan on changing my design eventually, I'll make a bowl in the centre with just one larger hole with a grate. And with this I'll be able to use my coal once I sort out some sort of really tall chimney, as to not xxxx off my wonderful neighbours that already hate me lol.
-
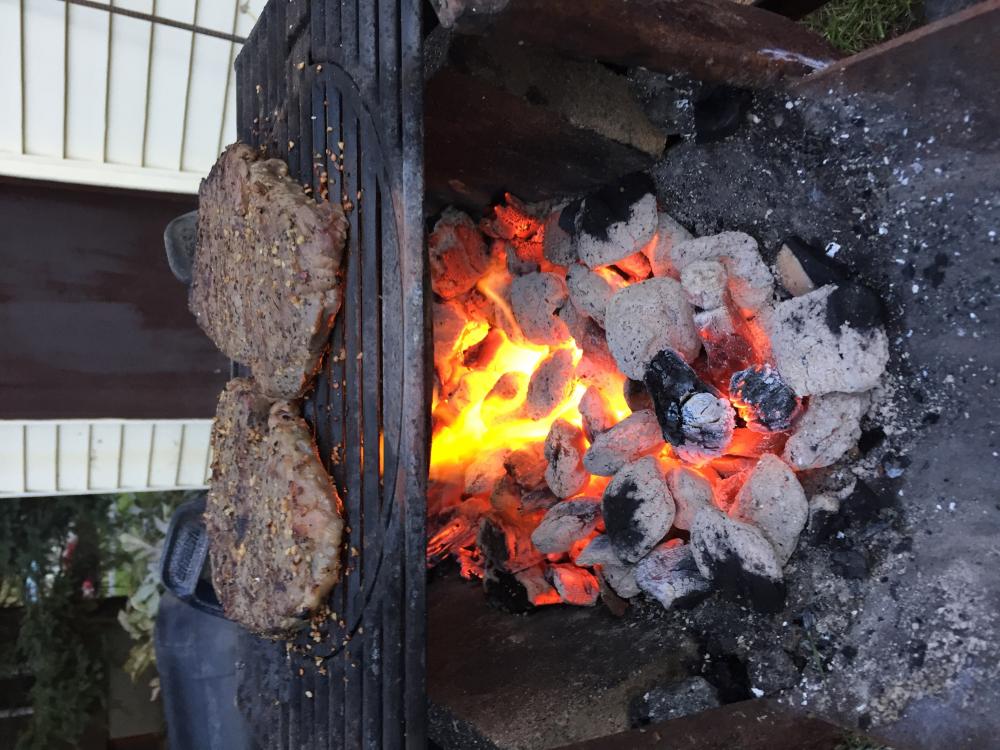
Here are some more pictures of the forge, now that it's empty. And one more to show that, even though it's not ideal for heating steel, it does do some things very well Is it normal that all of my pictures show up sideways? They turn out alright when clicked on but appear crooked on the thread
-
I have two dogs, and they are definitely eating it like it's their last meal. Must be the taste I guess.
-
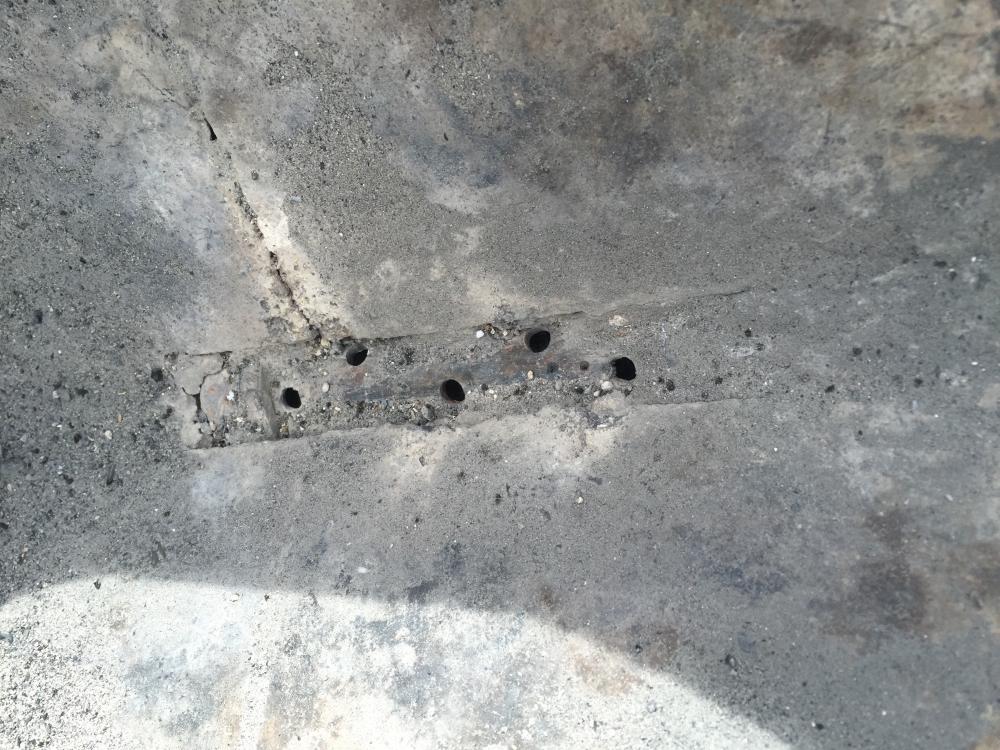
I was trying to create a v shape so that the charcoal would fall to a point as it burned off and and the bottom I have a 5" piece of pipe with a few small holes in it to create a longer fire. The answer to your question is yes, it eats charcoal extremely fast. ( so do my dogs by the way, anyone know why that is?)
-
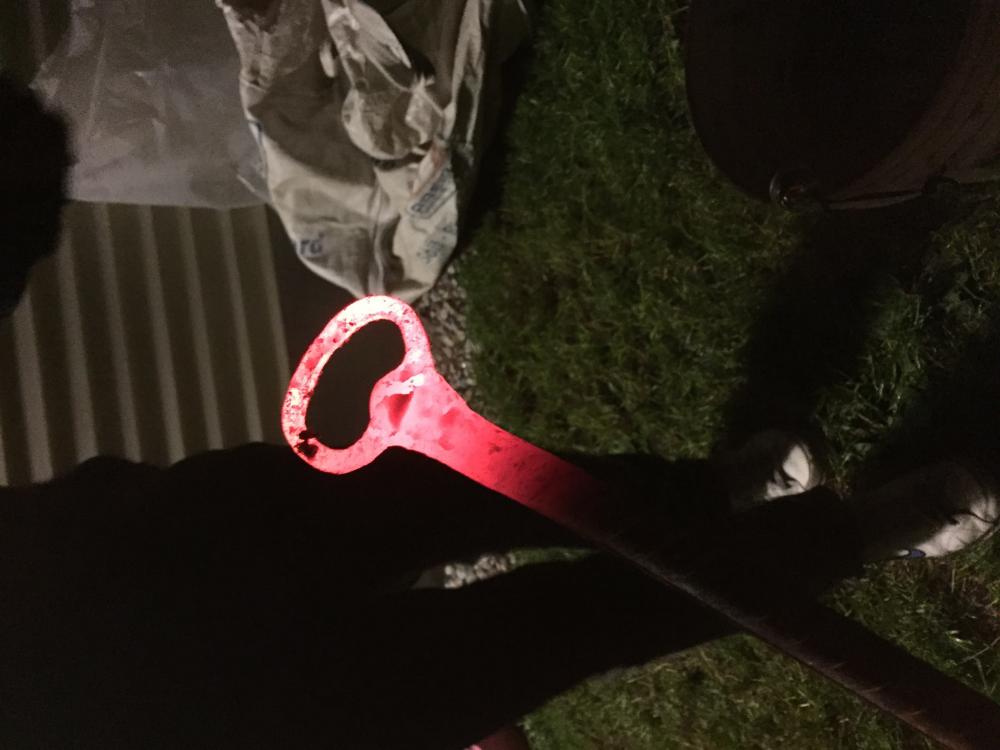
Thanks for the input guys. After reading some other posts I've found several flaws in my design that can be quickly fixed. the height of the plate is basically flush with the bottom of the fire . It just worked out that way because the shape of the drum wouldn't let me cut further with a grinder. The steel in the picture is something I'm working on, ( just drifting some holes for bolts). Ill post some better pictures of the forge later today. Thanks again! This is the extent of my skills right now
-
So this is the forge I built myself. It does the job but there are some limitations. Basically I we looking go for some ideas on how I can get the fire hot enough to forge weld. The best I can do is a bright yellow without sparks. I'm thinking it might have something to do with the depths of the fire, or maybe I just need more air. Any info at all would be greatly appreciated. Thanks