

intrex
-
Posts
166 -
Joined
-
Last visited
Content Type
Profiles
Forums
Articles
Gallery
Downloads
Events
Posts posted by intrex
-
-
Hey Arkie,
I wish I would have taken a picture of the nest but it looked almost the same as yours except for the one hatchling and eggs (and your forge is significantly nicer than mine
") ). The parents came back later in the day so I was afraid to disturb the nest again to try to get a good pic. I was probably pushing a little too hard to try to start forging again so quickly after the back is recovering so I am just considering it a sign to wait a few more weeks.
). The parents came back later in the day so I was afraid to disturb the nest again to try to get a good pic. I was probably pushing a little too hard to try to start forging again so quickly after the back is recovering so I am just considering it a sign to wait a few more weeks. Hey ianinsa,
As long as I keep the jewelry pieces comes every once in a while the wife is completely supportive of the blacksmith shop that occupies our garage and carport :).
-
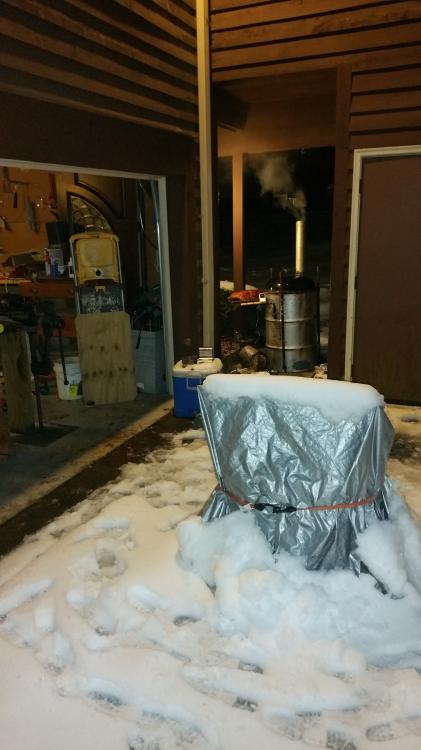
I tore a muscle in my upper back about 2 months ago (40 year olds should not be dunking basketballs) and was just feeling good enough to fire up the forge for the first time in a while. My forge is out in the open so I keep it covered with a grill cover. When I lifted up the cover there was a large birds nest right in the middle of the forge nestled in coal. I was going to move it but then realized that there were 3 eggs and one hatchling looking up at me. I guess it is going to be a few more weeks before I get to forge again. Its probably for the best anyway. I wonder how long it takes birds to leave the nest?
-
Not currently :),
My wife was a vegetarian for a few years but not anymore. With two growing boys that eat like horses having frozen bbq ready to go is almost mandatory.
-
Everyone should have an ugly drum smoker (UDS). At max capacity you can cook about 8 pork shoulders in one these at once for some of the best bbq that you can get.
-
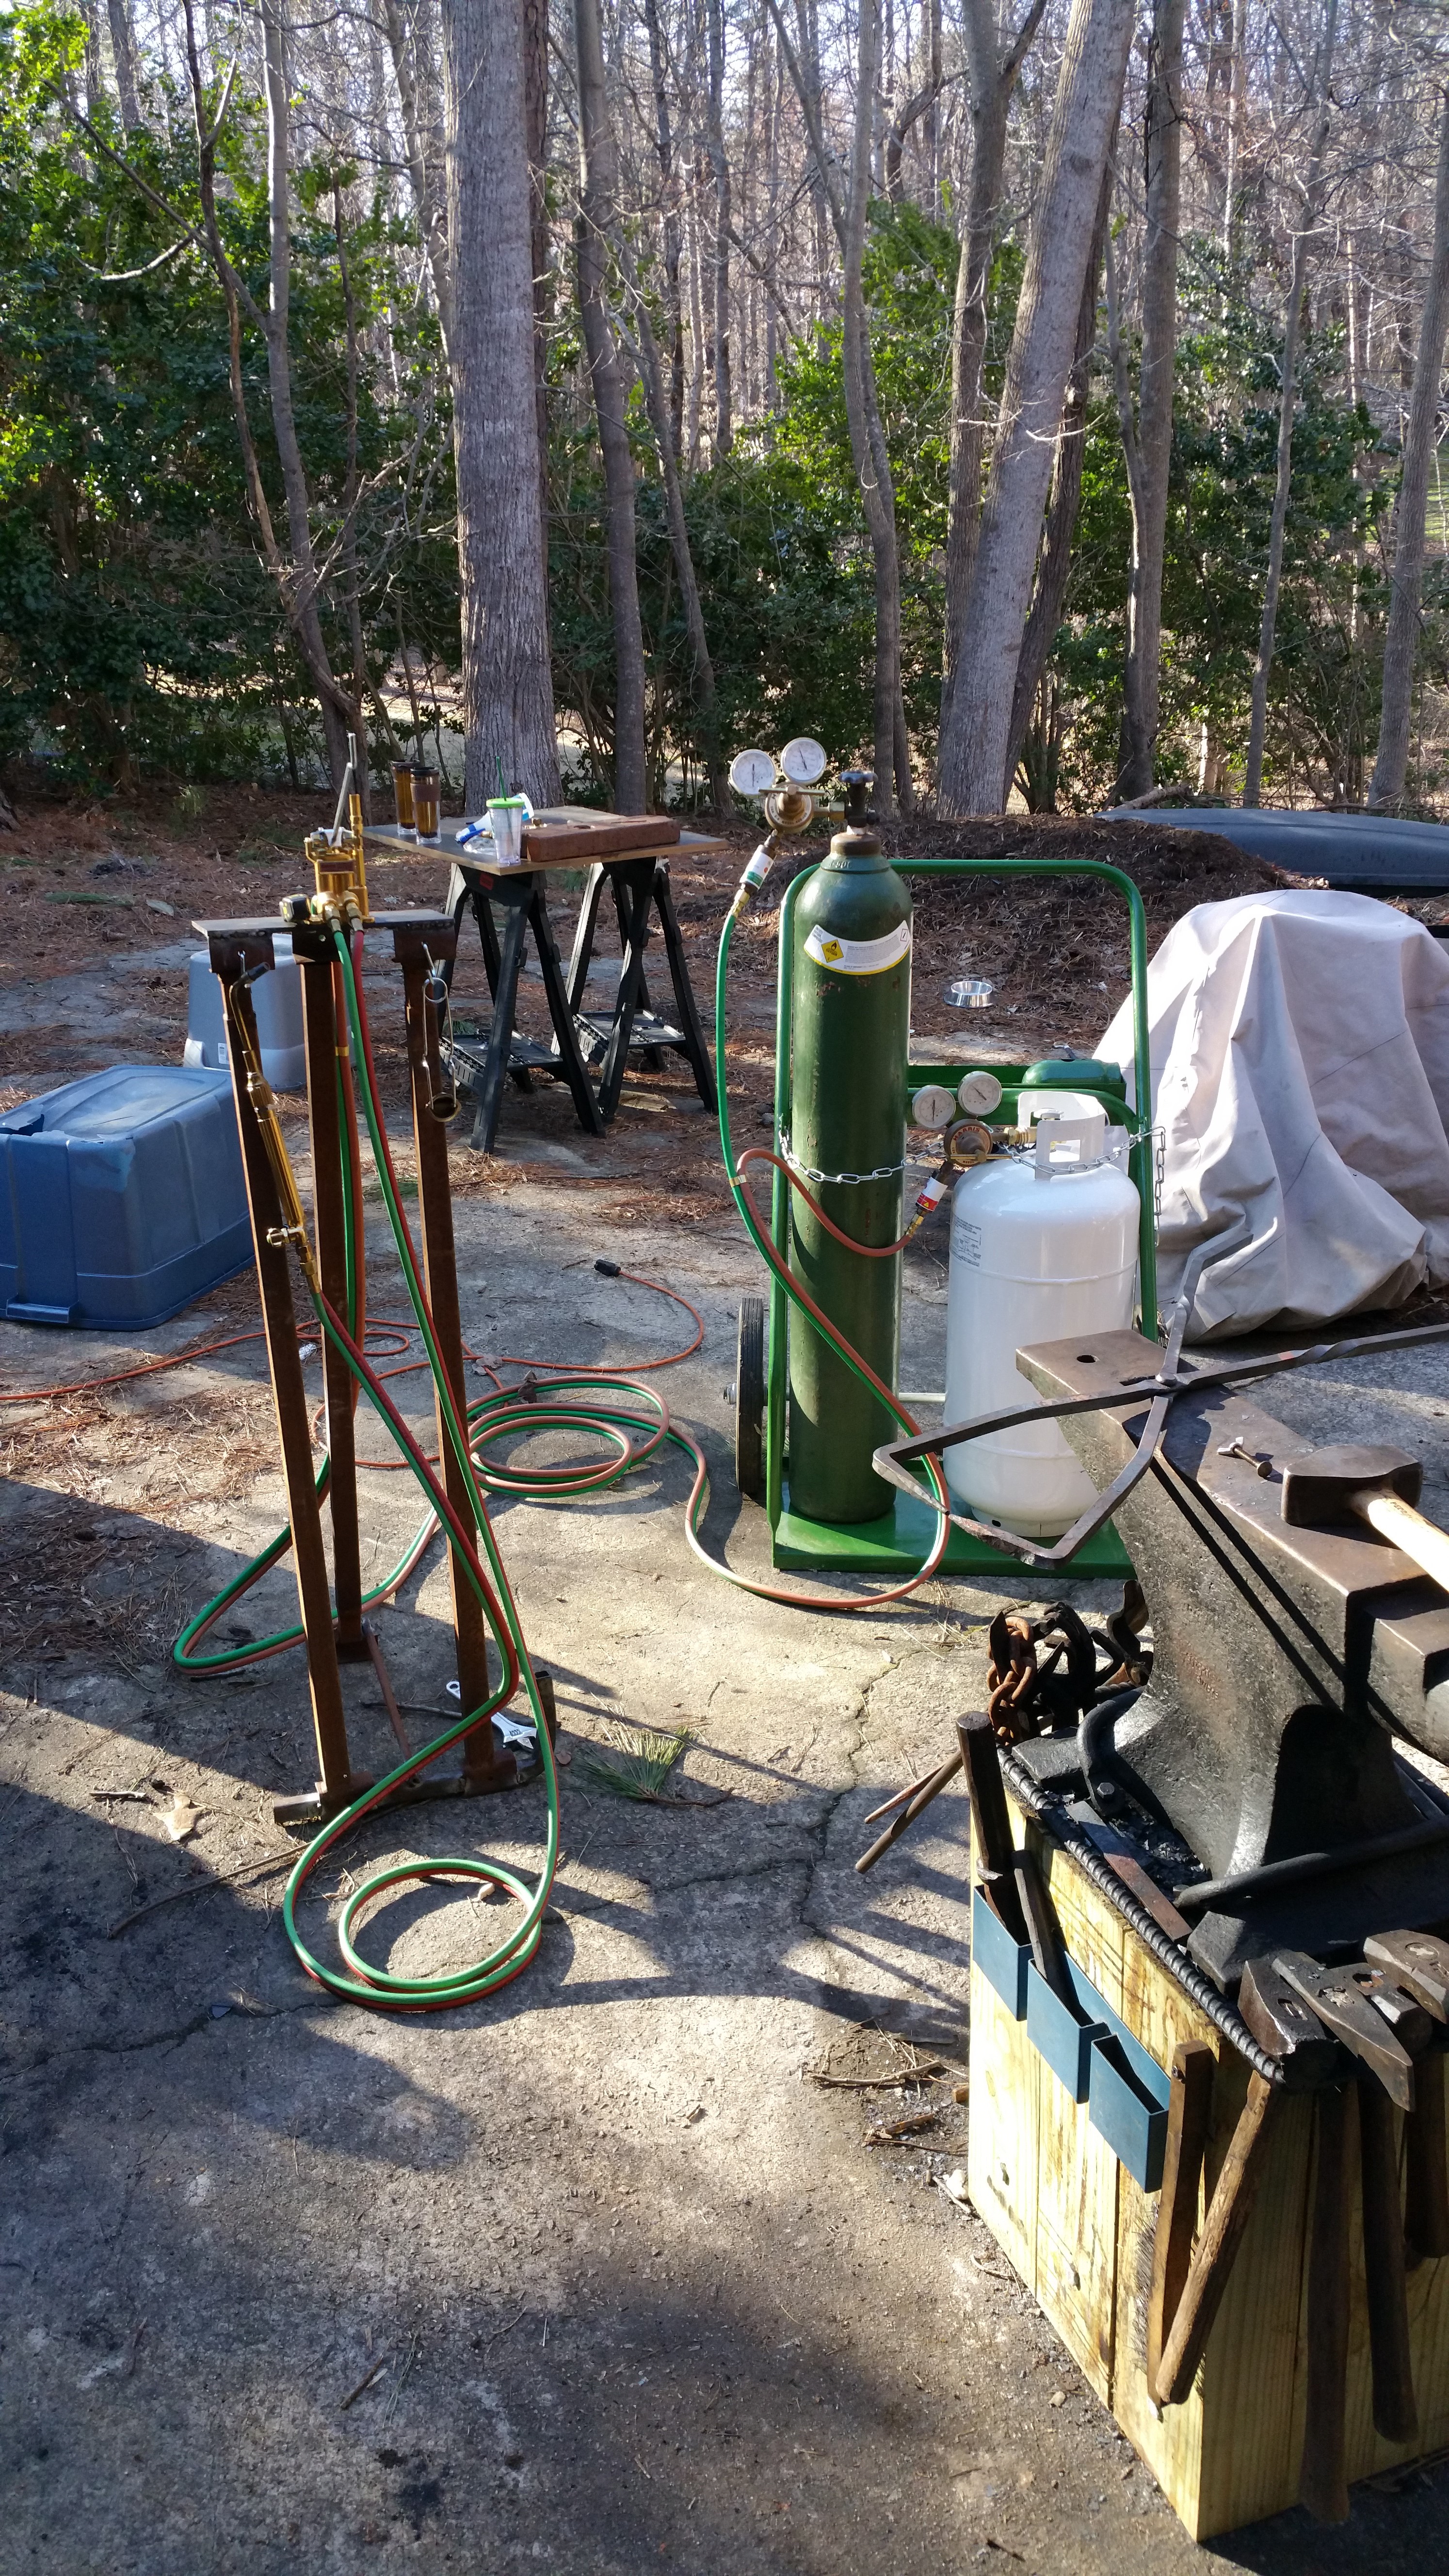
I thought you guys might want to see the final setup. I have been using a medium sized brazing rosebud and it has really made setting rivets, twisting and bends MUCH quicker. This is probably gonig to end up being the most used tool I have aside from the standard blackmith tools. I ended up also getting a gas saver, which is great if you are turning the torch on and off constantly between forging. I built a stand for gas saver this weekend from some scrap yard steel ($9 in total :)).

-
Hey Jimmy,
Maybe you can't tell from the video but the tumbler is a 6 sided octagon stainless steel barrel (with an internal rubber lining). I am going to try a few more things on the next tumbler run before giving up on the current media I have. I am planning to add some course grit silica carbide to the next run and see how it goes.
The tumbler journey continues.
-
Hey Frosty,
Thanks for all of the feedback. I need to get those finished and out the door so I think they are as finished as they are going to get.
I will probably forge another batch this weekend and try adding something into the mix for abrasion.
-
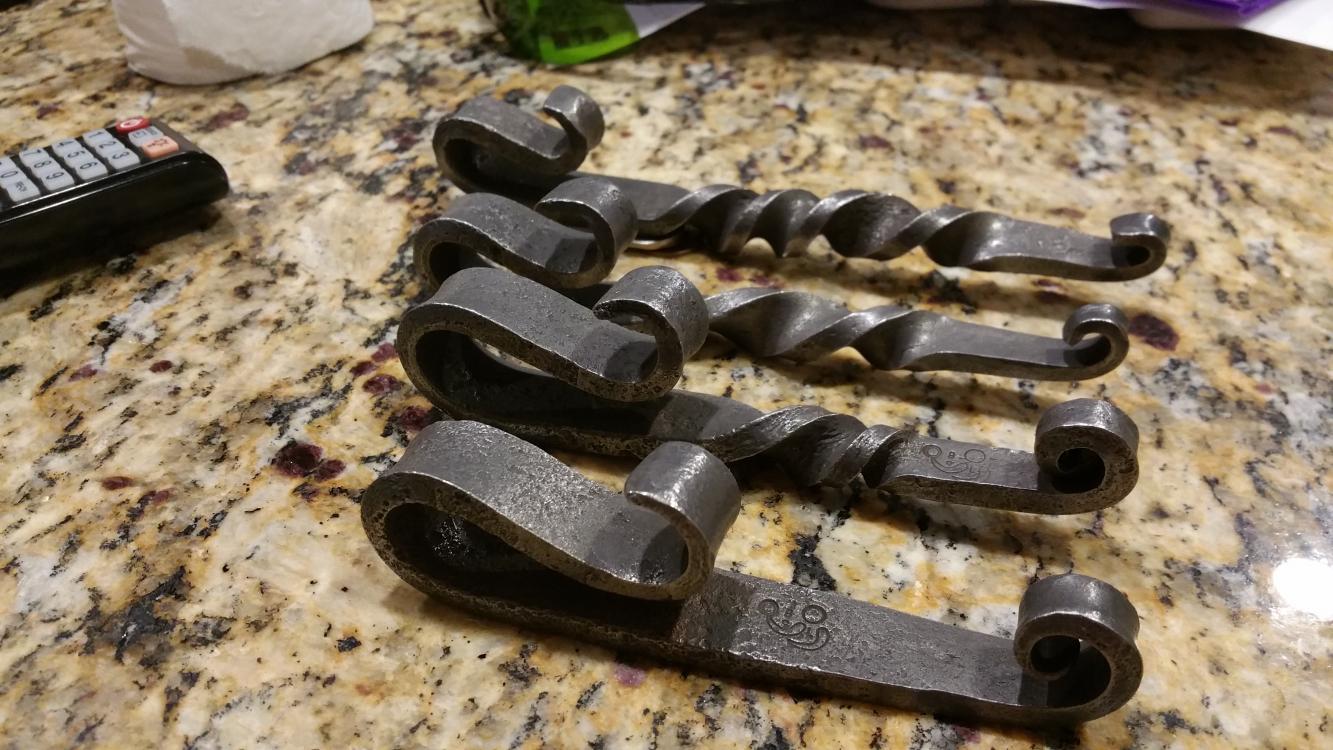
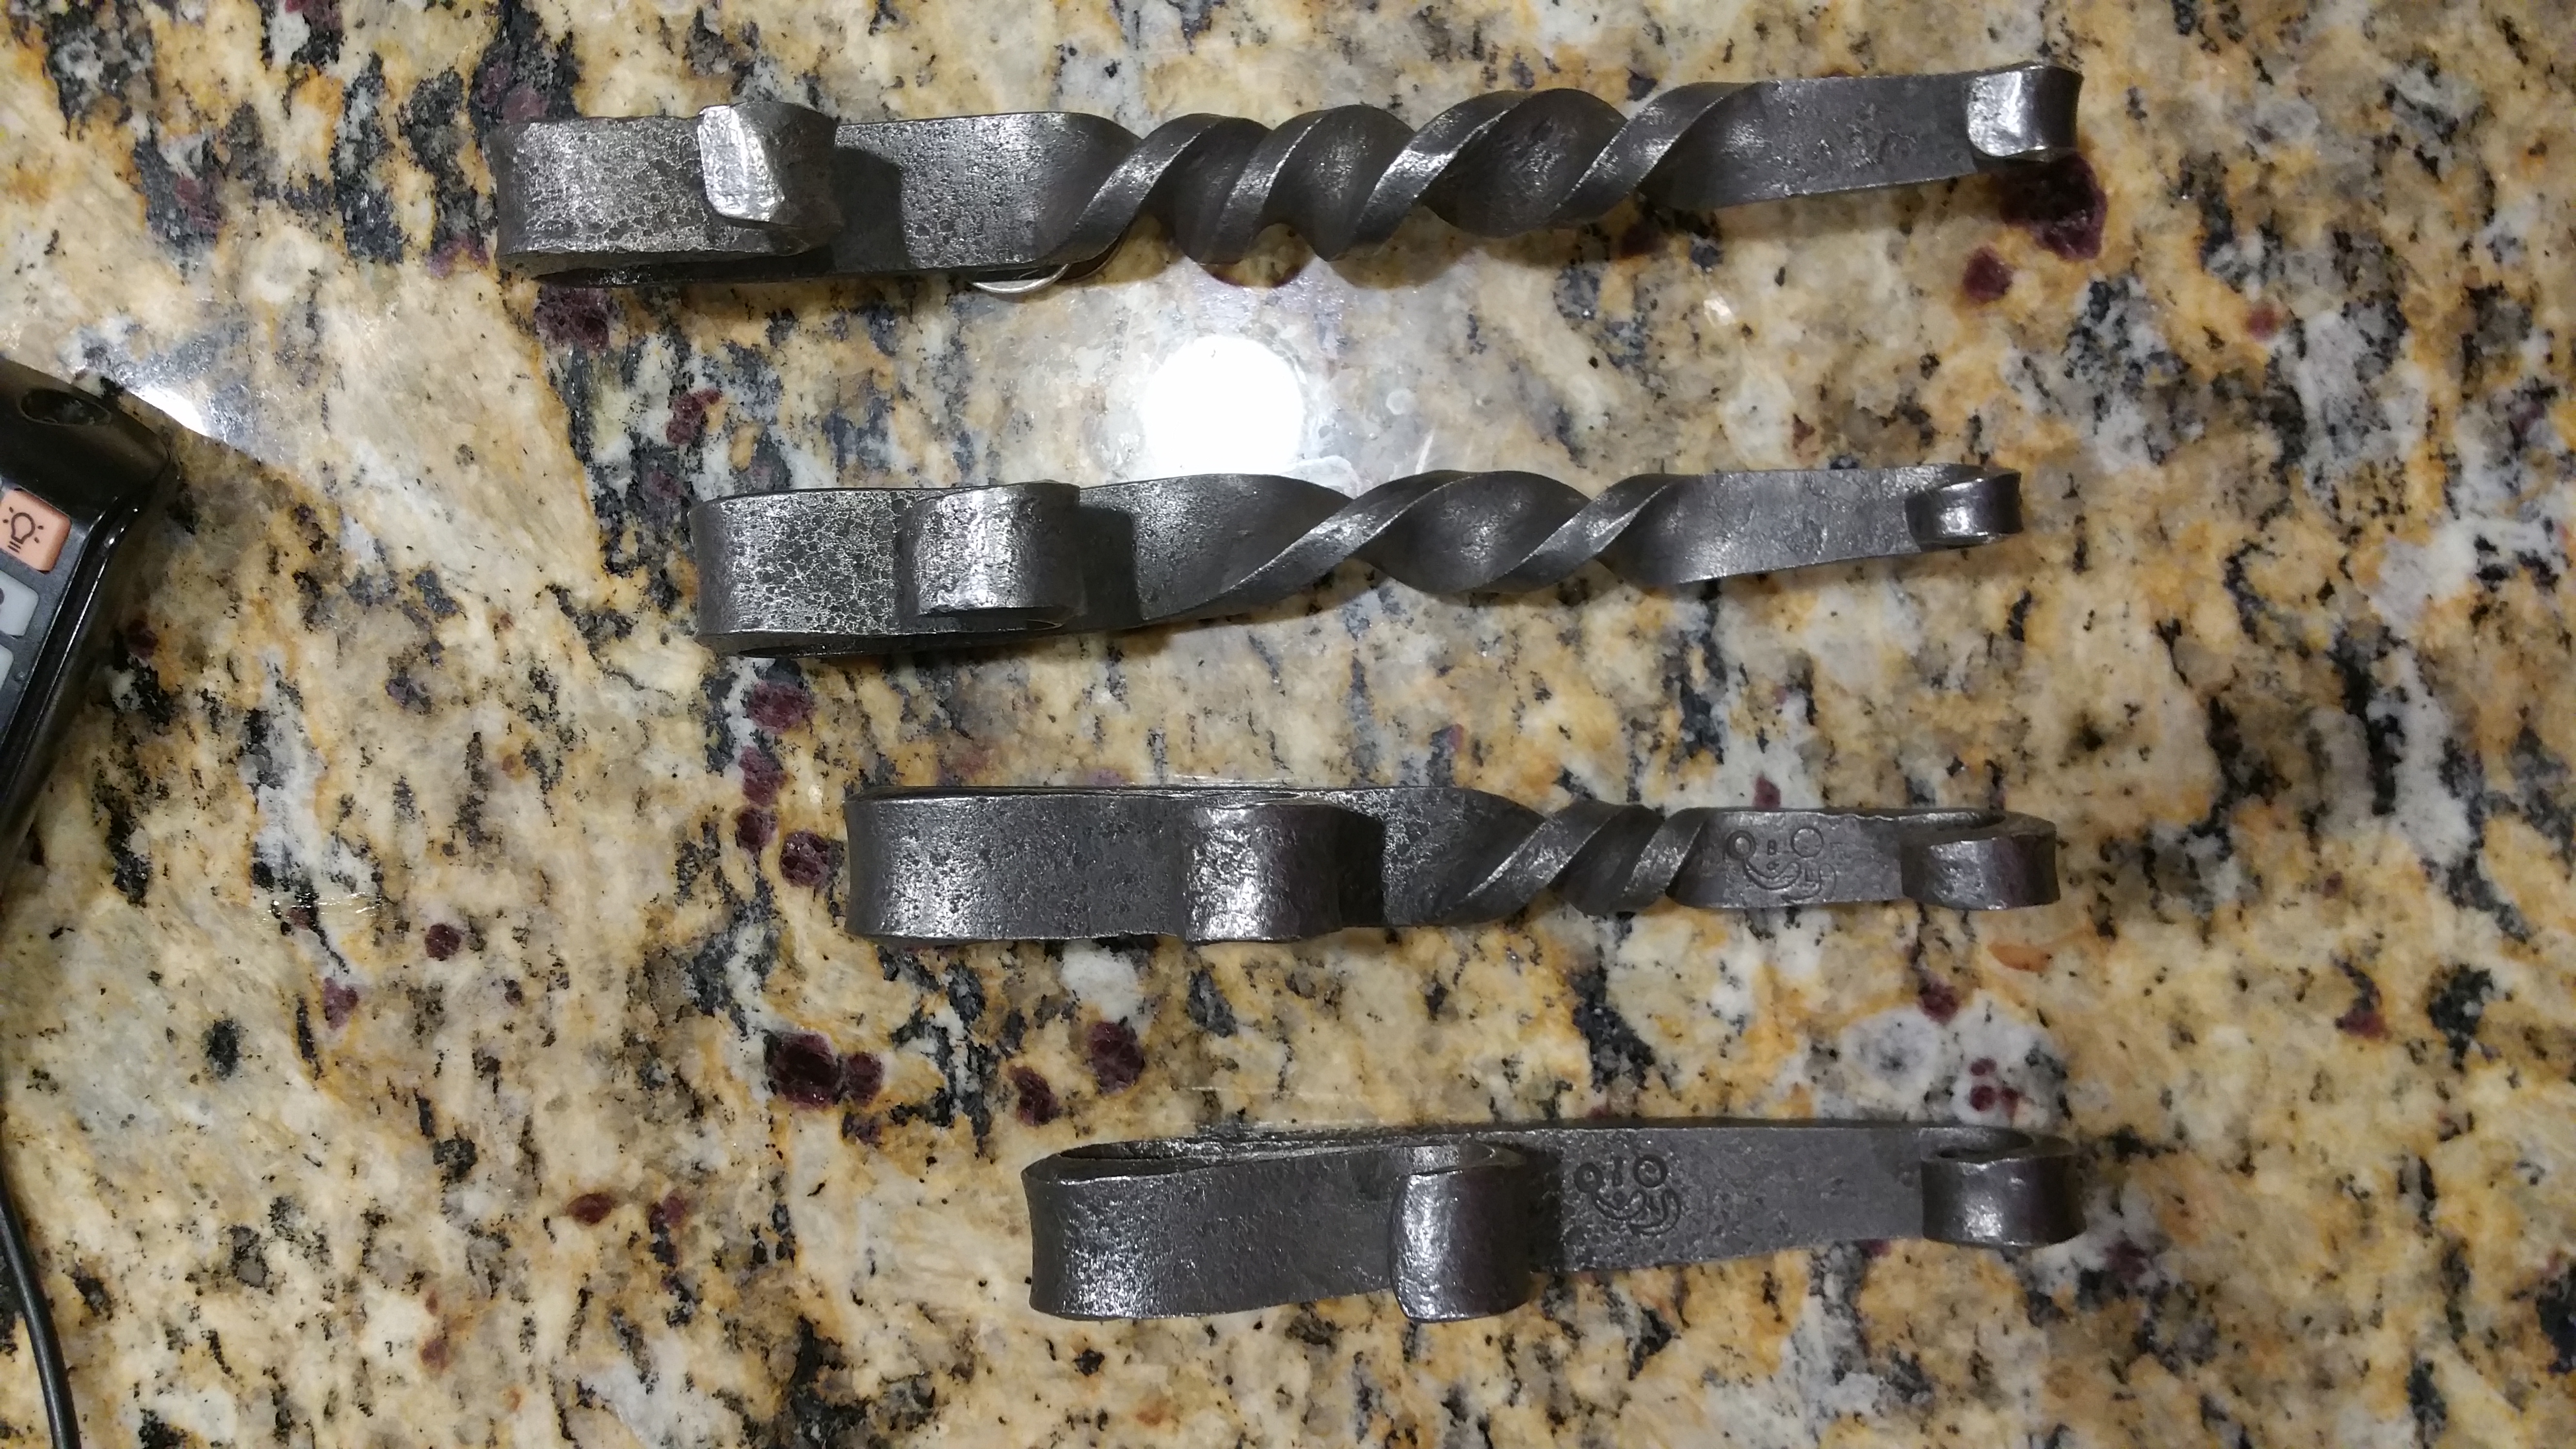
On the run tonight I ramped up the speed a little bit. It was originally at 18rpm and I bumped it up to 25rpm. I also added about a cup of simple green to the mix in the hopes that it would help with the scale removal. I don't know which thing made the different but the results were much better after another 1.5 hours in the tumbler. All I did was take them out of the tumbler and dry them with a towel before taking these pictures.

-
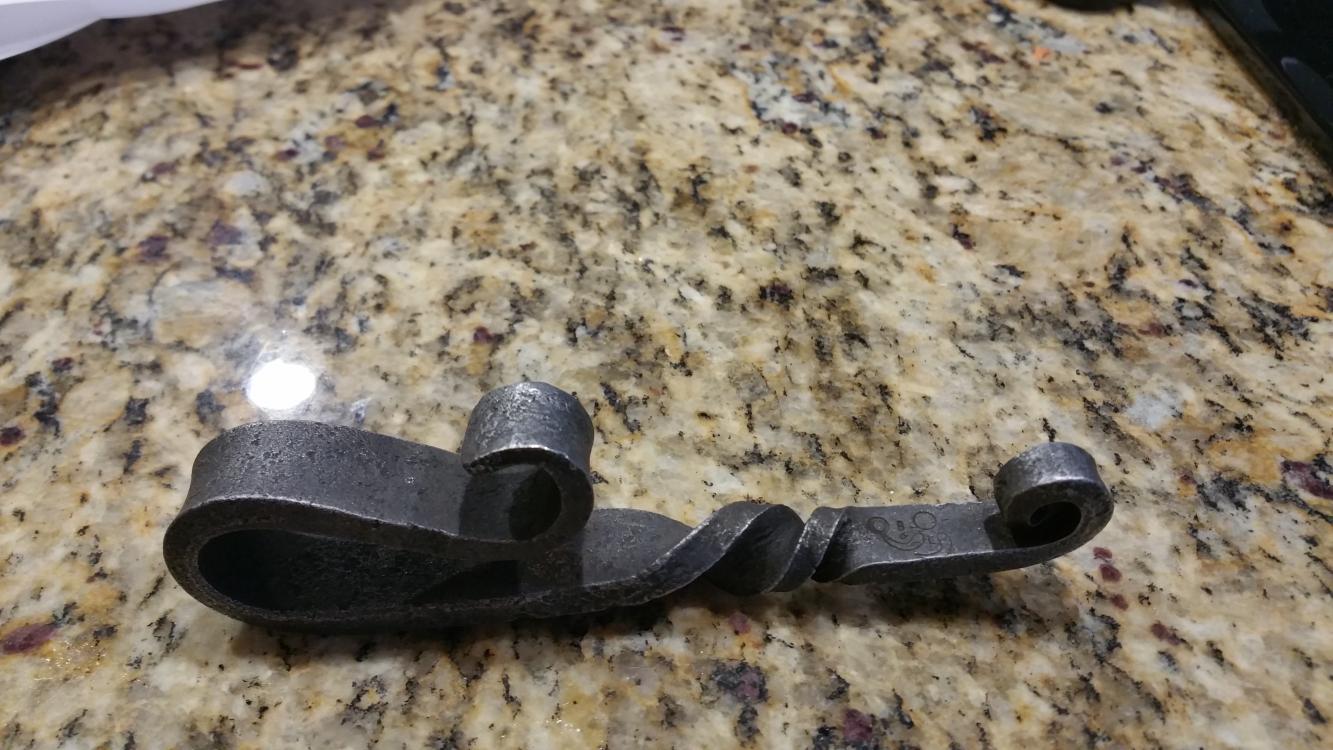
I ran another test tonight with adding simple green to the mix. This really seemed to help. It still isn't as aggressive as I was hoping but it is close to what I wanted. The media doesn't seem to do a good job in the twists. I ran the tumbler for 98 minutes for this second test which was probably less that half of the first run and the results were much better.
How much media do you usually put into your tumbler? My media only fills up about an inch depth of the bottom of the barrel right now. How long do you usually tumble parts for?
-
Hey Frosty,
I just pulled 6 of these out of the tumbler from this weekends smithing after etching in vinigar overnight (they were tumbling during the video). They were tumbled for 4 hours at about 25rpm. It got all of the scale off and polished most of the exposed surfaces. It didn't get into the twist and scrolls as much as I was hoping. In an attempt to get more polished pieces I am going to try adding water and soap on the next run.
Since I spent nearly nothing on the actual build I broke the bank a little bit on the media. I wanted something that would polish and not have to be replaced or rust so I ended up buying 10lbs of stainless steel jewlery media. I probably need another 5lb of media but I am going to try to get by with what I have.
-
I have been working on converting an old treadmill into a tumbler for a few weeks now. This weekend I finally got it all up and running. Thanksfully my torque and rpm calculations seem to be about spot on and the motor has been powerful enough (so far).
Sorry for the messy video. This is my first youtube video and I was trying to get it posted as quicly as possible. If there is interest in the tumbler I can go back and do a better video showing what modifications I did to the treadmill to make this work.
-
Thanks HWooldrige,
I will probably start documenting just like this as a basic means of keeping track of previous projects. Maybe I will even go a litle crazy and create a web application where I can keep track of everything. If I ever get the time to do that I will open it up to everyone that wants to use it.
-
Hello all,
I was wondering if anyone has read or seen any documentation about how to streamline the forging process when making several identical pieces (other than the standard trial and error). In the engineering world there are volumns about manufacturing order of operations and design for assembly. I was wondering if anyone knows of anything equivalent for black smiths.
-
Nice,
I have done some letters about that size completely by hand and was suprised at how hard it was to get them proportional and looking nice.
-
Hey Guys,
Thanks for all of the feedback on how these issues apply to blacksmiths. I currently run a software company and have a pretty lenghty non-complete/disclosure as well as other documents for employees. I have also worked as an expert witness on a software patent case (high paying but probably the worst gig of my life).
My plan is to transition into software part time and smithing together at some point. That is still years away but I am always bouncing around ideas of how to get there.
With the kind of custom software I make it is nearly impossible for a employee to take a full system and try to implement it on their own to customers. It would also be really easy to prove what they did.
Aside from getting all of the tools neccesary to smith it would be pretty easy for an employee to go out on their own and start making identical (or slightly modified) forgings.
-
I have a question for those of you that that sell a large quantity of a certain design forging. Have you ever tried to legally protect the design? If you have workers in your shop do you make them sign a contract saying they can't sell designs that your shop makes?
-
Charles,
That is the most constructive and concise forge welding sentence I have ever seen. I think you just need to add "apply flux" somewhere in there and you have a timless winer.
-
Hello All,
Almost everything I make these days seems to be finished with carnuba wax. It leaves a really nice finish, is hard and durable and completely non toxic/food safe. Generally I hang a finished piece on a wire then heat it with a small hand torch and touch the piece with hardened wax all over until it is finished. On small pieces I seem to spend about as much time wire brushing and waxing them as forging. In a effort to spend more time actually forging rather than finishing I am looking for new ways to finish pieces. I have a shaker that is almost built which I am hoping will partially get me out of the business of wire brusing everything with the angle grinder.
Has anyone here ever tried heating up a container of bees or carnuba wax up to liquid and then hot dipping pieces into it? I am imagining this might leave a much thicker wax finish but would be significantly quicker on curvy pieces with scrolls and twists.
-
Just in case anyone else has this come up I wanted to post what has fixed this for me. After this incident I really focused on technique and trying to never tightly grip the hammer. I believe my main issue was that I was starting to clinch the hammer tightly after getting muscle fatigue. Sometimes my thumb would also slide up to the top of the hammer. After making those two adjustments I have never had another issue like this.
-
Haha Frost,
This thing has plenty of exhaust with the two stock ports on the front and back. The forge has three doors so it can be completely opened up in a clam shell. Literally every internal seam of the forge has a small gap that flames shoot out of. Its pretty impressive at night. I need to take a picture of it. Maybe the extra loss in the cracks doesn't matter at all compared to the port openenings for stock. My overly schooled engineering brain makes me think the forge would be able to come up to temperature more quickly if the all of the internal seams were closed but maybe it doesn't matter much at all.
I am planning on getting some extra fire bricks this week so I can at least close up the back port if I am using stock that doesn't need to go all the way through the forge. I didn't think about sectioning part of the internal firebox off but will do that too.
Things that work the best always seem to turn out to be the simpliest. The T burner in my forge is a pipe :).
-
I finally got the 2 burner metalsmith model shipped to me yesterday. I put it together last night and forged some on it today. It was very easy to setup and use. The only concern I had was that the doors are on hinges and are just held closed by gravity. Flames actually shoot out of the all gaps in the doors while running. It looks pretty cool at night but has to be a huge ineficiency. I am going to talk to Dennis about it this week and will probably come up with some sort of clasping system to keep at least the large front door fully closed when I am not using it.
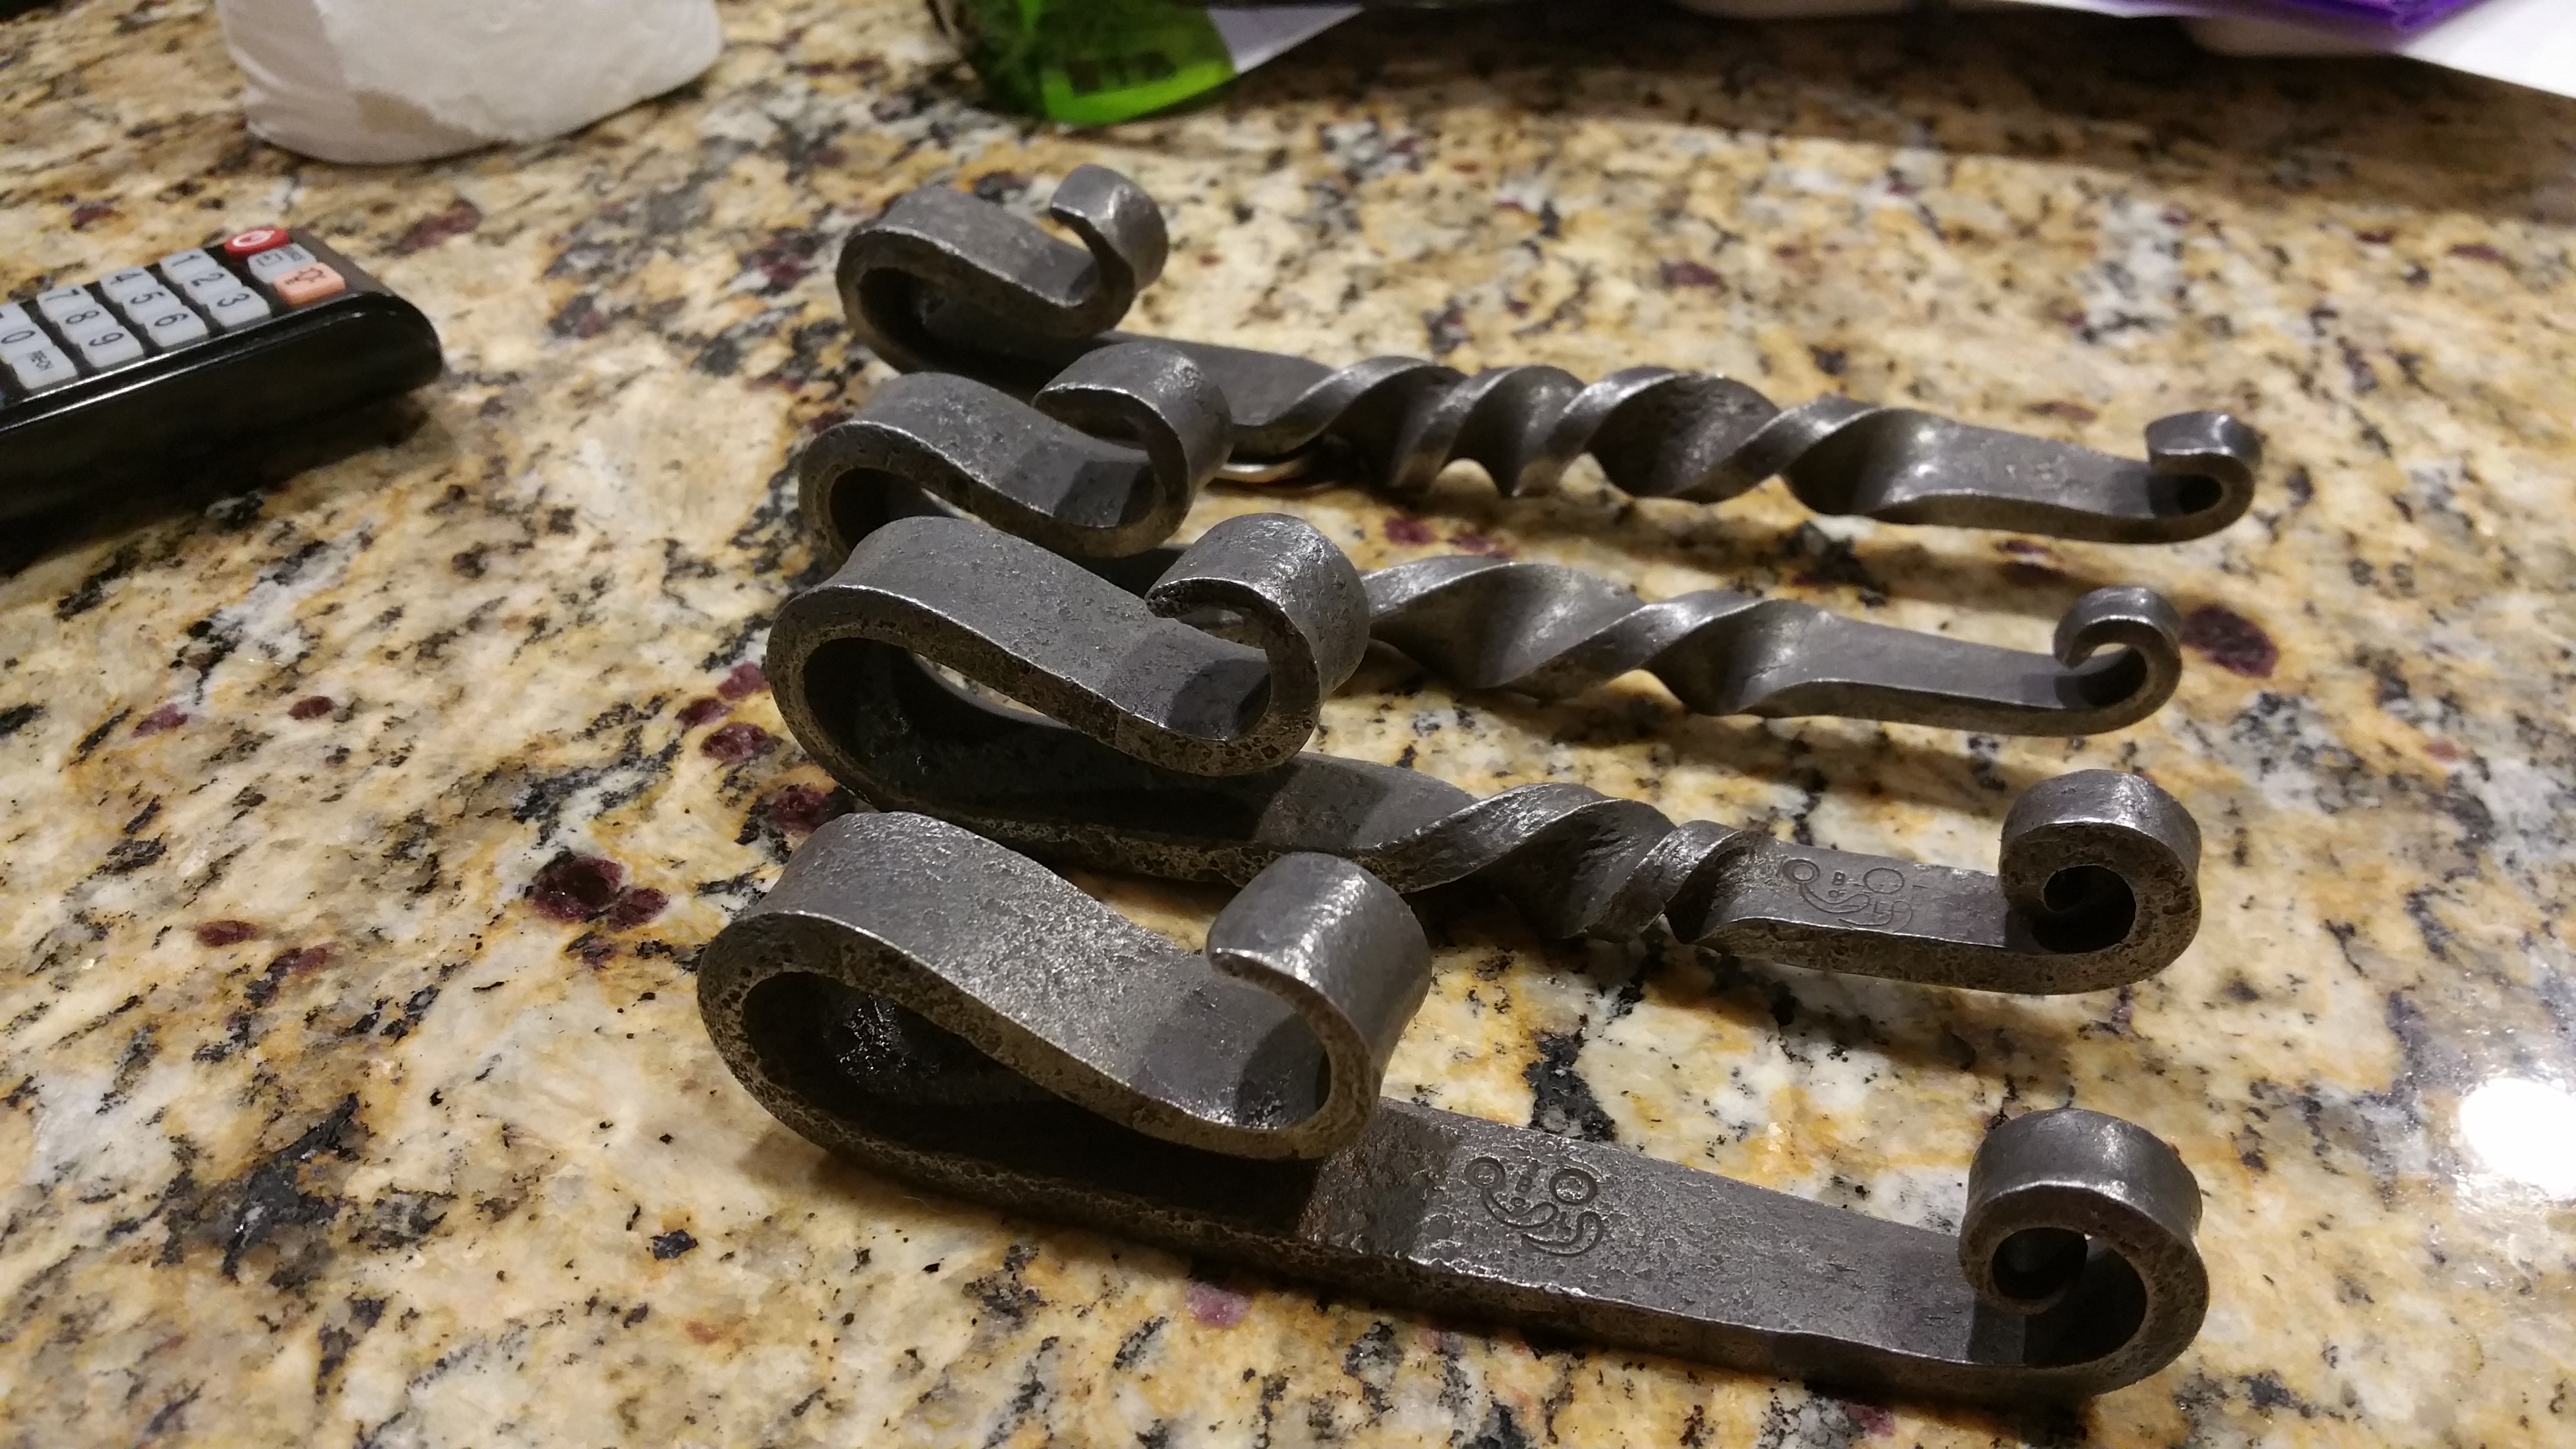
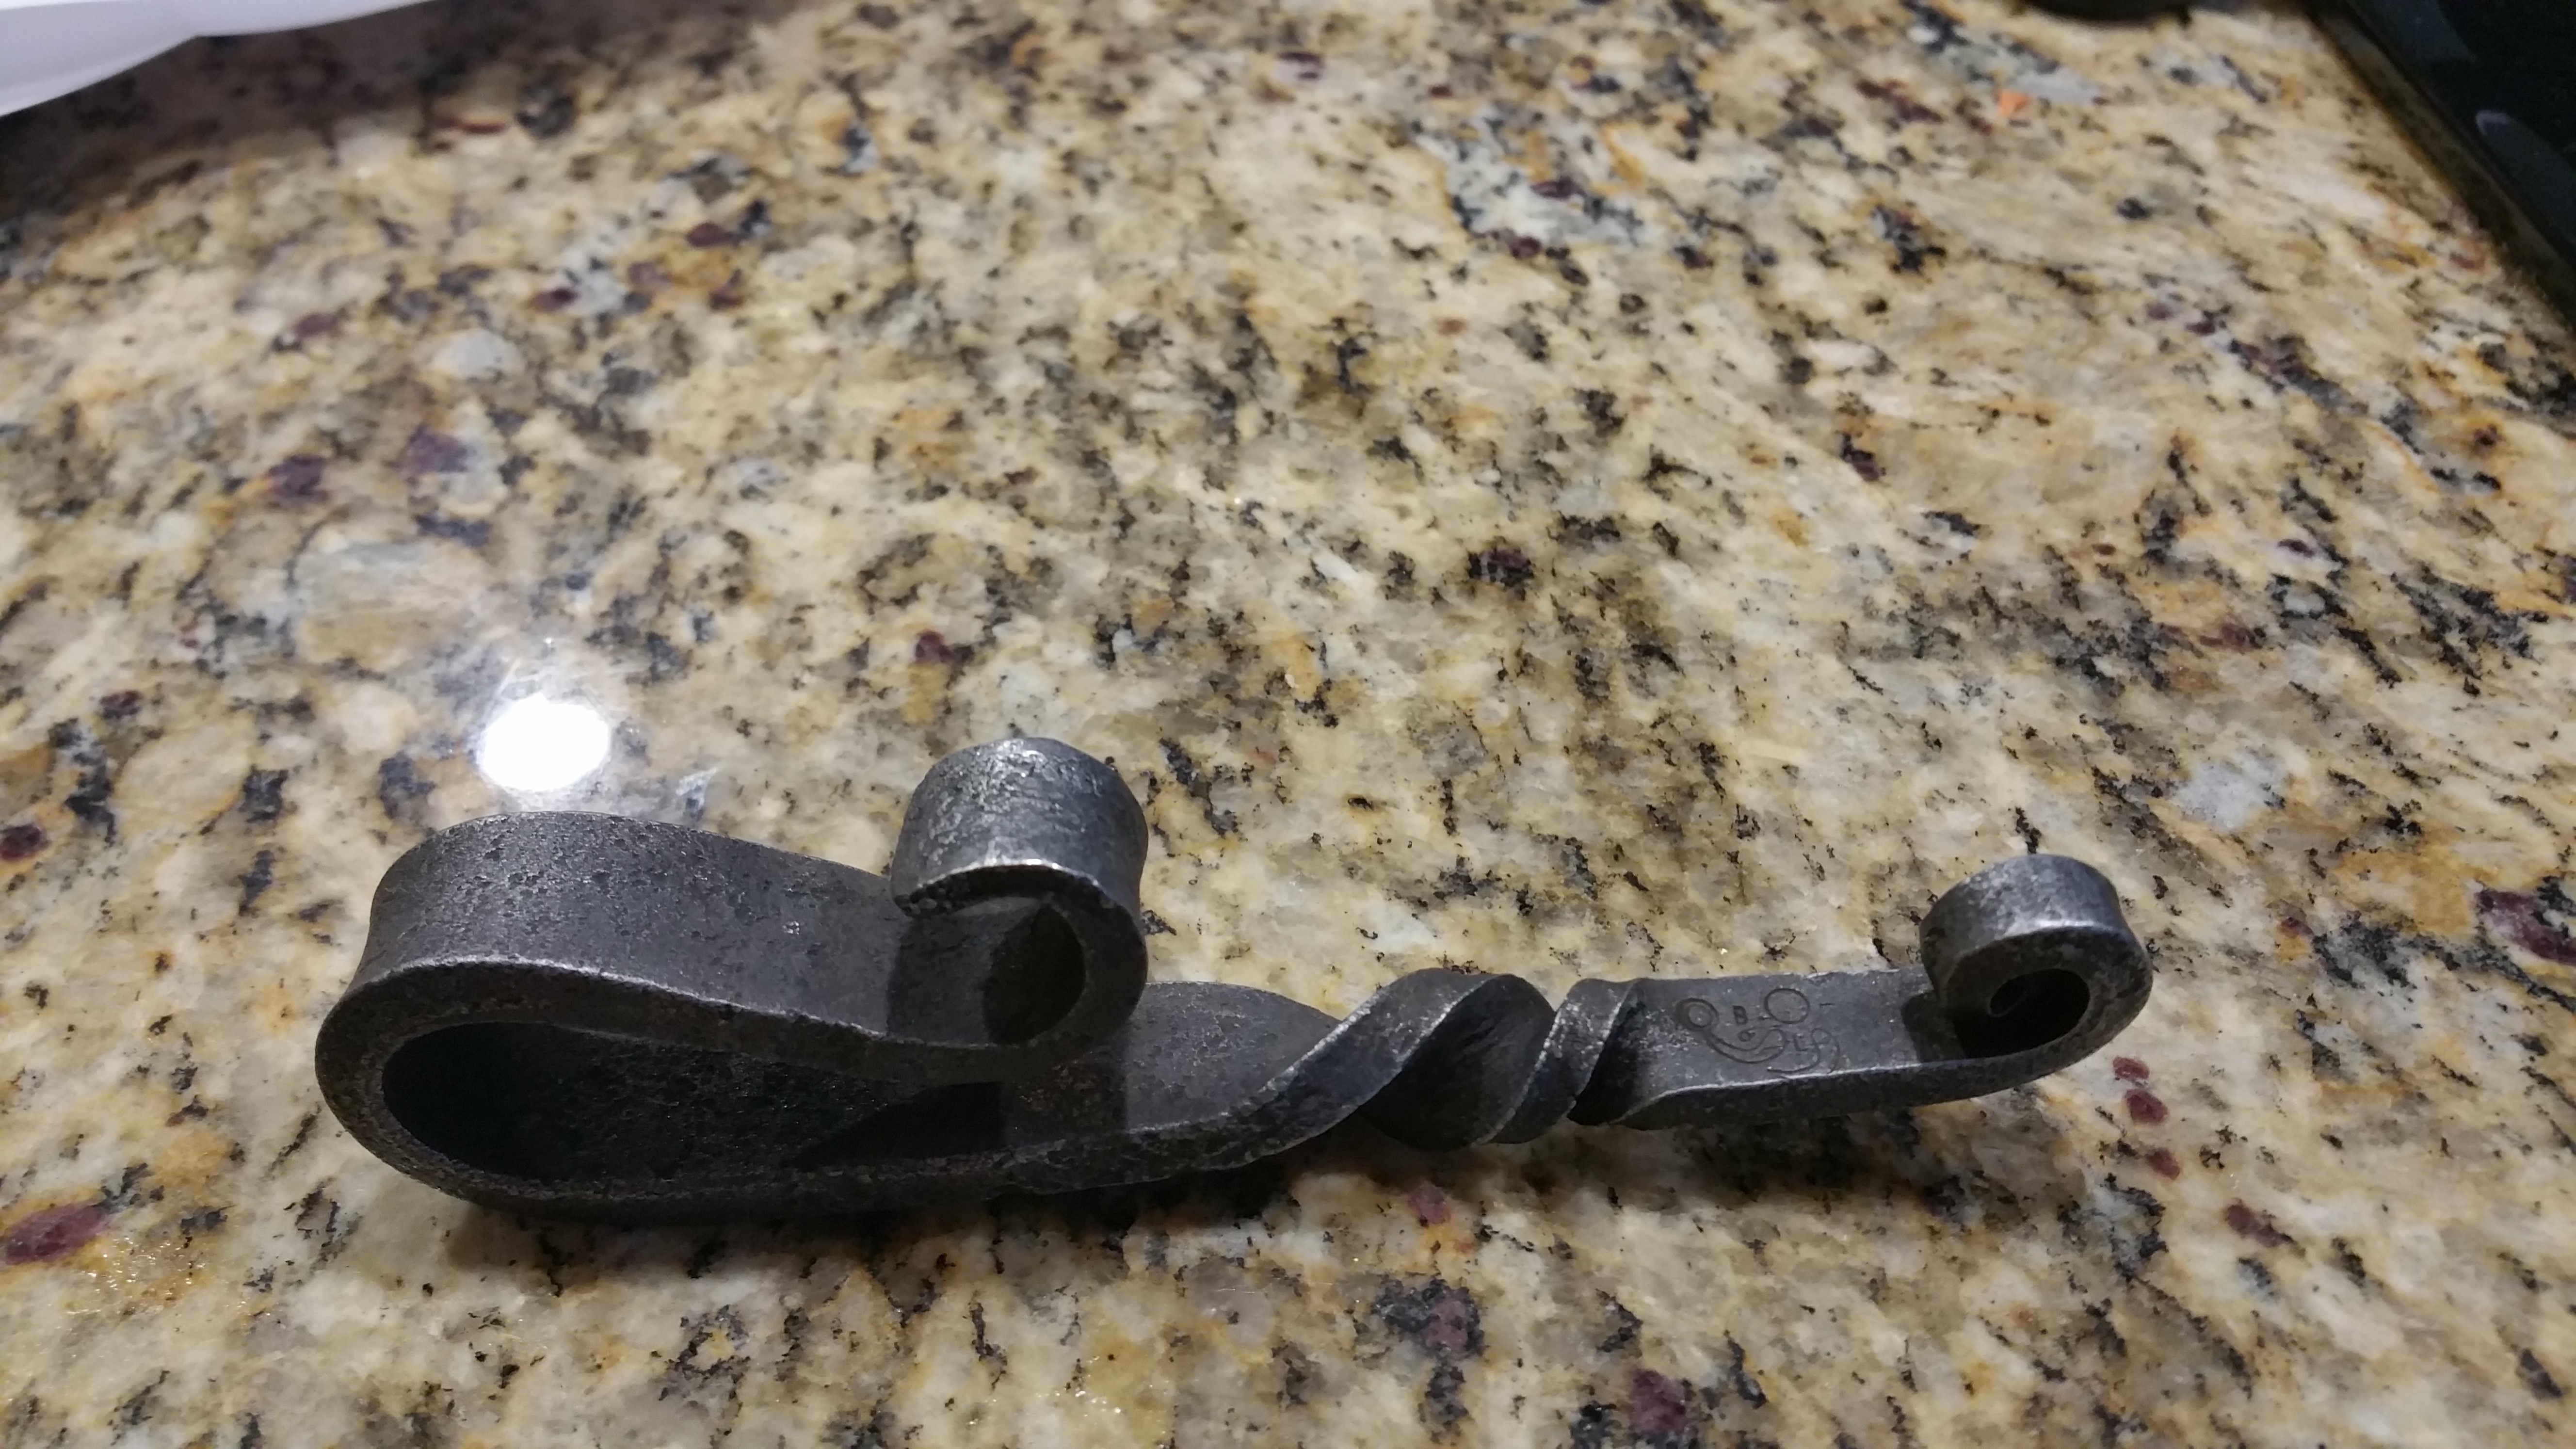
I completely see what charles meant about the sizes of the gas forges. The fire box is actually excessively large for making small items. I made a bottle opener on it today but had to do alot of quenching on scrolls that I didn't want to bend. It was much easier to heat small sections on the coal forge. I may end up making a small one burner can forge for little stuff.
I also made a slitting chisel out of a large crow bar that I had lying around. That was much easier to do with the new forge as I was able to round a huge section in one heat that would have usually taken several heats, pretty cool.
I didn't realize that atomspheric burners were literally nothing more than a pipe.
Now I just have to finish up my tumbler and I will be ready to start spitting out some bottle openers for brew shops :).
-
The saga continues,
I have new hoses and everything hooked up.
After talking to Harris it sounds like I probably need to get a new torch and handle. The handle from the original set was missing and the torch has been discontinued for many years now. I am looking at getting a Harris 50 10 Automatic Medium Duty Welding Cutting Brazing Torch Handle. Am I going to be limited by getting a Medium duty torch over a heavy duty one. I doubt I would every want to cut anything bigger than 3" but you never know. I really like the on off gas saver feature of this torch since I will mainly be using it to do isolated heating for rivets and such and there will probably be lots of on and off cycles on the torch during forging.
After looking at all of the options for torches I am a little confused. Can you get away with using a cutting torch with different tips for most jobs or do you end up needing seperate brazing and rosebud torches?
Any input or suggestings would be greatly appreciated.
-
Hey George,
Thanks for the insights. I was mainly joking. I do take vacations but not like I did when I was employeed by a large company. There is always at least some work that I have to do and I have never been able to get away for more than 5 days. I am trying to get to a point where I could take a 2 week vacation but it just isn't possible at this point. I design software systems for companies that keep them up and running in their day to day business or manufacturing processes. Some of the systems are so complex that it takes a year + to understand how to support them and having a system go down can mean extrordinarily large financial losses for some of these companies. On the bright side I do get more time with my family overall and have a flexible schedule day to day.
-
The connector that goes to the fuel tank says propane on it :).
Heading out to tractor supply tomorrow to get one of their 40lb tanks.

Green metal after forging and quench?
in Blacksmithing, General Discussion
Posted
I have a 1" round bar that I got as scrap. It was an old shaft from some manufacturing equipment. It was more shiny than most scrap I get but I thought it was from polishing. It had some rust on it but only in a few places. I heated it up in my gas forge (which I don't use much). After forging and quenching I noticed it was tinted green. The water in the slack bucket was very old and has been outside for over a year. I am hoping that the green tint is from the water but afraid it may be some kind of coating on the metal. There was no noticable smoke when the piece was heated to forging temps. I am half way into this project and don't want to scrap the pieces but also don't want to poison my self :). I know someone is going to say heat up some mild still and quench it. I am not sure why that brilliant idea didn't come to me before I closed down the forge for the weekend but here we are. Has anyone else seen something like this from very dirty water or a propane forge?