Urthman
-
Posts
107 -
Joined
-
Last visited
Content Type
Profiles
Forums
Articles
Gallery
Downloads
Events
Everything posted by Urthman
-

Picked up an anvil today! Help me identify?
Urthman replied to Urthman's topic in Anvils, Swage Blocks, and Mandrels
good idea with the file. So, the face is much harder than the horn, but not nearly as hard as the face of my 85lb Trenton. A file just skates off my old Trenton, but I can get a file to bite into this one a bit if I bear down on it. The hardness seems to be about the same all around the face. And it has great rebound everywhere. I've heard that larger anvils are sometimes not as hard as smaller ones (heat treatment limitations with larger blocks of metal?) True? -
Picked up an anvil today! Help me identify?
Urthman replied to Urthman's topic in Anvils, Swage Blocks, and Mandrels
Hey Thomas, Thanks for the reply. Here's the edge in question before I started using it. (it's only been wire brushed and oiled at this point) The pitting/weathering looks pretty old and genuine to me. I don't think this anvil has been "got at" by a bad weld repair, but I could be wrong. The cracks aren't impacting my work- but I'm worried about them spreading.
-
Picked up an anvil today! Help me identify?
Urthman replied to Urthman's topic in Anvils, Swage Blocks, and Mandrels
Well folks, I've been using this anvil a LOT lately, and really enjoying it. But as the face shines up, I've noticed quite a few hairline cracks along the edge. One edge of the anvil is fairly sharp- and this is where all the cracks are. The other edge is pretty rounded, and I haven't noticed any cracking on that side. Here's a pic. Should I do anything to keep these cracks from getting worse? Would it help if I eased this sharp edge a bit? If any of you have had an anvil in similar condition, please let me know what you'd do. Your advice is most welcome: especially you've been through this scenario... THANKS! -Jeremy
-
Thanks gents. Arkie- I'm not sure if the cap is hurting my airflow- but I might pop it off to find out. The pipe is 8" diameter, and the rain cap gap is about 4" tall (I'm guessing). I'd say the stack pulls in about 90% of the smoke once it's warmed up. 100% would be nice if some tweaks will get me there. Charles- Thanks for the tips. Yeah, I didn't notice the 'flap' doing much. I'll play around with placement as you suggest, and probably end up removing the flap.
-
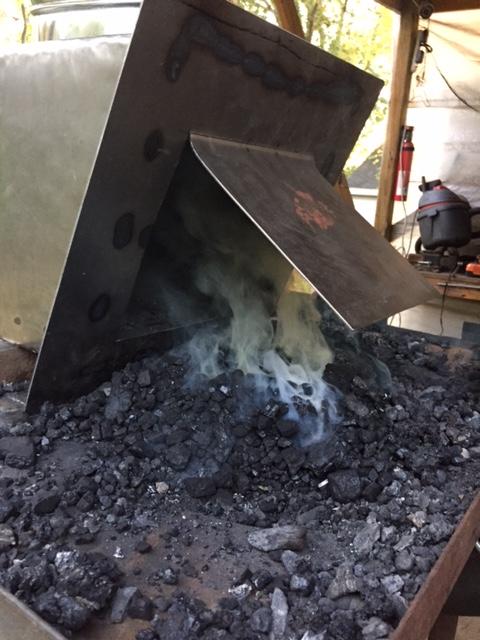
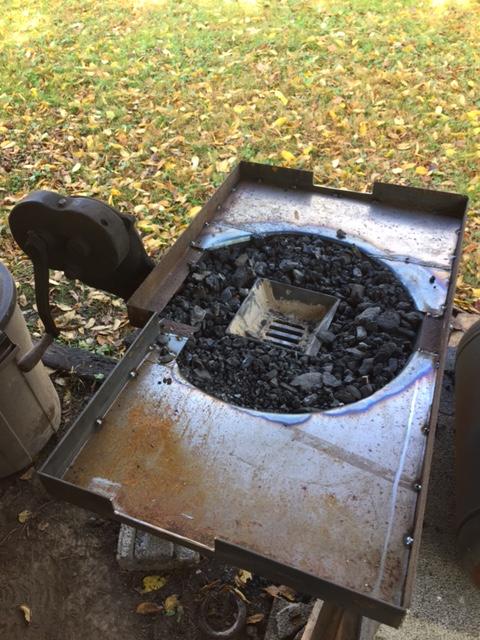
I made one more improvement to the forge today: side draft chimney. It was a bit of work, but totally worth it. The inside of my nose isn't black today.


-
-
My firepot is small compared to most designs I've seen- but it seemed logical with the space I had to work with. My firepot I welded up is roughly 6.5" x 6.5" x 2" deep. If I mound the coal up a few inches higher than that, it makes a nice 'heat igloo'. I can work a bar straight through the fire to heat the center no problem. I'm mostly working with stock that's 3/4" round or smaller. My problem with the old forge design was not enough fire UNDER my work. I'd jam my work close to the grate and burn it with all that airflow. Your problem seems to be not enough fire OVER your work- which a bit higher coal mound should solve...? I try not to knock over the 'heat igloo' once it's formed. IE: always rake those hot coals back on top. Full disclosure: I mostly forge with propane. I don't have a lot of experience with coal. And the experience I *do* have is of the 'trial-and-error' kind. Others here with more coal experience may have better advice. Or may even correct any wrong advice I gave above. Also: If my fire gets 'wider' than I want, I sprinkle water on the outside edges so I don't waste that coal . . . -Jeremy
-
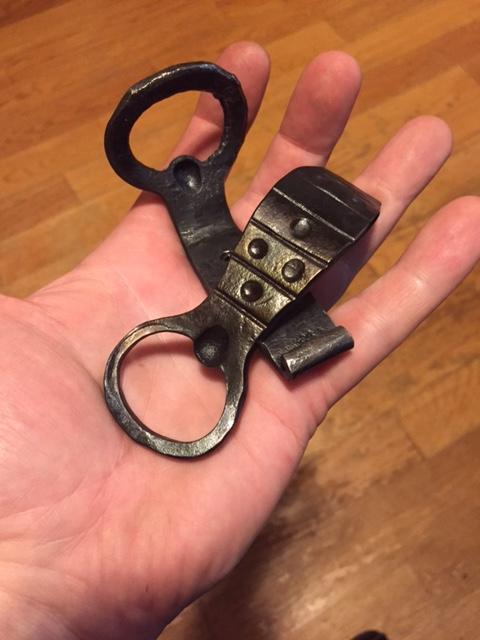
I fired it up today, and it feels pretty stable. The mods were pretty lightweight, so it's no more rickety than it was to begin with. and it works! Definitely worth the effort. Cranked these out today. The crappy looking on on the bottom will bolt to a beam in the shop...
-
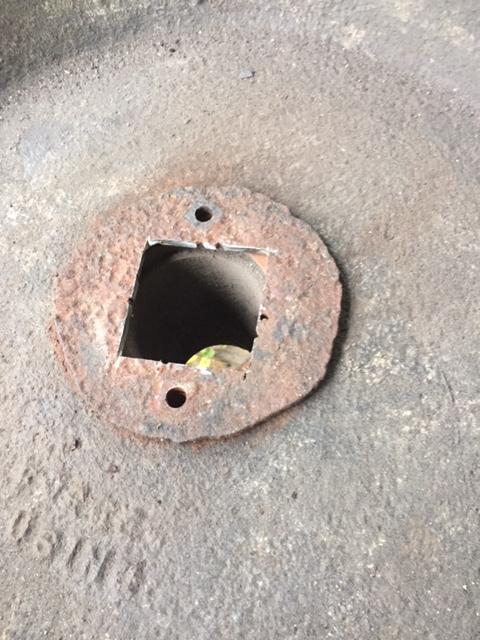
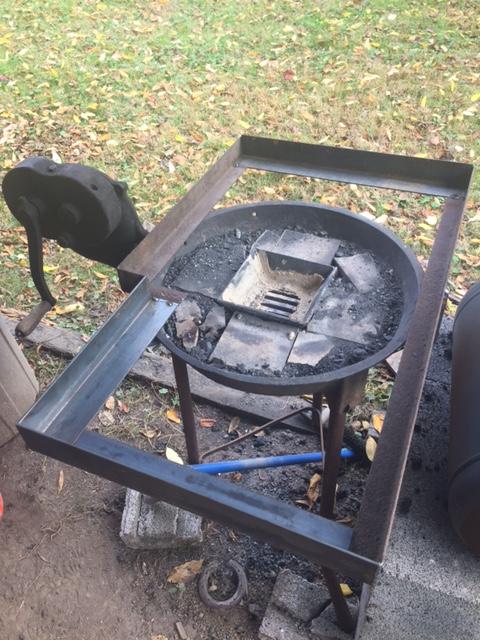
So, I've had this forge a while now. I like it, but was starting to feel limited by it's size- I was always spilling coal out of the thing. Also, the airflow seems pretty terrible with those little pinholes. So, I decided to make some modifications. I removed the steel 'holey' plate, and modified it with a grill. I also welded together a small firepot, and a deck. All the modifications are simply bolted on, so I can easily return this to 'stock' if desired. All in all, I'm happy with the mods; and it was easier than building/buying a new forge. I'm sure it's still limited (compared to a full-blown shop forge) but it's a heck of a lot more capable than it was!


-
Picked up an anvil today! Help me identify?
Urthman replied to Urthman's topic in Anvils, Swage Blocks, and Mandrels
Well, that narrows it down! ;-) Thanks Thomas- I certainly appreciate your looking it up for me. Some mysteries are not meant to be solved. . . and I'm ok with that. -
Picked up an anvil today! Help me identify?
Urthman replied to Urthman's topic in Anvils, Swage Blocks, and Mandrels
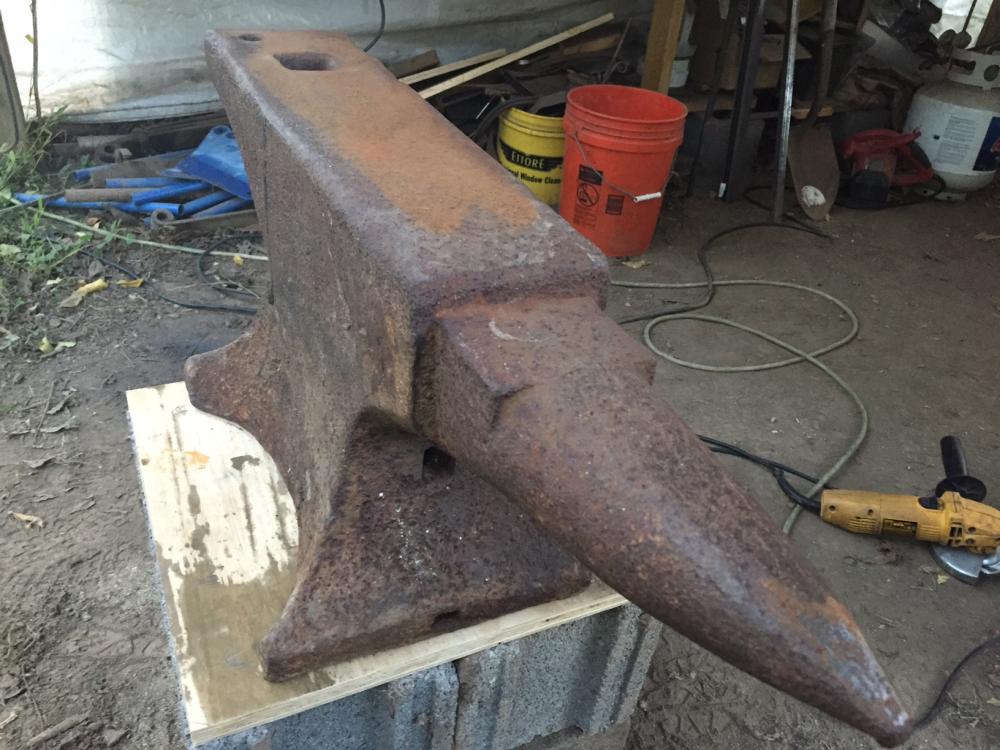
Hi Thomas, Thanks for chiming in. I count (4) handling holes: two in the waist (nose/tail), one in the foot (nose) and one underneath. -
Picked up an anvil today! Help me identify?
Urthman replied to Urthman's topic in Anvils, Swage Blocks, and Mandrels
Good advice all. Thanks. Yeah, Glenn- I'm pretty fond of this thing already. Acquiring it was a bit of an adventure, so I've already developed an attachment. As far as cleaning goes, I briefly started cleaning things up with a 150 grit sander, but switched over to a wire cup after comments here. I spent a couple fun hours forging today, and I'm quite happy so far. I'll try to resist further urges to make it shiny. It's a great anvil. Lots of mass, good rebound, and plenty of good edges. The hardie hole is not quite square with the face, but I won't know whether that's bothersome until I get some hardie tools that actually fit the massive hole. Also: I think I want to build a steel stand for it, so I can get closer to the thing while working. The bottom has a square hole much like the handling holes in the waist. I know I've got a good anvil, and don't really 'care' who made it- but curious nontheless. -
Picked up an anvil today! Help me identify?
Urthman replied to Urthman's topic in Anvils, Swage Blocks, and Mandrels
OK - message recieved. I'll go easy on her. Any thoughts on where she may have originated? -
Picked up an anvil today! Help me identify?
Urthman replied to Urthman's topic in Anvils, Swage Blocks, and Mandrels
Lol! This anvil *will* have a clean face. Tool to make it happen will be determined. I like to planish my work without adding pock marks. -
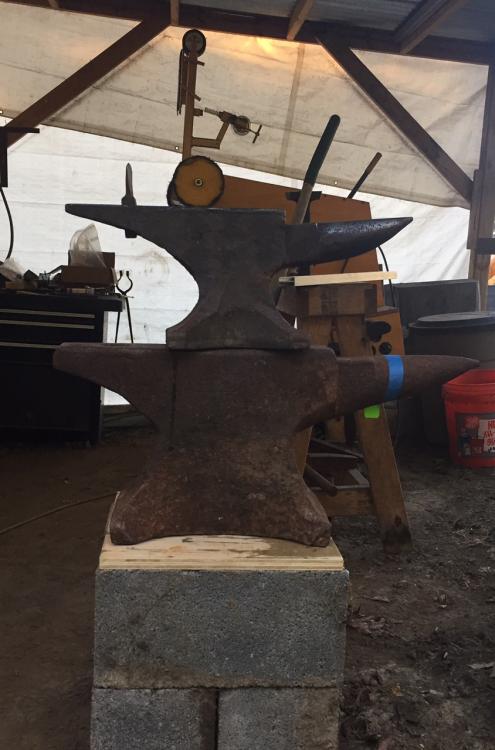
I scored a nice old 250 pound anvil at auction today. Based on the hole in the feet, I'm guessing its a Peter Wright (or Henry Wright?) Any thoughts on manufacture? Any marks have long since rusted away. Thanks for your thoughts! Here it is pictured under my 85 pound ACME/Trenton:
-
Thanks all. I think I will take a look at 80CrV2. If it's not terribly different from 5160, I should be up to the task...
-
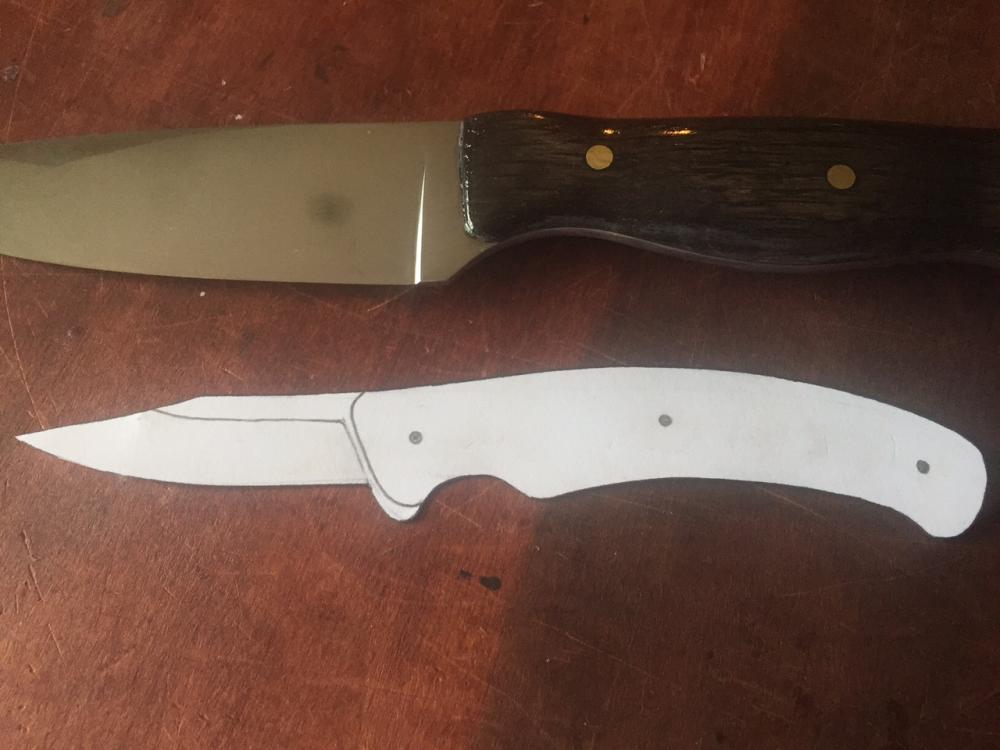
A Chef's Knife is on my "Things I'd Like To Make" list. 5160 is the only steel I've played with for blades, and I think it would be wise to stick to one steel for a bit. But I don't see a lot of people using 5160 for this type of knife. Any reason "not" to use 5160 for a Chef's knife?
-
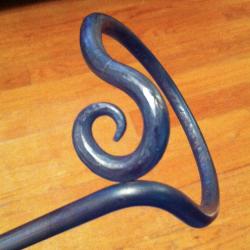
I love the shape...
-
Thanks Malice! I think I'm hooked.
-
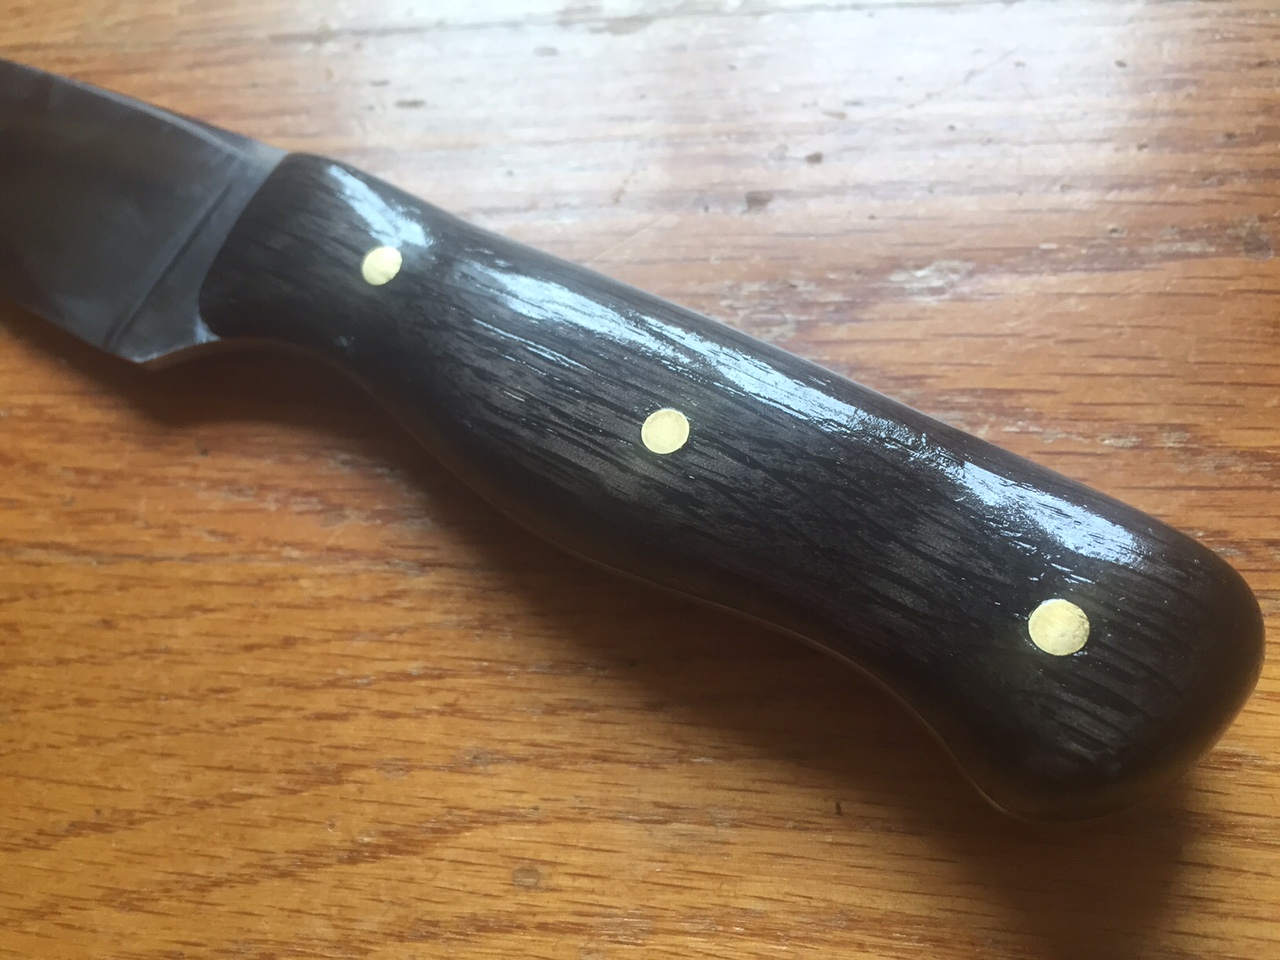
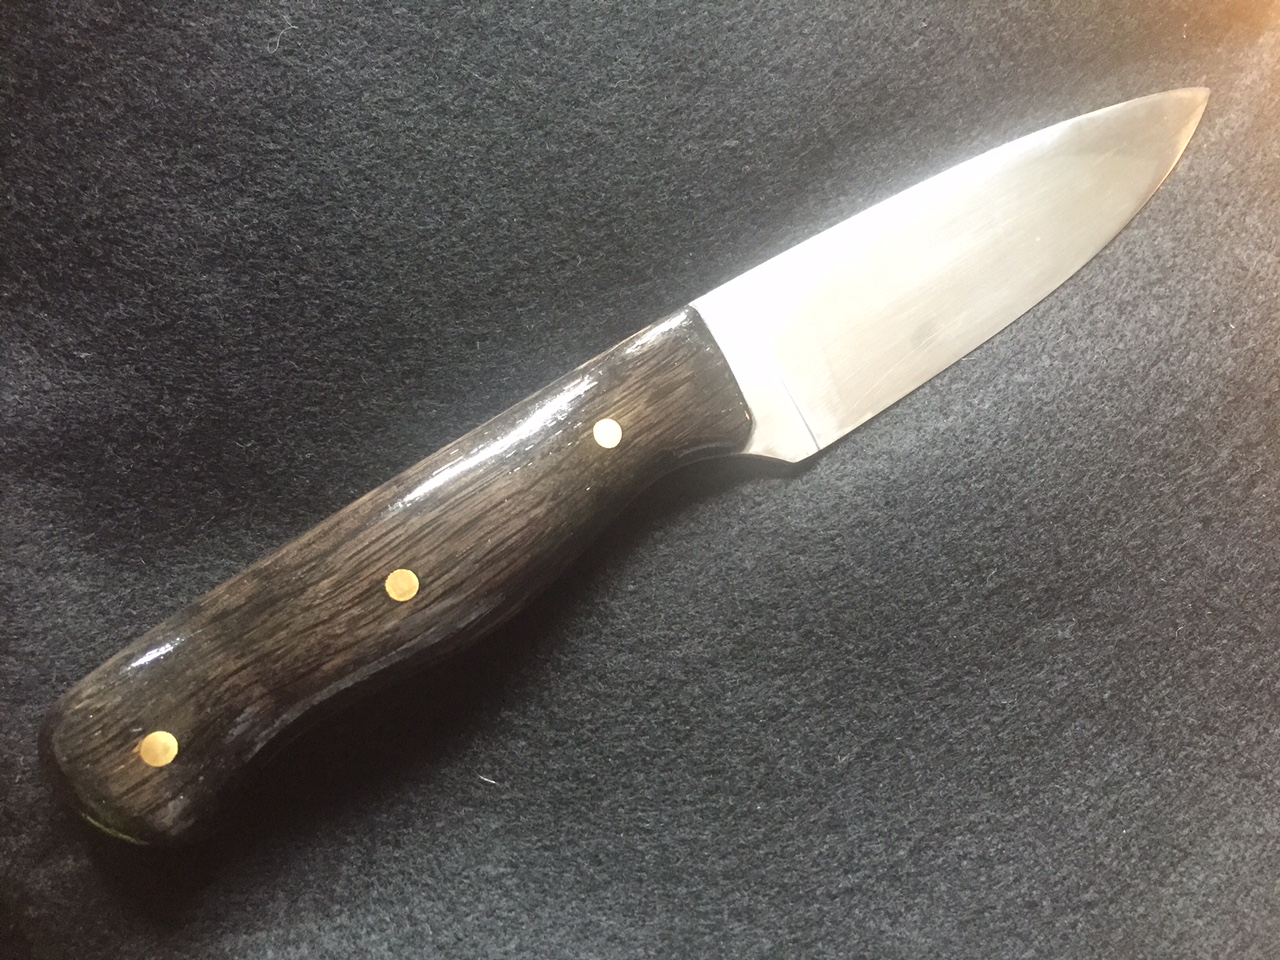
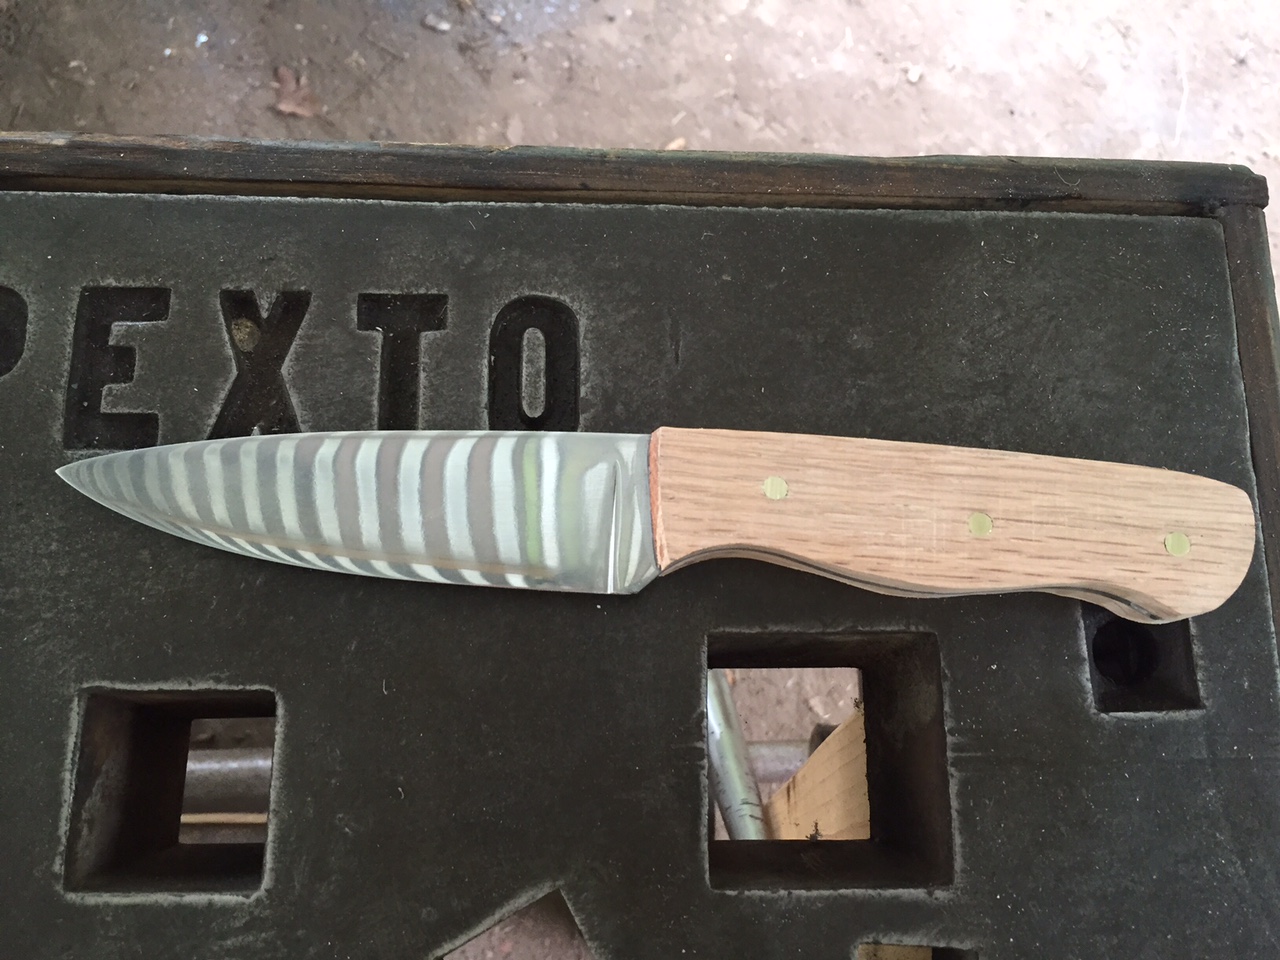
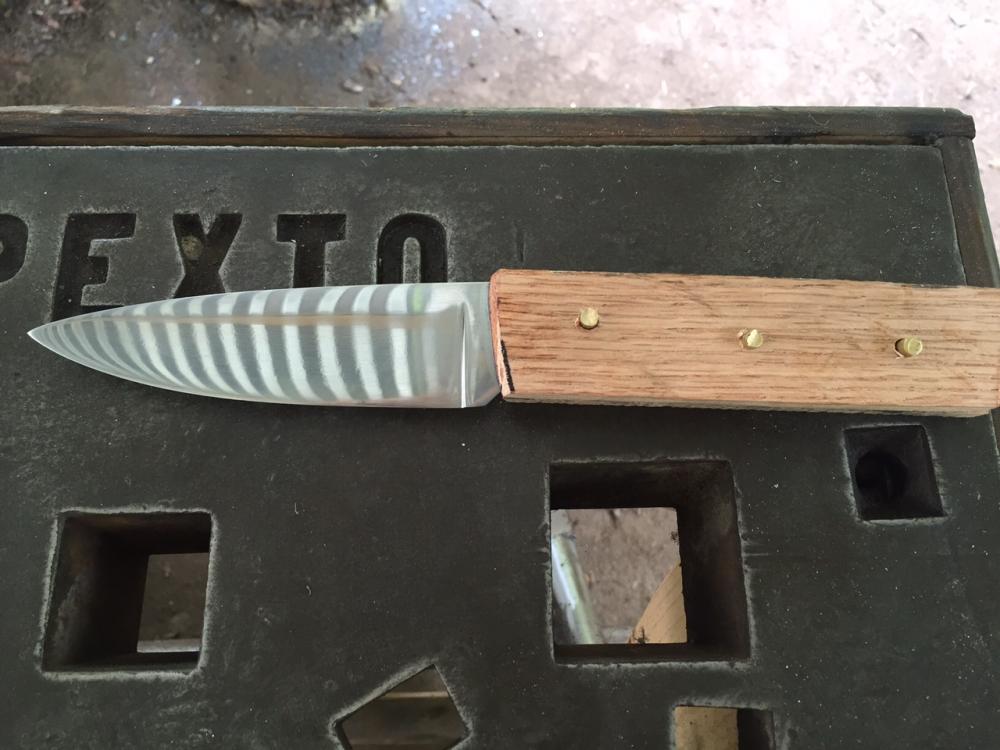
Pretty much finished- ready to wax and sharpen. I light-sanded to let some of the grain show through the ebonizing, then went with a Tru-Oil finish (8 coats). All in all, I'm quite pleased with it. And already started designing my 2nd knife- a small 'woodcarver' for my son. Thanks all for the feedback and advice!


-
Today's progress: Shaped the handle until I was satisfied with the feel. Started attempting to 'ebonize' the oak using the tea and vinegar/steel wool method. coming along!


-
Thanks TC! Yeah, I was amazed how much the pipe "calmed down" the oven temp swings. I use one of those remote thermometers that has a 'stick' probe on a 3-foot wire, so the probe can lay right in the pipe. Not very expensive- plus I already had one that I use for all my outdoor grillin' I get what you're saying about knife flex. After a bit more testing, I think I'll have a lot more trust that the processes are doing what they're supposed to.
-
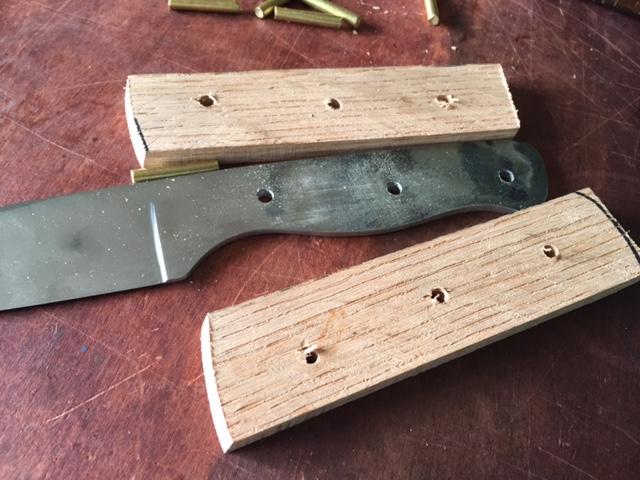
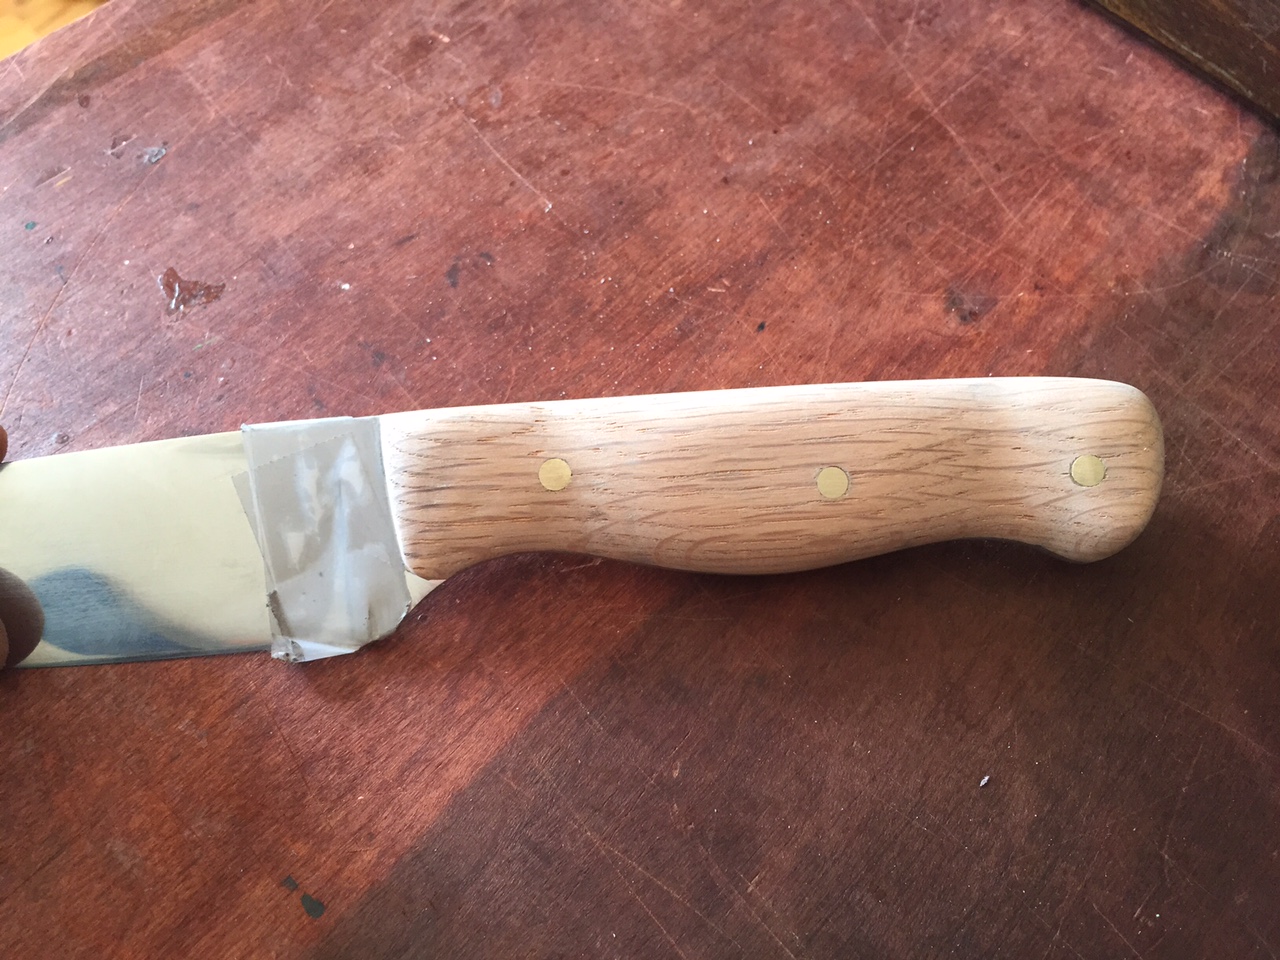
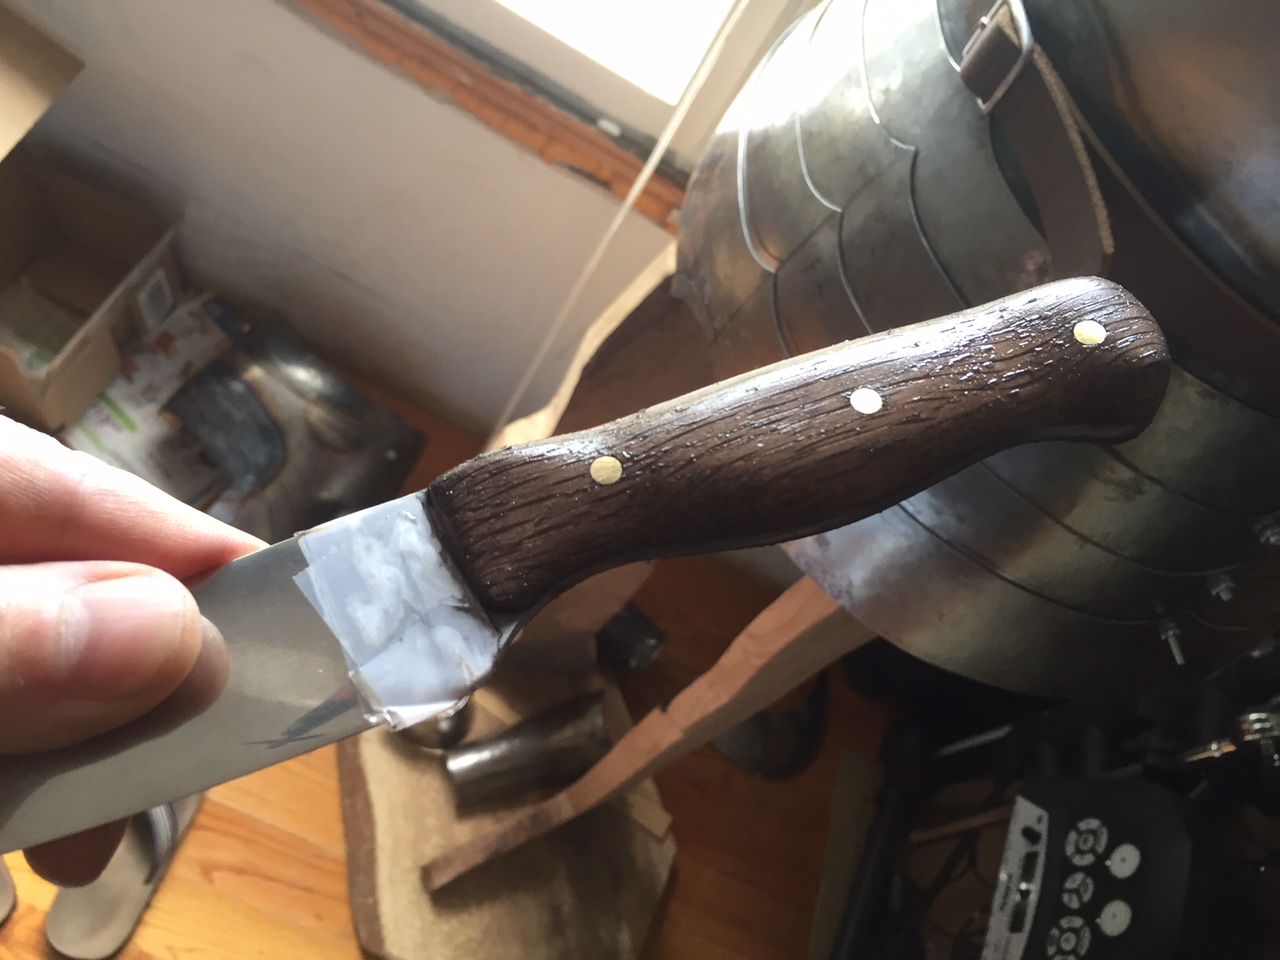
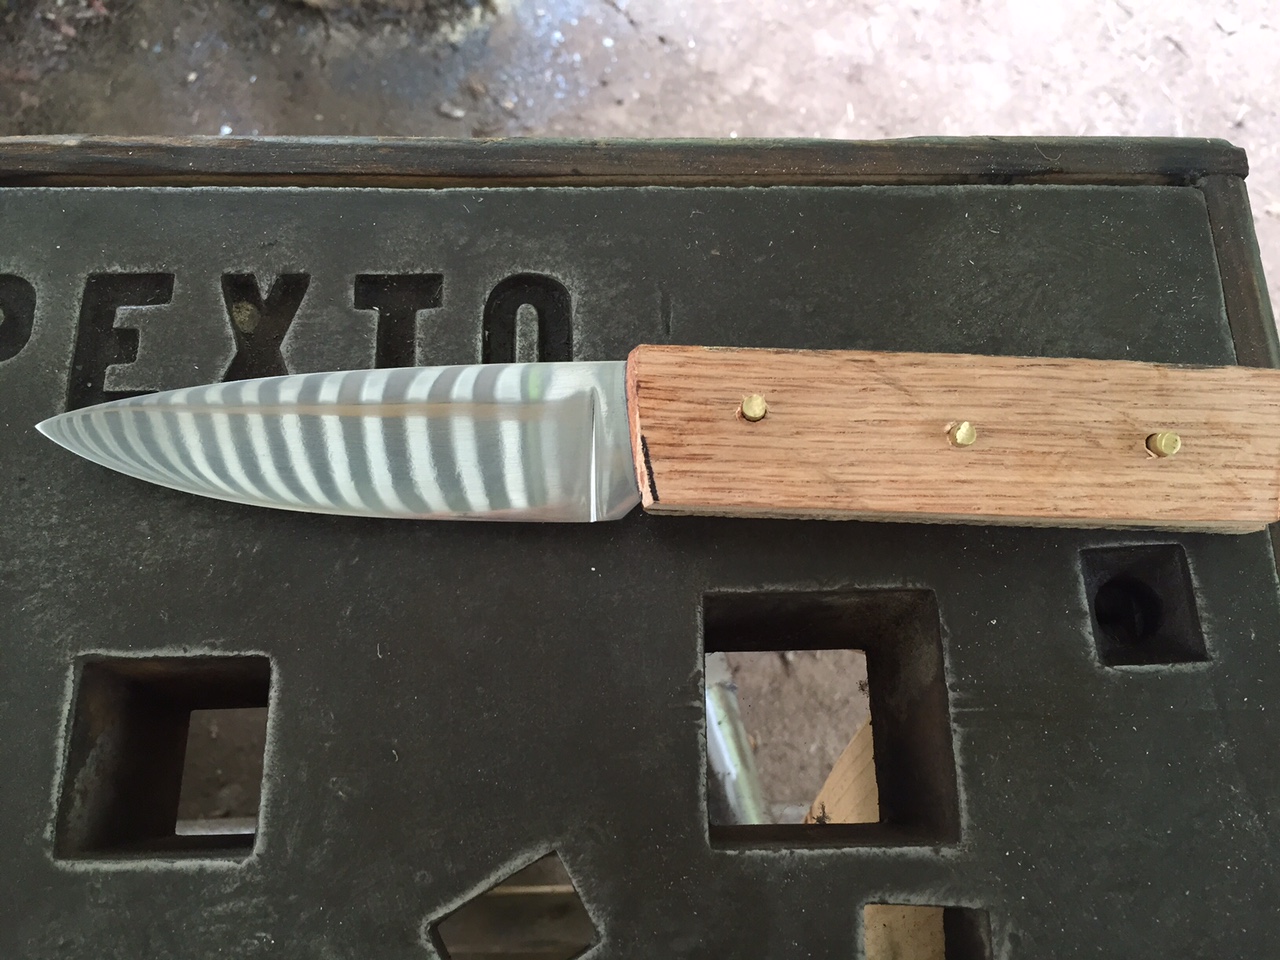
Handle attached and rough shaping started...

-
I really like this knife. Newbie question: How is the hidden tang fastened to the handle? I see the brass and steel at the butt- is it peined there? Very pretty.
-
Thanks! I appreciate you chiming in Steve- helps to know I'm not too far off the beaten path. Gonna play with the handle today...