

Gazz
-
Posts
295 -
Joined
-
Last visited
Content Type
Profiles
Forums
Articles
Gallery
Downloads
Events
Posts posted by Gazz
-
-
A friend sent me this and I thought some of you who are in the area may want to go;
-
Nice pile of tools!
-
There are abrasive suppliers out there who will make whatever size belt you need. I have an odd size grinder as well and have not had any problems buying them new and to size, I just forget who I bought them from!
-
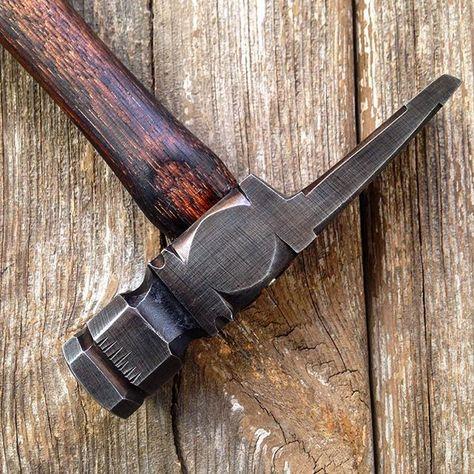
I'm thinking your hammer is a caulking hammer, something used in ship building or other trades to make a wooden structure watertight or at least leak resistant. One end is narrow and wide and the other is struck to drive the caulk in between the planks. And it looks like yours was made to be struck and not held. The only image I found was this which is quite fanciful;
-
I think blacksmith shops are typically cold places with a few hot spots in the winter and can only add that you need to work harder or get used to it. When I started at Alberts, it was late summer of '79 but he was gearing up for the Albany gates project. The shop was not big enough to build them there so we had to construct a pole barn which didn't get started until January of '80 and fortunately we had a few weeks of unseasonably warm weather to do it. The gate project took over a year to complete so we did get to work on it in the cold. One morning we came in and all the iron in the shop including the partially completed gates were covered in frost due to a few warm humid days followed by extreme cold, double digits below 0 degrees F for about two weeks. Quite a sight and unfortunately no one took any pictures while Albert commented it was like Dr Zhivagos ice palace. There were several exhaust fans in the building to remove the stink and foulness of the pneumatic grinders (not just grinder spray but well oiled compressed air to keep the grinders running) and stick welder fumes so any heat we made working was quickly removed and most days the doors were always open to keep fresh breathable air coming in. Everybody wore leather steel toe Red Wing boots so no insulation there. One of the guys who primarily did grinding kept a quartz heater at his table and morning and afternoon breaks we warmed ourselves at the kerosene salamander heater. Gloves were typically only worn when welding or grinding. I believe the pace we worked at kept us warm or at least not thinking about it. I have a propane heater for my shop and will run it an hour or two before going in to work. My shop space is dense with machines, stock and junk and they are like ice cubes so it takes awhile to warm up. I also use one of the propane radiant type heaters as it can be moved around to follow me depending on what I am doing. I do have some recent pictures of Alberts original shop somewhere in this PC but can't seem to locate them.
-
I find that a propane forge will heat or at least warm a shop up quickly. Ventilation is required so you do not asphyxiate yourself though. My shop leaks well enough.
-
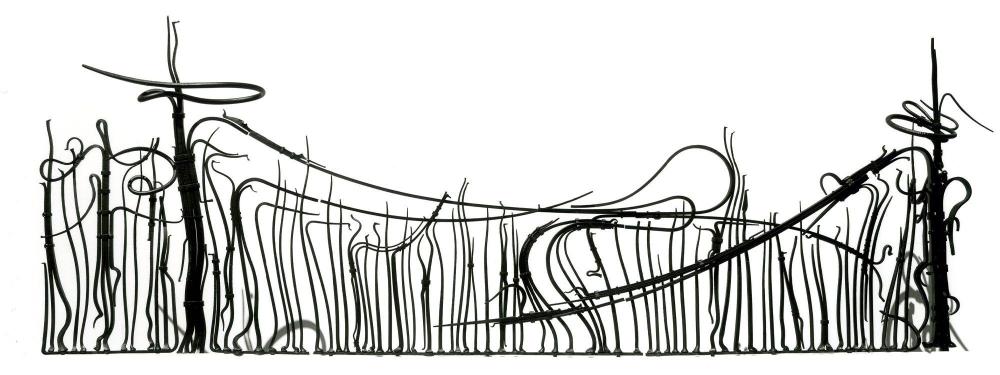
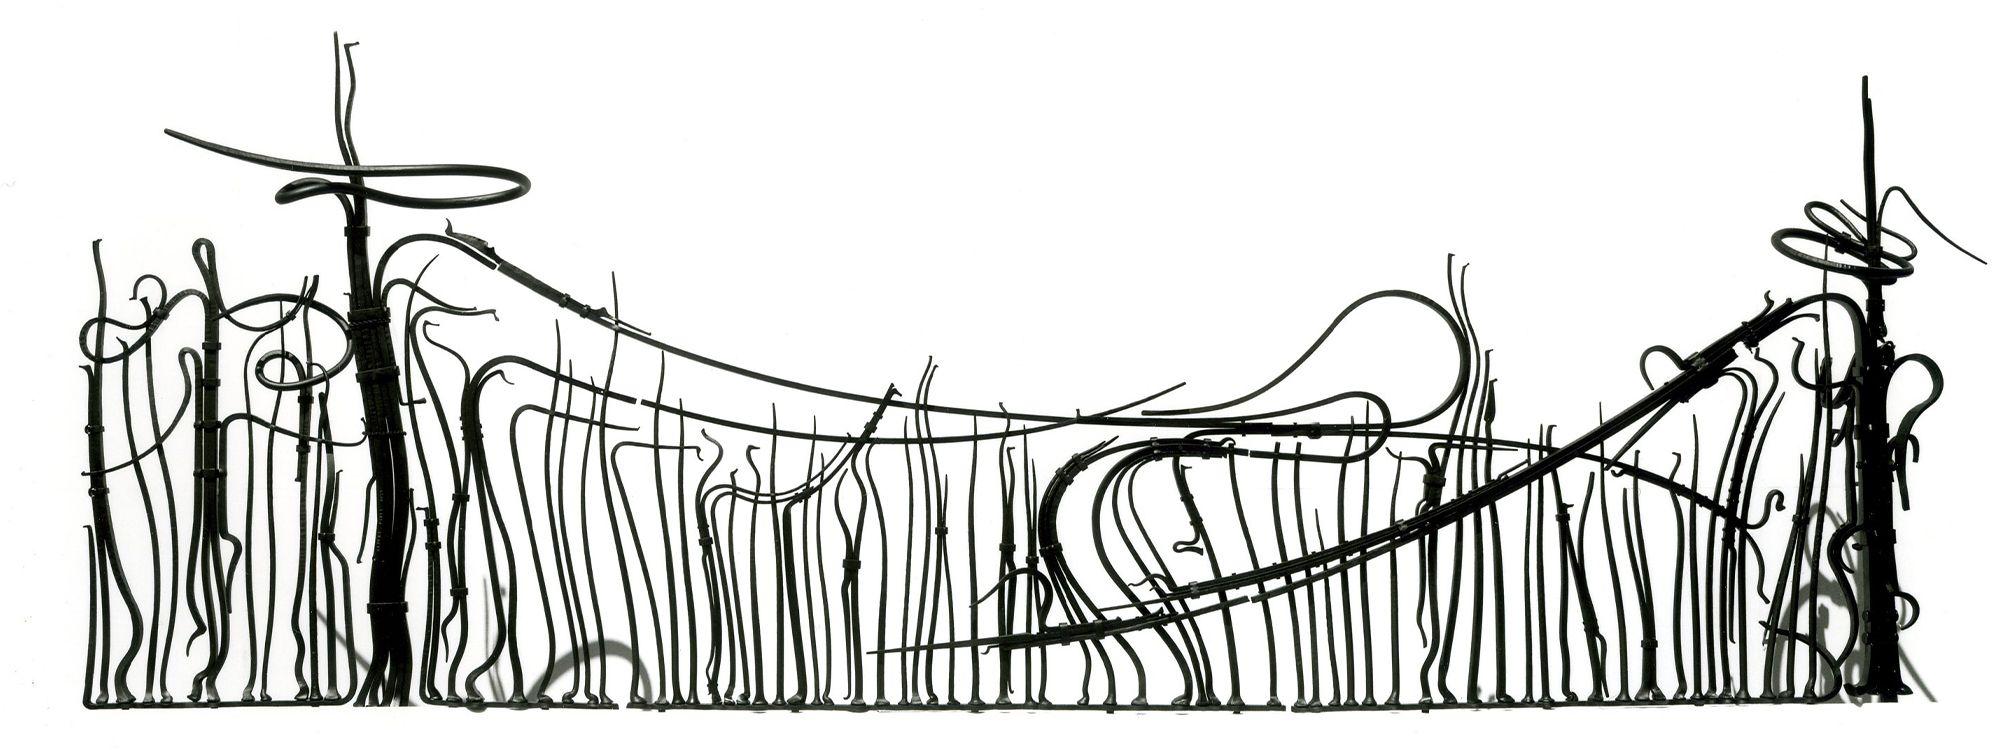
JHCC, yes I did work for him. I also studied metalsmithing as in jewelry making, holloware etc. with him before working for him. I did not work on the fence I added the picture of though as that was made before I worked for him. It was quite an experience.
-
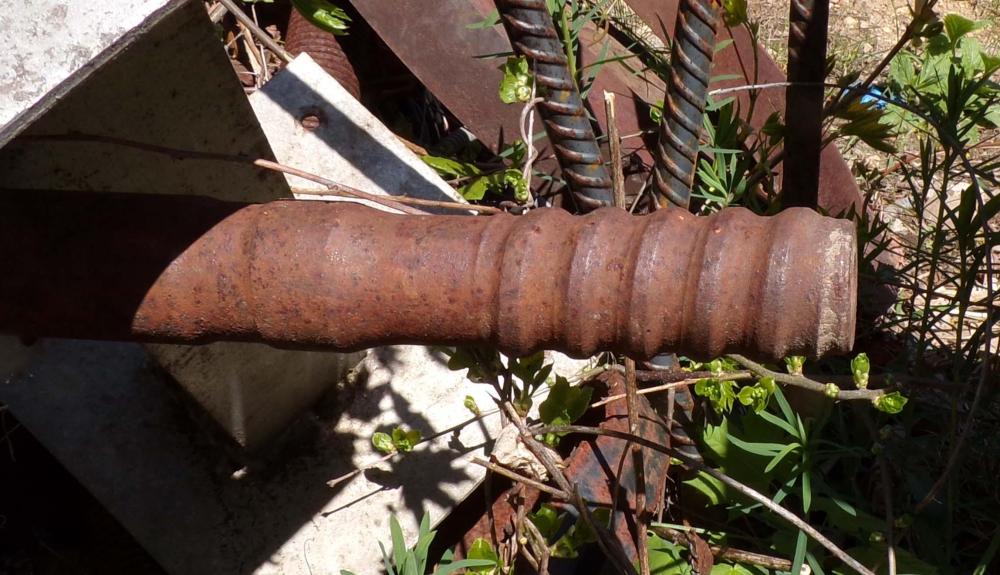
Years ago, I did lots of upsetting for the boss. We would line up bar stock on standards and the boss would direct flame from the oxy/propane rosebud to the very end. When hot, I would take one and slam it vertically onto a large steel block on the floor. Basically you were throwing the bar at the block and letting it rebound up though your hands. When it got to cold to move the metal it went back on the standards for more heat and you would pick up another to upset. This created a very fluid looking "foot" to the bar, mostly used for the bottoms of fence or gate pickets. This was quite the workout when you had 20 or more bars to do. I tried to find a detail shot but you can see the type of upset here.
-
Jennifer, tell us more about the aeroil burner. I've never seen a unit like that and it looks like it could be a handy thing when you need to bring lots of heat to the workpiece as opposed to bringing the workpiece to the heat. I'm going to guess that the fuel tank is pressurized by a hand pump like the gasoline torch. Interesting thing!
-
Scrap yard but good luck finding bar or rod stock if that is what you are looking for. Lots of sheet metal stuff at my local scrapyard.
-
They could also be used for a gas forge, charcoal grill, tool box, sculptural element, stool, musical instrument or other useful repurposed item. The steel does have some carbon in it and I have always meant to try hardening a piece. Just be sure to get ALL the gas out before cutting into them!
-
I don't know what a dynamite poking stick is but as you know, even as scrap, copper is worth something and it can be forged hot. Forges nicely cold too.
-
While I get the connection between your name and Armed Rooster it brings to mind a tactical chicken or maybe something to do with firearms. No one except those that know you will get the connection. Since you are making sculptures there is nothing wrong with calling it a studio and using your name, something like Armbruster Creative Metal Studio. If you don't want to use your name (and I think that your feeling that your name is boring is shared mostly by you alone) maybe something simple like Rooster Forge Studio or Big Chicken Metalworks. I think when making sculpture, it is important to have your name attached. For other stuff maybe something simple like AA Hammering. Or you could use both names for different products. I have dealt with the same issue but but have settled on using my name and studio. No question then on who made it then.
Also why not Daswulf Metal Studio if you don't want your name up in lights?
-
Nice hydraulic press! What pump did you use? Motor hp?
-
Great! Thanks for the response. That was my thought as well about filling the hole.
-
I have a few of these that are about 10' long, 1 5/8"d with a 5/8" thru hole. I can't remember what the other ends look like (buried deep in the stock rack) but I'm guessing they have female threads to accept what is shown. I was think they might be good to make fullers and other tooling as long as the steel is hardenable. Would these be made from something like 4140 or other medium carbon steel? Anybody here ever use them for tooling other then drilling wells with them?
-
Thanks for all the comments! I'll go with bigger pipe and triple wall stuff where it needs to pass through the floor and roof with sheet metal to replace boards. The whole project seems to have a new complications daily. Turns out the hammer is bigger than what the spec sheets state - they don't include the motor drive!
And I may be living in the second floor later this summer as I need to have some renovations done on my house. It did take a couple weeks to remove all the treasures I've been accumulating and anything good was loaded on a trailer that I'll haul that to the flea market someday soon. Some stuff was destroyed by mice and other stuff went right to the dump or to the burn pile. Empty space is like a vacuum for stuff, you keep collecting it until there is no more room.
-
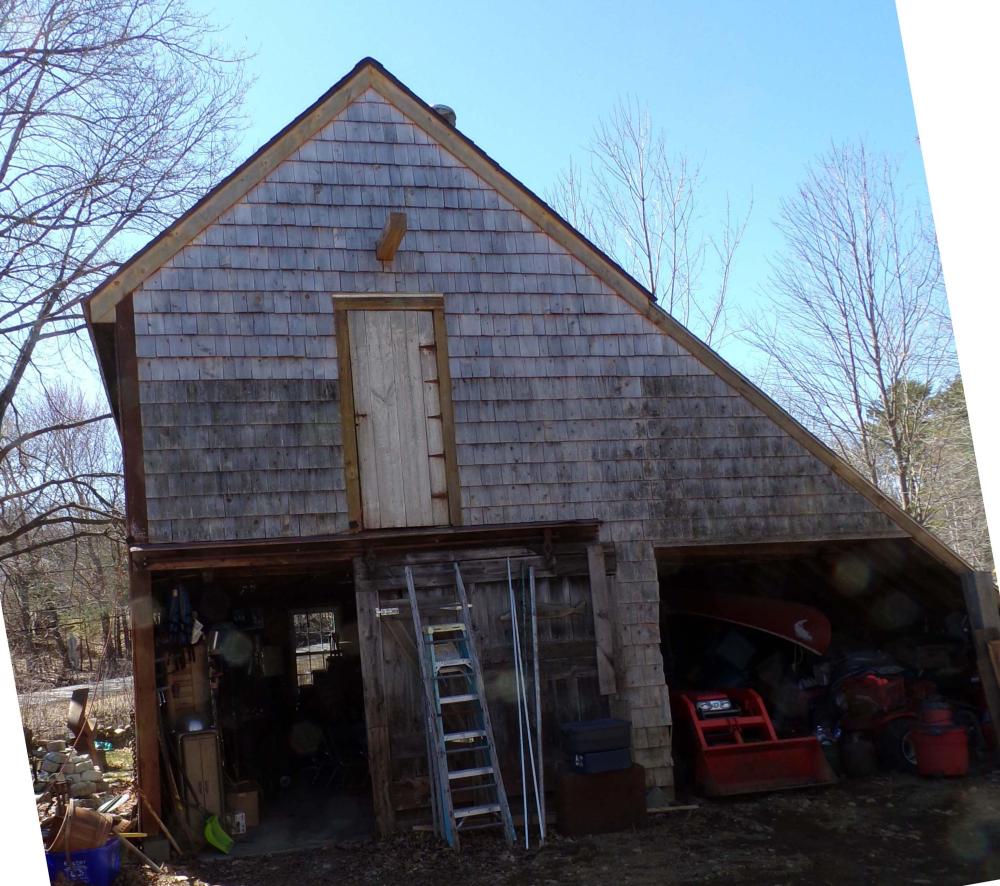
I'm moving my hot shop and fabrication to my newly cleaned out barn or carriage house (actually, it was built as neither and used to sit over my dam and house the ice elevator) and have many questions about my exhaust and chimney for the coal forge. The building used to have a brick chimney that started on the second floor and extended through the roof as the coal stove used to warm the upstairs was on the second floor. It was balanced on a wood pole that was sunk into the ground which seemed a bit unconventional but maybe not. The coal forge that will be going in there was originally made to be an outside forge and uses a steel wheelbarrow tub for the hood and will have three sheet steel sides two of them will be hinged so they can be opened to accommodate odd sized or shaped pieces. The forge currently has a 5' x 6" pipe as a chimney. While I'm still working on shop layout, one of my plans require that the chimney is off set from existing chimney path in the building. You can see the chimney cap just to the right of the building peak in the picture. I'm wondering if I offset the forge which would require two 45 degree elbows will I need an inline blower of some kind? I have a couple of squirrel cage blowers that could be adapted or should I plan to position the forge to be more inline to the existing chimney holes? This would mean repositioning the hammer to deeper into the building. I guess I'm thinking out loud here and would welcome any input to this.
-
The drill press looks like it may be a Dayton sold through Graingers, might even be a Delta. Lacking a drill press vise, a C clamp or the C clamp type vise grips can be used. When drilling holes, always keep pressure on the bit to keep it drilling and only release pressure when you are withdrawing the bit to clear the flutes of chips. If you let the bit spin in the hole without cutting, it can harden your workpiece to the point you will destroy the cutting edges of the bit. Never drill sheet stock without clamping or securing it to the table as the bit can break through the sheet before the hole is fully round and the bit will lock on to the sheet causing the whole thing to spin. Lots of serious injuries happen that way. I sometimes position the workpiece to rest against the column of the press to prevent spinning. Be mindful of where the bit and the hole in the table are. I've seen many old drill presses with the "arc of shame" or a series of holes in the table from folks not providing a sacrificial piece of wood or other material for when the drill breaks through to the other side. Using the depth stop is also helpful to prevent this. Never leave the chuck key in the chuck. Watch out for hoodie draw strings, loose sleeves and long hair. Don't wear gloves when using the press. Use the correct speed for the size drill bit/material you are drilling - larger bits = slow and small bits = faster. You will get longer life from your bits and break less.
To be technical, it is not a coil spring but a clock spring or spiral wound spring.
-
Places like Walmart and the various convenience stores do the exchange of 20 pound propane bottles around here. I believe those places only put 15 pounds of propane in them so your paying 25% more but you are getting a bottle that is within its certification dates and can be filled anywhere. There is one place around here that will recertify but they never seem interested in doing it and always try to sell you a new bottle instead. Also, out of date bottles can be cut up or used for other stuff - I keep one just outside the shop door to collect rain water and to use as a quench tub. I also use them in my sculptures after cutting and welding to the shape I want. I do have plans to weld some castors on one and add a door and a seat for a roll around shop stool with storage inside. Be careful when cutting into them to be sure ALL the propane is gone before you cut or drill! The steel used to make the bottles does have some carbon in it. I have not tried to make a cutting tool from any of it but it may be heat treatable to hold an edge. People also make some kind of percussion instrument out of them but I forget what they are called.
Nice snag on the 6" pipe!
-
Many times, small work pieces can have a piece of rebar, rod, bar stock or pipe welded to them to take the place of the tongs. After forging, it is cut off. You can also use the bar stock (sheep fencing? - I don't know what that is) and upset the end as needed and cut off the piece you need from that. I have upset the ends of bar stock by heating the end of the bar and then throwing them down onto a steel block on the floor. A rosebud torch is handy for that so just the very end of the bar is heated.
-
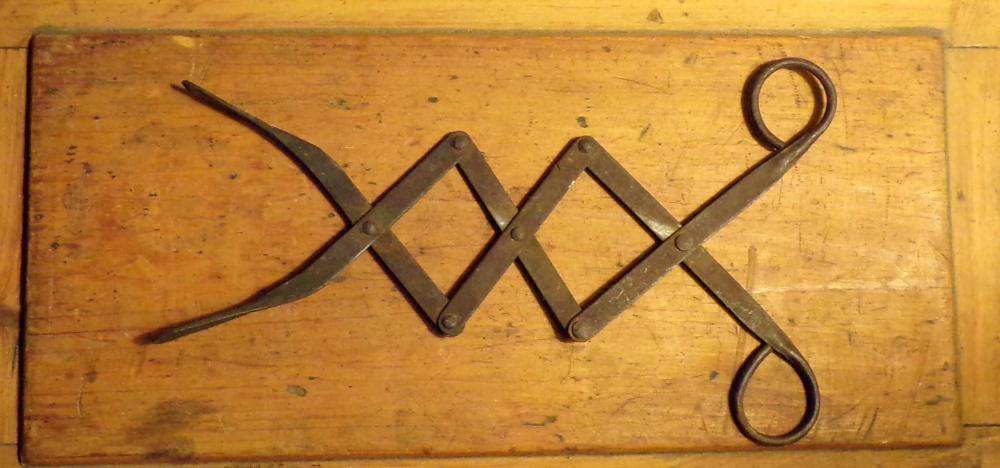
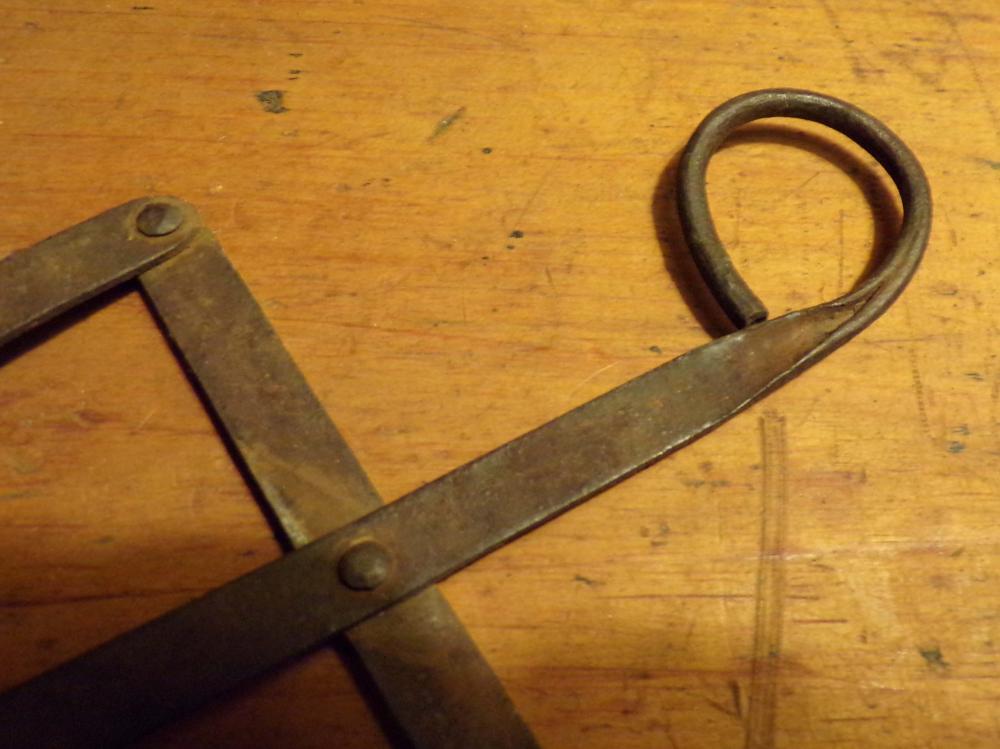
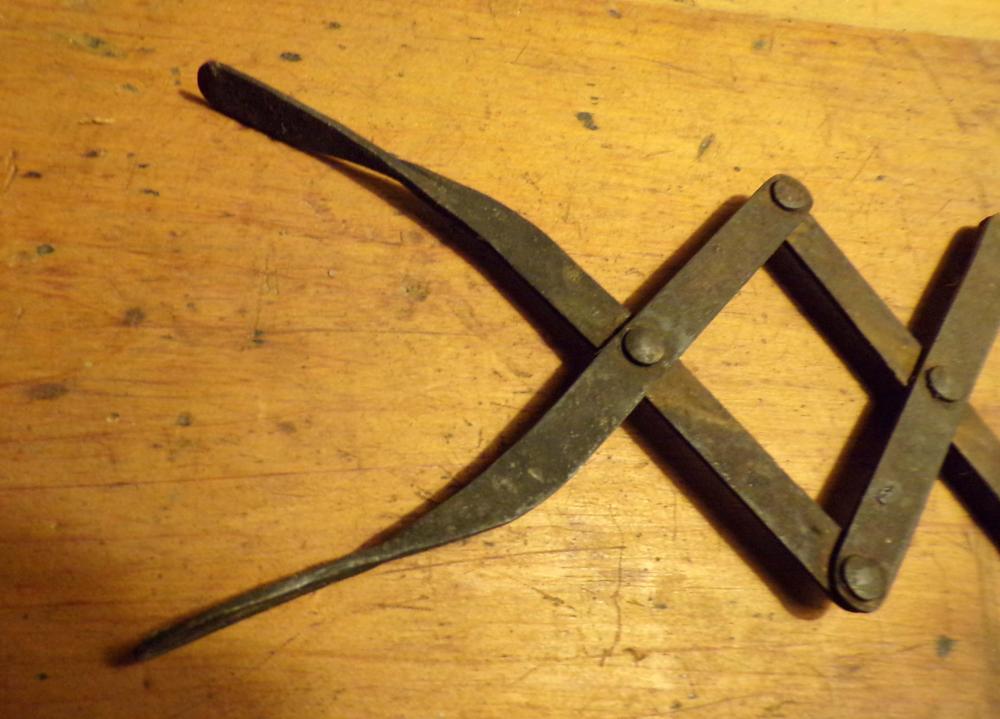
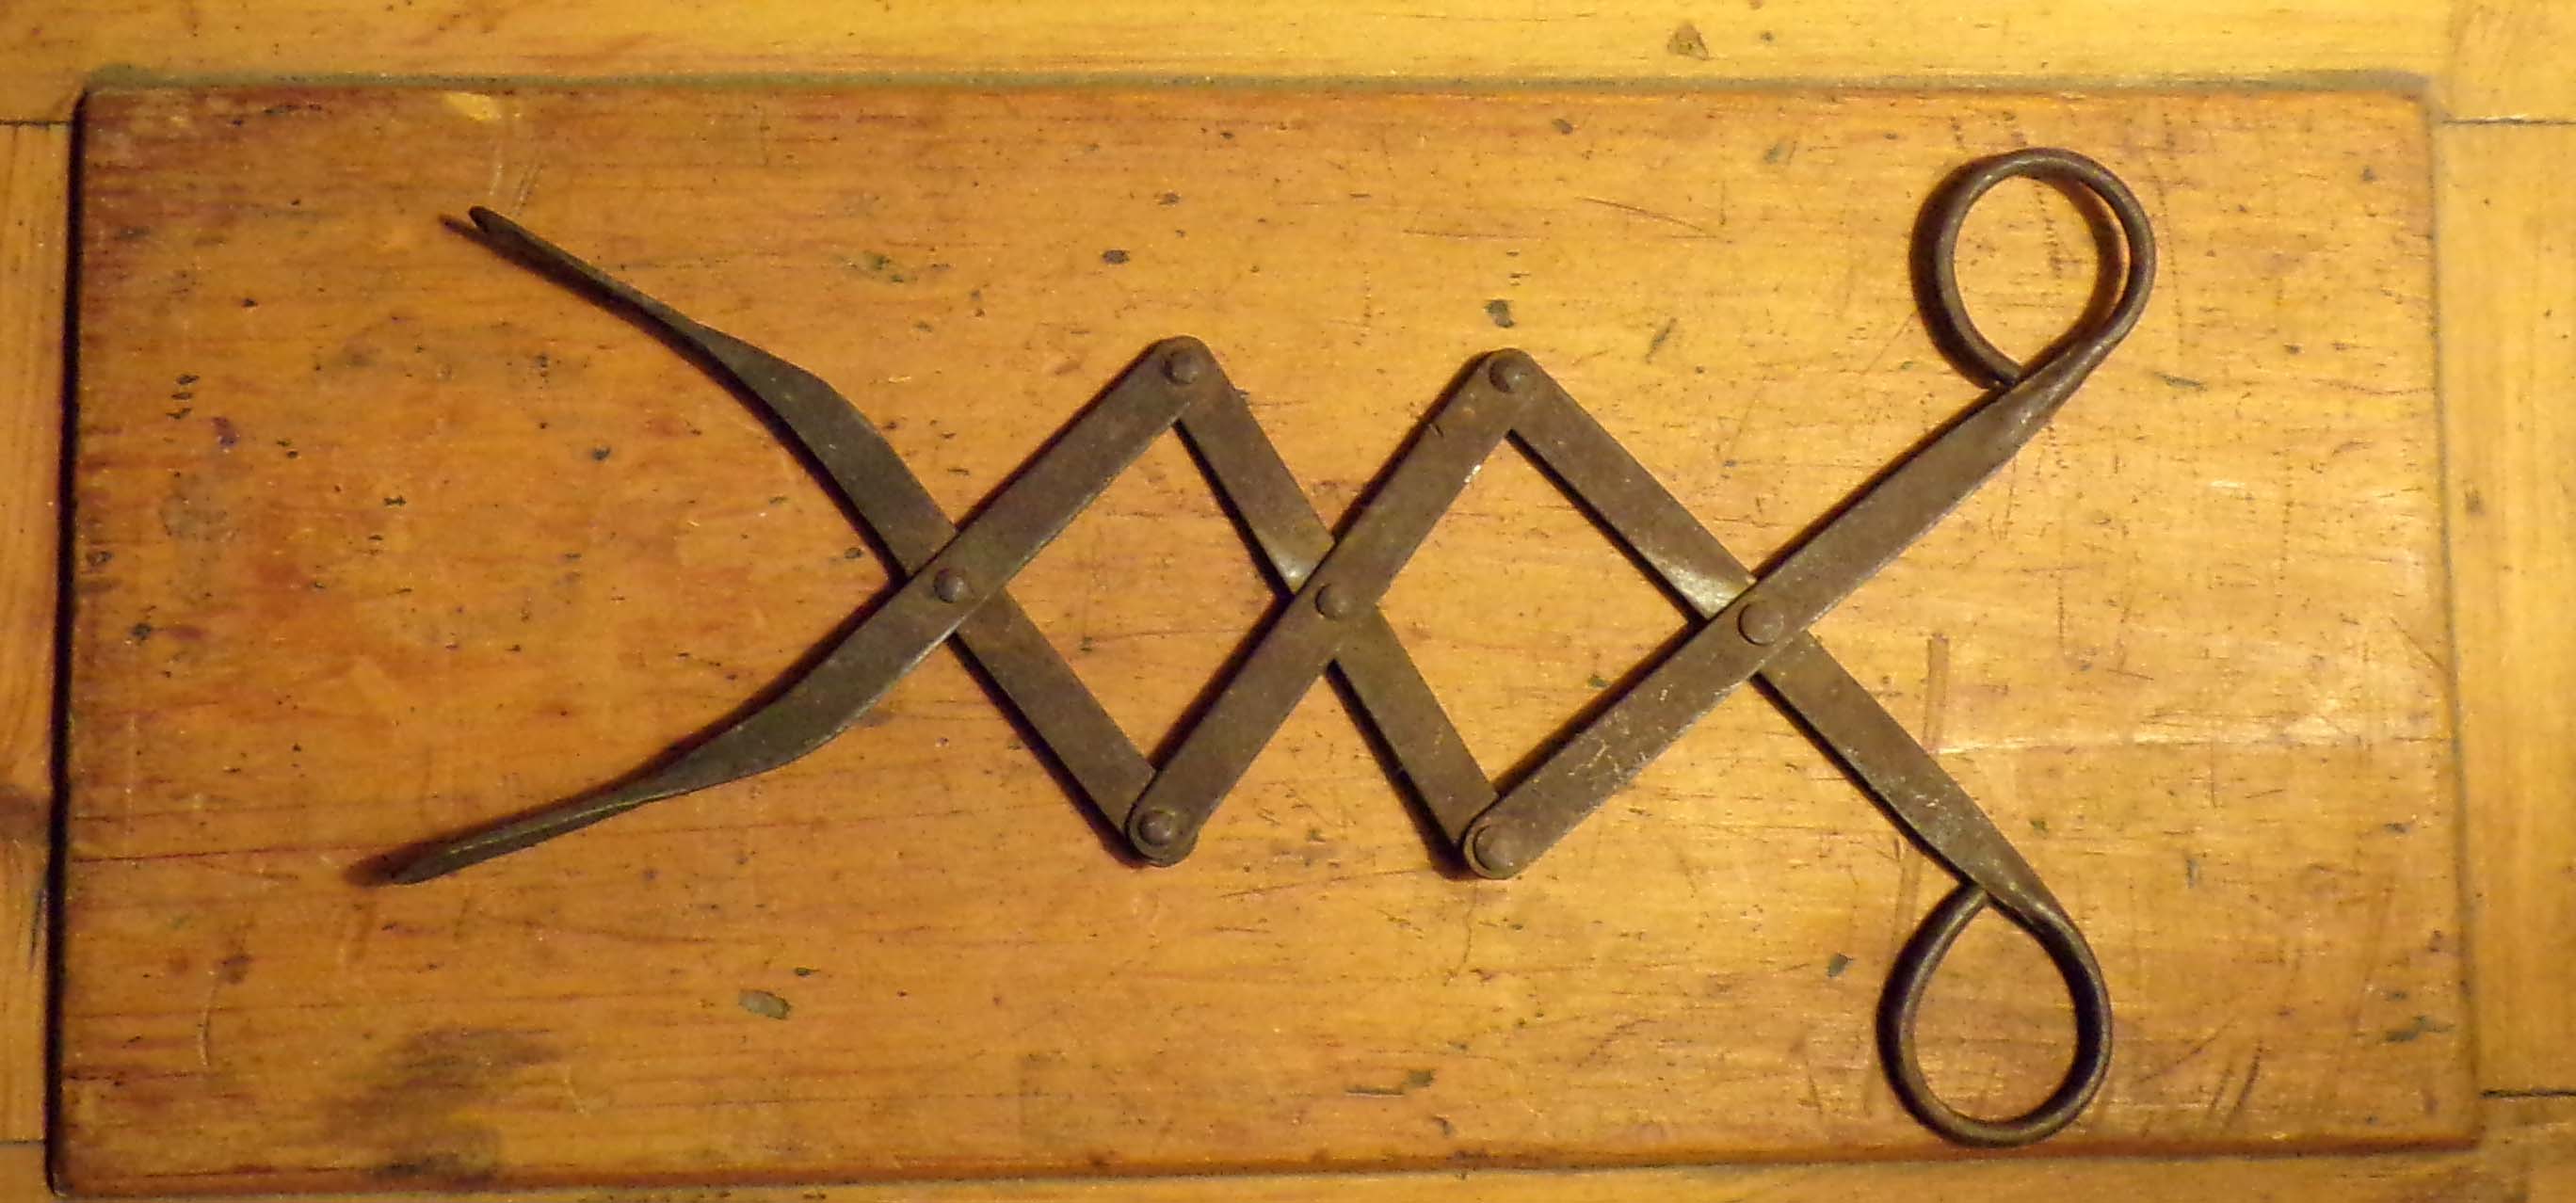
Mac, they are copies of somebody else's (maybe Yellin?) work in any case so go right ahead. To rivet the pieces together so that they moved easily when done, we put pieces of paper between the limbs and rivets before peening the rivets and then burned it out. Worked perfectly.
Natkova, stands are very handy and I have two that get used frequently but I'm thinking yours does not have enough footprint and would get knocked over easily. Also, I would add a T to your bolt so that you do not need to find a wrench every time you need to adjust the height.
-
Speaking of ember tongs, here is a pair a friend and I made way back in the 80's. He had a connection with a museum gift shop manager who ordered a hundred pair. We got to work and cranked them out only to find that the gift shop manager had died suddenly and the new manager didn't want them. We split them up between us and they have made great gifts over the years and I only have a few left.
-
Interesting scrolling jig. I wonder why the inside parts are so tall?


Haybudden Anomaly
in Anvils, Swage Blocks, and Mandrels
Posted
Some thirty years ago I answered an ad in the local classifieds for some metalworking tools and such. The seller was a real estate guy and had the task of cleaning out an old shop in Salem Massachusetts. The ad did not mention an anvil but there it was, with a 1" thick piece of steel welded on edge to the face. I went home with a bunch of stuff including a Marvel No2 draw cut saw (which has since self destructed), pry bars and various other had tools and the anvil for $200. I knew that the anvil was never going to be the best with hunk of steel welded to it but the price was right. I got it home and cut the piece of plate off with a grinder and then carefully dressed the remaining weld off to the face. I took a hammer and bounced it along the face and while it had good rebound and ring on most of the face, the spot where the plate was welded had a dull thud noise to it and little rebound. Still plenty of good face to work off of though. I had another anvil already and used that one primarily while the Haybudden provided backup. Recently, I sold my other anvil and dragged the Haybudden out of the corner and did the hammer test again. It now has excellent rebound and ring along the entire face - It's like it healed itself over time! How could that happen?