

Phillip Patton
-
Posts
120 -
Joined
-
Last visited
Content Type
Profiles
Forums
Articles
Gallery
Downloads
Events
Posts posted by Phillip Patton
-
-
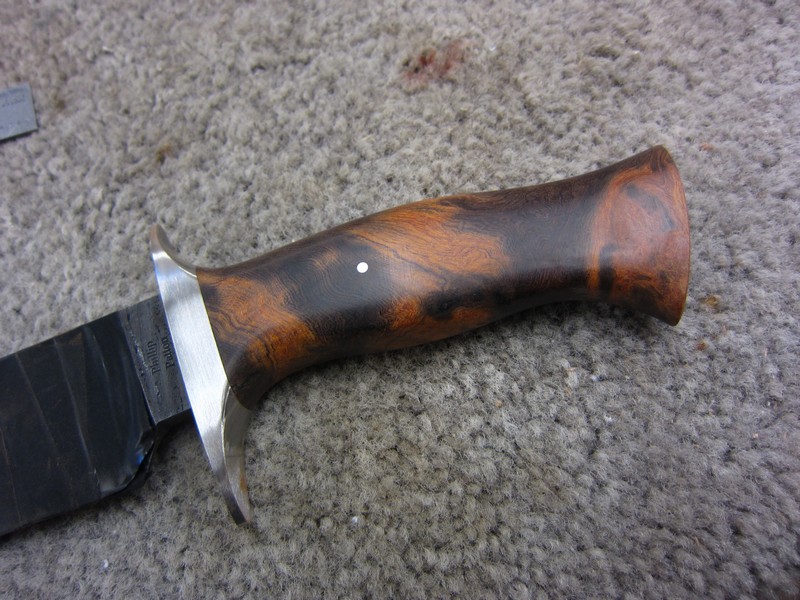
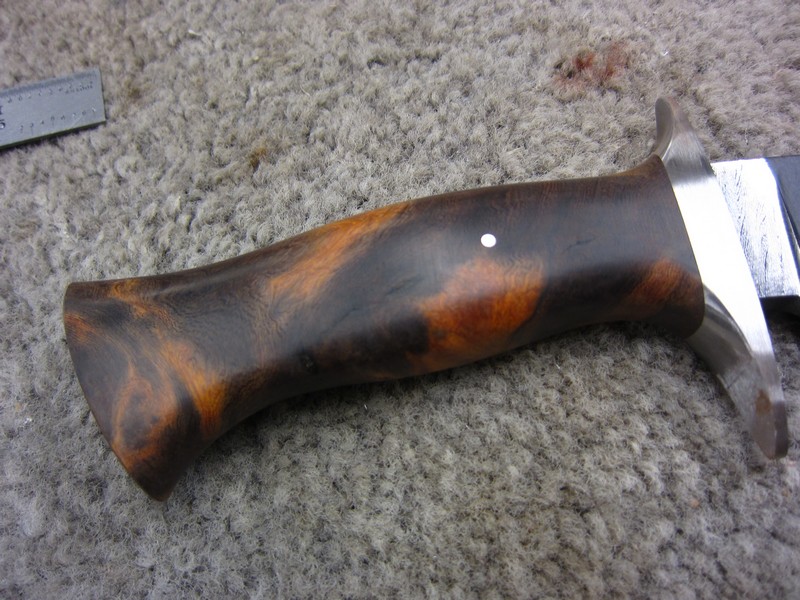
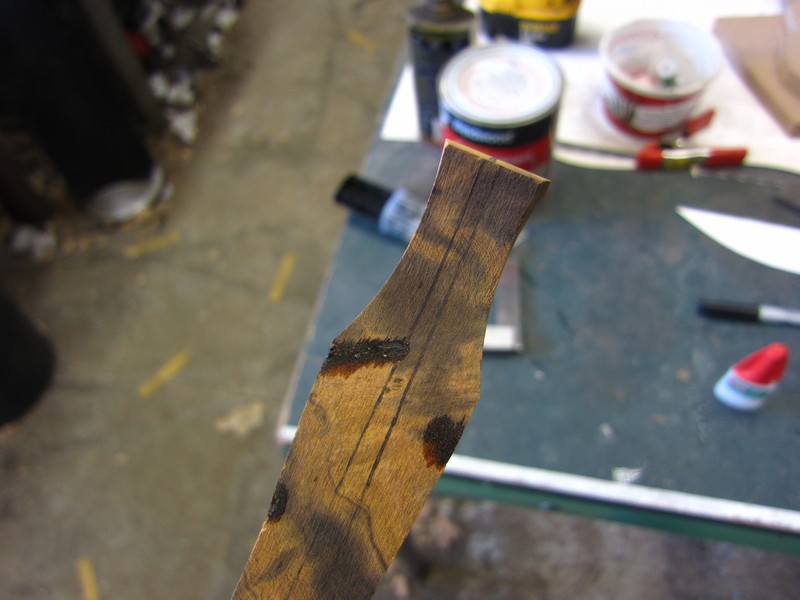
Well, I didn't get many pictures of the handle shaping process, but it is almost finished. After lots of grinding, then filling, then grinding, then filling....
-
These next photos show my handle shaping sequence. You'll notice I run into some voids as I go. Thankfully, they are getting smaller, and I think the handle will work out.
I'm using a five inch wheel in these pics.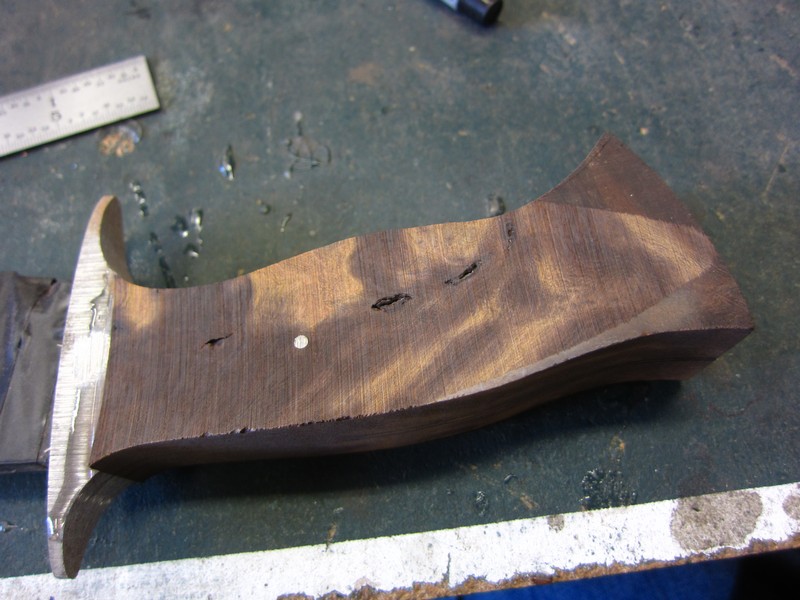
-
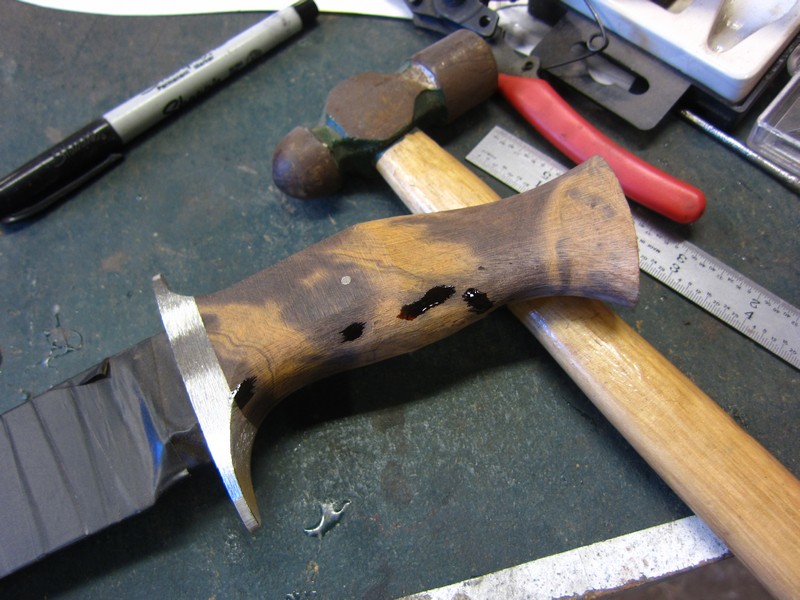
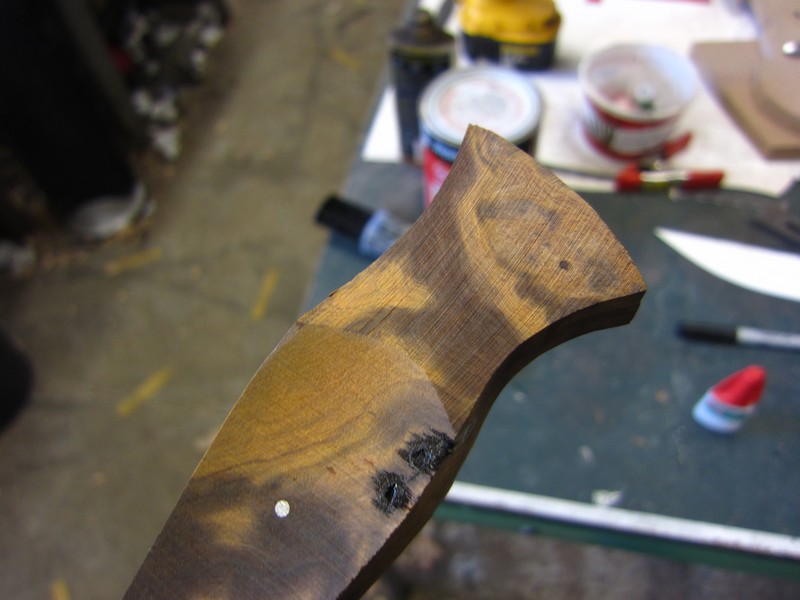
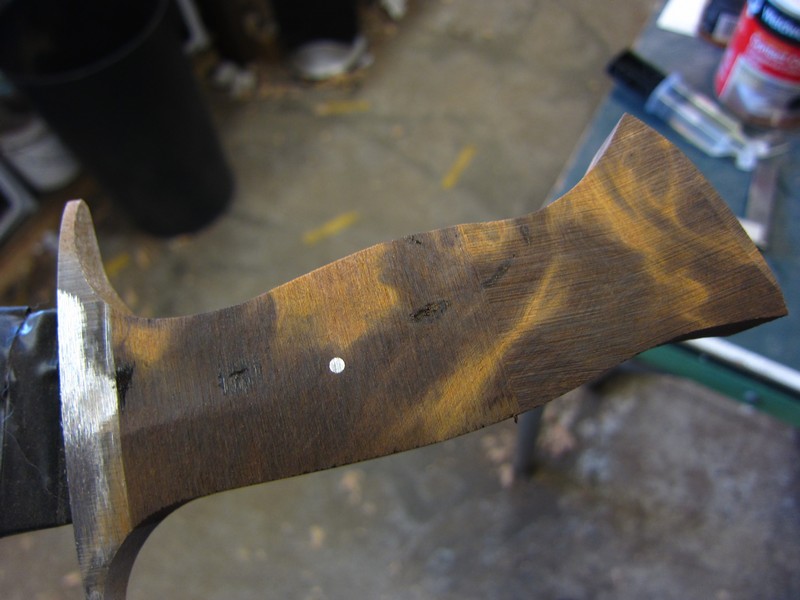
After letting the epoxy cure overnight, it's time to shape the handle profile. I do this before drilling the pin hole, because it's easier for me to get the pin perfectly centered on the handle after the handle is shaped.
I normally use my wood cutting bandsaw to remove the bulk of material, but the drive belt broke this morning, and I didn't feel like replacing it. So, I used the belt grinder instead: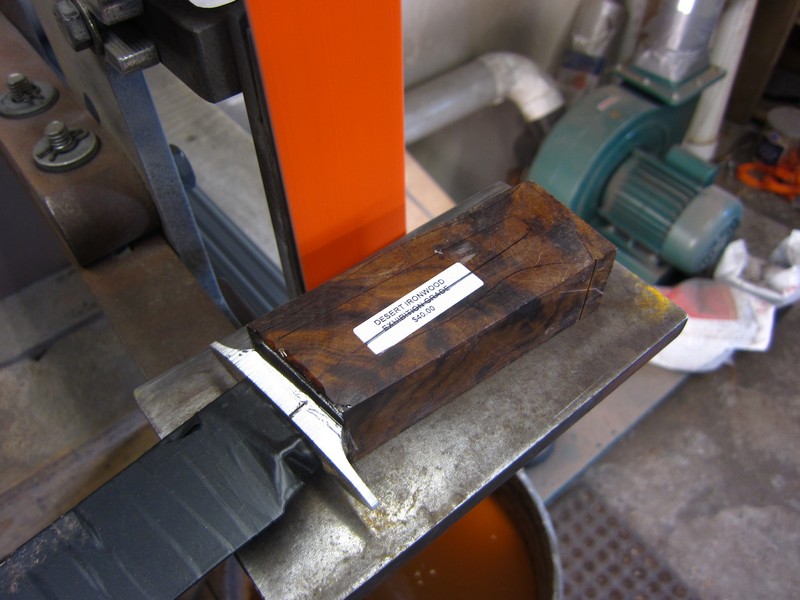
Now I drill the pin hole. I usually use 3/16" pin stock, but decided to do something different this time and use 3/32".
First I drill a 1/16" hole: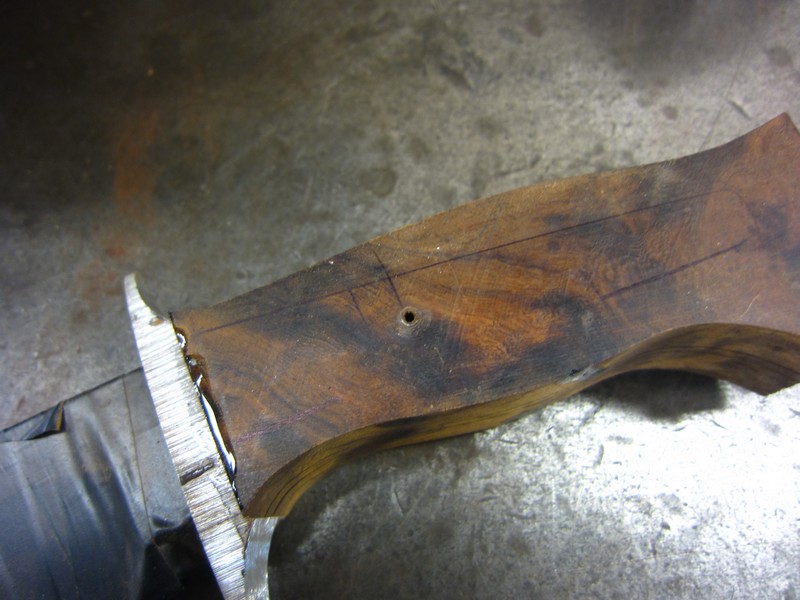
Then 5/64":
Then 3/32":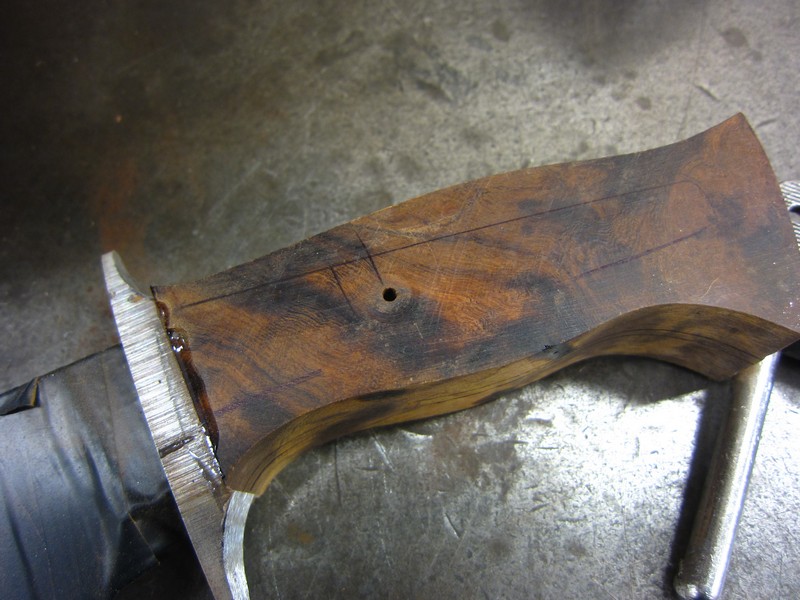
Here's the pin, cut to length and roughed up on the grinder: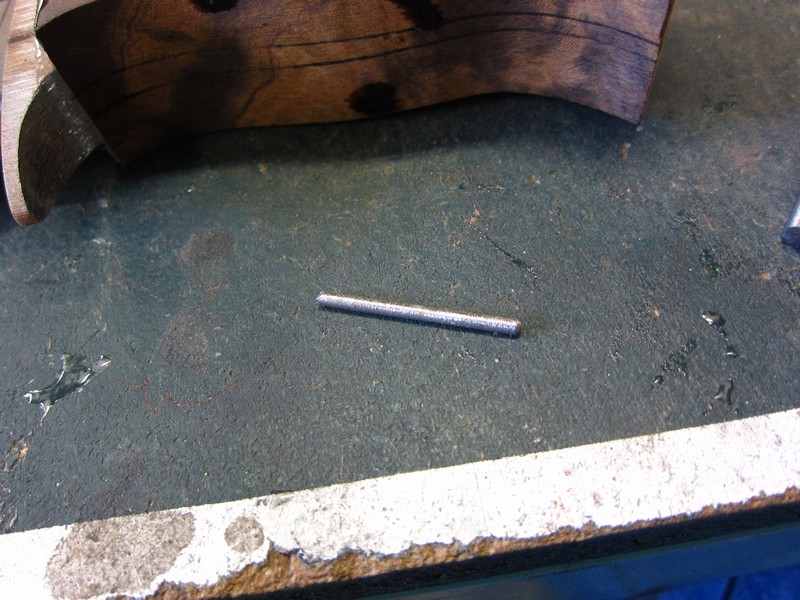
I used Crazy glue to glue the pin in. Sometimes I use 5 minute epoxy, and I've also used Gorilla Glue. They all work, but I used CA this time because it's fast.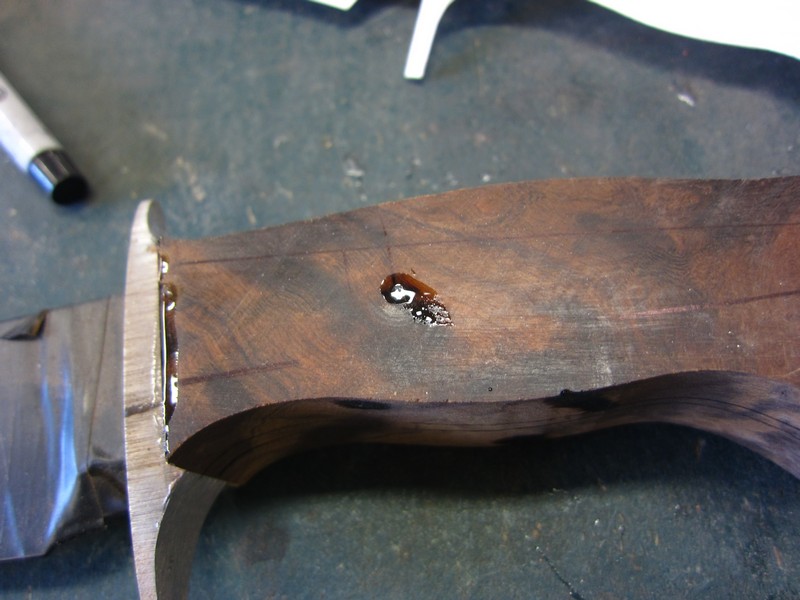
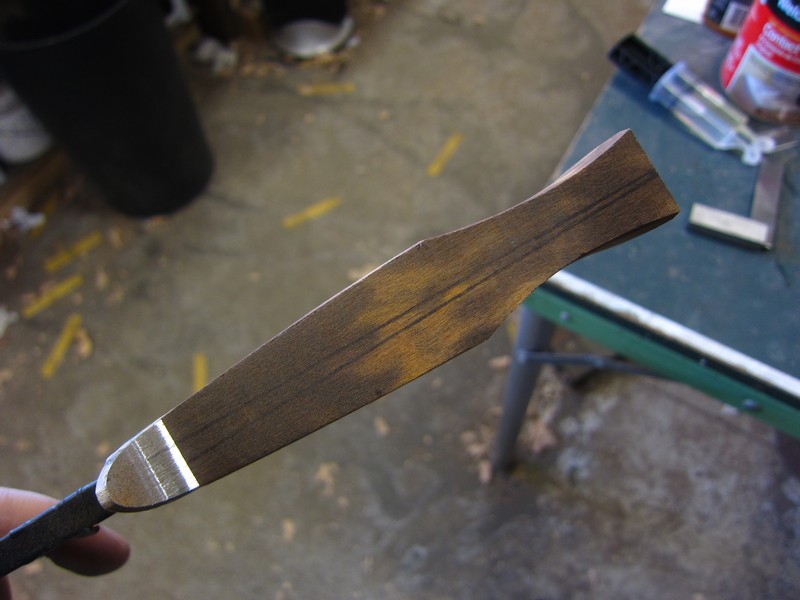
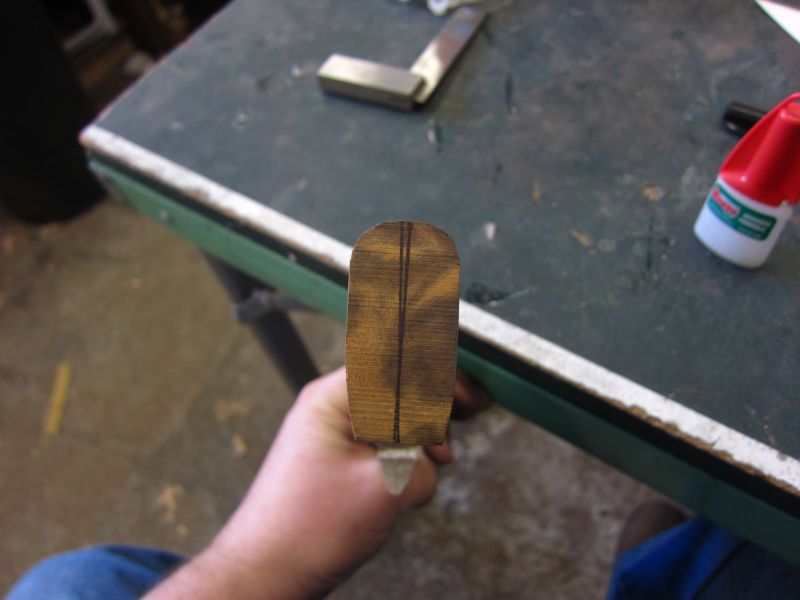
Here I'm marking some guide lines all around the handle. I got this idea from a recent thread of Nick Wheelers, though my setup is not as slick as his.
-
Here's how far it slid up. A little fancy work with the drill bit got it up the rest of the way.
The epoxy. I always use slow set epoxy, since it's stronger than quick set, and I don't like to be rushed.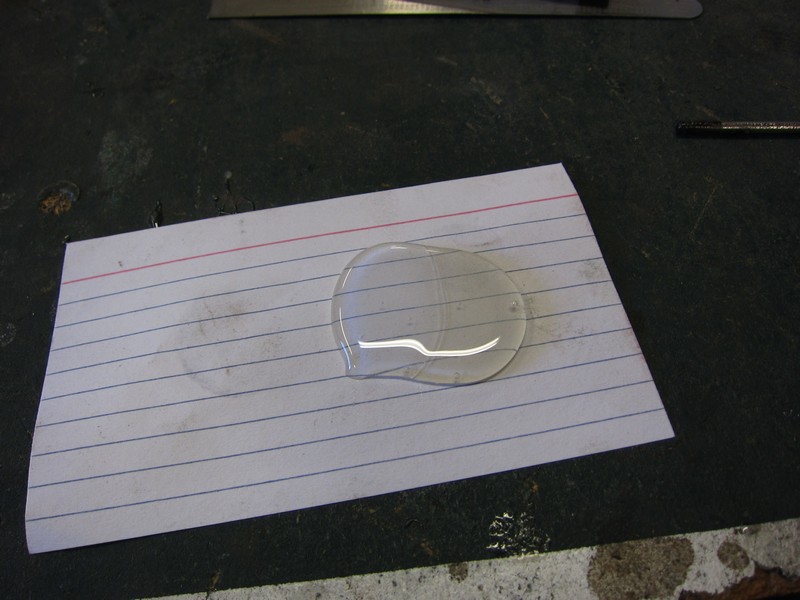
My super high tech handle gluing jig.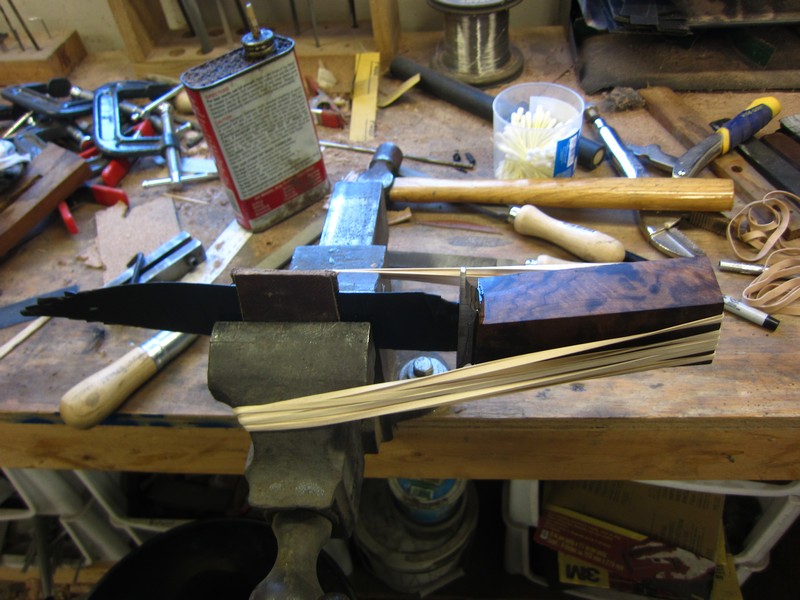
-
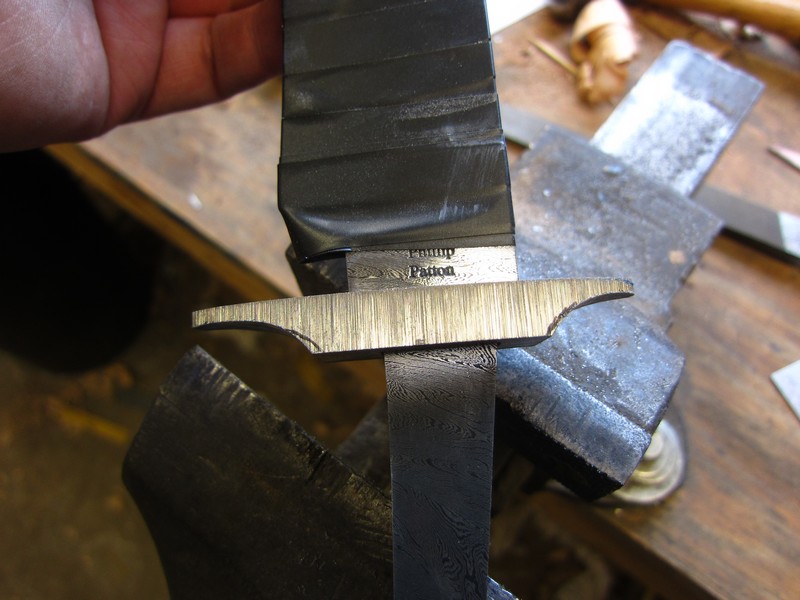
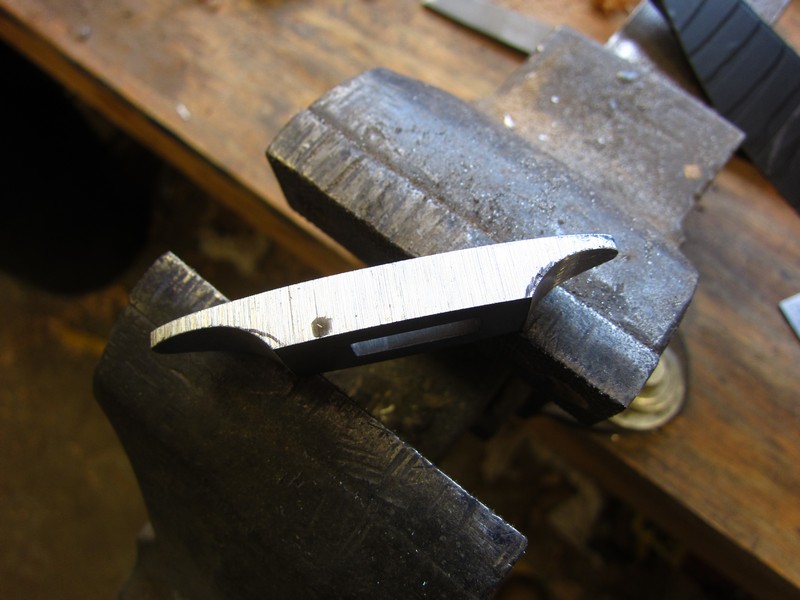
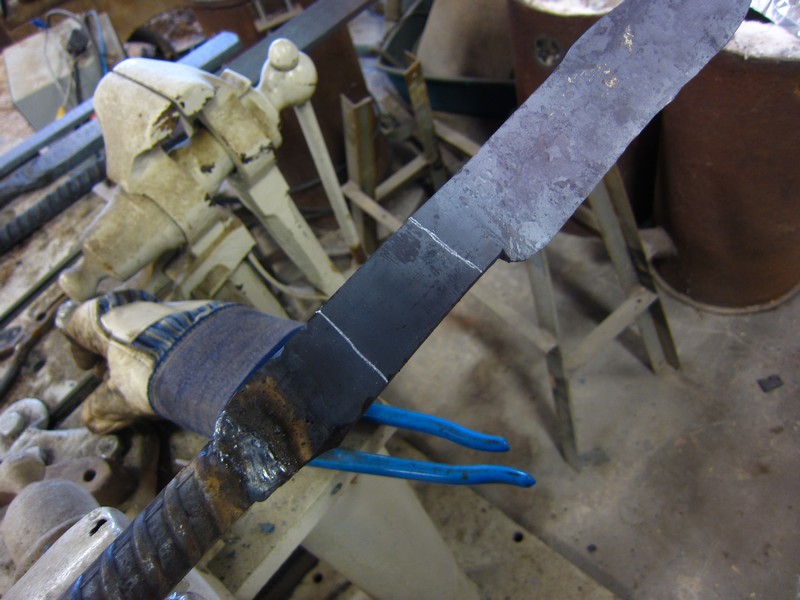
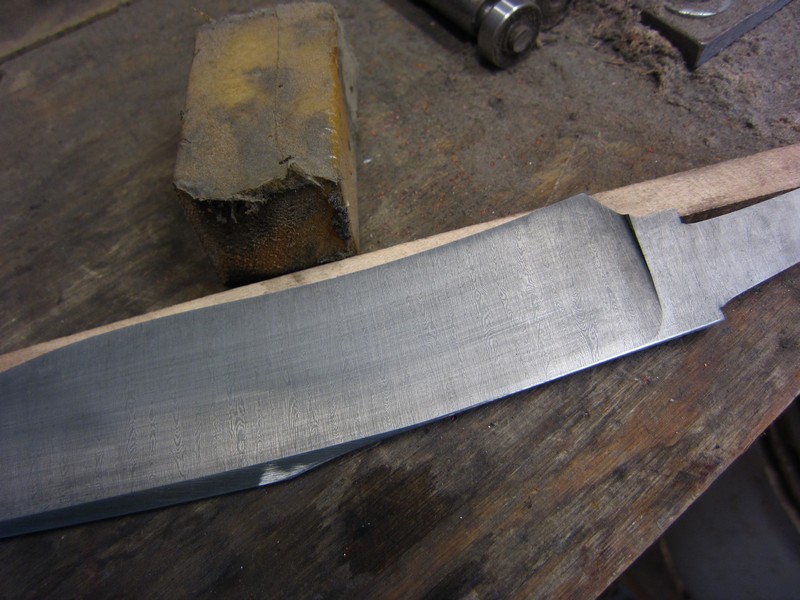
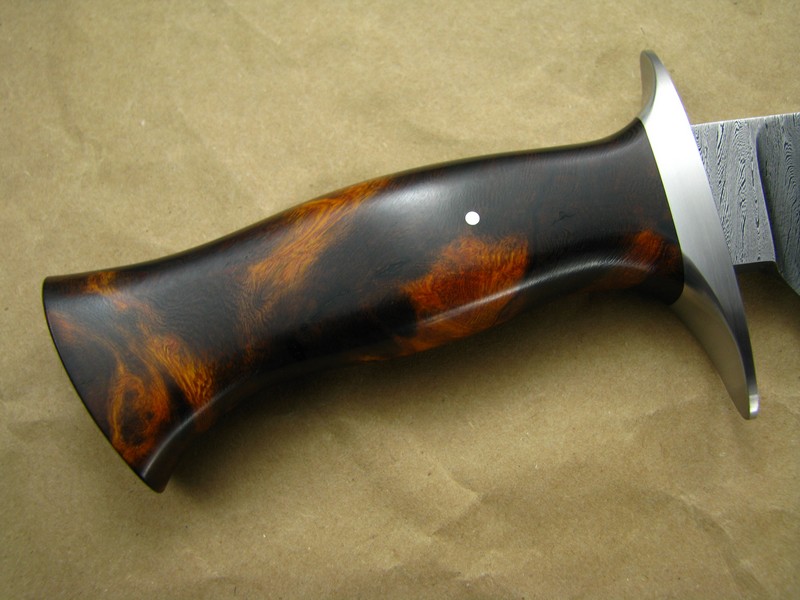
Well, I got the guard re-fitted. It's now as close to perfect as I can get it. If it looks like there's gaps, it's just the damascus pattern on the ricasso.
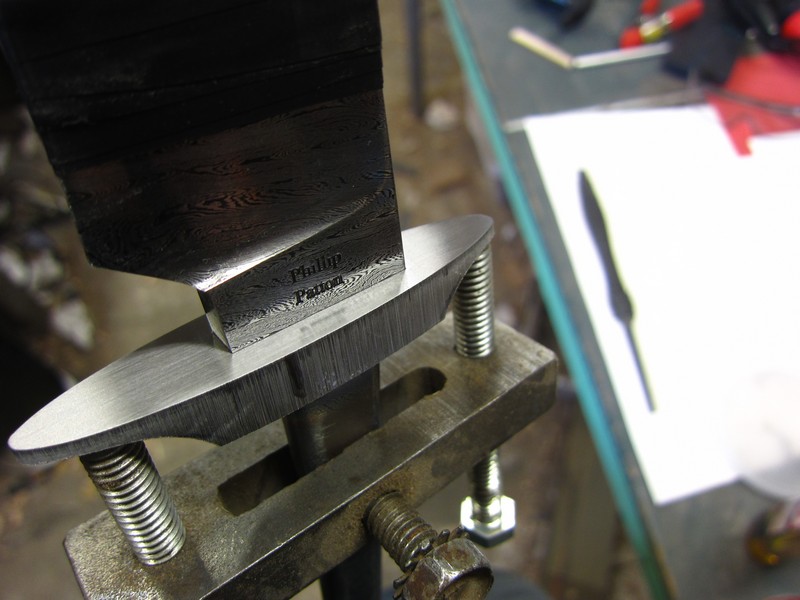
After letting the J-B Weld harden for a half hour or so, it's time to take the guard clamping jig off and start fitting the handle.
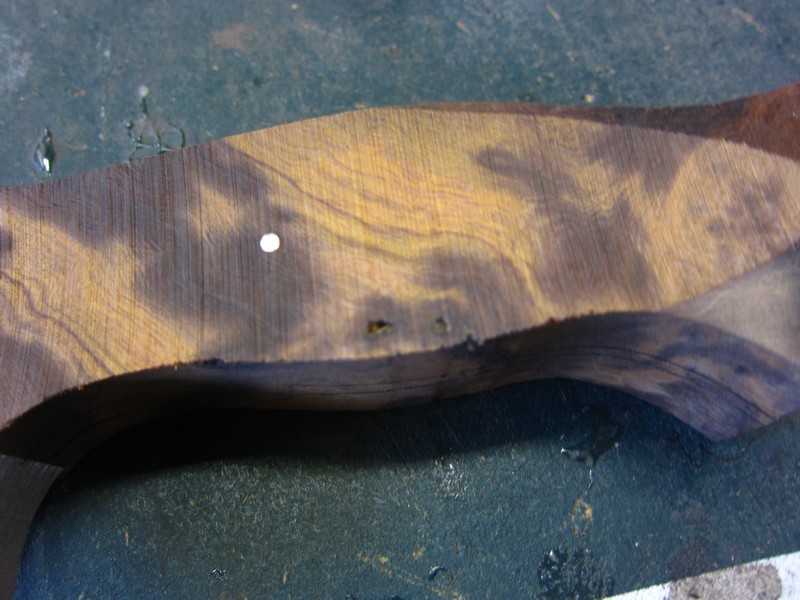
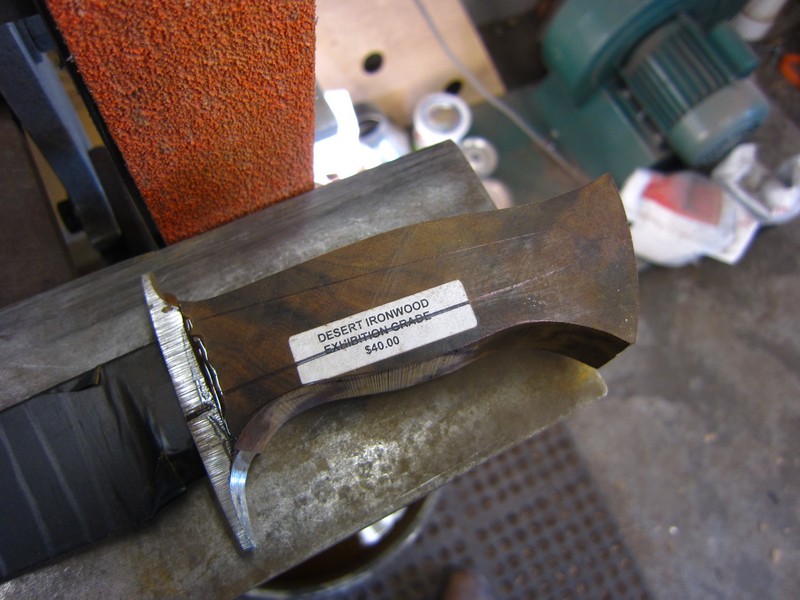
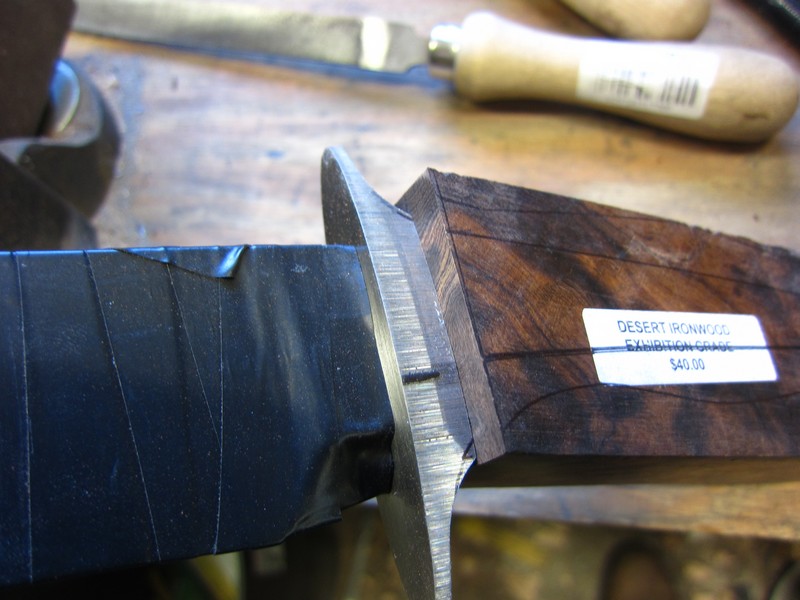
First I cut the end of the block to the correct angle. The surface exposed by cutting had some voids. I hope they don't get bigger....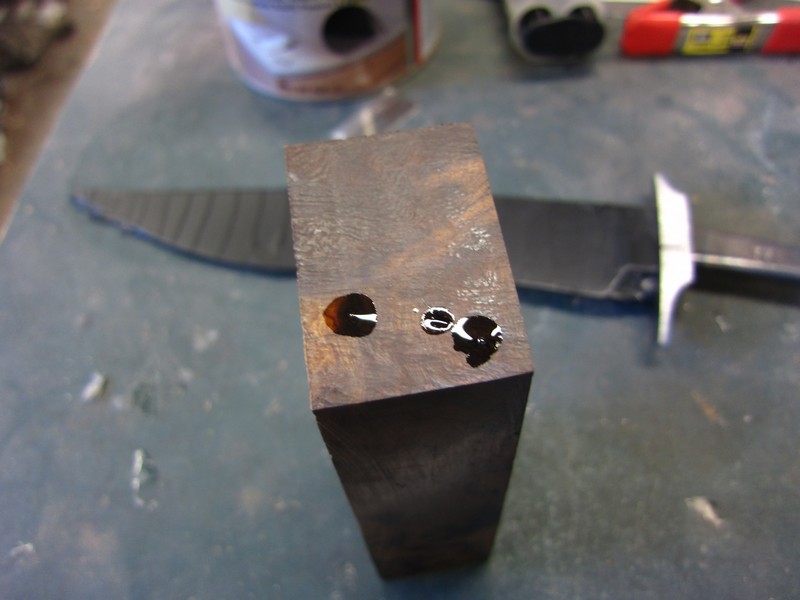
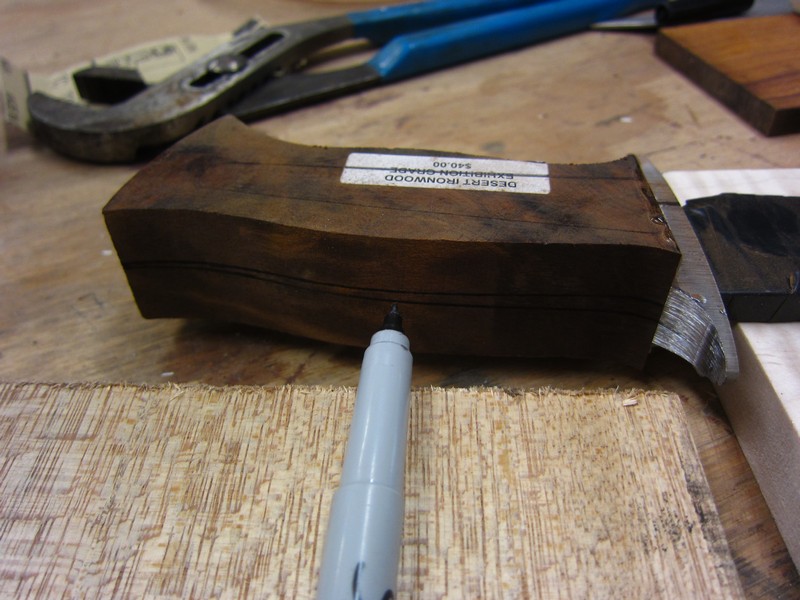
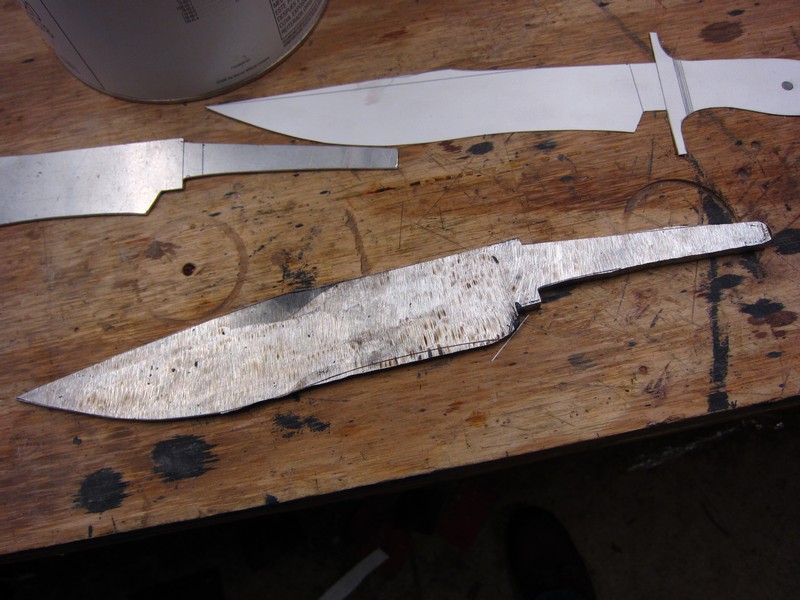
Then I drew the pattern of the handle onto the block of ironwood: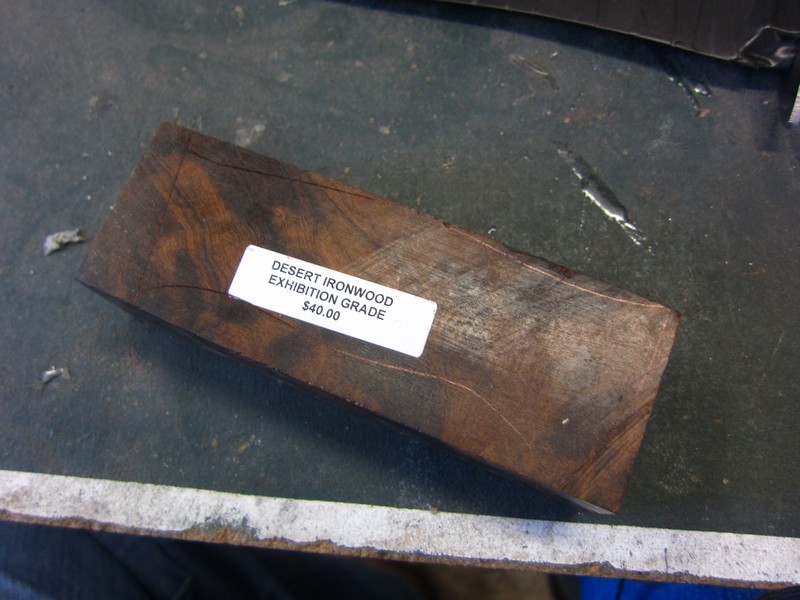
Then drew the outline of the tang in the correct location: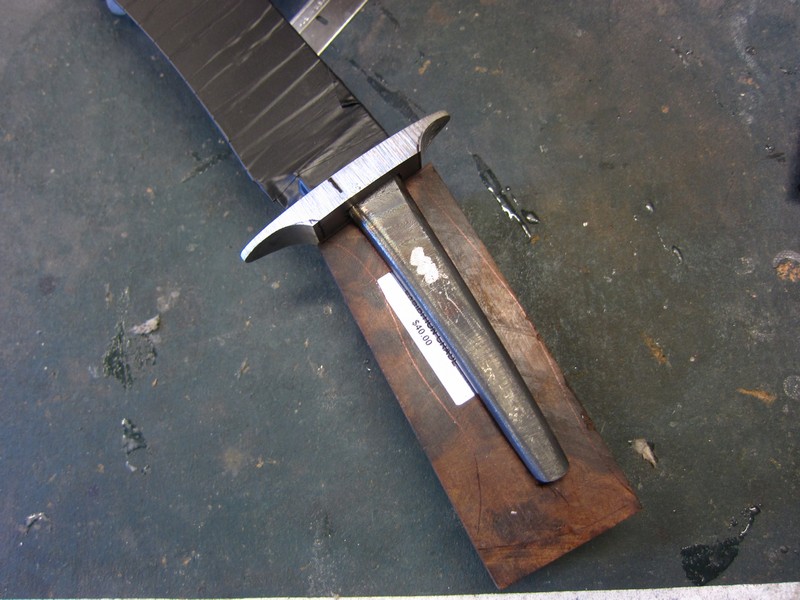
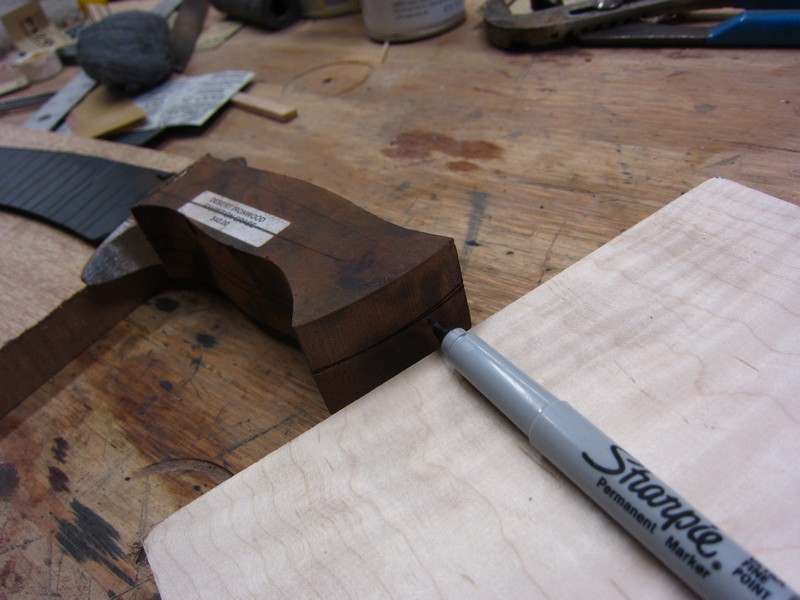
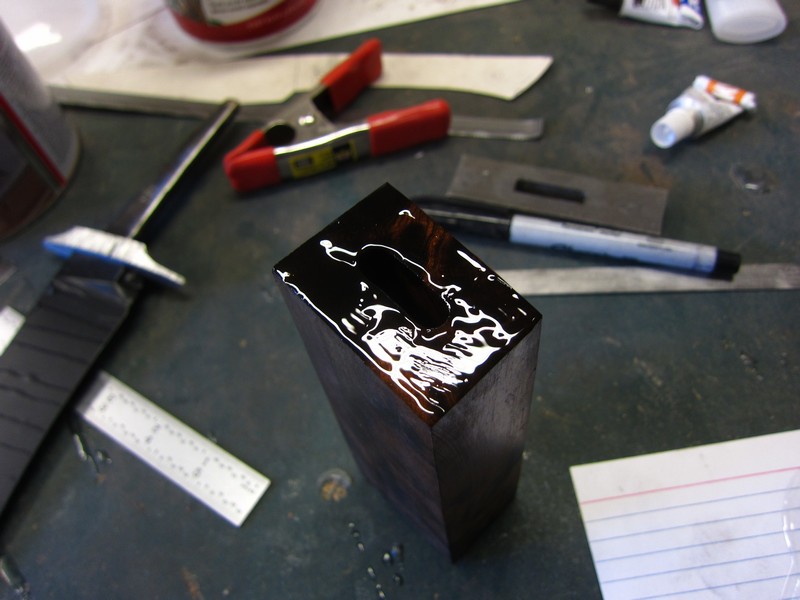
Then transfer the lines to the end and draw a centerline. Then locate the three holes that will be drilled to make the slot: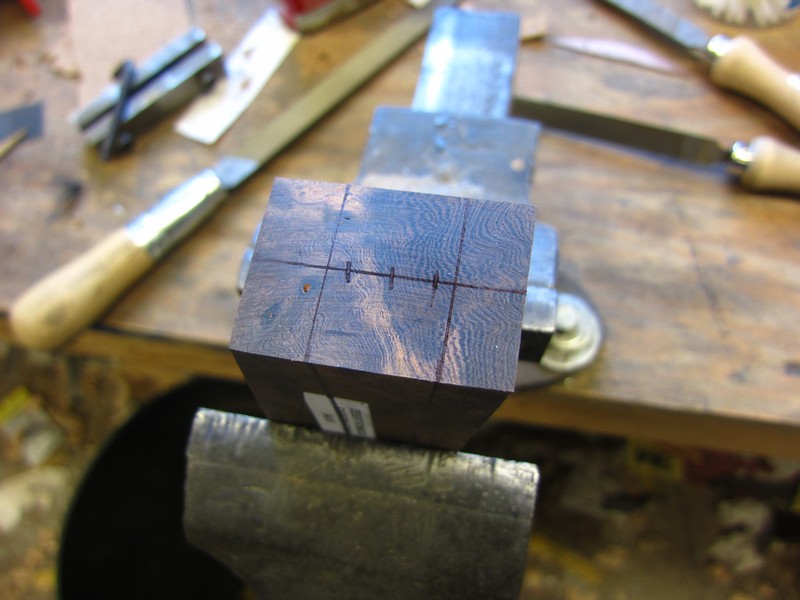
Mark the holes with a punch: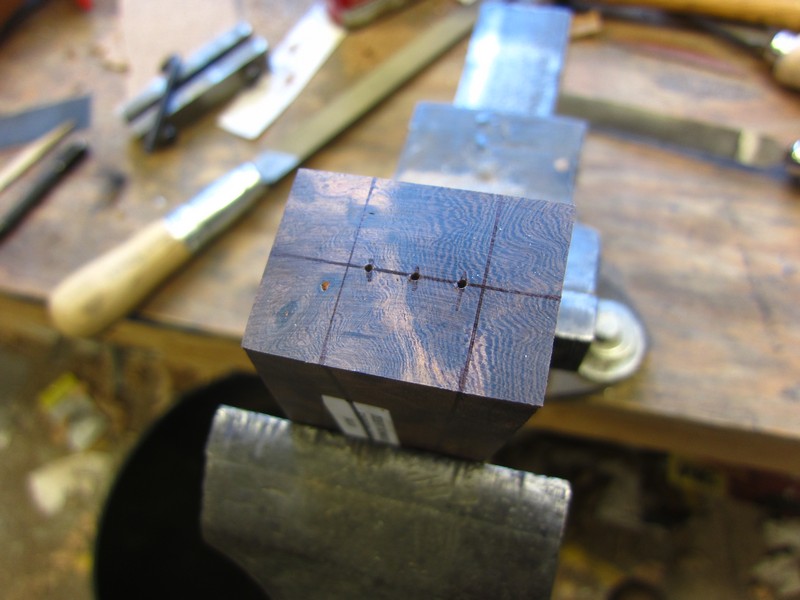
Then drill them: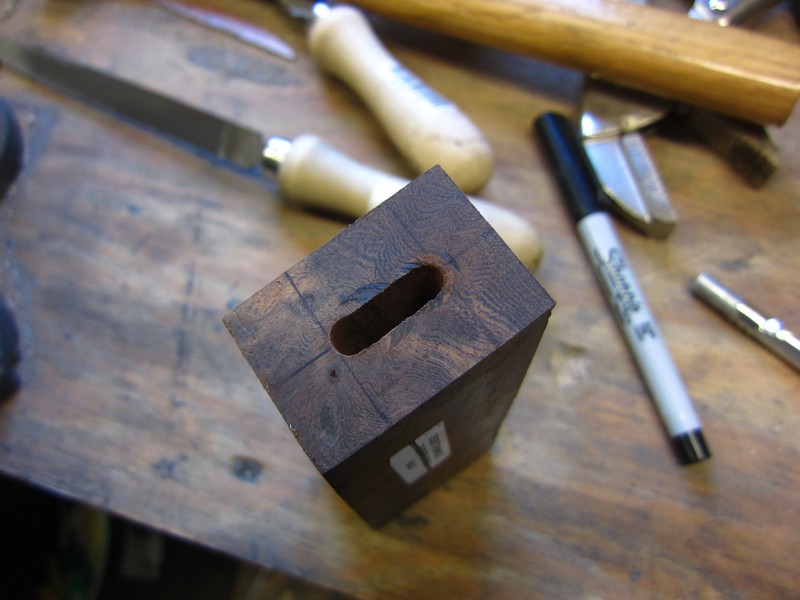
-
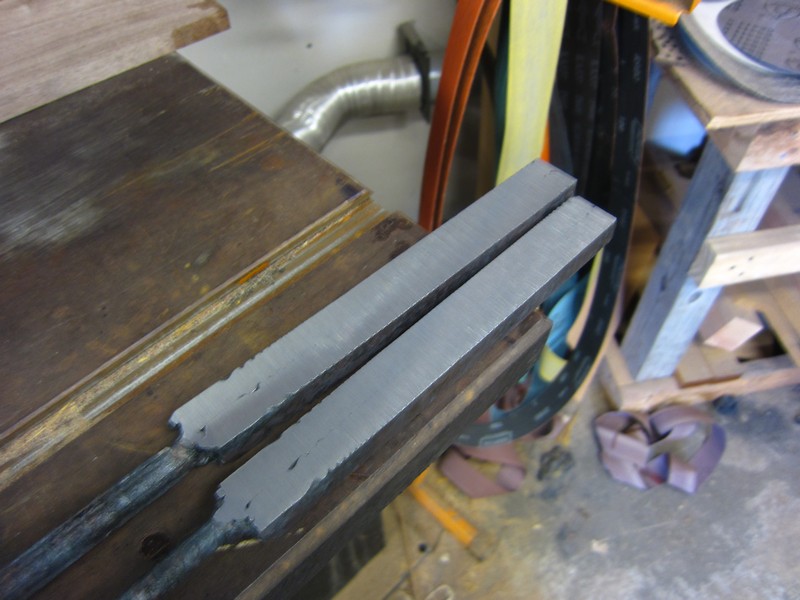
Now I grind the "face" of the guard clean, sand it to 240 grit, then finish it with a Scotchbrite belt: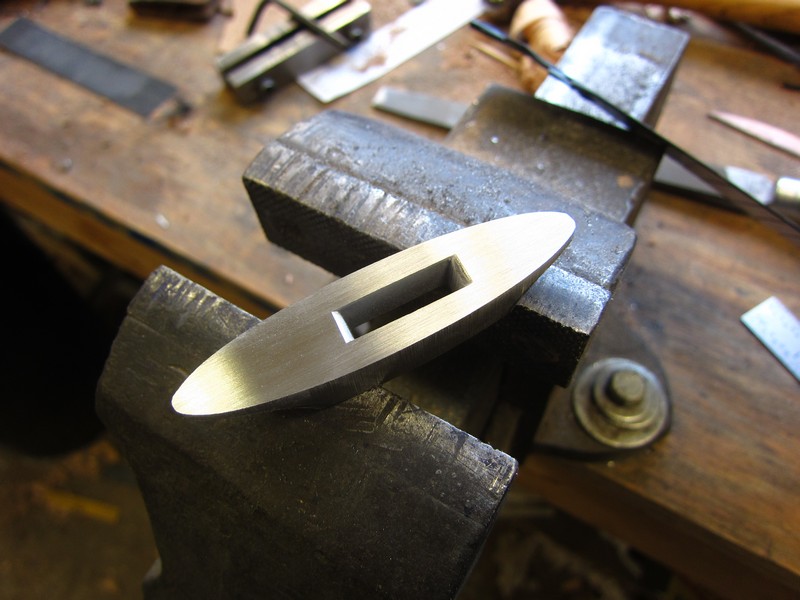
Now I grind the corners of the tang round, and soften it with the torch so I can drill through it later: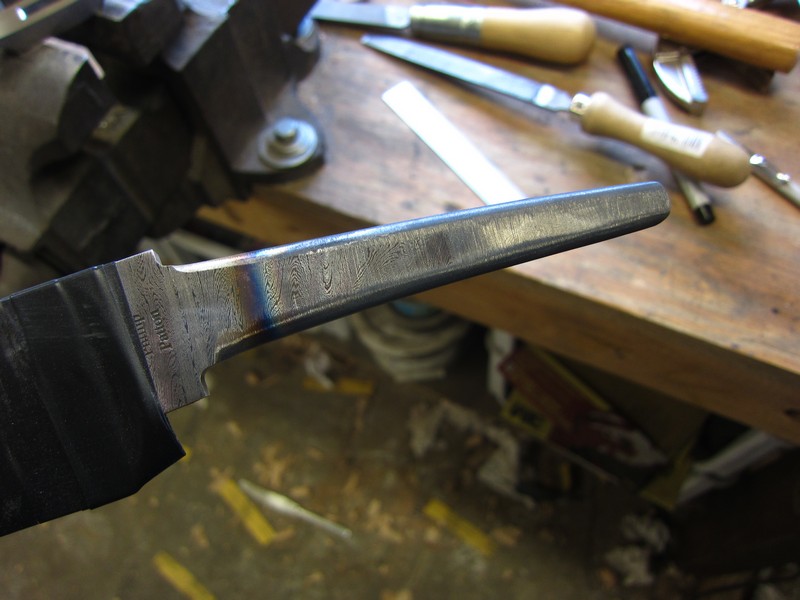
After it cools, I clean the tang with acetone, and mix up some J-B Kwik: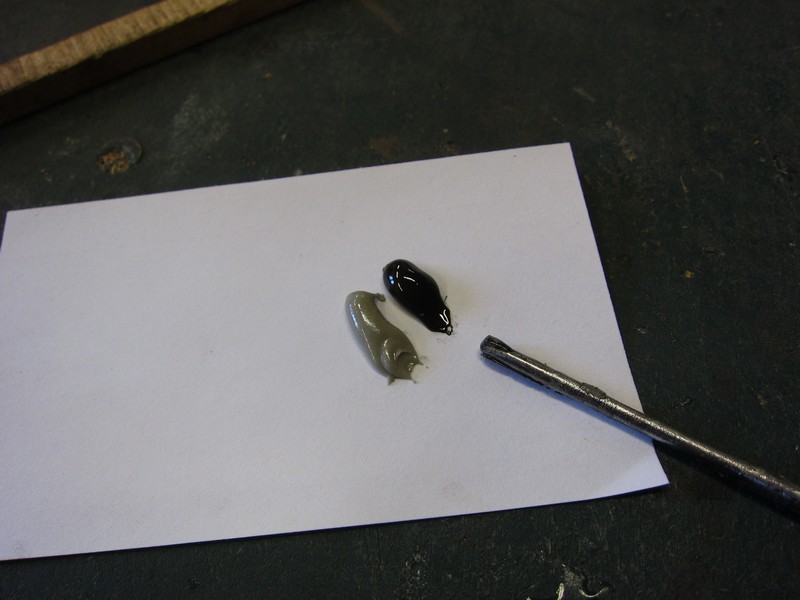
After cleaning the excess off: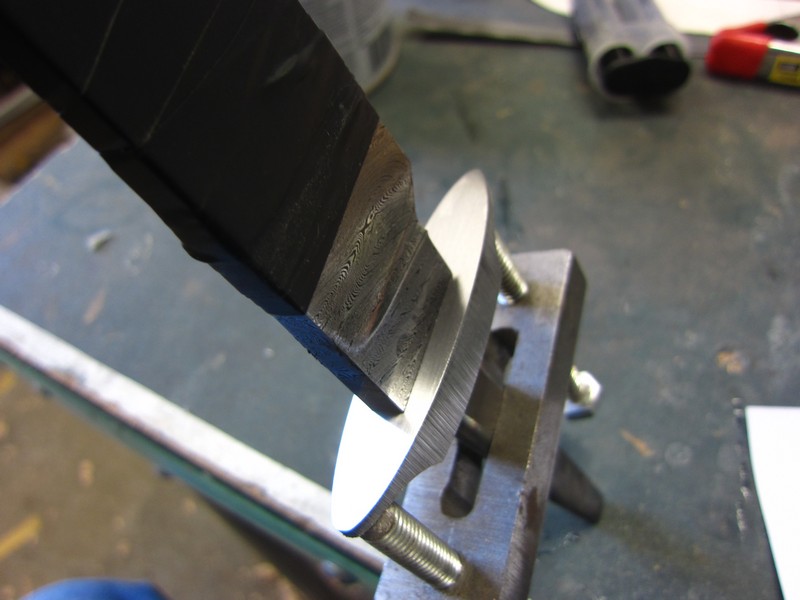
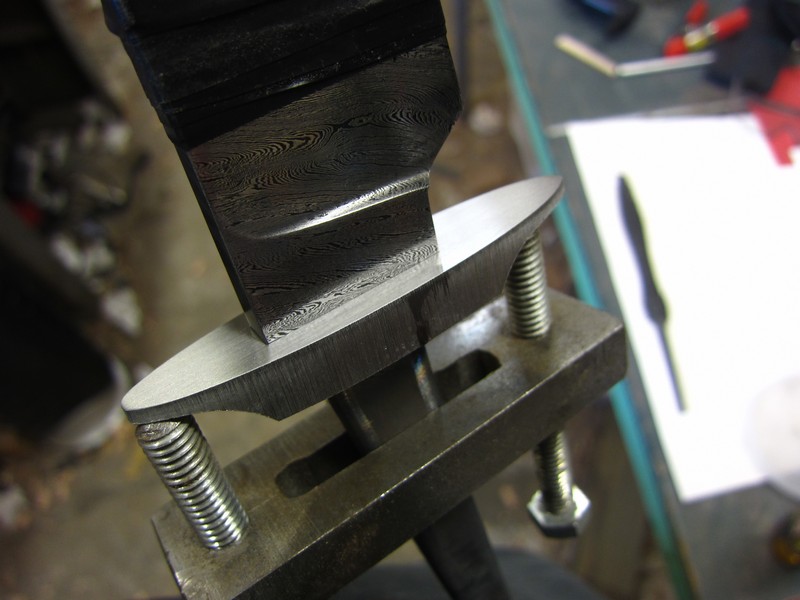
After all that, I decided I wasn't happy with the fit of the guard, (actually, there was a ding on one of the edges of the slot) so I pulled it off before the J-B Weld could set up. I'll clean everything up and fix it after lunch.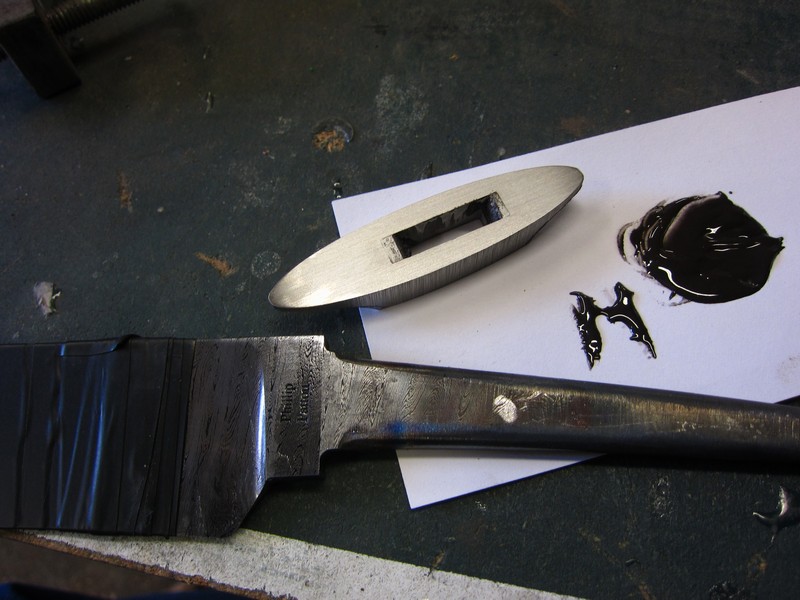
-
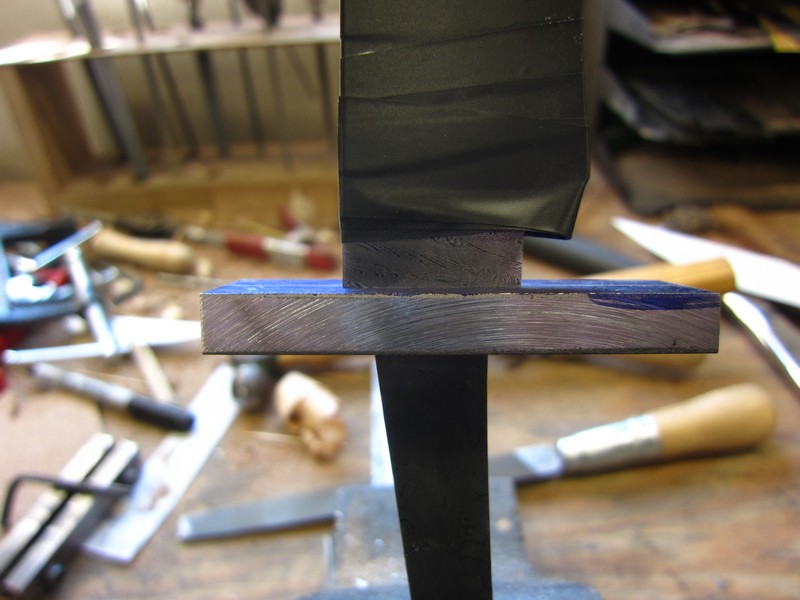
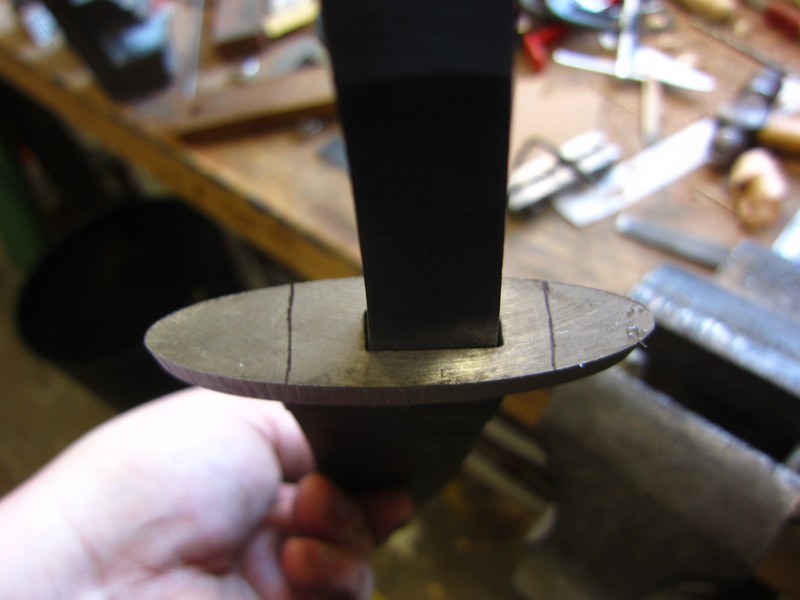
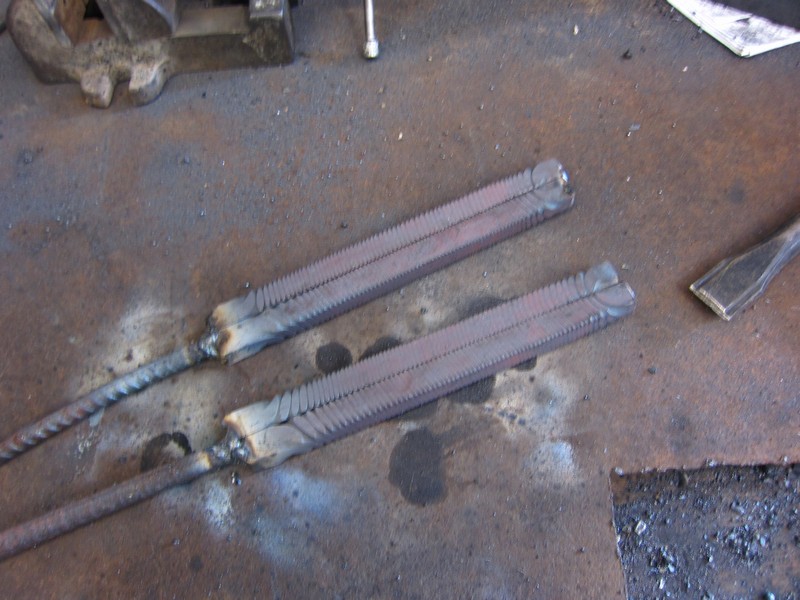
I hammer the guard against the shoulders, and file off any material the keeps it from seating:
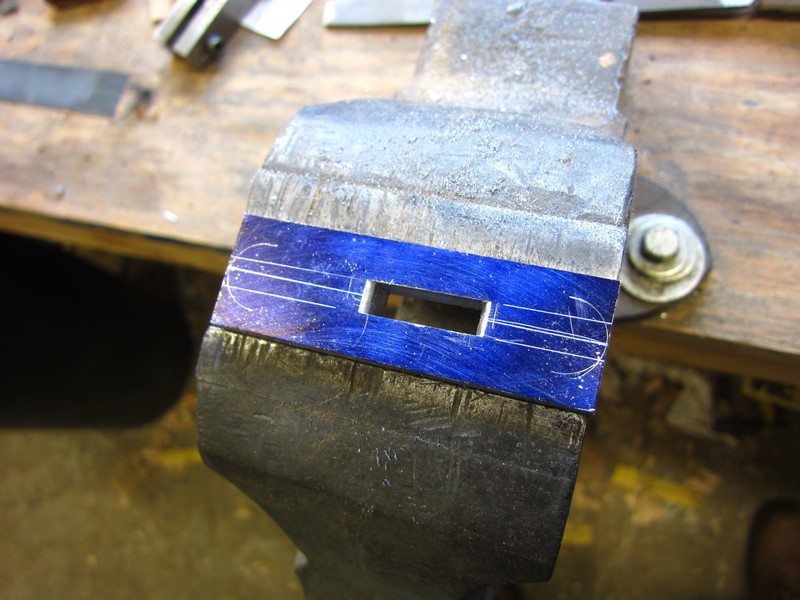
Now I lay out a couple lines which will help me keep everything symmetrical as I shape the guard: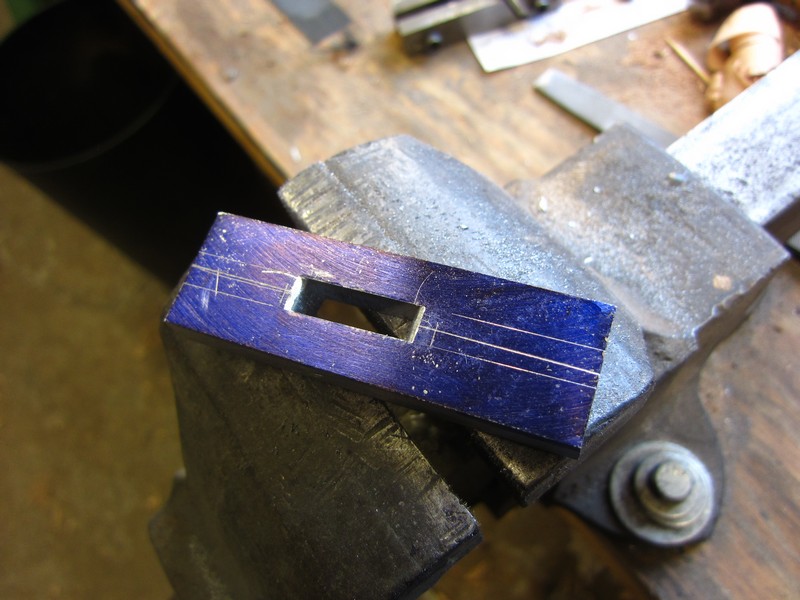
I use a washer to make the round lines at the ends of the guard: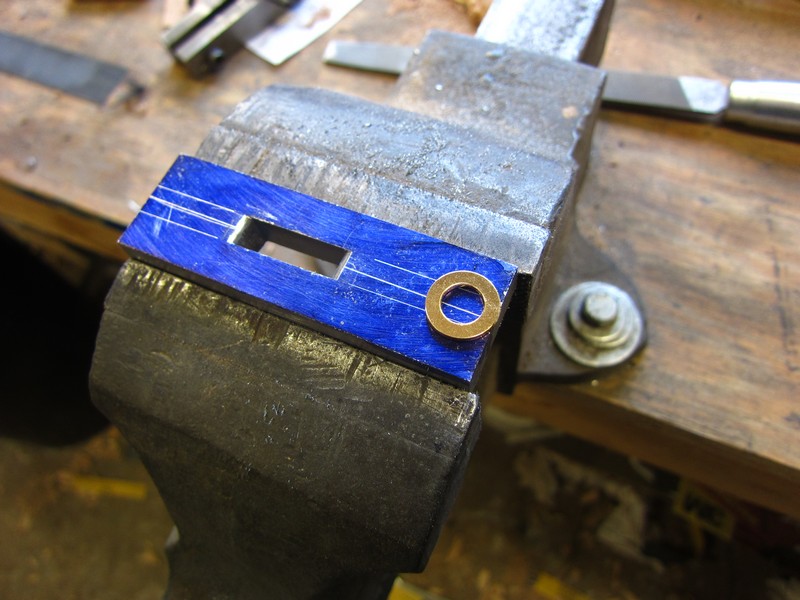
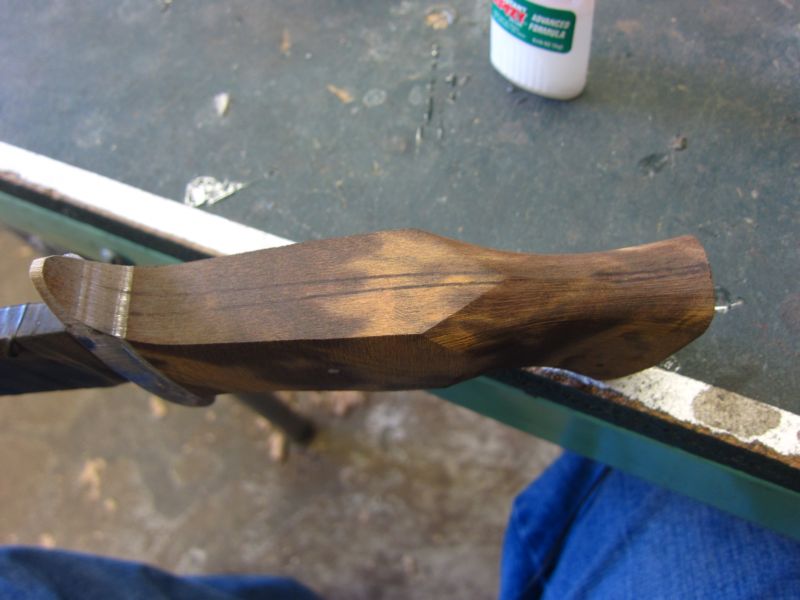
The lines are just guides though. I grind it until it looks right. It'll be shaped more after the handle block is attached.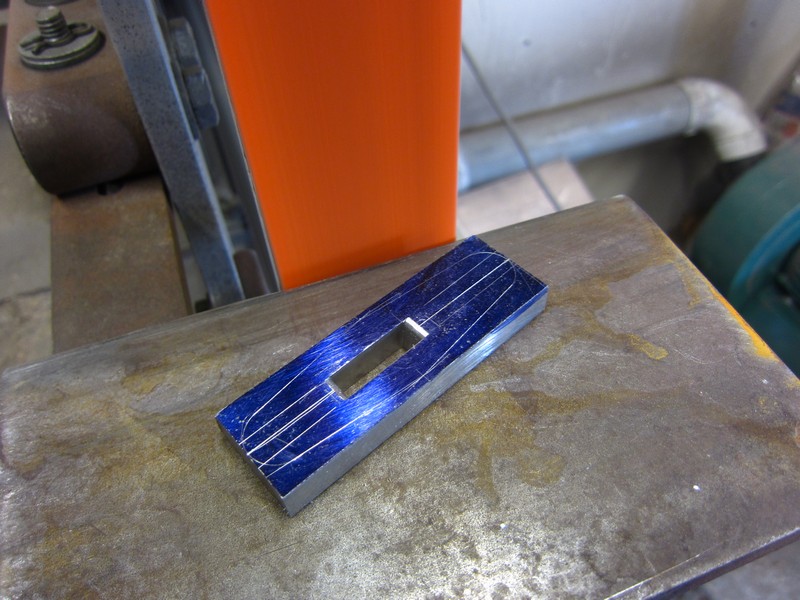
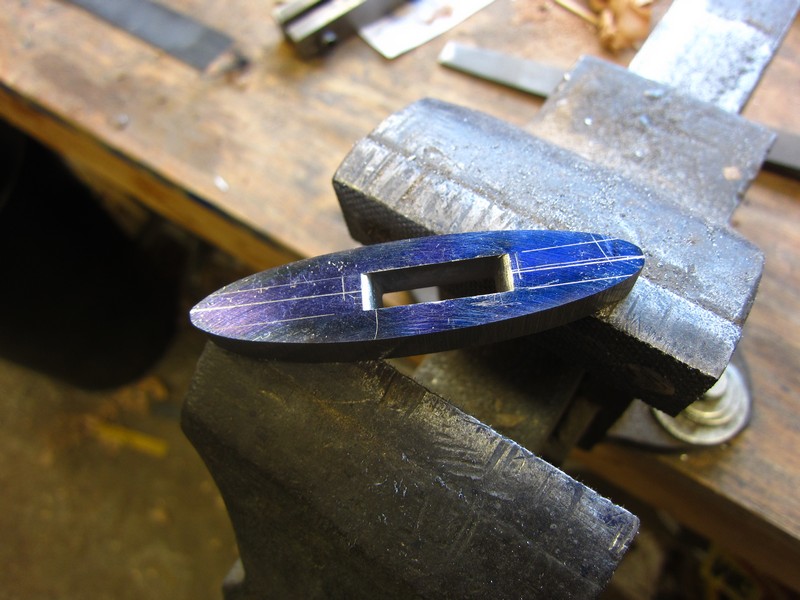
Now I draw in the approximate location of the curves of the "wings". Again, more will be removed later, but I like to take most of it off now because hogging generates a lot of heat.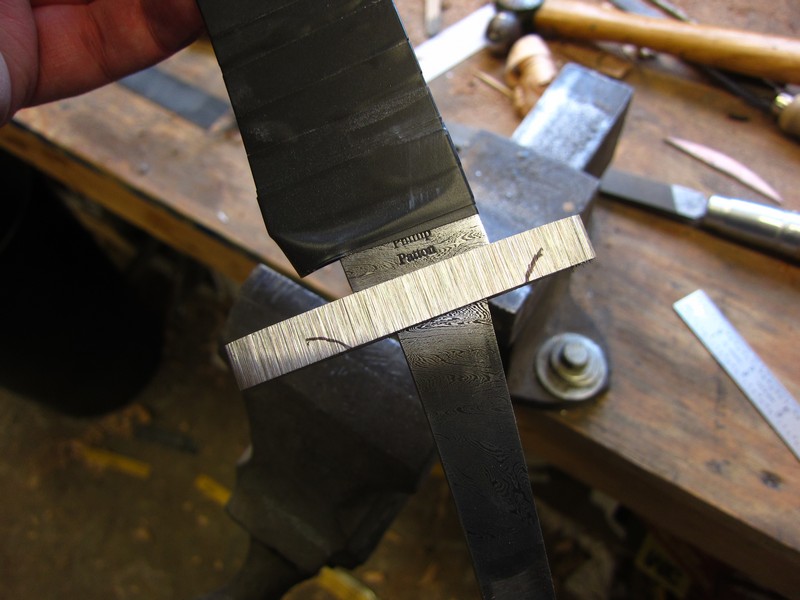
-
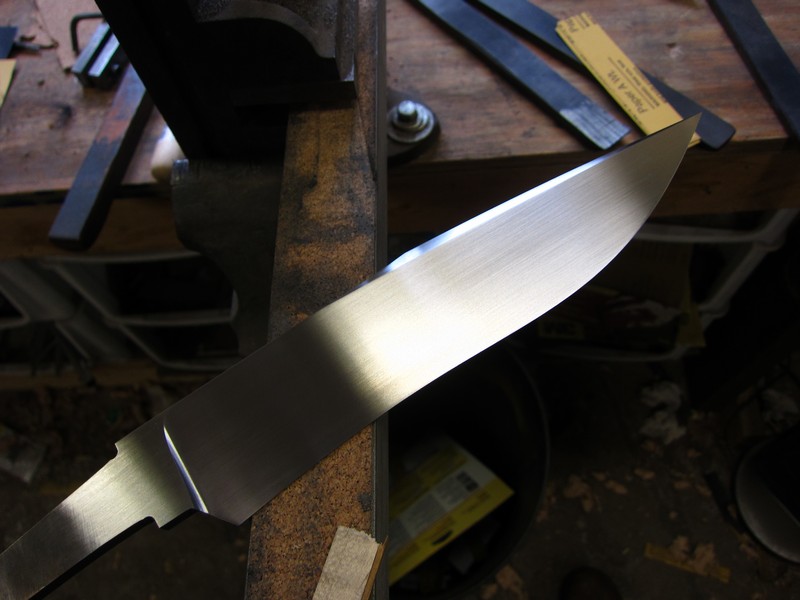
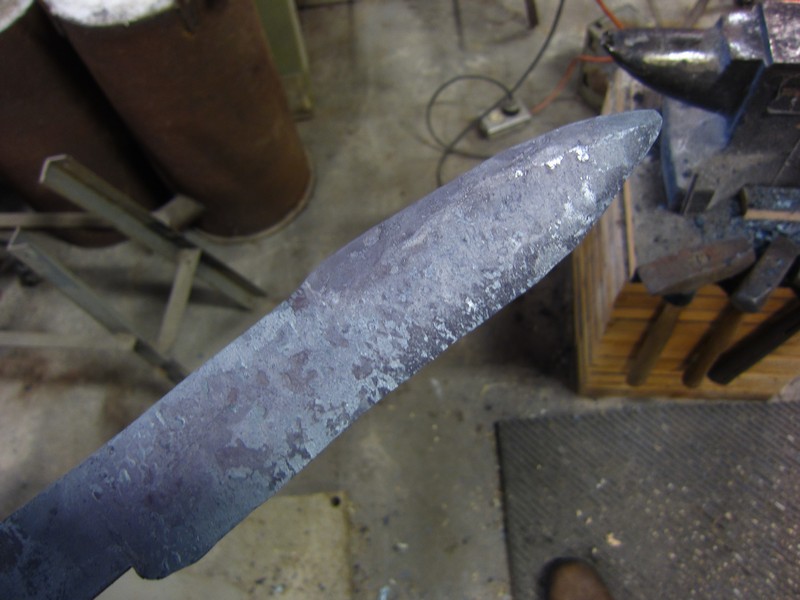
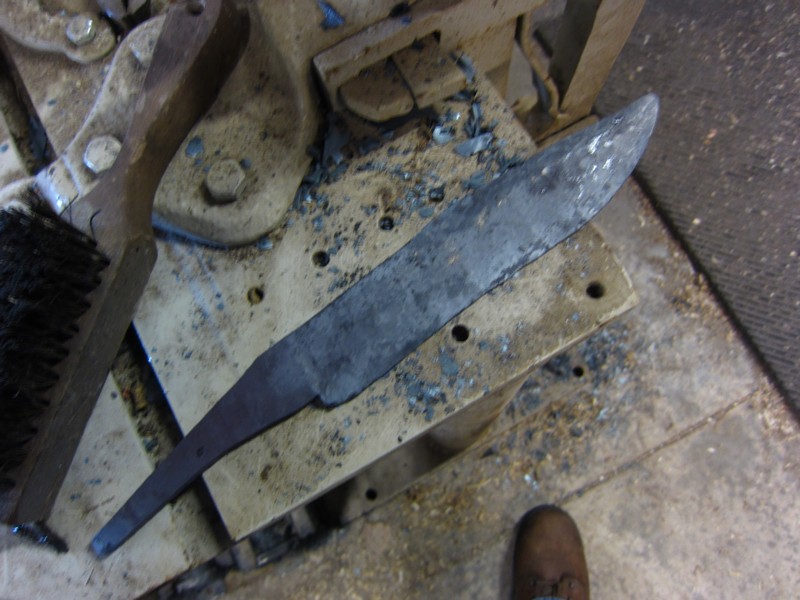
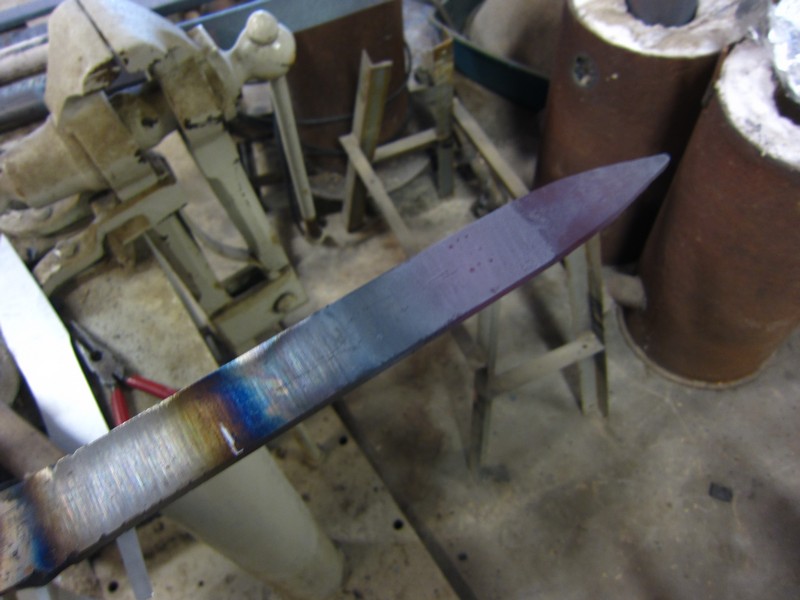
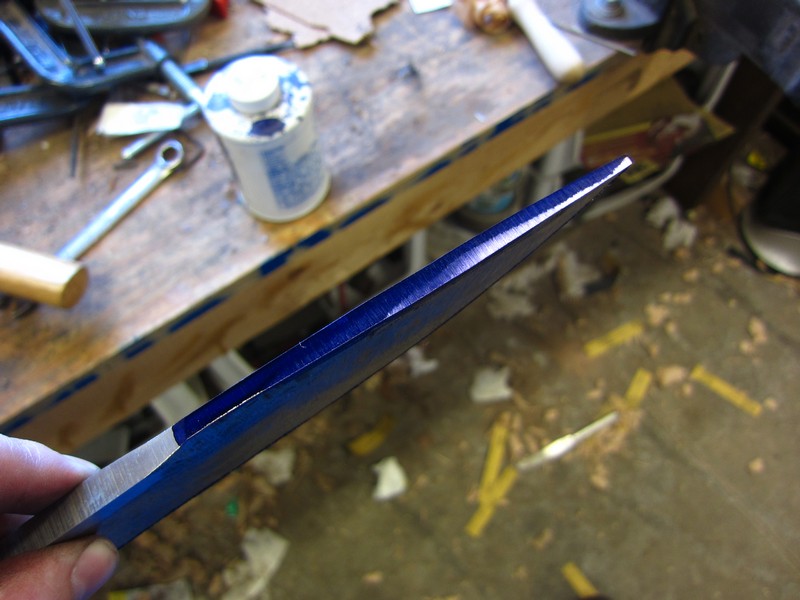
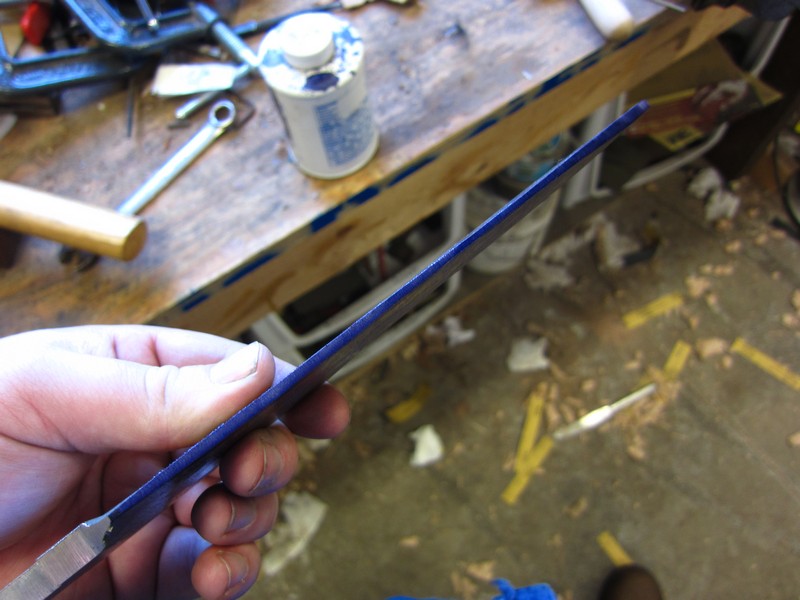
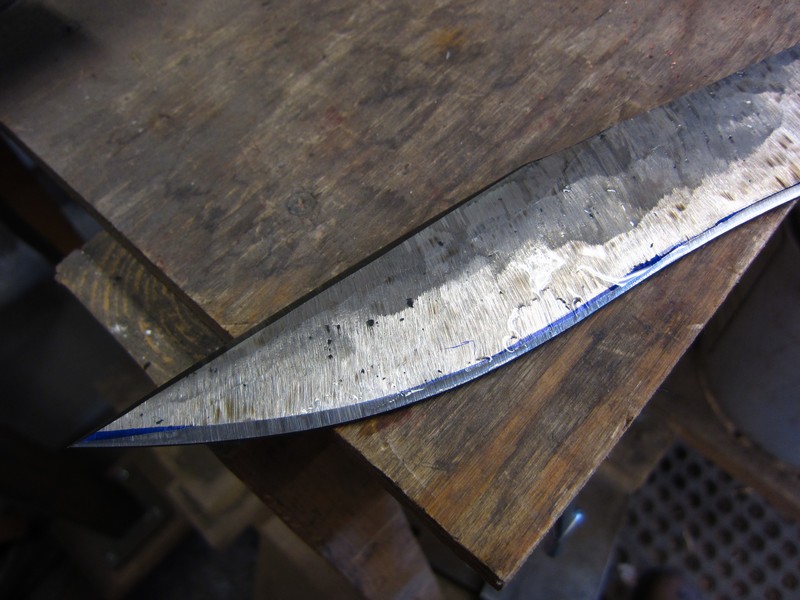
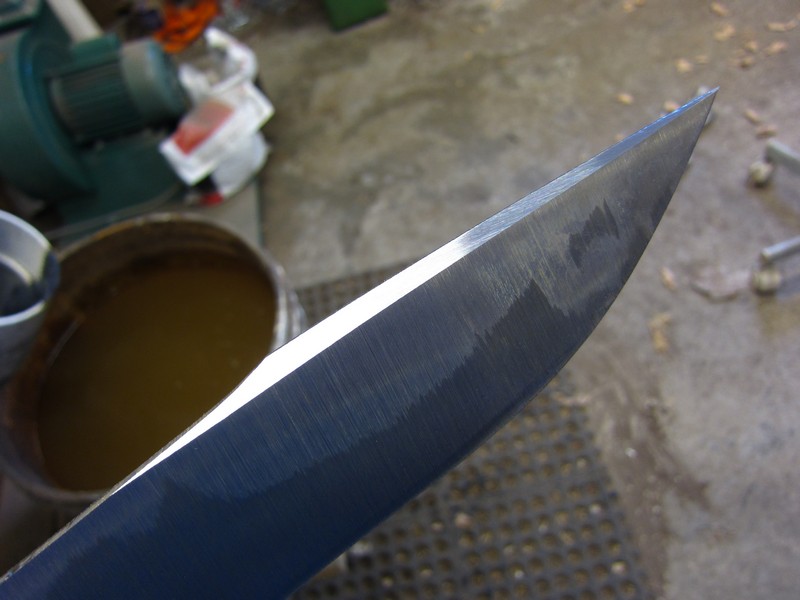
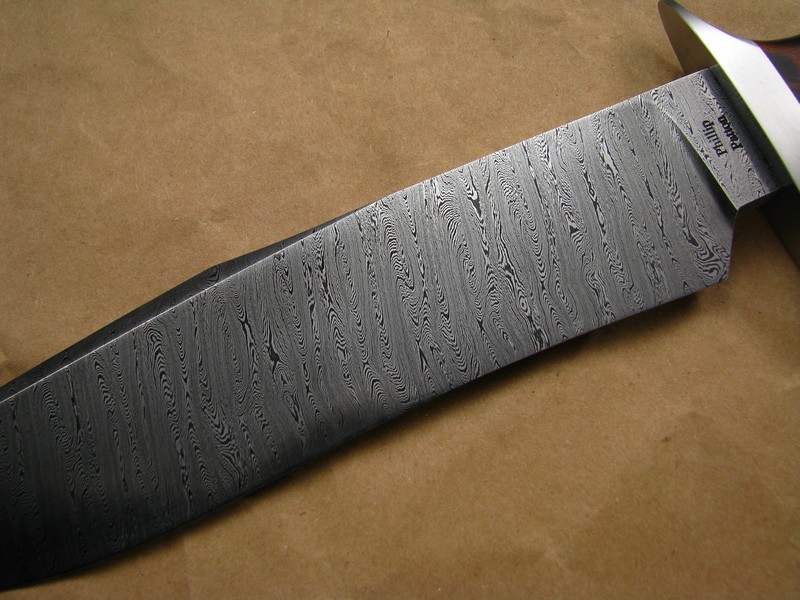
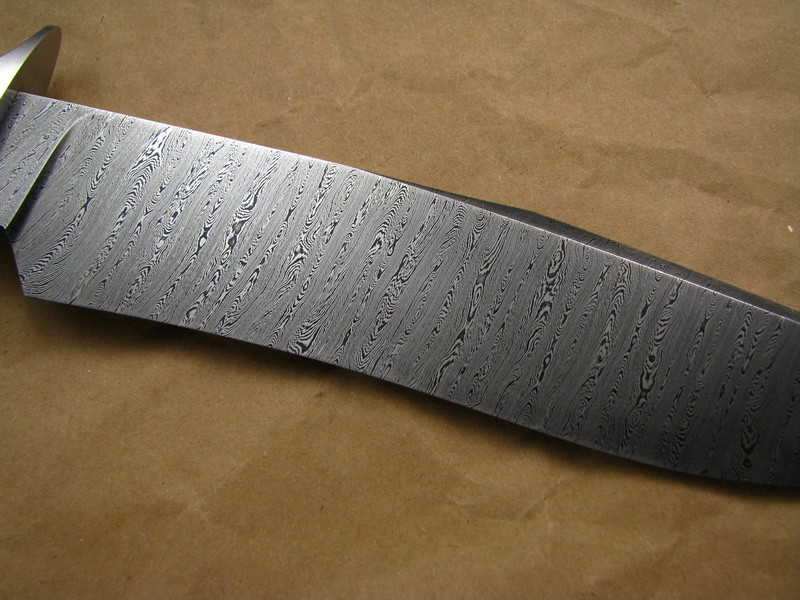
Ok, I etched the blade a total of three times for 10 minutes each. After the third etch, I rubbed the blade with the used 1000 grit paper from before, and then buffed it very carefully with green compound. It's easy to wash out the grind lines with the buffer. Also, the buffing compound tends to stick to a cold blade, so I warmed it (the blade) up on my wood stove first.
It turned out pretty well. The buffer really brings out the chatoyance: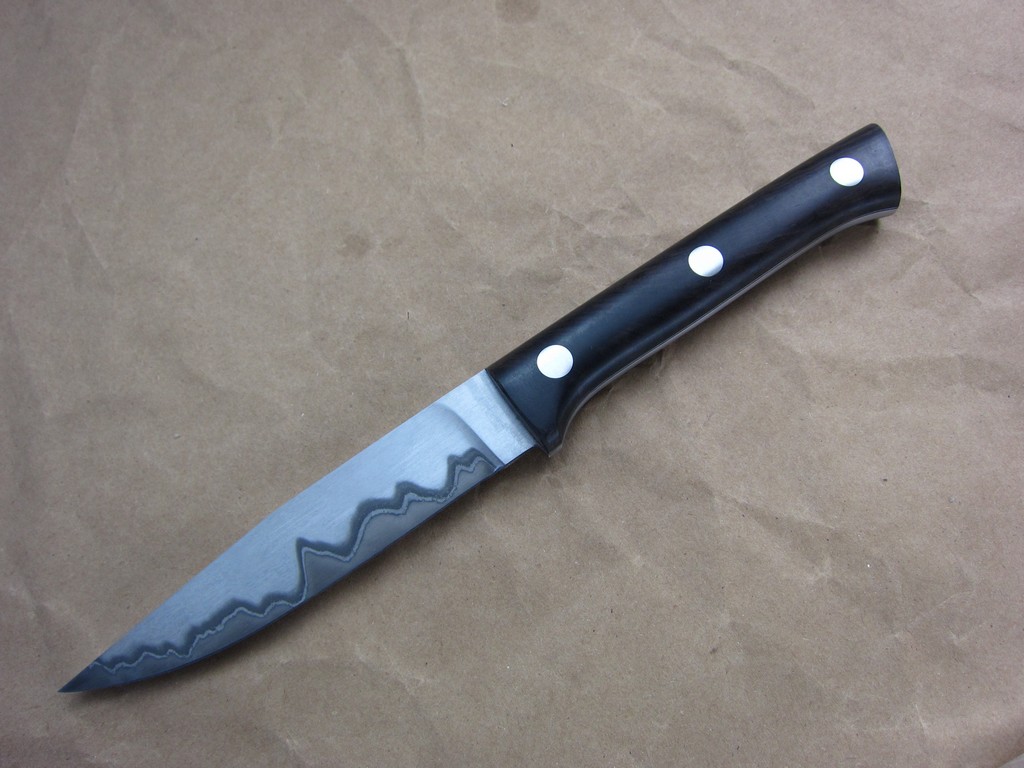
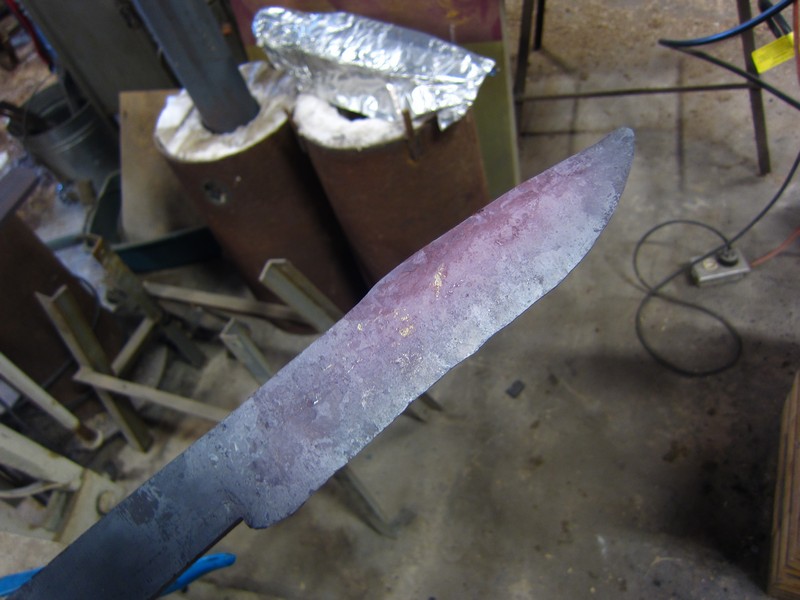
After cleaning the compound off with Goo Gone, I lightly oil the blade and then wrap with electricians tape: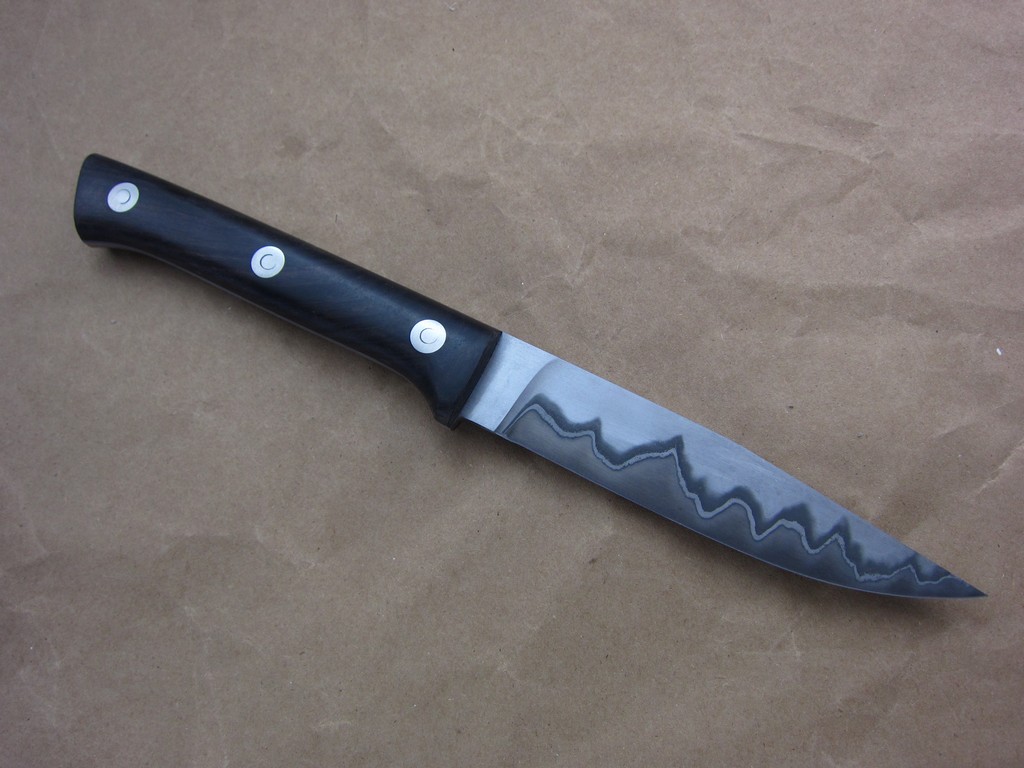
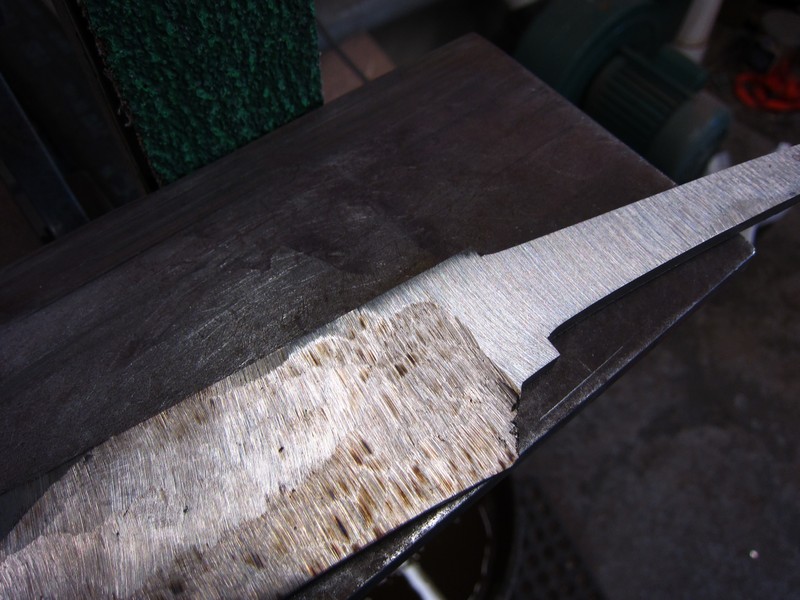
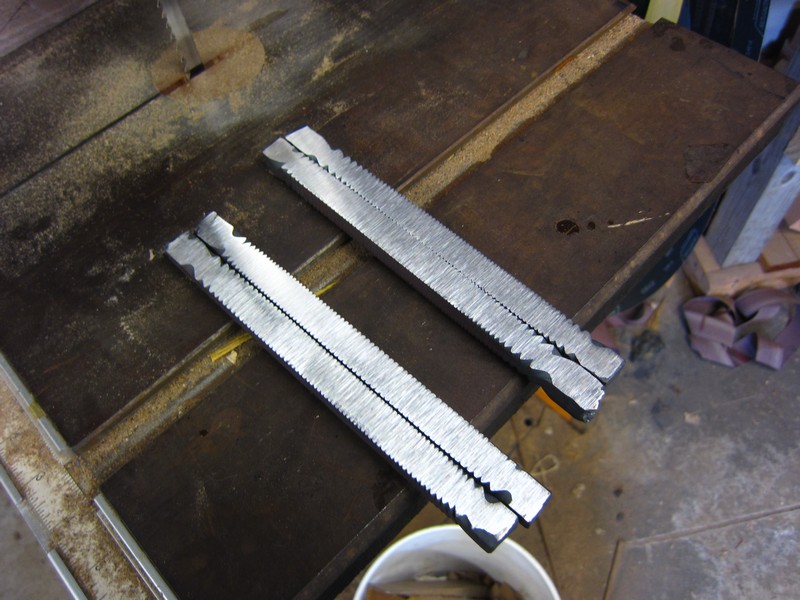
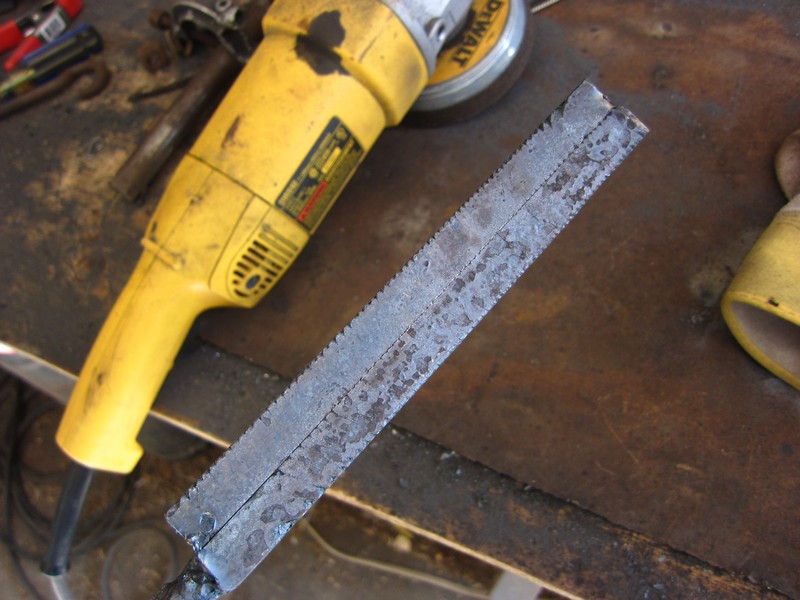
Now for fitting the guard. I'm using 416 for this one: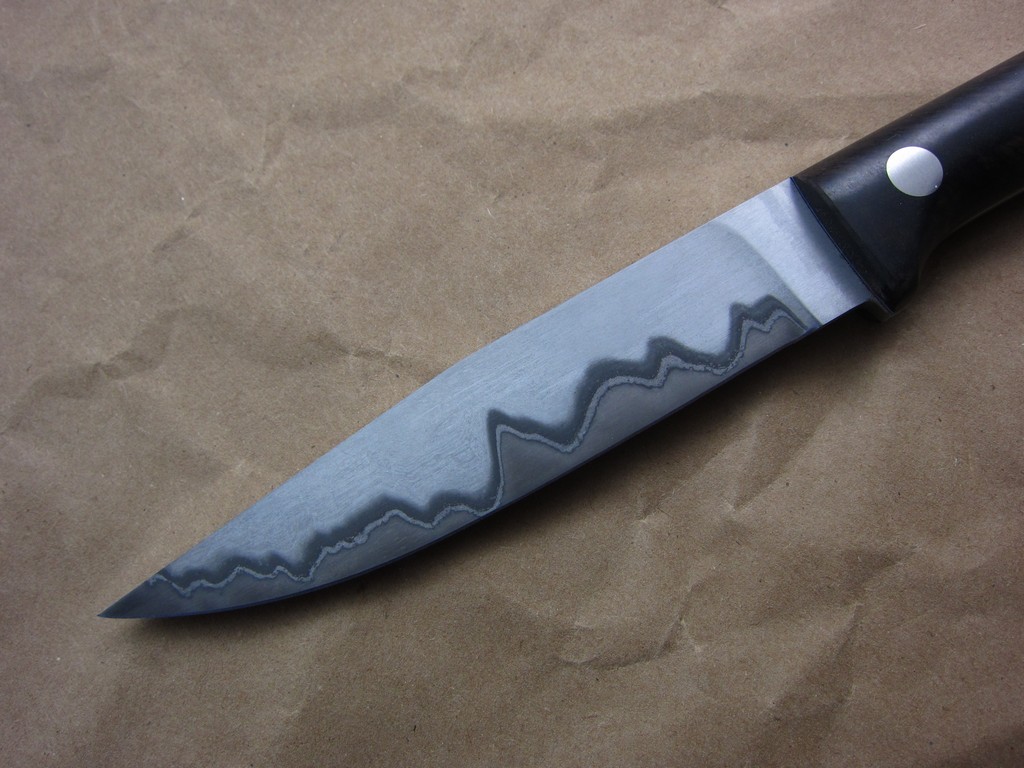
I grind it clean and flat on the disc sander, then coat one side with layout dye, then lay out the holes that will start the slot: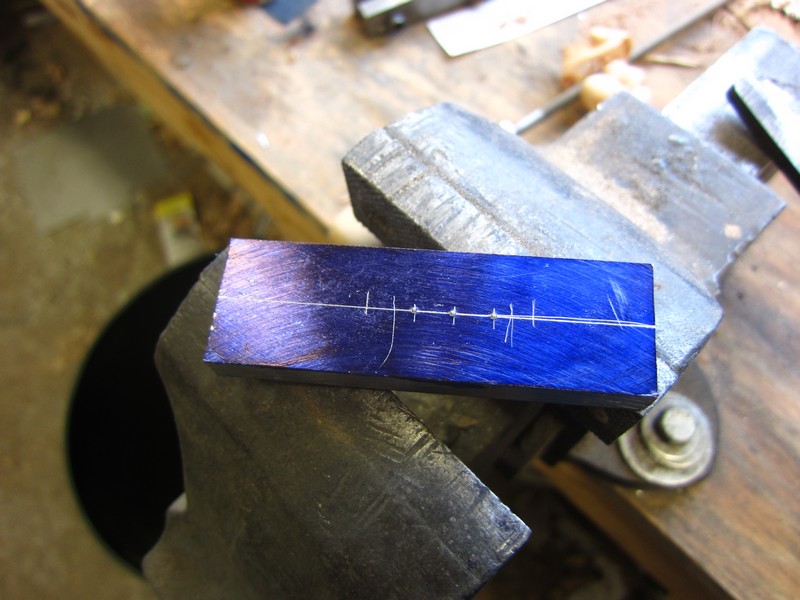
Holes drilled: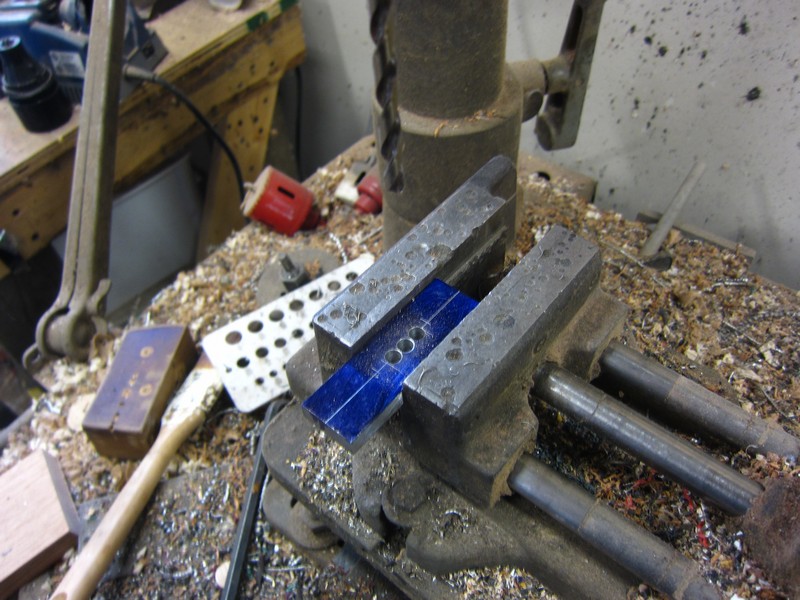
Webbing removed with a round file:
Squaring up the slot: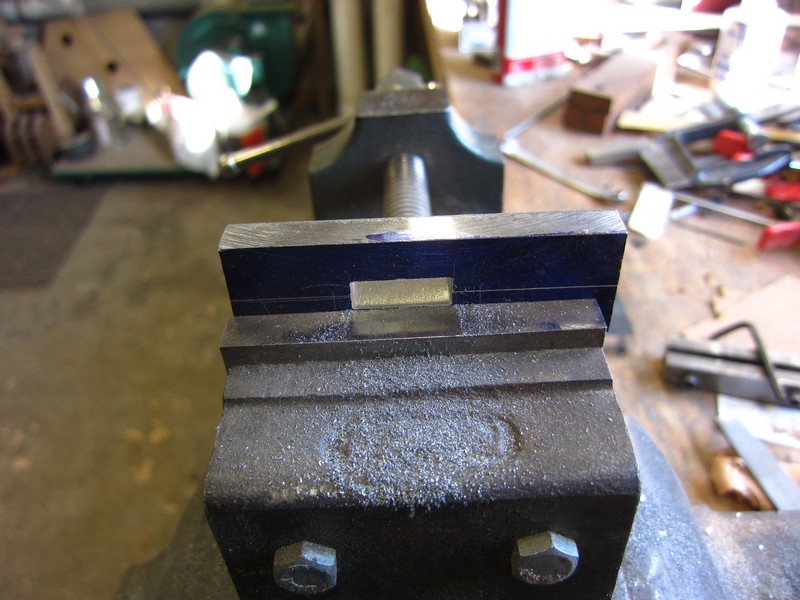
Just about there:
Close enough: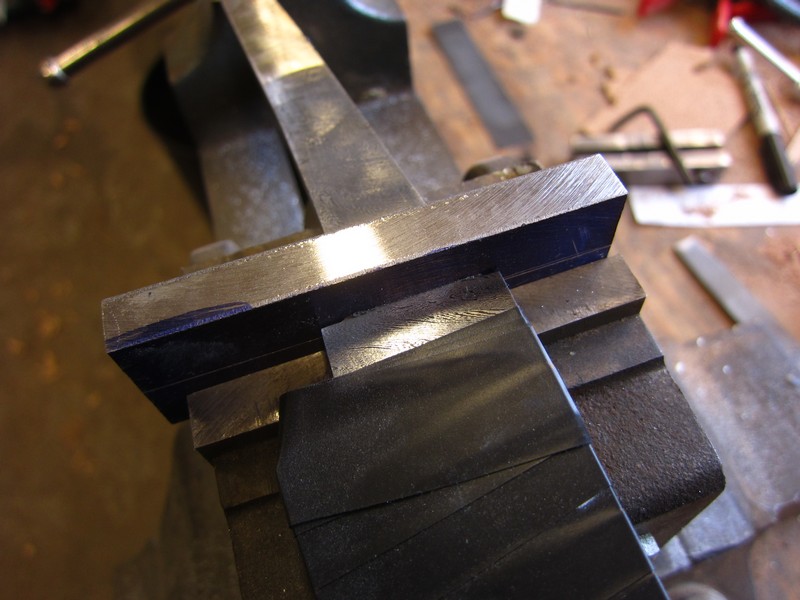
Now I peen the edges of the slot. This guarantees a tight, gap free fit.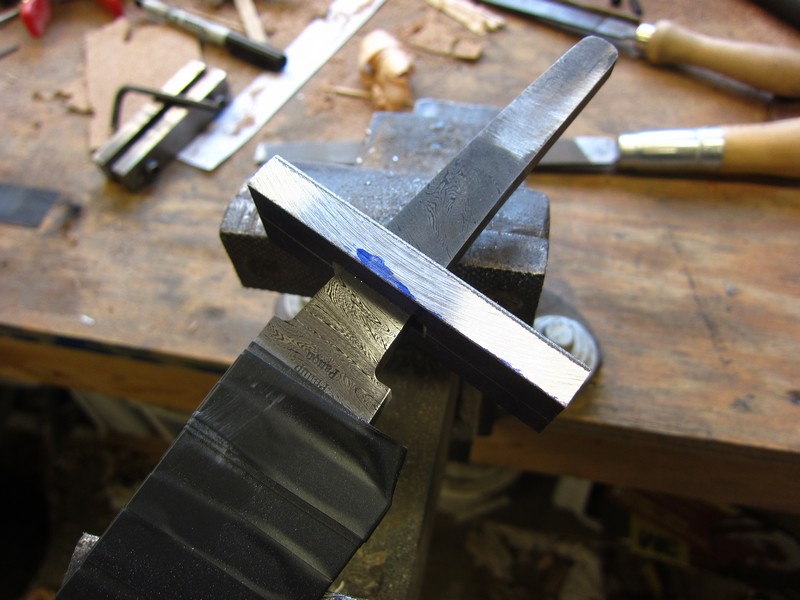
-
wow! so so cool. beautiful - thanks for all the photos:)
You're welcome. Thanks everyone for your comments!
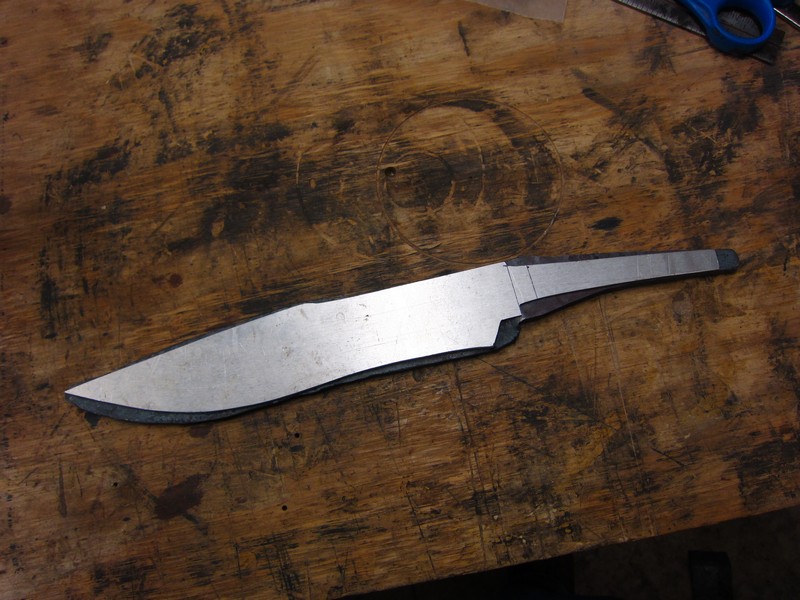
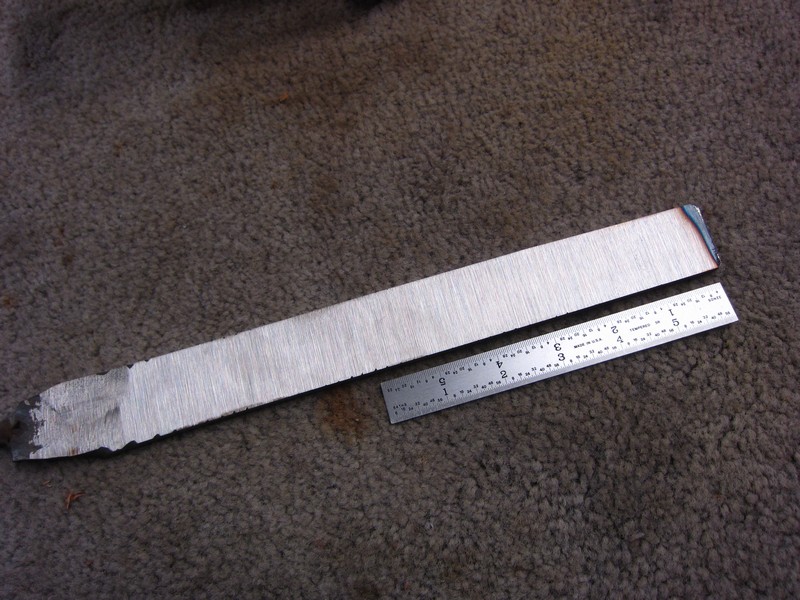
Here's what I've got done so far today:
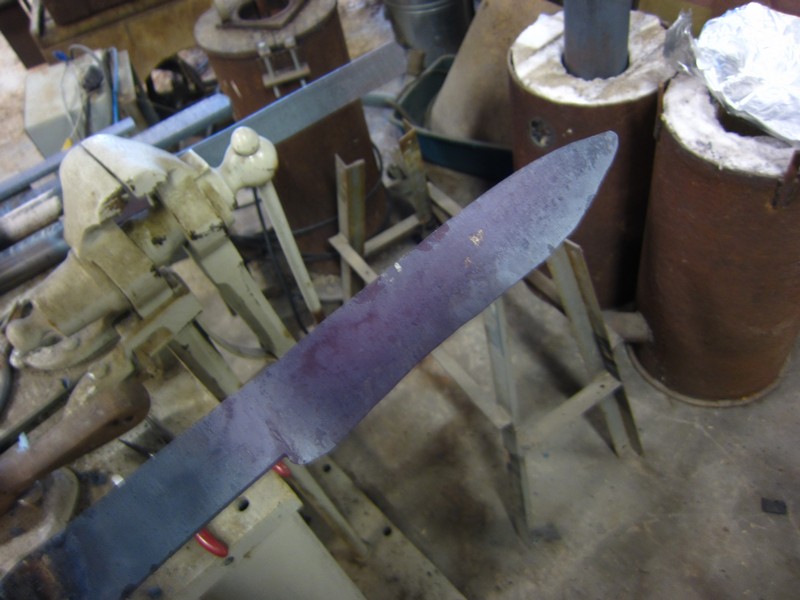
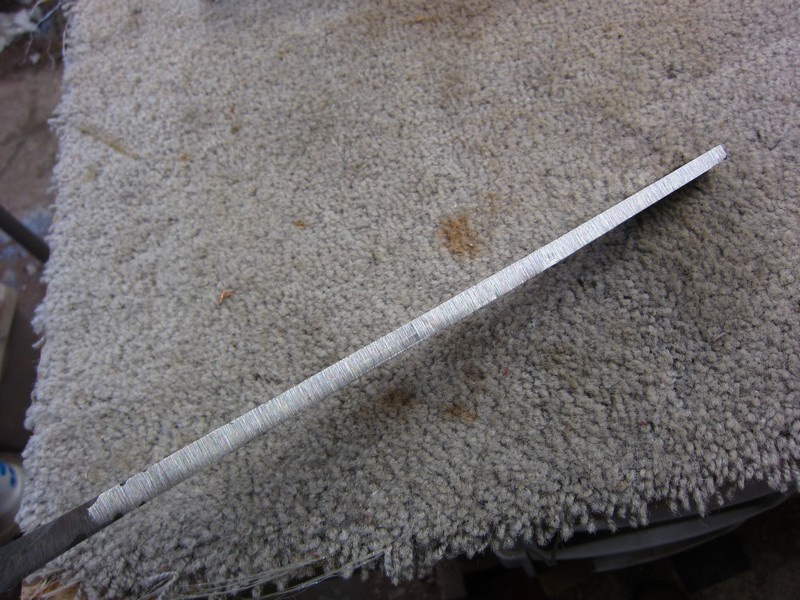
Hand sanded the blade to 400 grit: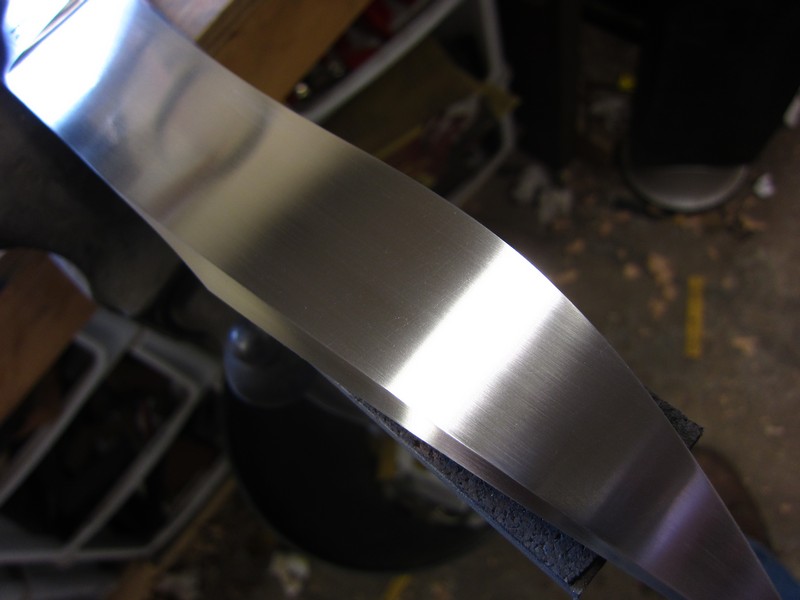
Here it is after etching for 10 minutes: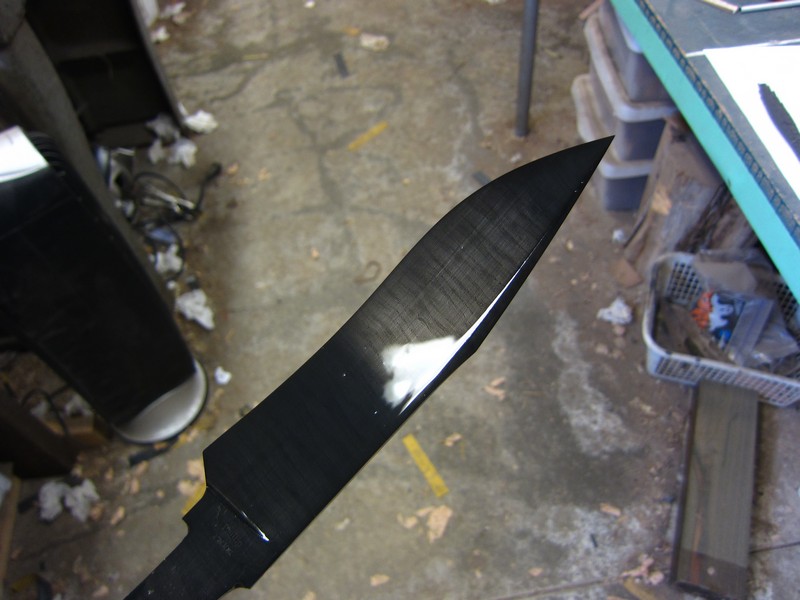
Then I sand the blade with 800 grit paper: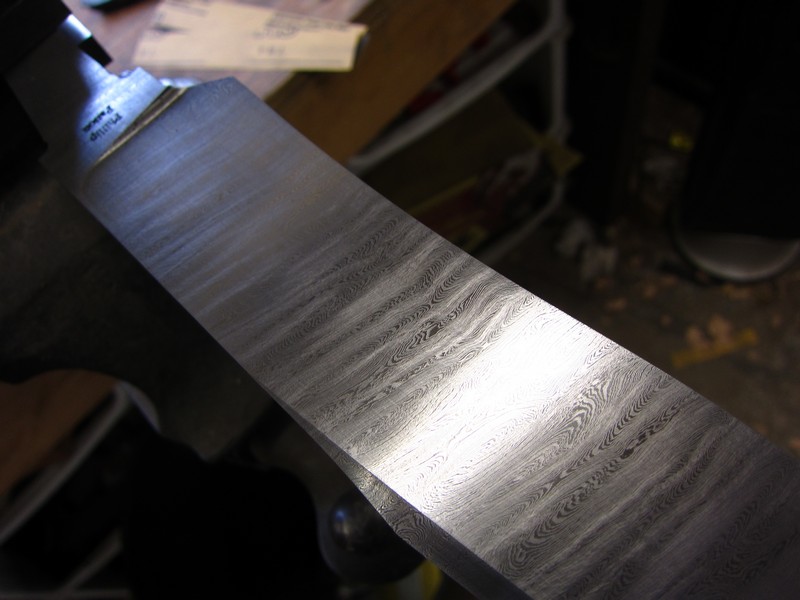
Then etch 10 more minutes and sand with 1000 grit paper: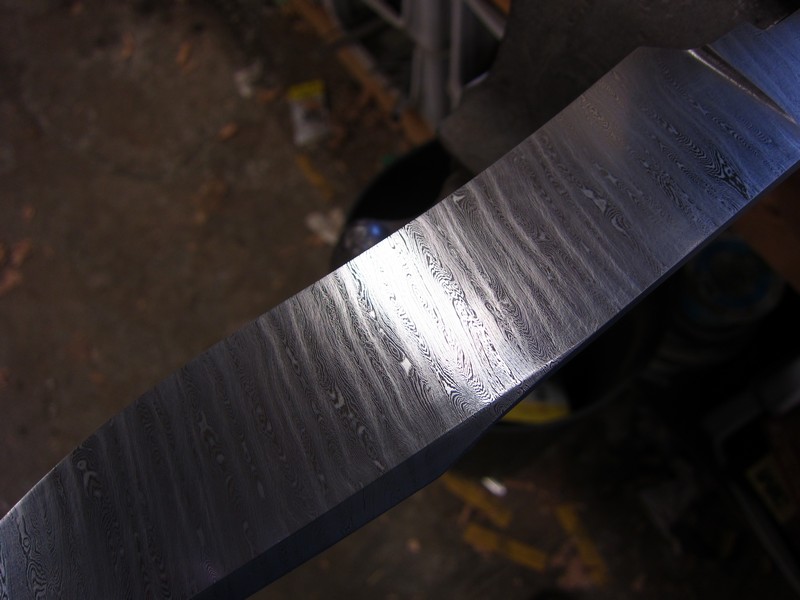
-
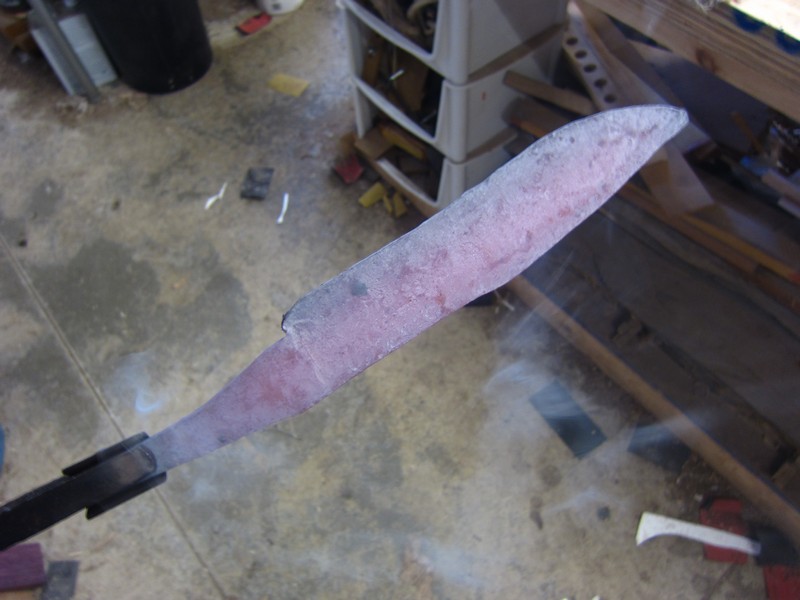
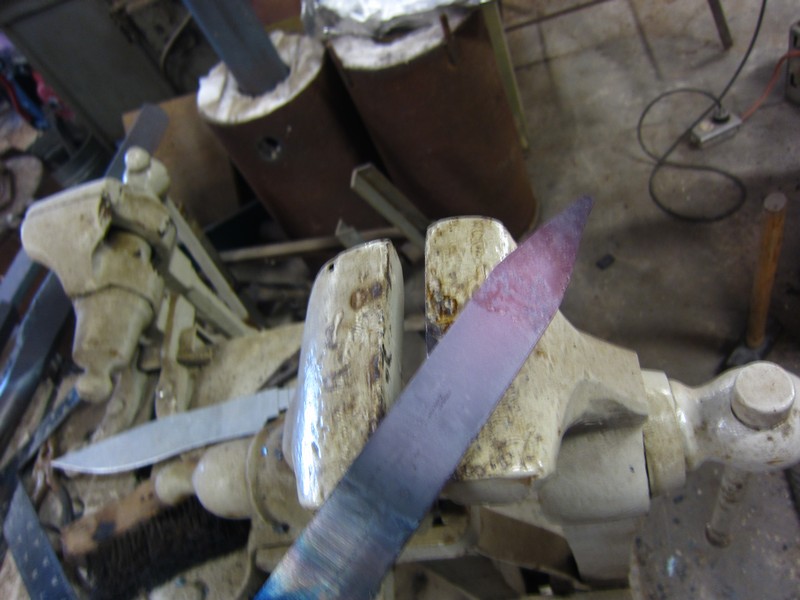
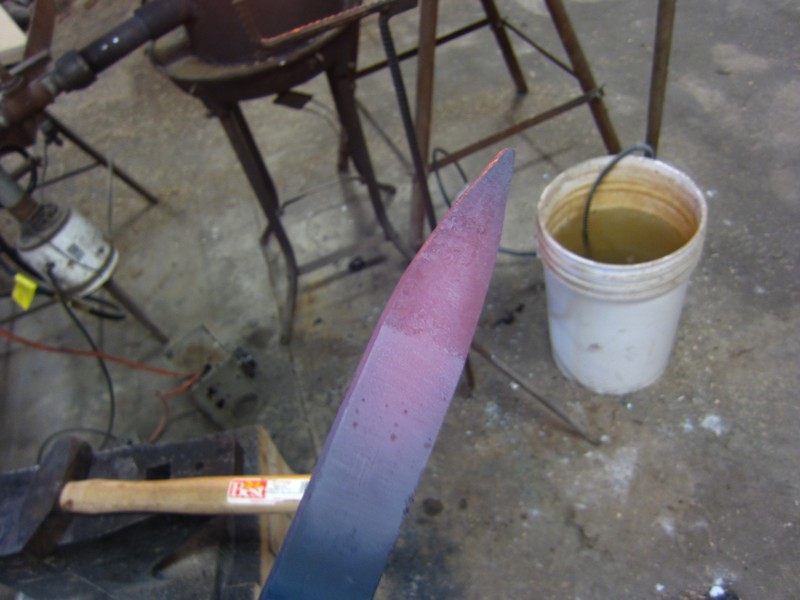
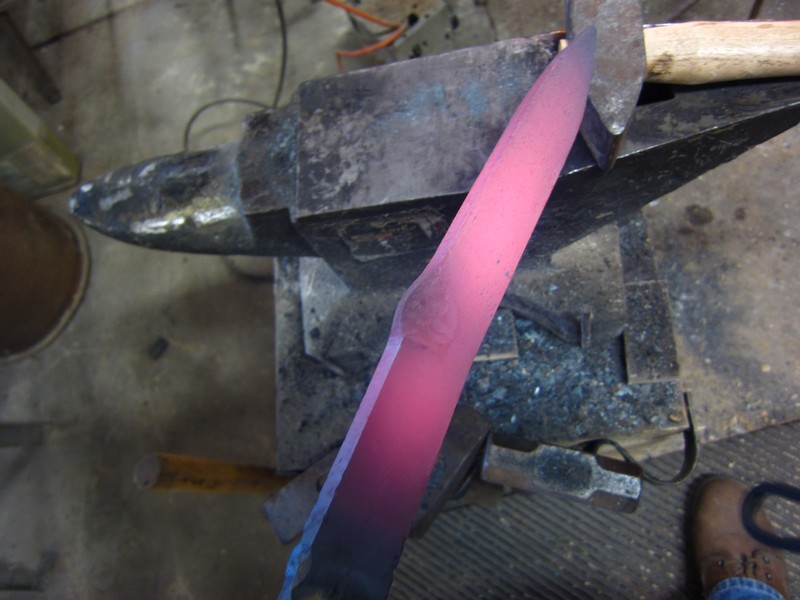
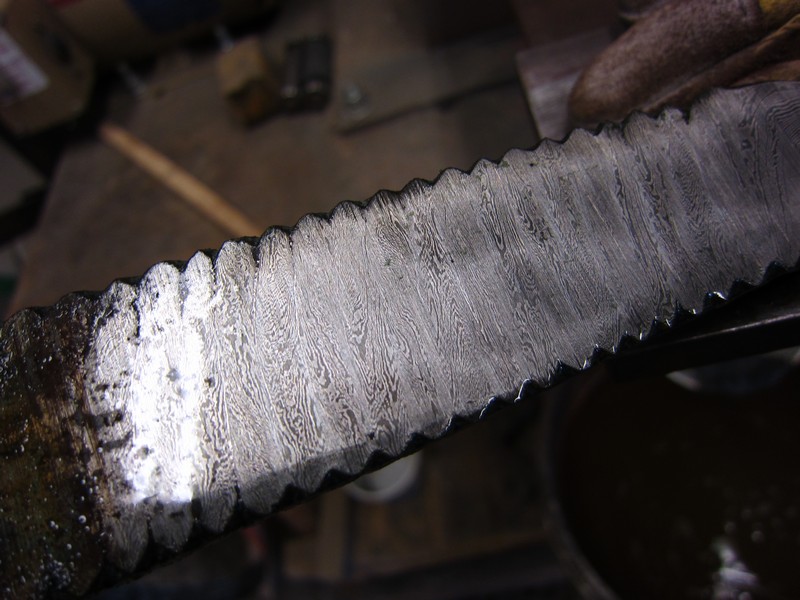
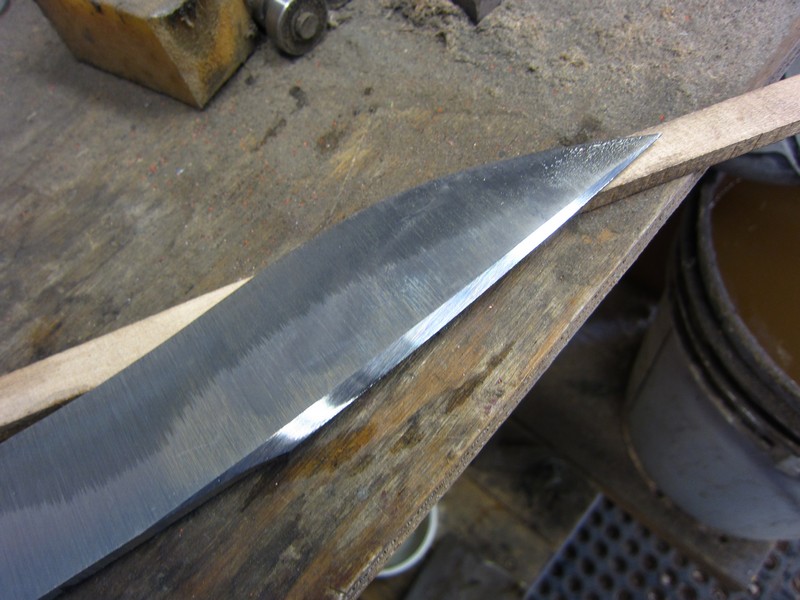
Yesterday I heat treated the blade, and this morning I re-ground it. I started to hand sand it, and decided it could use a little more tempering, so it's back in the oven now.
Here it is after hardening: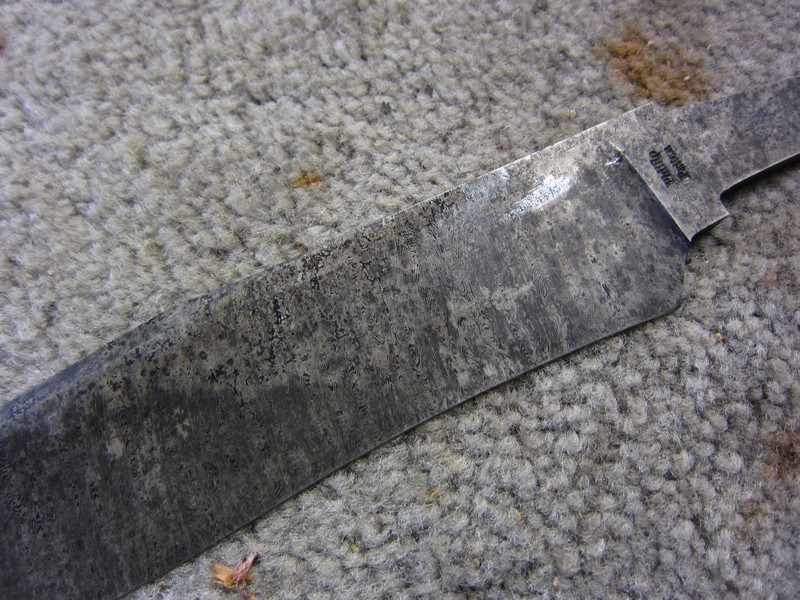
Hardness testing: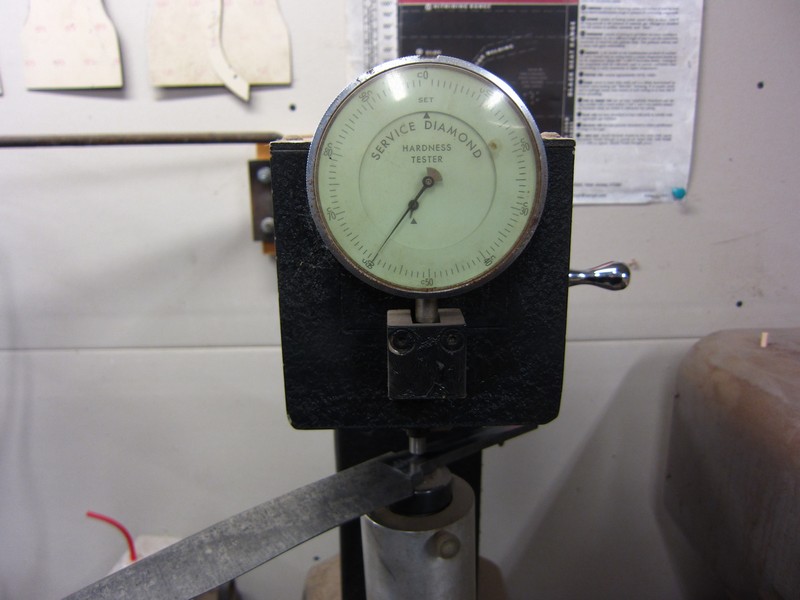
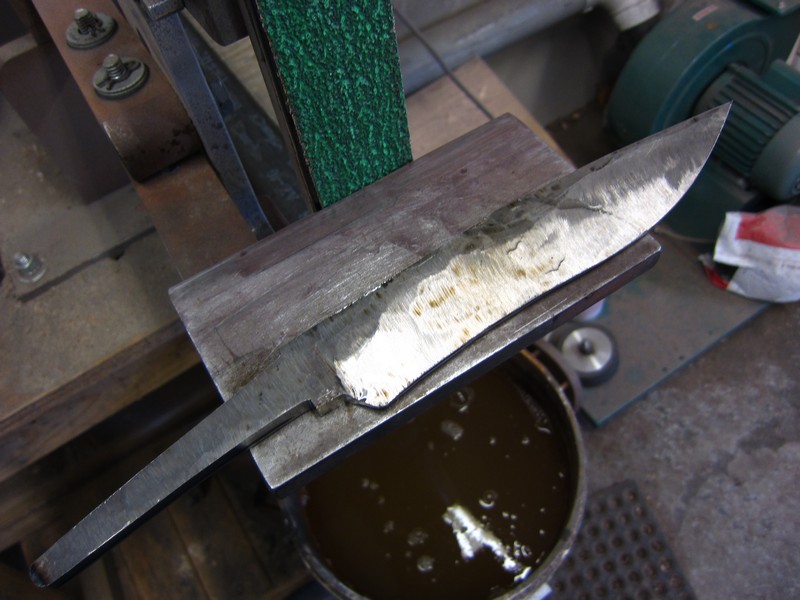
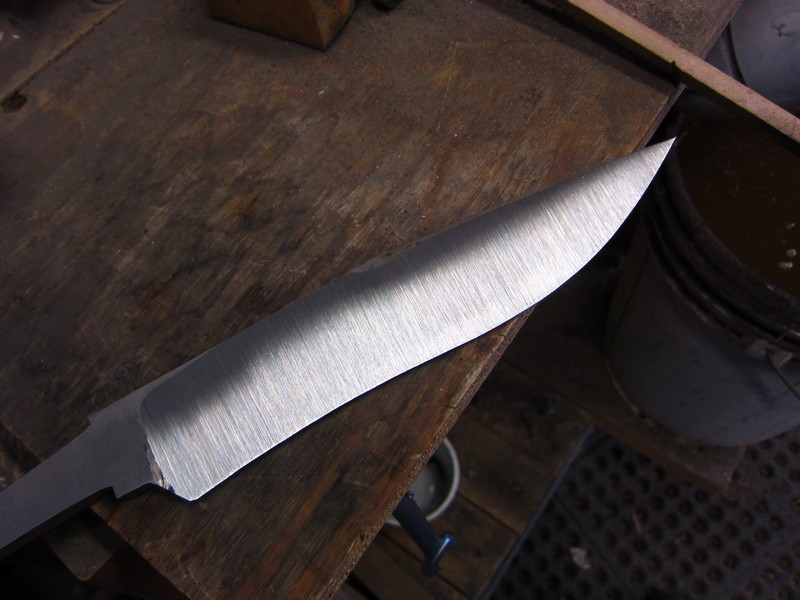
Re-grinding the ricasso and tang: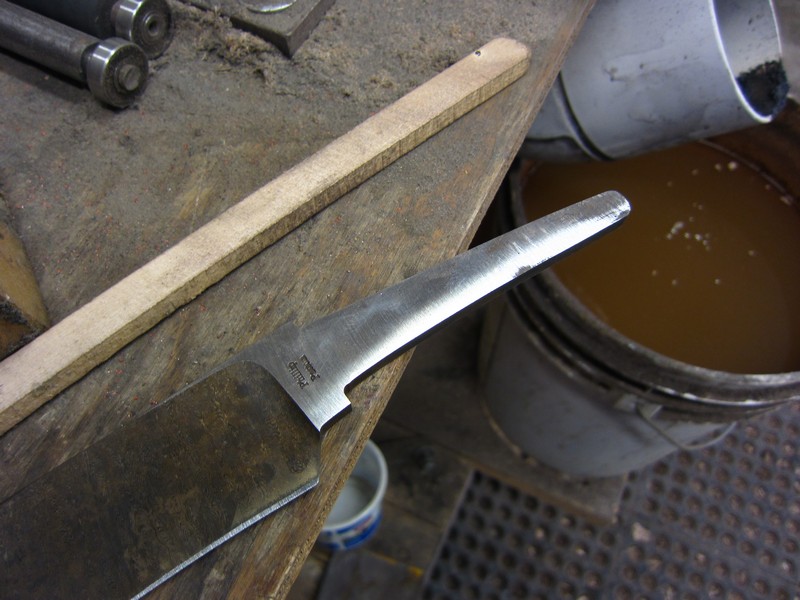
Beveling the edge prior to grinding the blade: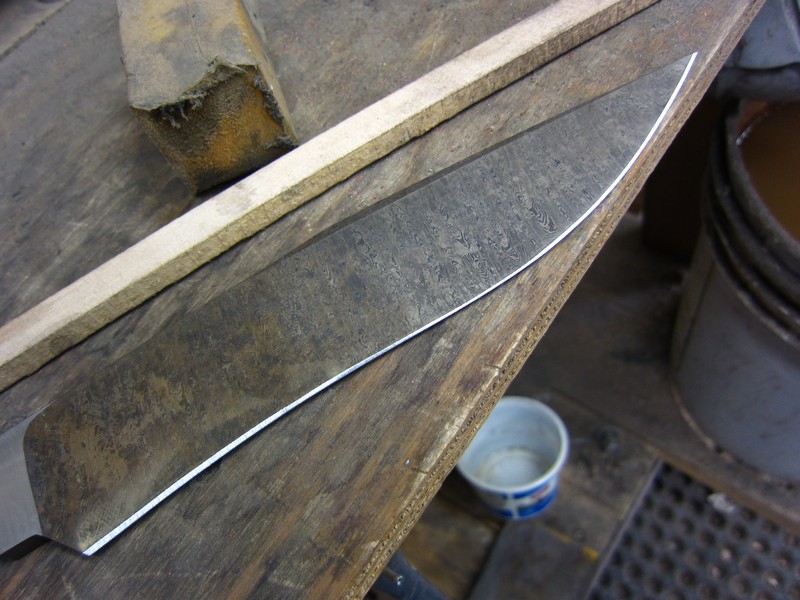
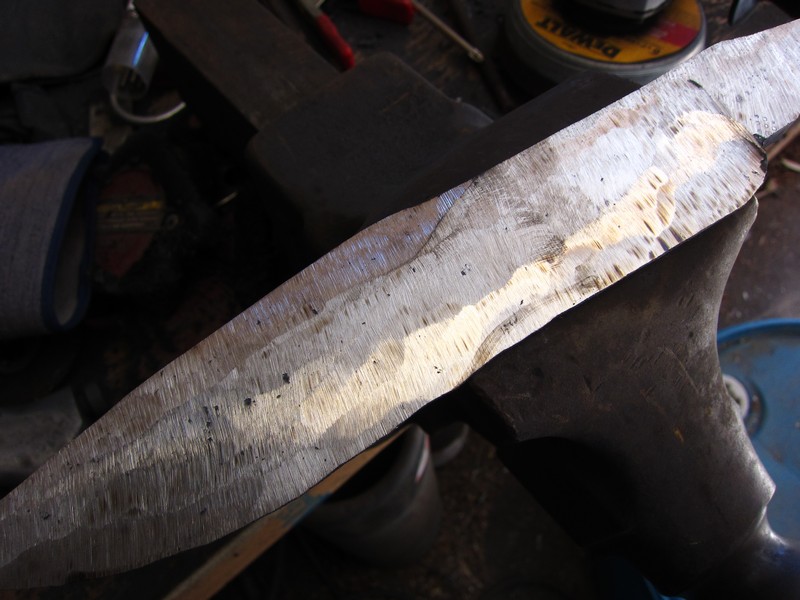
Re-ground with a 60 grit Blaze belt: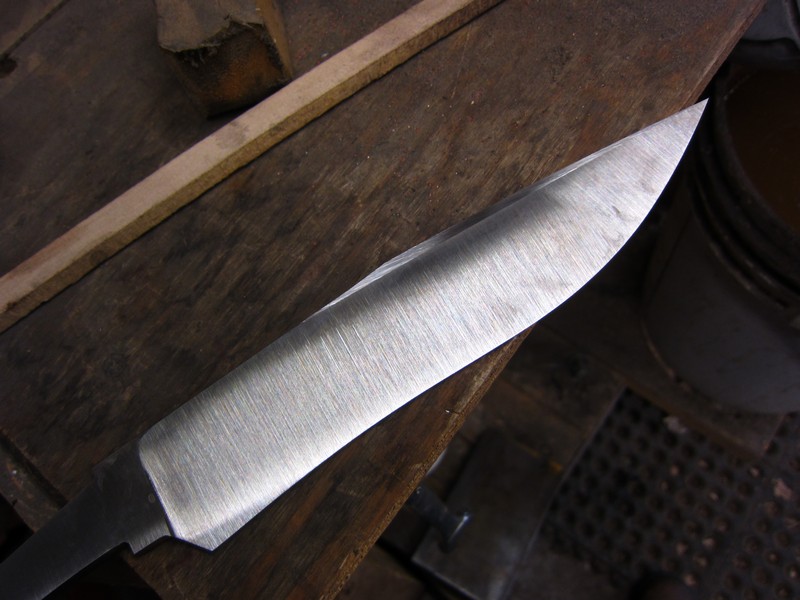
Ground with a 240 grit belt: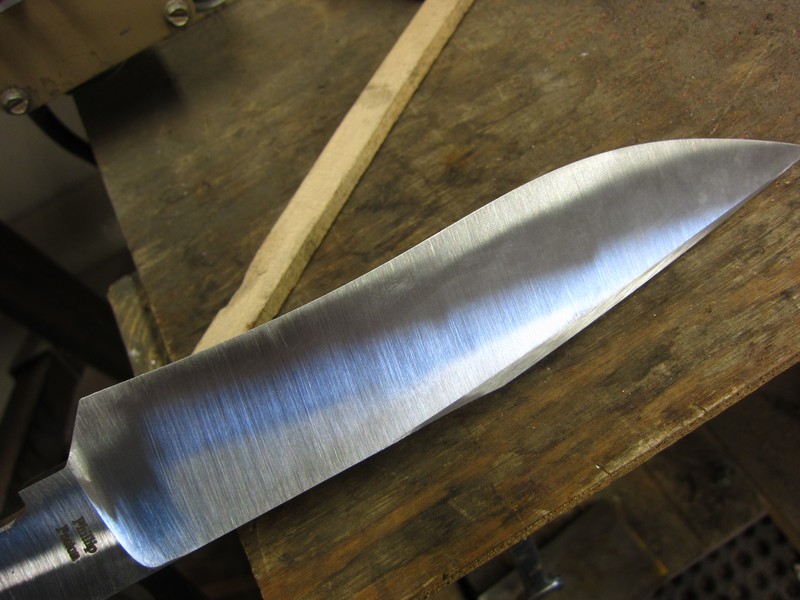
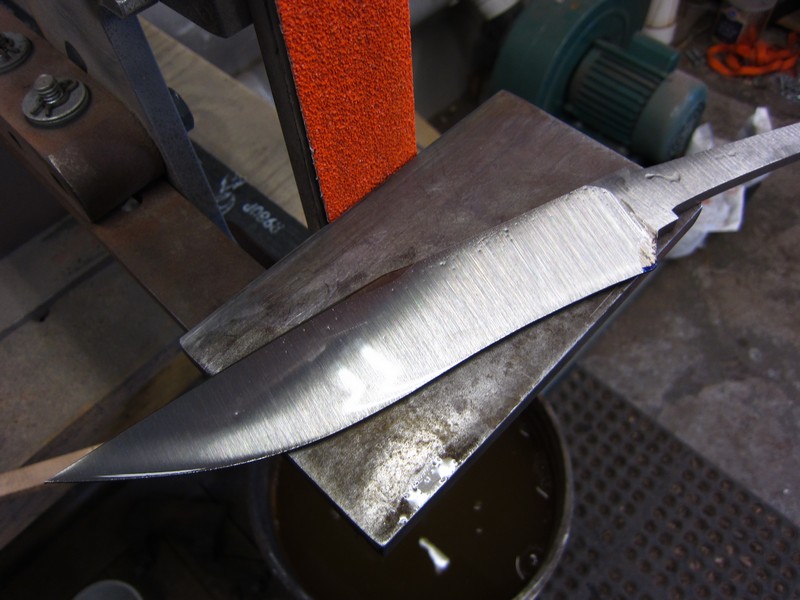
The blade in my hand sanding setup: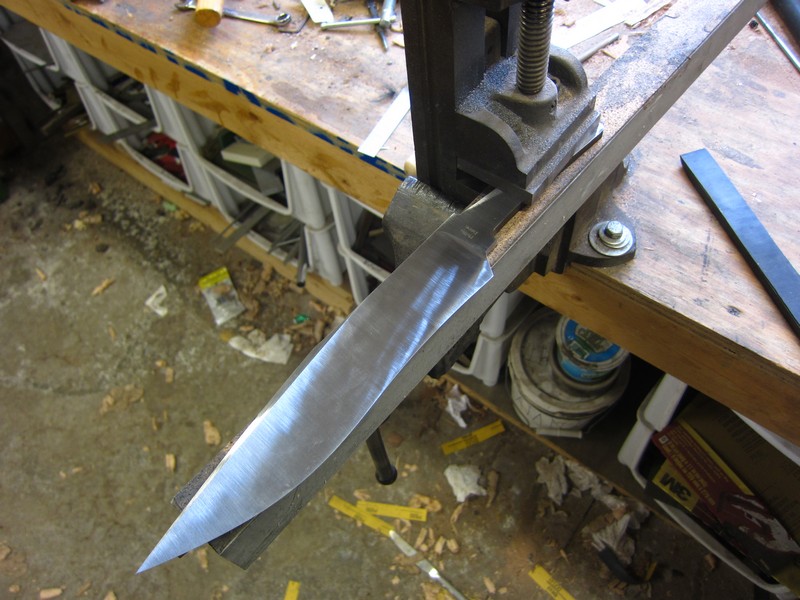
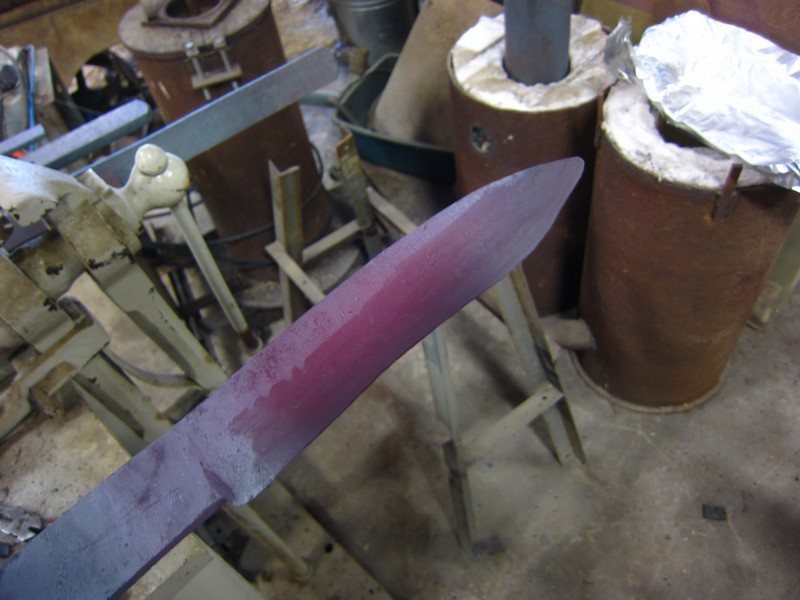
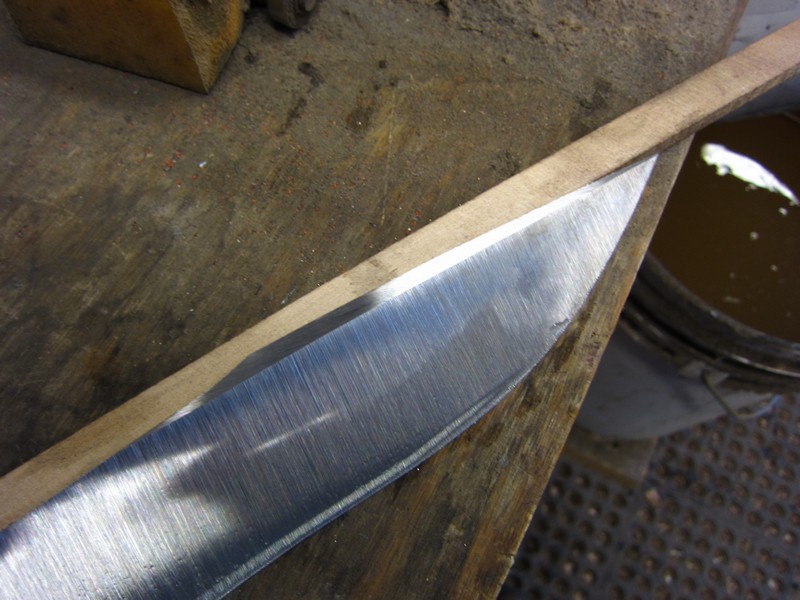
A quick etch after a little sanding with 400 grit paper: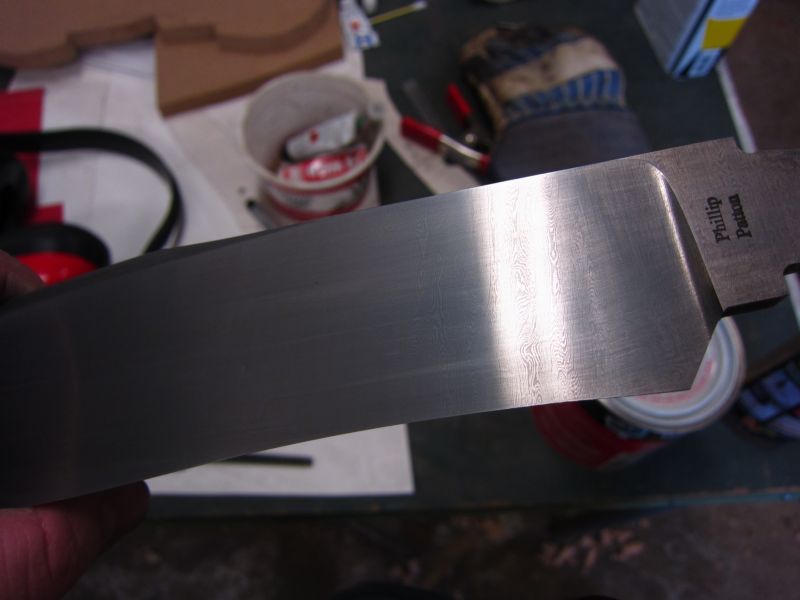
-
-
-
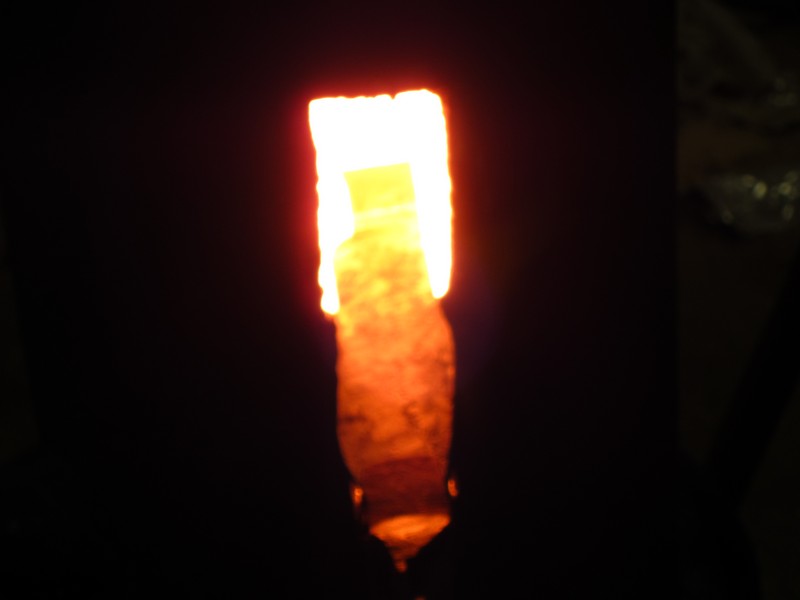
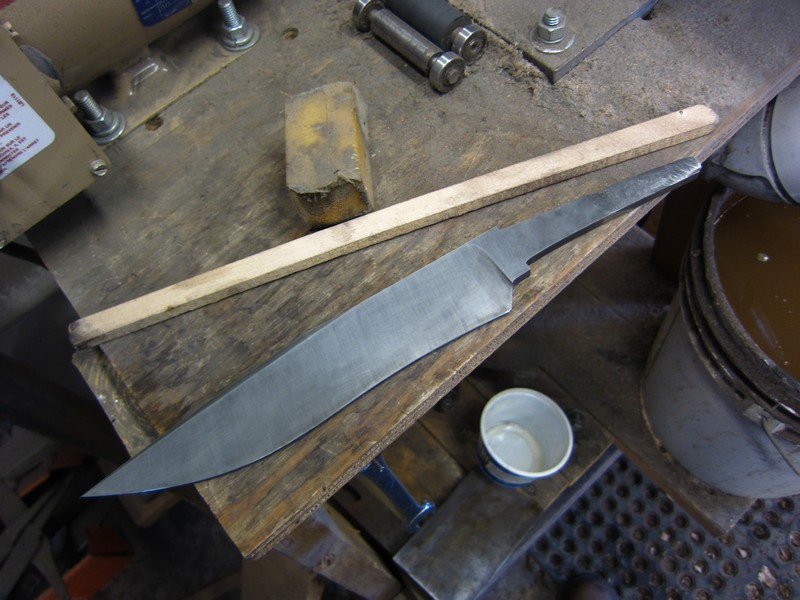
Finished forging the blade today, and also thermal cycled it, and then ground it. Just have to file the guard shoulders and stamp my mark on it, then it's ready for heat treat.
-
This reminds me of when we bought our truck this past summer. When we looked at it, everything worked. The day after we got it home, it wouldn't start, it was sitting on a flat, the cruise control quit (once we got it started) and the air conditioner needed to be recharged. LOL

That was a lot of help, eh?
When the cylinder wore out, it stopped going up and down because air was moving past the piston freely. Doesn't sound like your problem, though you could check the condition of the cylinder by taking the upper end off. It just un-bolts. Make sure there's no pressure in the system and the ram is all the way down so you can see.
It sounds to me like a valve problem. First thing I'd do is make sure the control valve is not sticking. Then make sure the 4 way (or is it 5 way?) valve isn't sticking. Take the hoses off and squirt some oil in.
The small control valve was sticking last year, so maybe it's acting up again. I hope that's it.
Edit: Bob posted while I was typing. What he said. :P -
Hey well, tried to use the hammer some today!
I've got some issues with it that I am sure are a matter of adjustment, but I'm just not sure what the adjustment would be.
It is still hitting sporadically in a random pattern.
Like:
bam, bam, BAM, bam bam bam, BAM, bam, BAM, BAM,.......
This makes taper work impossible, because once the metal gets small, if the hammer hits heavier you ruin your piece! Ask me how I know! LOL
This is not a foot pedal operator eror! While I haven't had a whole lot of power hammer time, I can control them steadily. (Saymak, big blu, little giant, and tire)
Here is a video of the hammer running briefly! Notice how some hammer blows are heavier while some are lighter.
I sure hope this isn't an air feed problem. My feed lines are as follows.
From the tank there is about 60' of 1-inch SCH 40 PVC piping, directly to the hammer. There is a 6' section of 3/8" air-hose that connects the main supply line to the hammer. All of the air supply pipe and arbours are also 3/8". These are the connections that Mr. Philip had on the hammer, and I did not notice this problem when I ran it at his place.
The compressor is cutting off at around 125 PSI and kicks back on between 90-100 PSI. The supply pipe comes directly out of the tank.
Please help me out here.......need to get this thing up and running 100% ASAP!
Thanks!
First thing I'd do is put that block heater I gave you on the plate that the 5 way valve is mounted on. If the temps are below freezing, it doesn't run as smoothly as in warm weather. -
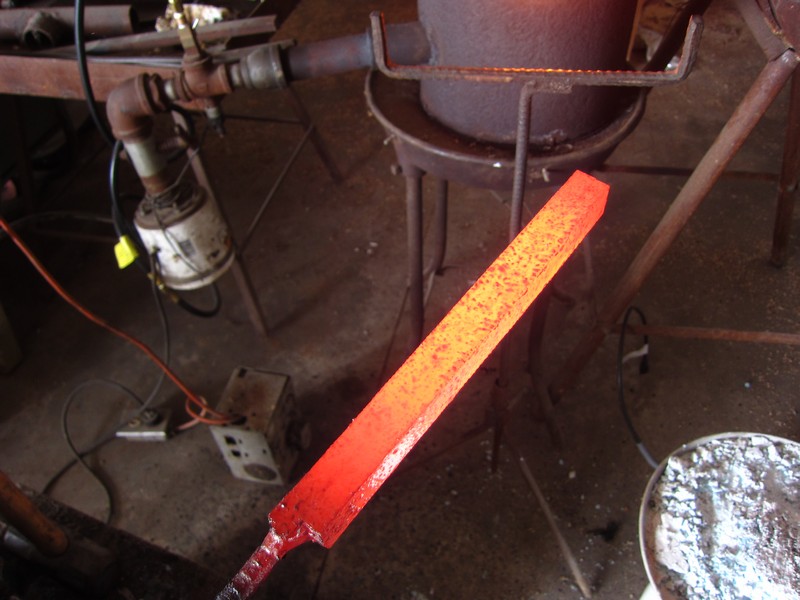
Some pics of the forging:
It's not quite done yet. I'll finish it next time I have the forge fired up... -
Looks like you have it well planned out!
"If you fail to plan, you plan to fail."
Really, every knife I forge gets a template, and a drawing. Some people can seemingly whip out a really nice knife with no planning or forethought, but that doesn't usually work for me. I like to know where I'm going and how I'm going to get there. :) -
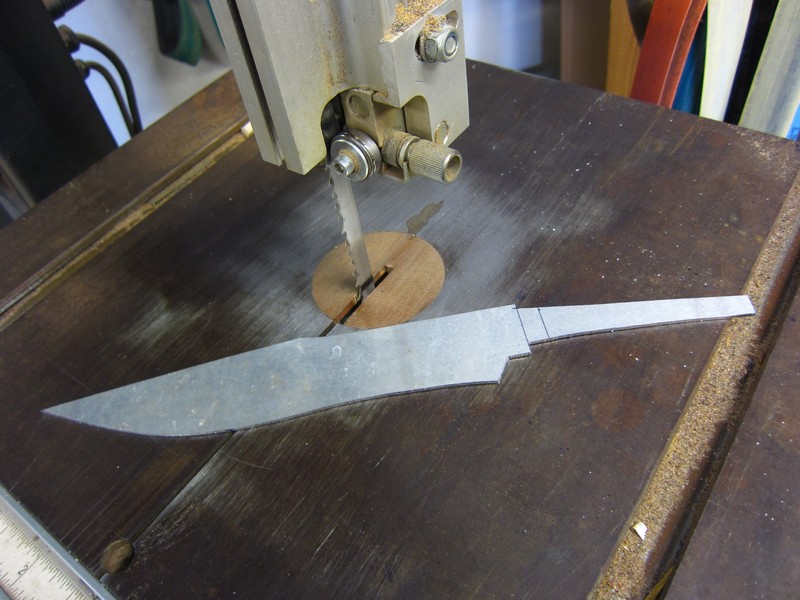
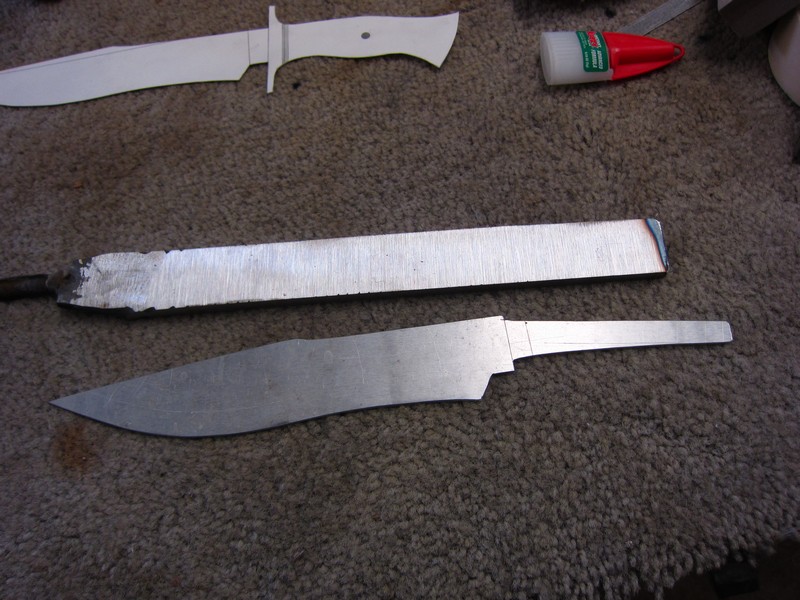
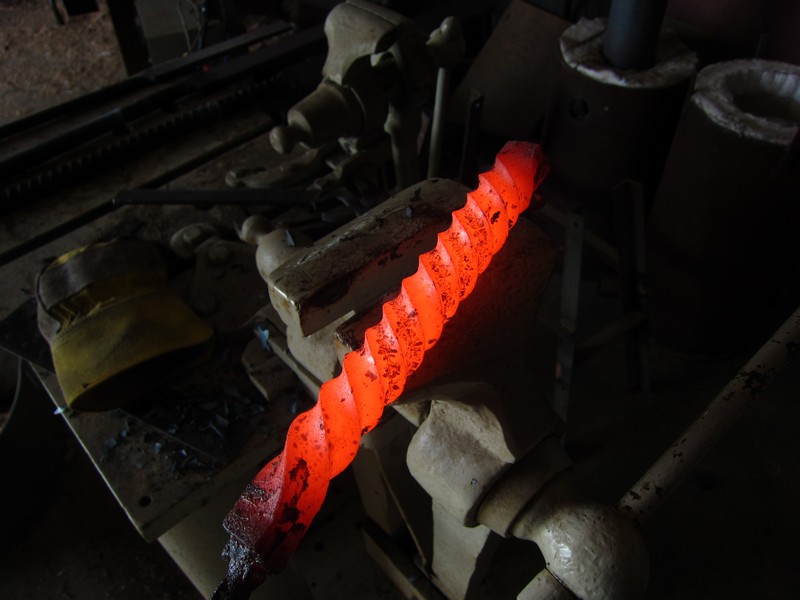
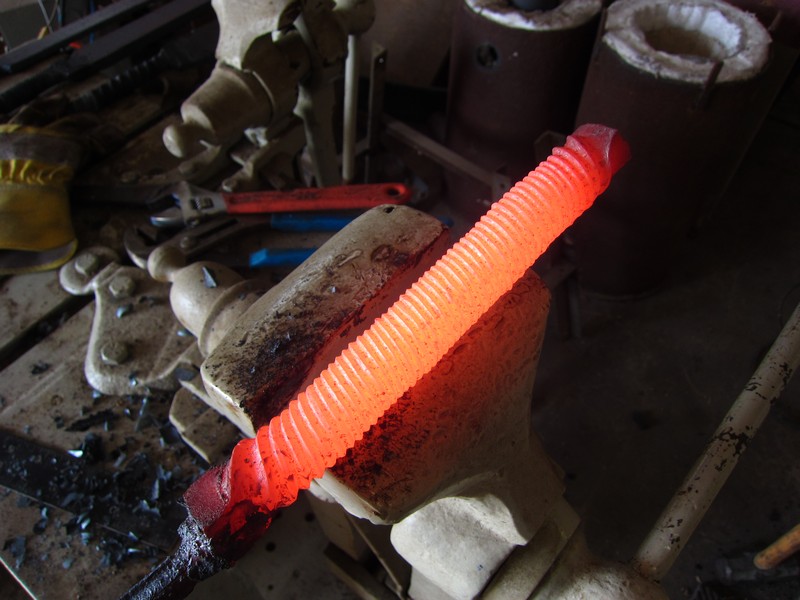
Well, I think today's the day for forging. But first, I need to make an aluminum template, which I did yesterday:
I also welded a sturdier handle onto the billet: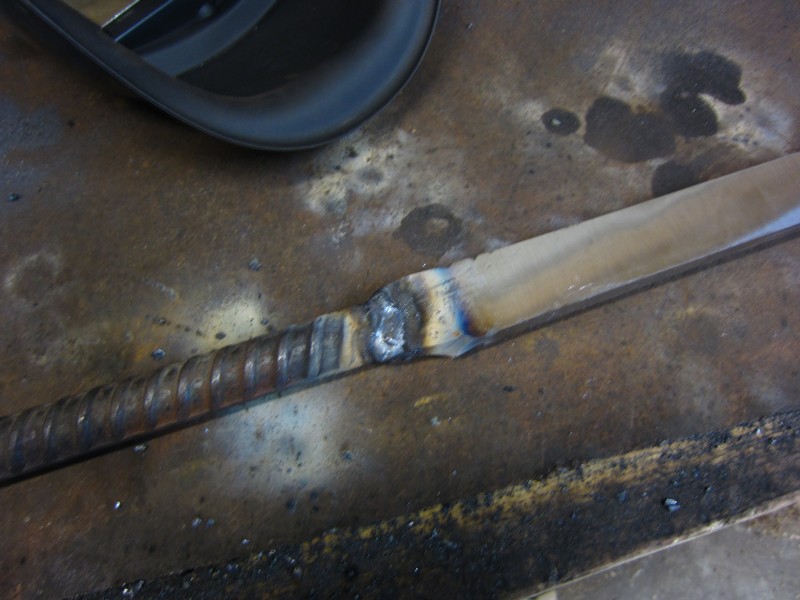
-
I suggest you switch to propane.
Sorry, couldn't resist.
Seriously though, I remember seeing a directory of coal suppliers. I think maybe it was on Don Fogg's forum or website. Anybody know?
Edit: I found the list. It's on Anvilfire.com Scroll down until you see the link to the
"The Coal Scuttle". Here's the listings for Georgia:
Aetna Coal, Brown’s Siding, Wildwood, GA. Call James Lynn at (615) 821-5433 between 7:00 AM and 4:00 PM. Ask for metallurgical coal.
Buck Ice & Coal Co., 2400 Twelfth Avenue, PO Box 1457, Columbus, GA 31902-1457, TEL: 706-322-5451. Sell Bituminous coal in fifty pound sacks and also by the hundred weight (1000 pound minimum on loose coal).
Jimmy Johnson, Rt. 5, Union Hill Road, Canton, Georgia 30114. TEL: (770) 479-8627.
GA Farriers Supply, 2891 Upper Bethany Rd, Jasper, GA 30143. TEL: (770) 735-3984 -
Here's what it looks like after soaking in HCL for a couple days:
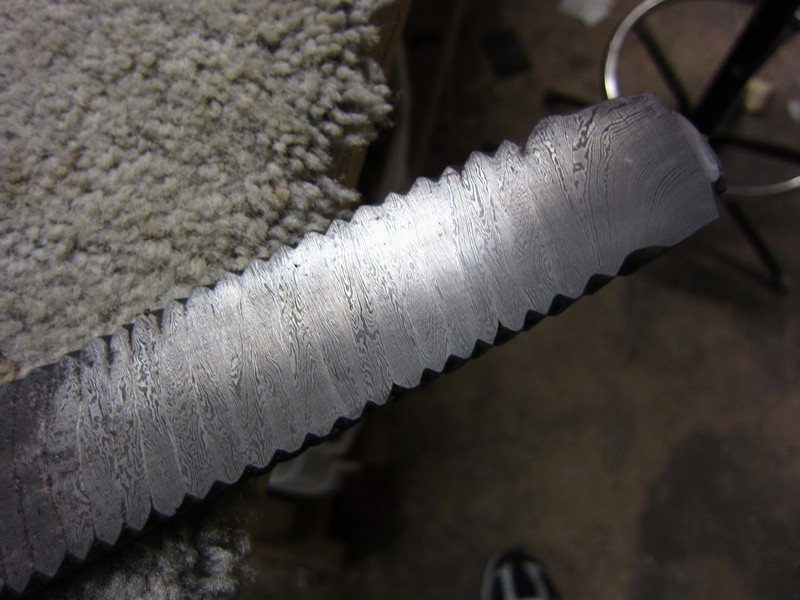
After angle grinding down to bare metal: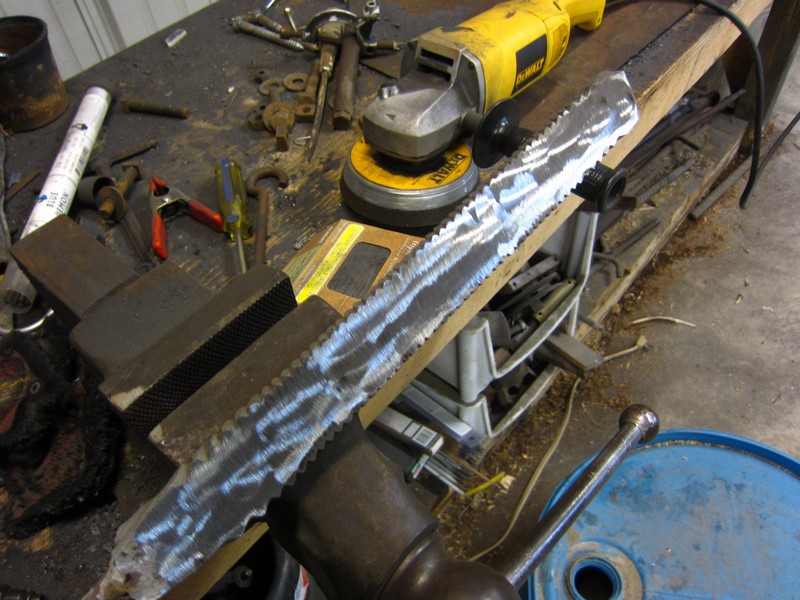
After cleaning up on the belt grinder: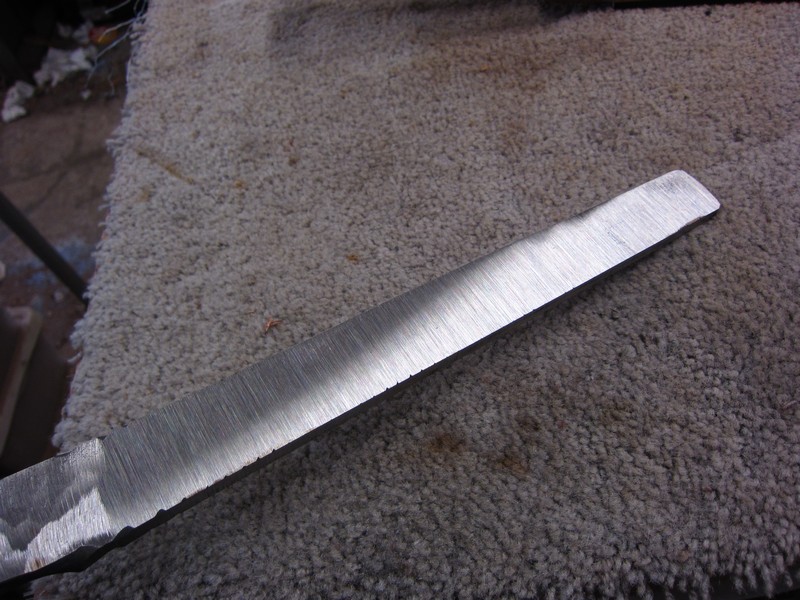
I want to make sure the billet is flawless before I waste the effort forging a blade... Looks good so far! -
Not done layering? what is the count now?
Yes, the patterning is done, and there are some pictures of the pattern in post numbers 2 and 3. I thought you were asking for pics of the finished knife....
The billet is made up of 4 bars, each with 100 layers. Two bars are twisted clockwise, the other two counterclockwise. Then all four are welded together, then the resulting bar is twisted clockwise. Then it's forged flat. That's pretty much all I've done so far. Tomorrow if I feel like it (I'm getting over a bug of some sort) I'll forge the blade to shape. -
finished pictures?
I'm just getting started. ;) -
Big version of that last photo: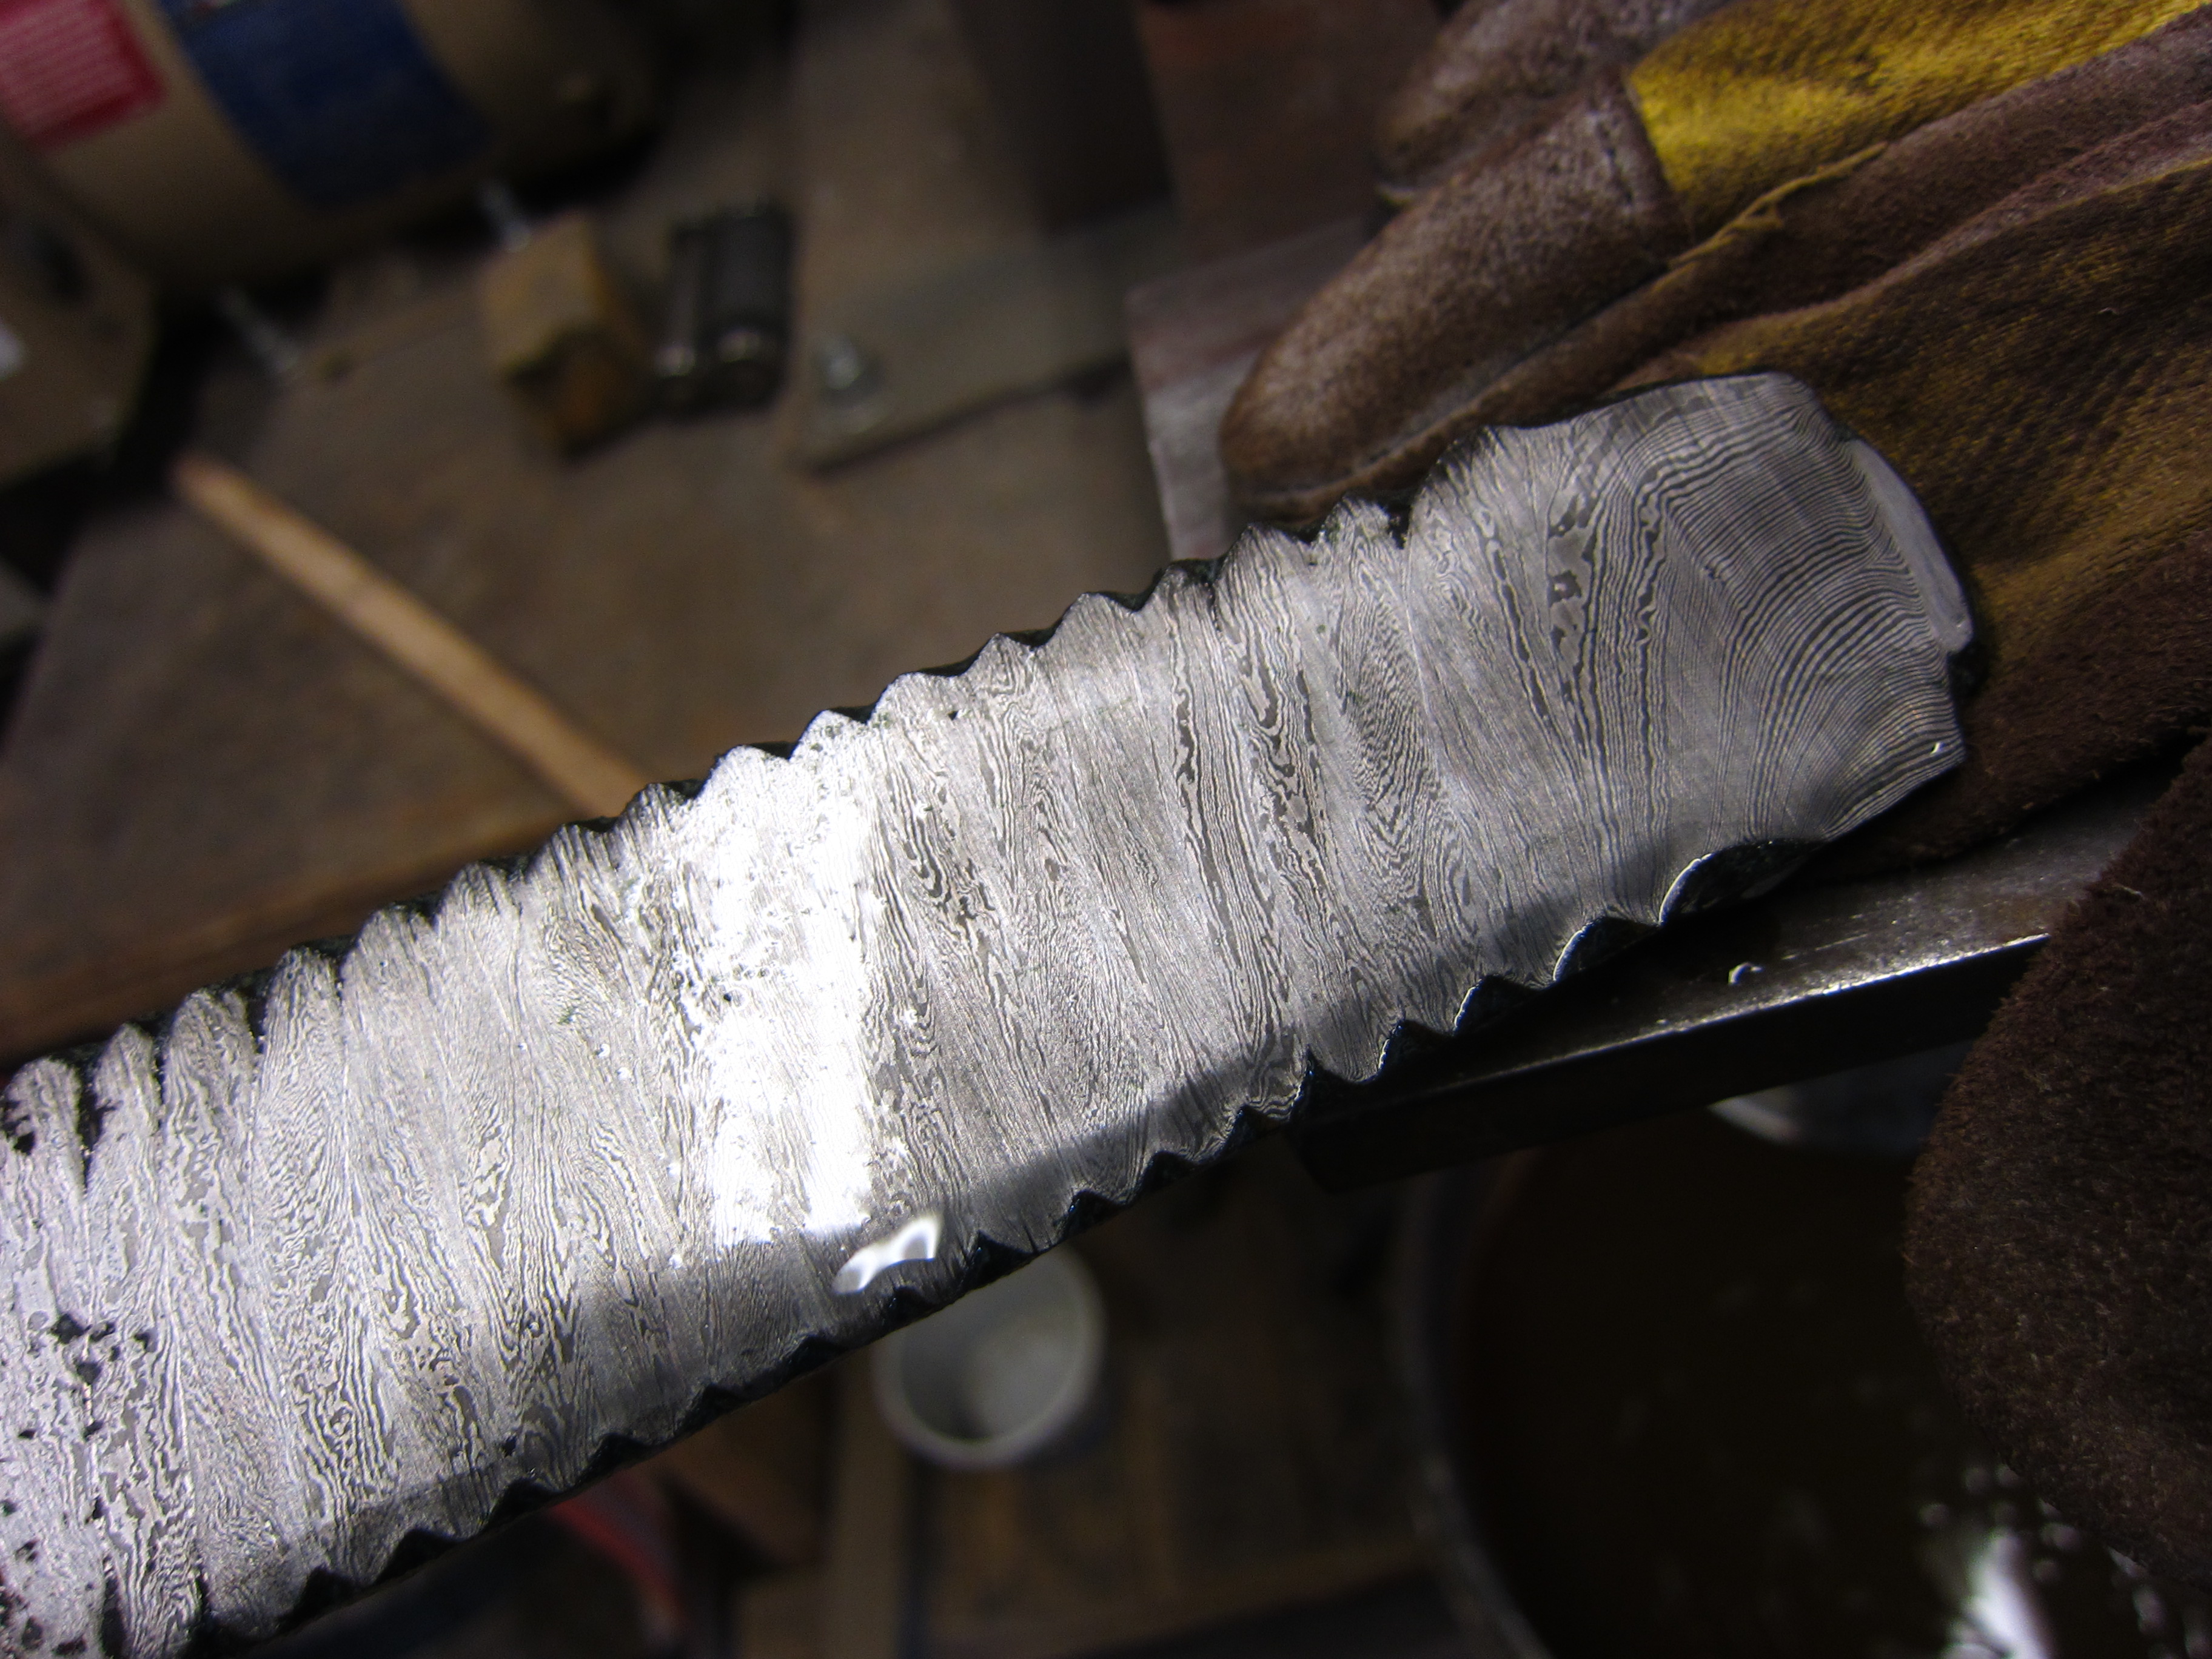
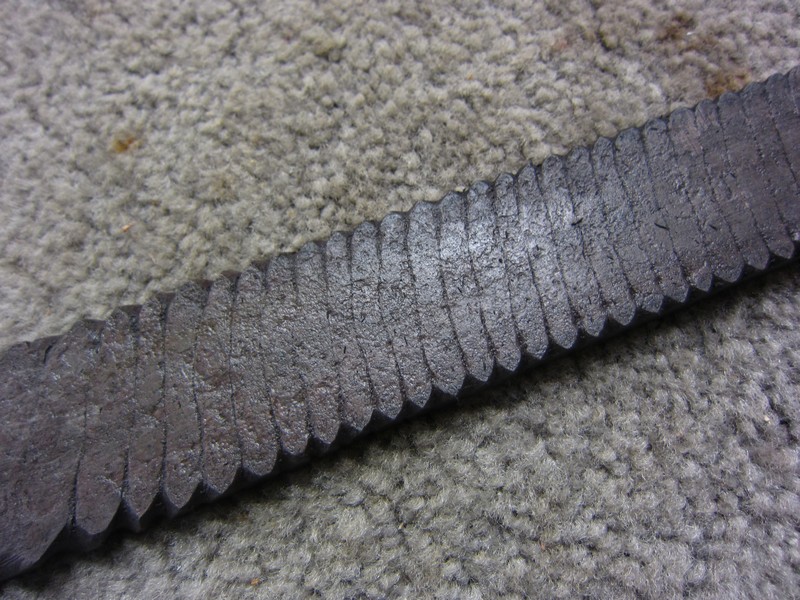
The billet after sitting around for a few days: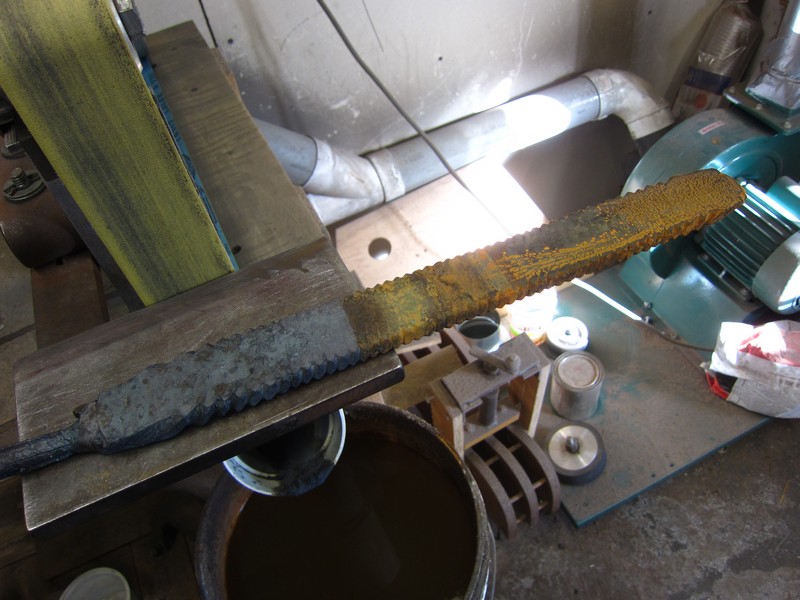
I'm soaking it in acid for a while to loosen the scale. Then I'll grind most of the cracks from the twisting off. That way I'll know that I won't be forging them into the blade, and risk ruining everything....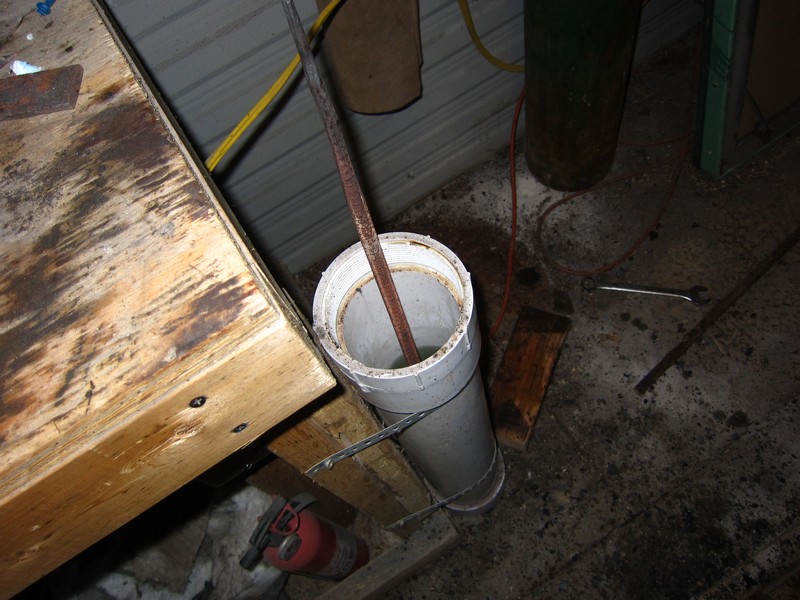
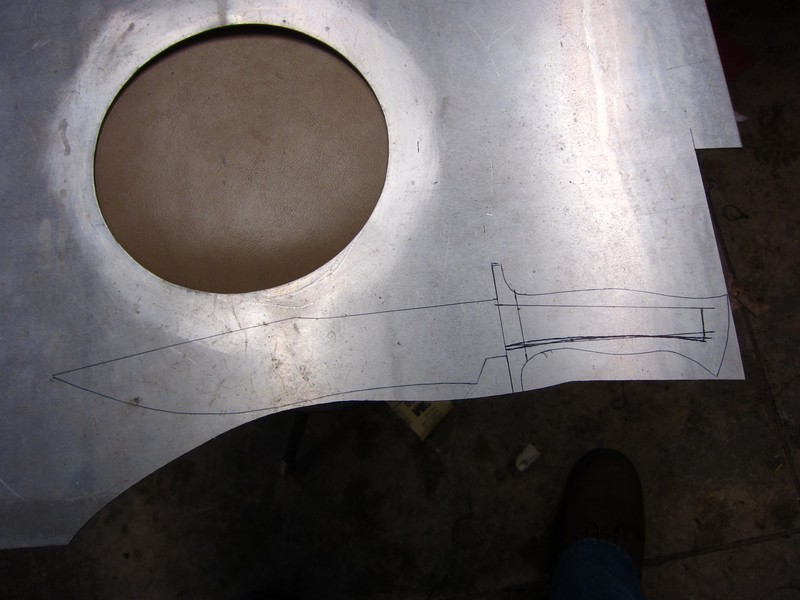
This is the drawing of the knife I'm making: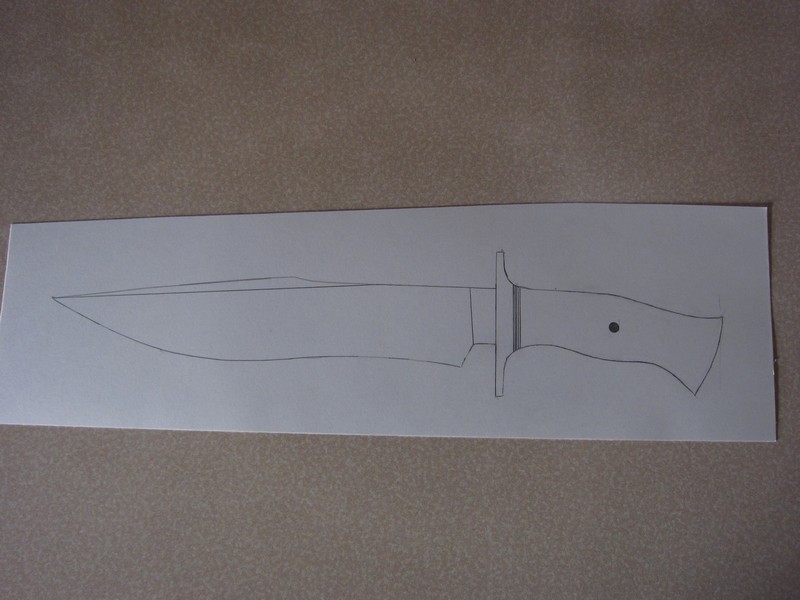
-


Damascus Fighting knife WIP
in Knife Making
Posted
Well, you will wait no more.
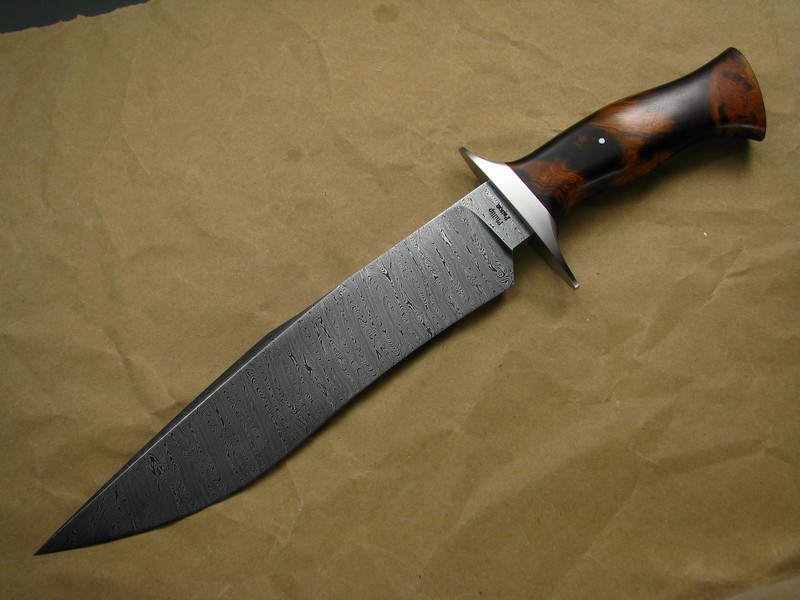
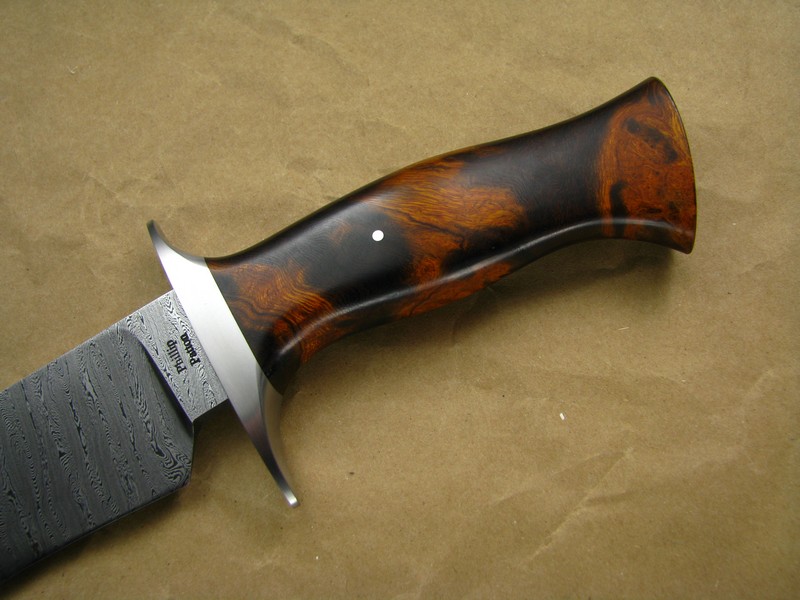
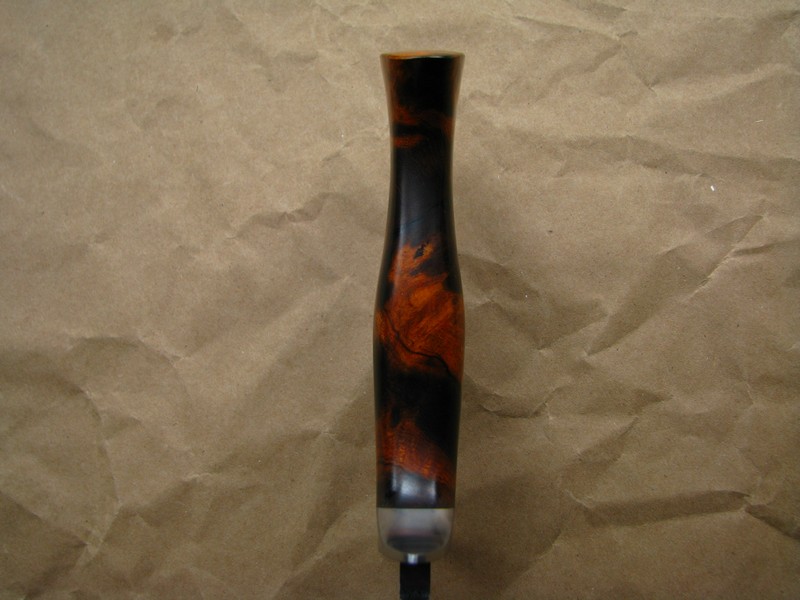
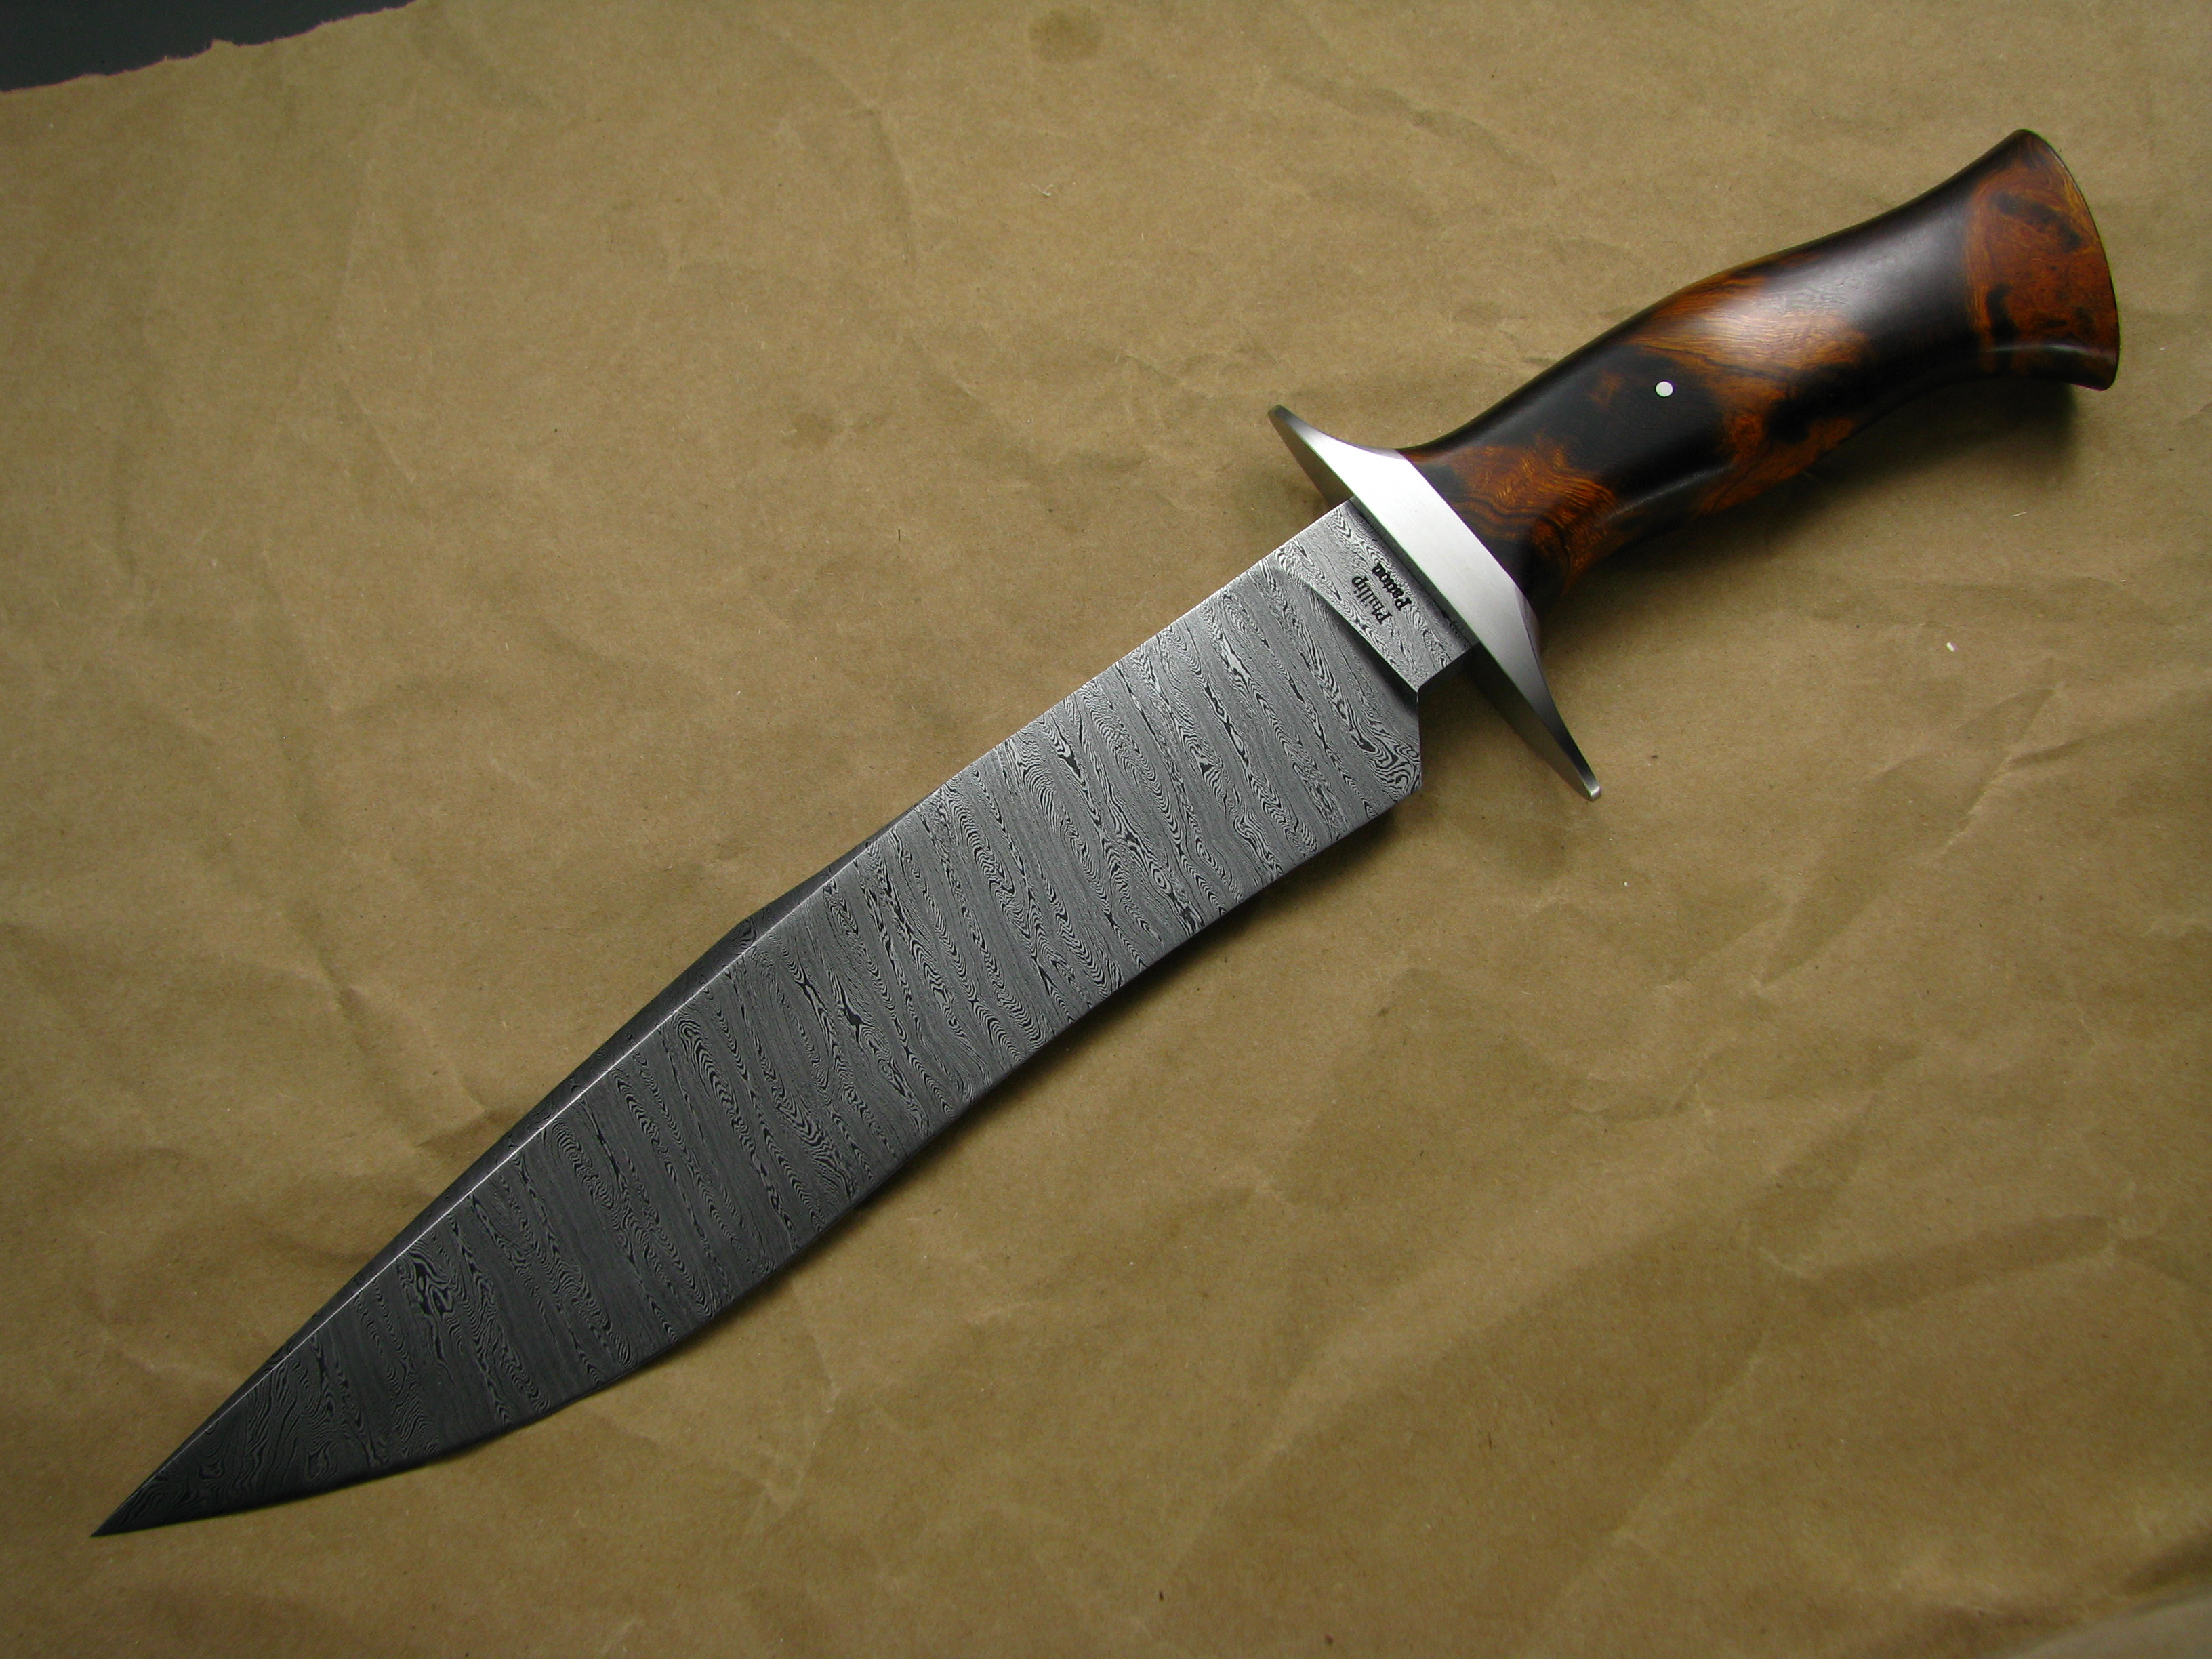
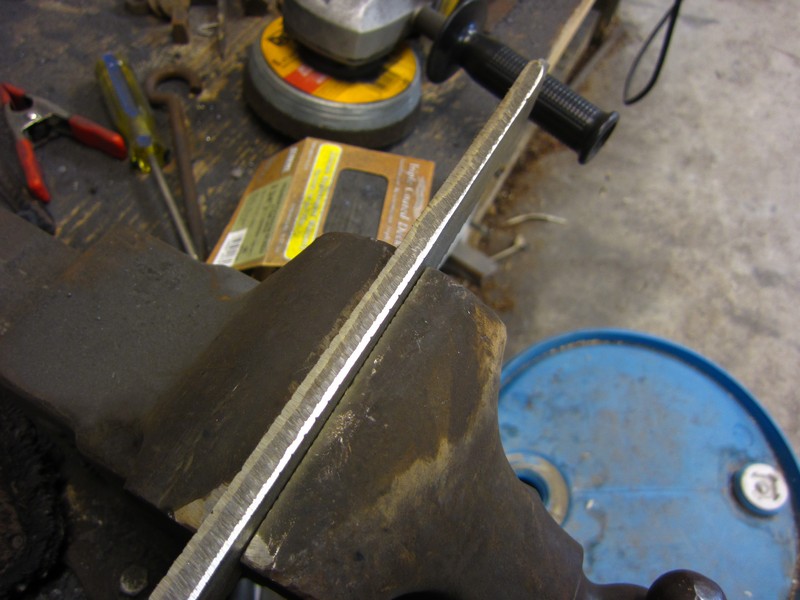
A higher resolution version of the first shot:
I usually get my ironwood from Texas knife supply, and that's where this came from. Sometime if I'm looking for some really big pieces, I go directly to the source: http://arizonaironwood.com/