
Muttt
-
Posts
59 -
Joined
-
Last visited
Content Type
Profiles
Forums
Articles
Gallery
Downloads
Events
Posts posted by Muttt
-
-
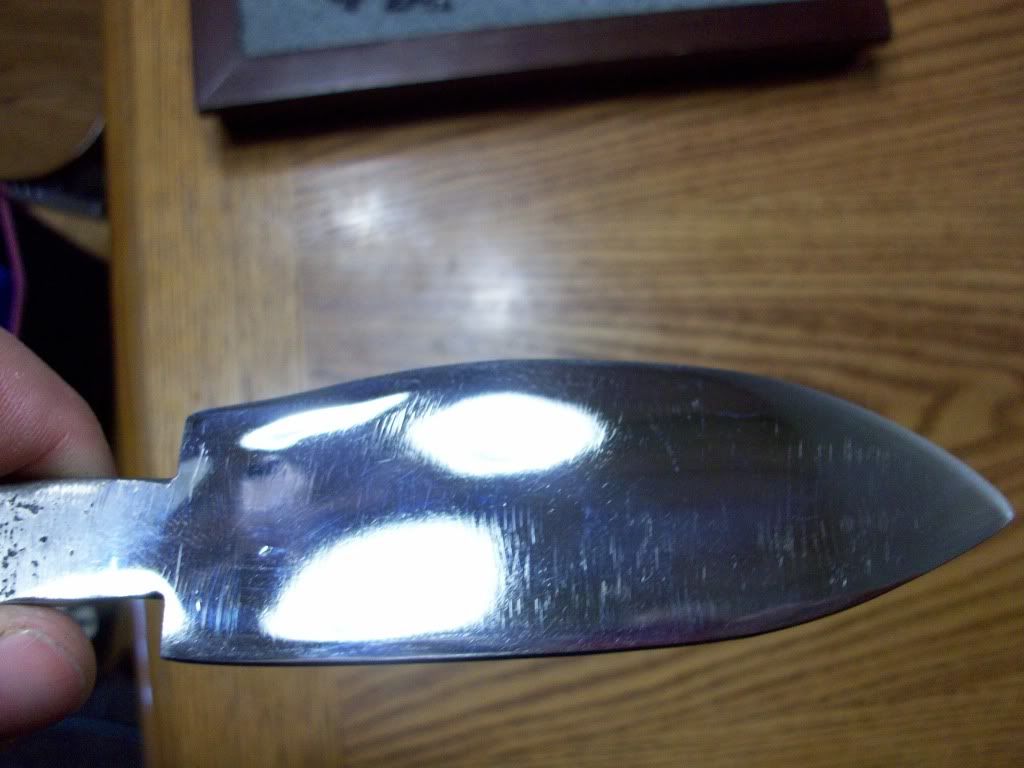
That's a crappy knife .... mine looks much better ..... LOL
(P.S. we both made ours together at the same forge .... LOL) -
I make piece pipes out of soapstone. I also make wooden handles for the pipes. I coat both with beeswax for a natural protective finish. Anyway .... what I'm getting at is that I have to heat the stone and/or wood in the oven on the lowest setting (I think it's 125) then leave it in there for 20 minutes or so. Anyway, once I pull it out, I just rub the bees wax along the surface and it just runs into all the nooks and crannies. It's very easy to apply ..... just need to warm the surface to make it flow and stick. You can get bees wax in a huge chunk at any Micheals craft supply store.
Mutt -
Nope ......... gotta new tank of gas ready to go. It doesn't look half bad today. May be able to get some done this afternoon.
I was told the wool fibers were a hazard when cutting. But, once installed in the forge and all the loose fibers have been blown out, that it was safe to work with. I need to go back to the shop were I bought this and get the MSDS and be certain.
Mutt -
If your knife parts are not sensitive to moisture, use a typical hand held spray bottle (like a windex bottle) and mist the area after a couple passes. That keeps things cool. I usually do that when I am grinding down a bevel with a 4 inch angle grinder. Keeps things cool so you don't mess up the heat treat.
Mutt -
Still raining. Been waiting to try this welding again. But, it's been raining off and on for three days. Wish my forge was covered ...... guess I'll have to wait.
-
Oh ****, mine was sanded with 220 on an orbital sander. It then went to my bench grinder. I have a hard cloth wheel on the left and a soft cloth wheel on the right. I have three different kinds of rouge from rough to fine. I guess I need to go back to the sand paper and try some 400 600 and 800. Here is how it turned out ..... even with just using 220 and the buffing wheels .........
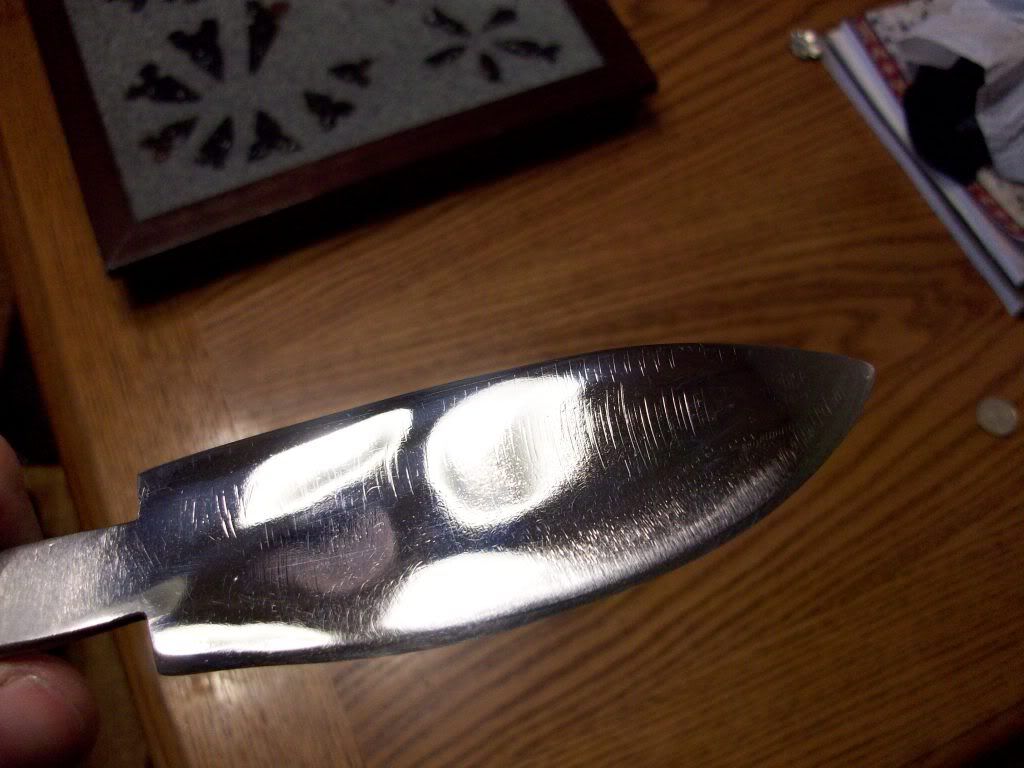
I am hoping for better though. It doesn't look bad until you look at it really close. But, I was really hoping for a better finish.
Mutt -
What did you use to get that mirror finish??? Me and my son have each made a knife, but even though we could get them to shine really nice, there are still a few sanding lines visible.
Mutt -
Depends on the state with the traps.
-
Sportsmans Camo and Tequila Sunrise. I bought I piece of each. They are 2 x 2 inches and 12 inches long. Well see how they work out.
-
Well ....... I figured I would go over to the "Dark Side" and I went ahead and ordered some of the DymondWood from HUT. It looked pretty cool in the pics. And hey, it was pretty cheap. 20 bucks for a 2x2 inch 12 inch long piece (enough for 2 or 3 knifes). I'll let ya all know what I think of it when I get some. I've always been a die hard "natural wood" person in the past. We shall see if I actually "turn" to the dark side ...... LOL
Mutt -
Thanks for the input. maybe I will make some punches out of the bigger sizes. I have ruined several "good" chizels working on hot iron. If the tools are homemade from rebar then ...... nothing is lost but a free tool.
Mutt -
Yes, everybodies input helps alot. Now I think I understand stabalized wood a little better. Maybe I'll give it a shot. If I don't like it I can try other items instead. Thanks for all the input. Wasn't trying to get things heated ..... sorry if I sounded that way. Anyway, no I know what stabablized wood is.
Thanks
Mutt -
I was just wondering if concrete rebar was worth working to make tools or knifes or anything???
Mutt -
Just turn down the gas and the air but still keep it lit. Makes it a toaster instead of a jet engine. Doesn't matter if it spits and sputters a little ....... then when your ready, just turn it back up. I think and idle would be more hassle and expensive than it is worth. I don't like to turn my down anyway. My fire bricks glow when I am at temp. It takes a while to get them like that. Turning it down would waste gas trying to get it back to that glowing heat.
Mutt -
My forge is made from an 11 inch wide 1/2 inch thick piece or pipe that is 18 inches deep (yeah I know ..... overkill) anyway, I welded it onto a piece of u channel and put it on top of a post and welded the post to a truck tire rim for a base. My forge is about five feet high (I'm six feet tall .... so it puts it right at nipple/armpit level) so I can straighten my arm and stick it straight into the opening. Plus I don't have to bend to put things in and take them out, and I can see what's going on all the time ...... without bending. When I am done with my anvil table .... the top of my anvil will be at the level of my elbow. No bending to poudn with hammer. Your back will thank you.
Mutt -
I saw some really cheezy really simply built gas forges that can easily get to weld temps. I didn't want to mess around with venturi's so I made mine with a blower. I got an 11 inch wide piece of water pipe from an aircraft carrier from the local scrap yard. It's about 18 inches deep. I welded a circular plate over the back end and torched a 1 1/2 inch hole in it so I can stick a long knife for sword out the back while heating. I torched another 1 1/2 inch hole on one side and welded a 1 1/2 inch pipe coupler to the side. Then, I screwed a 6 inch long piece of pipe into that and added a gas valve on the elbow. I then attached another pipe to the elbow and I use a shop vac on reverse for a simple blower. I use an extension cord with a dimmer switch to control the air speed. I had a local propane shop make me an adapter so I can just screw on one of the hosed I use for my grill when camping. I use a 5 gallon propane tank. I lined the inside of the pipe with kaowool and laid two hard fire bricks in the bottom for a sacrificial surface because using flux eats the wool. The whole thing is really simple and easy to use. If I need more heat, I put a small piece of fire brick in the opening to choke it down a little and increase the heat inside. Easy to build, all parts can be bought at home depot and a camping store or propane store. The Kaowool and fire bricks can be bought at a clay/kiln supply store.
Here is a pic of my forge with only one layer of kaowool and a soft fire brick out front for a shelf to set your work on ........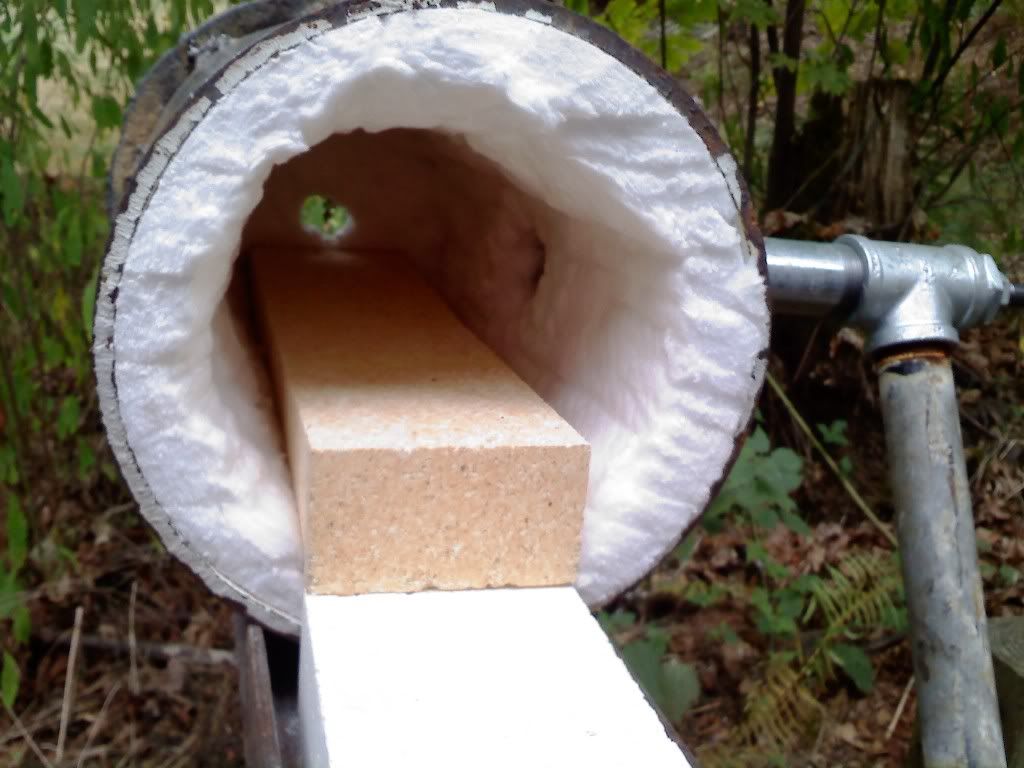
Here is another pic of my forge with the second layer of wool and a brick in the opening...........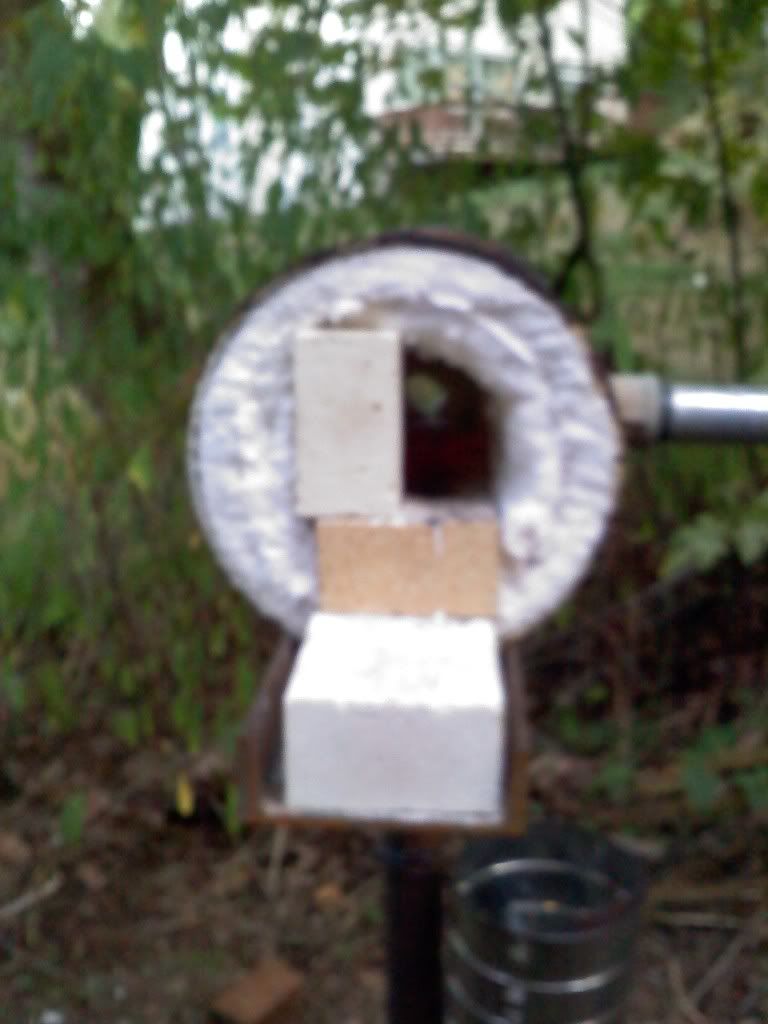
Here is a pic of it fired up ....... you can see the gas valve and the shop vac hose. I leave the forge in the weather. I can just detach the shop vac and take it inside when it rains........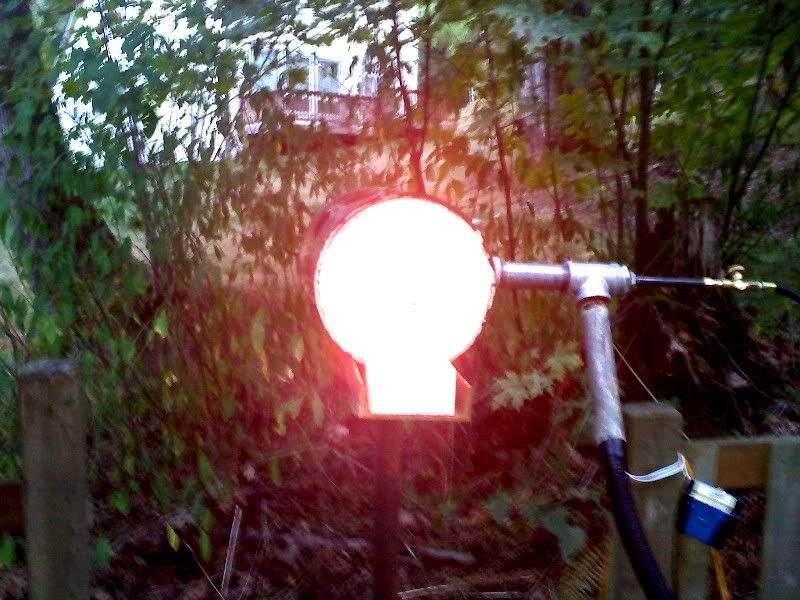
Hope some of this helps. There is no need to dump tons of money on burners and all that. Some of the simplest things work great forges and it doesn't need to be "over engineered". You can see where my pipe is welded to the side of the forge and the six inch pipe ...... that is my burner. Simple and easy to replace ..... unscrew it and get a new one from home depot.
Here is a pic of the a really simple design that I based my forge off of. This one is really small so I super sized mine a little ......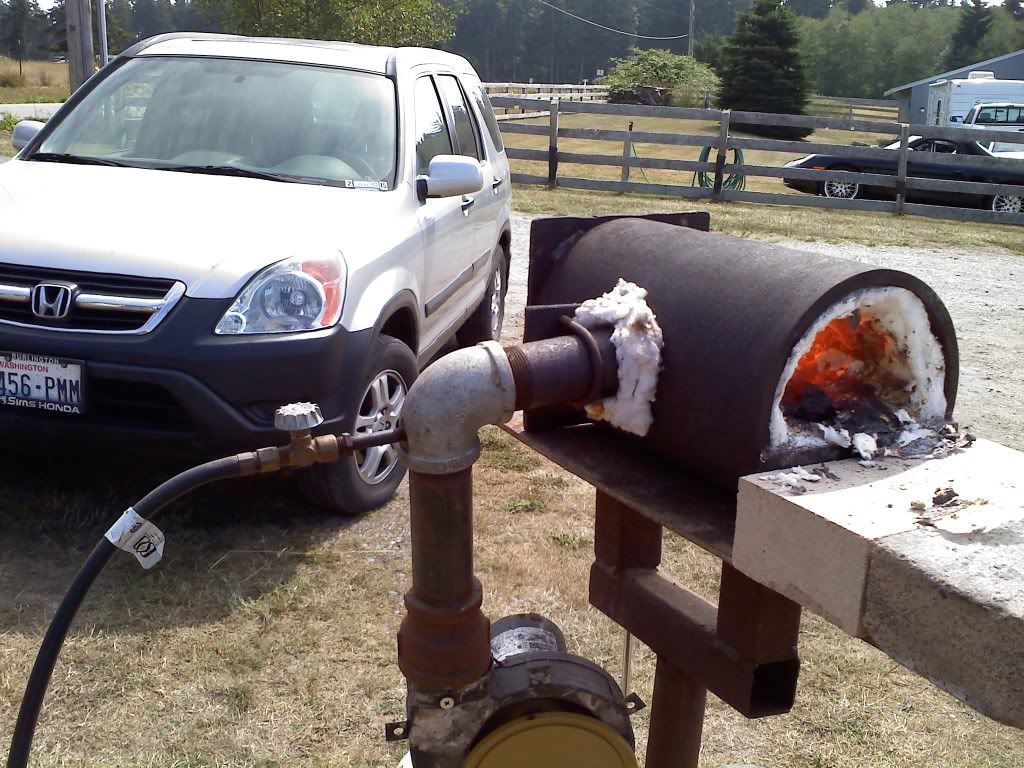
Mutt -
Well, all I have for an anvil right now is a hunk of railroad track. Works well for knifes, but no hardy hole and lacking for anything like welding. I am in Bremerton Wa. I am deffinitely at sea level. Anyway, I am using some torch goggles and they work really well to look inside. I don't ever see the flux dancing inside the forge. It just melts down and soaks into the cable. When I pull the cable out, and pour on some powdered borax, it crusts up like sugar and then melts into a buttery fluid and dances around on the cable .... like boiling butter in a skillet. Anyway, then I stick it back in and whatever flux is caked on the outside just melts away. Not sure what that means. The weather is supposed to be nice, so I am gonna fire it up tomorrow and try again.
Mutt -
Now you can use the other end to make me one ...... LOL. But, then I'd have to get an anvil to put it in. Still only have a piece of railroad track for an anvil. It works good for shaping the bevel on a blade (because it has that nice curve on top), but not much good for big stuff. Xxxx ..... guess you'll have to send me the anvil too ...... LOL. Just kidding. There's a great discount tool store in town here with a really good reputation. They have a decent size one there for only 70 bucks. Nice job on your bic.
Mutt -
well ...... I've really appreciated all the help with this. I haven't been able to fire up my forge lately do to weather. It rains alot here in Washinton State and it's getting to be that time of year. I hope to give the cable another try this weekend. I'll drop a line and let ya'll know how it goes this time. By the way, where is the best place to pick up some half circle swages or v notches. Actually that could be a new project. get a nice fat piece of bar stock and make notches in it using different size bars as a shape and hammer it into the bar stock to make the half circles.
-
Well,
I followed alot of the advise put out earlier in this post. I took what little pieces I had left of the Kaowool and relined the forge with a second layer of wool. This reduced the inner space of the forge by at least 1/3 if not a little more. I took a small piece of soft fire brick and place it into the opening. It closed what was left of the opening by half. So, I actually reduced the opening by 75 percent (I think). Anyway, It made a huge difference in size ...... heat and my gas/air mixture. This thing blows way way hotter than it did before. I put a piece of small bar stock in there and it got way too hot (compared to the temp I normally smith at). Anyhow here is a pic of my changes.....
So, I took this sorry piece of cable I have been working on for the last two days and I put it back in there. I quickly got it to that "yellow" color. I pulled it out and put it back in the vice and qave it a twist. You could really feel the difference. So I poured on the flux and I saw it dancing around like boiling water on the outside of the bar (like it was described to me earlier). So, I stuck it back in the fire and watched the flux quickly dissappear. Anyhow, I must have cooked all the carbon out of it over the last two days because at this point it basically started to come apart in the forge. The strands of the cable were breaking and burning on the ends. When I pulled it out, I tried to lightly tap it and it got worse. But, the rest of it basically just ended up a burnt out bundle of wire'y crap. I gave it another twist and I could tell that the stuff in the center was actually welded together .... but the outter cable were all burned out and it all just cam apart. The last inch or so actually appears that it actually welded up. So, I just scrapped that piece and will try again with a new piece. Here is a pic of the sorry cable that was left over when I was all done....................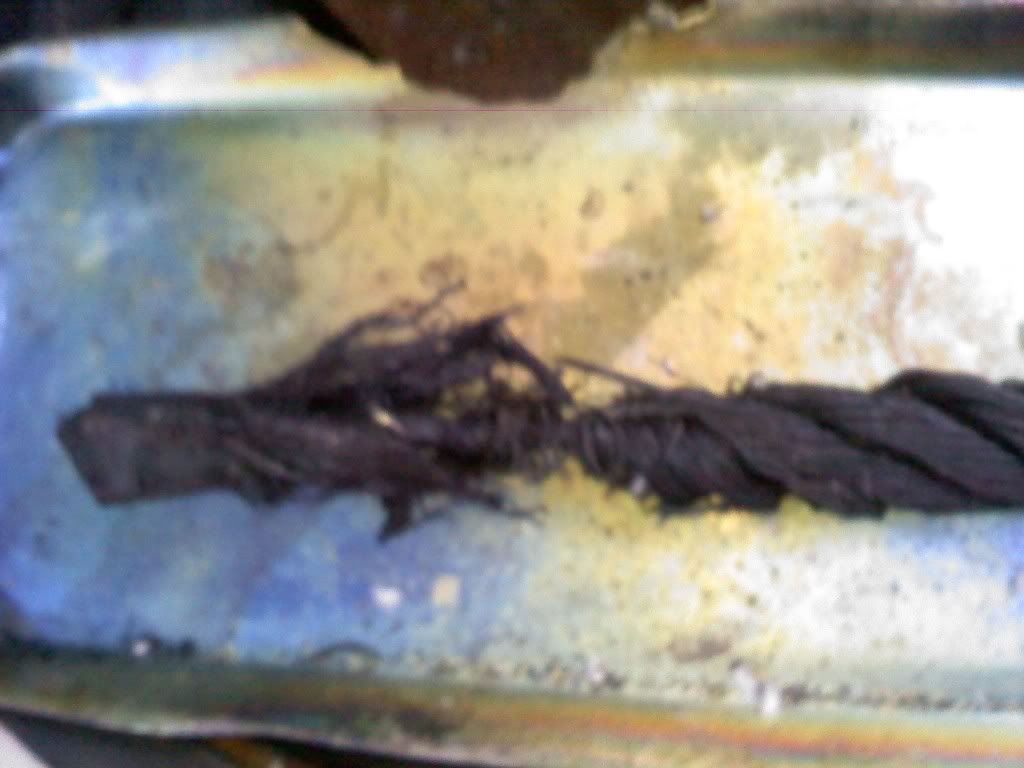
Thanks for all the help so far.
By the way, filling your tank really helps when your trying to tune your forge. For a while there, I couldn't figure out why I couldn't keep the flame constant. Then, I realized my tank was empty. Anyway, I really appreciate that last post. There is alot of really good info in that post. Hopefully, it will all come together next time I try with a new piece of cable. I always weld the ends so they dont unravel when I heat it up.
Mutt -
So basically,
Stabalization is like turning your wood into a product more similar to micartar block (I think that's the way you spell it). If I am going to put wood on a handle, it's gonna stay wood (maybe stain, oiled or polyurathaned) it appears that stabalized wood is more of a plasticized product. I'm not saying I don't like the way it looks, I'm just saying I will just stick with wood. If I want a plasticized product, I'd use micartar or plastic. Why ruin perfectly good wood and wood grain.
Mutt -
From what you guys are saying, I am picking up at least two problems that I have been having. The first is the time out of forge. I was taking too long to hit it. Like you said if there if just a little bit of time to hit it then I was blowing it. I was told my someone to twist it first. So, I would throw it into the vice and twist it, then take it to the anvil and hammer a little. I bet it was probably sticking at the anvil and then I was knocking it apart at the anvil. The other thing is heat. I may no be getting it hot enough. I put the borax on and it bubbles up and looks like a sugary crust, then when I stick it into the forge, the borax just melts and runs down into the cable. It is not "dancing around" as you say. It just melts and runs into the cable like a normal solder would run into a wire. I think I may have gotten it once or twice by twisting it in the vise, cause it seemed to stick. But then went over the the anvil and hammered it loose again. I'll try again today and reply to this thread and let ya know how it went. The last pic I tried to take with the forge running ..... all you could see was an orange ball. It was too bright to take a pic of. As far as wool and brick. I have the inside of the pipe wrapped with two inches of wool and then I have bricks laying in the bottom (on top of the wool) I wanted the bricks as sacrificial so I wouldn't burn out my wool with flux. Here is a pic.
Cold Forge
Hot Forge
Hope the pictures help a little bit. I will try soaking the cable a little longer. Maybe what I thought was hot enough just wasn't. I was afraid of burning out the cable. But apparently, I wasn't even close. I will also try the stick test. I have a couple pieces of 1/2 inch square stock that will work nicely for that. And, lastly, I think I didn't have the metal hot enough. The metal was only bright orange. Cant really say I've seen the color yellow (on the metal) I have seen yellow flare off the metal, but I think that's just the flame reacting with the flux. Thanks for all the input. Like everything else ..... there is a learning curve.
Mutt -
I have never heard of stabalizing wood until I started reading the forging and knife making forums. I don't think I have every heard that term used. I have alot of knowledge of woodworking and have always just stained and polyurythaned my woods. Have never had anything crack warp or split. A nicely stained piece of mahogany or oak and several coats of poly makes it harder than hell. Wood you consider polyurythane over oil stain as a form of stabalization????
Mutt -
I have been trying to weld a piece of one inch crane cable that I got from the salvage yard. I have a 11" x 18 inch deep propane forge. I have a 1 1/2 pipe welded to the side and i am using a blower so I know I am getting the forge hot enough. I have two hard fire bricks and they glow orange when I am up to temp. I have poured on the borax (20 mule team) and twisted it open in the vise then heat it and then add more borax and heat it then take it to the vise and twist it tight. Add more borax, heat it. After doing this about four times, it still just xxxx cable. I can't get this stuff to start to turn into a billet know matter what I do. Any suggestions. I leave it in the forge till the whole thing is glowing. At this point, I have no idea.
Mutt
Look into the past
in Blacksmithing, General Discussion
Posted
When I was a kid, the house I grew up in was built with those square nails just like that guy was making.
Mutt