Alan McDaniel
Members
-
Joined
-
Last visited
Everything posted by Alan McDaniel
-
Well, I have a brand new respect for those who forge regularly. The title of my post includes the phrase “Beating on hot Iron”, because what I was doing today was pretty far removed from anything called forging. I watched all the You Tubes until I was an expert and I bought a little forge after my failed attempt at making one. I did harden a knife blade in the forge but that really doesn’t count. I was going to anneal a bunch of old files I have and there was a little knife blade shaped piece of steel that I started years ago that I intended to weld a tang onto. So I gathered my two hammers, set of tongs and all the You Tube knowledge and heated that baby up. I started working a tang sized bit of steel. After two rounds, I switched hammers because I was having trouble controlling the larger, heavier one. The You Tube guys can work a tang out of thin air like squeezing a tube of toothpaste. I’d get between one and three hits before it slipped out of the tongs and cooled off before I could pick it up again. But, I persisted and after about 20-30 reheatings I had a tang almost long enough to make a short handle. One more round,….. Second hit and it broke at the hilt… Yes, beating on hot iron is what I was doing…. Alan
-
I’ll get the rigidizer for sure. Do you have a preferred supplier for those items? PM me if it’s not allowed to post them directly in the thread. Alan
-
Well, as much as I would have enjoyed using a forge I made myself, I got to thinking…. I like to fish, so I bought a boat… Making a boat would be fun, but I like to fish... So, I bought this ATkrou two burner gas forge. I only had time to put it together and crank it up once. I stuck a file in it and in less than two min it was turning red. In Four min the part inside the forge was red. If I take the hook on this Iron molding thing I’ll build the next one… Thanks for all the information. I will be put to use someday... Alan


-
I downloaded the PDF early in the conversation. Thanks. I’ll have grandkids all this week and next so my shop time is limited. Alan
-
I understand completely. I moderate a gun forum and we have the same rule, sorta… A member in good standing may post a link to a product if that member has no affiliation with the product or vendor. I will certainly follow the rules here. Also, I will never attempt to post any product or vendor I have an affiliation with (this is an easy one), because I have no such affiliations. Alan
-
The commercial link I posted above was for a Chinese made forge from Home Depot. If I’d checked the country of origin first I wouldn’t have posted it at all… Anyway, No, I don’t need to breath any fibers, or dust, or pollen, or smoke, …. Just air, clean air… We’ve got this “Saharan Dust” coming over us now and I’ve been trying to stay out of it for two days only going out for short period of time. Alan
-
And then, there’s this…. [commercial link removed] Alan
-
JHCC, Victoria is growing way too fast for my tastes. We live about half way between Victoria and Goliad. Far enough out to be in the country and close enough to take my wife out to eat once in a while. But not far enough out to hide from the tax office drones every time I drive a nail in something… I don’t go to Houston unless it’s for a funeral or no other way around it... The pipe and plate is what I have on hand, plus it’s harder for me to burn a hole in it welding… I see the kaowool forges done with and without the refractory cement. Any reasons why or why not? Alan Most of the burner build is readily had black plumbing. Is there a source for the proper jet and fittings. Whatever I build will have one burner. On Frosty’s tutorial I see that he has his valves set well away from the burners. Is there a specific valve that I need to search for? I will read back through and see if that question has already been answered. I’ll say again that I do very much appreciate y’all’s help and patience. I know at times Newbie questions can become very tiring... Alan
-
Perhaps I should clarify what I want this forge for. I want to make some knives and the forge will be used predominantly for heat treating blades. Some Knives = Gifts for two sons, six grandkids, a few for myself and maybe some for close friends… I’m NOT going into the knife business. This would be much like my other hobbies, small wood working items, gardening, fishing (which I don’t do near enough) and some occasional hunting. I have some old files, one set of vehicle leaf springs, and some sundry iron laying around. I’d likely NEVER use it all up. I do understand the positives of making something that will last, but this forge use will be minimal compared to some (most) of you guys. So, with that in mind we can continue. Alan
-
I have access to almost any common shop tools and equipment,... except a working forge… I can probably get my hands on some large pipe (10-12”) and I’ve got 1/4” plate. Does that Kaowool stuff work as good as the real forge bricks? I like making stuff (hence wanting a forge) and I’m pretty sure I could make the burner (I have bits and taps of all sizes). Alan
-
Fire Bricks are “Refractory Bricks” from ACE Hardware… It says pizza ovens on the box for not anything about forges. Evidently the fireblock caulk doesn’t keep fire form climbing out of the forge at all... I guess I need to tear it down and start from square one or just buy a readymade... "Learning the hard way” should be my motto…. Alan
-
I don’t know how much you’ll be able to tell from these pictures. The side pic is what the dragon’s breath looked like right before the fire... This is the sealant I used. Alan Intake/jet assembly. The jet body (1/4” stainless nipple” is tack welded to intake body. AND, the jet extends far below what you have in your tutorial. Alan


-
This is what I got. Alan

-
I think the problem is that, as you guys pointed out, it’s not getting enough O2 to keep the flame inside the forge. I’ll cut the back out of it tomorrow and see how that works. Alan
-
It’s supposed to be the kind of sealant to put the bricks together for use as fire bricks. Any metal that is attached to the forge from the frame to the brass valves get blister forming hot… even if the fire is not coming out of the top of the tube. There’s evidently some some dynamics going on that I may not be prepared to deal with. I was anticipating the hard part was going to be learning about the metal, types, degrees of heating, malleability, etc… A course in thermodynamics I wasn’t ready for. I may just order one of those ready made Mr. Volcano forges, they are supposedly “Made in USA”, for what I’m going to be doing. Pounding out knife shaped pieces of steel and hardening same. I doubt I’ll be doing much actual forging, no damascus, horseshoes, etc. I’ll put this thing up until I know a little more about what I’m doing with something alreadyd put together right. One thing I don’t need is a big propane explosion and fire out in the shop, it seemed for a moment this morning that was the direction it was going... I appreciate all the advice, it was not wasted. I learned that I was not ready to learn about forge building yet, plus some valuable information for when I am ready. Alan
-
Interior dimensions are 6”Wx12”Lx4.5”H. I tired it again as is and played with the gas, each burner alone and both together. Got it to stop huffing. It was roaring with minimal, almost invisible dragon’s breath. I turned around to get a piece of rebar to stick in it and when I turned back around the whole dang thing was on fire. I cut off the gas. No melted hoses. Decided to clean out my truck and go to town with my wife while it cooled down enough to pul the jets and see what size they are… still haven’t done that... Alan
-
The first post I made failed to include the pictures. I posted a reply to my own post with the pictures... Alan
-
I will play with it some more tomorrow, pull out the jets and see if I can ascertain what size they are. Cutting a hole in the back of the forge will be easy enough. the metal with a metal cutoff and the bricks cut really easy with a masonry blade. I see all these videos of guys just stacking the bricks up and sticking a map gas burner in it and forging away… Anyway, I’m in it too far to back out now… Alan
-
Your’s are the only replies showing in this thread. The mouth of the burner flares to 1” or 1 1/4”. I’ll measure for sure tomorrow. I read your tutorial and saw how you have the jets plumbed in with copper tubing. I will do that as well and stabilize the whole thing. I need to build or repurpose a proper stand as well. I will also work on my terminology. I understand the importance of that. As a reloader and shooter I know terminology is important when discussing these things. I will learn, slowly, … please bear with me if I say the hot thingy or the fire shooter out thingy… I’ll learn eventually... Thanks again for taking the time to teach an old guy. Alan
-
Frosty, thanks for the reply. I’ll describe as best I can with the very limited knowledge I have of such things… I have no idea what size the jets are. The burner pipes are 3/4” and the openings flare out to 1 1/4”. They are slightly recessed into the top and sealed with the firebrick sealer. The two pieces of angle iron on top are just for added stability. I bought the burner kit off the internet and I don’t even remember what kind it is or where I got it. It came with what you see already assembled except for the hoses. I’ll have to get pictures of it burning tomorrow, but your description of “huffing” is exactly what it is doing. I don’t have any problem doing away with one of the burners. I can also tack on a rod to take the weight off of the jet fixture. I suppose I also need to get a different type of burner body that has an adjustment for air flow. Alan
-
After reading on here and watching hours of You Tubes, I finally got my little first attempt at a forge done (see pictures below). My welding leaves a bit to be desired but I’m not any more of a welder than I am a blacksmith at this point…. I fired it up and it didn’t work like the You Tubes. It continually belched fire like one of those Game of Thrones dragons, so it was impossible to get anywhere near the mouth. I tried different amounts of gas and had the best results completely turning off the front burner. Still it took about ten min to make a 1/4” rebar end yellow. it continually belches fire in between periods of blue flames. I don’t know if it needs a vent on the backside or some more air holes around the burners. I used refractory fire bricks and stuck them together with the proper caulk. Then used some old file cabinet metal and bedframe angle iron to hold it all in place. There is no air space where the burners go into the body of the forge. Any ideas, suggestions, advice or criticisms would be much appreciated. Don’t hold back, my skin is thicker than my skull.. Alan


-
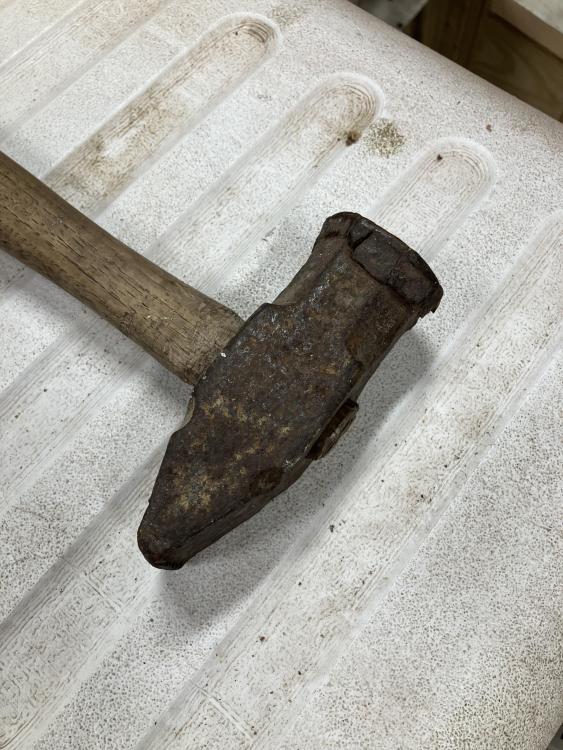
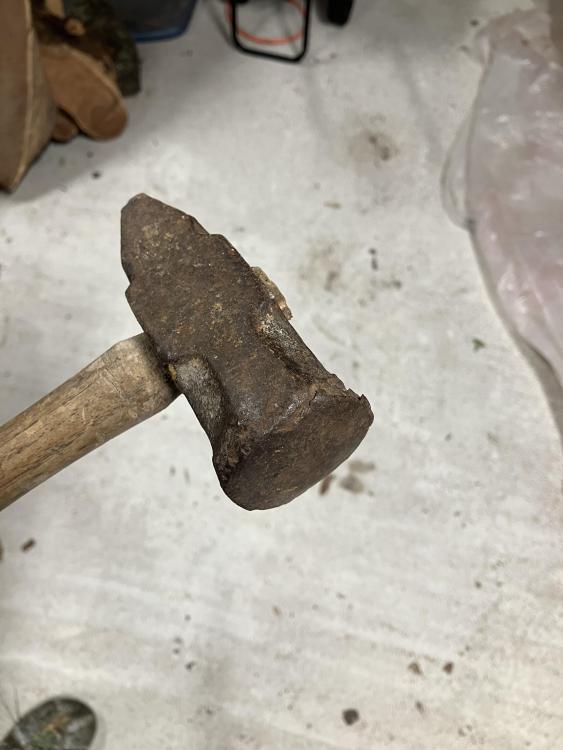
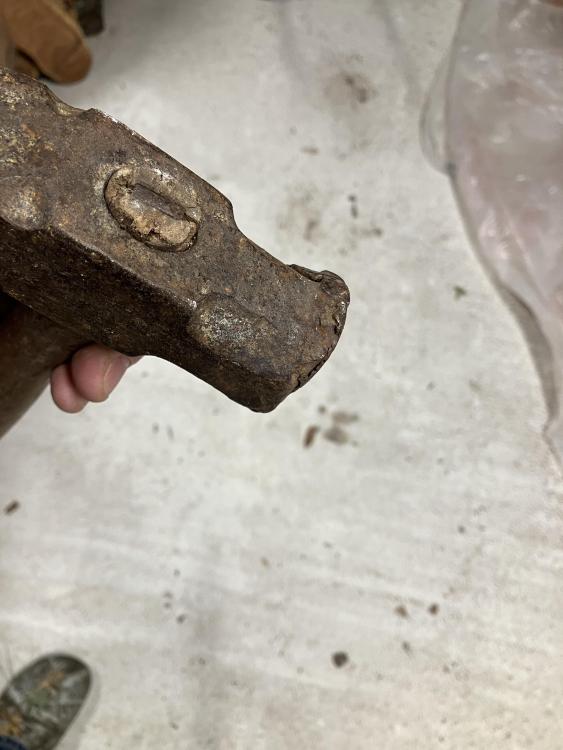
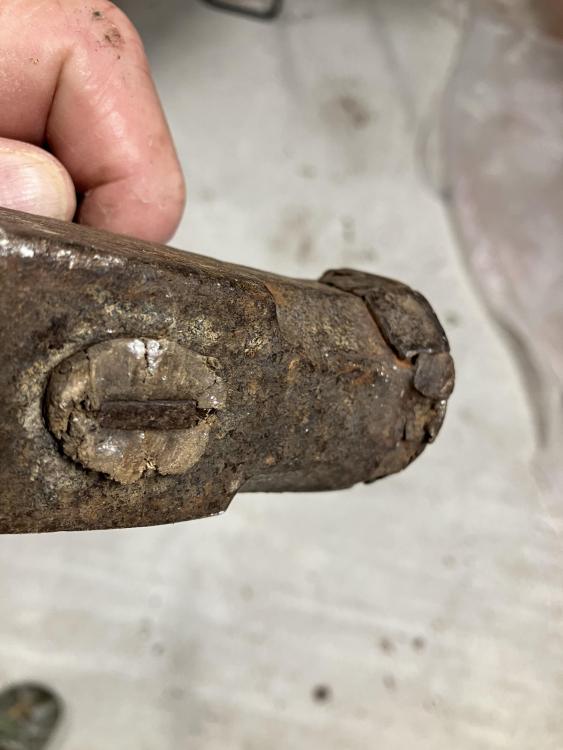
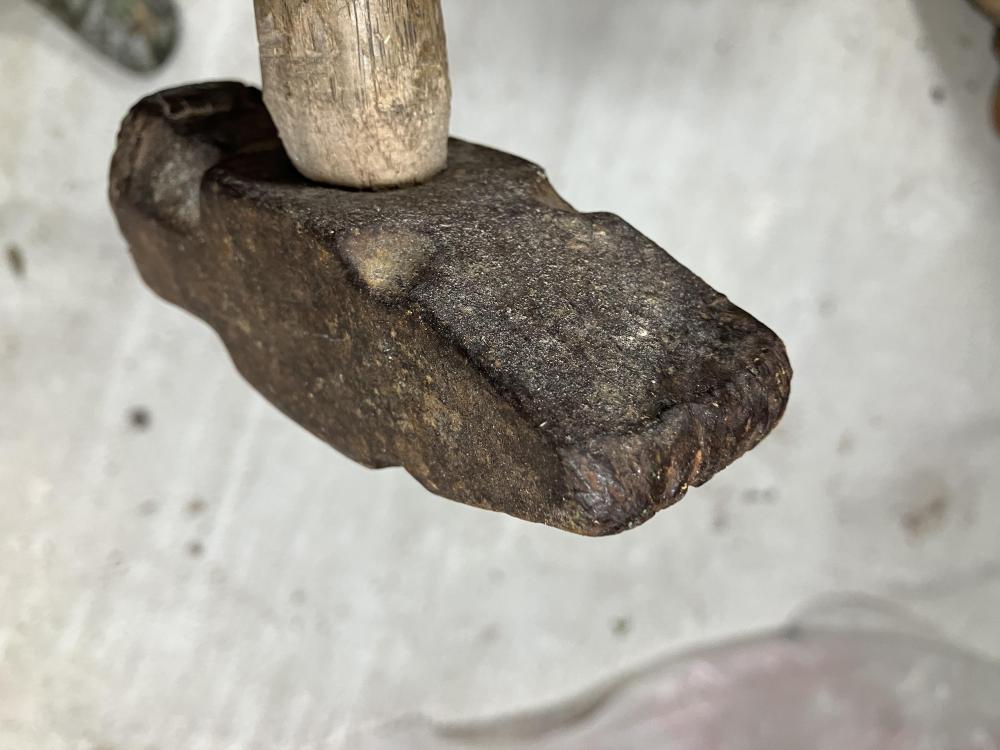
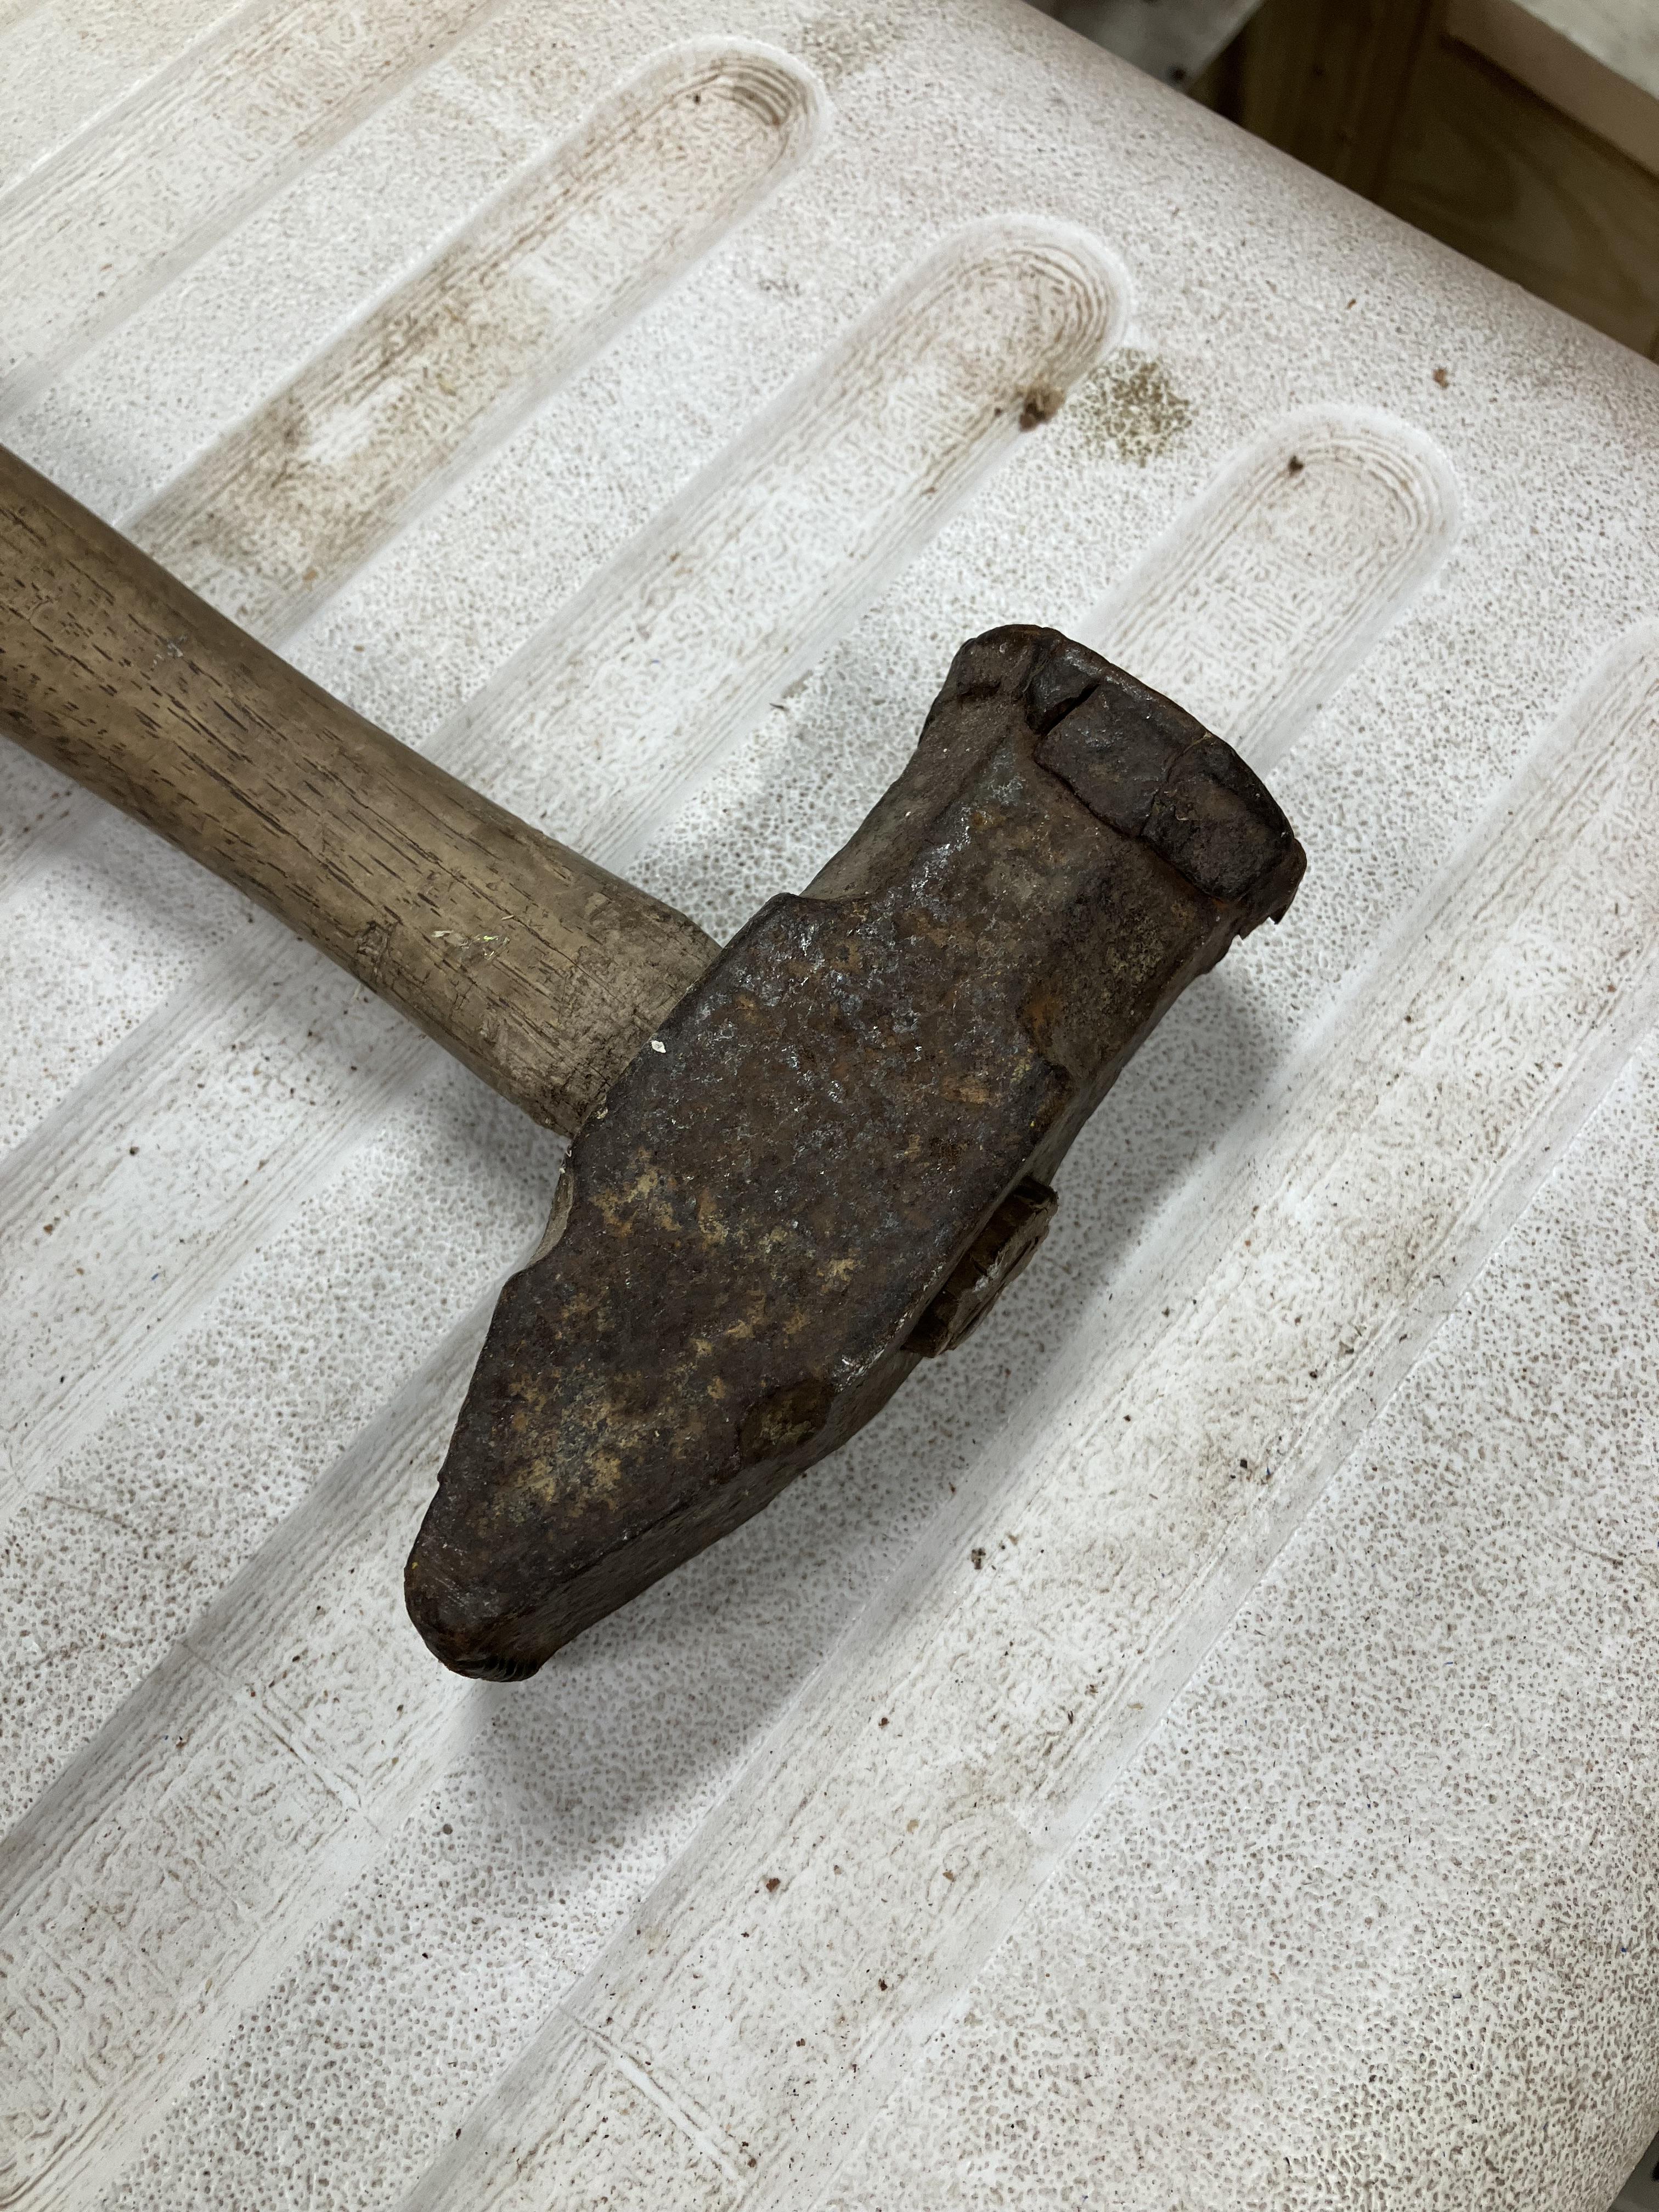
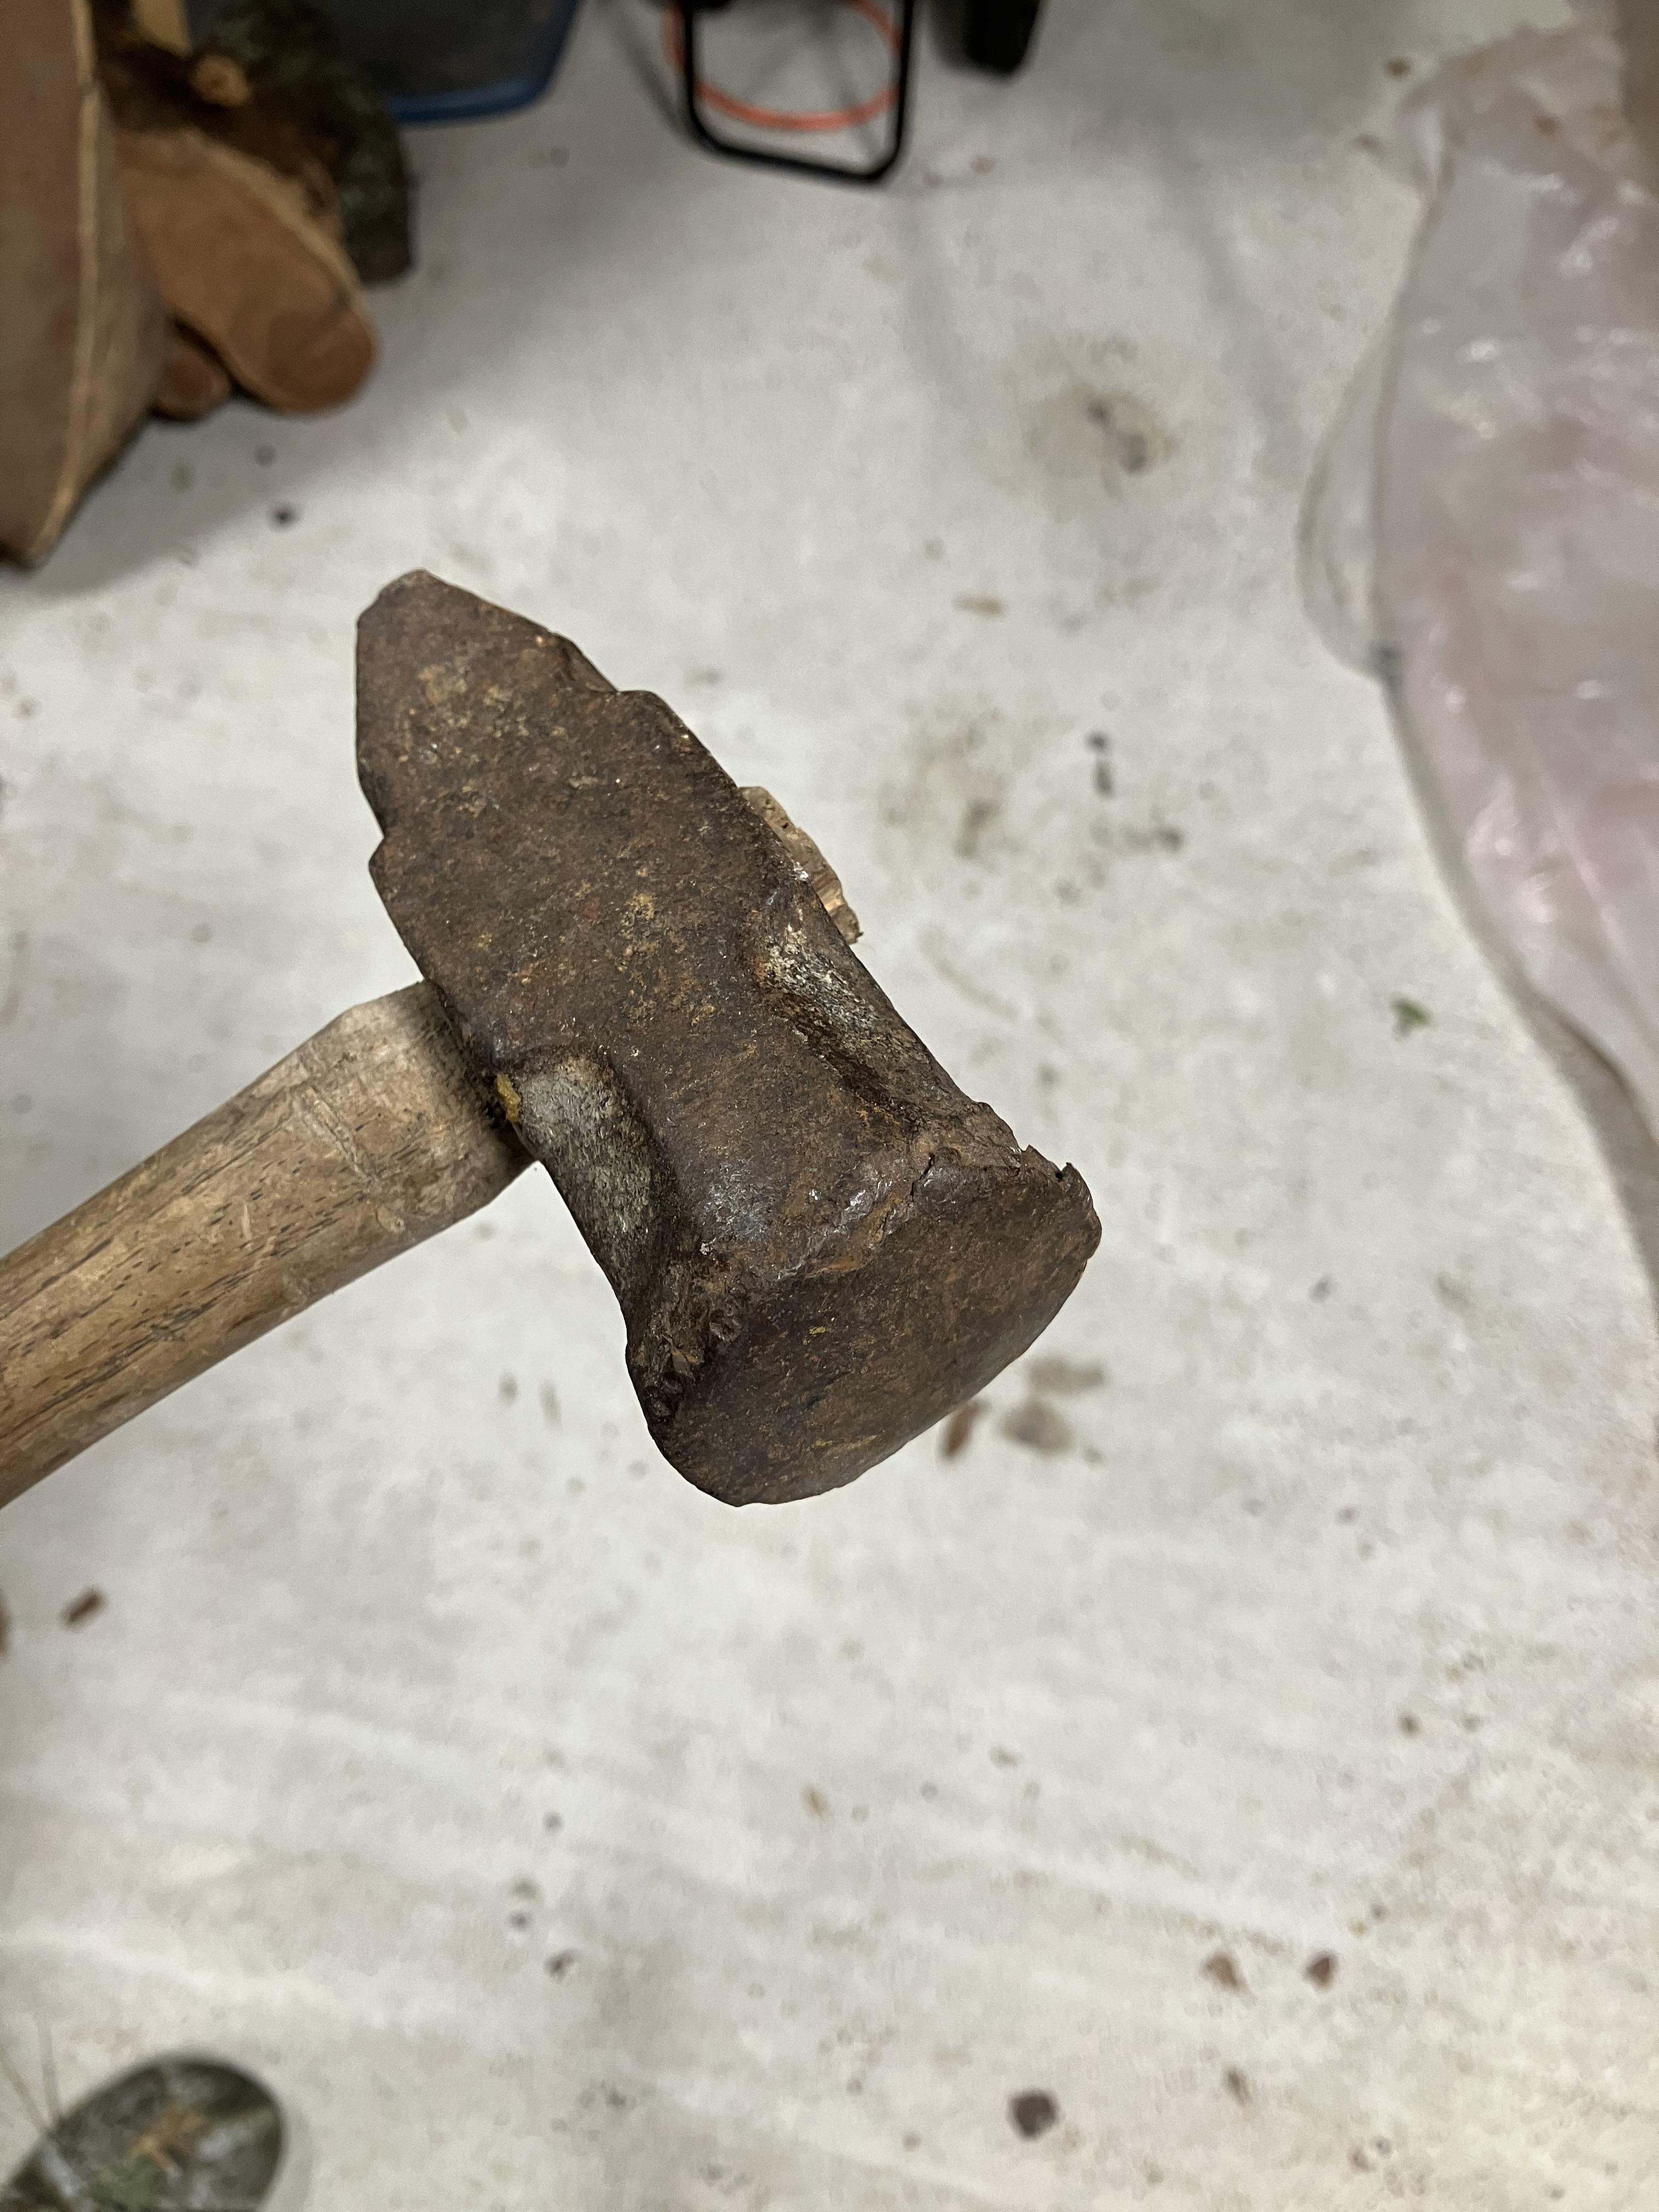
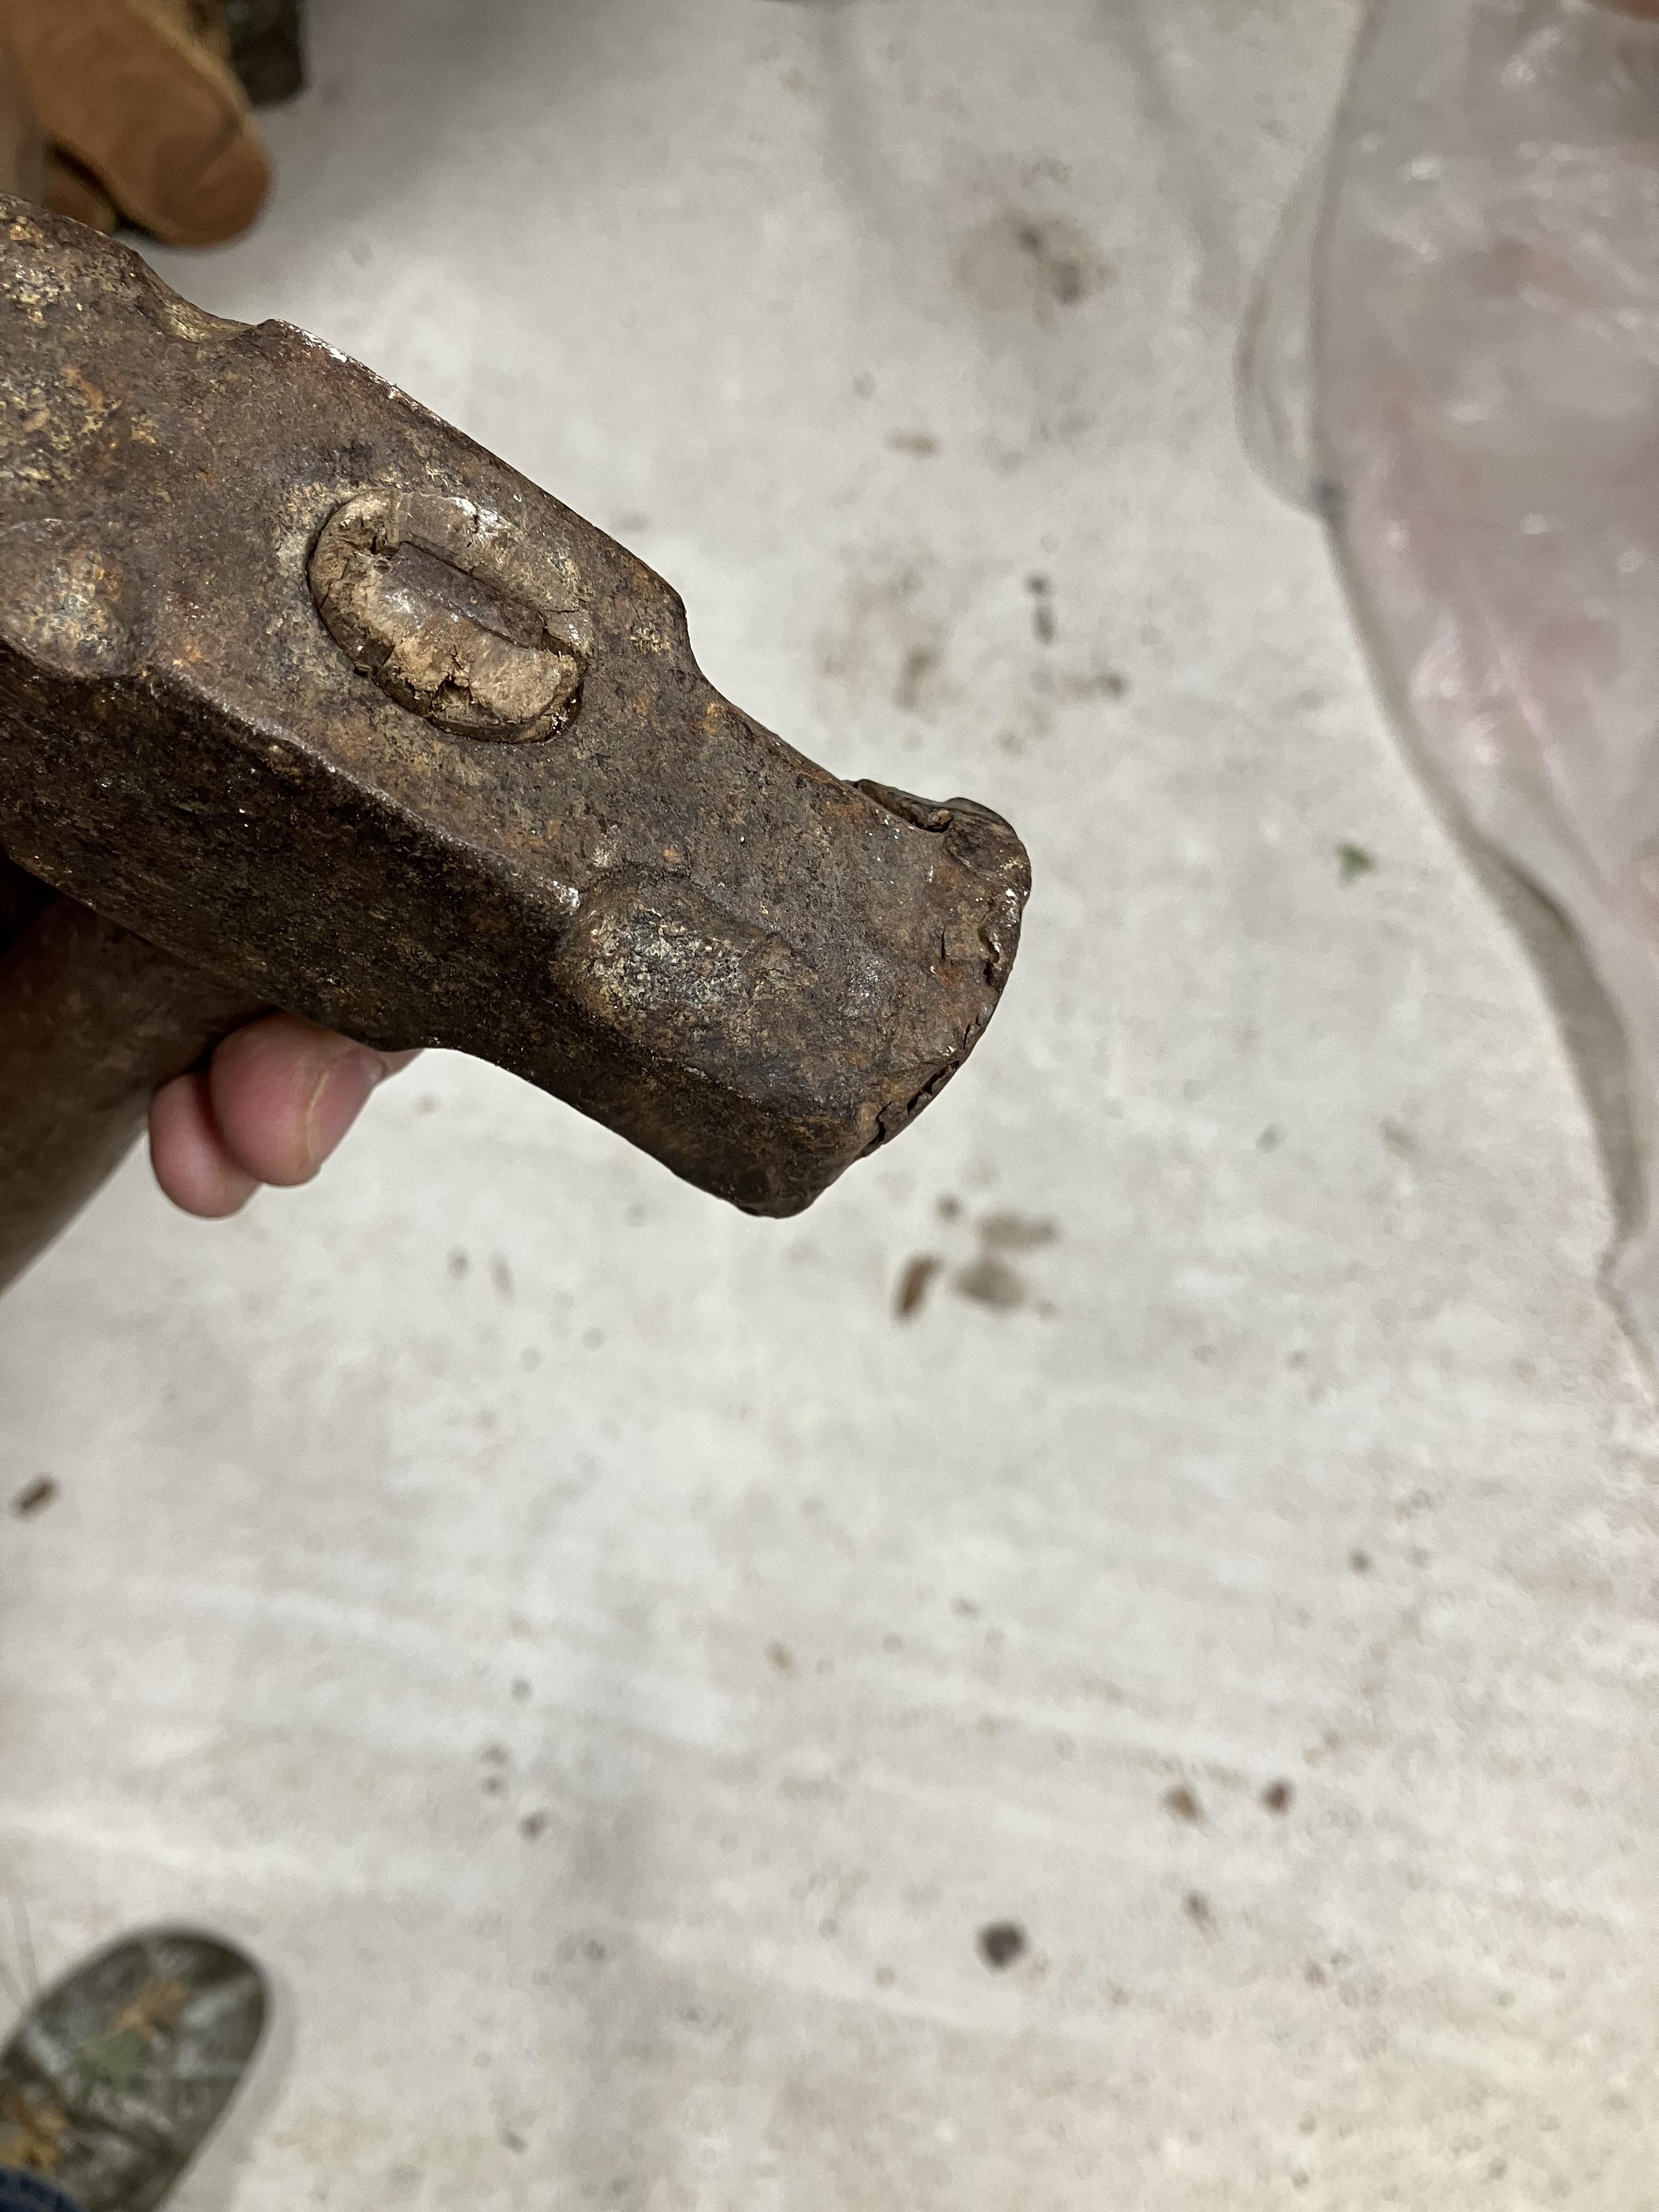
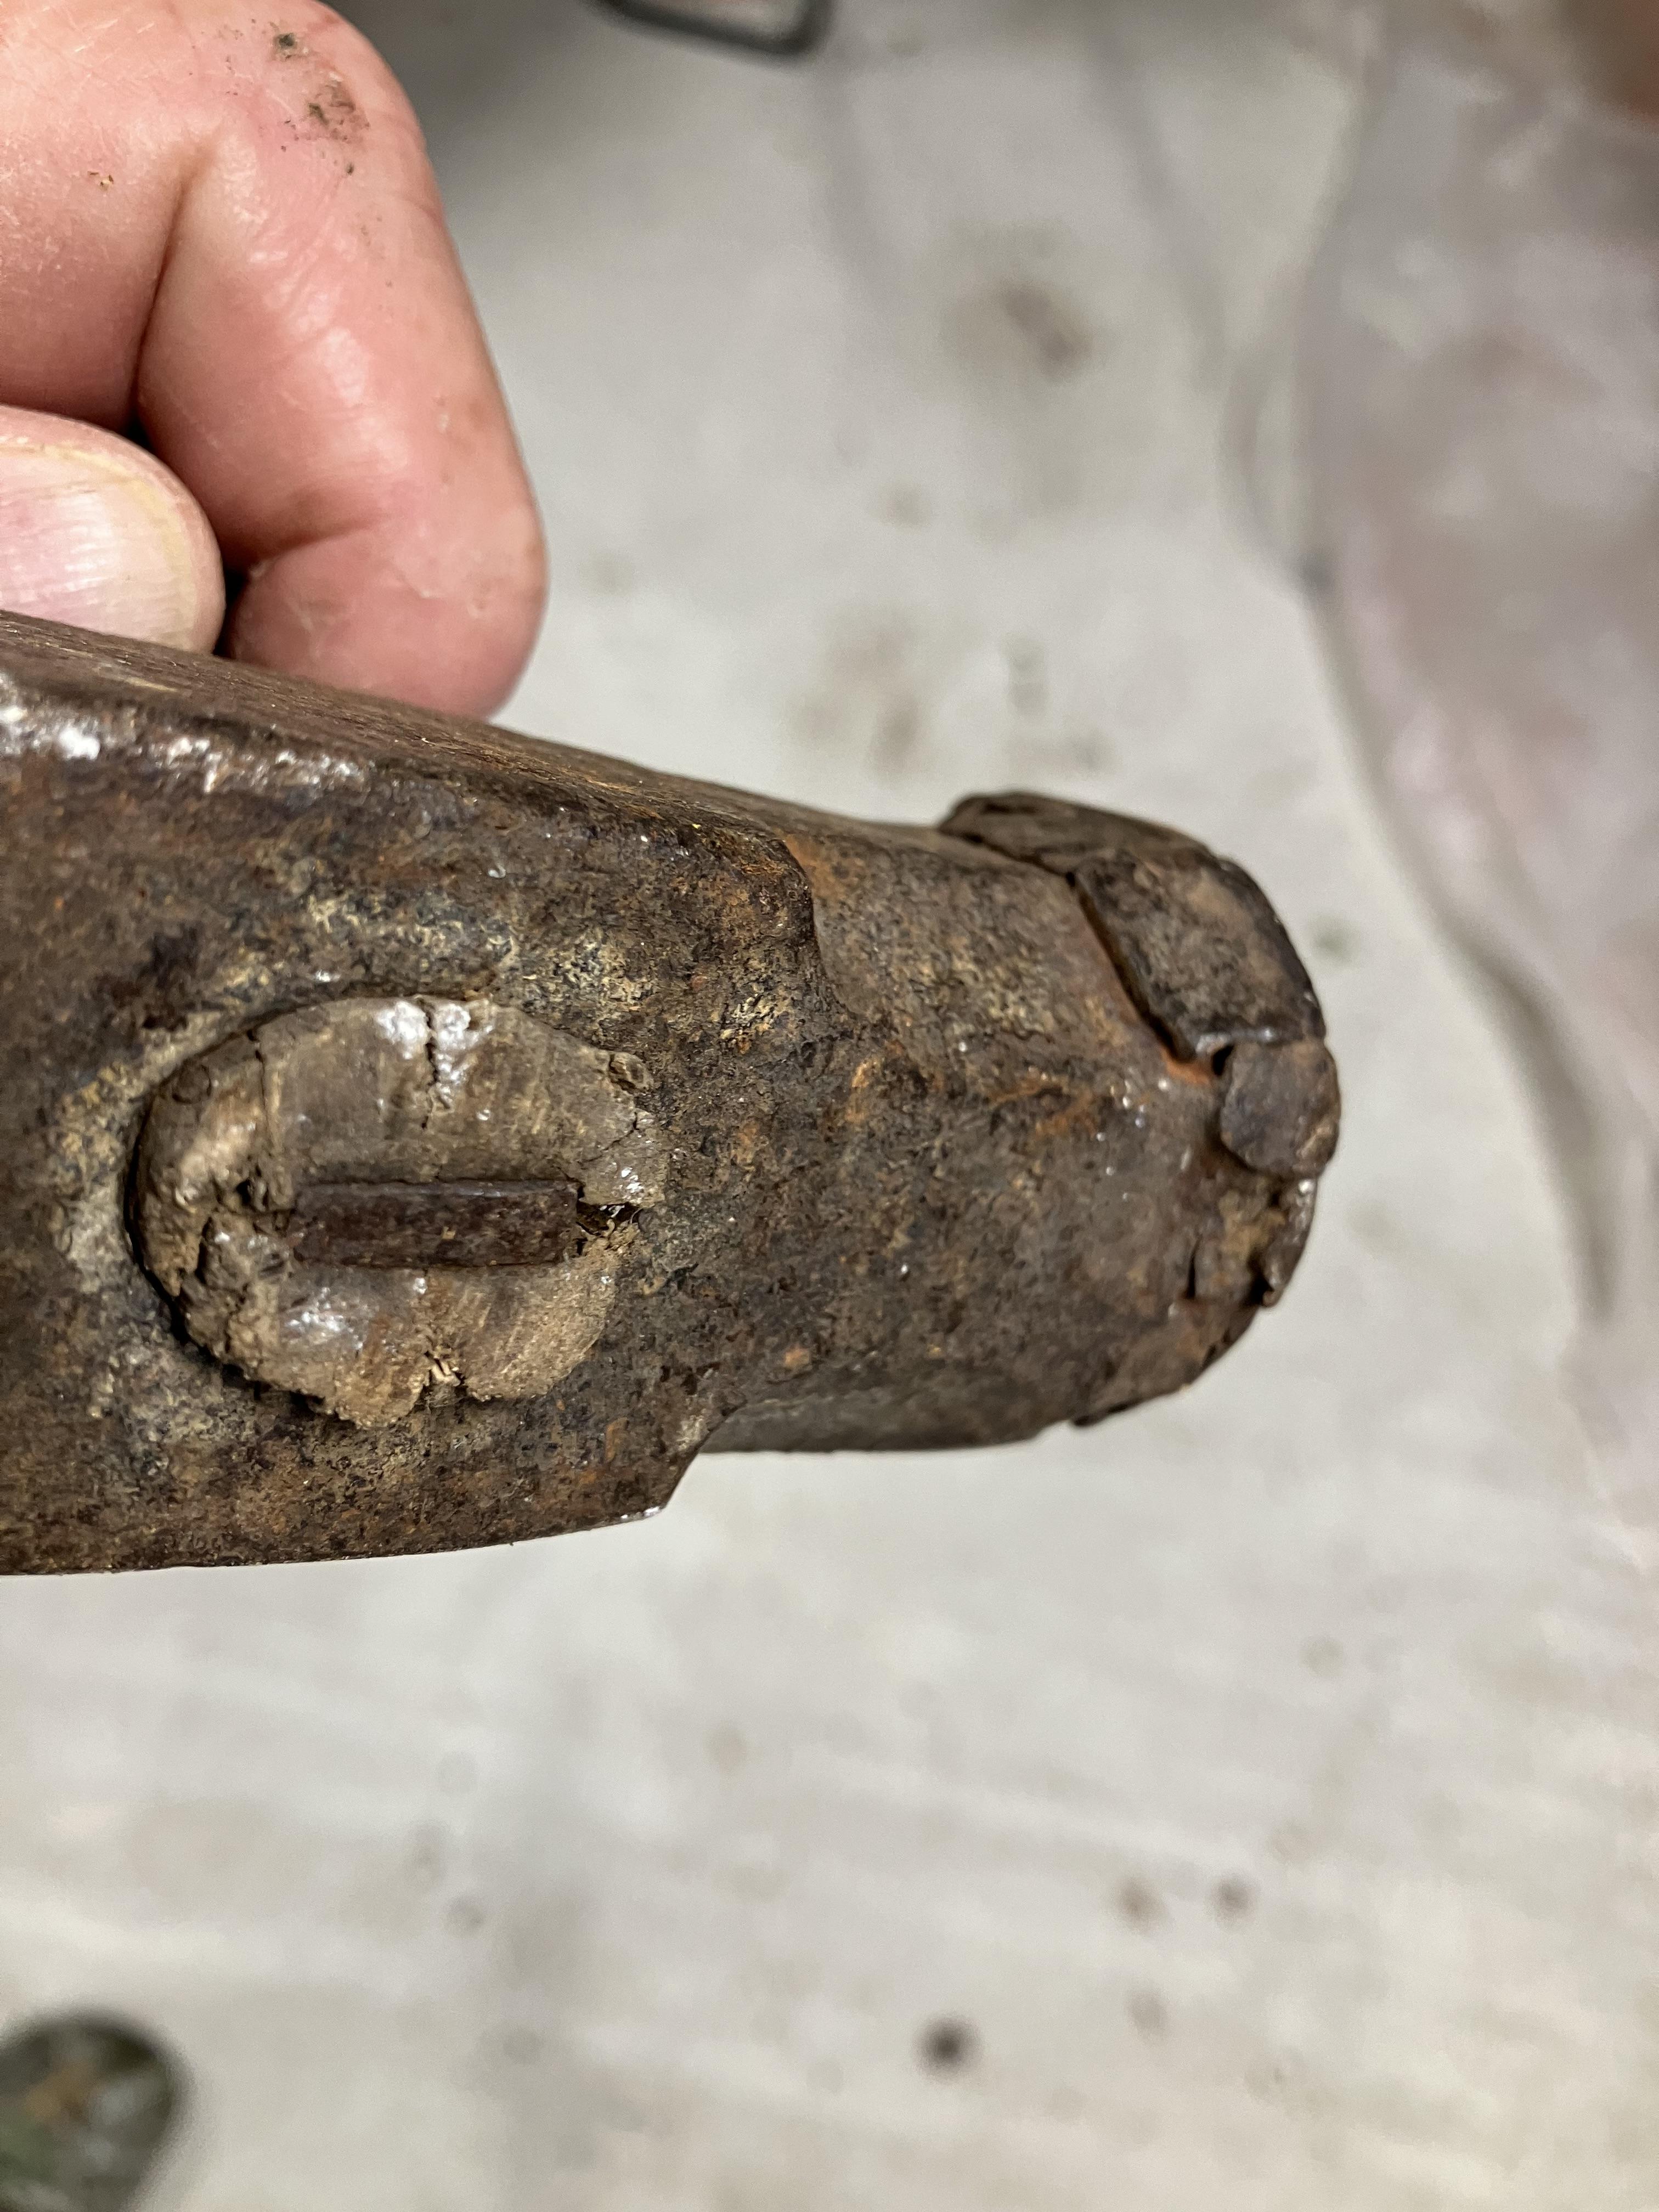
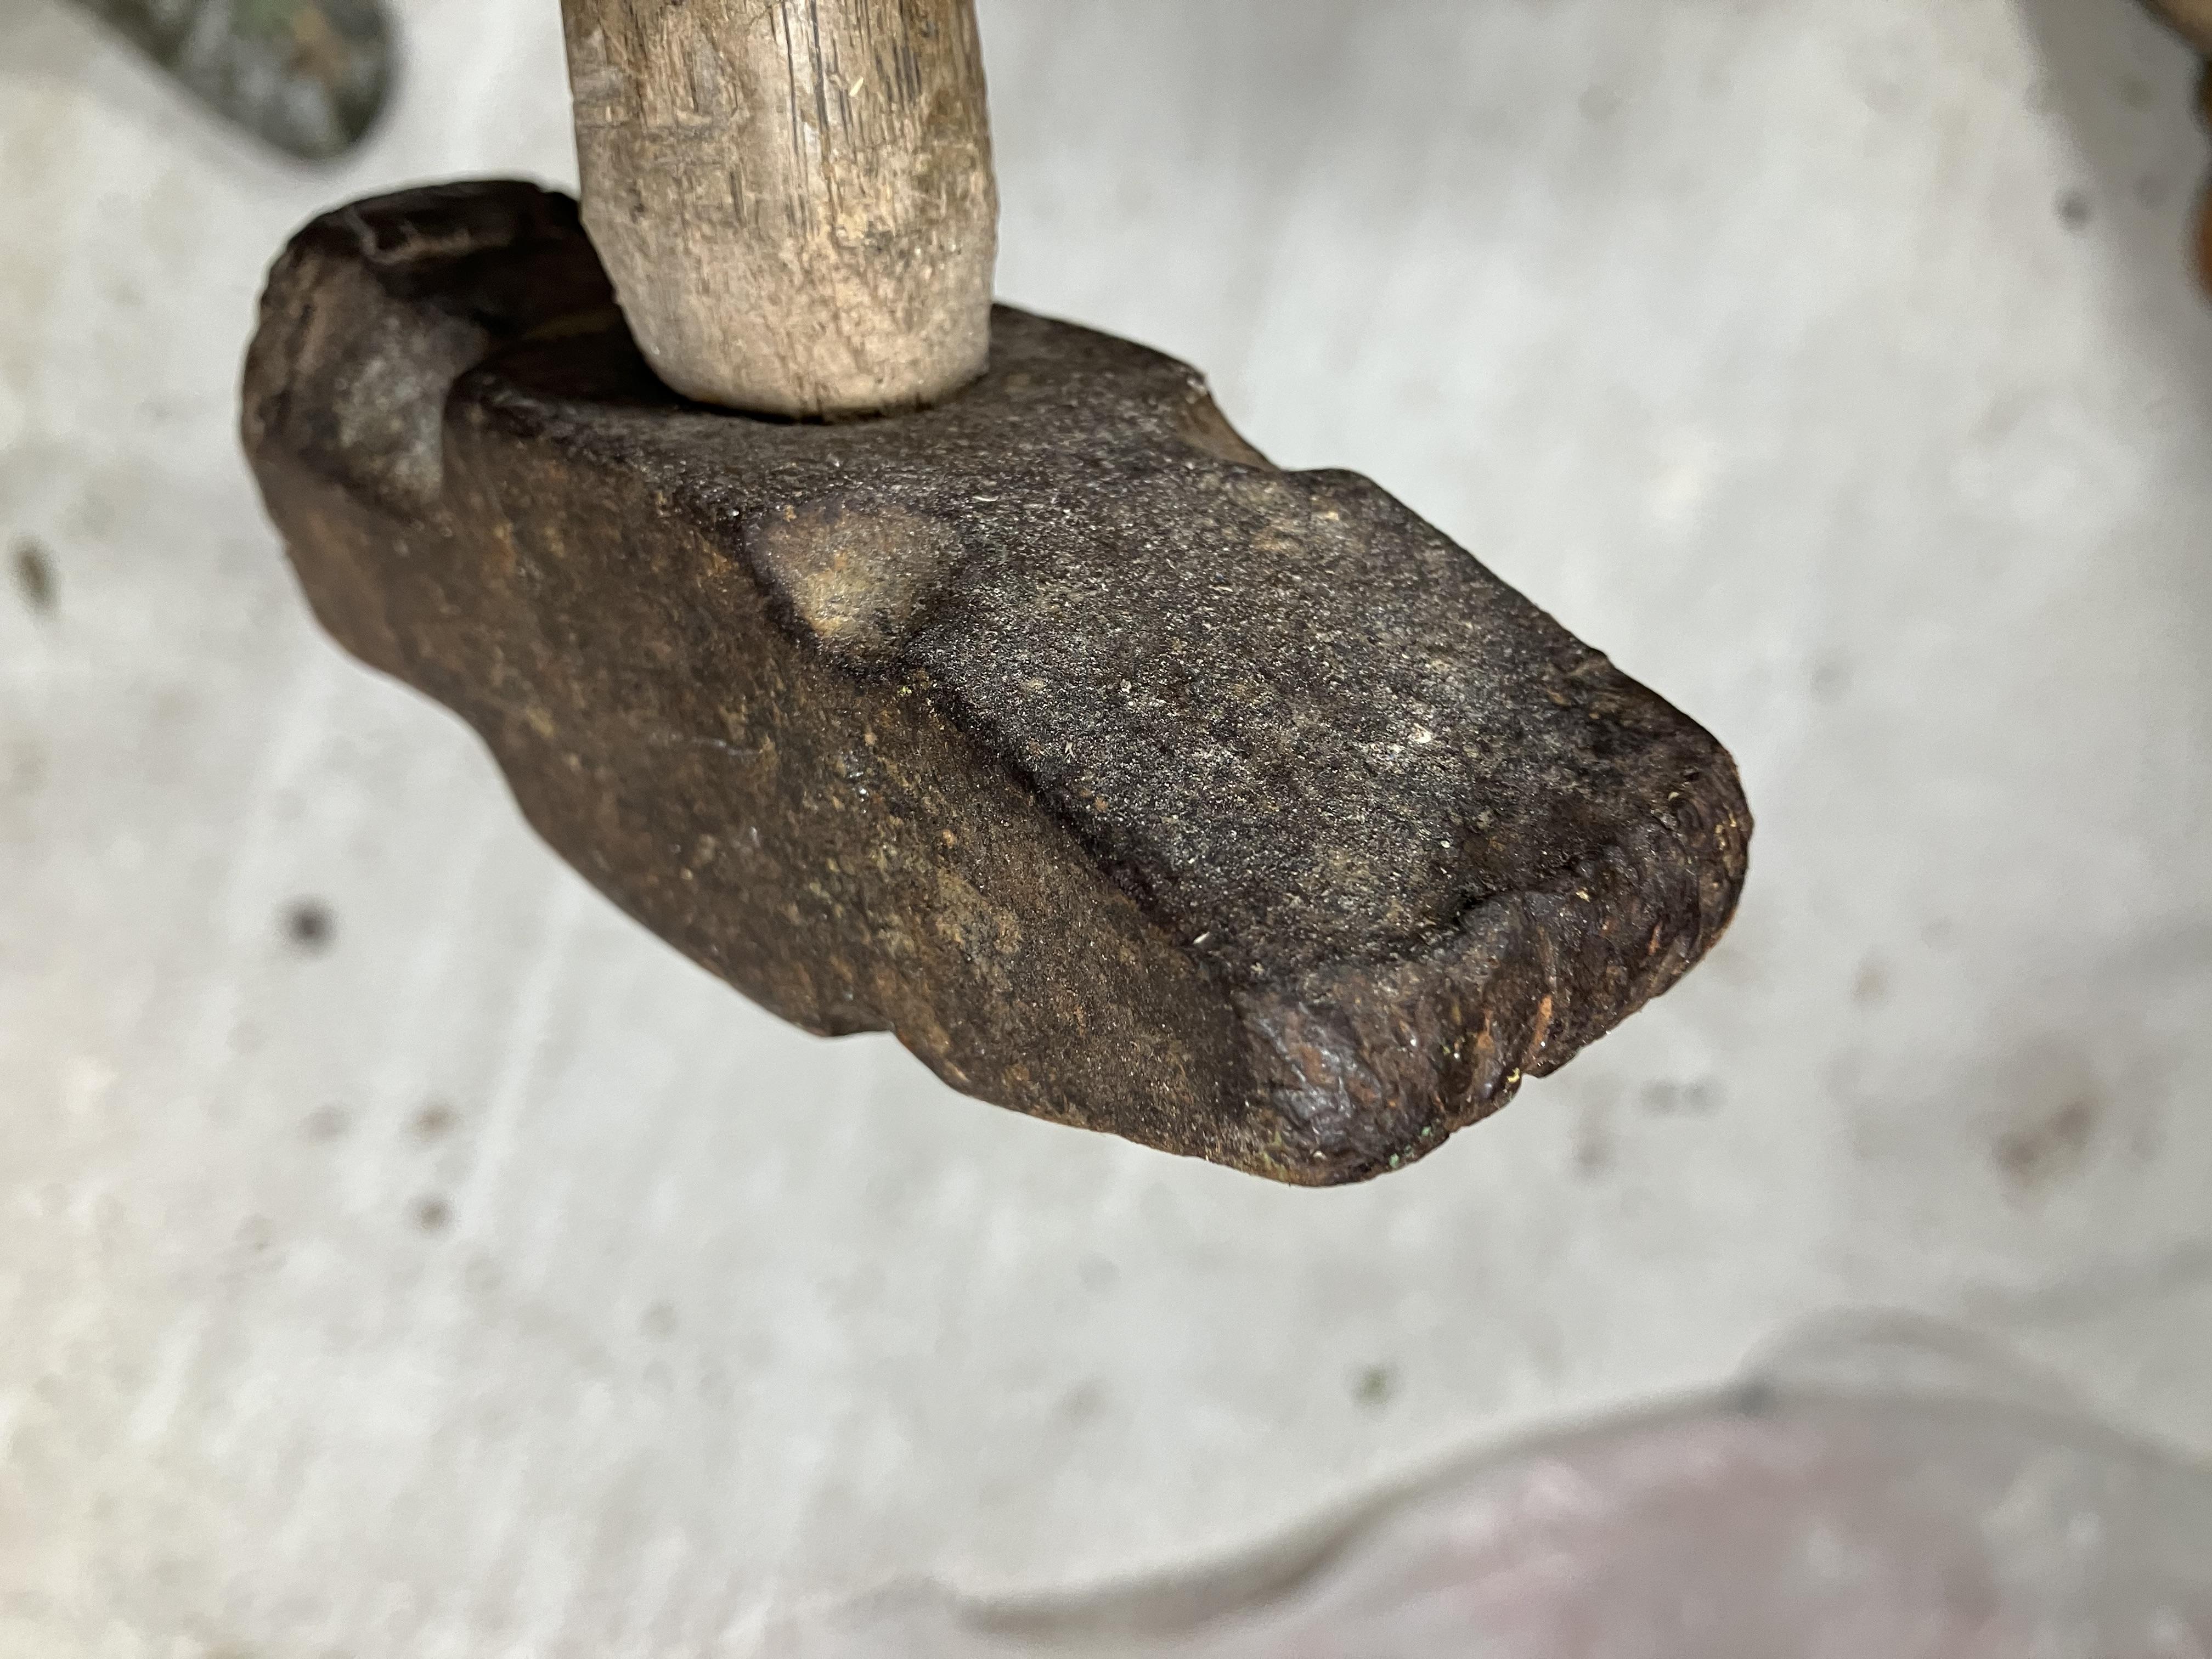
I’ve got a truck load of tools. I’m wearing out my own hammers. That one is to show my sons and grandsons and perhaps give them insight into the level of HARD WORK that their predecessors endured just to make a living. To make a hammer look like that one I suppose takes getting up early and going to bed late and swinging that sucker every hour in between... Alan Regarding gravity… I have found that it is extra strong directly under my Lazy Boy…. Sometimes I have to pry myself out of it... Alan
-
I leaned about chips of hammer steel when I was ten. I had my dad’s claw hammer an was chipping at some concrete. He walked by and told me that I was going to chip the hammer and walked off (which was uncharacteristic since I didn’t have a new knot on the back of my head)… I kept chipping away and then felt something sting the knuckle of the ring finger on my right hand. I looked at it and there was indeed some of the red stuff coming out. I put the hammer back in the tool box and tried my best not to leave a blood trail (that sort of thing was all to common for my mom and dad not to notice)… 50+ years went by and I broke a bone in my hand and had to get an e-ray… Dr. asked what the spot on the x-ray was and my memory started coming back. It was a chip. At first I thought it might be a piece of rock but I tried one of those little magnets and it stuck. I have that hammer too (I don’t use it) and the missing chip can be seen on the bottom edge. Alan
-
I’m going to leave it as is. It represents a lot of very hard work and will serve as a reminder of just how easy we have things these days. It didn’t get worn like that because it was someone’s hobby tool. It was worn out by necessity in making tools and other items needed for everyday life. When I hold these old tools in my hand I think about all the people who held it in theirs. Hopefully my sons will feel the same about all the things that are passed on to them. My grandmother told me once, “You don’t know where you’re going until you know where you came from”. Alan
-
My FIL died in 2020. He grew up in very rural North Louisiana and was likely skilled in a multitude of manly arts. This hammer was in his attic. It appears to have forged some iron in its day. Alan