hornguy
Members
-
Joined
-
Last visited
Everything posted by hornguy
-
Thanks, that’s good to know. Will definitely make up a baffle to redirect the hot air away. Don’t need any more carbon monoxide in the air.
-
Thanks I will give it a few strokes and see how it works. it does seem just a little more stable each time I light it up. Especially once it’s warmed up a bit. I haven’t had it running for any great length of time yet but I’m thinking it may be worthwhile to have a baffle of some sort between the front slot opening and the burner to direct the hot air up and away from the air intakes. There seems to be a lot of hot air in the vicinity of the air intakes and I don’t know how this may affect its performance.
-
Good information here regarding chokes. I have just finished my new ribbon burner build also using one of Frosty’s T burner inducers. I panicked when trying to light it before putting it in my forge, because I just couldn’t make it fire unless I choked the air intakes dramatically. I made up some intake chokes in order to test fire it before securing it to the forge. I needn’t have bothered. Once it was in the forge it lit up like a Christmas tree and is burning nicely. Today was only my second time firing it and it actually seemed to perform even better now that the burner block is properly cured and I have sealed around it properly. Once the forge gets up to temp, it really seems to settle into an even better flame. Another bonus is just how quiet it is compared to the two gas hog Venturi burners I used to have in there.
-
Thanks Frosty the flame is lifting of ever so slightly which I would associate with an excess of air. But choking it doesn’t seem to make a big difference. Do you think I need more air? To achieve this would I be better with a smaller jet orifice.
-
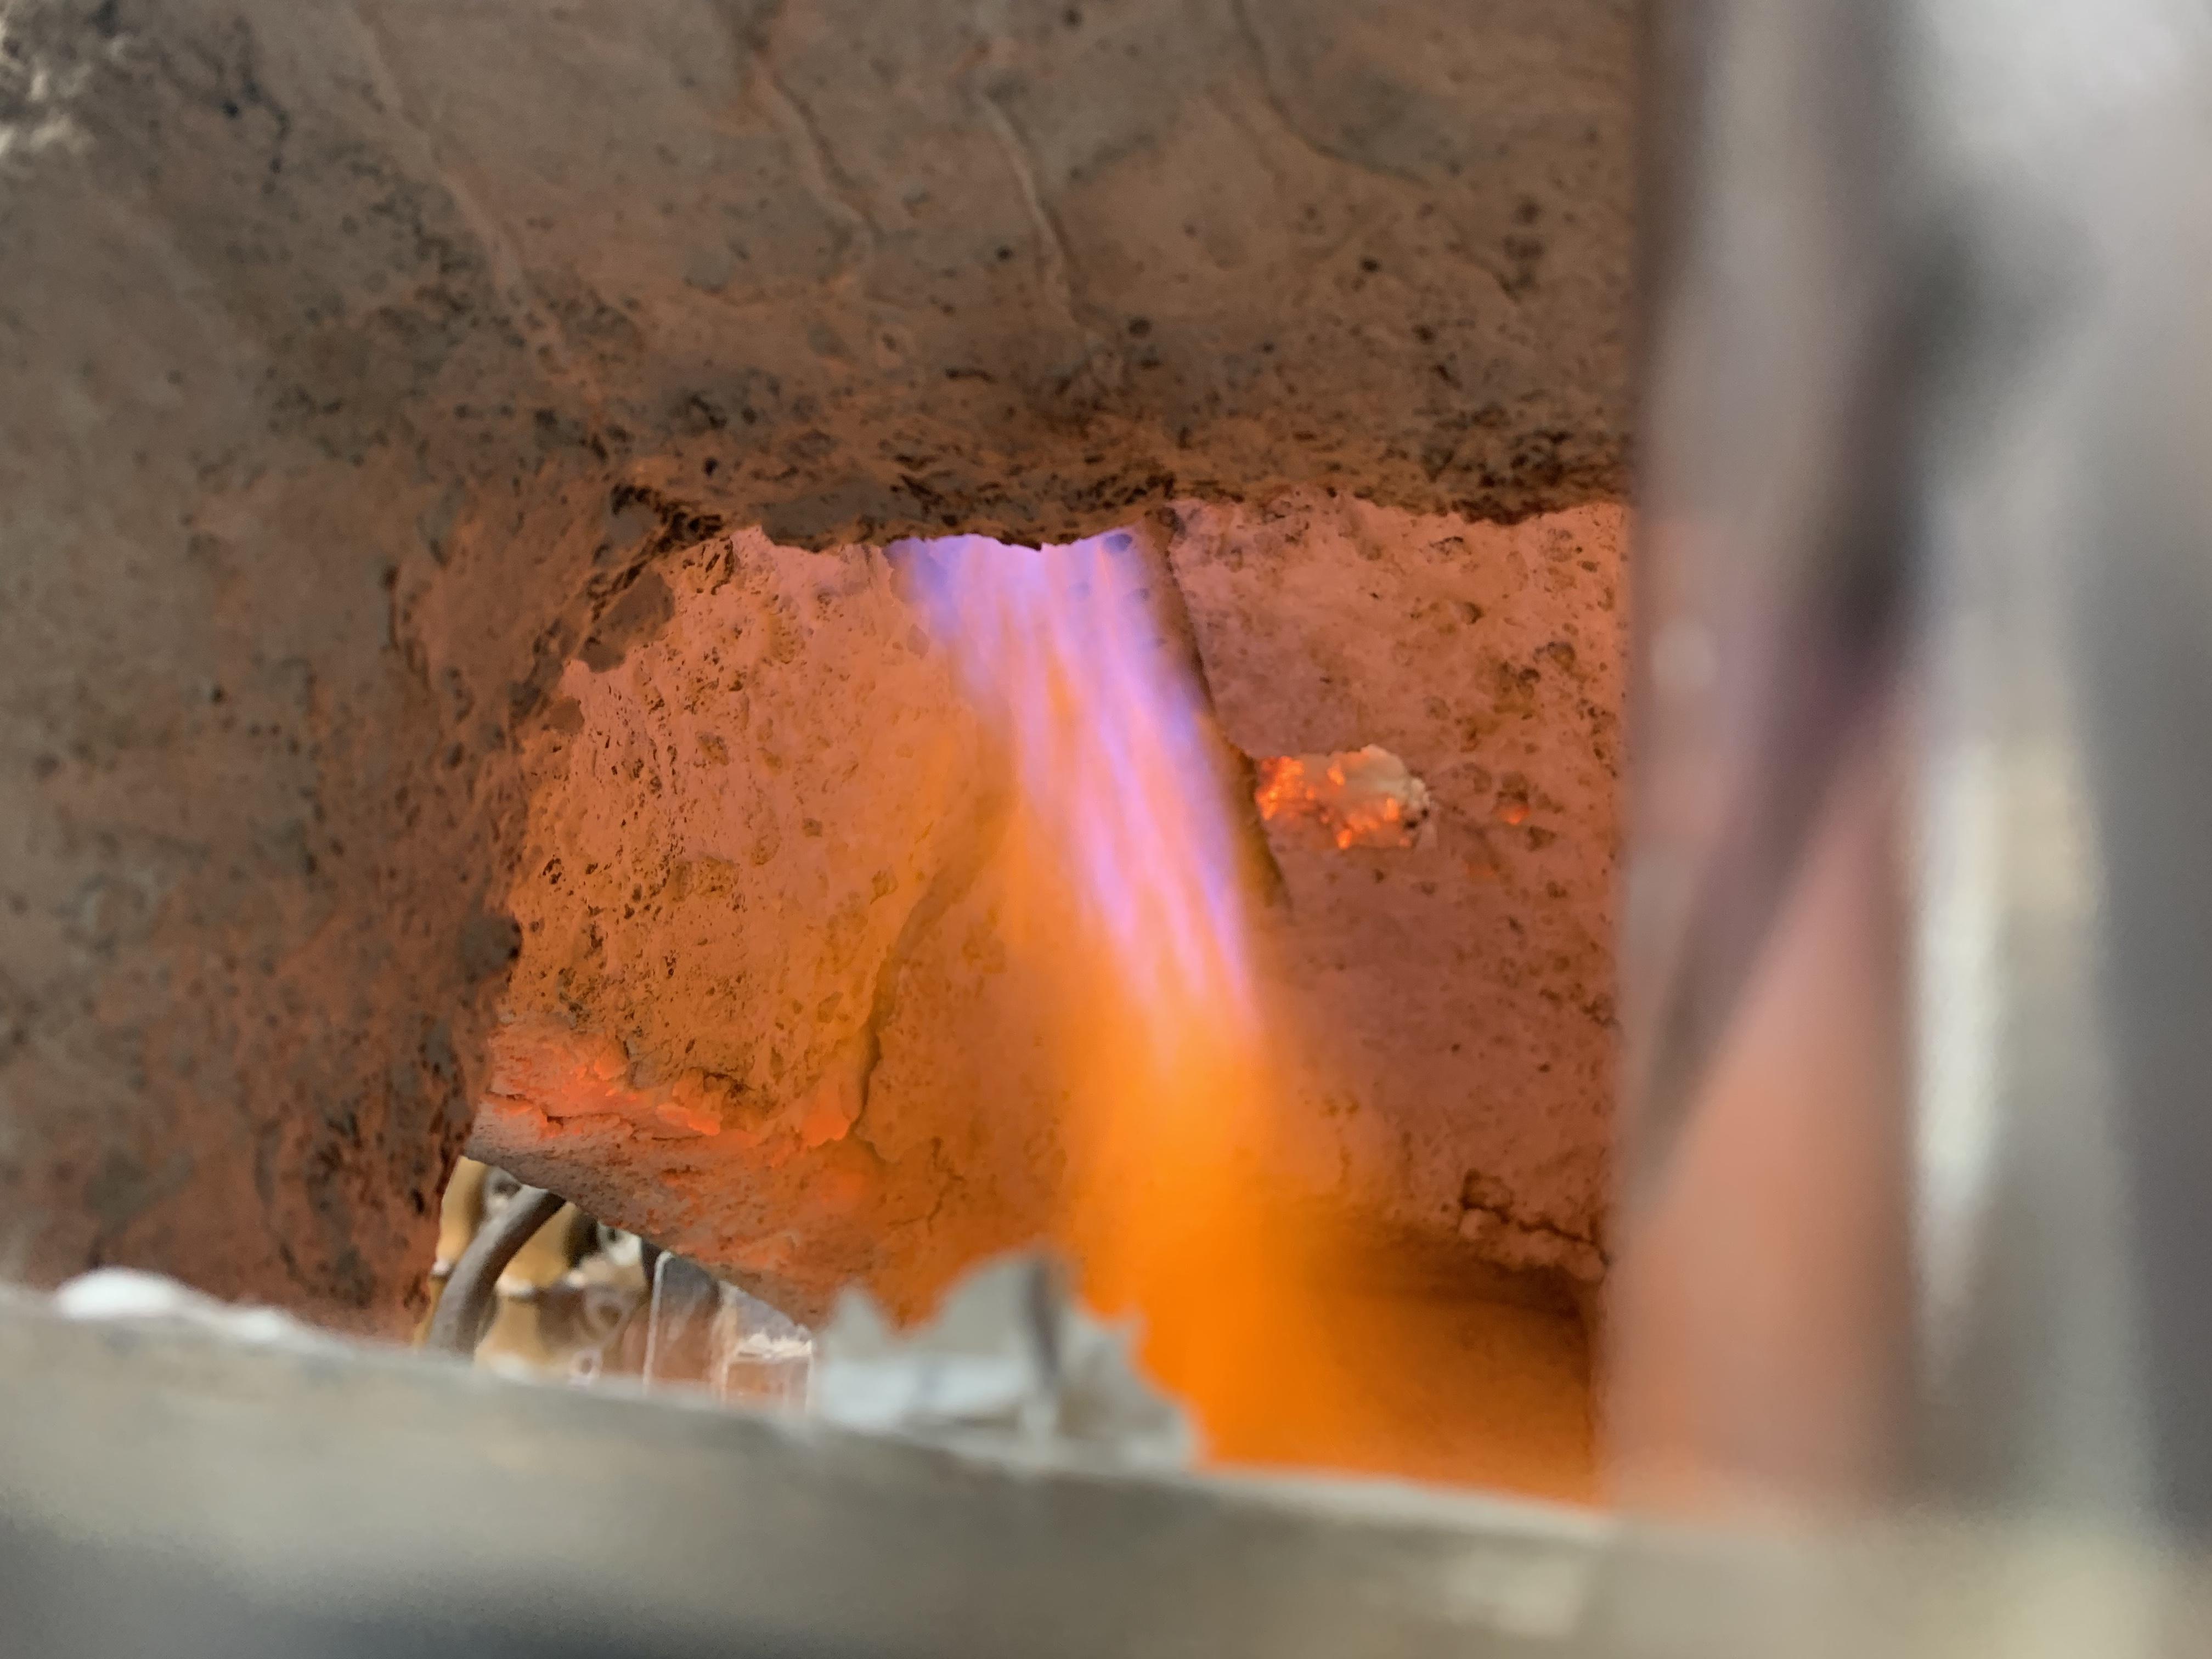
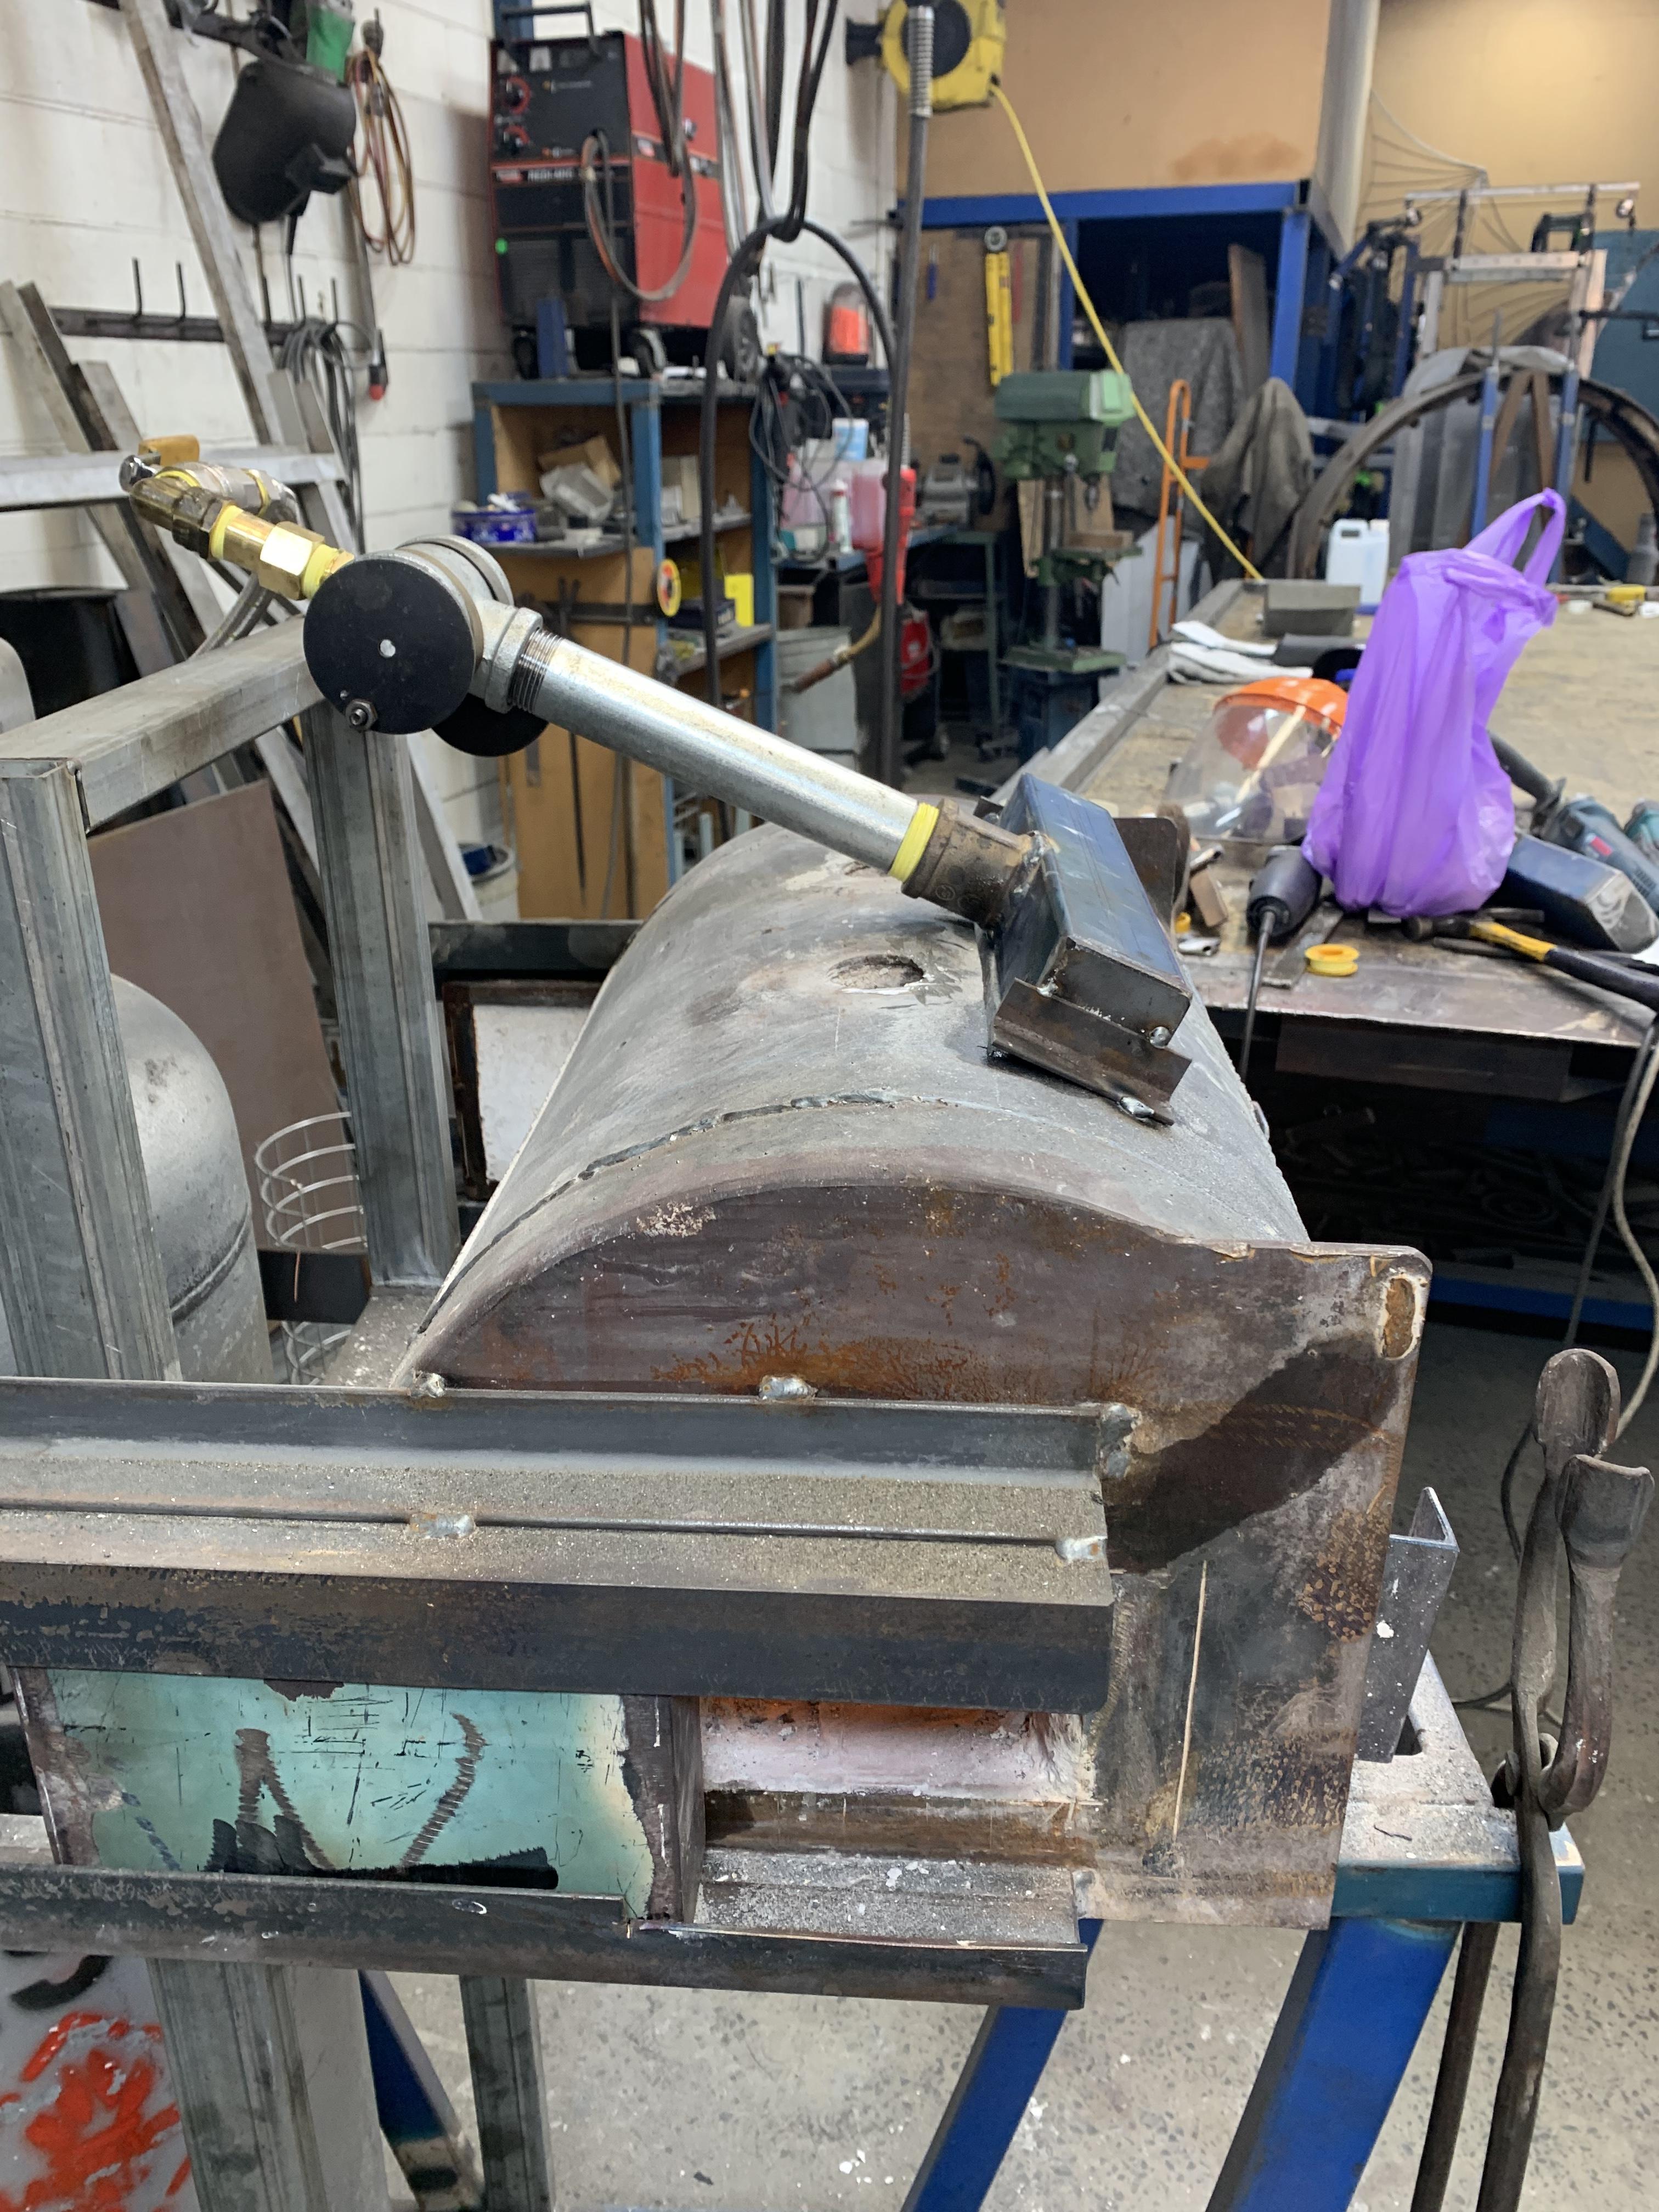
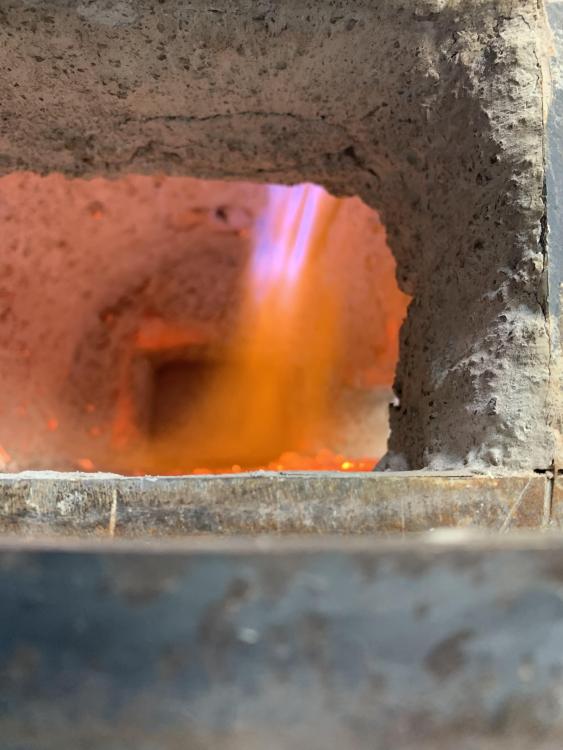
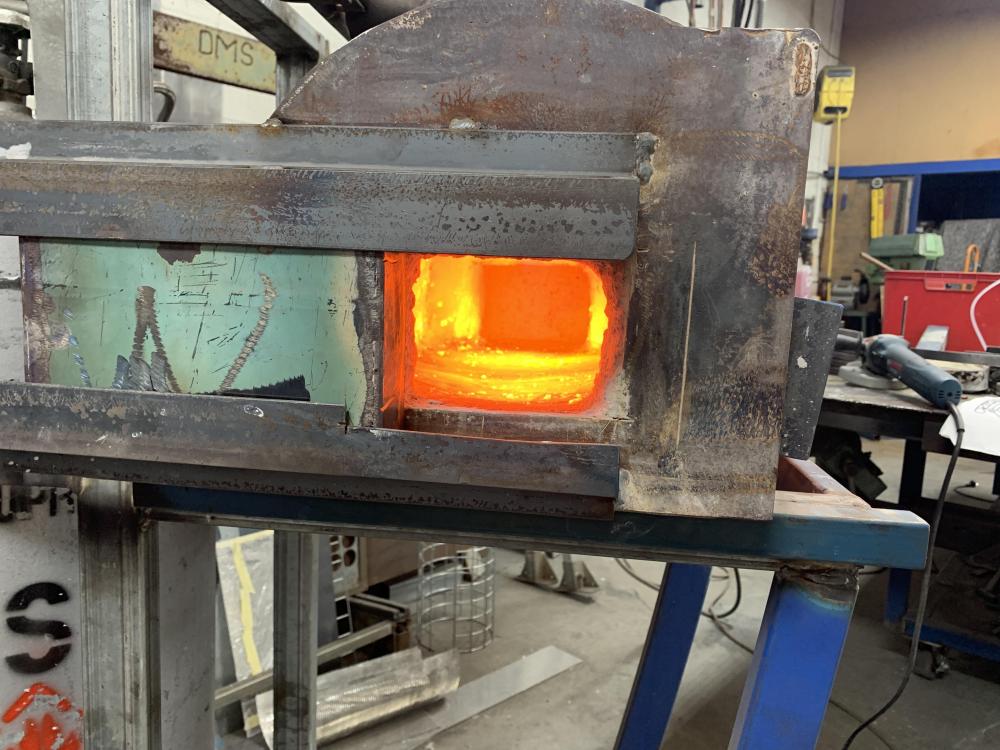
Well I managed to get a nice changeover from the two old 3/4 burners to the new Naturally Aspirated Ribbon or multi port burner. I used your T burner design with a 1” tube and 1mm or .040 mig tip. Outside of the forge I couldn’t get it to fire well at all unless I choked off most of the air, and even then it was more like a stovetop burner than anything else. However I decided to chance it and removed the old burners and made a big cutout for the new one. I angled the burner diagonally from the top front of the forge toward the back to get a vortex happening. I threw in a piece of lit paper, open up the gas and it fired up nicely. As you indicated, it can be run on minimal or maximum PSI without a need to choke the air or adjust in any way. I ran it at a measly 20 KPA (3Psi) and it brings steel to a nice forging heat in not time. And it just stays there at that temp unless it’s cranked up. Perfect for my needs in this (my everyday forge).where I generally bring 20+Pieces of steel to forging heat and continually add more as I have finished with one. So this forge can sometimes be running for several hours simply bringing 4-5 inch sections of steel to forging heat. I only ran it for a short while today (maybe 45mins) but will be firing it up for some paying work in the next day or so to put it through its paces. I don’t see there being too many issues judging by how it performed today. Below are a couple of photos and a short video of it running. Photos taken through side doors (which are normally closed while in operation). IMG_0281.MOV


-
Thanks, good to know I’m not alone. I think I’ll go the 1” and 1 1/2” T and I can always choke it a little if needed. I de-moulded my cast burner this afternoon (got a bit impatient) but it came out fine. The wax coated straws worked well and were super easy to drill out. I’ll try and source some parts tomorrow so I can get it all happening early next week before I have to start on my next job. I will report back when I have it up and running and include some photos. I’m fairly confident it will work out.
-
I jumped right in and cast up a 11” x 2” burner head today, (12” was going to be a little too tight a fit. Letting it cure for a few days and hopefully will get started on the inducer shortly. I’m struggling to understand the arithmetic in sizing the air intake. I thought I read it as AI=2xD, but it doesn’t seem to work in my mathematically challenged brain. I’m hoping that with one inducer the mix still reaches the extreme ports well enough. Some more work has come up (which is great) but it may slow down my progress a little as I will be needing the forge for a lot of it. I really appreciate your help with this.
-
Thanks Frosty. A 12” burner with a 1” T-inducer sounds like it would work well. I may position it so that it’s slightly forward of centre aiming into the forge rather than directly on top aiming down. However in doing this it then puts the plenum closer to forge opening and it may cause it to get hotter quicker. I suppose a barrier of some sort could be put in between to alleviate this to some degree. now I just need to look up the plans for a 1” T burner so I can get started. I’ve added another photo of the current burners from a different angle below.
-
The forge is around 15 or so years old. But it’s not a commercially available forge, it’s one I built myself, so are the burners. The burners are very basic build venturi using a reducer welded to a 90deg elbow with a mig tip aimed down the center. These ones cannot be tuned via an air choke, only by adjusting mig tip length. You are correct about the long slot opening being on the right in the second picture. The burners are positioned along the centre line of the forge point straight down toward floor. I do like the idea of two naturally aspirated ribbon burners to replace these. Do you think it would work to have one 12” ribbon burner with 38 nozzlets fed by two T-Burners or is this not wise for safety reasons? I could have a plate welded inside the plenum to seperate them. Two seperate burners would allow more adjustment I guess, and might be easier to cast than one long one. Should be an interesting project either way.
-
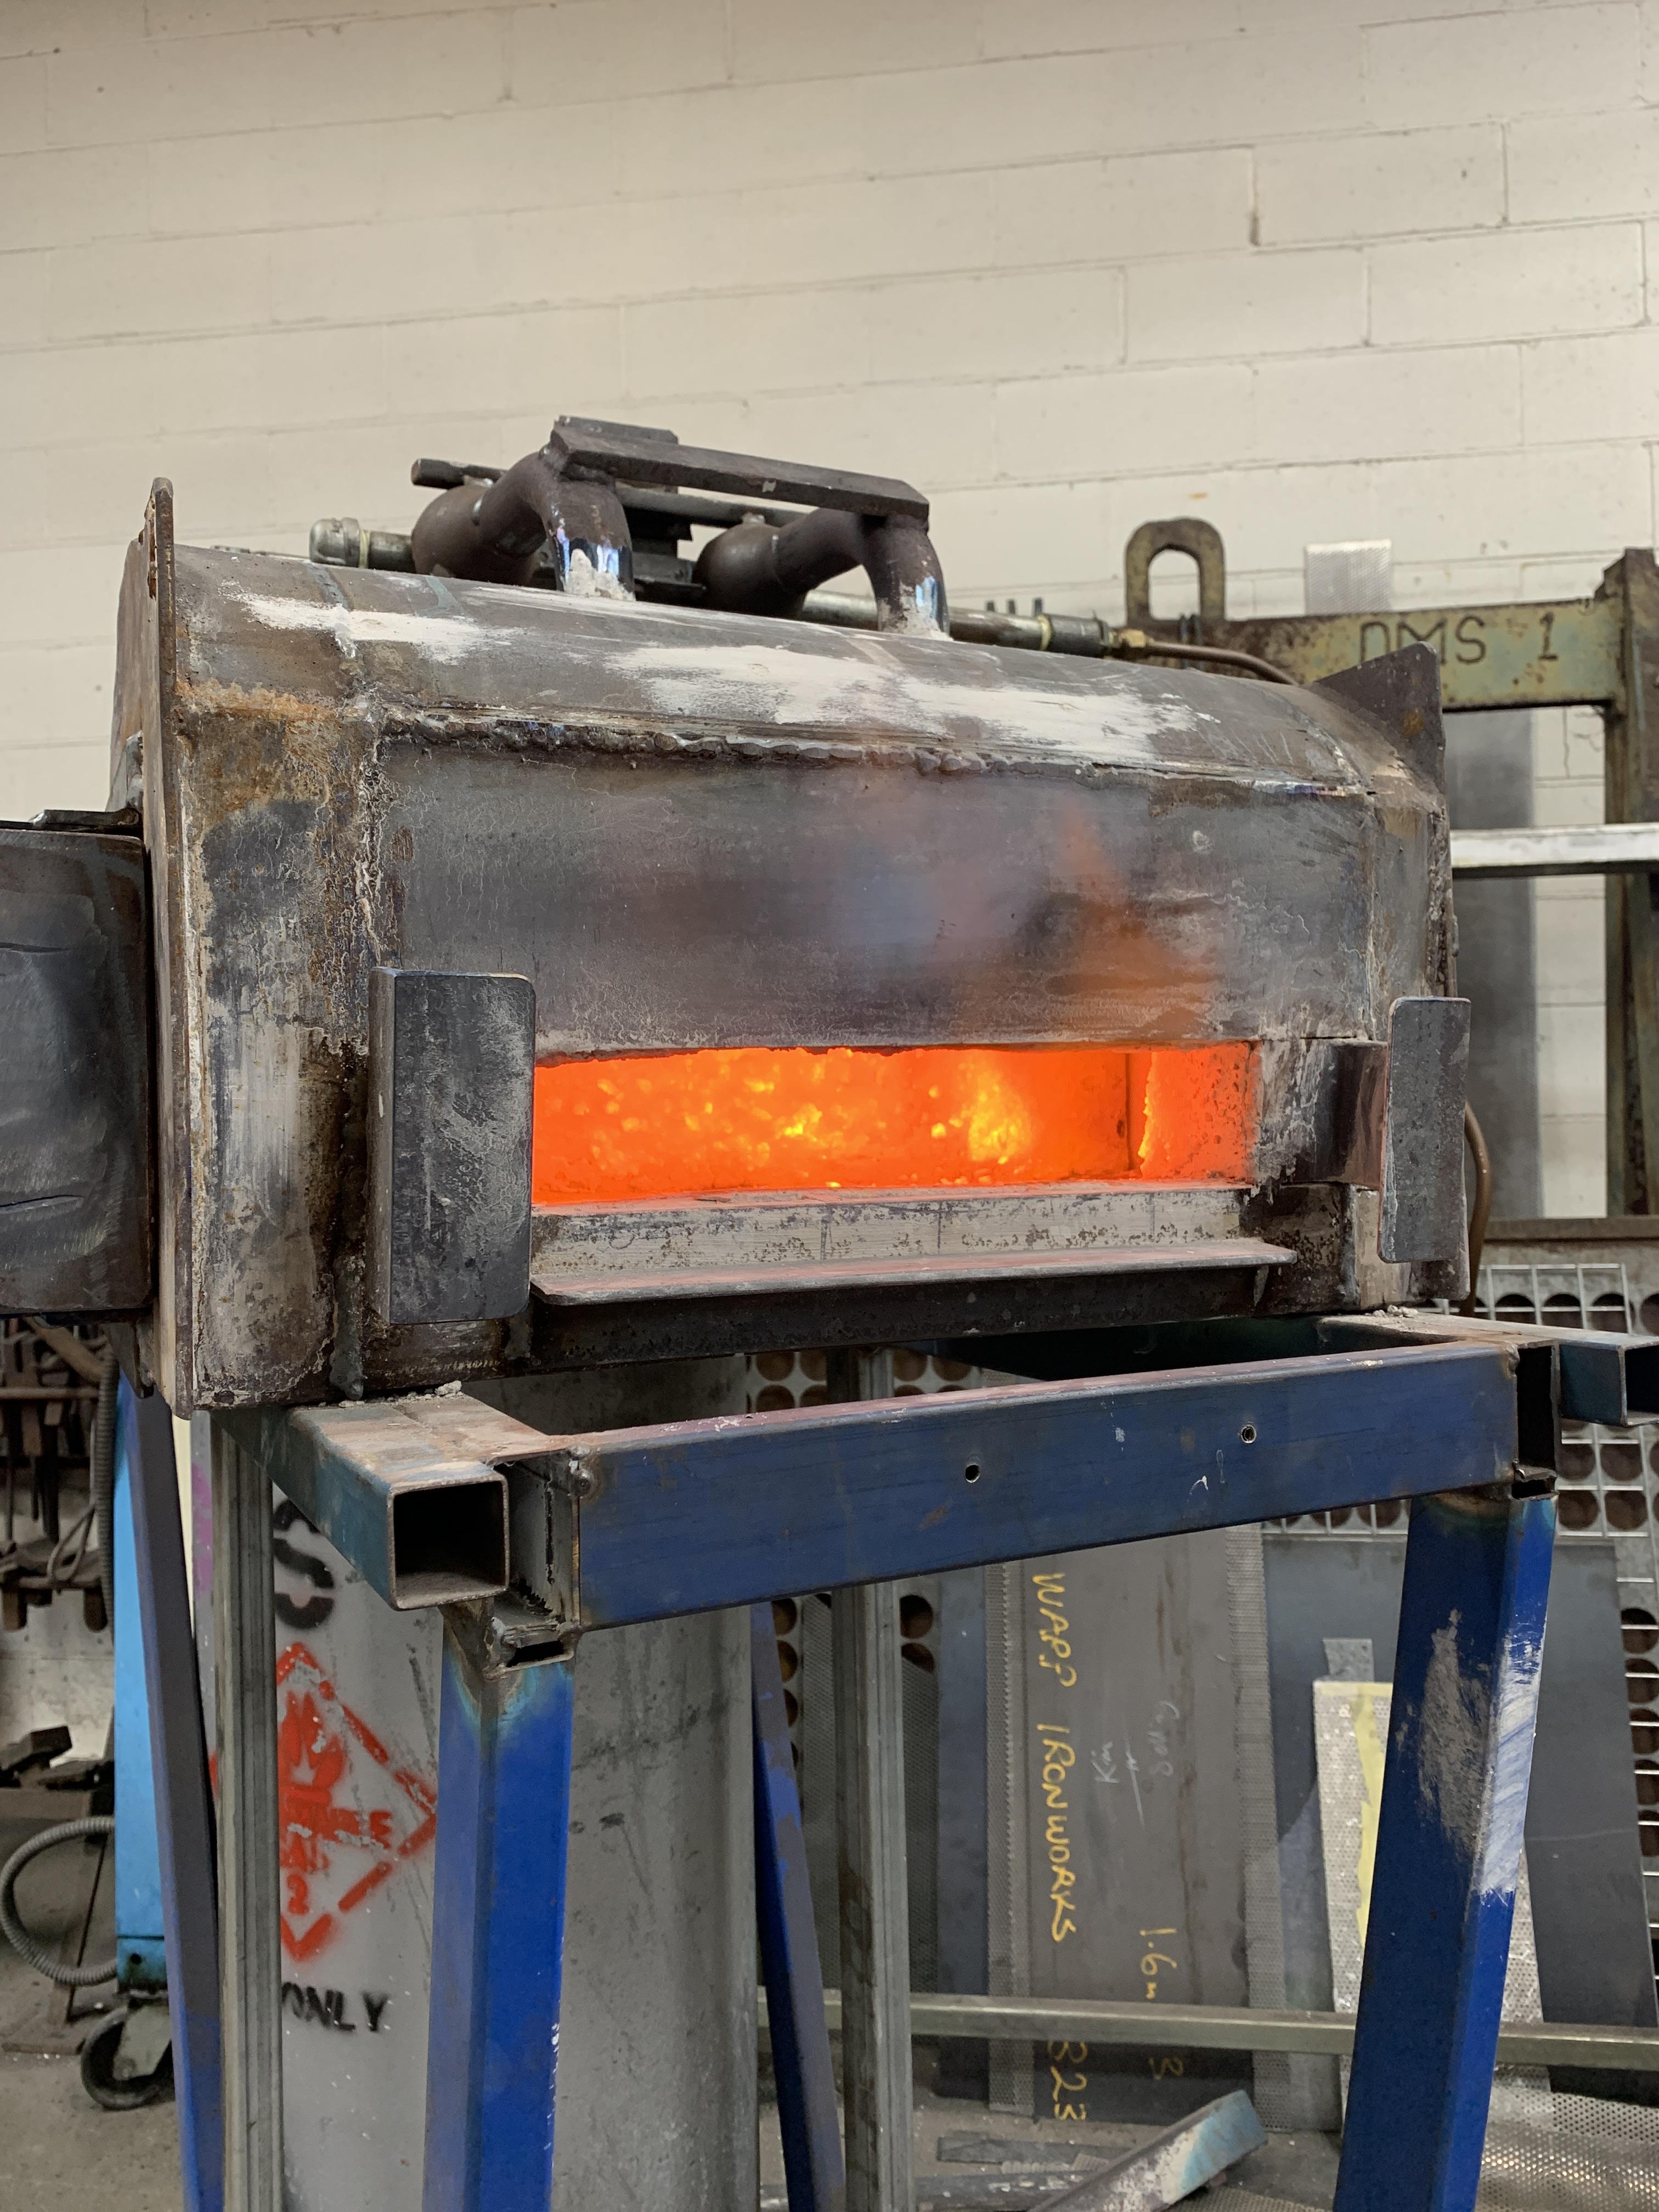
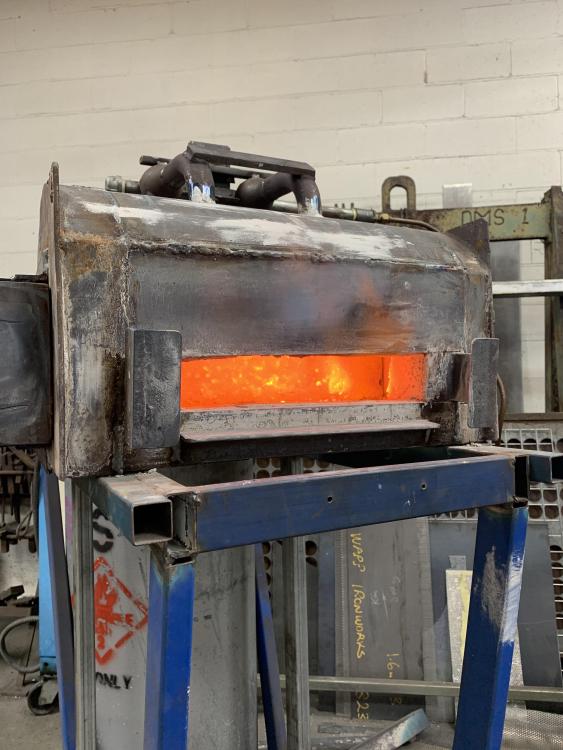
Thanks. I have considered a ribbon burner for this, but never thought of having two. I take it you’re speaking of the naturally aspirated ribbon burners? I’ll need to do more research on those as from what I have read, they are less forgiving of poor design than the blown type. Hot spots from multiple burners is also not a big problem in this particular forge as the pieces are generally in there for some time soaking up heat whilst I work on another. Here is a photo of it after being on for only 5 minutes at around 5 PSI (at the tank). Plenty hot enough, but far from efficient.
-
Thanks for the reply. I’m not actually in a hurry as such, but I was at a critical time only due to an unexpected job. More than happy to take the time to find a solution generally, only this urgent job came up and I needed to deal with it or loose it. My thoughts were similar in having an extra burner to spread the heat without adding heat ( if that makes sense?). Am I right in assuming that the two 3/4” burners are more aggressive than three 1/2” burners? It may sound strange but I’d prefer to just be able to light it up and go about business rather than worry too much about it’s heat output aside from whether it gives me a bright orange without waiting too long. Also of importance is not having to worry about it overheating and having to crank up the gas to keep a flame that isn’t spluttering etc. I guess a more efficient set up without a need to constantly monitor.
-
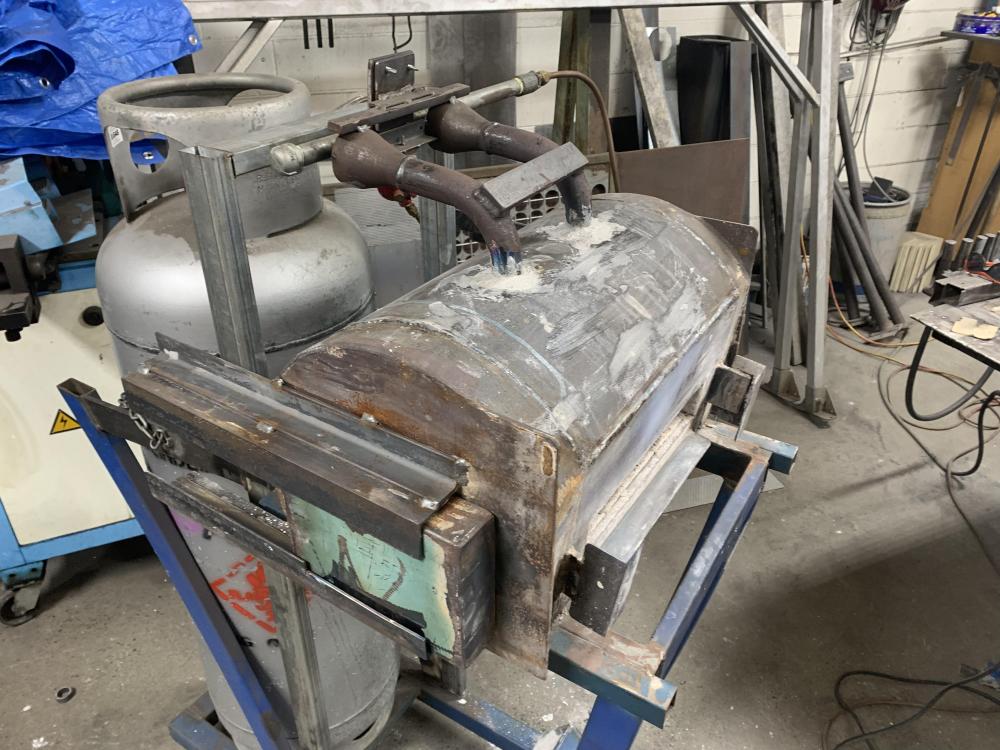
Hello all. I’m in the process of re-jigging my day to day forge. A little background: I have been operating a wrought iron business for the last 28 years. For the last 15 years I’ve been using a thrown together two burner gas forge that was a real gas hog. when times are good and the work is constant, this isn’t a big issue. But it’s been a little slower of late and I feel the need to cut costs where I can and be a little more practical about things. I have been playing around with a blown ribbon burner forge for different projects recently and it has worked out extremely well. But I prefer a Venturi burner forge for its basic on off easiness and perceived safety (no concerns with blowers failing etc). My old Venturi forge was oversized and 80% castable refractory with just a little Superwool (lower temp non hazardous wool). However it was bulletproof and took a lot of abuse. In the last couple of weeks I have decided to cut it down in size (from approximately 600mm wide to around 450mm. Also I have removed all of the refractory apart from the floor and replaced it with 2x25mm of isowool 1600 and a 12-15mm coating of 1600 rating castable. I just used the old basic Venturi burners I made for it in the past. Whilst they worked, they were now just overly powerful for what is a smaller forge. A change in mig tip sizes has helped with this for the time being, but I’m planning on replacing the burners soon. (a job came up and I need the forge urgently to get it done). Issue is the best plan of attack in regard to heating but not overheating this forge. It is a wide yet not too deep forge with a slot opening in the front of about 50mm height x 350mm wide. Also has sliding cast doors on either side of around 120mm x 100mm. Most work is multiple pieces of flats, rounds or square bar with a heat of about 100-150mm length. A bright orange heat is all that is normally required (no forge welding in this one). My thoughts are to still use a two burner configuration but if a smaller diameter (1/2” rather than the 3/4” I currently have). Having said that, I don’t want to be too under gunned here as I like it to get up to temp in a reasonable time also. Here is a short video of it after being shortened and ready-lined, but still using original burners. IMG_0190.MOV
-
Thanks for pointing this out. I tried a search but perhaps I wasn’t using the best criteria in it. will try once again.
-
Hello all. I was just wondering if anyone has used 3D printer tips for gas nozzles and if in fact they are reasonable possibility. As they seem to have a greater range of orifice sizes than mig tips, I am thinking they may be a decent option. I’d love to hear your thoughts.
-
More if a rat really.
-
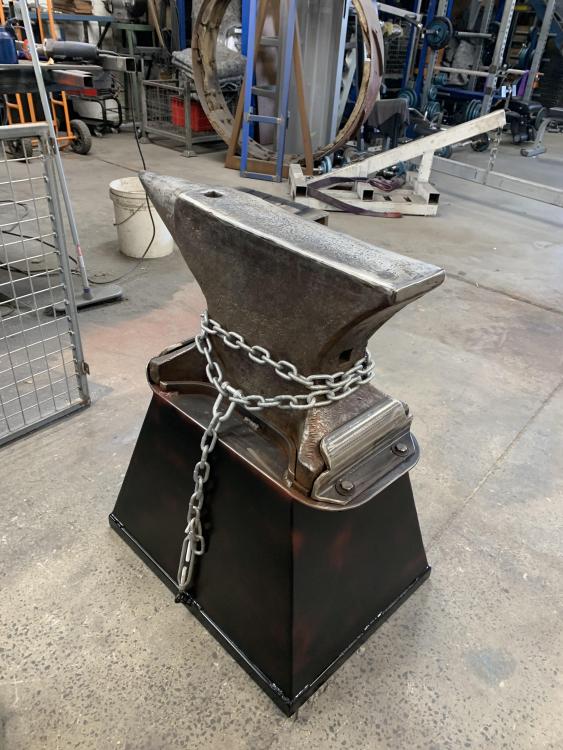
Here’s my anvil base for a 200kg Soding Halbach anvil. This one is as quiet as a mouse now, since I added a dense rubber Matt under anvil and strapped it down tight with the chains.
-
Yes but in my case there were pieces of broken refractory that were too larger to be removed through ports and the diffuser blocked them from the other side
-
Just a thought on cleaning out ports and the plenum. I was having problems with not all ports igniting on my blown ribbon burner, which was due to blockages in certain areas. It was impossible to clean all of the junk out of the plenum through the ports sufficiently, so I made an access hole on the back of plenum which I later plugged with a threaded plug. This allowed good access to thoroughly clean out any debris. I have not had a problem since.