Eridanus21
-
Posts
9 -
Joined
-
Last visited
Content Type
Profiles
Forums
Articles
Gallery
Downloads
Events
Everything posted by Eridanus21
-
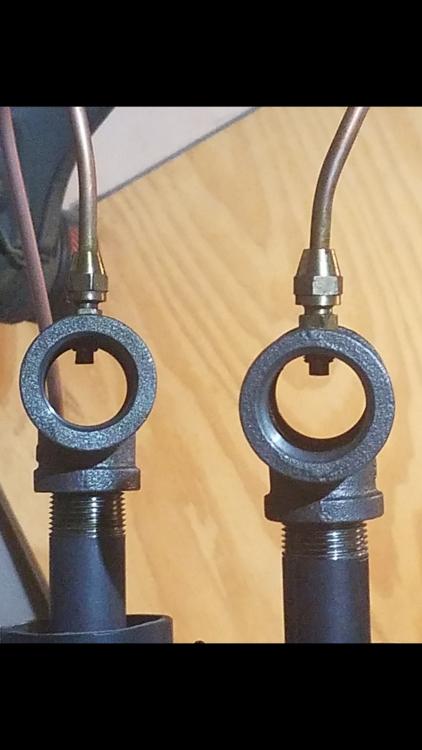
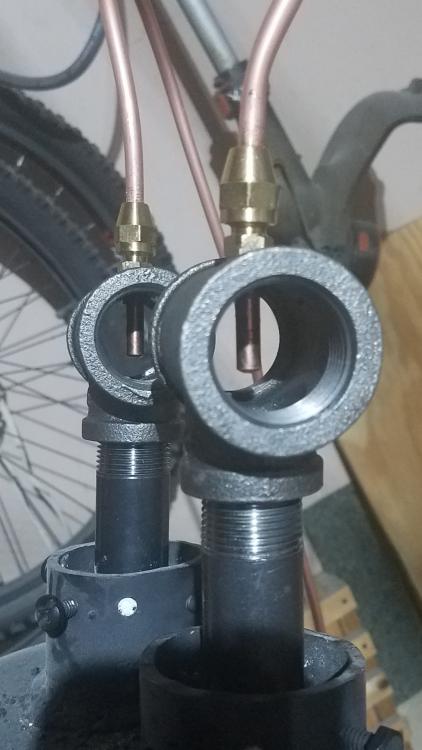
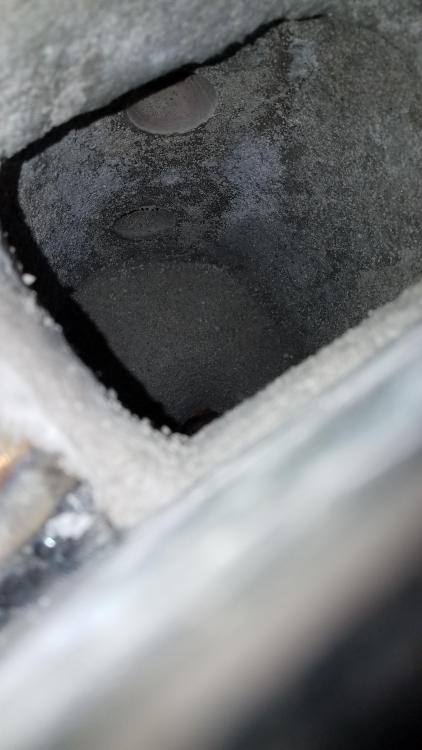
They are about 1/4" now, I wasn't seeing any significant change in the flames so I started taking more off because I saw someone have success with it on a frosty t on YouTube. Gradually, I took off amounts in this order and tested them in between every trim 1/16", 1/32", sanded, sanded, 1/32", 1/32", 1/16", 1/8", 1/8", 1/8". I have extra mig tips and thought what could it hurt if I take these too short and have to replace them. One of the threads I did manage to screw up a few degrees off center somehow but the other is fine, I figured if 1 of these burners is enough for this forge I could get away with one not being perfect. (Dumb I know) Most modern hardware stores have a decent enough selection of brass fittings for my application and a torch file, though I do see your point. I bought 1"x 3/4" T's and 3/4" x 6" nipples as the build plans call for. At the end of the day I'm just a hobbyist trying to forge weld, I don't see a benefit of posting here so I will stumble around until I figure it out or I'll buy some prebuilt.
-
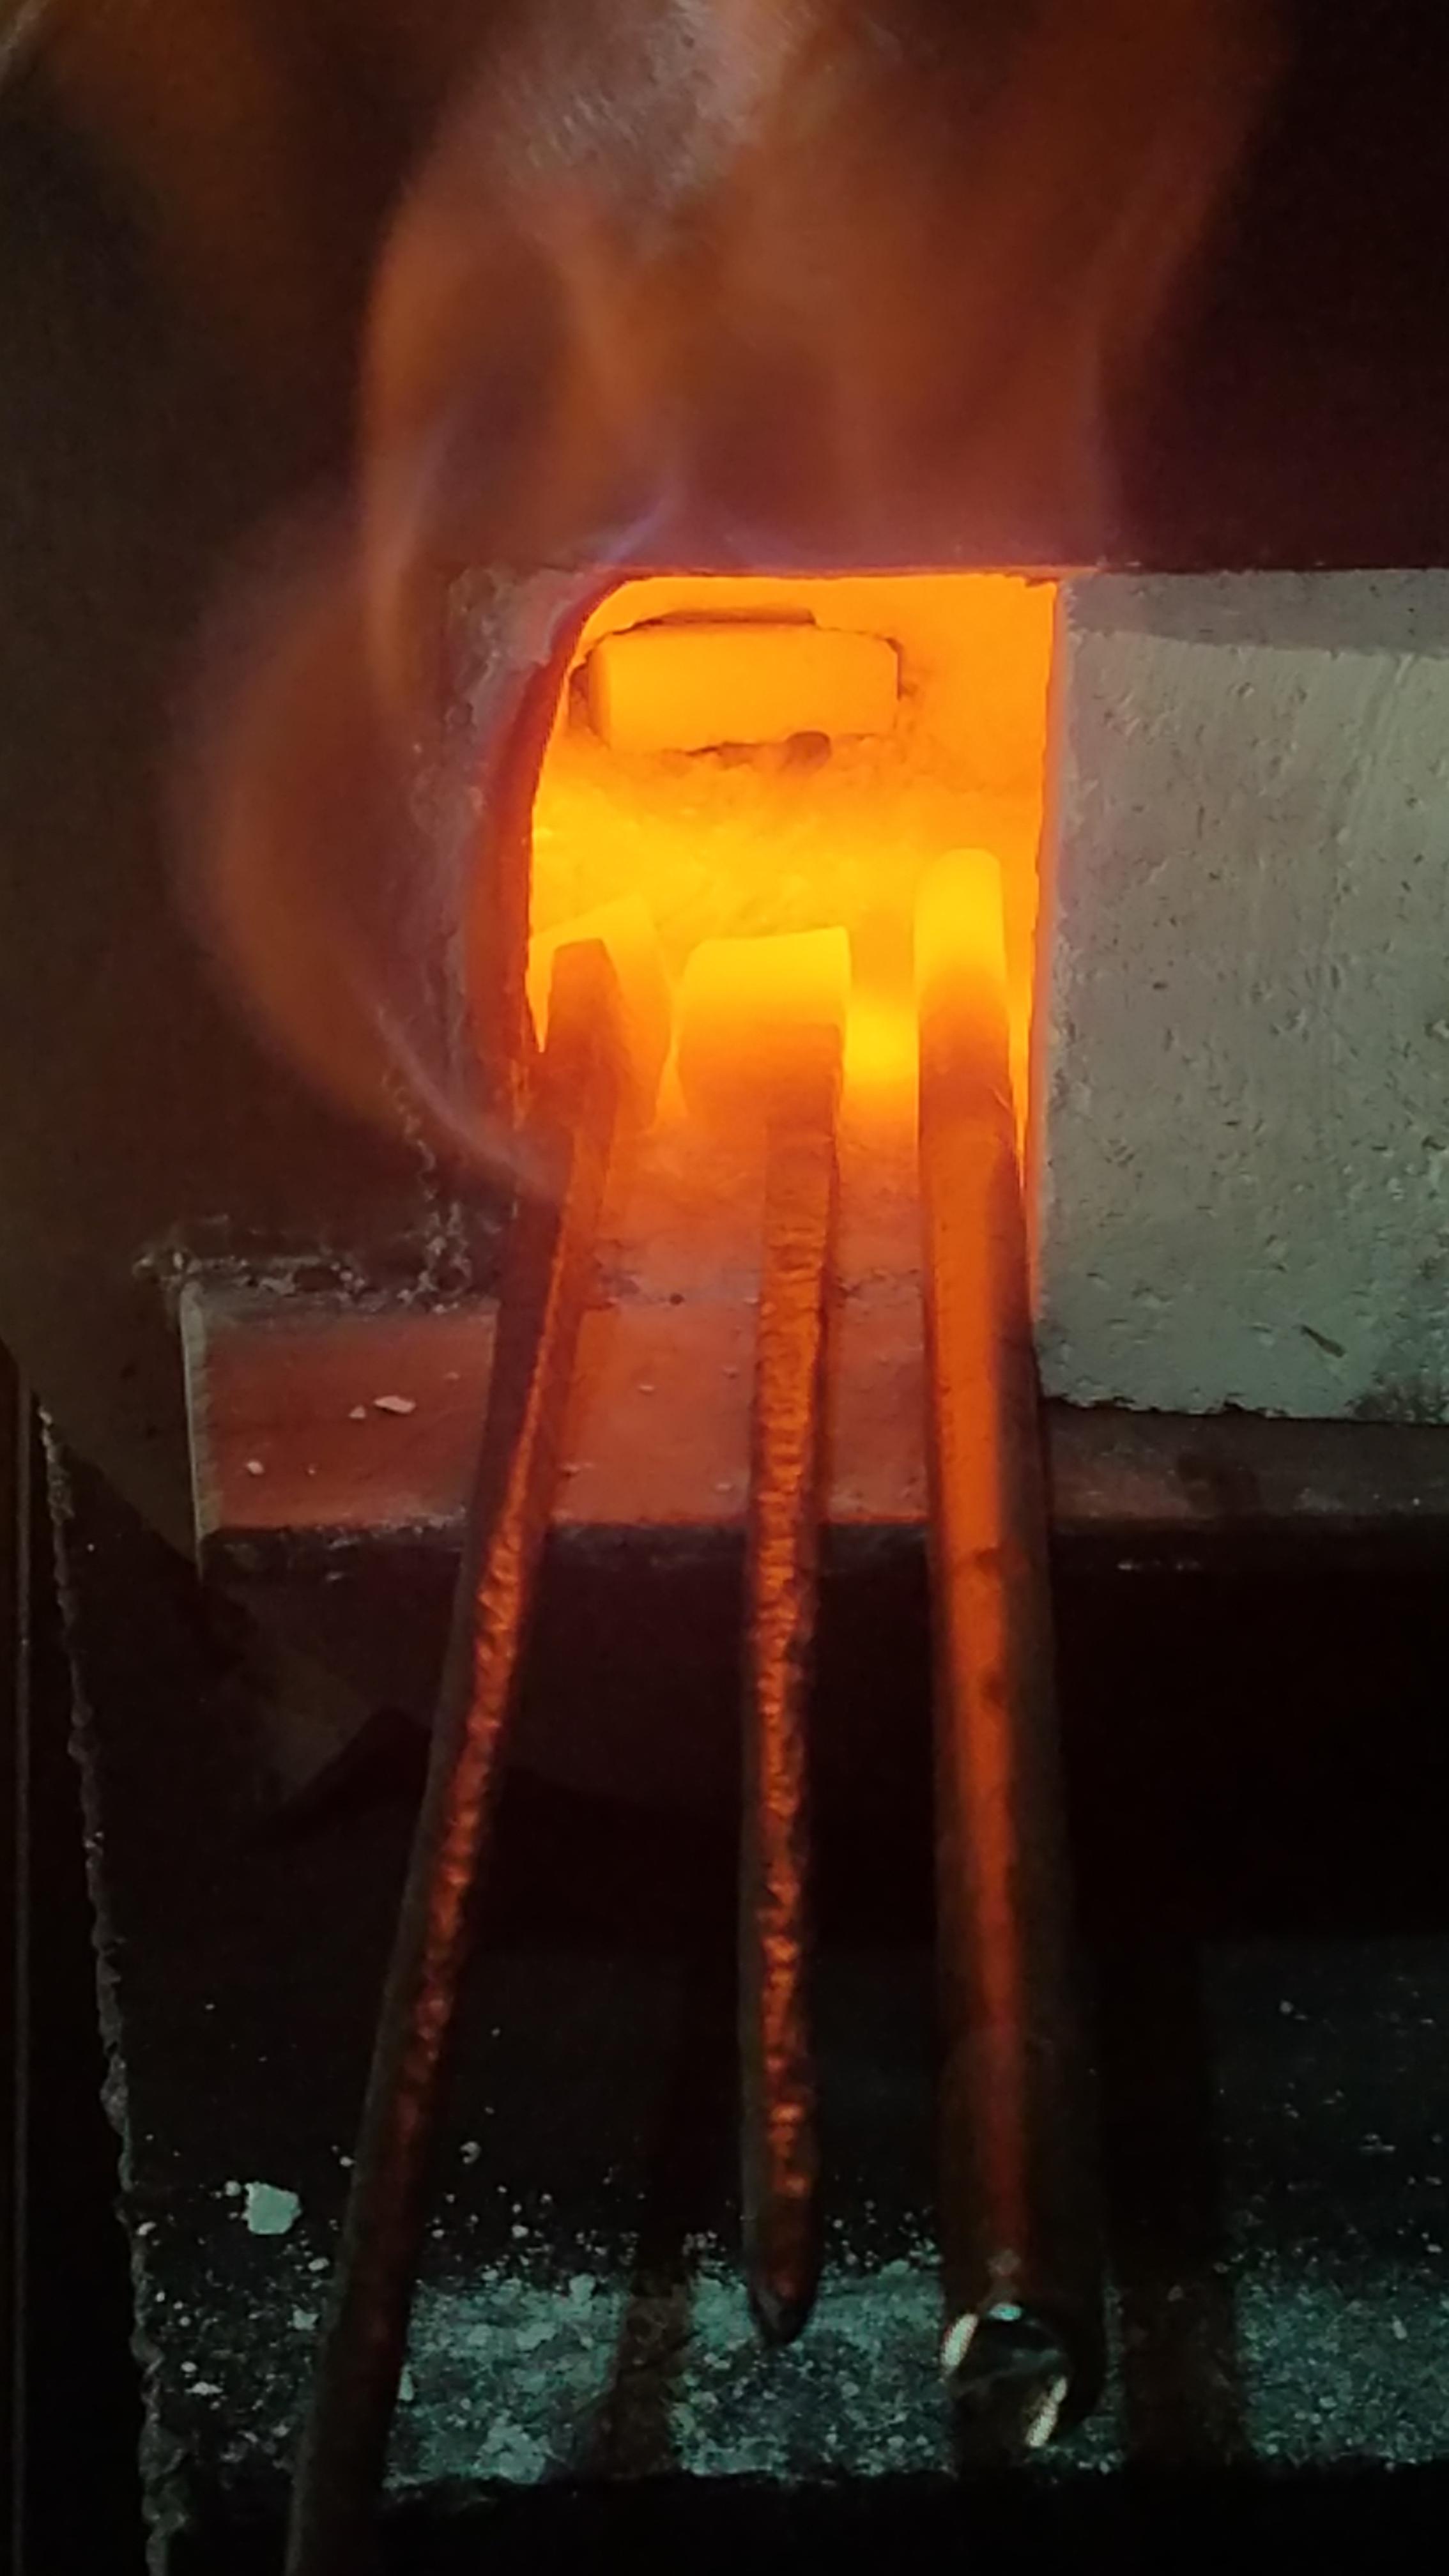
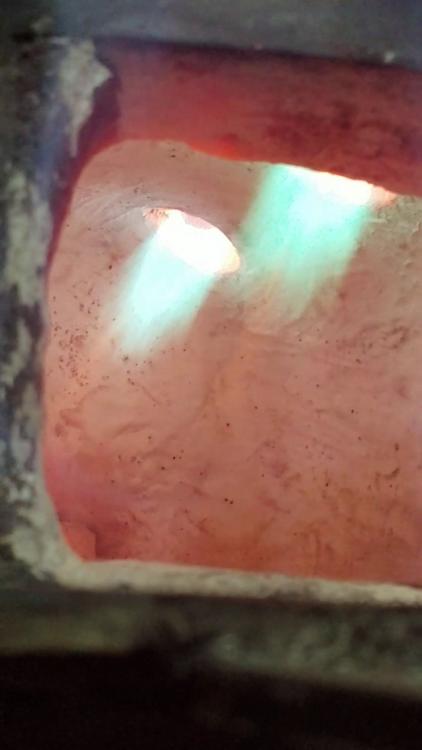
Got the torch tip cleaner, trimmed a 16th inch off the mig tip, then an 8th, then another, then another until I was left with a small nub. Every time it got louder, longer, and sharper. After 20 minutes (at around 8 PSI) with a new tank of propane still bright orange is the highest I could get metal to go. A good forge will get to welding temps in under 20 minutes right? Time for a different size mig tip? I think it is still running rich so I would guess a smaller one?

-
They didn't have torch tip cleaners at the last hardware store I was at, I'm going to pick some up today.
-
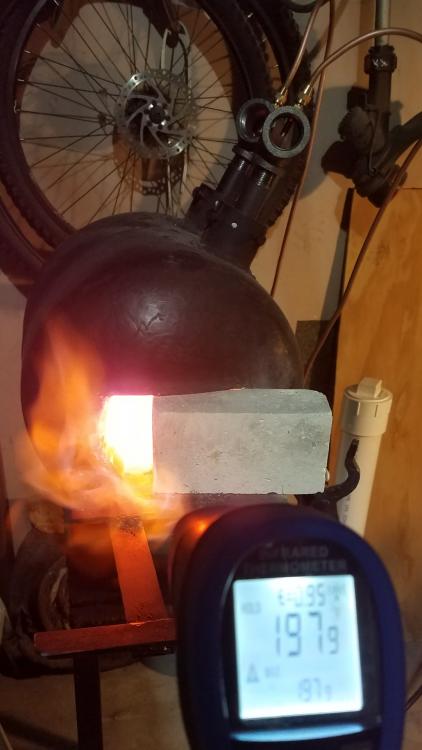
I trimmed off 1/16" with a dremel, sanded smooth, and de burred, I don't have a torch file so I used a sharp scribe and triple checked to make sure all the bur was gone. I didn't notice any huge difference. I filed a 32nd and tried them, then another 32nd. Cone got a little more sharp and loud, Front flame still a little greener than rear. after about 25 minutes the temperature topped out at 1,979. The burners are louder and have a small hiss to them. I am running the forge at what I would guess is about 5-8 psi, about 1/3rd of the regulator open. How much dragons breath is too much? I think I might use a round file and make the cones in the refractory a little wider. Should I try taking off more of the mig tip? I spent extra time trying to make sure there was no bur but maybe I need a torch file. I will make sure to turn them 90 degrees also, good idea. Thanks
-
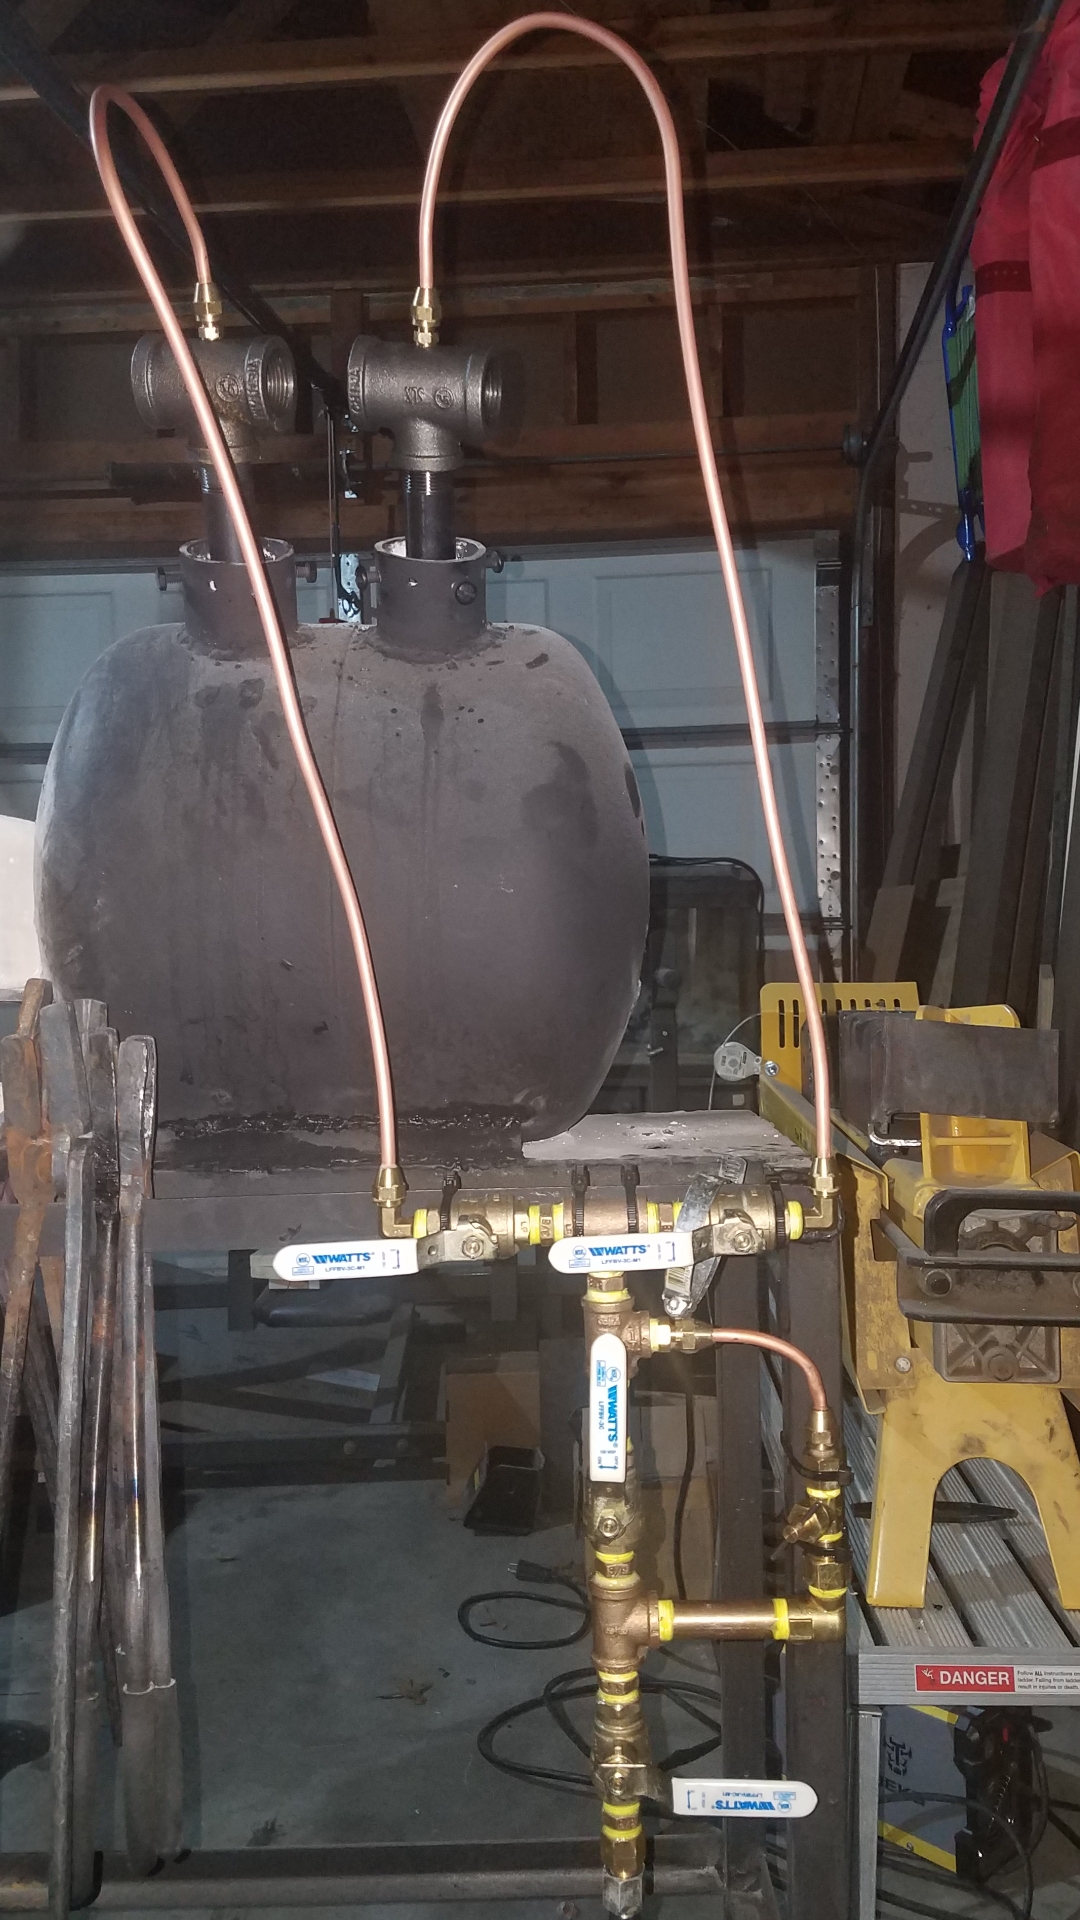
I finished up the plumbing part and checked it with soapy water, no leaks. Fired it up and bright orange was the hottest I could get still. I noticed one of the burners is slightly greener than the other. I think trimming the mig tips 1/8th inch is the next step? I didn't notice any problems but I was wondering what method and how tight to screw the mig tip in? I used pliers carefully and got it snug but not cranked. I did not use teflon tape in the mig tip but was wondering if there would be any benefit?
-
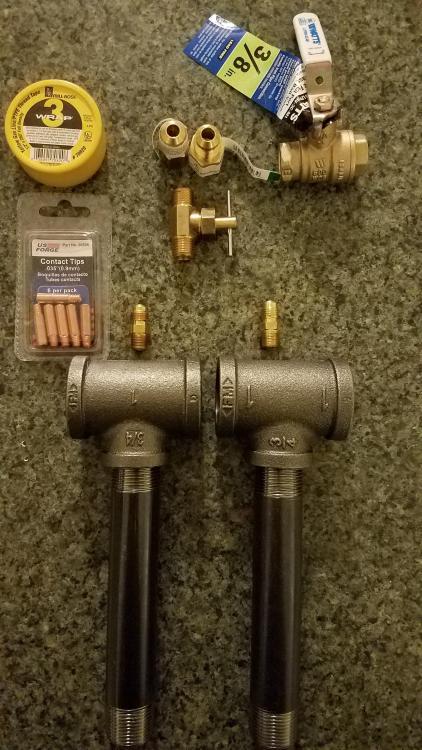
That's what I get for cutting corners, live and learn lol. I think building new is the way to go, I picked up the first round of supplies and ordered some drills/taps. I'm going to add a pressure gauge and idle circuit while I'm at it. I've used this site for information every step of my smithing journey, thank you guys for everything you do. Ill post pictures as soon as I make some progress!
-
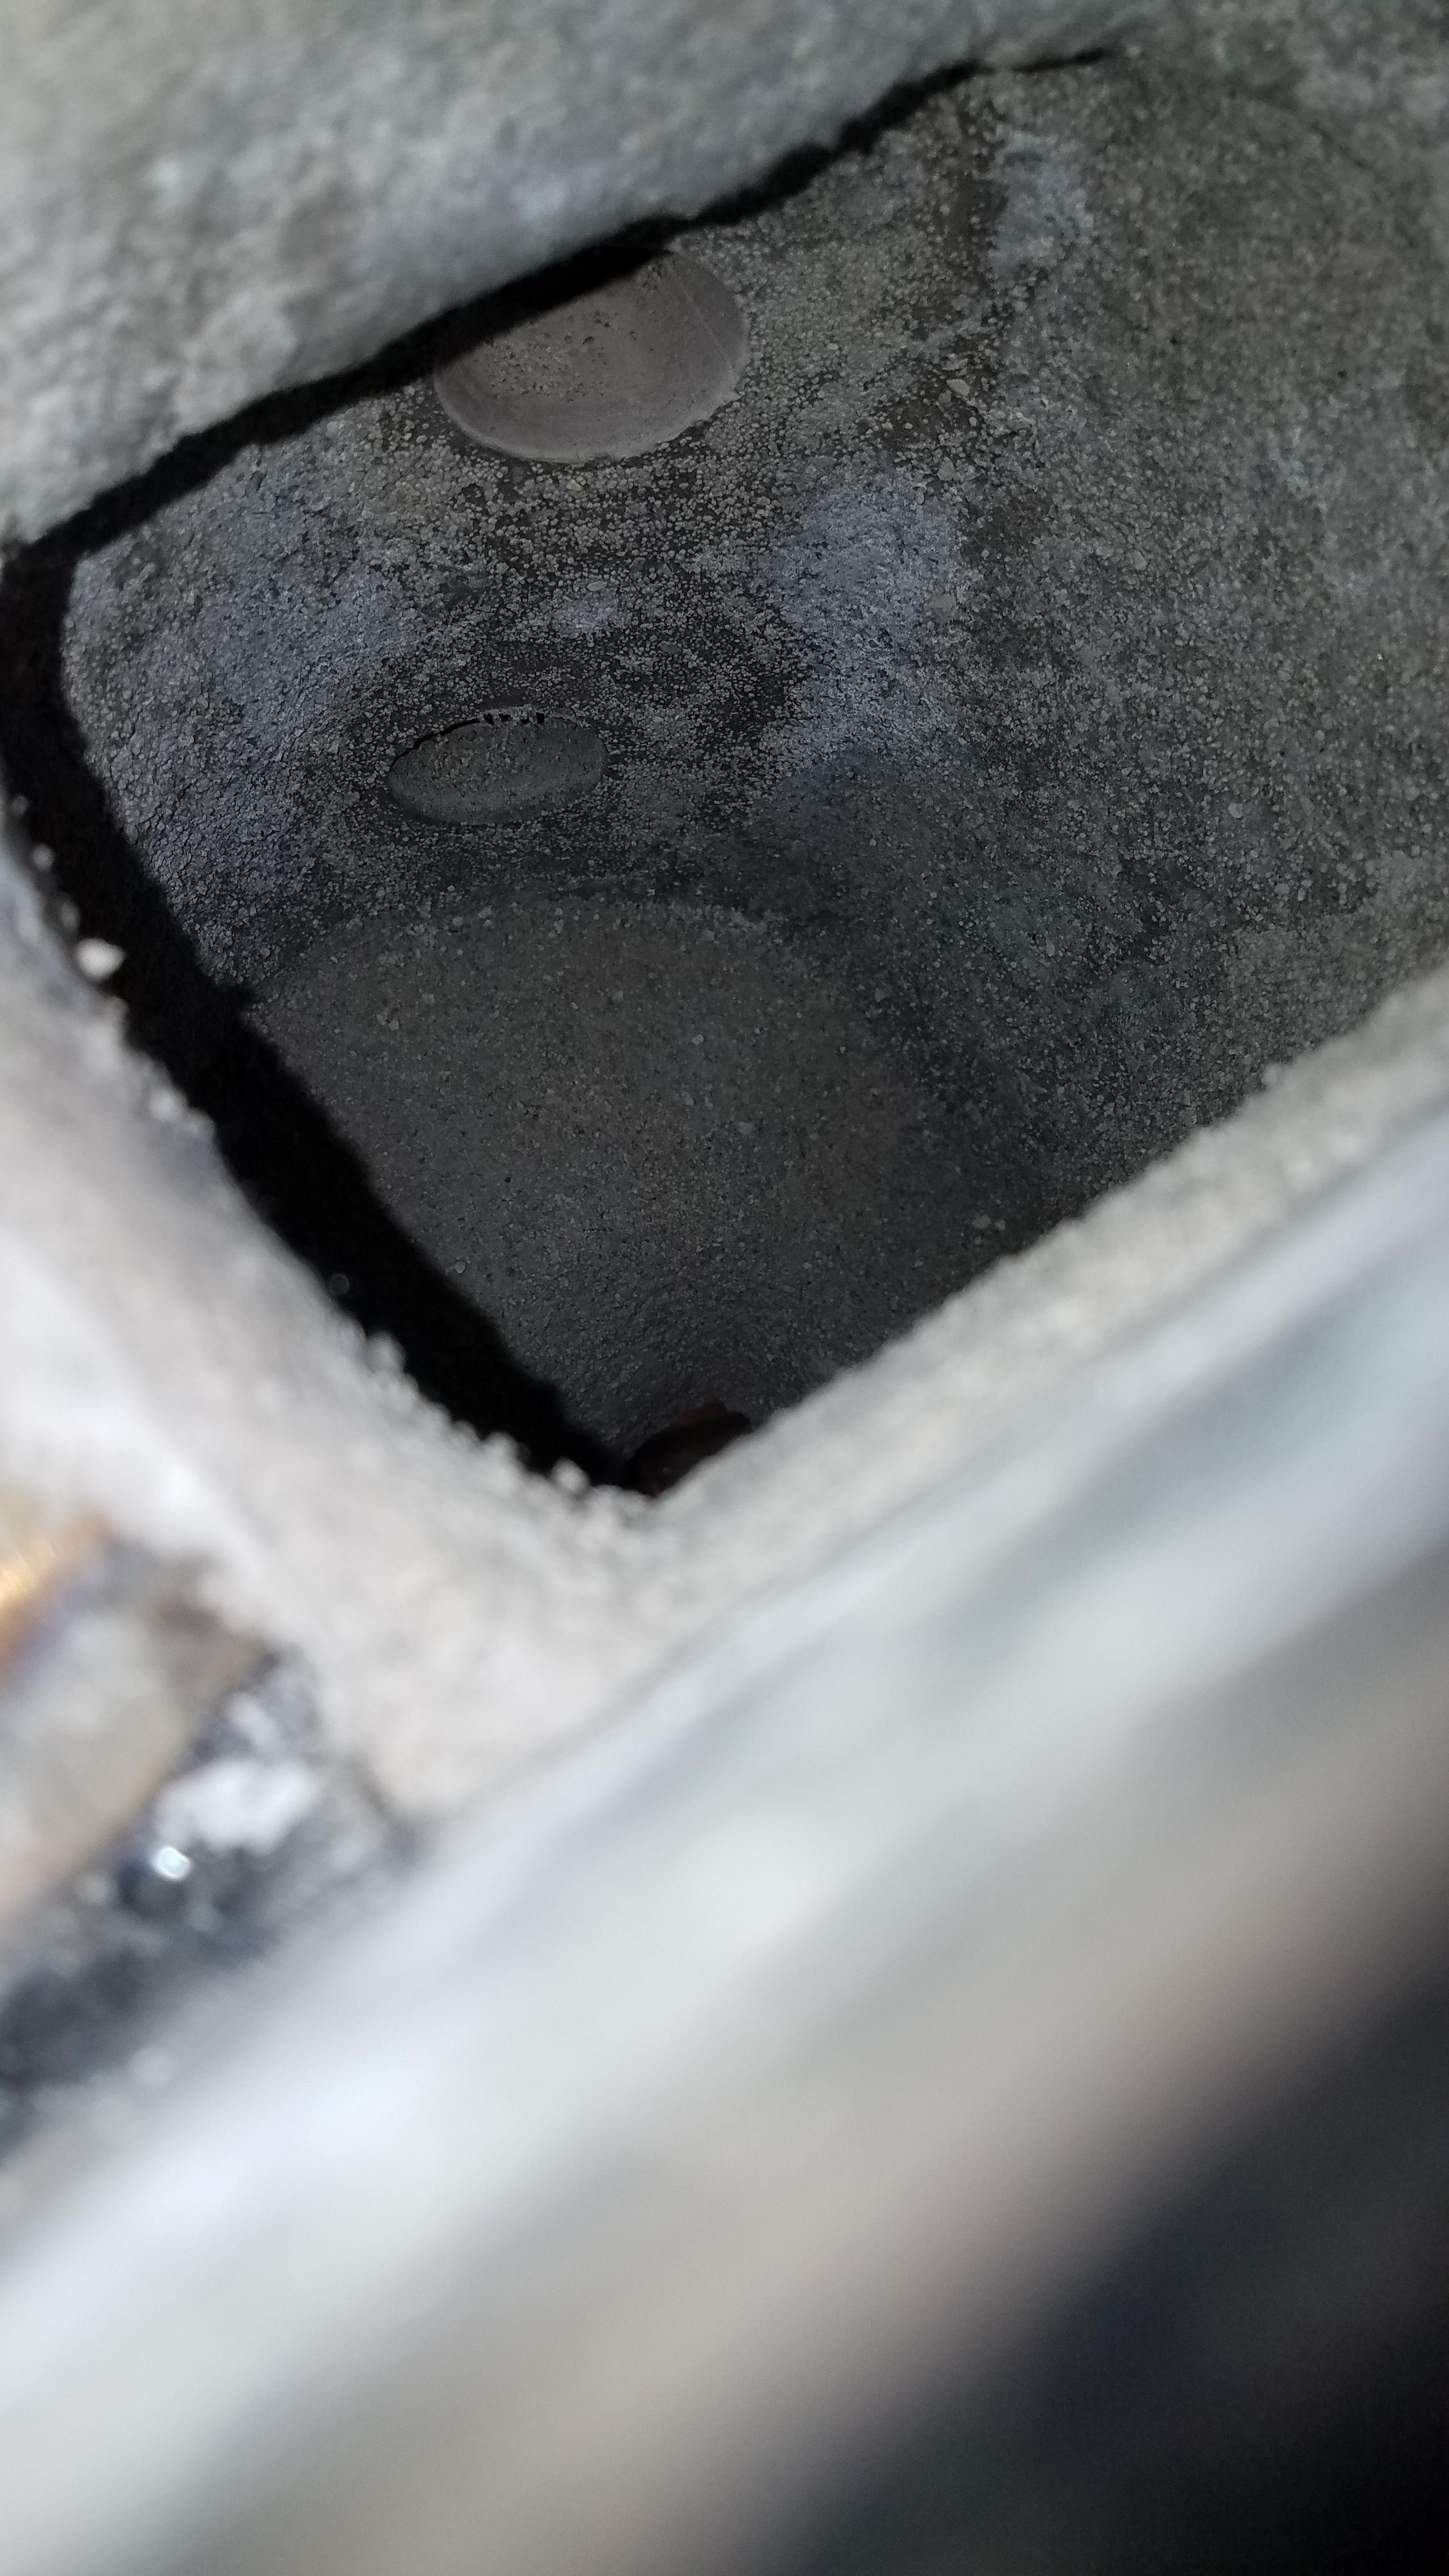
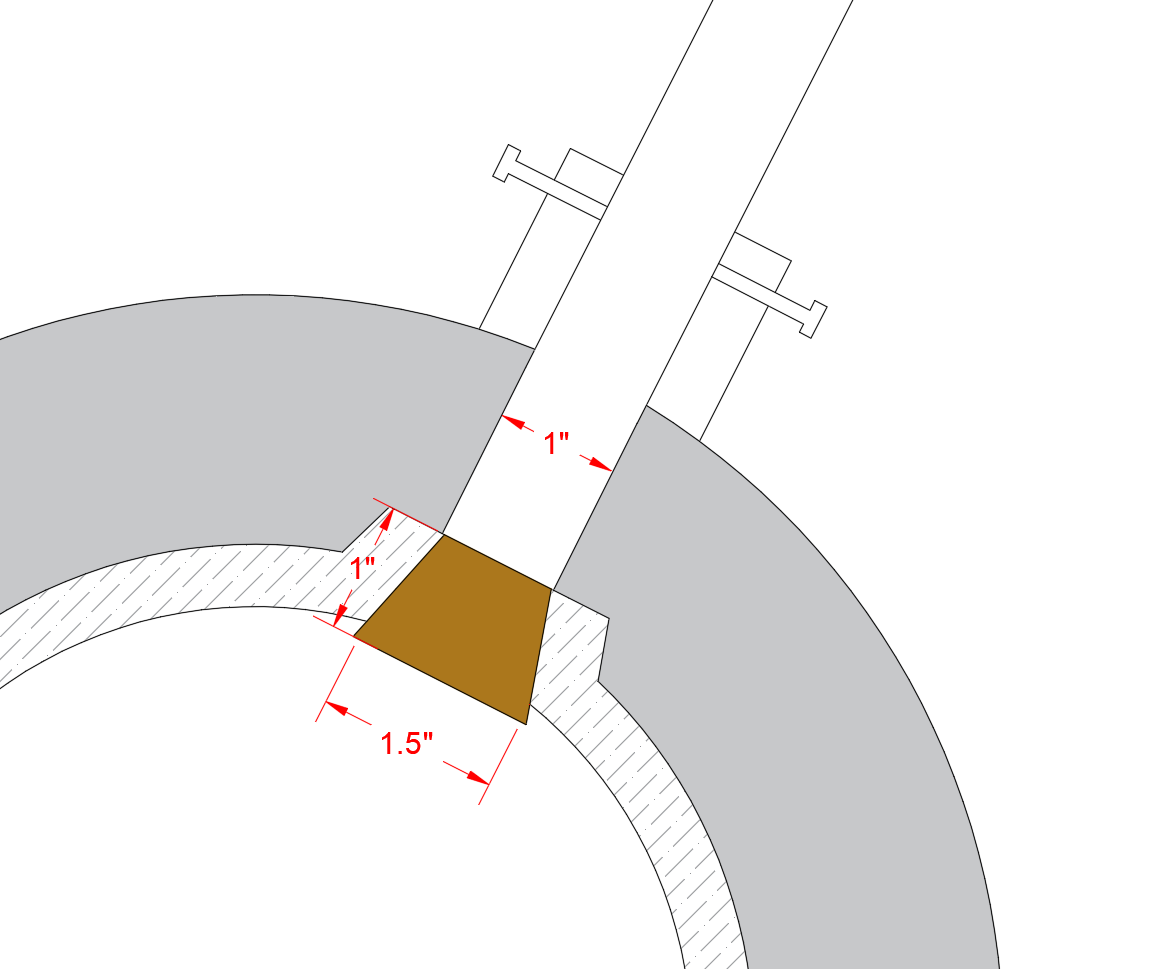
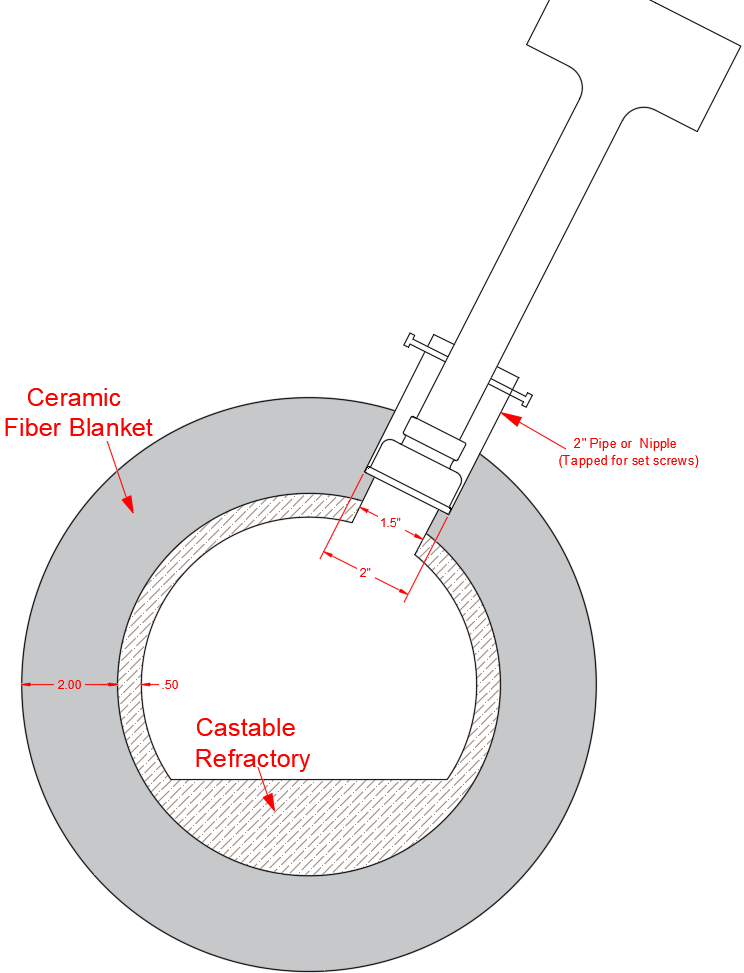
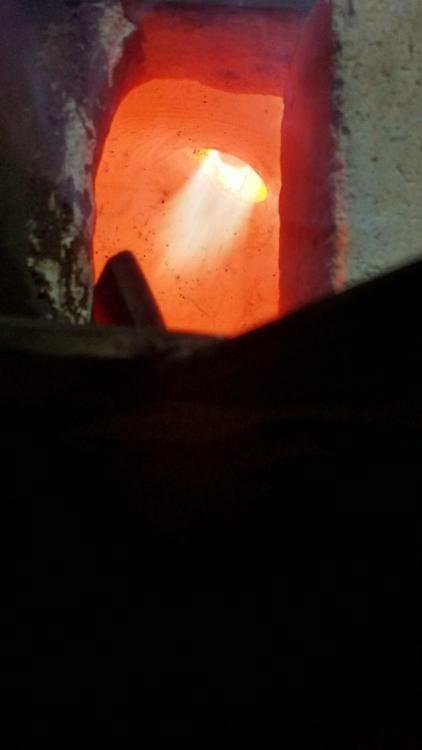
Hi all, I am new to blacksmithing this is my first forge. The forge is a propane tank lined with 2 layers of ceramic fiber blanket, 15 lbs refractory, and a layer of metrikote (bought and followed instructions from Wayne's website). I am using firebricks to block of the back port and about 3/4ths of the main port. I am running 2 prebuilt 1" T style burners with a 0-20 psi regulator. This is the description of the burners from ebay - (air choke, 3 way tee with 2 mouth, feed tube is 8" long ,3/4" thread , outer diameter is 1", flame cone on the bottom is 1-15/16"). I would like to try forge welding in the future but can not seem to get the forge up that high, the highest I can get it is low 1900's. I 3D printed cone inserts and casted refractory around them, the cone diameter starts at 1" and ends at 1.5". Typing this out I just realized the burners came with 2" cones on them so maybe this is the problem? Any advice would be greatly appreciated, thanks. Snapchat-5609834.mp4 20210304_154418_1.mp4 20210403_225728_2.mp4

-
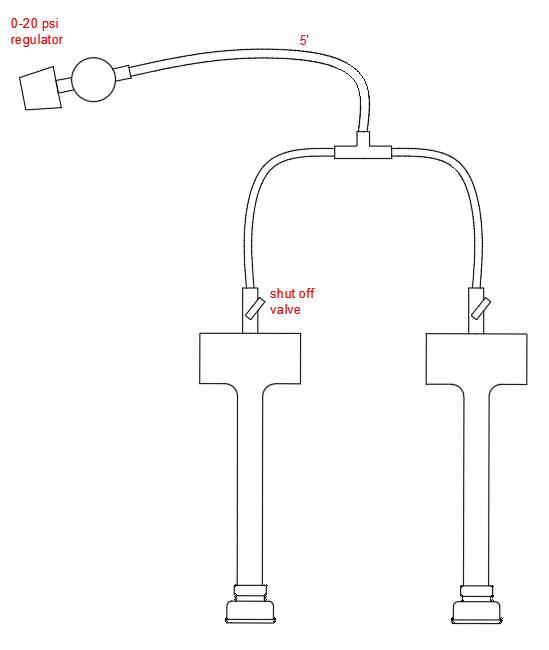
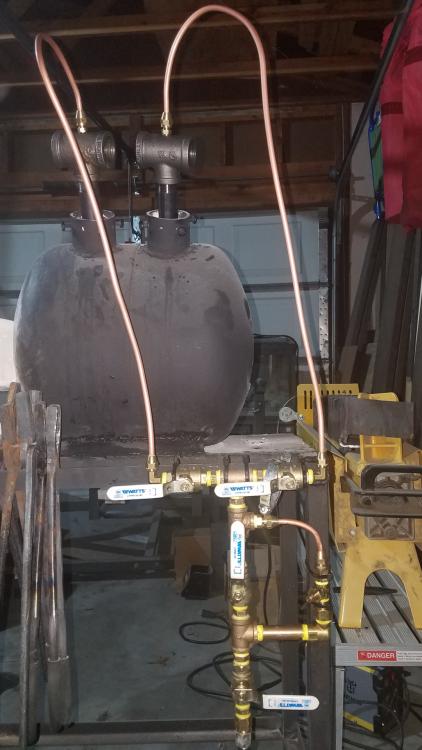
Tinkertim, that makes a lot more sense to me, thank you for the advise. I could shape a cork out of something starting at 1" diameter ending 1.5" and set it in place when I am putting in the castable. I think I am going to go copper tube for the forge and add a pressure gauge and an idle valve. This will be my first time working with copper tube, as I understand it I am going to use 1/4" NPT fittings, soft copper tube, and a needle valve for the idle, attached with flairs.

-
Hi all, I am in the process of building my first forge out of a 20 lb propane tank, I have seen quite a bit of variation in the way forge burners get attached. The main thing I cant seem to understand the depth the burner is inserted into the forge body. I plan to line the inside with 2" of ceramic fiber blanket and then about .5" of castable refractory. I plan on using 2 different sized hole saw bits to create a little lip for the end of the burner to sit on. (Like this video @ 3:50 https://youtu.be/b8zOQ4hyQzc?t=229) Does this look like a good position? I decided to buy 2 burners that come with a 0-20 psi regulator, since I plan to mount my burners about 2:00 position can I get away with using normal tube instead of copper pipe? Are there any things I should add to my burner setup? Thanks!