BHGiant
Members
-
Joined
-
Last visited
Everything posted by BHGiant
-
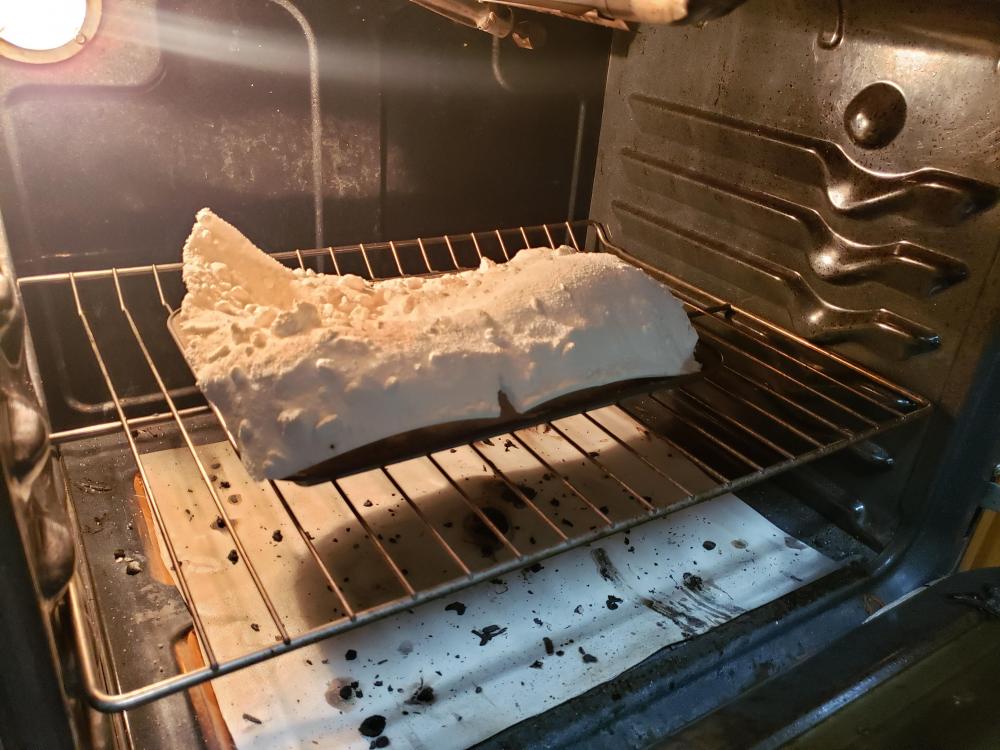
Shucks, is that what keeps happening when I jump in the pool? I need to be more careful... Definitely one of those "duh" moments. Used too thick a layer and too high heat. It adhered to itself and expanded outside the cookie sheet. No damage done to the oven or the sheet. The shape was pretty interesting, though. Thank you AGAIN Frosty for the detailed instructions. One day (once I get out of my ignorance, as Glenn would say) I hope to be able to repay in kind.
-
So, I've been using borax for flux and I'm finding it a bit obnoxious how it fluffs up when it gets up to heat. I've read from the internets that if you bake it and "dehydrate" it beforehand, it won't fluff up as much. I'm not exactly sure what I was expecting but it definitely wasn't this. Thought I'd share for a laugh. This was a layer of borax spread out on a cookie sheet
-
You guys are awesome . And I appreciate the crash course. I was talking to Glenn Friday night. He was bragging on all of you and I have to say I'm honored to have your input and advice. He was giving me some more pointers on safety and making sure I wasn't blowing myself up or sucking crud into my lungs. Told me a bit more about the story with PawPaw. Such a sad story. So unfortunate. Talked about galvanized coating some more and to be extra careful with fumes in general. He's going to pack me up some Kast 30 and Plistix and send it to me on Monday... That is, if the delivery truck can ever find his shop . I'll be sure to give the inside layer a good buttering before I apply.
-
I hear that. There's soooooo much bad advice on the internet. Before I found this forum, I was playing around with Portland cement and perlite on the advice of some pizza oven enthusiasts. I made some bricks and they were decent at insulating but (obviously) crumbled at forge temperatures. I'm sure you will be relieved to hear I have given up on cements as a suitable refractory :). I had bought the Rutland product before I found this forum so having the sunk cost already, I figured it would be a good way to see how it might hold up. The good news is the flakes are very strongly adhered to the kaowool+rigidizer underneath. So much so that trying to take them off would rip the kaowool out with it. I think I'll buy some Kastolite and see how covering it over goes.
-
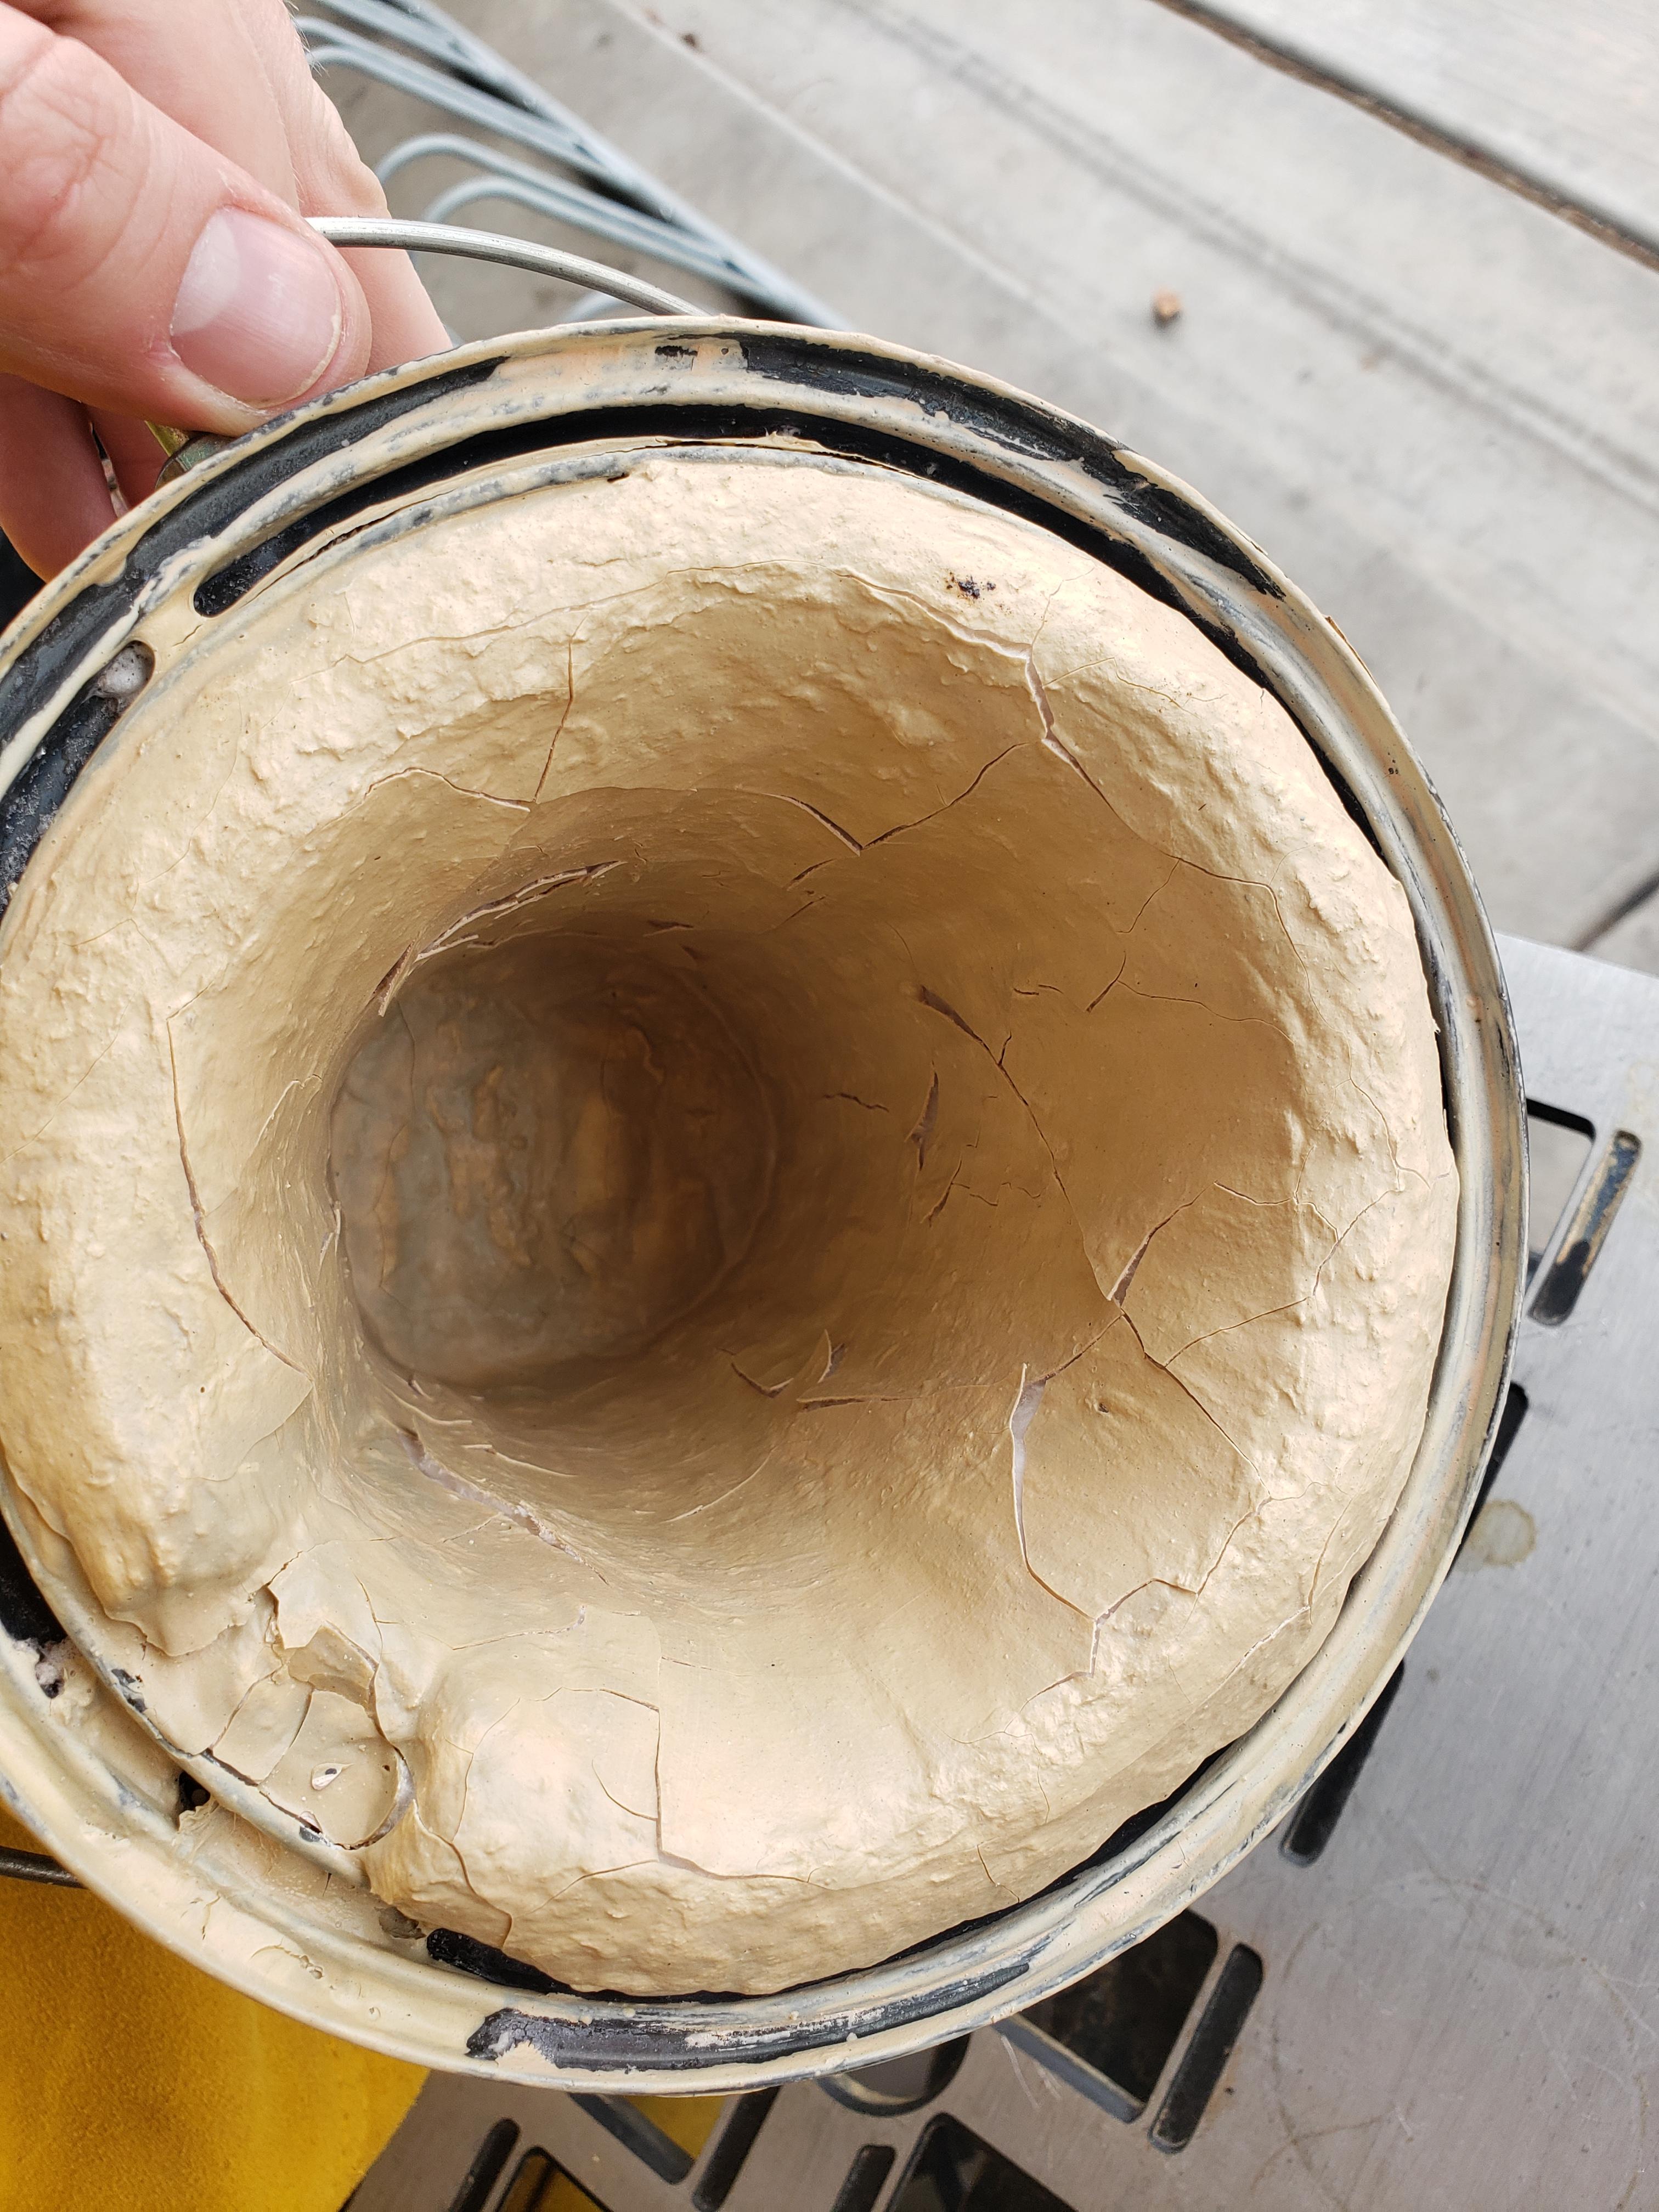
Ok, so it's still salvageable even with the cracks. And it sounds like I'll need to make the mix thicker (less water) in the future to avoid those cracks. Just so you all know, this is a "test" forge. Something I'm putting together to get used to the materials and the process and make mistakes with. I figure it's better to make the mistakes with something cheap and learn from it. I appreciate the insight.
-
Any idea why the cracking Frosty? It never came in contact with a flame.
-
To get used to the materials, I made a miniature forge from a paint can. Placed the kaowool two layers thick with rigidizer and then coated the wool with refractory. Here is the product. I heated the forge very gradually in my oven constantly checking on it. I left it at 500° for several hours (instructions said for at least one) and left it to cool afterwards. It was undamaged the entire time. When I took it out after it cooled, it looked like this. Lots of cracking. What went wrong? What do I do different next time? Is this salvageable?

-
This is all fascinating! Excuse my excitement but I love seeing old pieces of machinery or things like this and figuring out what they were for. Thank you for this. We aren't called the copper state for nothing! I'm interested in what your setup would have looked like. All the mullers I've seen so far all use a grinding wheel of some kind in an upright bucket.
-
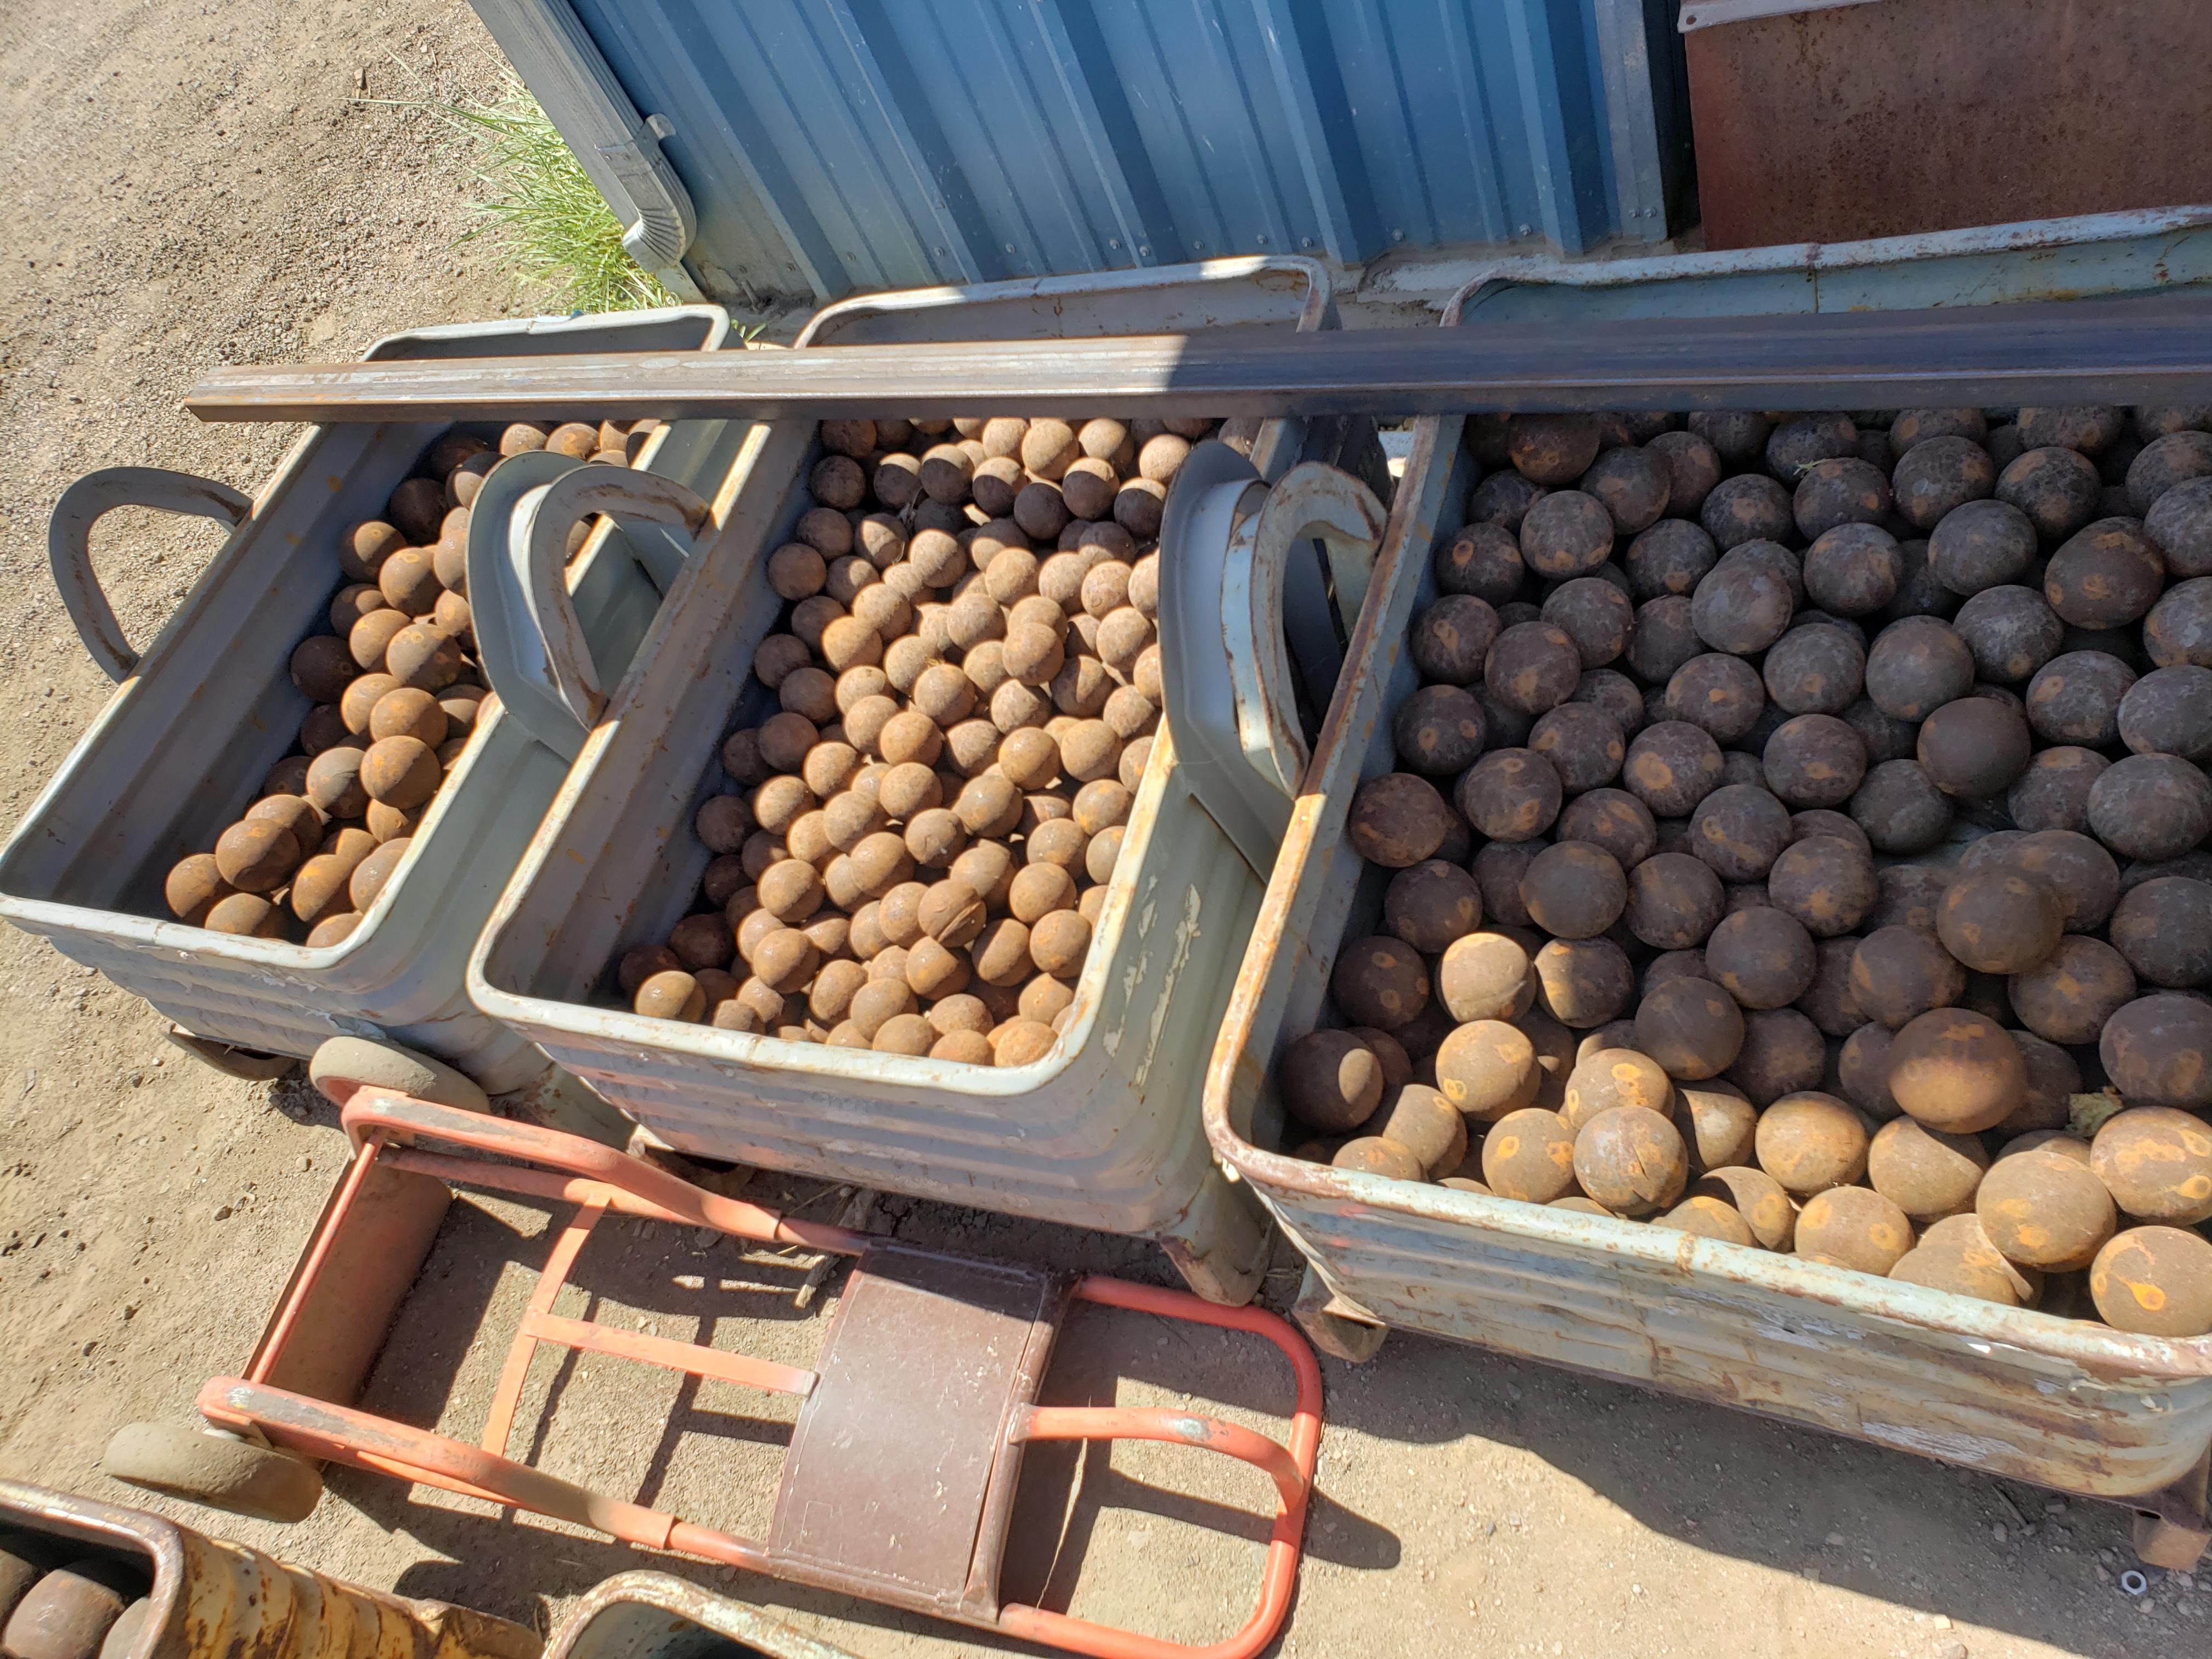
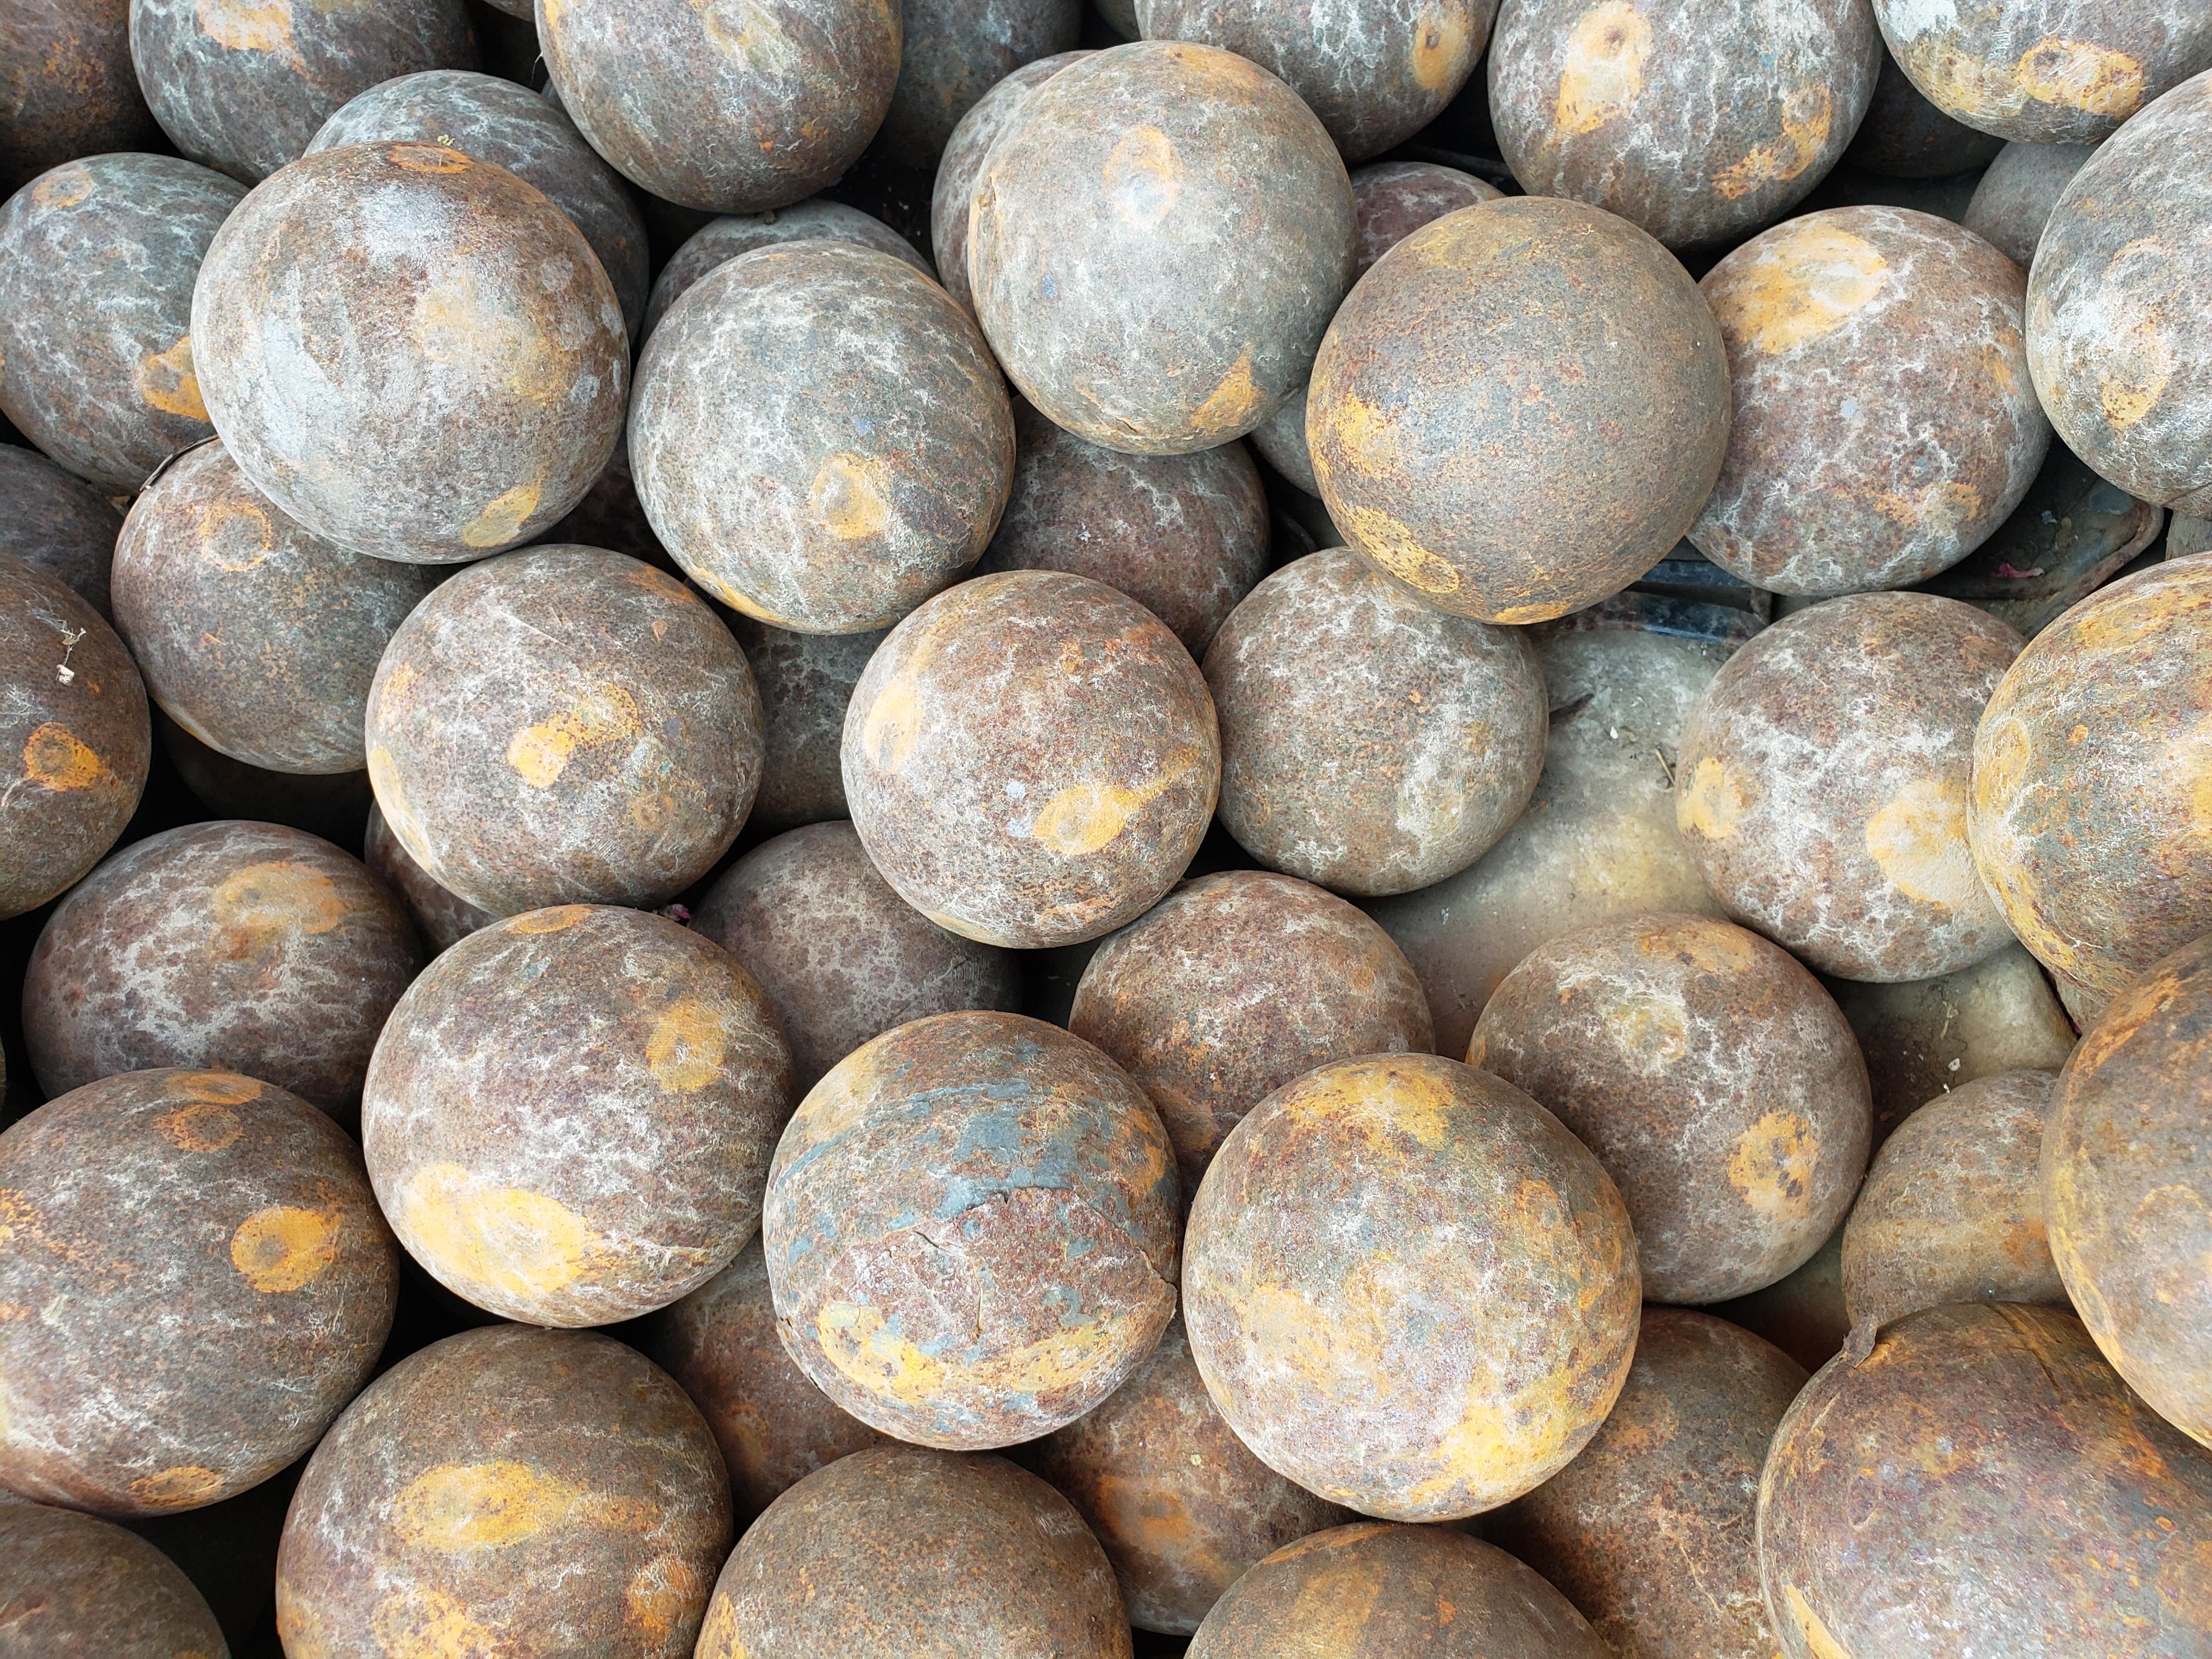
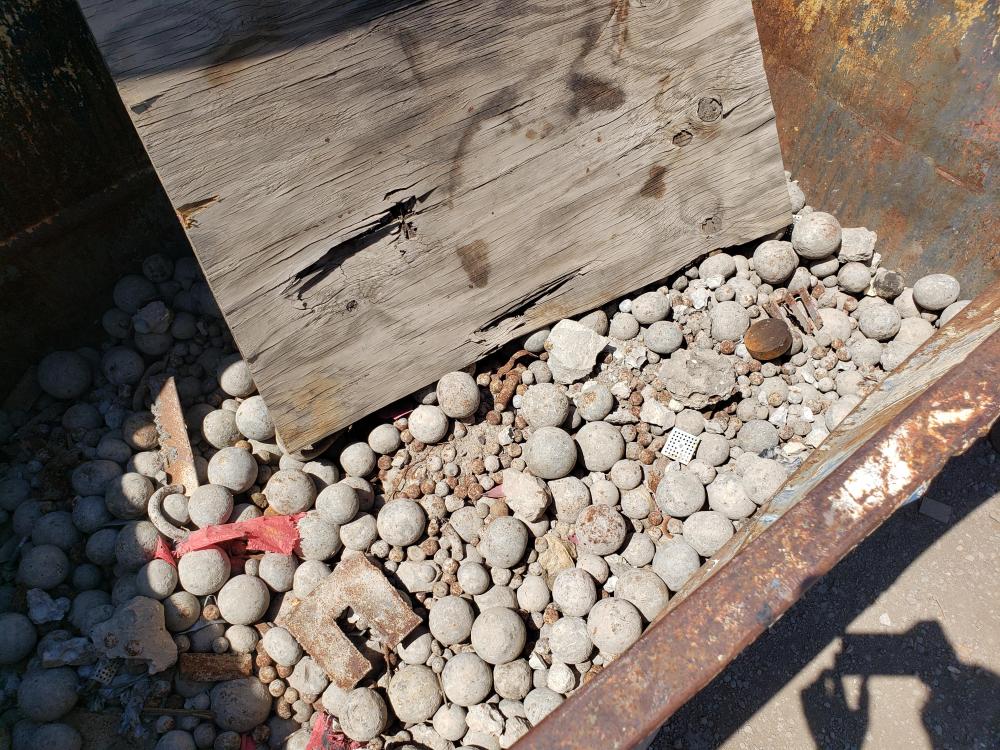
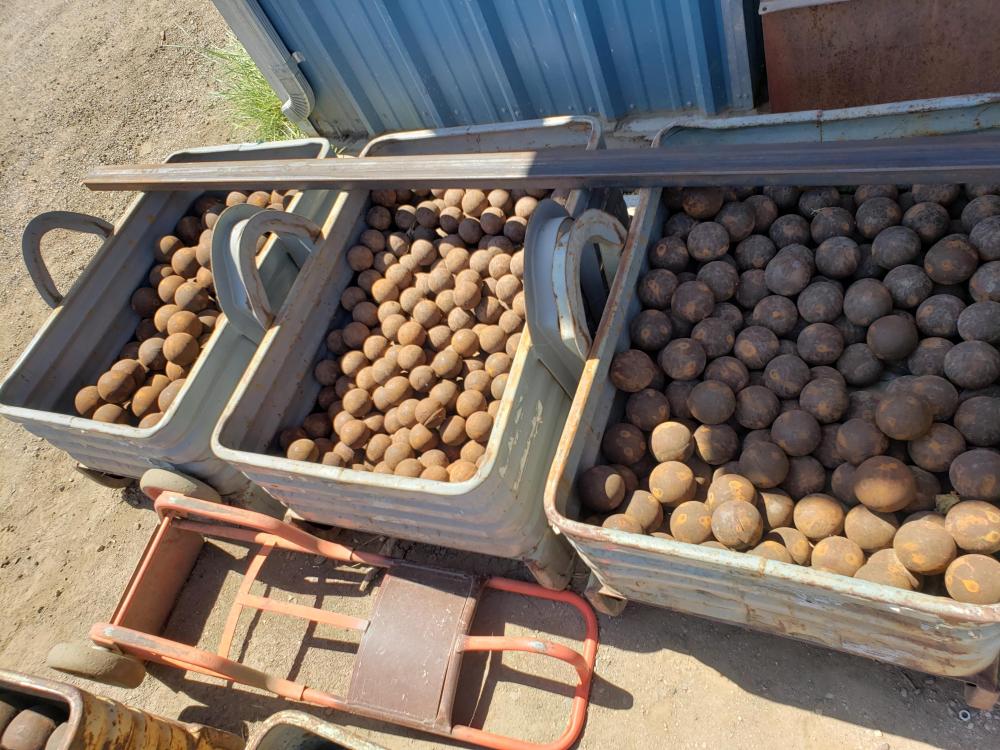
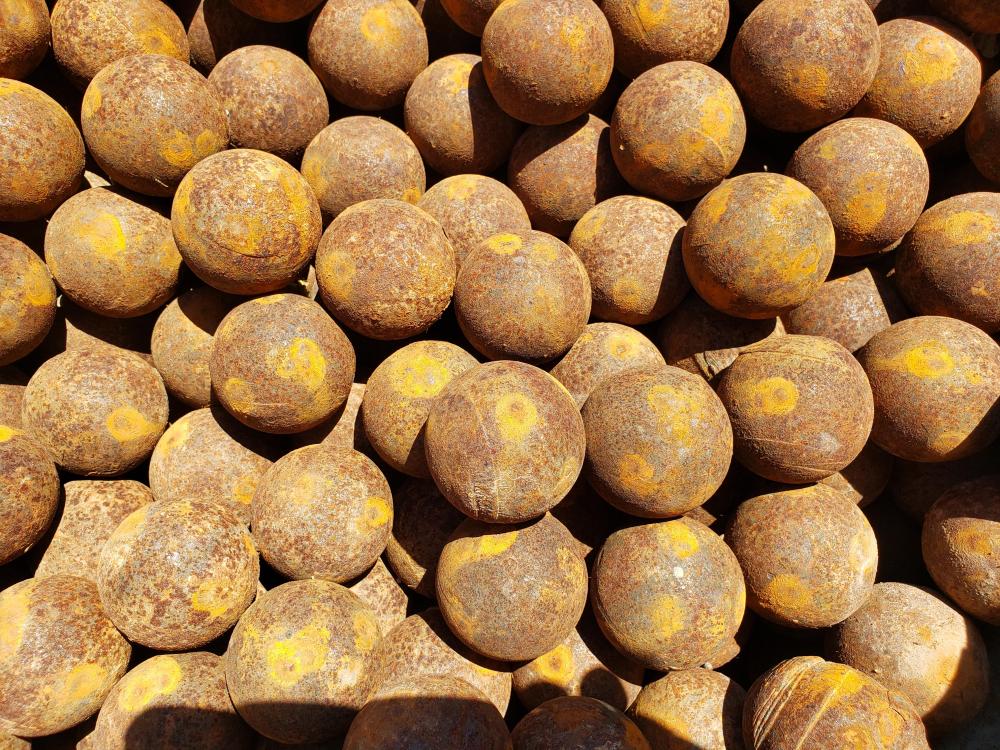
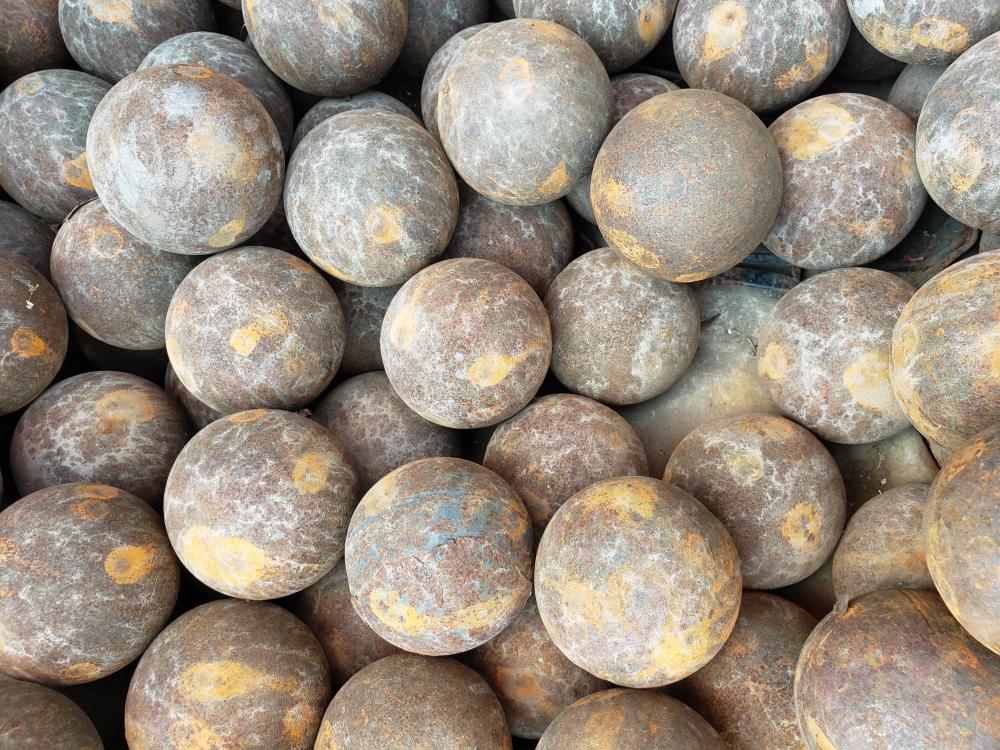
Came across these at the local scrap yard. Girlfriend says they are probably ball bearings but they look too irregular in shape. Anyone have insight? these look like they've been in concrete almost
-
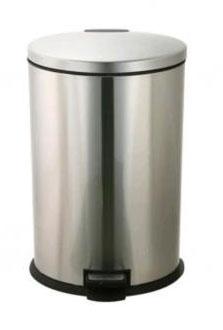
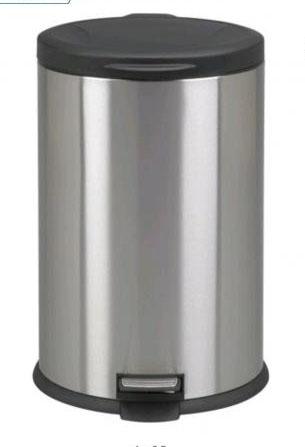
Looks like the original might have been discontinued. They do have an alternative though.
-
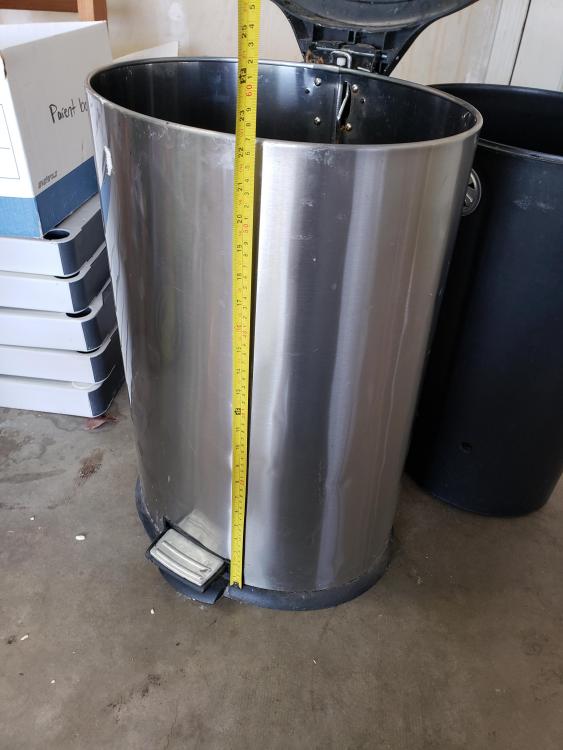
You were right on the money. Rust around the screws and rivets. Was thinking about using 2 layers of 1 inch ceramic wool with cabosil coating. They will both be here on Wednesday. I think I'm going to make a coffee can forge first just to work with the materials a bit. Don't want to waste time and material
-
Nothing ornamental. Just some basic beginning forging. Forgot to mention I'm planning on cutting it in half. Using the whole can would definitely be too large for anything I would want to do.
-
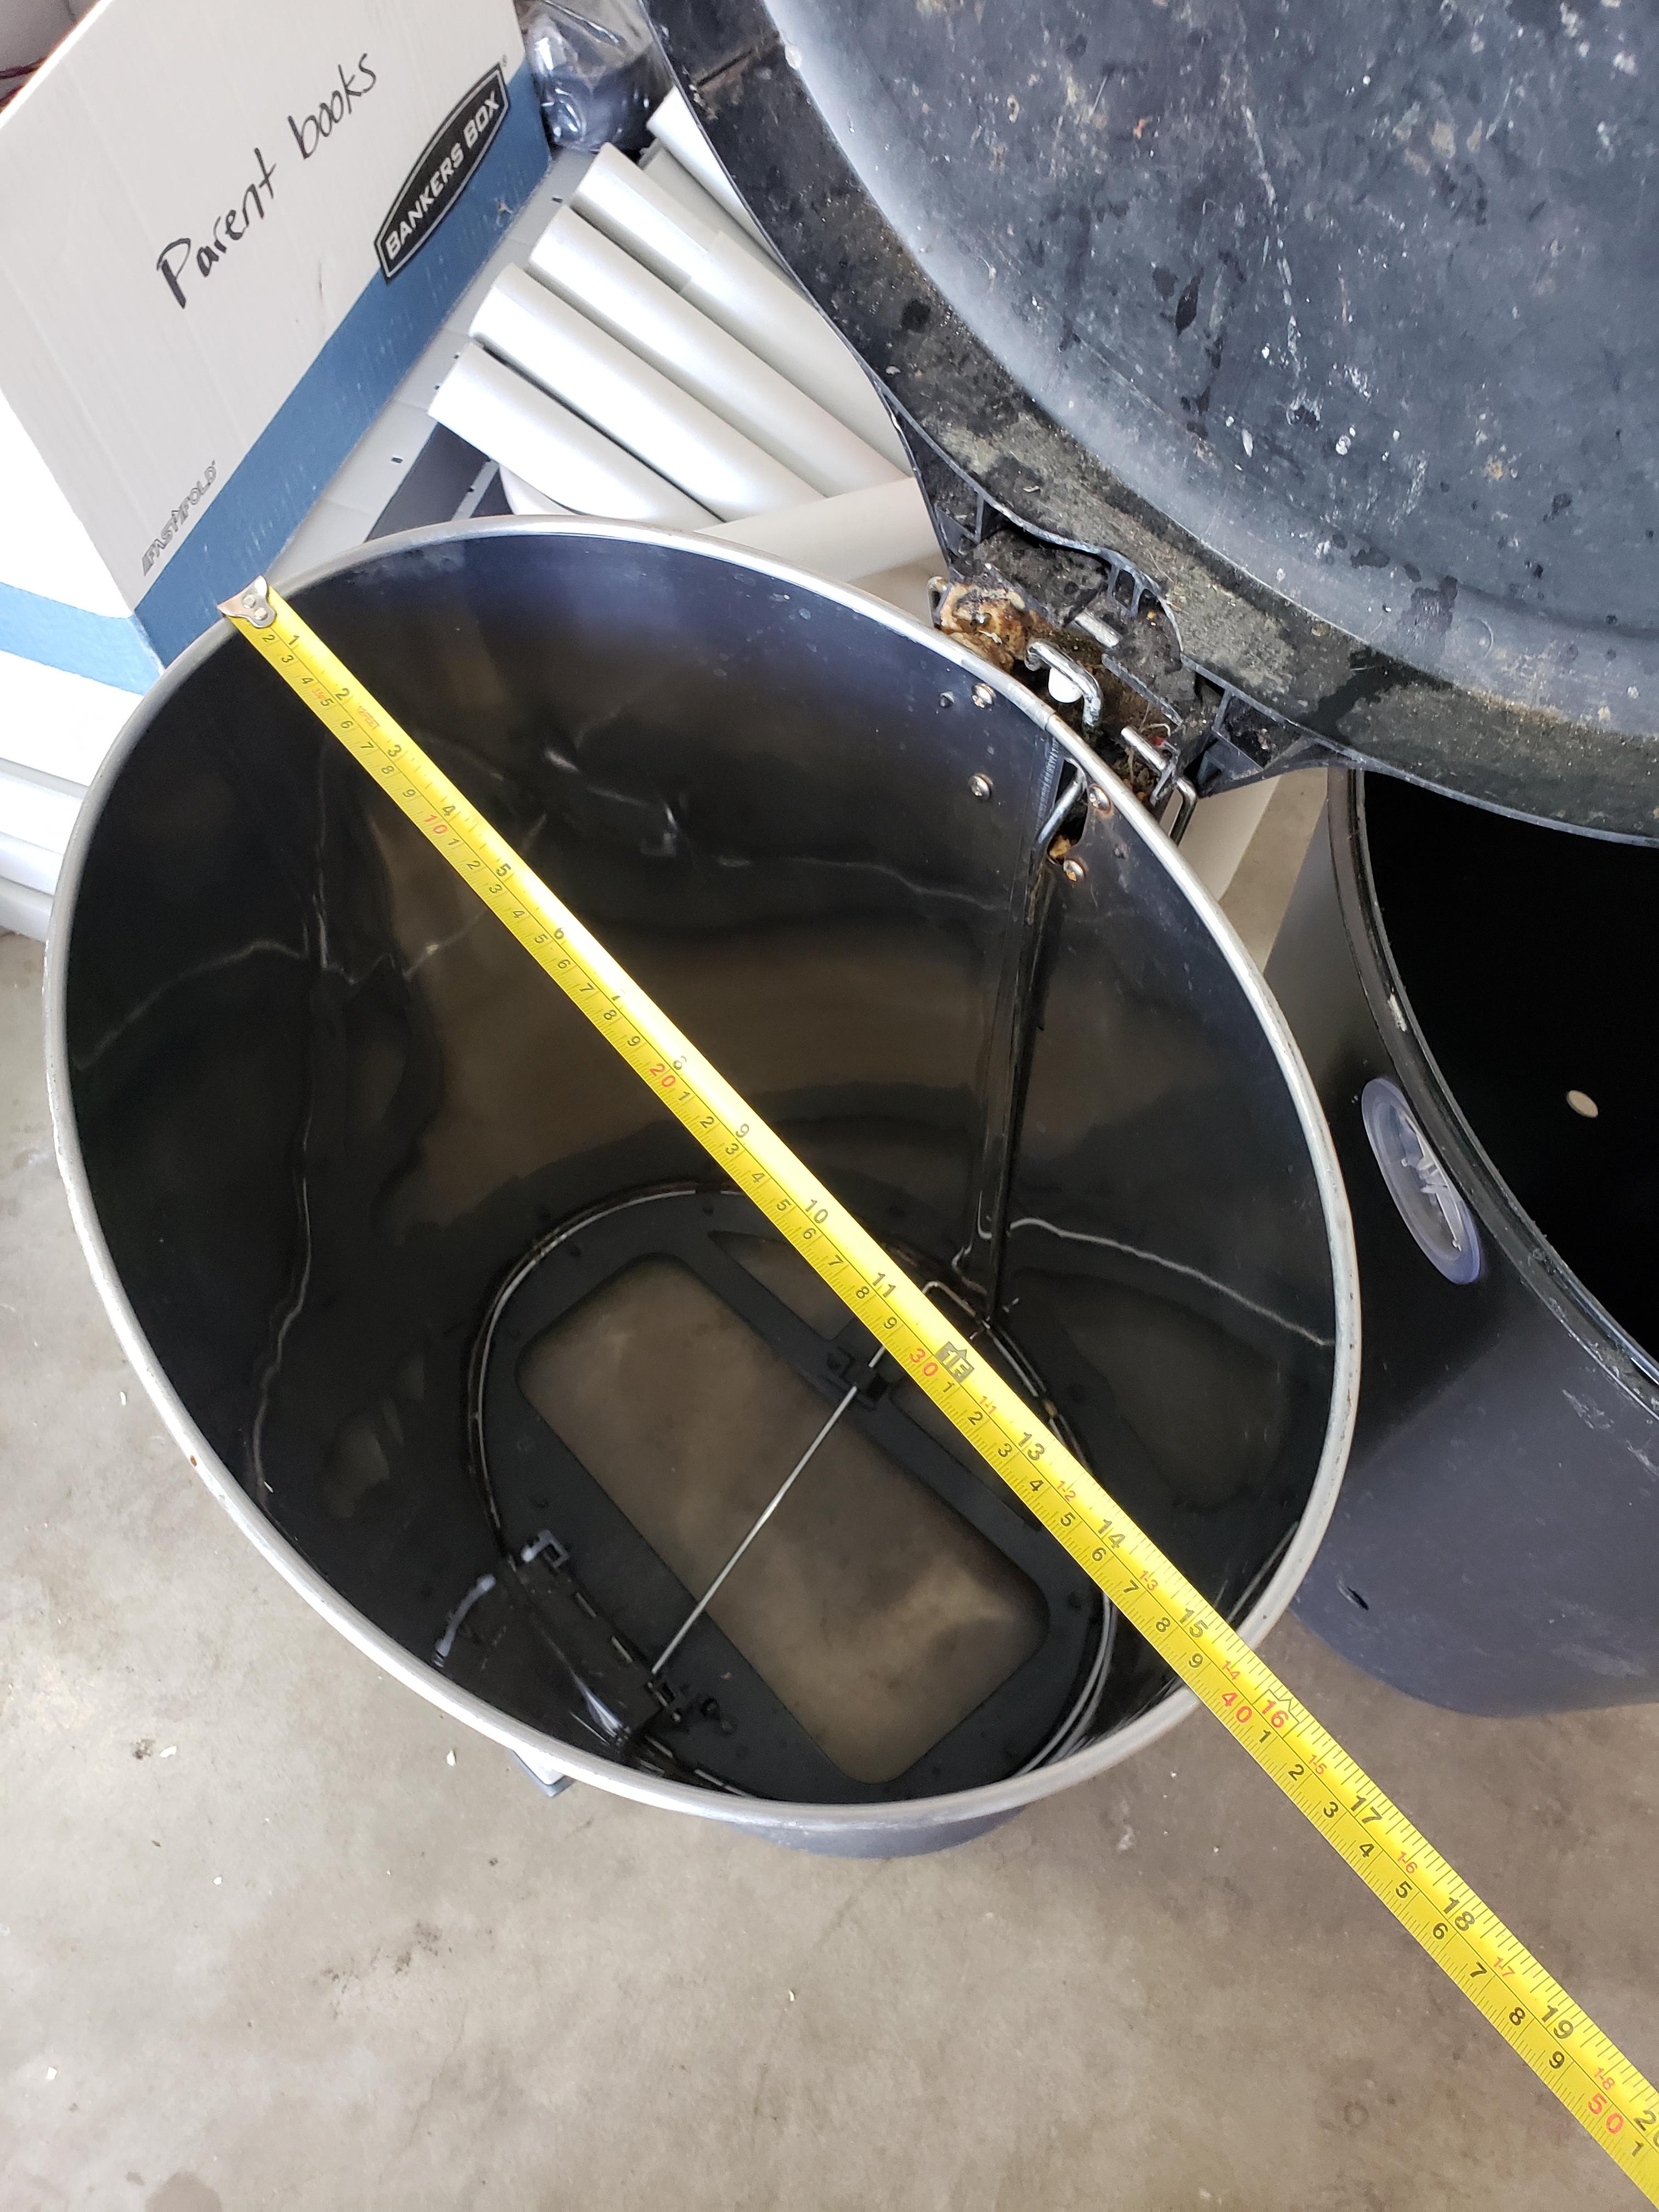
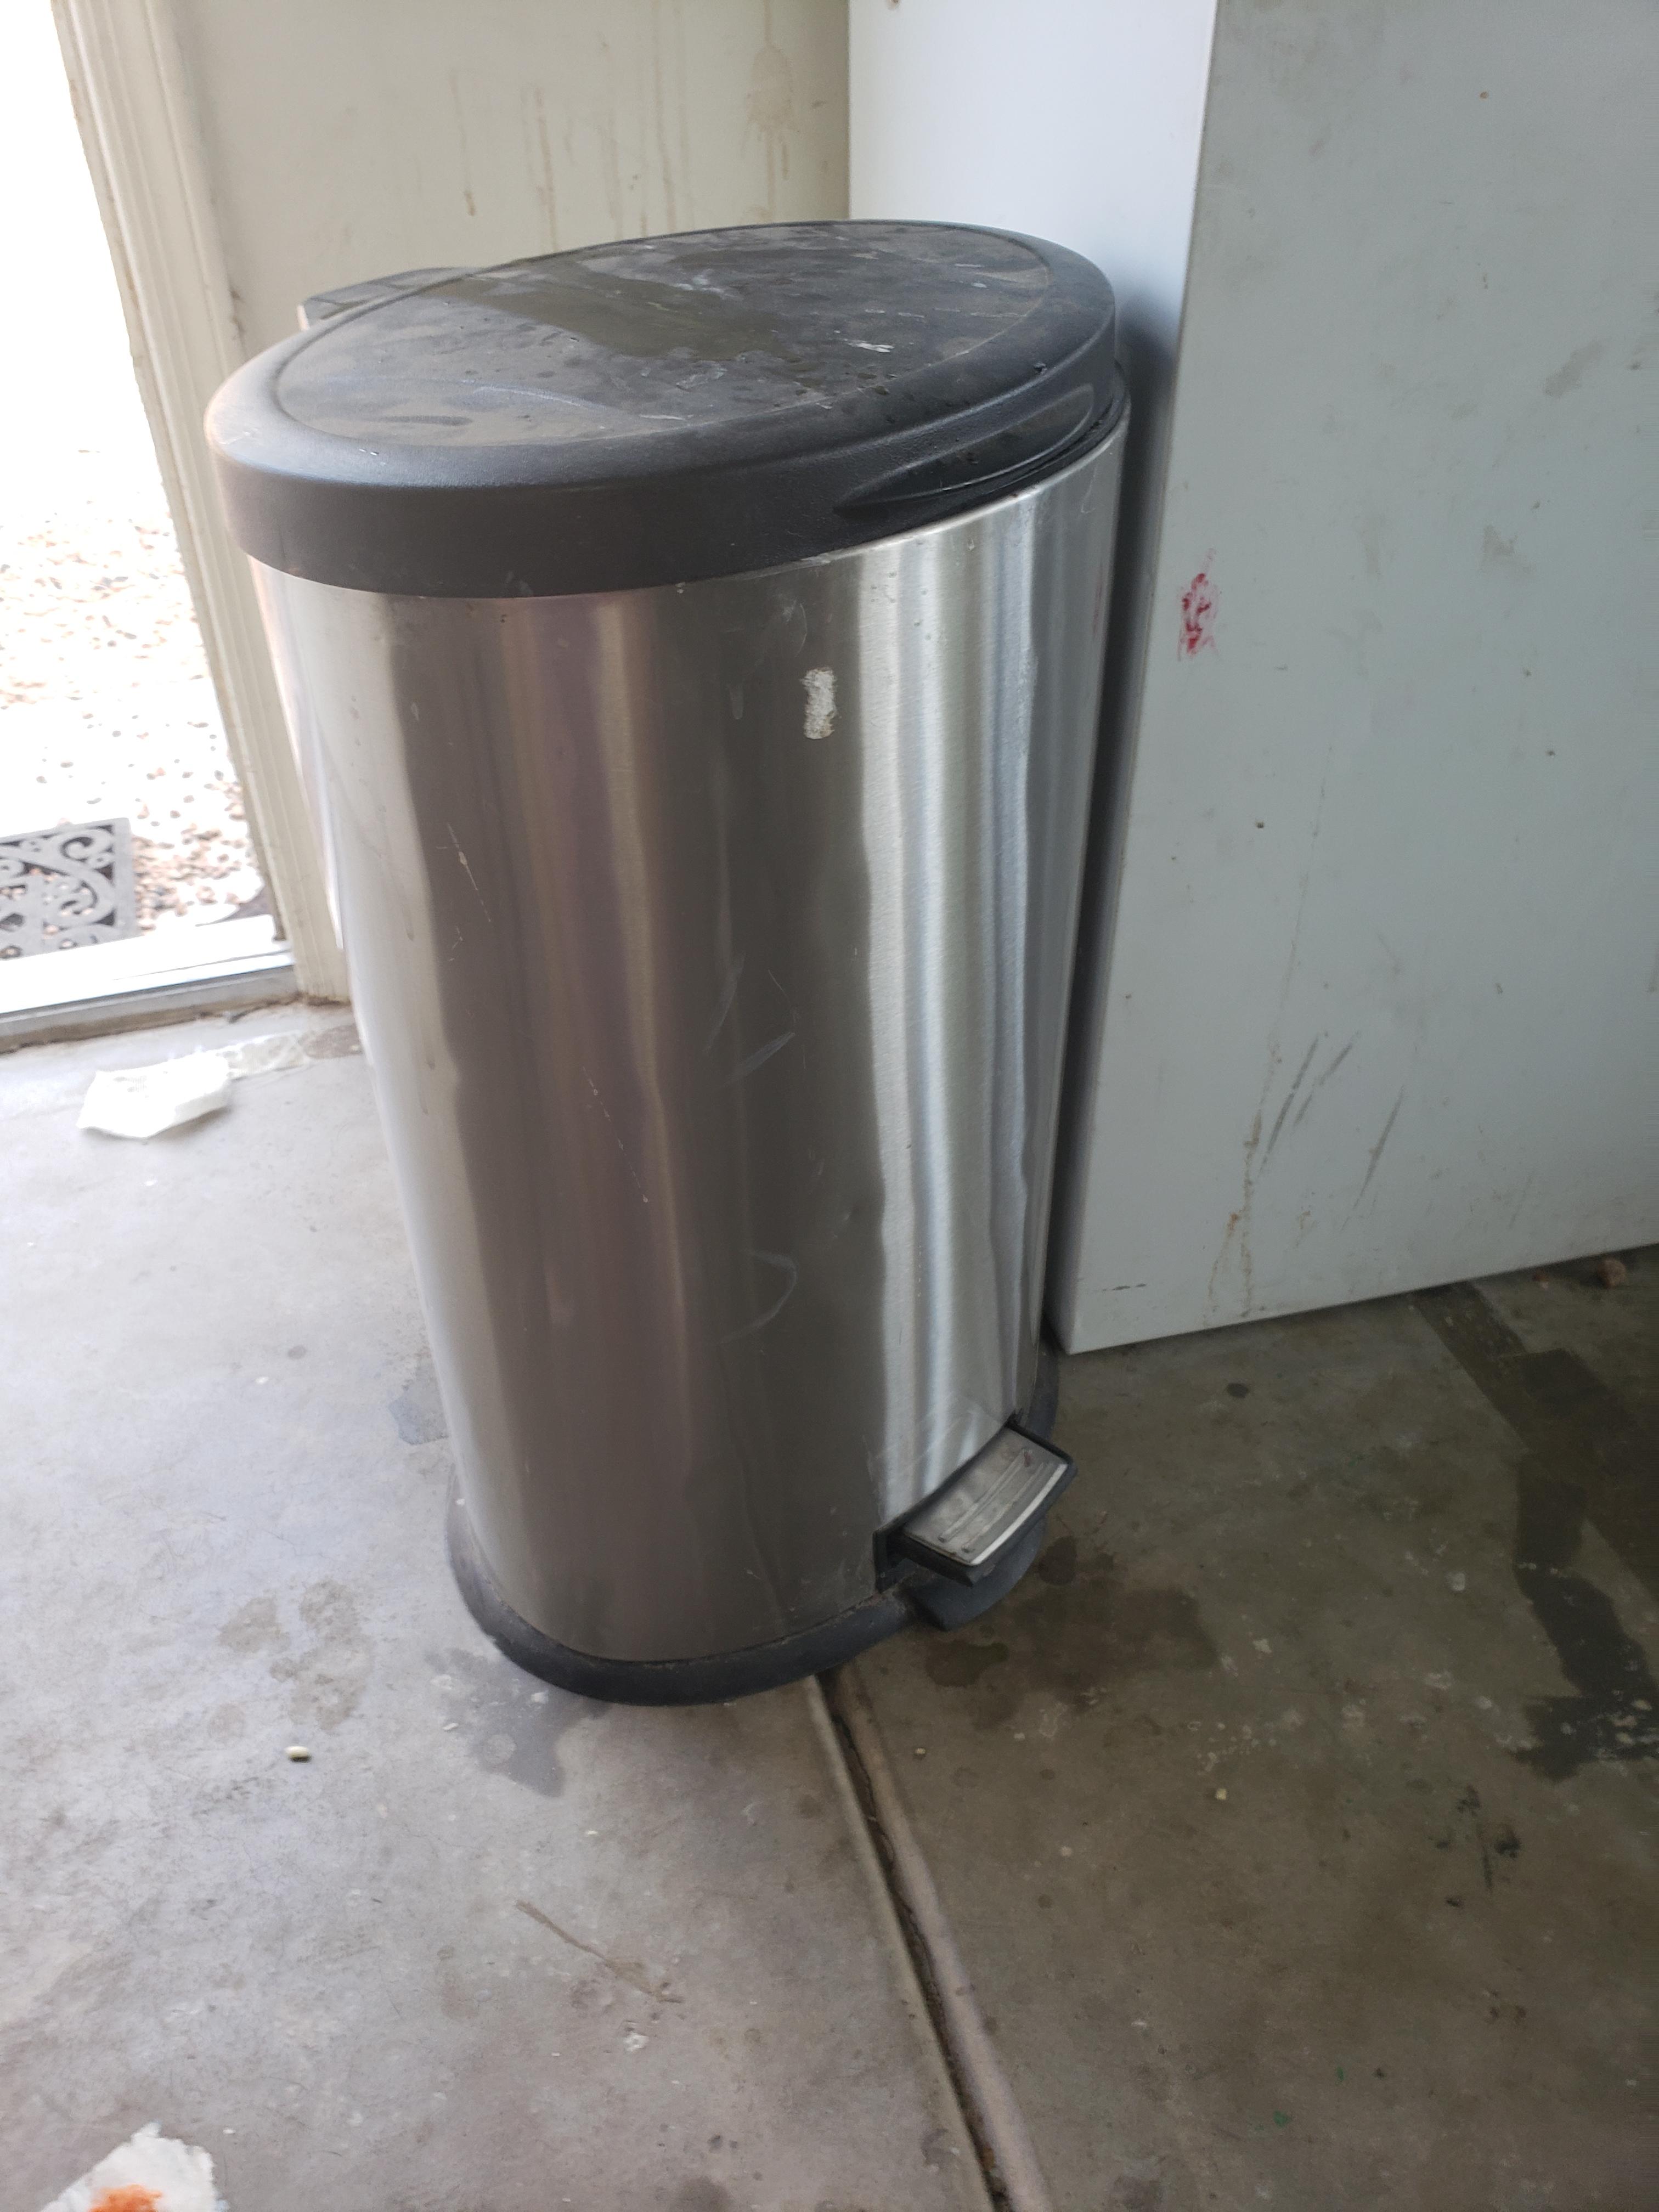
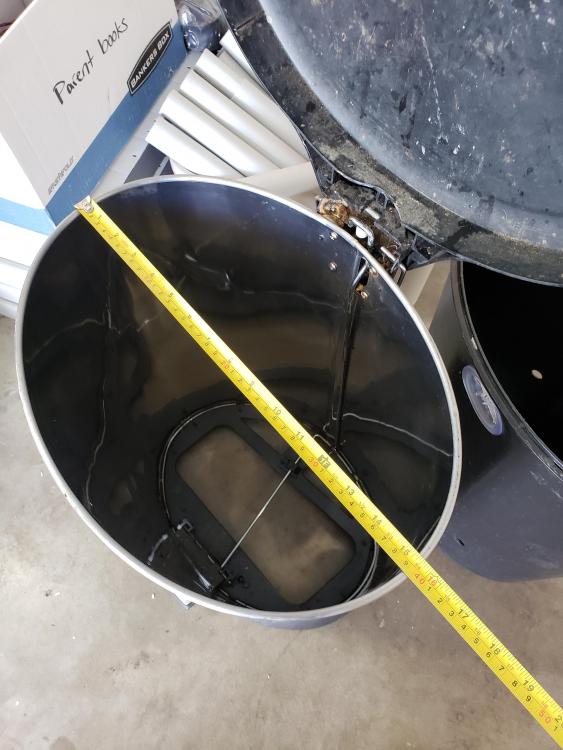
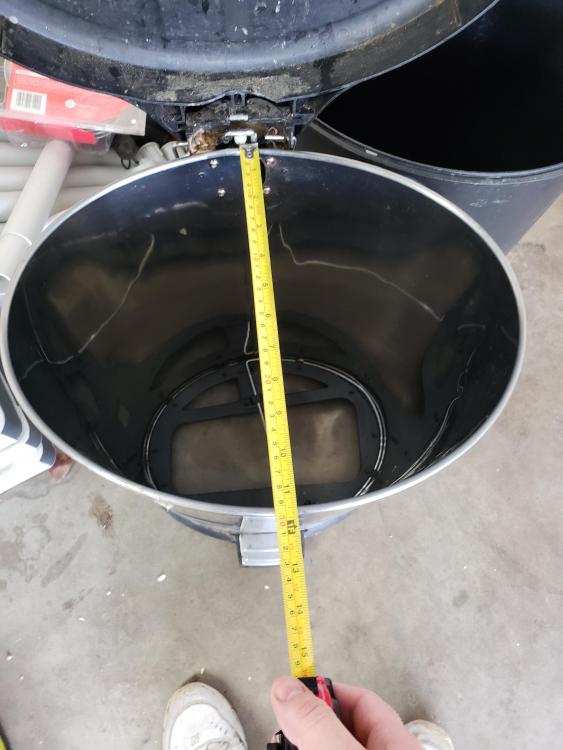
I have an old Walmart garbage can that is oval in shape and was marked as stainless steel when I bought it. It's been sitting in my garage for a while and it looks like it has pretty good dimensions for the shell of a gas forge. I'm betting nervous about using it though. "In rust we trust" and all that. Is there a way for me to safely assess weather this is going to kill me with fumes if it gets hot?


-
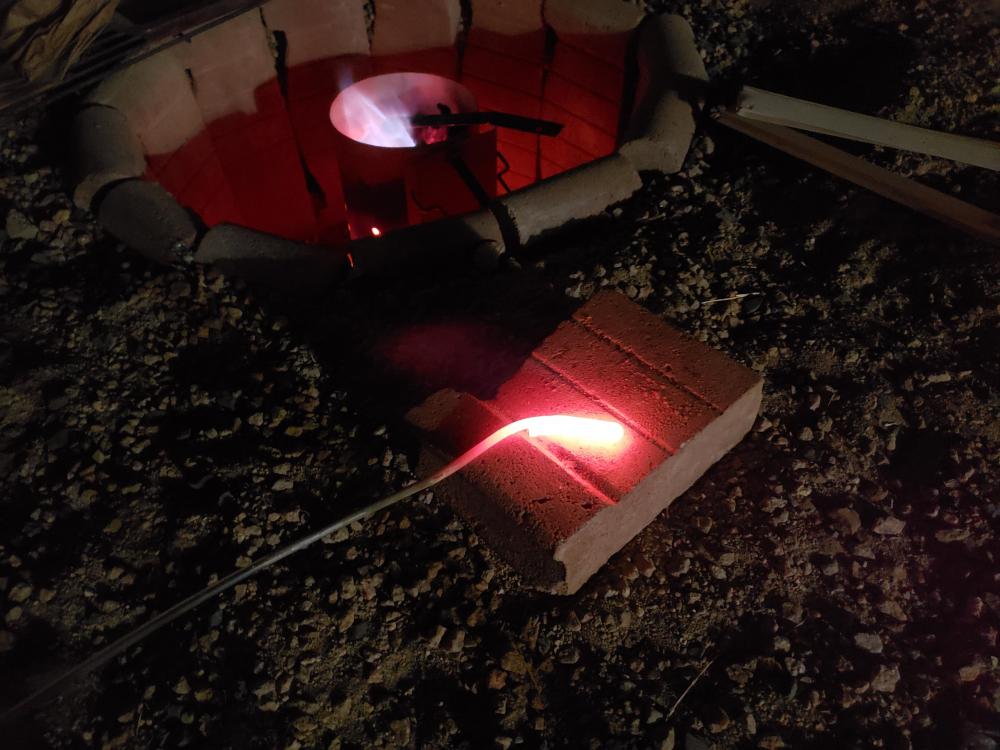
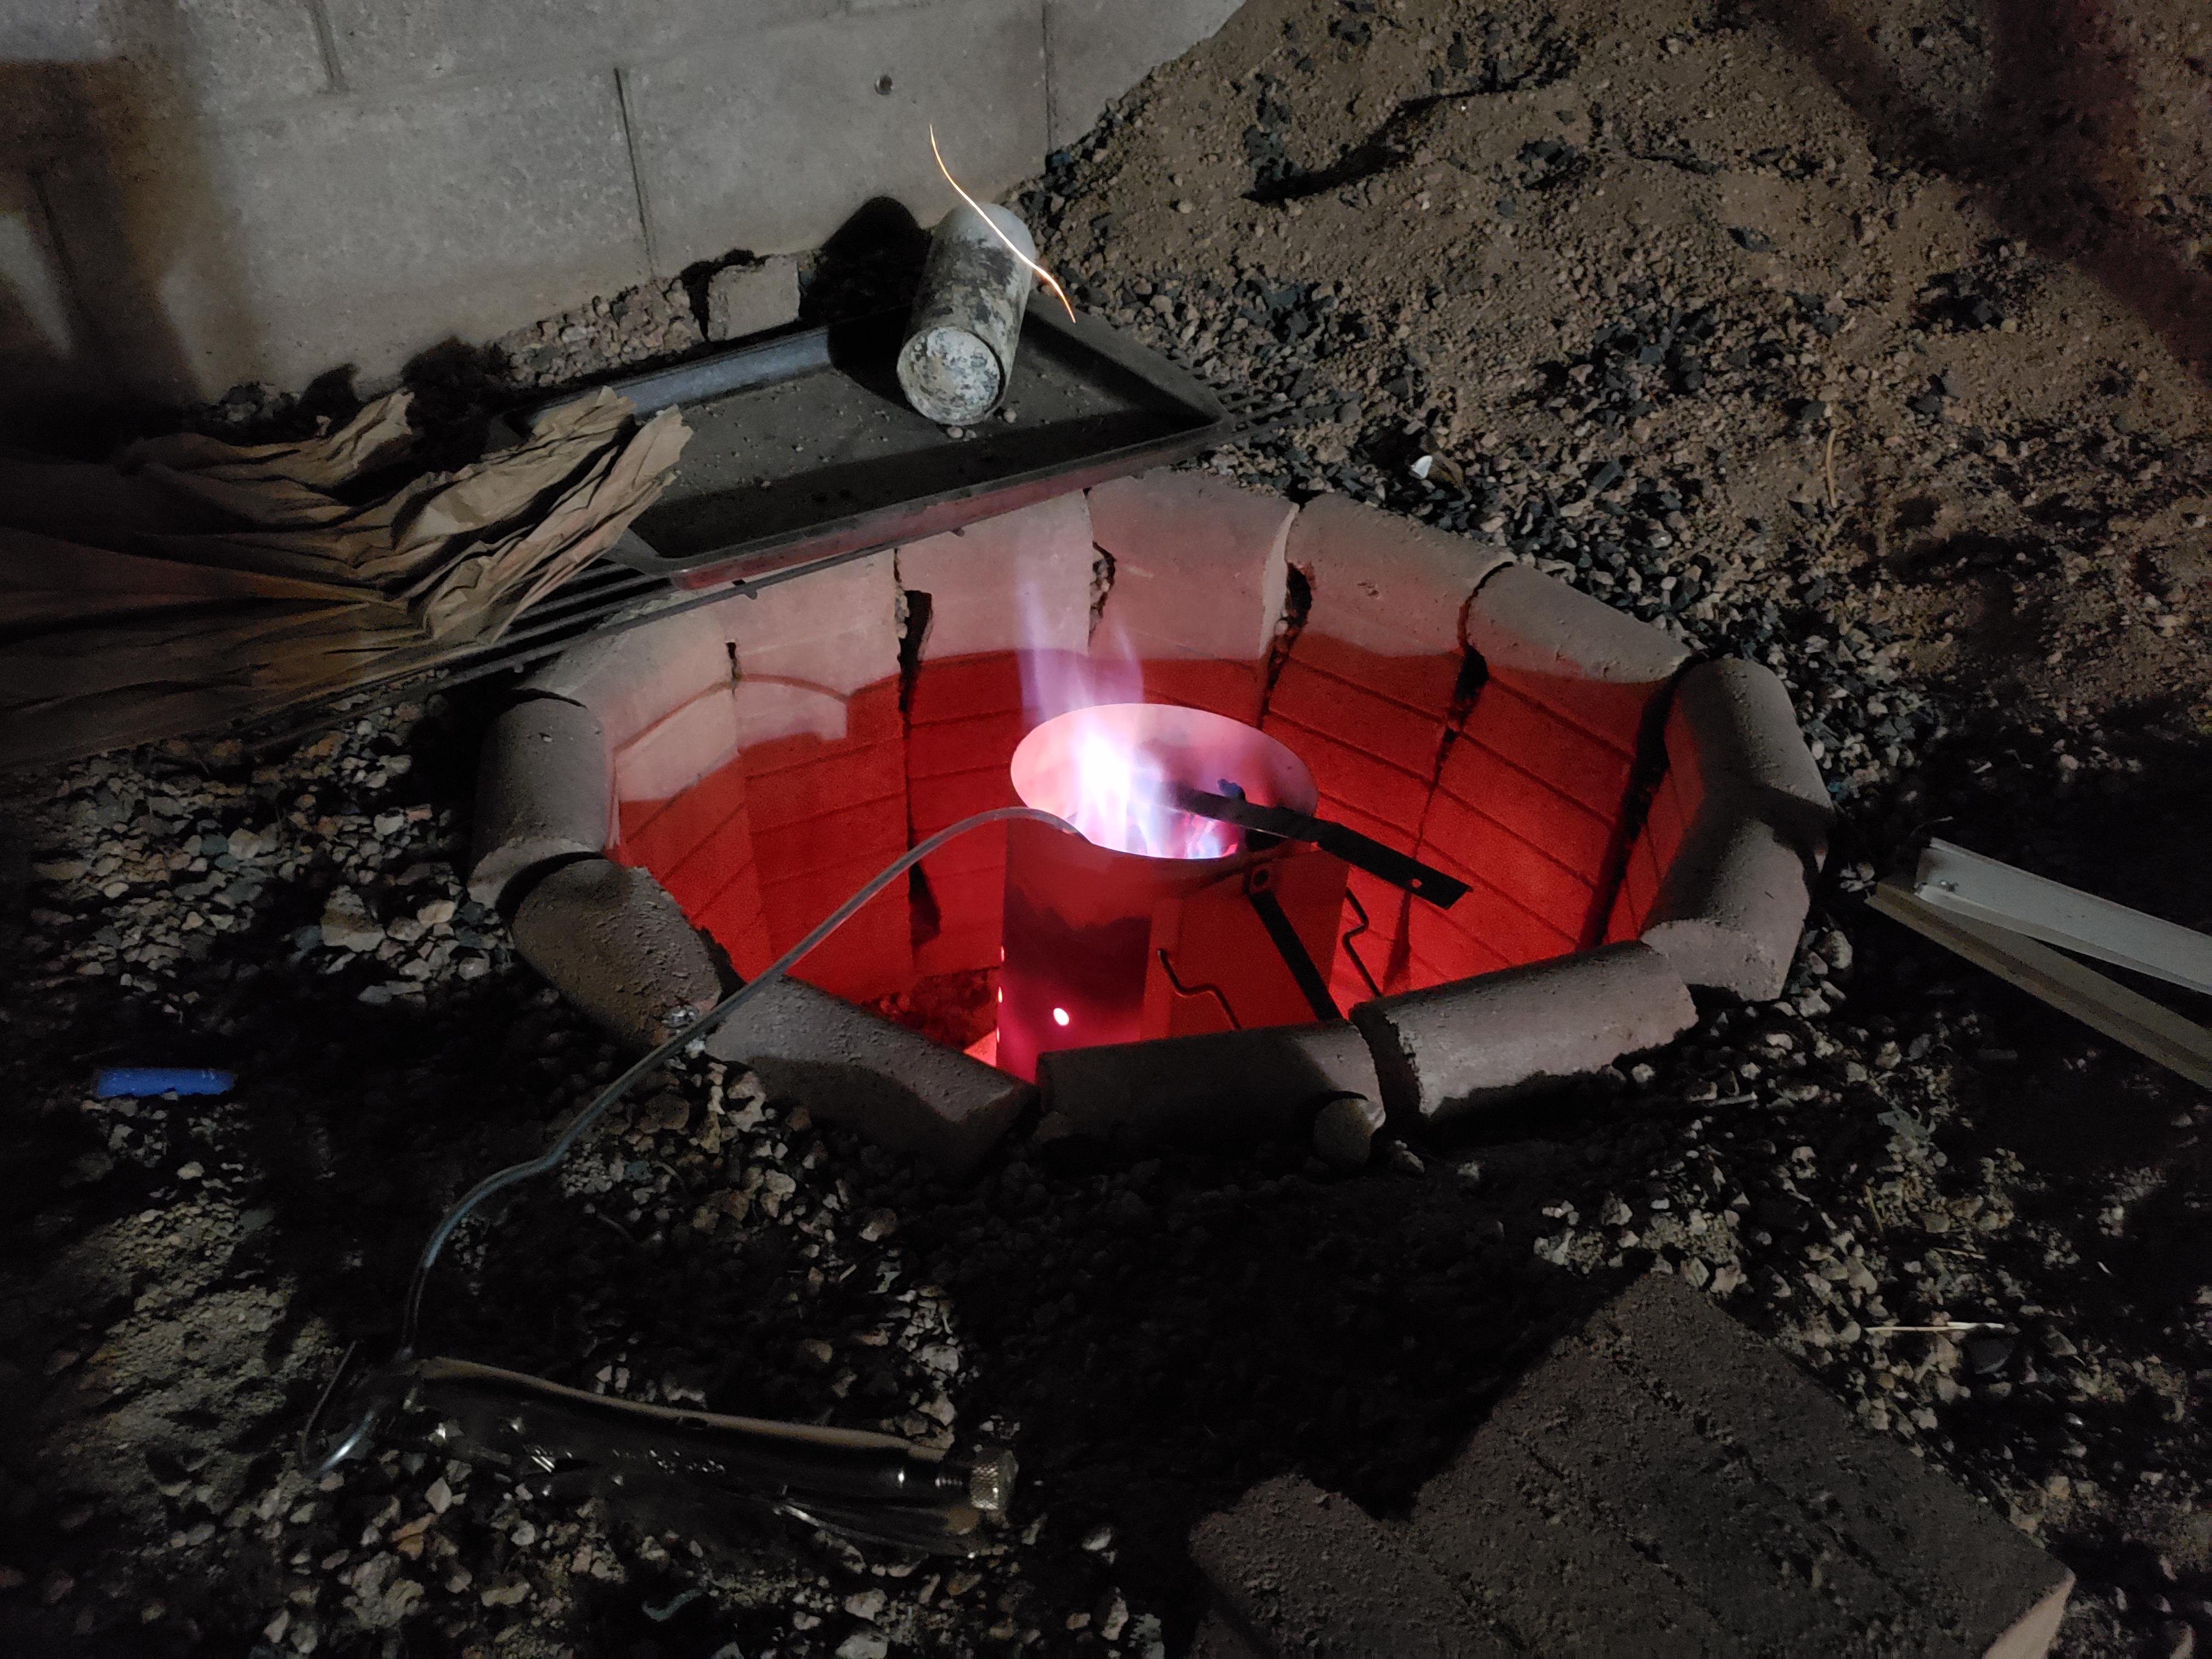
Frosty, I took your advice and made some changes to the burner. Took all the brass off and connected the stainless steel tubing to the end of the burner with a ball valve. I'm a bit worried about the red feather-like edge. I'm wondering if there isn't enough oxygen.
-
I'll have to get me one of these, ha! Frosty, I appreciate the very detailed post and direct response. I took it to heart and went into the safety section on the forum and read the stickies. I'm so sorry about PPW. And arc welding exposing brake cleaner to UV light transforming it inter phosgene gas... Holy Xxxx. I'm abandoning my galvanized bucket. I also bought some vinegar and muriatic acid and put the reducing coupling in it for about a half hour (used the vinegar overnight but noticed the galvanization was still patchy by morning). I also bought myself the following -fire extinguisher -respirator (impossible to find in stores, ordered online) -chemical proof safety glasses with airtight seals -several sets of long-cuffed nitrile gloves -welding gloves Thinking about getting an apron but I don't even have a forge yet so, I figure that can wait a bit. I feel like I may be forgetting something here but I'm not sure what. Feel free to chime if you see it. I really wish I could take a blacksmithing course in person. There's so much about this art that can't be taught easily with words and pictures alone.
-
Thanks for the welcome Frosty :). THANK YOU for this. In all my hours of perusing and watching, I can't believe I have not come across this. Seriously, thank you. This makes a whole lot more sense. I was trying to put some distance between the hose and the forge/furnace to reduce the heat exposure to the hose (I don't know what temperatures it is able to withstand), however, the more I think about it, the more I think proper insulation in the forge/furnace would solve this problem best. I'm thinking about ways to simplify things. I will post with pictures later of my progress.
-
Yes! I realized this a bit too late. Would scrubbing it off with vinegar be sufficient/worth it in your opinion or more trouble than it is worth? If not I can always cut the loss and move on to something else.
-
Been lurking for a few weeks. I've gotten soooooo much useful information from this forum that I thought it was time I pop my head in and say hi. My T-burner Saga I made myself a Frosty T burner from the pdf instructions. Well, tried... It was... frustrating. Measured, drilled, tapped, checked all my measurements 3 times... sputtering. I bought different sized MIG tips. Still sputtering. I reduced the length of the MIG tips. Same problem. Maybe it was the tapping job I did? Bought new materials, tapped the end all the way with the bit in the drill press and rotating the chuck by hand (it was unplugged Frosty!). Still the exact same problem. It seemed like when I screwed the MIG tip in part way in, it would align straight, but cinching it down led it to deviate to one side... Turns out, I'm just a noob at tapping and I didn't tap far enough down the bit to leave a thread taper (terminology?). Screwed the MIG tip in again and this time straight as an arrow! Fired it up again and!... can't hold a flame. No matter how low I set the pressure, the flame would blow out immediately. Frustrated, I gave up and started looking at making some firebrick from home. Decided to pick up a reducing bell while I was picking up some perlite and portland cement (I know...). Brought it home, screwed it on the tip and now IT WORKS!!! Testing out how it will work in the steel bucket I've purchased to make a furnace with (I have it set to less than 1 psi, hence a bit of sputter). I'm a bit impatient so I used a charcoal chimney and lump charcoal to heat some metal up in the backyard so I could start hammering. I can't believe how much fun I'm having with a claw hammer. I love the permanence of metal. Eventually, I'd love to learn all aspects of metal working. Anyway, thank you all for all your expertise and for making it public knowledge.