
Yance
-
Posts
111 -
Joined
-
Last visited
Content Type
Profiles
Forums
Articles
Gallery
Downloads
Events
Posts posted by Yance
-
-
I chose Outaways Forge because it's about 2 1/2 miles from the "main" road before you turn up a half mile single lane dirt road to get to my place.
As Jeff Foxworthy says.."If directions to your house include 'when you turn off the paved road', you just might be a Redneck". -
http://www.ebay.com/itm/170739739280?ssPageName=STRK:MEWNX:IT&_trksid=p3984.m1439.l2649
This set goes from 32, 26, 20, and 16. -
Actually the screwplates are pretty easy to find on ebay and sometimes the prices aren't that bad. The taps are a bit more scarce. I just bid (and lost) on a lot of 7 pieces from 20 to 13 pitch that went for just over $70.00.
-
Toward the end of this episode of The Woodright's Shop Peter Ross shows Roy how to use a 100+ year old screwplate and tapered tap to form the threads on the shank of a pintle and the nut.
http://video.pbs.org/video/1772044886/ -
That's a lot like the one I have "in progress". Have to get ready for a show this weekend in Marion, NC so the finish work will have to wait another week. I still have to make the grate and ash dump gate, and cut the clean out access door. Since the bottom is still solid I don't have to worry about leaving a mess if the ash and clinkers miss the bucket.
Since I'm tall I left my drum intact, and thought an "open top" drum would be best so when it came time to replace the top all I'd have to do would be cut a 10" hole in another drum lid.
The 2" pipe parts show that even without a torch or welder you can build a "starter" forge that will hold up a long time.


-
Ran across this on eBay a little while ago. From the shape pf the feet and tail it looks like it could be a Peter Wright. I bought a "pig-in-a-poke" like this that turned out to be a 123 lb PW that I'm using now.
http://tinyurl.com/3guwyqr -
.250 dia is correct, and those can be found in abundance at your local supermarket. The castors on the front of shopping carts have (I think) 32 in each swivel section. Stores usually have wrecked carts sitting around back. Ask permission before robbing a wheel.
-
Just a warning- the upper gears on mine are all race bearing while the worm gear on the fan blade shaft has loose bearings.
These blowers are made to be taken apart and adjusted. Go slow and be gentle. If you have to force it, that may not be the correct way to go about it.
Good luck!
As I found out those loose bearings are .250" diameter. I spent a LOT of time searching for loose bearings to replace three that were missing from my first 400 only to find by "accident" that the ones in the castors on the front end of a standard grocery cart are perfect replacements. -
Congrats CG.. GREAT SCORE!!!!
-
Great work Todd! I especially like the design on the "working" end of the opener.
-
Joe;
Nice little forge. I've been waiting for a callback on one like that myself.
The one I built for traveling has the same problem as a regular rivet forge, that is high sides, and no firepot. Main problems are only being able to heat the "point" of a piece unless you bend it to get it into the fire, and keeping your fire "corralled". Hard to work in a little pile of coke, but it's also hard to keep your fire from spreading to the rest of your coal.
I got around these problems by using a bearing race, aprox 8" dia, 1 1/2" high over the grate. This allows me a deeper fire because I can continually pull coke up on top, brings the heart of the fire up to the level of the rim of my forge pan, and blocks the fire from creeping out into my reserve fuel supply. The heat transferred also allows the green coal to slowly coke, ready to be broken up and pulled up into the fire.
I used the race because that was what I'd found at the scrapyard. You can use a section of heavy wall pipe, an old el cheapo cast iron saucepan with the bottom cut out, etc., just anything to raise the level of your fire to the point that you can work in it about horizontal. -
Long way to haul coal, but Grace Fuel in Asheville, NC has really good Blue Gem stoker size @ $309/ton. Price was when I bought almost a ton late Summer.
-
Back to wooden shoe suppliers, I ordered mine from Nelis' Dutch Village in Holland, MI.
http://www.bluedelft.com/woodenshoes-plain.html
They were the only place I could find 31CM size, and they were only $56 & change delivered.
Great arch support and super protection from things I drop.<G> Feet stay much warmer than with even good boots, but the snow tends to pack up on the bottoms.
I may or may not put irons on the soles since I work on dirt/cinders rather than concrete. -
I must've been REALLY bad last year because I got 500 lb from Santa, (well meaning Brother-in-Law), but it was large lump Anthricite. Burns OK with plenty of heat, but it sure ain't Blue Gem. (Too picky I guess)
-
OUTSTANDING!!
VERY impressive piece overall. Can't compliment just the handle because the splitwork pan attachment is so cool, and then there's the transitions to hanger and beautifully tapered shaft. -
Strange thing is the 1 standing proud. My H-Bs have inspectors # stamped in not cast.
Ken.
I believe that inspector's # is stamped, just an optical delusion like this pic of my 10 cav Hall mould.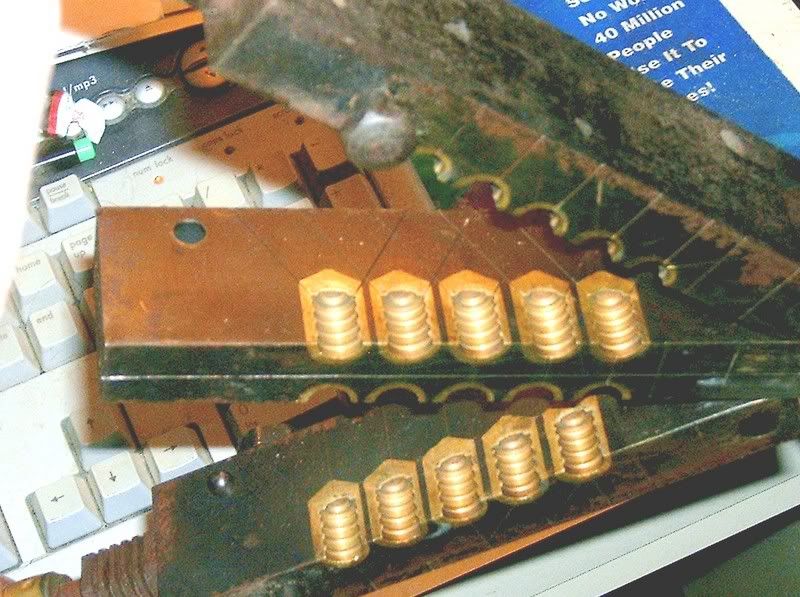
As you can plainly see there are still bullets in it...or are there? -
Full beard since 1973. Shaved clean once but like Rcrew haven't been near my face with a razor since.
Thought about hacking it into muttonchops for an "1890's" look for my upcoming shows, but remembered there ain't no chin under there. :lol: -
Hey Dave!
Welcome back!
I did a class at JCCFS Aug 1-6, "Forging your ideas into reality" taught by Lucas House from Raleigh, NC. Here's a few pics of what I worked on while I was there.
The new shop is really something isn't it? I was hoping to go back for the class the last week of this month but the $$$ just ain't there.
I highly recommend the school as a place to spend a "vacation" week. For anyone interested their full catalog is available @ folkschool.org They did have a deal going where first time students can get $100.00 off tuition if they tell them they were recommended by an alumnus like Dave or myself.


-
Try tightening the bottom wedge last then.
Neat set up.
Phil
Good idea, but my "target" on the off side would totally disappear.
After some use and wear in that's probably what I'll do, (if there's enough wear in), but it only takes a couple of minutes to tighten three bolts. Besides, with the vise off I can mount a small bench grinder or my hand crank grinder if I don't have access to 120AC. -
How stable is that setup?
I'm building a vise stand currently, but it's a lot beefier. That said, since I'm a university student and need to move around a fair bit, the easier to transport the better. If this is stable enough to use as a full-time stand, that'd be great!
Depends on what kind of "work" you're planning on doing. Since most of the "stability" comes from you standing on the base plate it's stable enough for making twists and bends in smaller stock or holding pieces for grinding. I won't be twisting and 1" stock at shows anyway, so this will suit my purpose.
If in your moving around you wind up with a concrete pad to work on you can always drill holes in the corners and install Hilti or Red Head anchors in the concrete. 1/2' lead shield anchors and lags would also probably be good enough, and when you move on there will only be 4 small holes as any sign you were ever there. -
That looks good but I was wondering why you unbolt the vice mounting instead of just knocking out those wedges. Then the only tool needed would be your small hammer. May make your set-up and tear-down faster.
Rob
The vise leg is slightly longer than the upright from the base allowing the two forward bolts to "tension" the unit by trying to pull the mounting column "up" while pushing the "leg" down. It'd disassemble easy enough, but getting it back together would still require at least loosening the two forward bolts. -
BP
Since I don't have a "show" trailer, and some shows/festivals won't allow vehicles/trailers in the vendor's area, I needed a portable vise.
3 major parts, (the wedge, nuts, and bolts don't count), assembles and breaks down with only a small Crescent wrench and small hammer.
Base is 1/2" thick plate from the scrapyard, upright is the shaft from an old warehouse fan, (the base of which is well on it's way to becoming my portable 24" dia. forge.


-
Glenn;
A couple of months back you posted the "Advice" list on Live Blueprints. I would like permission to post that column to all the members of our Guild, especially in light of a couple of incidents we had at Saturday's meeting.
We are; thefcbg.org out of Tryon, NC and have over 30 members.
Thanks in advance, and thanks for all the work you do to provide us with this great Forum. -
ofafeather;
Do yourself a HUGE favor and get a can of either E-Z Weld or Crescent "anti borax" flux.
I had been using borax and getting good results, then tried E-Z Weld when welding thin stock to thick and had GREAT results.
Since both were formulated for use in gas forges, you can weld at a lower heat so you're not on the ragged edge of burning your steel. You can "stick" the workpieces in the fire so be careful about alignment. (don't ask how I know )
)


How much do you pay for coal?
in Solid Fuels: Coal, Coke, Charcoal, Wood, etc
Posted
Vaughn;
If you're willing to drive a little over an hour Grace Fuel in North Asheville, (Woodfin) has Blue Gem, stoker size for $385/ton last I bought back in the Fall. Great stuff.