

Bleu86
-
Posts
33 -
Joined
-
Last visited
Content Type
Profiles
Forums
Articles
Gallery
Downloads
Events
Posts posted by Bleu86
-
-
2 hours ago, TWISTEDWILLOW said:
Could you not get some aggressive disks and use that sander on the floor to plane it down level?
Started out doing that, but quickly found that I was just chasing high spots and it would only be level for the one area of floor I was working on. Its going to be moving around quite a bit, so I'll need something that will be solid anywhere it goes.
1 hour ago, Frosty said:A thing can rock between two points with a pebble under one if it has 4 feet.
It doesn't take much height, just enough it's resting on 3 points. You could probably get away with 3 thick washers and counter sunk screws. Or gluing thin 1" sq hardwood bits in 3 spots. Screw down 3 bottle caps then fill them with lead, a couple wheel weights should do it. If the feet are very thin you might have to sweep the floor to make it steady.
I welded up steel tripods for mine and they work anywhere.
Frosty The Lucky.
Right... can't believe I didn't think of a 3-pointed base. I used to discuss their merits in regards to telescopes on a regular basis when I helped with astronomy programs. T-nuts and feet are already ordered, but I think I'll just put 3 on.
Thanks for the input everyone. Much appreciated.
-
3 minutes ago, ThomasPowers said:
Put wooden shims under it in the location you will be using it and when the face is where you want it add a couple of 2x6 pieces on the sides of the base touching the floor. "Locking in" the base/floor as you want it.
There's the rub. It's a mixed use shop, and things get moved around a lot. It won't always be in the the same spot, so I can't shim it for a particular location.
-
Ive been trying to upload one but it's not working. Maybe this link will...
Not trying to get it perfectly evel, just need it not to rock back and forth.
-
Stand is 5 pieces of walnut countertop (scrap leftover from a remodel) glued/bolted together. We got the top true so the anvil sits doesn't rock, but the bottom is pretty jagged. We lack the tools to plane it smooth, so planning on using 1/2" T nuts and feet designed to level pool tables, which should have the added bonus of allowing it to be more portable and sit evenly wherever it is. Anyone have any experience with a similar set up?
-
Thank you, don't know how I missed that!
-
I assume this is a regular question but I couldn't find it anywhere. Does anyone have a favorite online source for abrassives? Started trying to find some different belts and it's a jungle.
-
On 8/23/2020 at 12:48 PM, wirerabbit said:
Hola, Cedar Park,
Hey, I know fayette county! Used to work in Bastrop!
I recently lit up my forge in awhile and let my steel soak for a bit. BIG difference.
-
Thanks everyone! I'm in a shaded outdoor area in central Texas. I'm not worrying much about preheating the anvil, lol! Apart from that, it sounds like there's a lot of small tweaks I can make to improve workable heat time.
Speaking of New Mexico, I've spent a lot of time in the Pecos wildernesses. Love that area, but man, talk about some temperature swings! Only place I've been that has changed as much in one day was Hueco Tanks. 40+ degree changes in a day.
-
On 7/29/2020 at 11:00 PM, Frazer said:
Rereading your question it seems to drift from one thing to another.. is the problem that your material isn't staying hot or that it isn't getting hot in the first place?
That was kinda what I was asking. Material seems to be getting plenty hot, but maybe it's not as hot as I think it is?
Losing heat to inefficient technique makes sense too. Nothing to do there but keep working on it till i can do it right! I'm going to try leaving the steel in for much longer too and see if that helps.
Thank you so much for the feedback.
-
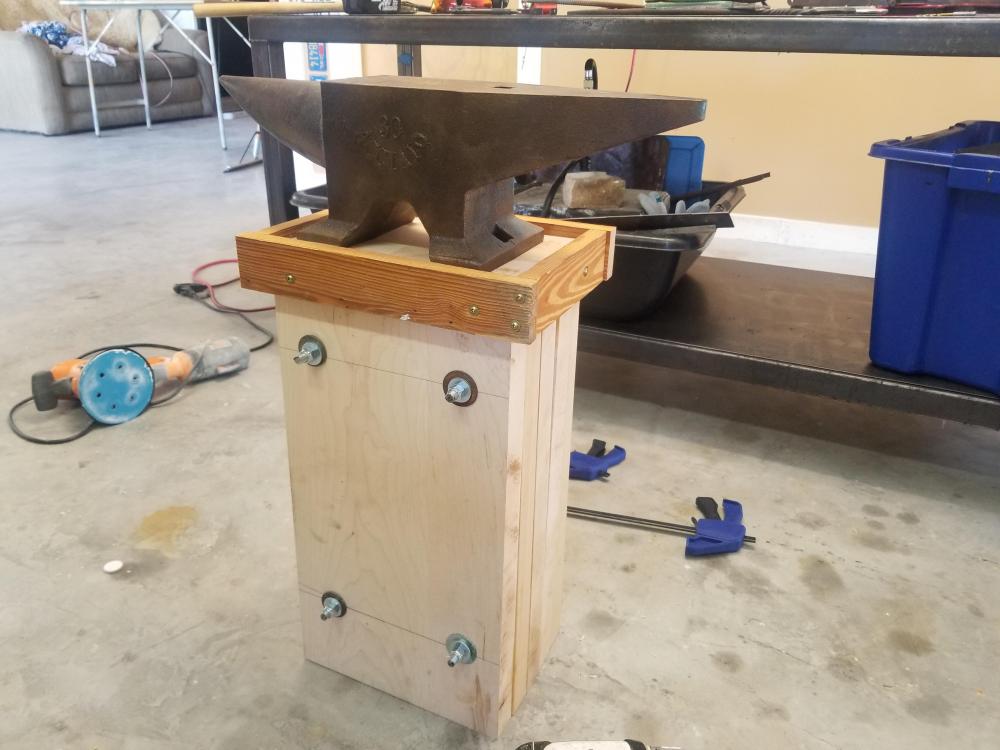
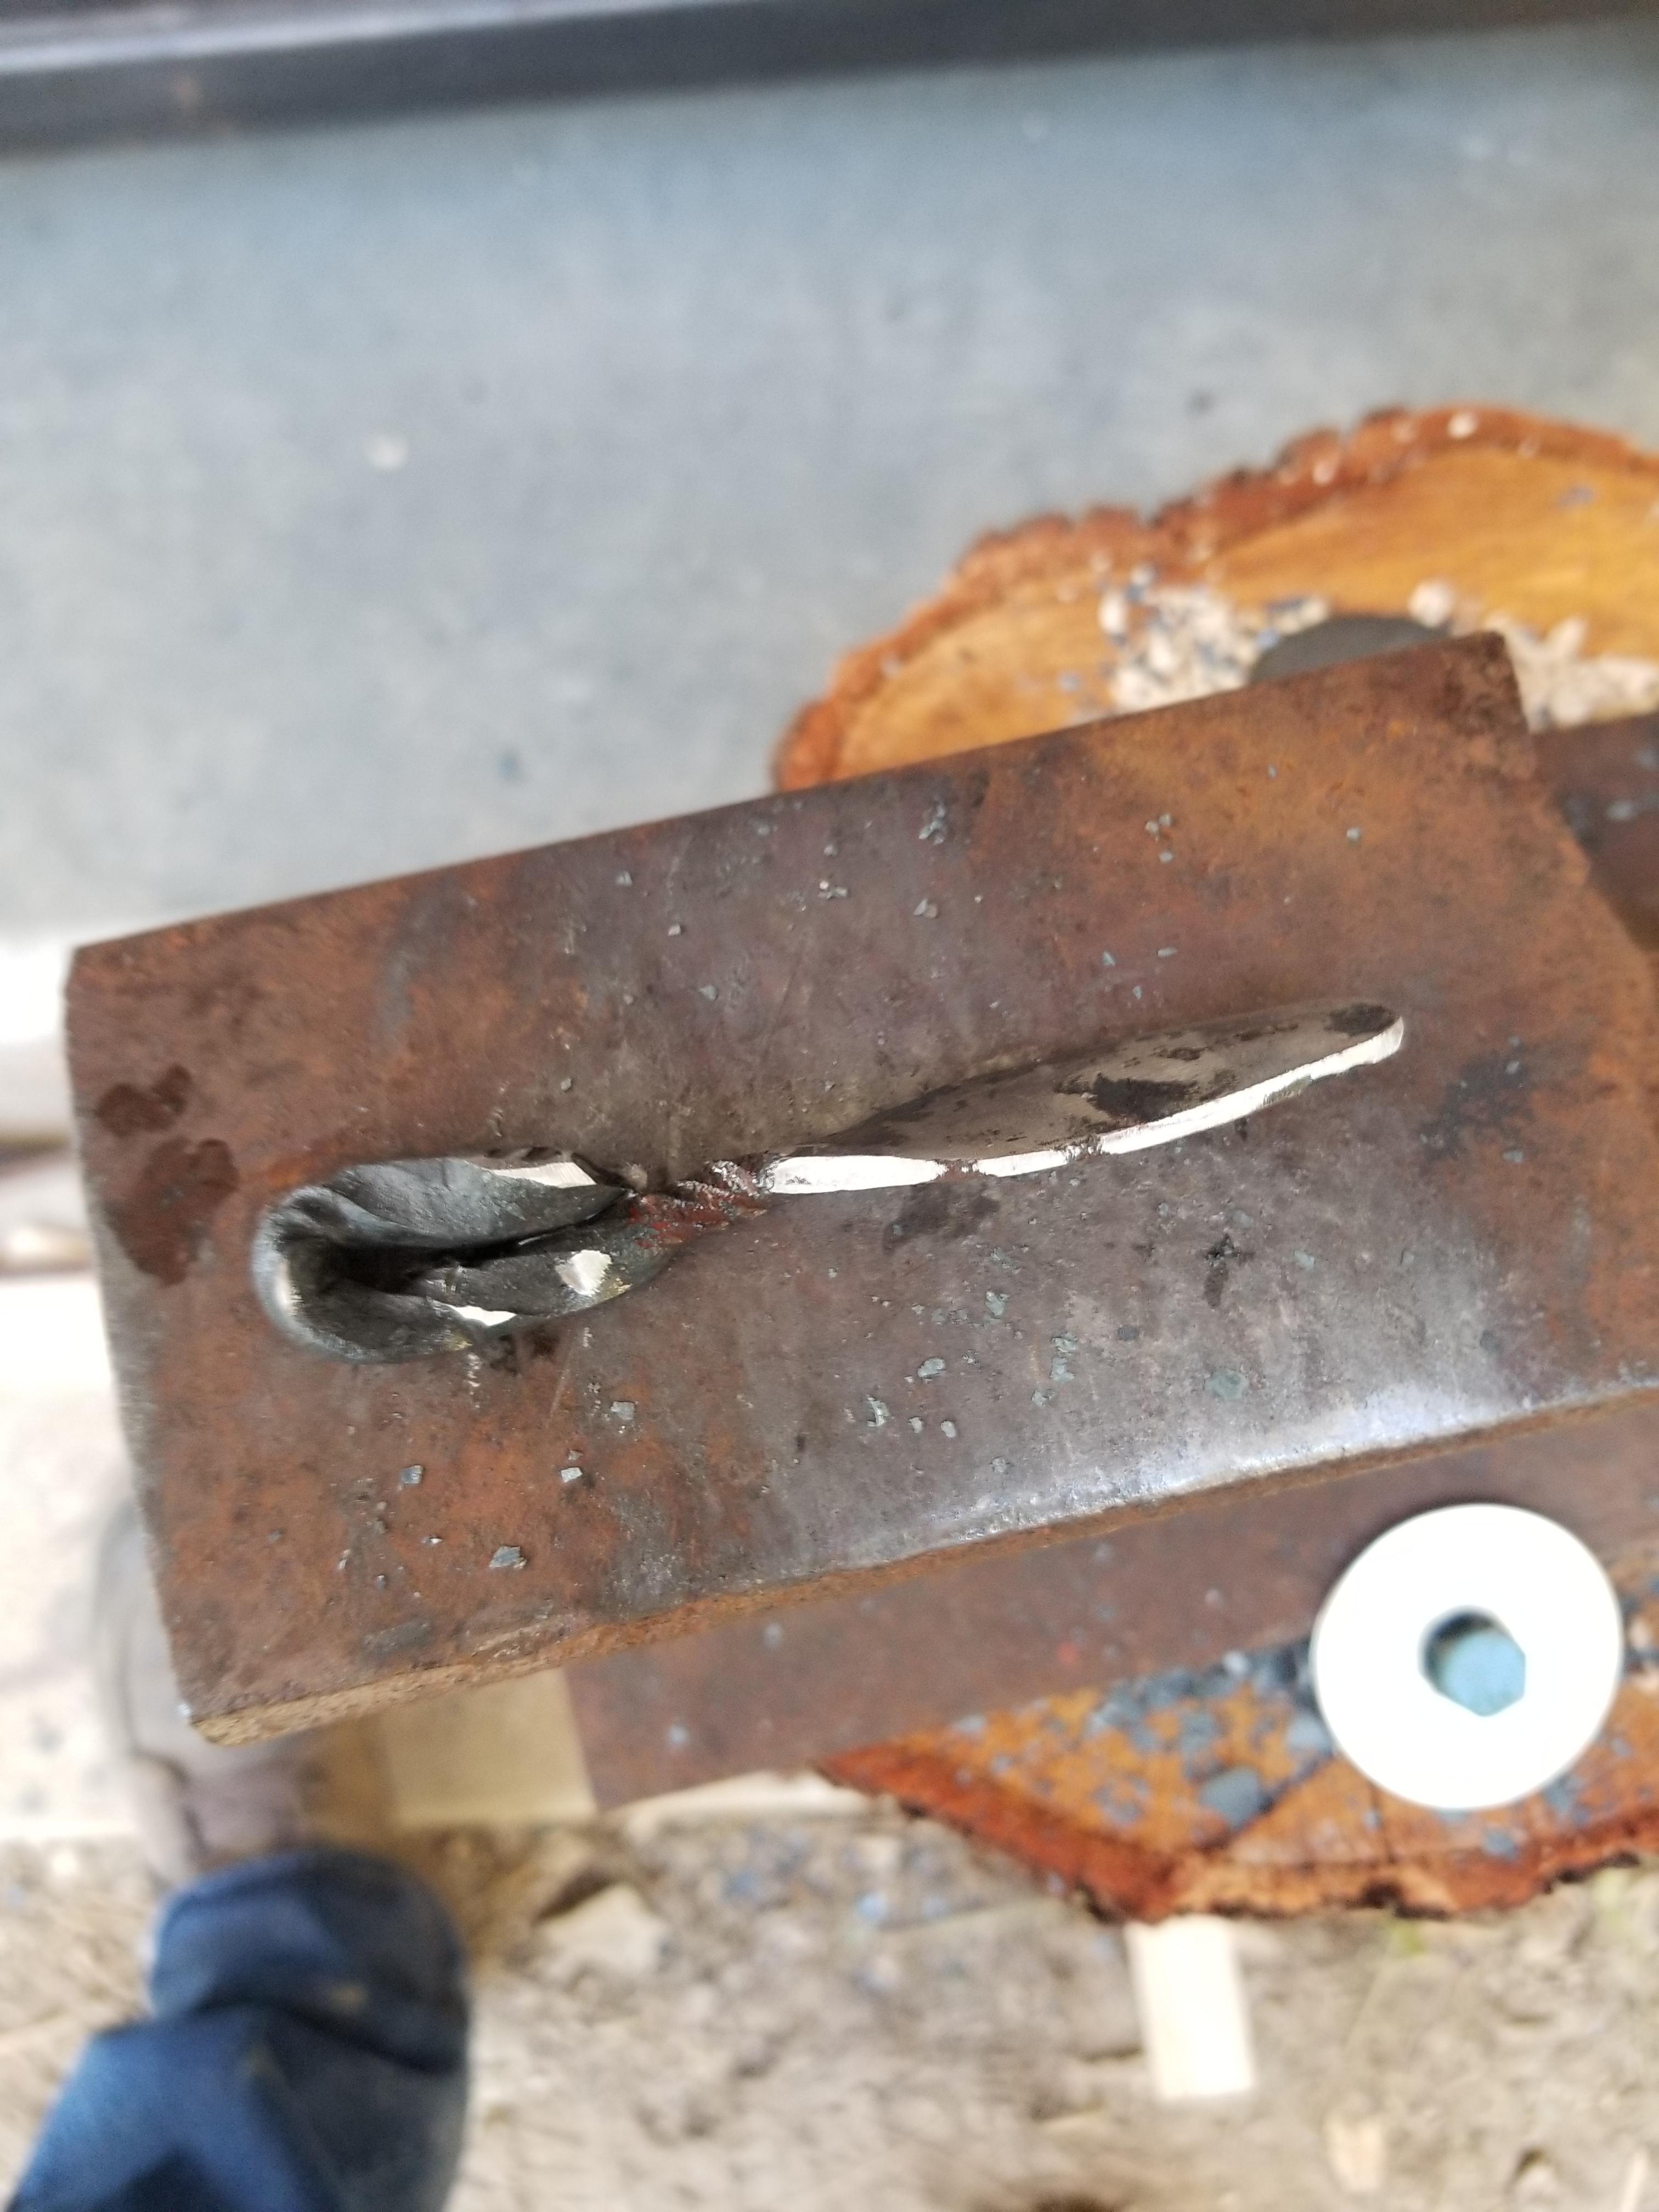
Second ever attempt to forge something. Both times shooting for a leaf key fob. Not pretty but I learned a lot (like my steel forearms from weekly rock climbing no longer exist and I need a lighter hammer
 ). All in all I'm calling today a win.


-
Hello all,
I had my second try at forging a simple leaf today and (after copious study at the University of YouTube.. WHAT UP ALEC STEELE). I made vast improvements over last time and I'm still figuring out how to handle a hammer and shop setup to maximize efficiency (and by shop I mean a gas forge on a roller table and a broken railroad track bolted to a log), but what I'm finding is that my metal is cooling way faster than it seems to do in the videos. As I watch the various YouTube videos, the crafters are able to calmly speak and work for several minutes while the steel is till glowing. I'm getting 4-5 hammer blows in before it starts getting dark. I know videos do a questionable job of transmitting what color you're really looking for, but even at bright yellow color to my eye, it get very little time. I'm working on a single venturi burner rectangular forge with stone/firebrick baffles on both ends. After the forge is hot, I'm leaving 3/4 inch mild steel round in for about 5 minutes and not really seeing much color change after the first couple of minutes.Thanks yall.
-
Any day I make someone laugh is a good day!
-
A friend has asked for a celtic armband. She has made her whole ren faire outfit by hand so it doesn't need to look fancy but its a relatively large radius. I figured filling it with concrete would add some heft, reduce vibration, and improve efficiency. (I used to have burly rock climber arms, but since having kiddos I am small and weak)
-
Sorry if this is the wrong location for this post. Im just starting out and my "anvil" right now is a small piece of railroad track. There's not enough room to cut and grind a horn, so I'm trying to figure out an alternative. One thought was to hammer down a round pipe (which I have plenty of) into a taper and fill it it with concrete. Opinions?
Note: this will be for small projects only.
-
Thank you!
-
Good to know!
I have already contacted a local spring shop and they do sell drops, so once society is done melting down and I'm ready to make blade I'll give them a call!
What sort of tools can be made from leaf spring? It seems too thin to make much? -
11 minutes ago, ThomasPowers said:
You are aware that if you are wanting to make blades from automotive springs you want ones with the *least* number of miles on them as you can get as fatigue cracks may be present in springs with a lot of use on them.. A lot less work is lost if you are just making tooling from them.
Yes, I'll probably make some (very ugly) knives but nothing that I expect to use or would be upset to lose. I'm brand new so everything is just another opportunity to learn.
14 minutes ago, Steve Sells said:none of that is tool steel
I know, but I already have an old socket wrench extension that sheared off, and I'm sure i'm going to find some old wrenches and hammers when I start digging around the barn.
-
From a 1972 F100. Got two full leaf springs, 2 coils, and what I'm pretty sure is part of the steering assembly, along with various other trash. A guy was doing a full restoration and let me have it for free as long as I took everything.
-
Cool, thanks. Just wanted to make sure I wasn't going to accidentally increase my body's iron content with the first hammer blow.
-
I've read that you should never hammer hardened steel, even if it's hot. I'm just starting out and plan on using a lot of old scrap. I got my hands on some old auto scrap, and I'll be keeping an eye out for old/broken tools.
Should I be annealing everything before beating on it? I never see that in YouTube videos but I didn't know if that's just something that gets glossed over.
-
I recently got my hands on a full set of old truck suspension, two full leaf springs (woohoo!) As well as two large coil springs. Both the coil springs have a slick black coating on them that I assume is some type of powder coat or ceramic coating. Does anyone have any tips on how to remove this safely?
-
Applied rigidizer to the insulation on my first forge!
![20200405_150940.thumb.jpg.8208d4061794c4e02e4a79cbae0df83c[1].jpg](https://www.iforgeiron.com/uploads/monthly_2020_04/675327183_20200405_150940.thumb.jpg.8208d4061794c4e02e4a79cbae0df83c1.jpg.f67b19aa716c959288e8a35532777565.jpg)
-
I've been trying to find a solid answer to this all morning and haven't been able to pin anything down. I plan on completely sealing all of my ceramic blanket with Kastolite 30, and coating that with Plistix.
I see people talking about firing their insulation to get it to really set. Is that necessary if it will be sealed, or can I let it air cure?
Same question for the refractory and kiln wash. Do I need to fire the refractory first or is it fine to just let it sit for a few days.
Finally, I know I should butter each layer of the insulation, should I butter the refractory before applying the kiln wash?
Thank you for any advice, hope you're all staying safe!
-
C'mon, all my YouTube channels are dead, my shop is *almost* set up but I'm waiting on supplies. Let's see some forge porn y'all!

FeCl etch trouble shooting
in Finish and Polish for Knives
Posted
What did I do wrong?
I'm trying to bring out my first hamon. After hand sanding it up to an 800 grit finish I submerged it in the FeCl, a total of three 10 (ish) minute soaks, with a 0000 steel wool scrub between each. After the final soak I neutralized with baking soda and then scrubbed with dish soap and water. The knife was now rough to the touch. I began sanding at 800 grit again but to get the knife to feel smooth again, I had to basically sand past all of the activity the etch brought out, while other areas just wouldn't seem to polish up at all. The hamon in particular seemed like a never ending source of oxide streaks, despite being nearly as faint as it was before etch. I finally gave up and took it back to the belt grinder to bring it back to raw steel (this thing is gonna be a fillet knife by the time I'm through). I'll start the hand sanding journey again tomorrow.
I'm sure i did something wrong. I know I didn't get the knife as clean as I thought, there were a few blotchy spots, but those were separate from the worst areas that wouldn't polish. Was my FeCl too concentrated? Did I leave it in too long? Not long enough? Ferric was labeled as "ready to use" in the bottle but I diluted it roughly 50/50 with water. No pics because I didn't think to document anything until I was almost done at the grinder.