

ClintMakes
-
Posts
11 -
Joined
-
Last visited
Content Type
Profiles
Forums
Articles
Gallery
Downloads
Events
Posts posted by ClintMakes
-
-
Sorry for the delay in updates. Work has been kicking my butt the past week.
As a status update on the forge itself, no real cracks have appeared anywhere other than where the adobe meets the wooden box. Maybe me forcing it to dry slowly under the tarp and tamping it helped. *shrug*
I did cut an opening out on the other side for long work pieces.
I did a test firing last weekend and used a hair dryer for my blower. I snuck my wife's out there.
 Anyway, even on low, it was WAY too strong as predicted. Between the fire fleas and burning the chunk of steel I put in there, it was clear I needed a baffle or other way to control the air flow. I toyed with the idea of using a 40mm computer fan, but my tests showed that while it has decent flow, the static pressure just isn't there. So, back to a hair dryer.
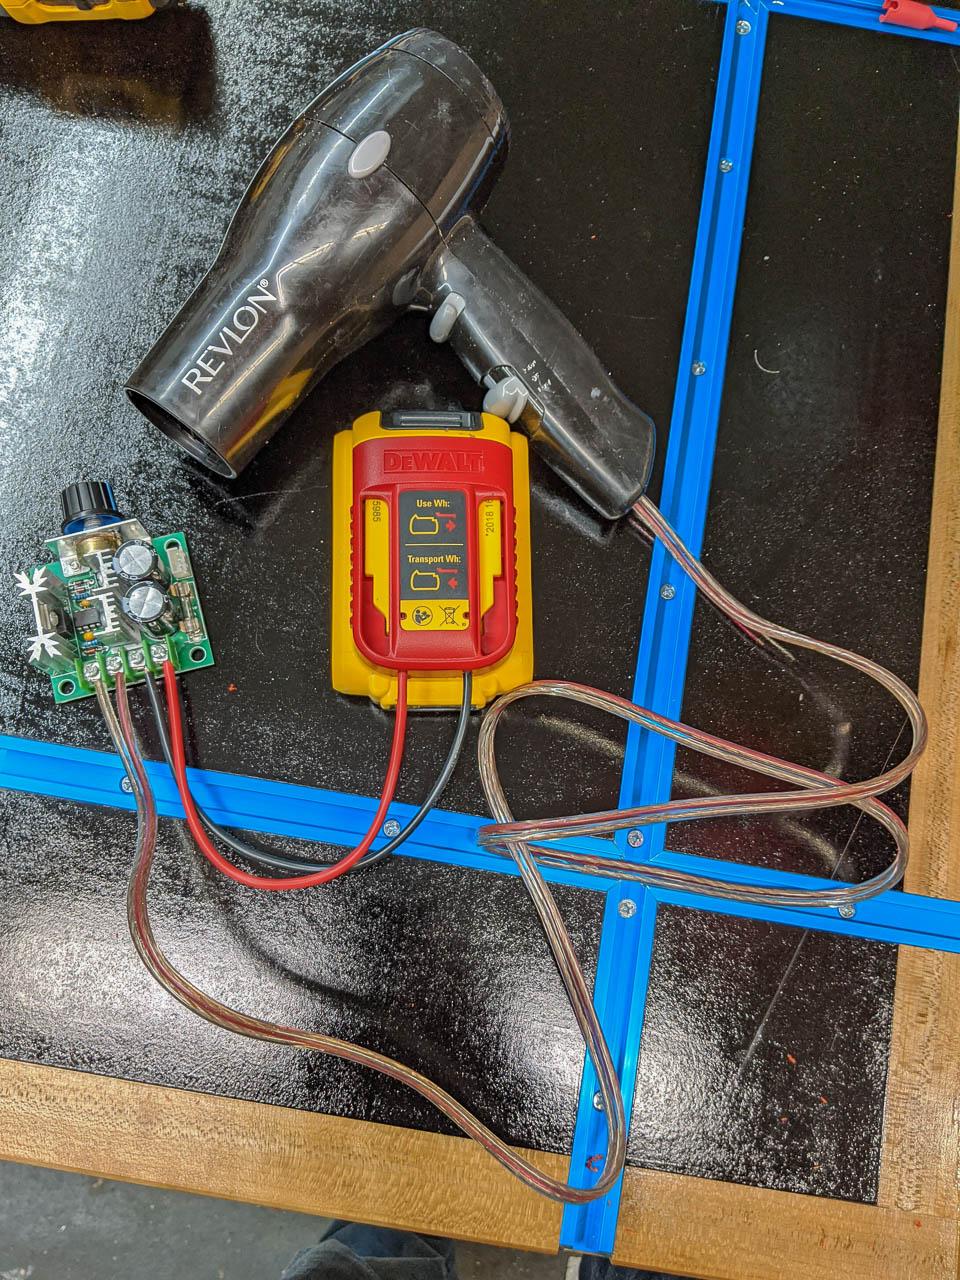
My next thought was using a cheap hair dyer and the right angle EMT junction I have seen others use. However, I really wanted to figure out a way to not need an extension cord. While I was reading up on disabling the heating coil, I discovered that most all hair dryers use a universal DC motor. The heating element is fed 120VAC and uses three diodes to rectify the current down to DC. That was a lightbulb moment for me. I have a slew of Dewalt 20v batteries and tools. So, I figured out how I can power the hair dyer, sans heater element, with my Dewalt batteries. Even the smallest should power the blower for ~4-5 hours on a charge. I found a DC motor control board for about $7 on amazon and a small hair dryer at Goodwill for $3. So.. I now have an infinitely controllable blower (from off to literally blow the coals out of the forge) for around $10. AND... no need for power/extension cord!
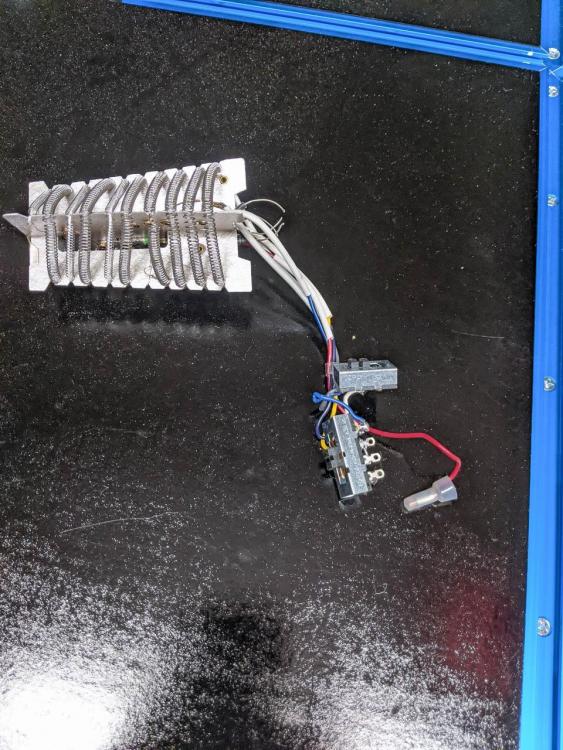
I removed the wiring harness, switches and heater from the dryer and put the motor, impeller and shroud back in the dryer housing after soldering some new power wires to the motor. It is MUCH lighter now and now I don't see a need to support the pipe anymore.
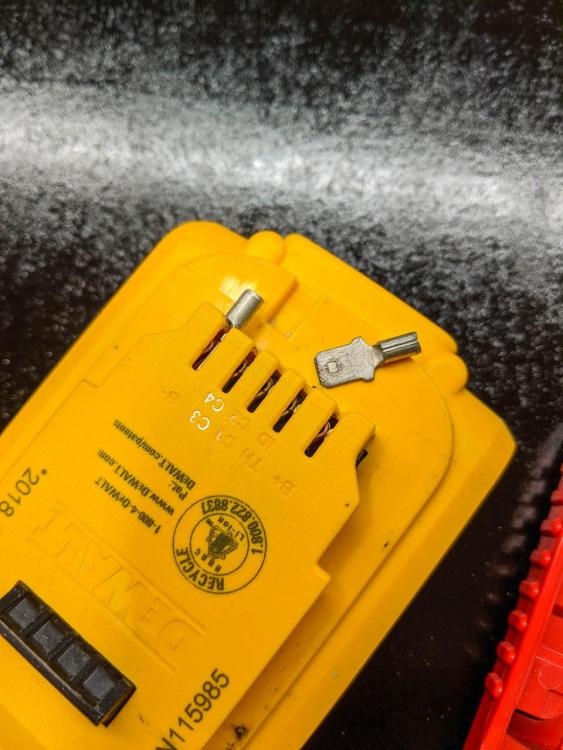
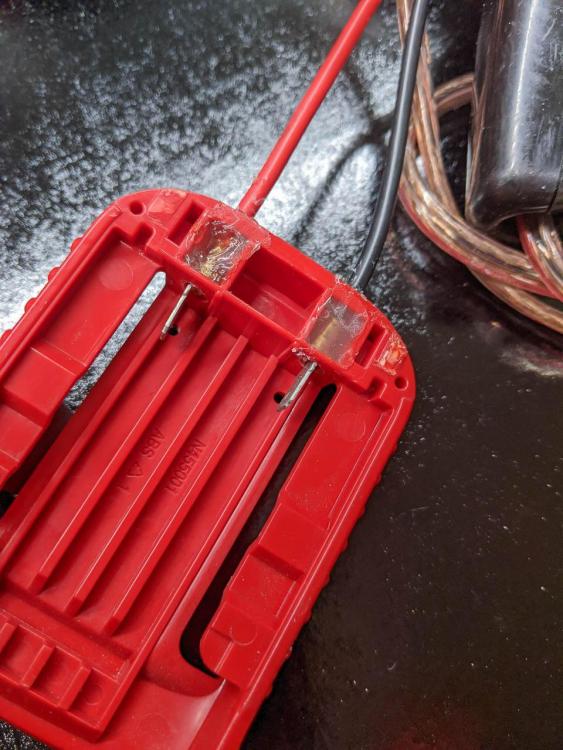
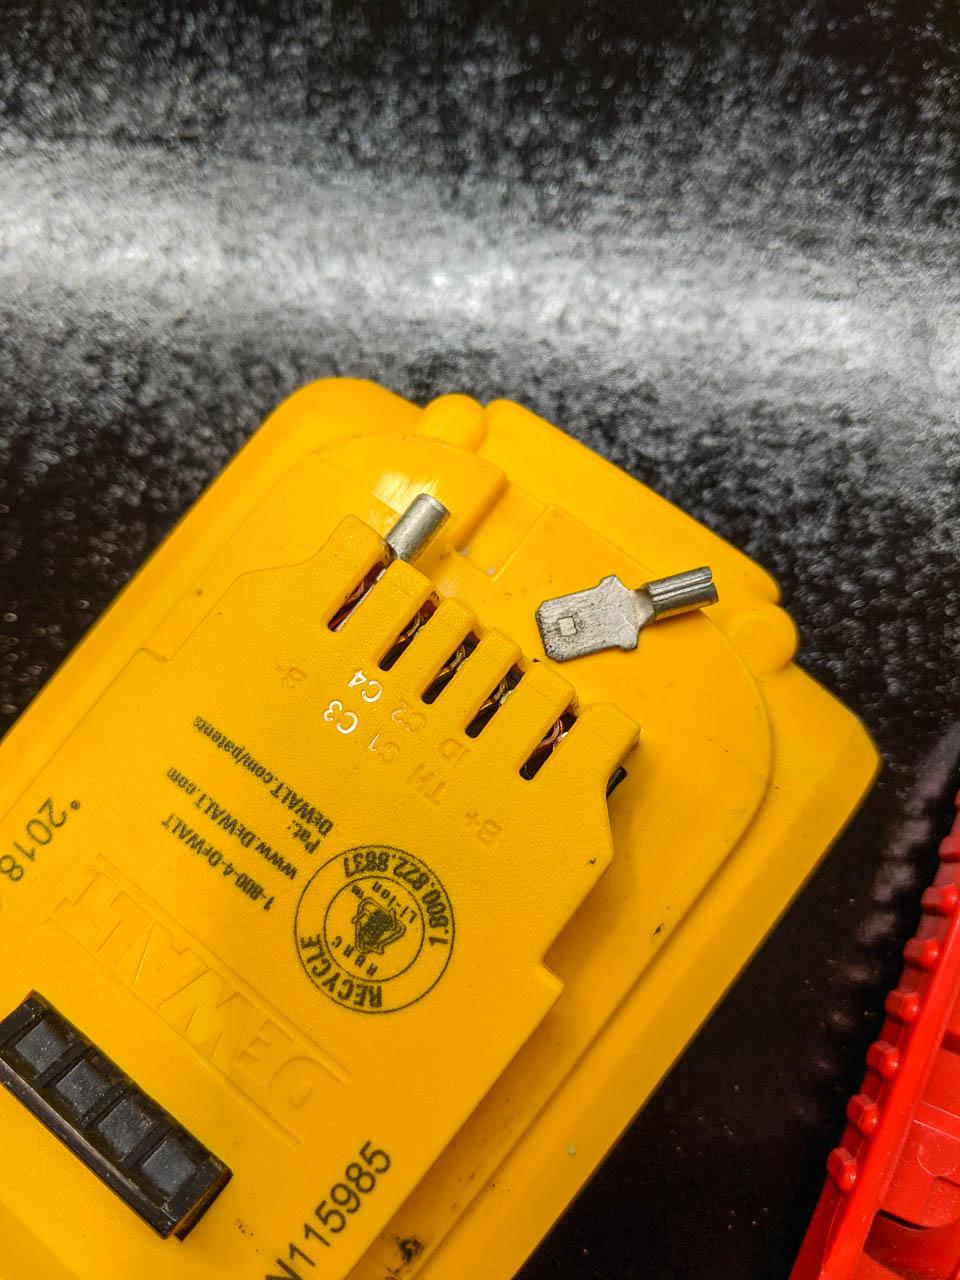
I used a battery cover that shipped with some of my batteries to act as a connector. I inserted a couple of spade connectors into the battery then put the cover on. I gently tapped the cover which made indentations where the barrels of the spade connectors made contact. I used these marks to drill holes through the cover. After crimping the connectors onto some wire, I filled the cavities with hot glue to hold the spades in place.
I may make a housing for the whole thing, but we will have to see.
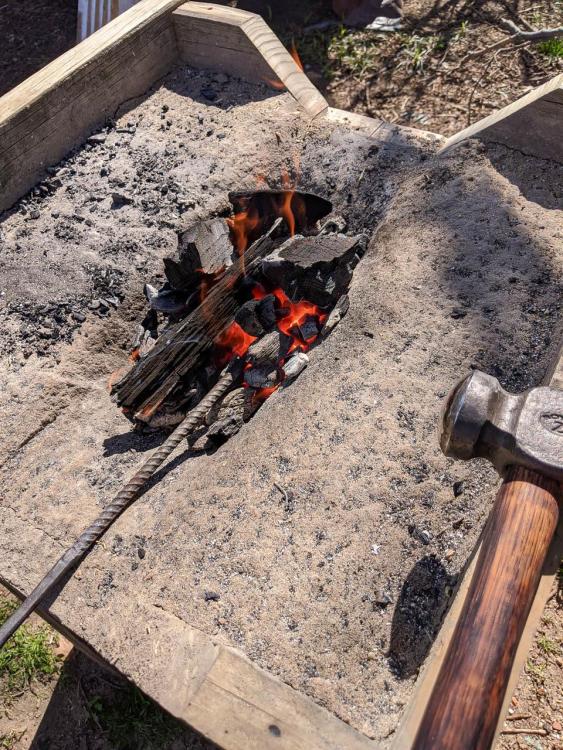
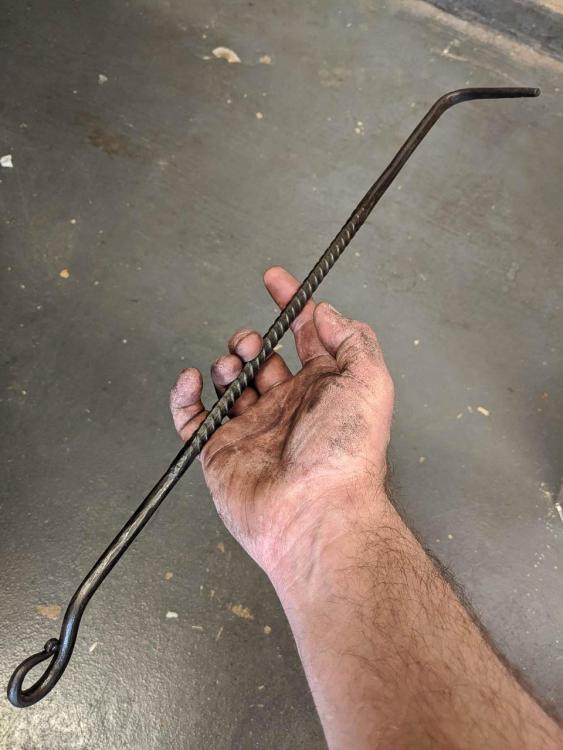
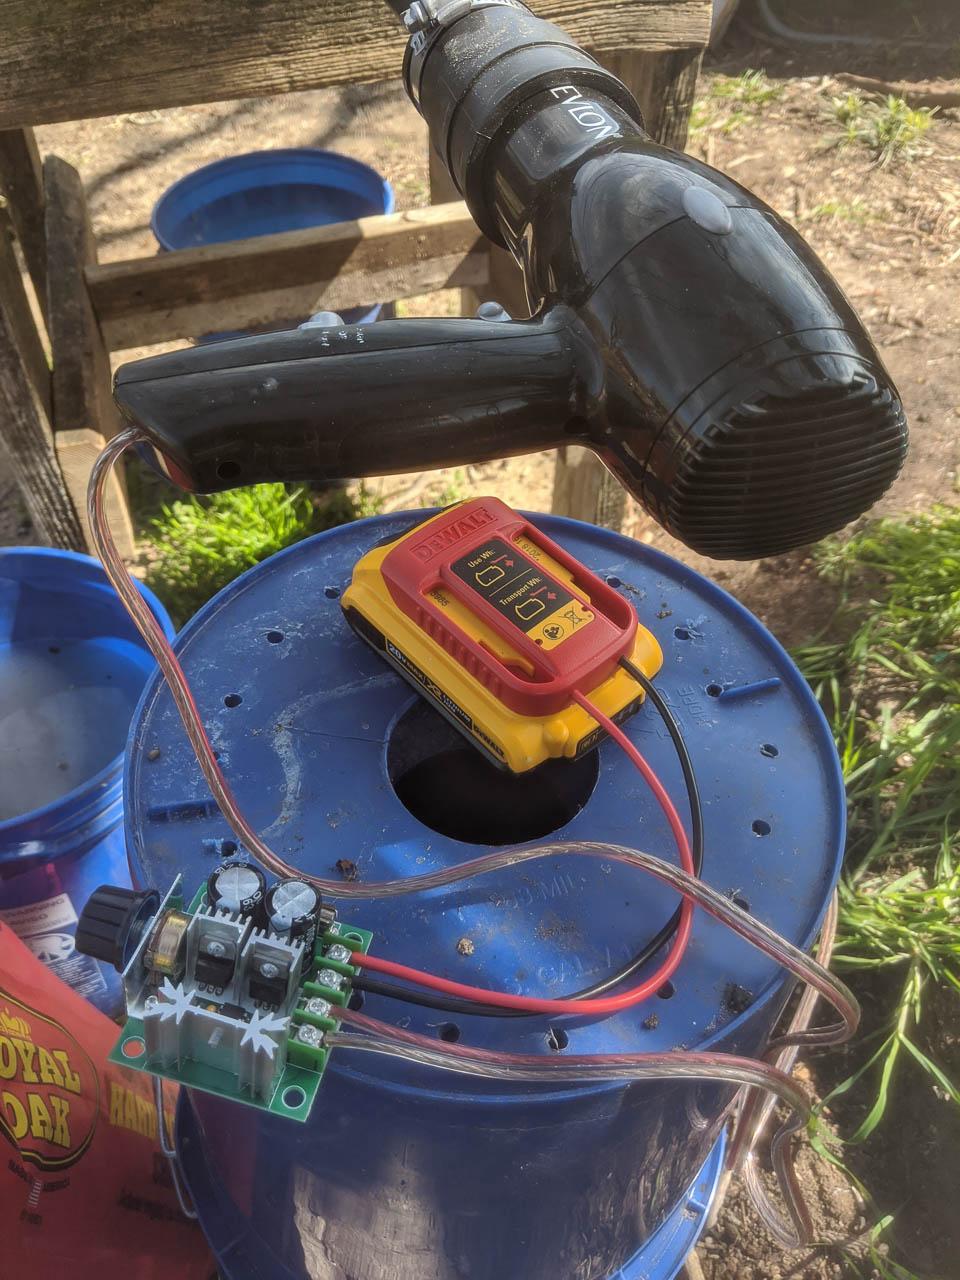
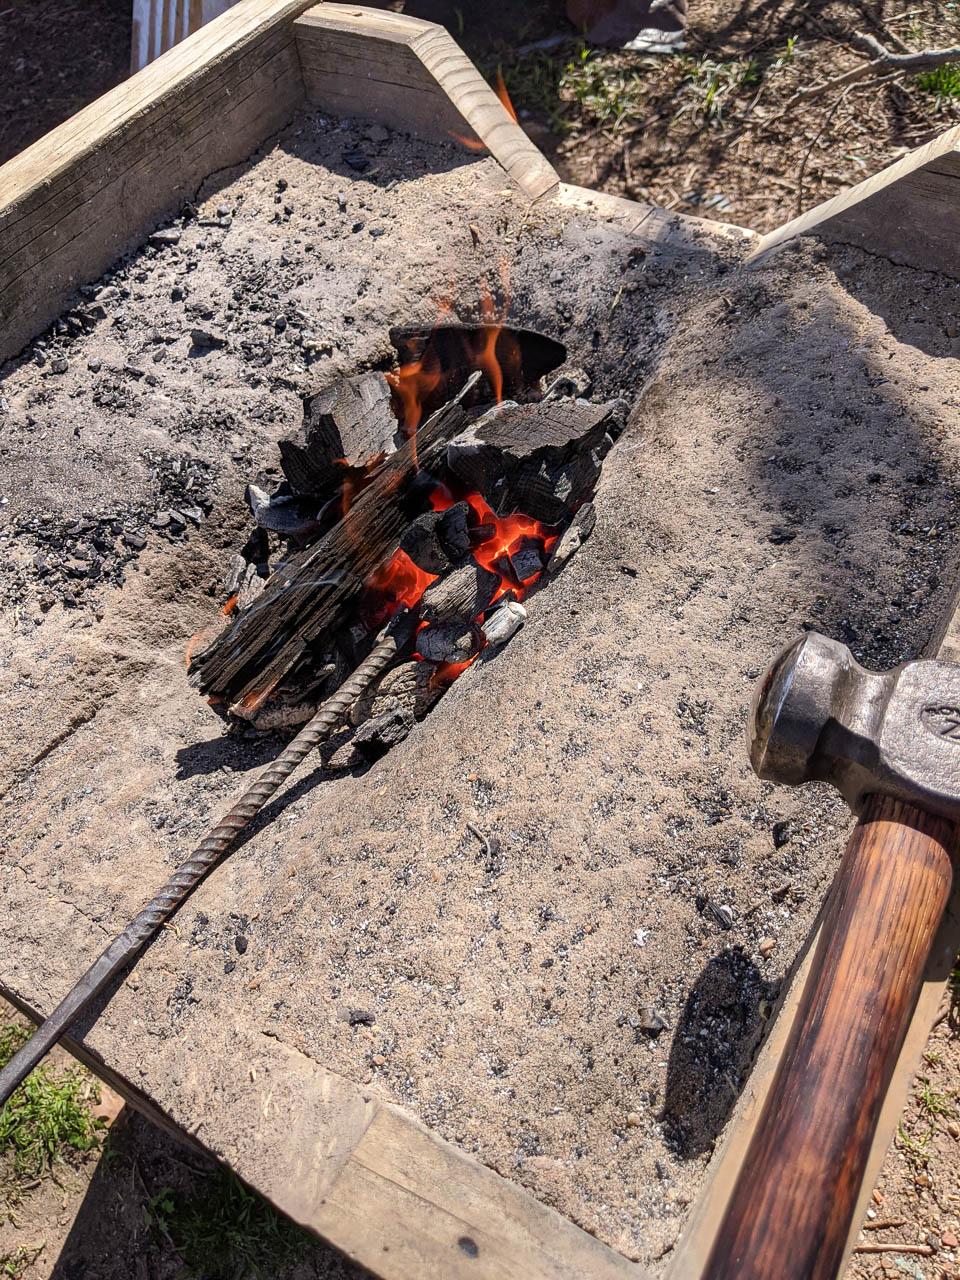
I got everything hooked up this morning and forged out my first tool at home. I made a little coal rake out of a chunk of rebar I had. I'm so happy with how the blower turned out, how well the forge is working now and that I made my first tool in my back yard!
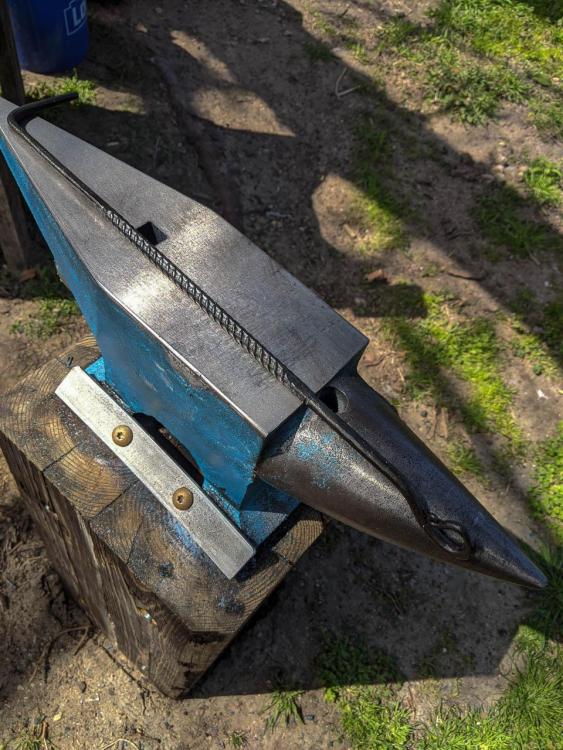
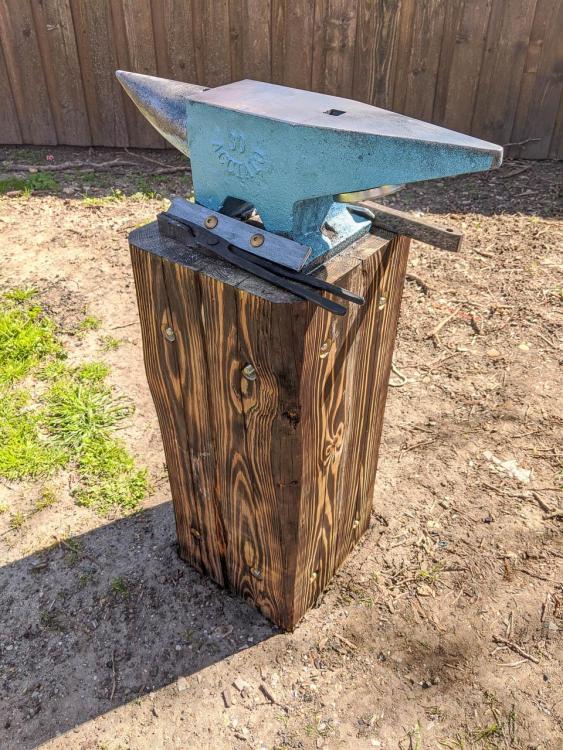
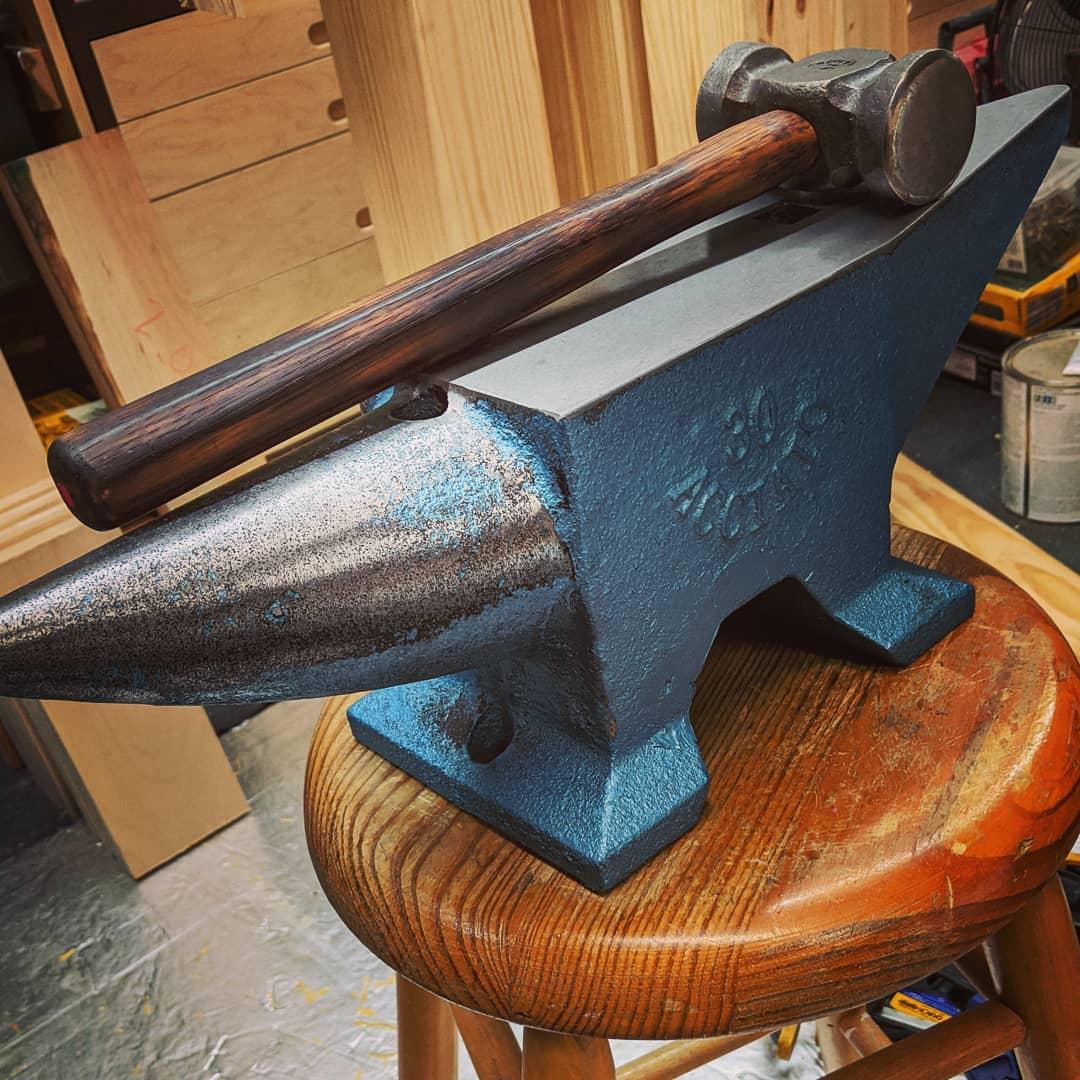
Oh yeah.. I also threw in a picture of my anvil stand made from 6x6 and 3/8" allthread. It is mounted with two 3/16" steel straps and a lot of silicone... it is dead quiet.


-
11 hours ago, Charles R. Stevens said:
Don't over think it, Clint just do it. It’s just a hole in the ground raised to waist high.
Ha! That is a perfect way of putting it into perspective!
-
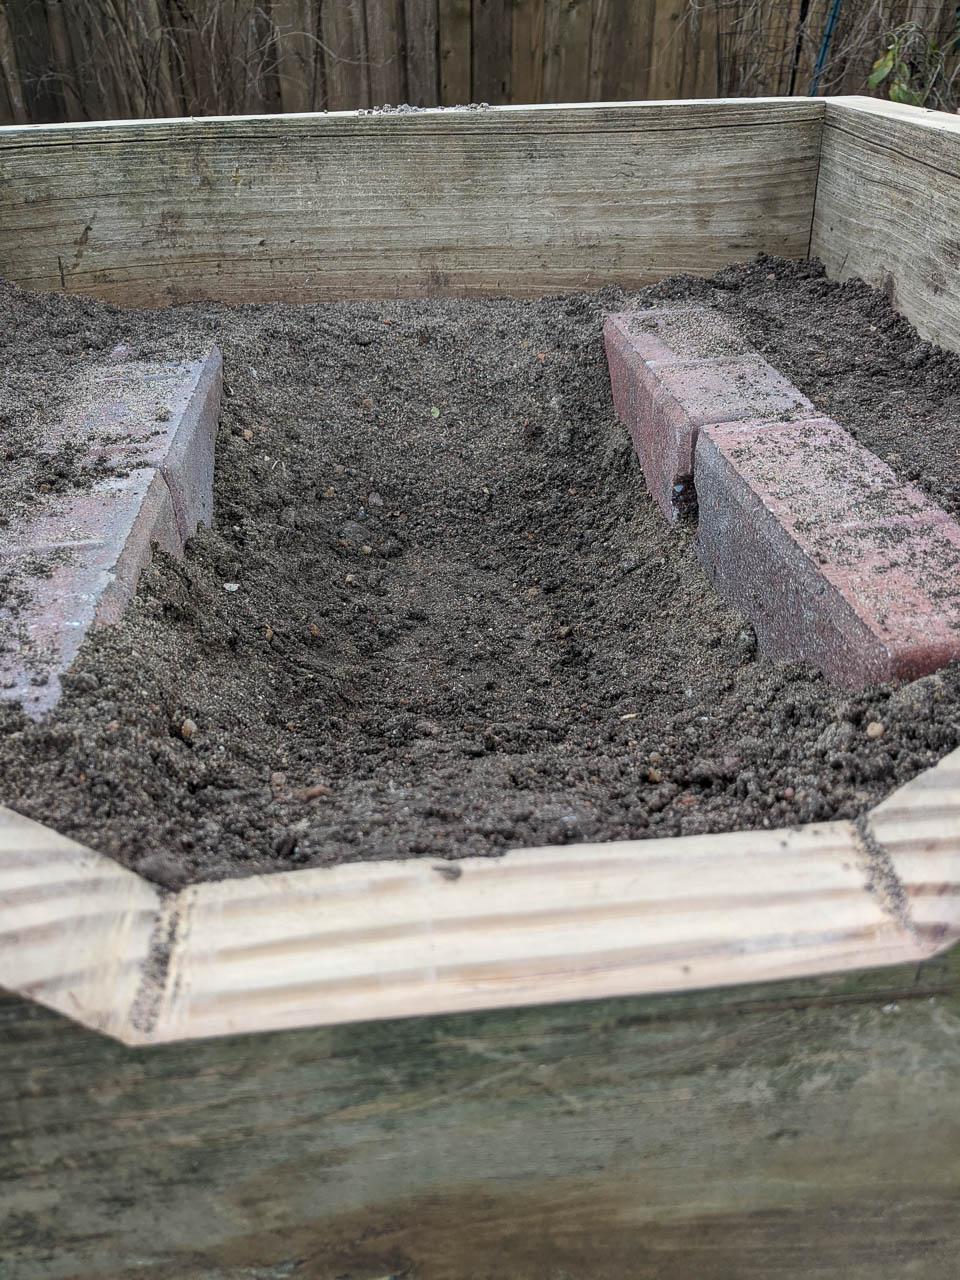
I left a tarp covering the overly wet adobe coating for a day, since then I have added a decent layer of sand on top and just covered with a couple of small sections of plywood. This allows moisture to vent out without rain soaking things. I've also been tamping the surface gently each day to help minimize the cracking as it started occurring. I'm sure I will have some cracks to fill (maybe with worm castings as recommended, but I don't have that many.. might mix another drier batch of adobe). I'll post more pics once things have actually cured and I can get a fire going.
-
Thanks Frosty. Sounds like the 3" base layer was closer to the consistency I should have had for the adobe. Some of what you said also applies to our soil here in general. ALL houses have foundation issues because of the amount of movement we deal with. In the summer, if I don't water, I can end up with cracks in the yard 1.5" wide.
Lots of learning here. At least it is easy to repair/replace vs a much more permanent design and cast refractory.
I definitely appreciate everyone's knowledge and willingness to share. Some time in the future I'll be able to give back.
")
-
On February 16, 2020 at 11:20 PM, Charles R. Stevens said:
Go ahead and cut the far side now...
Yeah, you guys are right. I had planned on cutting both sides out, but I was being lazy and figured I would do it when the project required. I also know how annoying that will be at the time so I'll cut it out this evening!
On February 16, 2020 at 10:13 PM, pnut said:... Mine lasted about a year with only very minor cracking. ...
I hope it provides me with a nice life like that. If nothing else, it will be easy to reline since I have all of the materials on hand.
Thanks for the support and comments guys!
-
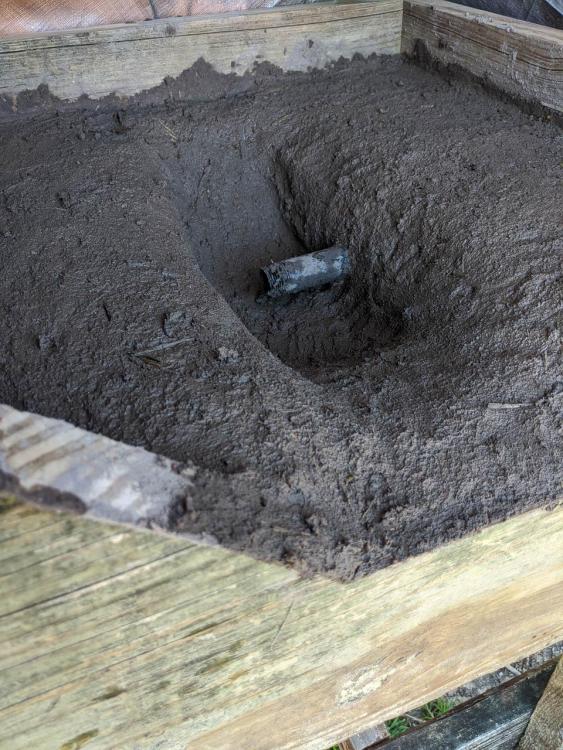
Thanks! Yeah, it's sticking out right now mainly because I used it to kind of core the hole out after applying the adobe and also because I don't have anything supporting the pipe yet.
I hope to get a fire going later in the week or next weekend! So excited!
-
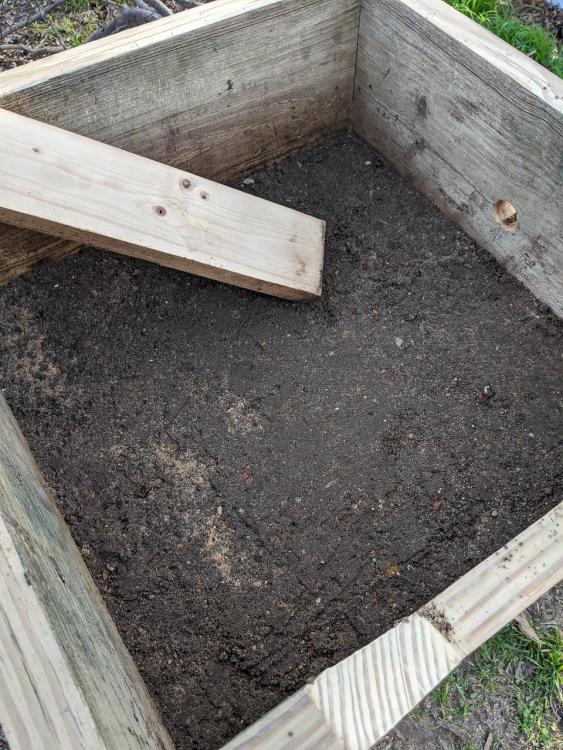
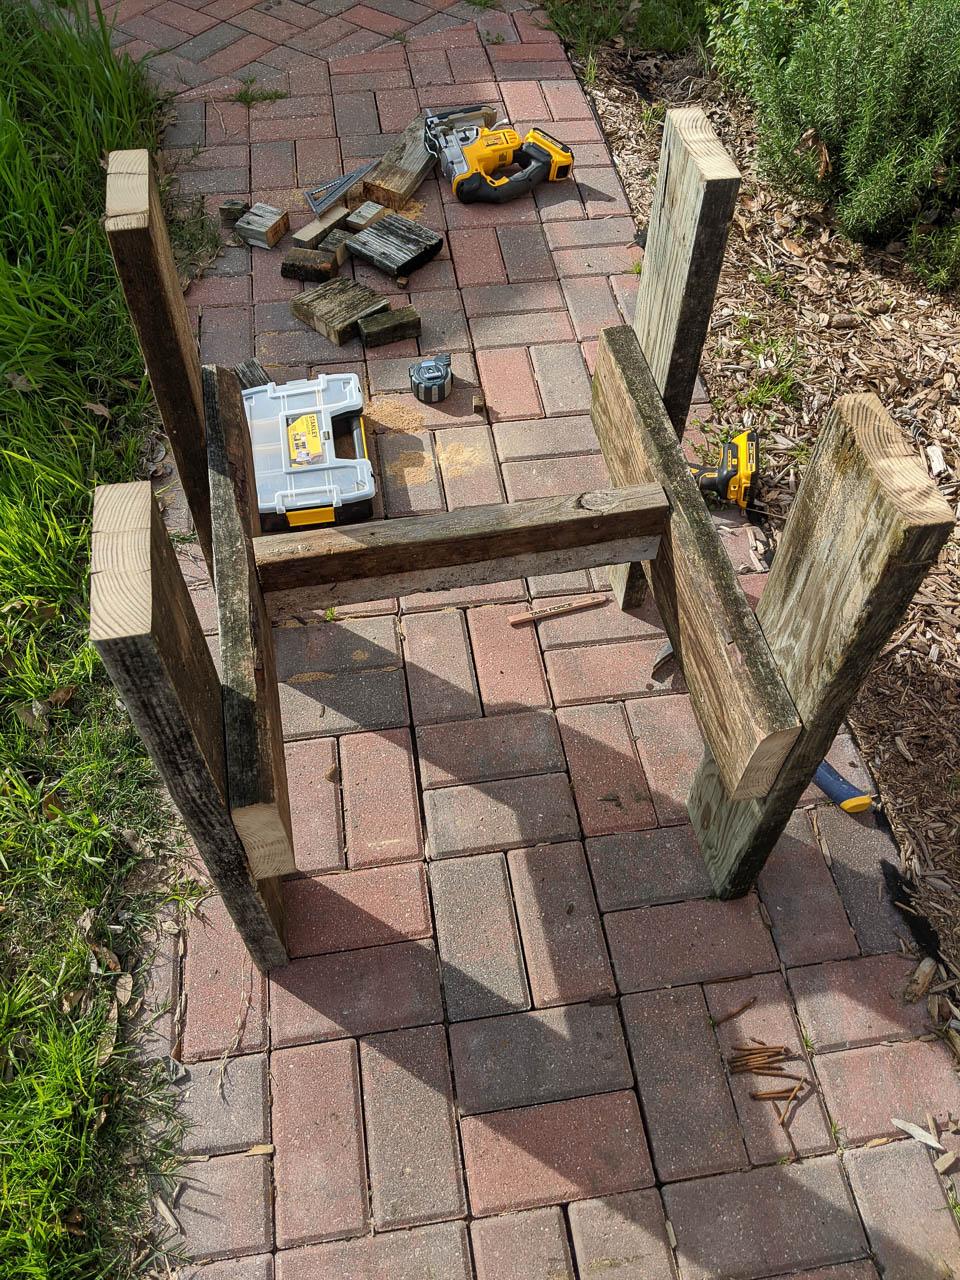
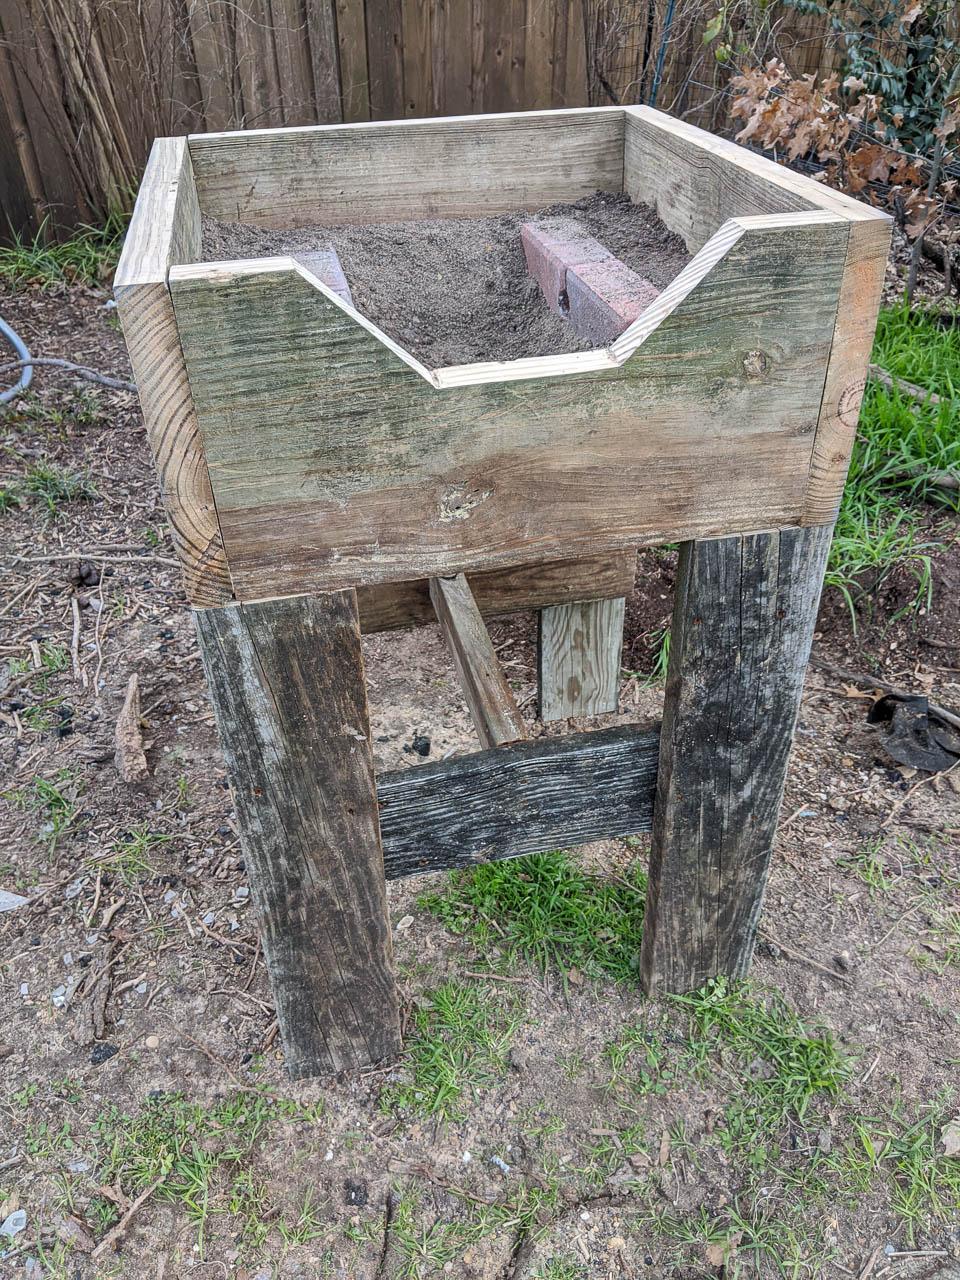
Hey guys... after a lot of reading, mostly here, I decided to build a JABOD charcoal forge. Here is my start.
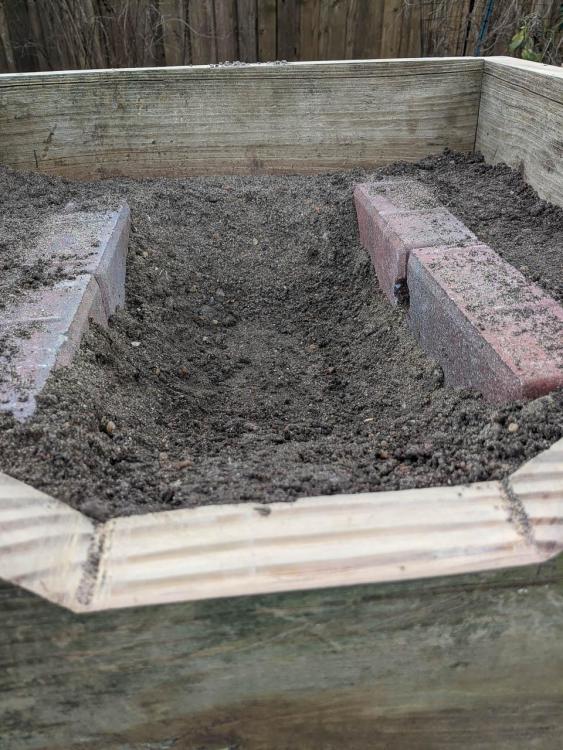
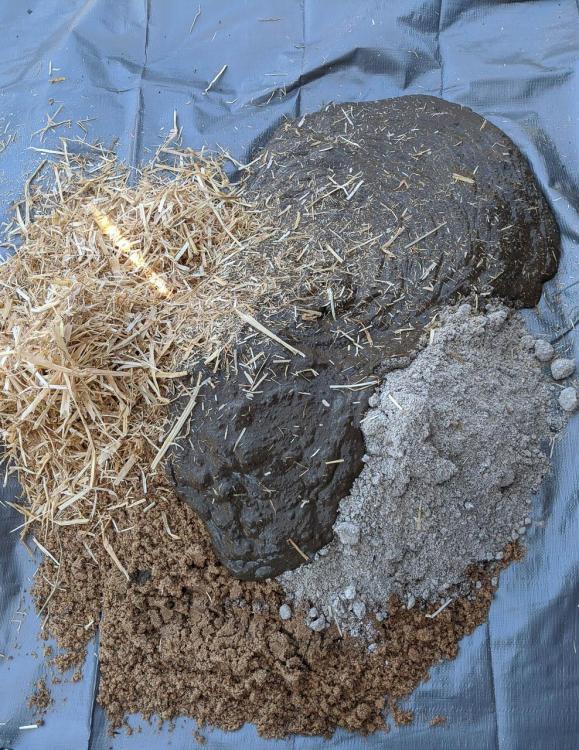
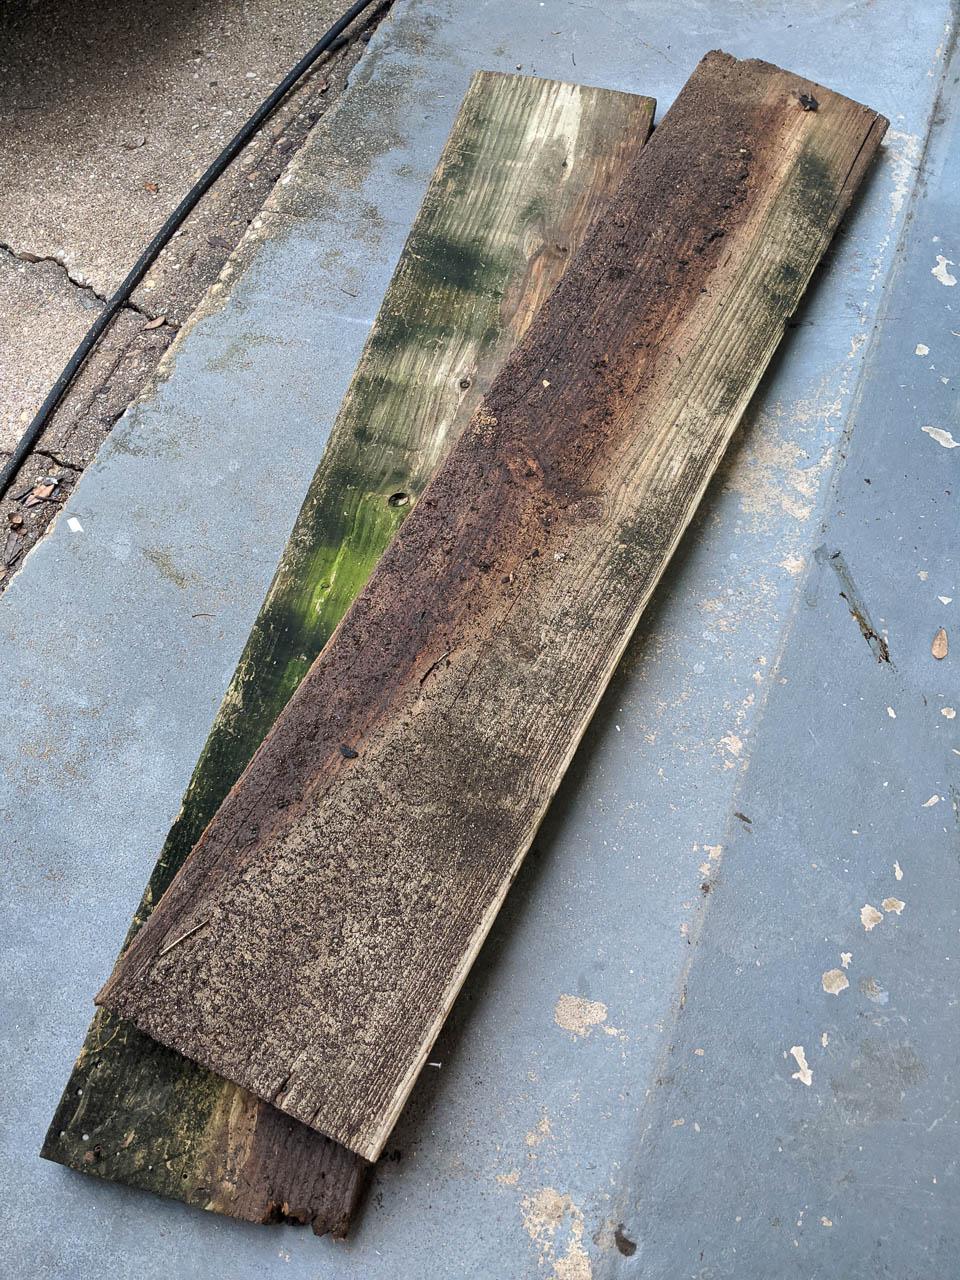
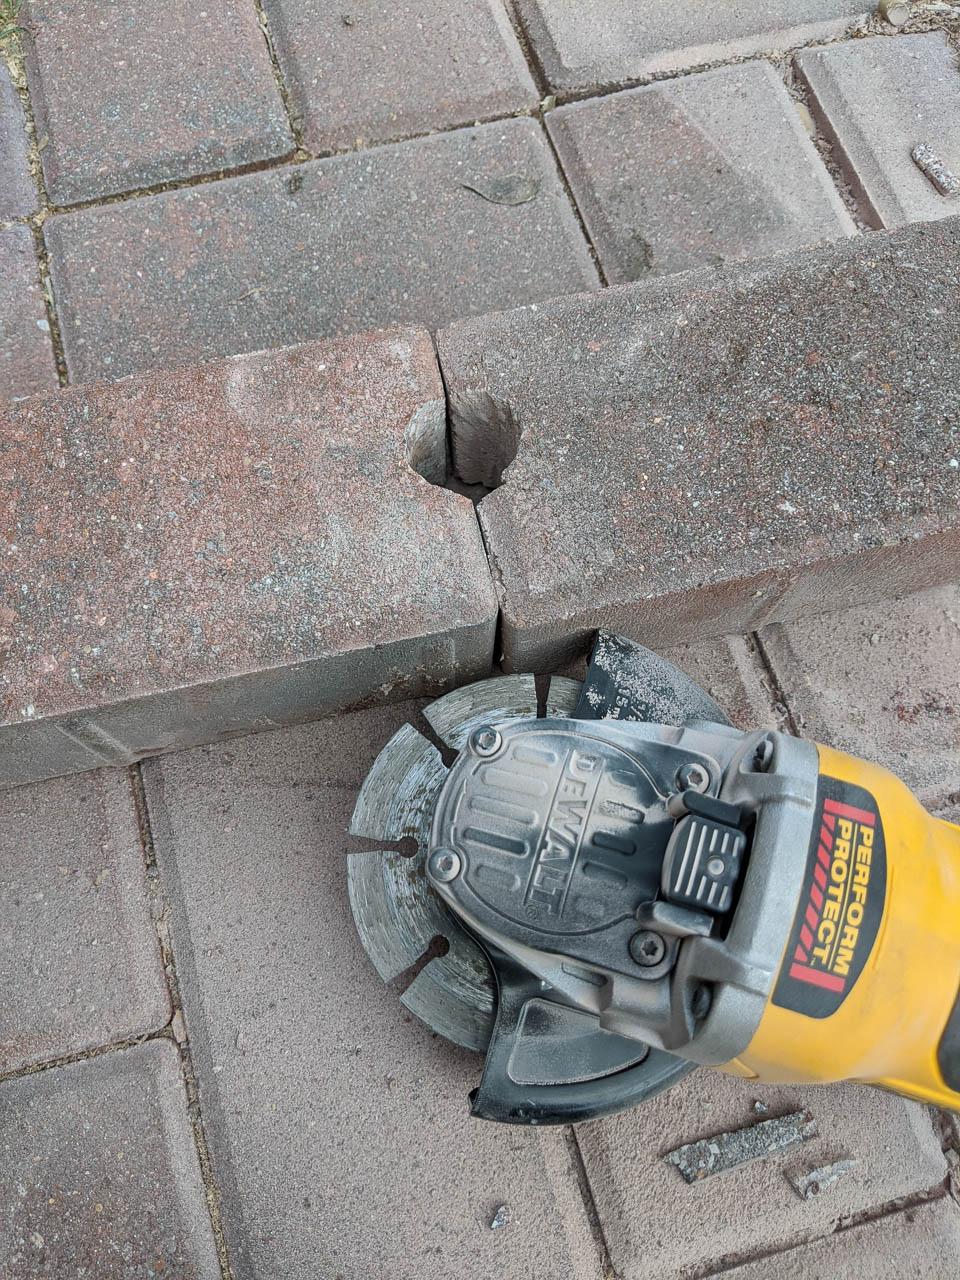
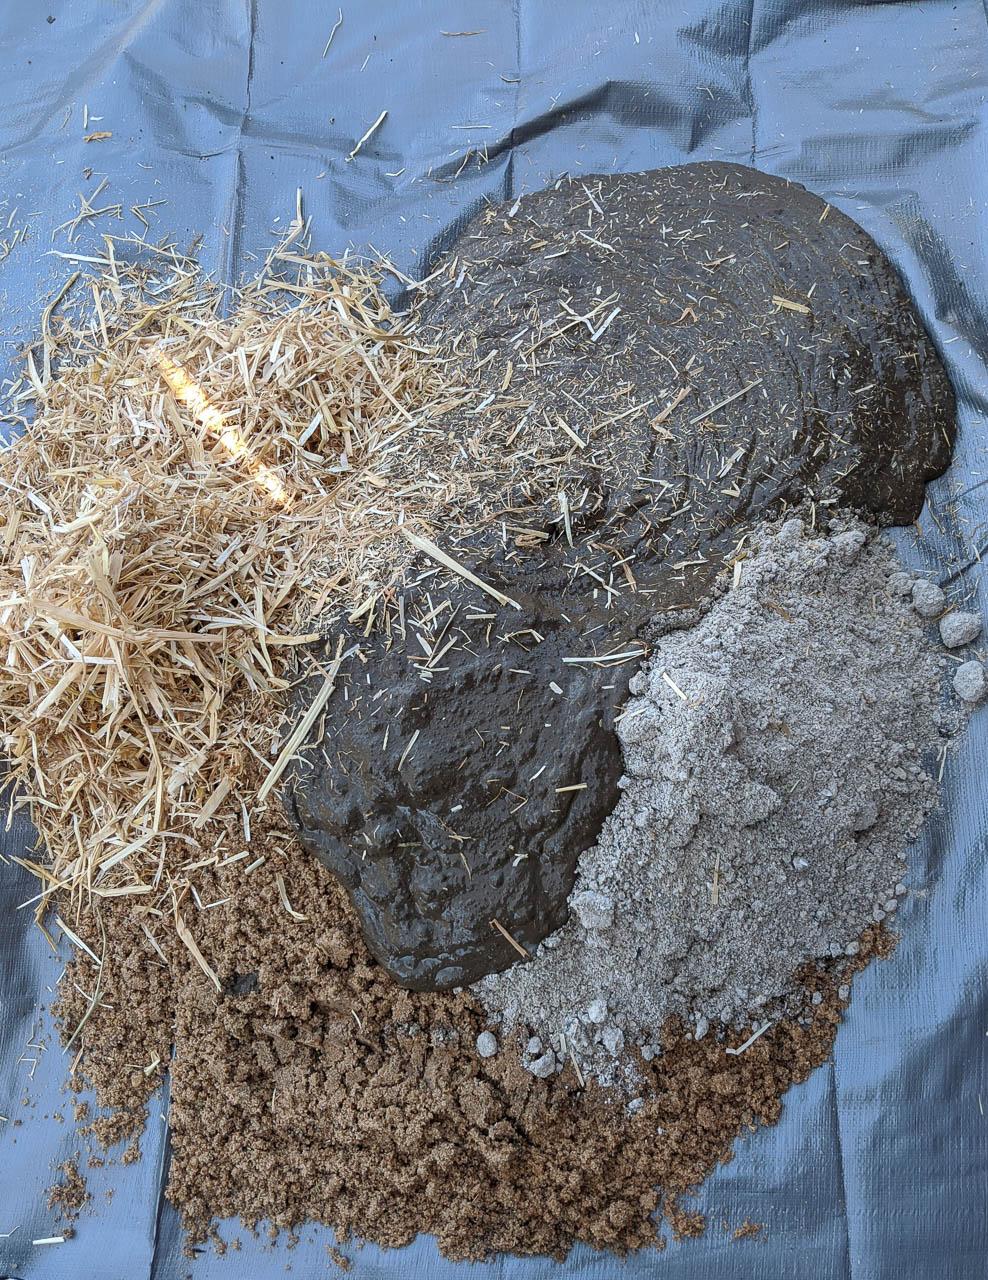
In order to maximize my goals for reuse and thrift, I used all materials I already had. The wood is pressure treated 2x12 that is around 25 years old. It was a sand box I made for my kids when they were little. The stand is made of old deck boards. The bottom was hard packed topsoil from the back yard (mostly clay with probably 30% sand). For about an inch and a half coating over the base layer and pavers, I made an adobe. I used clay from the back yard mixed with sand from a paver project and wood ash from my smoker. The pavers and black pipe were also things I already had, so the grand total was $0 so far.
I decided to not clean up the wood other than sweeping it off and ripping 1/4" off of each edge. I like that the forge looks like it is ancient. Someday I'll have a nice metal shop, but for now the rustic feel is cool. Besides... not spending any money makes it no issue with the boss.
Right now I have a tarp draped over the forge to slow the drying and because we are supposed to have rain later in the week.
Thanks to Charles and everyone else for all of the research and pointers! I welcome any feedback/input.
You guys said you like pictures.. so here it goes...


-
Howdy neighbor! I just recently joined and am in the DFW area as well.
That is one sexy anvil!
-
On 2/6/2020 at 4:03 PM, JHCC said:
Welcome to IFI! If you haven't yet, please READ THIS FIRST!!!
But of course, and pretty standard forum etiquette. Thanks for the welcome!
On 2/6/2020 at 4:46 PM, CrazyGoatLady said:Hey to you, Clint! Plano is a big place. I'm about 70 miles north of you, right close to the Oklahoma border.
Yeah, I definitely feel restricted here after growing up on 30 acres. Someday I'll have land and a dedicated shop! I assumed the eBay anvil was going to be an ASO for the price, but the face is actually decently hard and it cleaned up pretty well.
On 2/6/2020 at 6:09 PM, pnut said:Welcome aboard. You sound like you have a pretty good start with the classes and all.
Thanks! Yeah, I like the idea of something I can experiment with and not be too concerned with messing it up. I'll probably end up with a propane forge someday when I end up with a dedicated shop, but no need to rush things! Like you said, I have to keep it fun!
On 2/6/2020 at 7:16 PM, Frosty said:Howdy Clint, welcome aboard glad you delurked. Collecting skills is never a bad thing, you never know when one will come in handy.
Thanks and I will definitely post as soon as I have something (even an anvil stand) to show!
10 hours ago, ThomasPowers said:Re: Skills: I was once doing lab support on a US$30 million computer lab at Bell Labs
That is a great story and agree! Being a jack of all trades gives you the leg up on others in a lot of situations!
-
Hey guys.. long time reader, first time poster. I figured I have lurked long enough.
I'm a 50 year old father of three (26, 24 & 18), husband of one (not telling age for fear of my life) living in Plano, TX (Dallas suburb).
My wife says I collect hobbies, which is entirely fair. I crave learning and perfecting new skills. I always come back to wood and metal though. I grew up on a small horse ranch in South Texas and was torching and welding at 12 or 13 and we were pretty self sufficient and built/fixed everything ourselves.
I finally took my first blacksmithing class 8 years ago. I made a nail header, some hooks, a heart, a couple of drifts and a pair of tongs. I was hooked. Two years ago I took the two week ABS Intro to Bladesmithing class. The accomplishment of forging, heat treating, tempering, grinding, sharpening and then successfully completing destructive testing without failure on a couple of blades was an amazing feeling! The hook was sunk even deeper.
It has been difficult to forge in the middle of a dense suburban area and finding a decent anvil for less than $8/lb was proving fruitless. I finally pulled the trigger on one of the 66lbs anvils from eBay and spent 30 minutes dressing it. Next up is a stand and a JABOD forge.
Thanks for all of the valuable information and encouragement you have unknowingly provided me! No more excuses.. time to swing the hammer and move metal again! Heat, beat, repeat!
Clint


My first forge: charcoal JABOD build
in JABOD - Just A Box Of Dirt
Posted
Thanks pnut. I considered a lot of these options and honestly, the motor control and built-in potentiometer is performing flawlessly and meets my criteria! The level of control, range and how intuitive it is to adjust is pretty amazing.