Shaggycanuck
Members
-
Joined
-
Last visited
Everything posted by Shaggycanuck
-
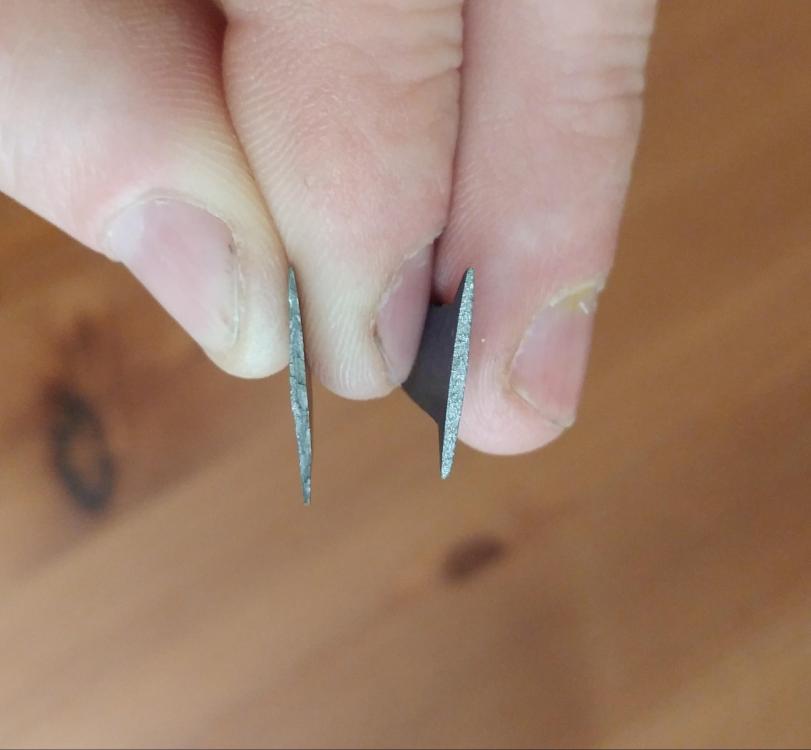
Working with what I had and not trying to make anything useful, I had a go at some mystery metal from a 7 1/4" carbide tip circular saw blade I had in the dead pile. Being that it was carbide and Task is a brand that flirts at the end of unusable junk, I wasn't expecting much. Process as follows Heat to non-magnetic, quench, file test. Water quench - hard, file skates Re-heat and air cool Oil quench - hard, file skates, some bite in areas that probably decarbed. Temper in toaster oven @ 450f for 1 hour and allow to cool. Stick in vice and bend, has some flex, makes clean break without taking a bend. Re-temper by colour with a torch, proceeded through blue and purple to deep copper/bronze (under flourescents) Put in vice and bend, bends without breaking repeatedly until metal fatigues and breaks. 1st temper on right, 2nd temper on left. Any opinions? Technique? Material usability? Uses?
-
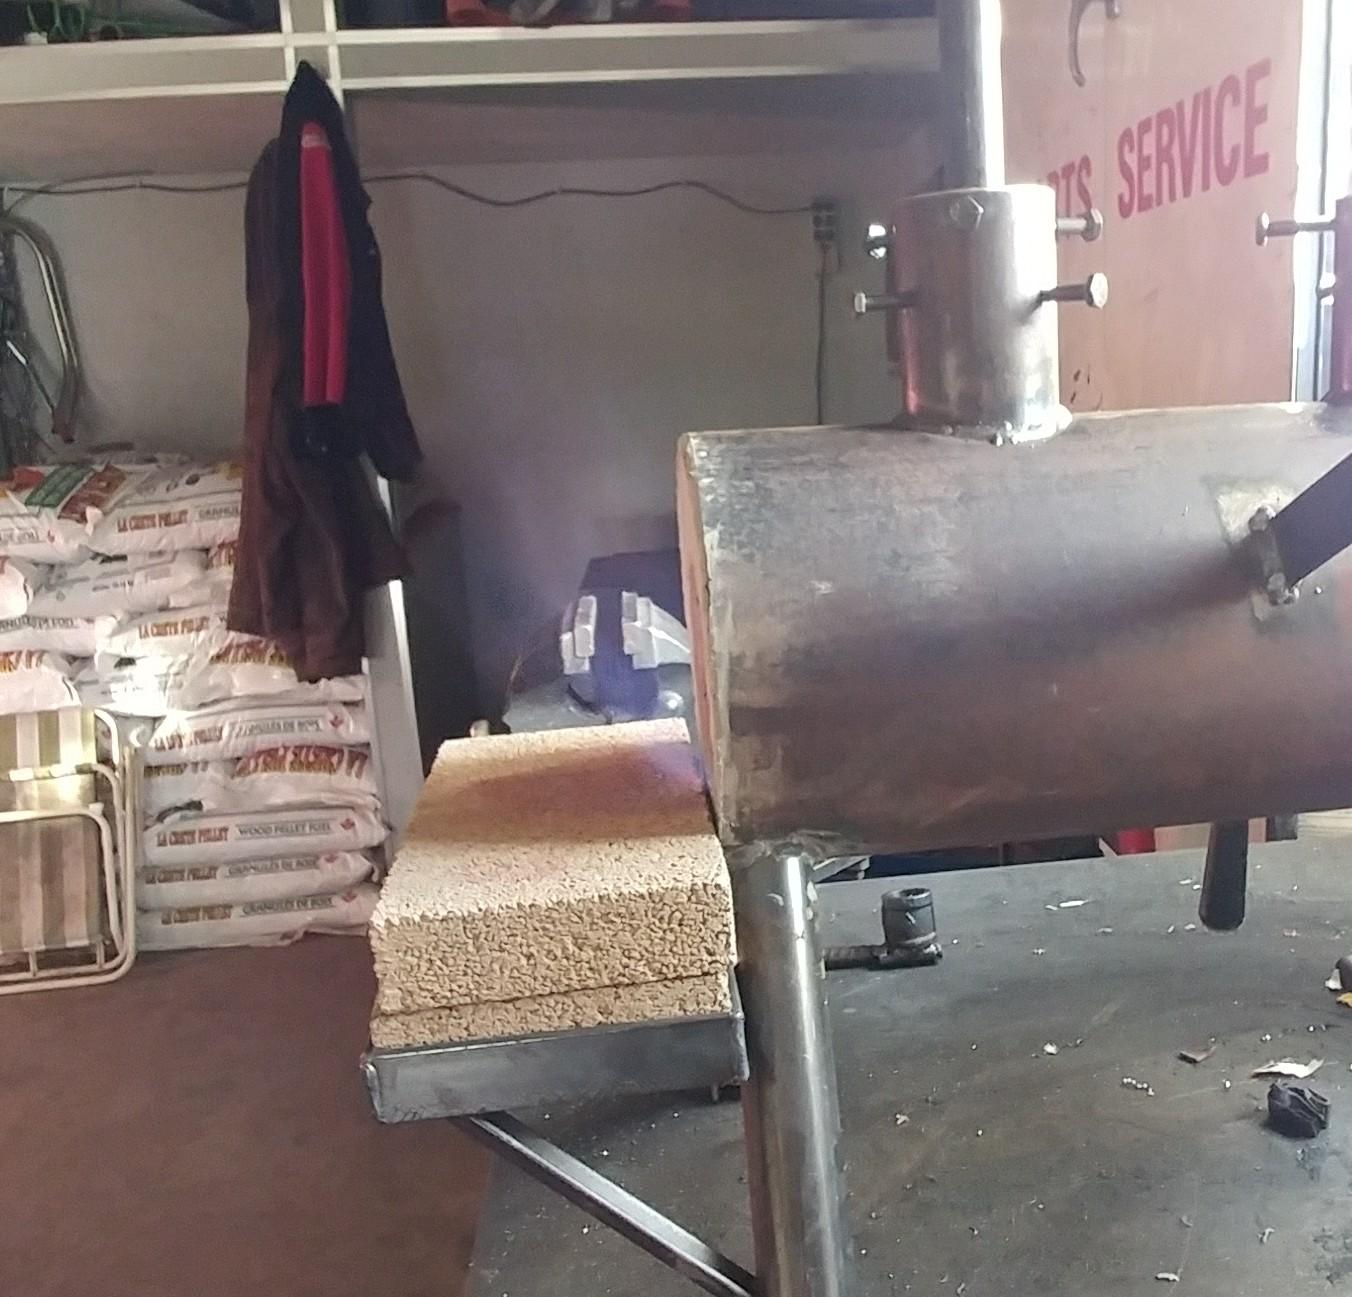
Thank you, it's come a long way since the first idea was hatched. Found a couple weak spots, burners should be closer to each other and the shell should be larger diameter to give space to improve the refractories but it works and 10psi seems to be the sweet spot for forging with it. Now's it's on to building an anvil stand. Here's the finished forge and my first flux spoon.


-
I was dosed once 30 years ago due to a rotted muffler on a grain auger. stumbling out of a building is not something I'd like to repeat. More ventilation and less production are in the program. On another note, I used my collet trick on the other mig tip and got it down to a true 0.025 ID, I'm now running on both burners with the door closed with some room to tune mixture by damping.
-
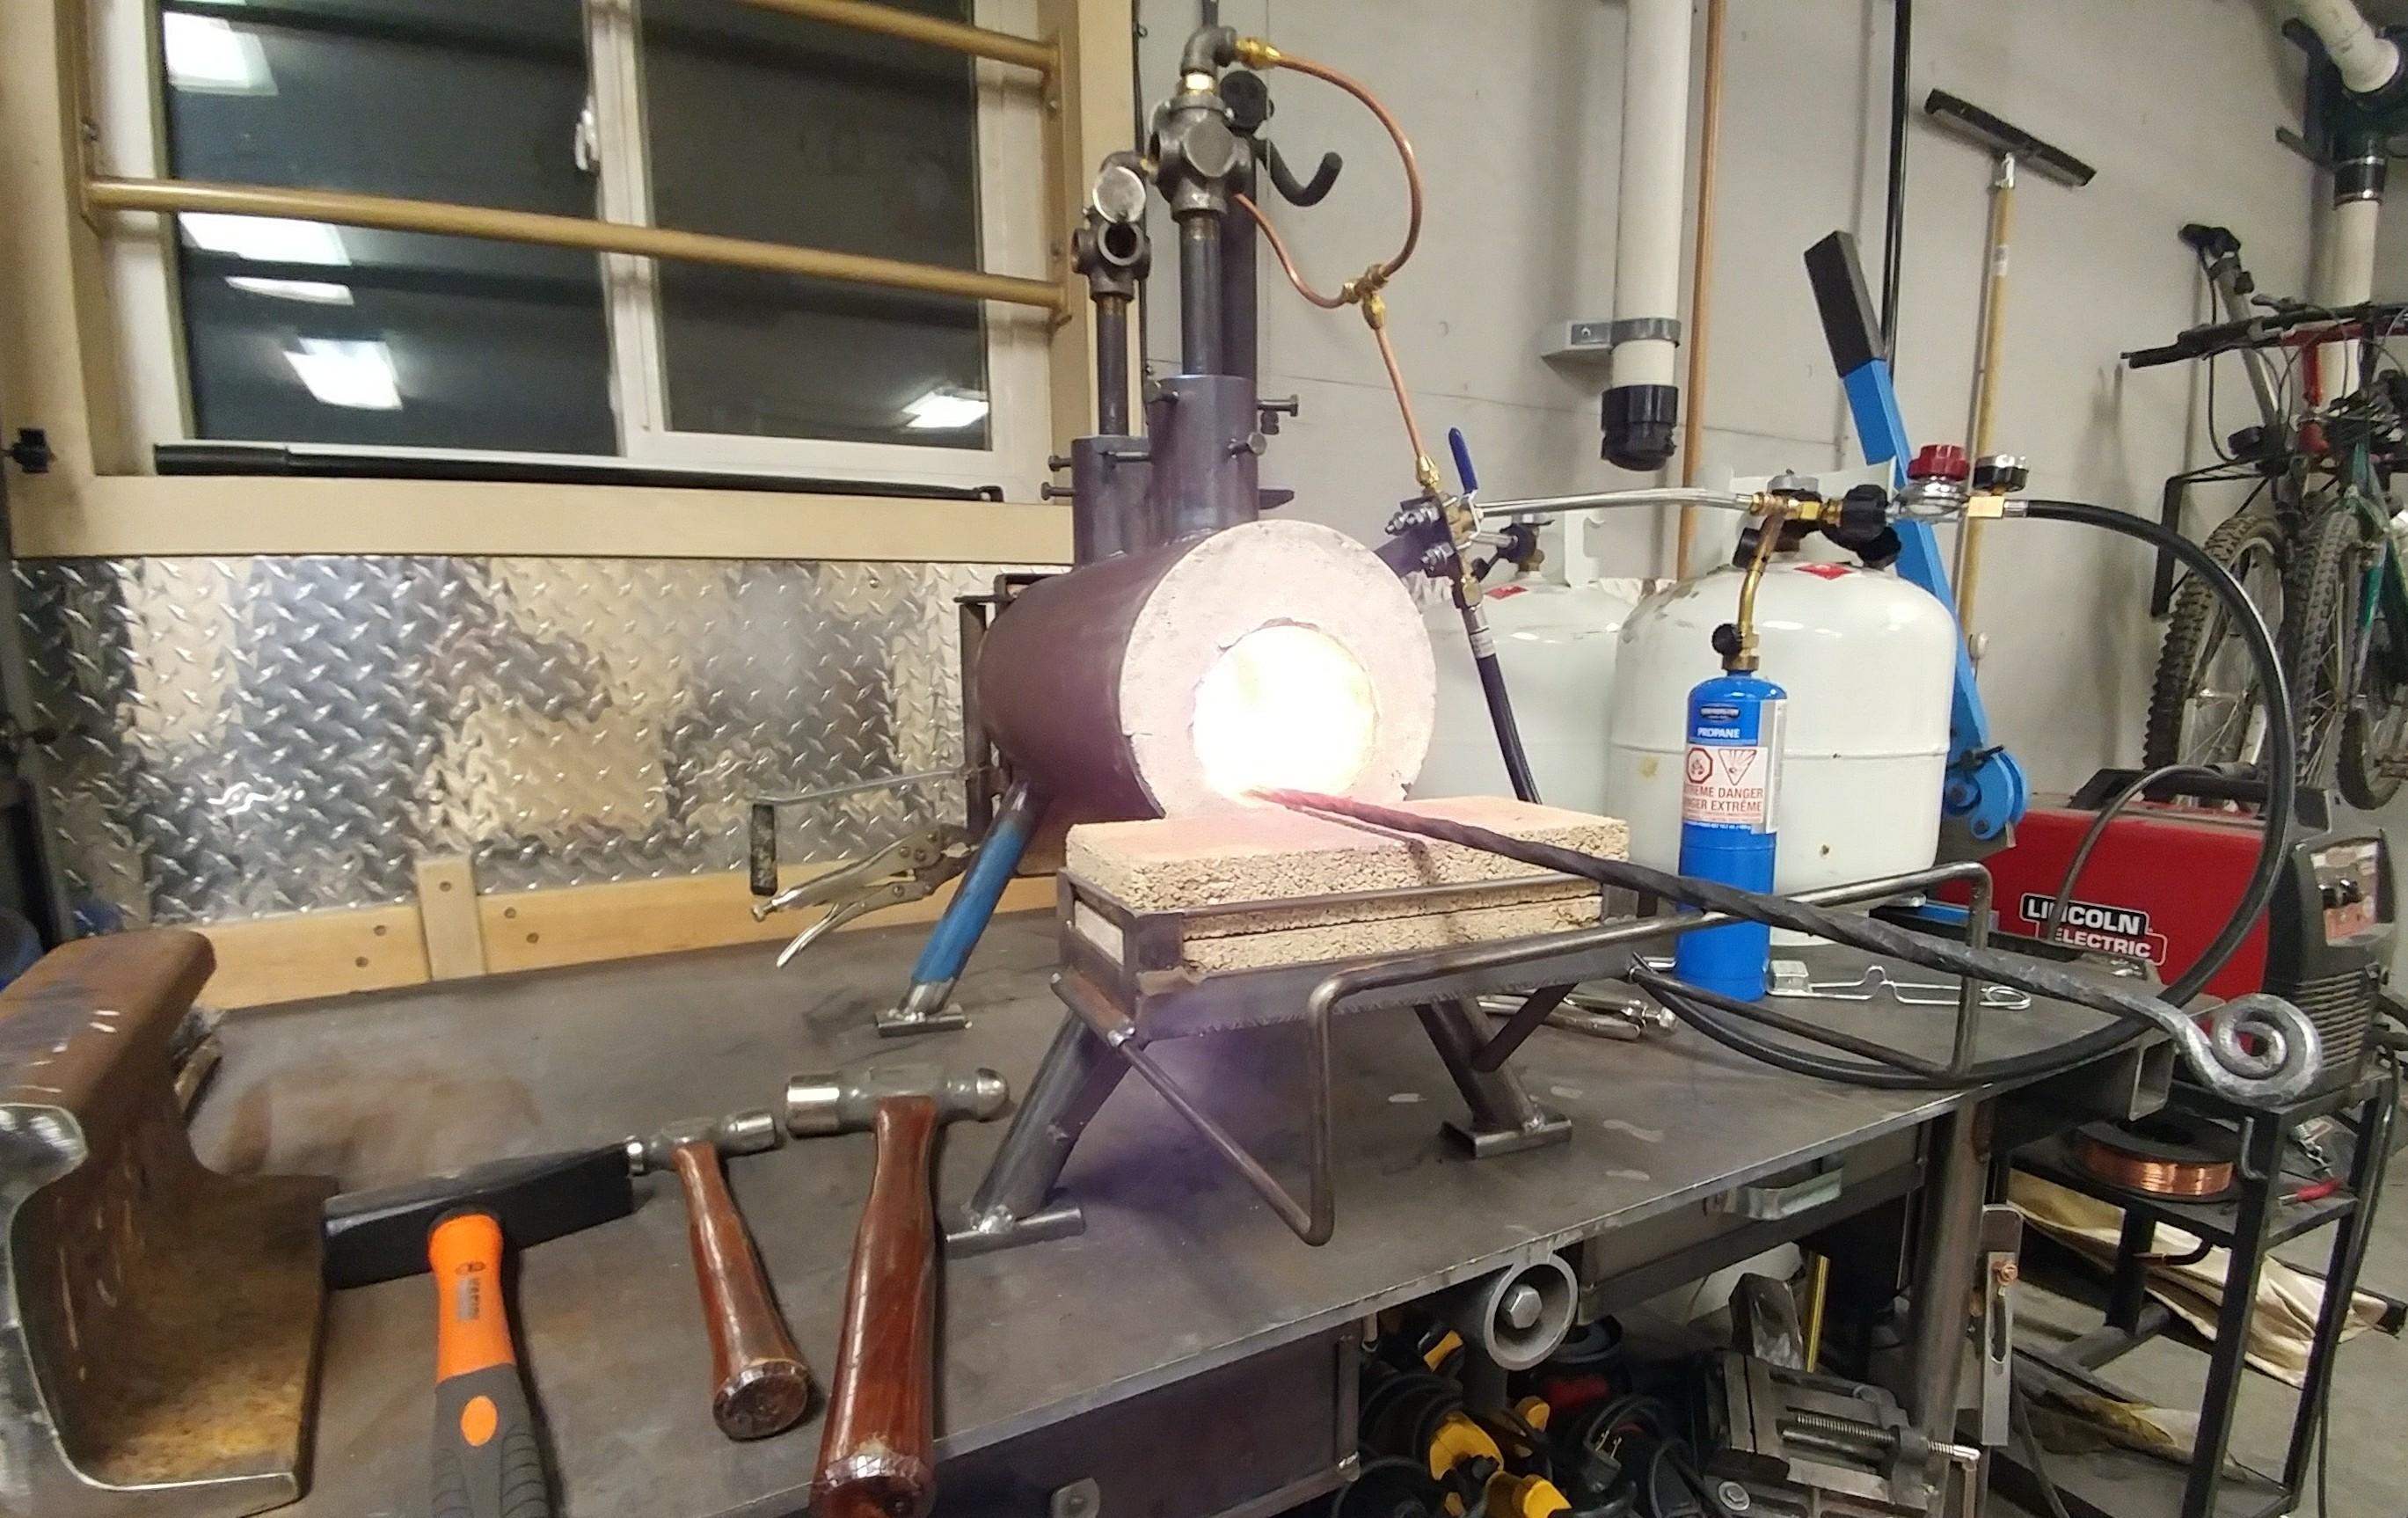
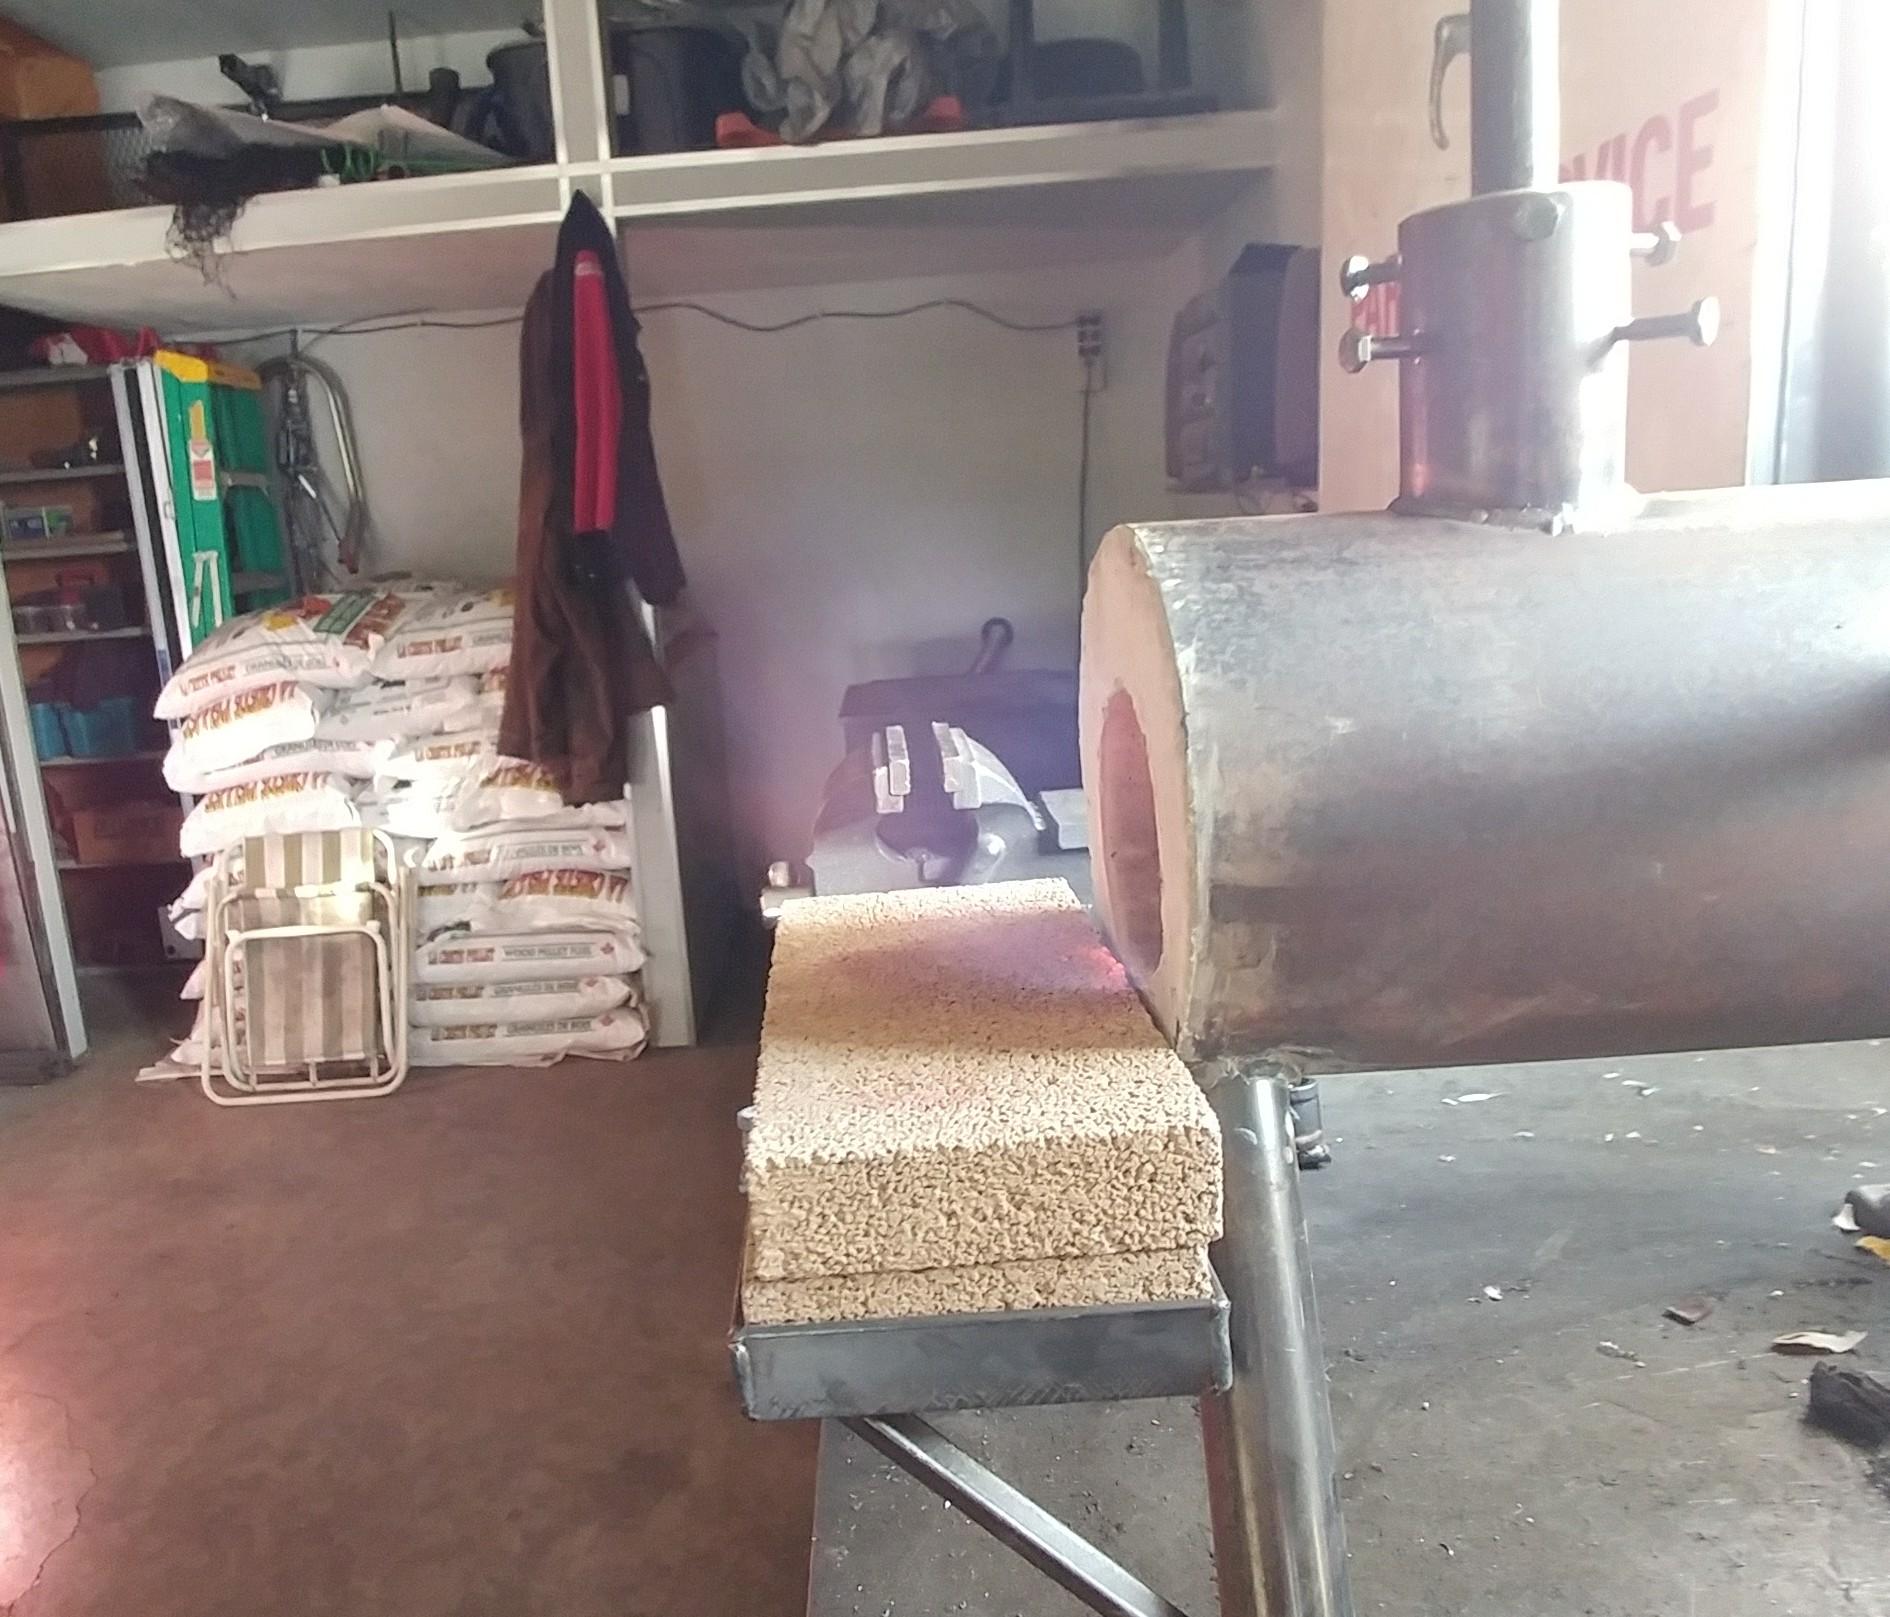
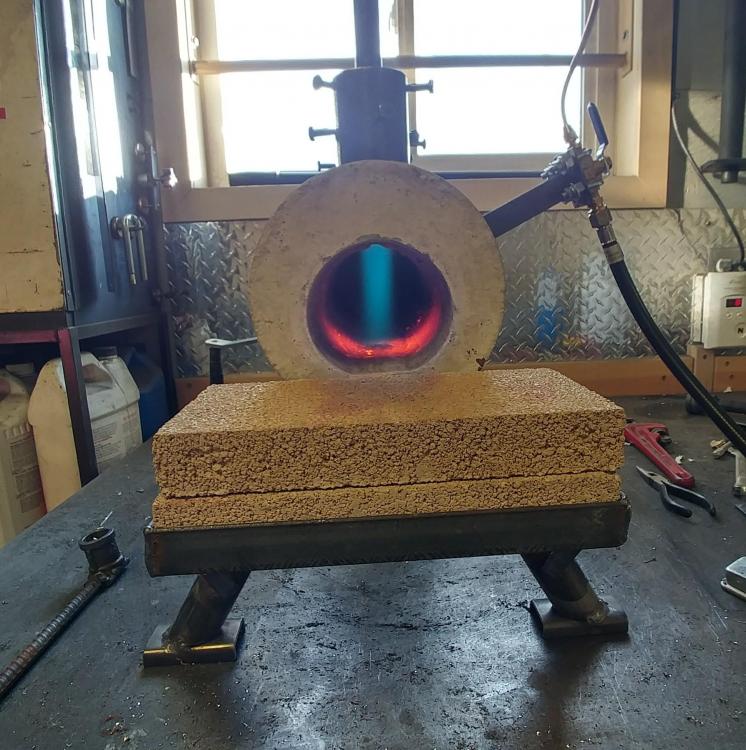
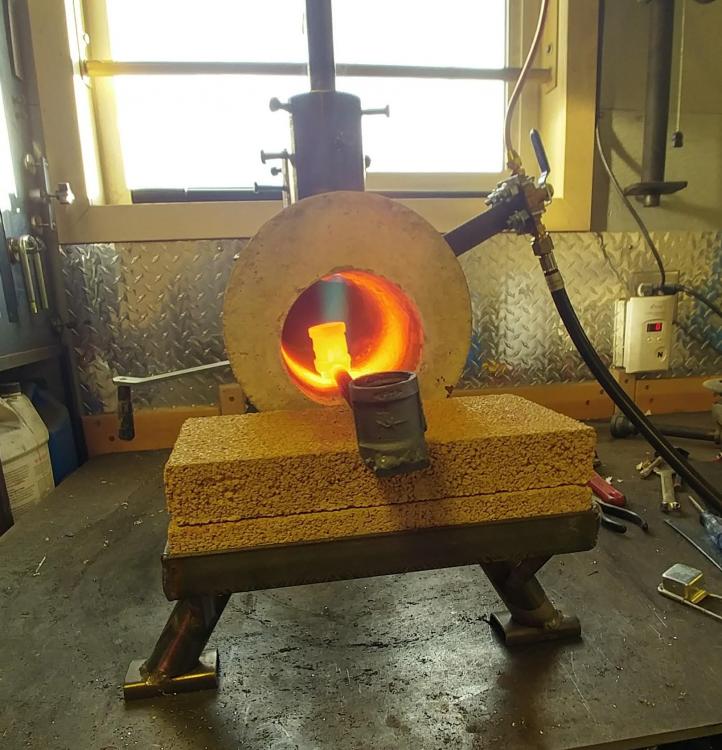
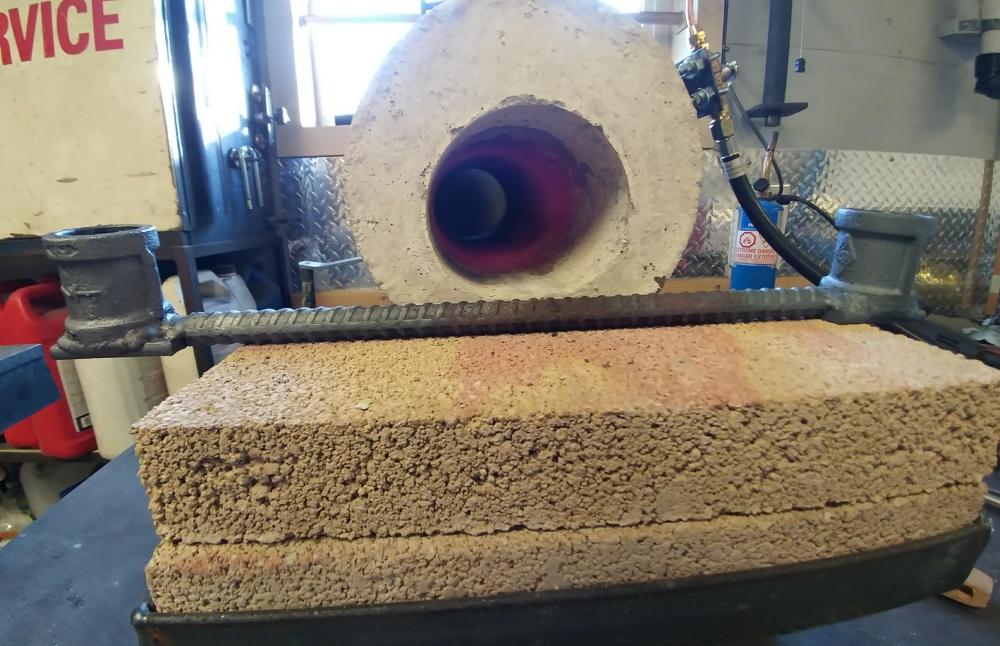
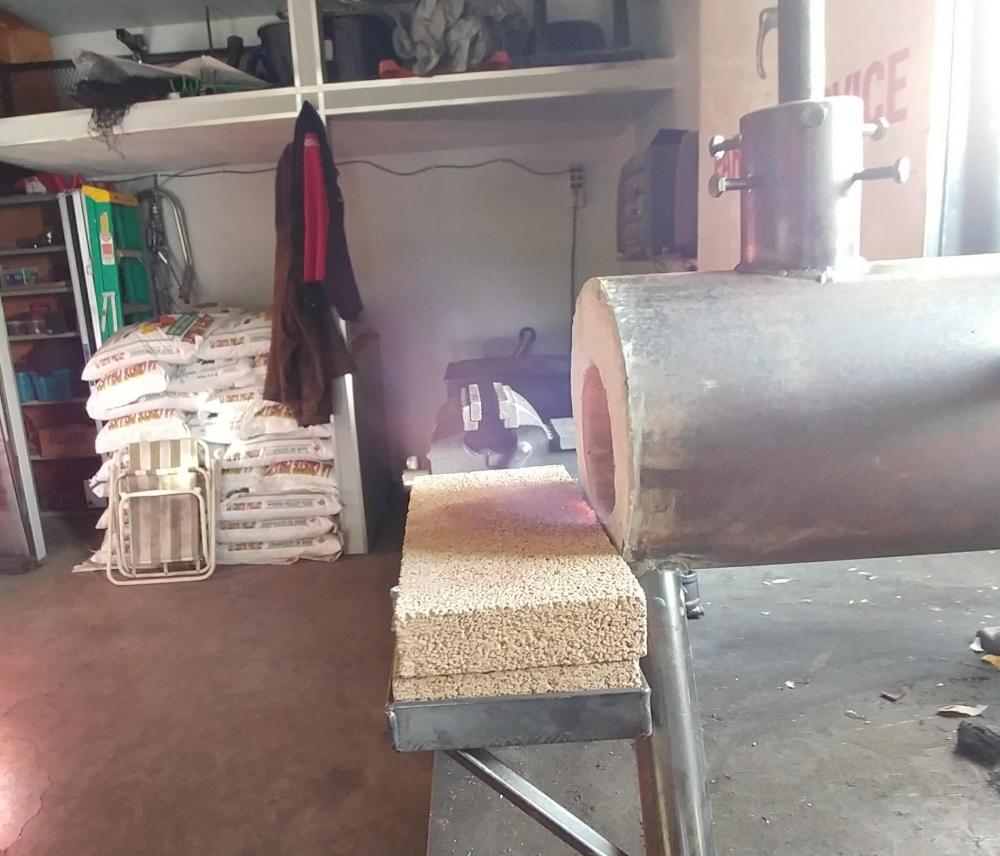
Finally received my refractory materials and was able to move ahead. Mistakes were made and fun was had. I put my linear burner design aside and played around with laminar flow in an ejector design to induce more primary air. I won't put up a pic of it because although safe in a vertical position, in horizontal it absolutely is not. The second burner port is plugged with left over insulation, two 1/2" burners running 0.025 mig tips is too much. The rear door can't be used and way to much external flame. I rejetted this burner by giving it a crush to a true 0.025 with a collet. Temperature wise on one burner with the door closed my IR thermometer would only greet my with a Hi which is 1200f and above. So I ran it with my test piece behind the flame and was able to hit critical (non magnetic) on both the coupler and rebar, performed a brass melt but was not successful with copper, only melting what was close to the flame (this was with the richer jet last night). Pic 1 is warm up running 15lbs Pic 2 is melting brass at 10lbs Pic 3 is scale formation left is the brass melt, right was last night with richer jetting. Pic 4 is forge opening with rear door closed. Pic 5 is with rear door open. Pic 6 is for the CO safety guys, 2.5' from forge.


-
That worked very well, I changed the tip out to a 1" by 1/2" from the 3/4" and it runs to full steam while in contact with shell. I'll enlarge the openings and build new burner holders tomorrow if things go well. Thanks again!
-
Thank you Mike, I just did a quick test after work and the secondary air requirements are definitely a problem. To run with my 30psi regulater tapped out I needed to hold the burner 3/4" outside the shell to draw enough secondary air in. Not really a solution in my mind but proof of the problem. What would you suggest as parameters to play with? I'm not adverse to building another set of burners for the forge I'm working on and doing a D shape forge for these ones. The tinkering is pretty enjoyable! There is no reason to quote the post just prior to your reply. The quote feature
-
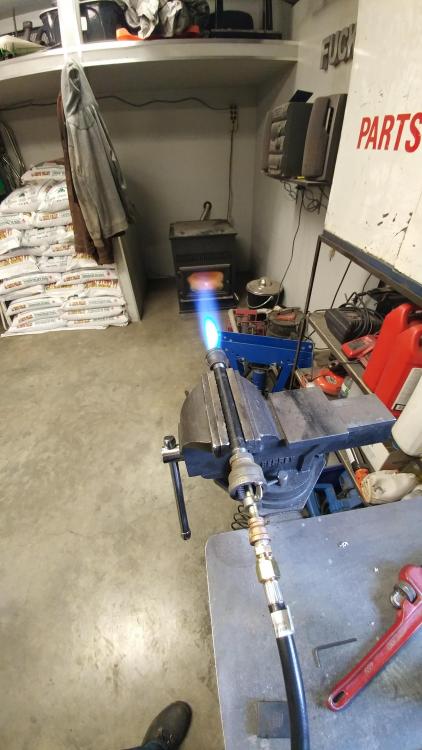
I've recently decided to build a small forge as a compliment to my other metal working. Traditional blacksmithing wasn't a priority, I was more interested in adding annealing, heat treating and some hot work (bending, twisting, etc.) to my projects. To that end I started reading up on forge and burner design here and elsewhere. I've built two 1/2" burners and a preliminary forge shell which after fitting the burners and test lighting one, I'm beginning to think are mismatched. The finished size with lining was going to be 4" round by 16" long. I'm still waiting for my refractory material and co monitor so I moved on and finished my burners. Instead of raiding my mig welder for tips, I turned mine from 3/8" brass round with a multi angle tip and 1/8" npt threads, the holder was made from 18ga sheet metal and the extra holders that come on my pellet stove ignitors, the rest of the burner turned out to be a 1" by 1/2" reducing coupling, 1/2" by 8" nipple and a 3/4" by 1/2" reducing coupler. I came to this from starting with ideas and some math from here and elsewhere plus a bit of trial and error as I worked through different variables one by one. The jets are drilled #61 which I worked up from the original #70 I drilled. I'm wondering where I should be in forge size with these, in particular a D shape seems appealing. Here's a pic of one of my burners running in open air.