Wolgerrex
-
Posts
6 -
Joined
-
Last visited
-
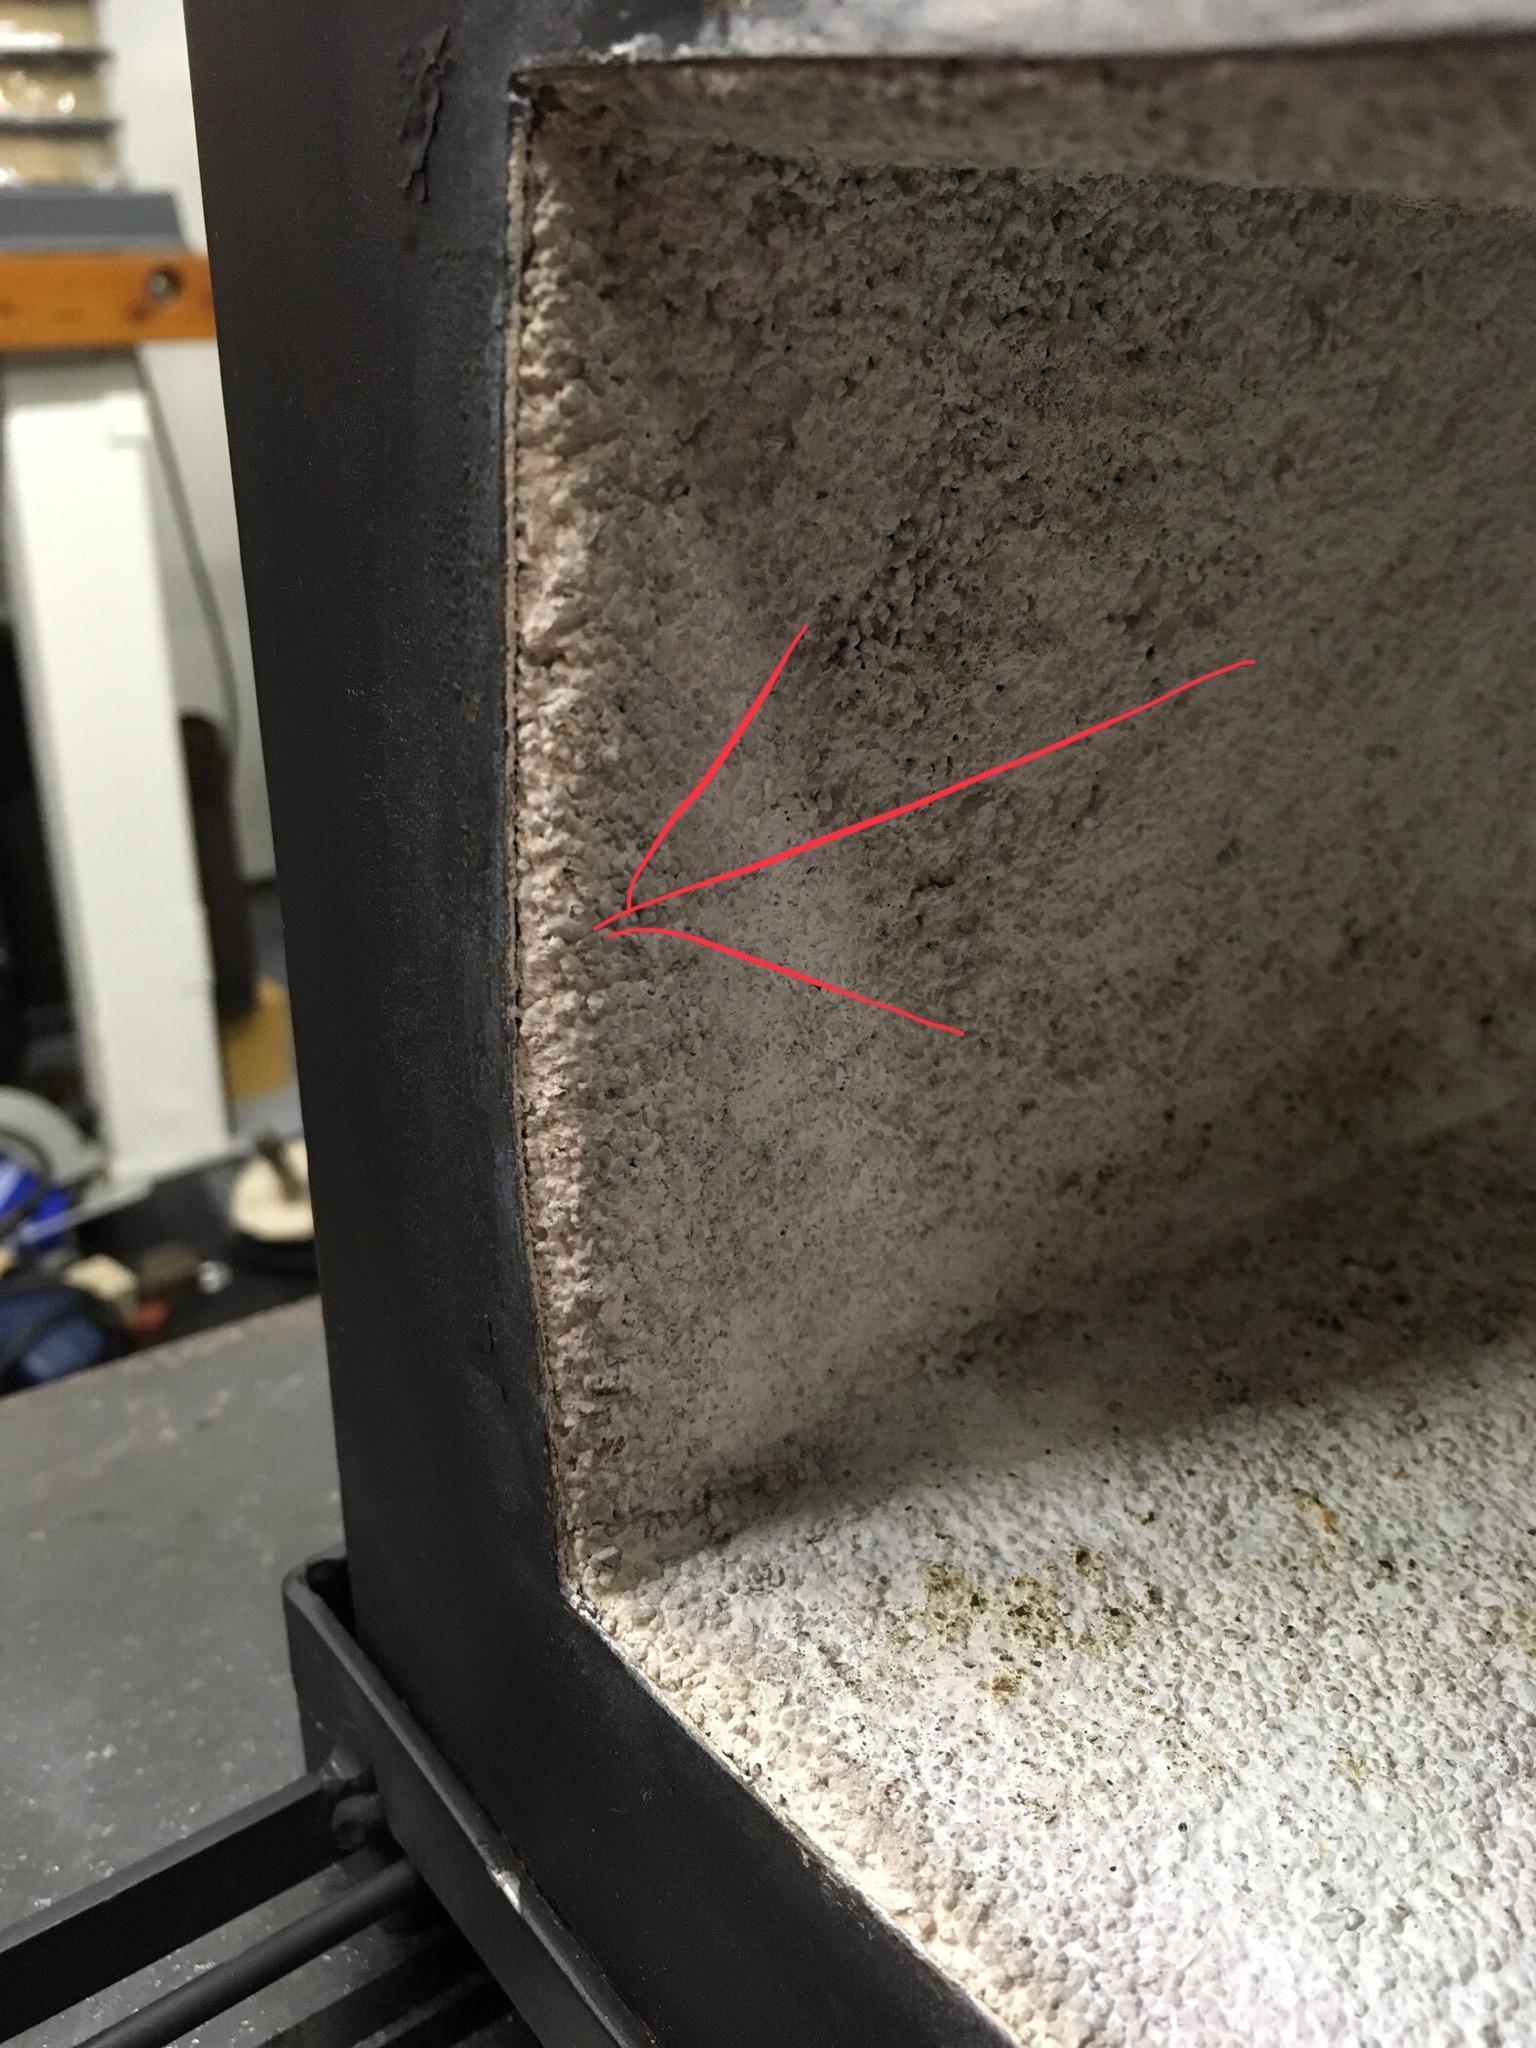
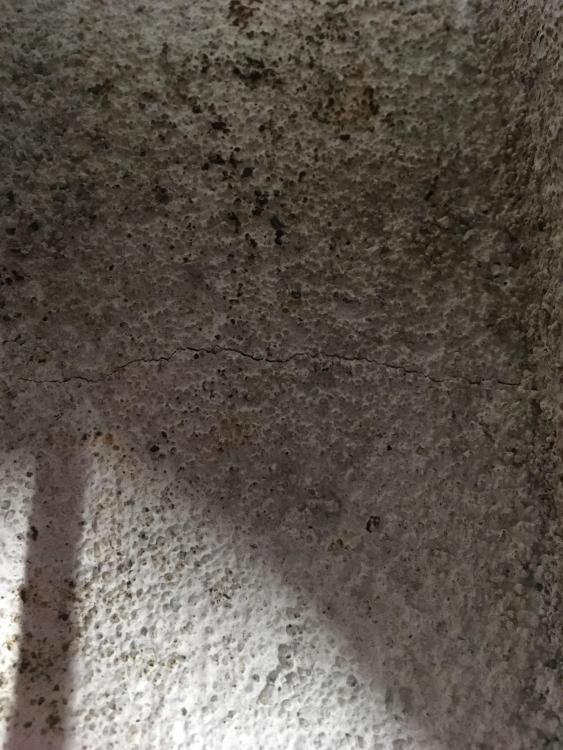
Here are some pics, micro forge 180 cubic inches (to help with understanding sizing). The arrow shows where the expansion happens. The shell separates to just over 1/8” from the KOL. This only happens on the sides. Mikey, fellow welder (not as many years yet) forgive me I am not sure I understand you. Forges should not have any welded joints, frames, structure? Is the flexing a good thing then?And should be left alone? Plistix and let it be? Or is this a crap forge shell I made to light. My other forges have been much larger and much thicker shells. Never had this problem.


-
Yes I have Plistix, I usually wait to apply after I test out the forge. In case of fixes (burner port shape etc.) When you say mix it THICK you mean less water than normal? No crack in ceiling, I fired it again and noticed the cause. The shell flexes at the openings, then shrinks back once cool. So no warping but it does expand when heated then contracts when cooled. I’ll weld some braces to help strengthen the shell sides. Stop the flexing and hopefully that will stop further cracking. I didn’t make the sides strong enough.
-
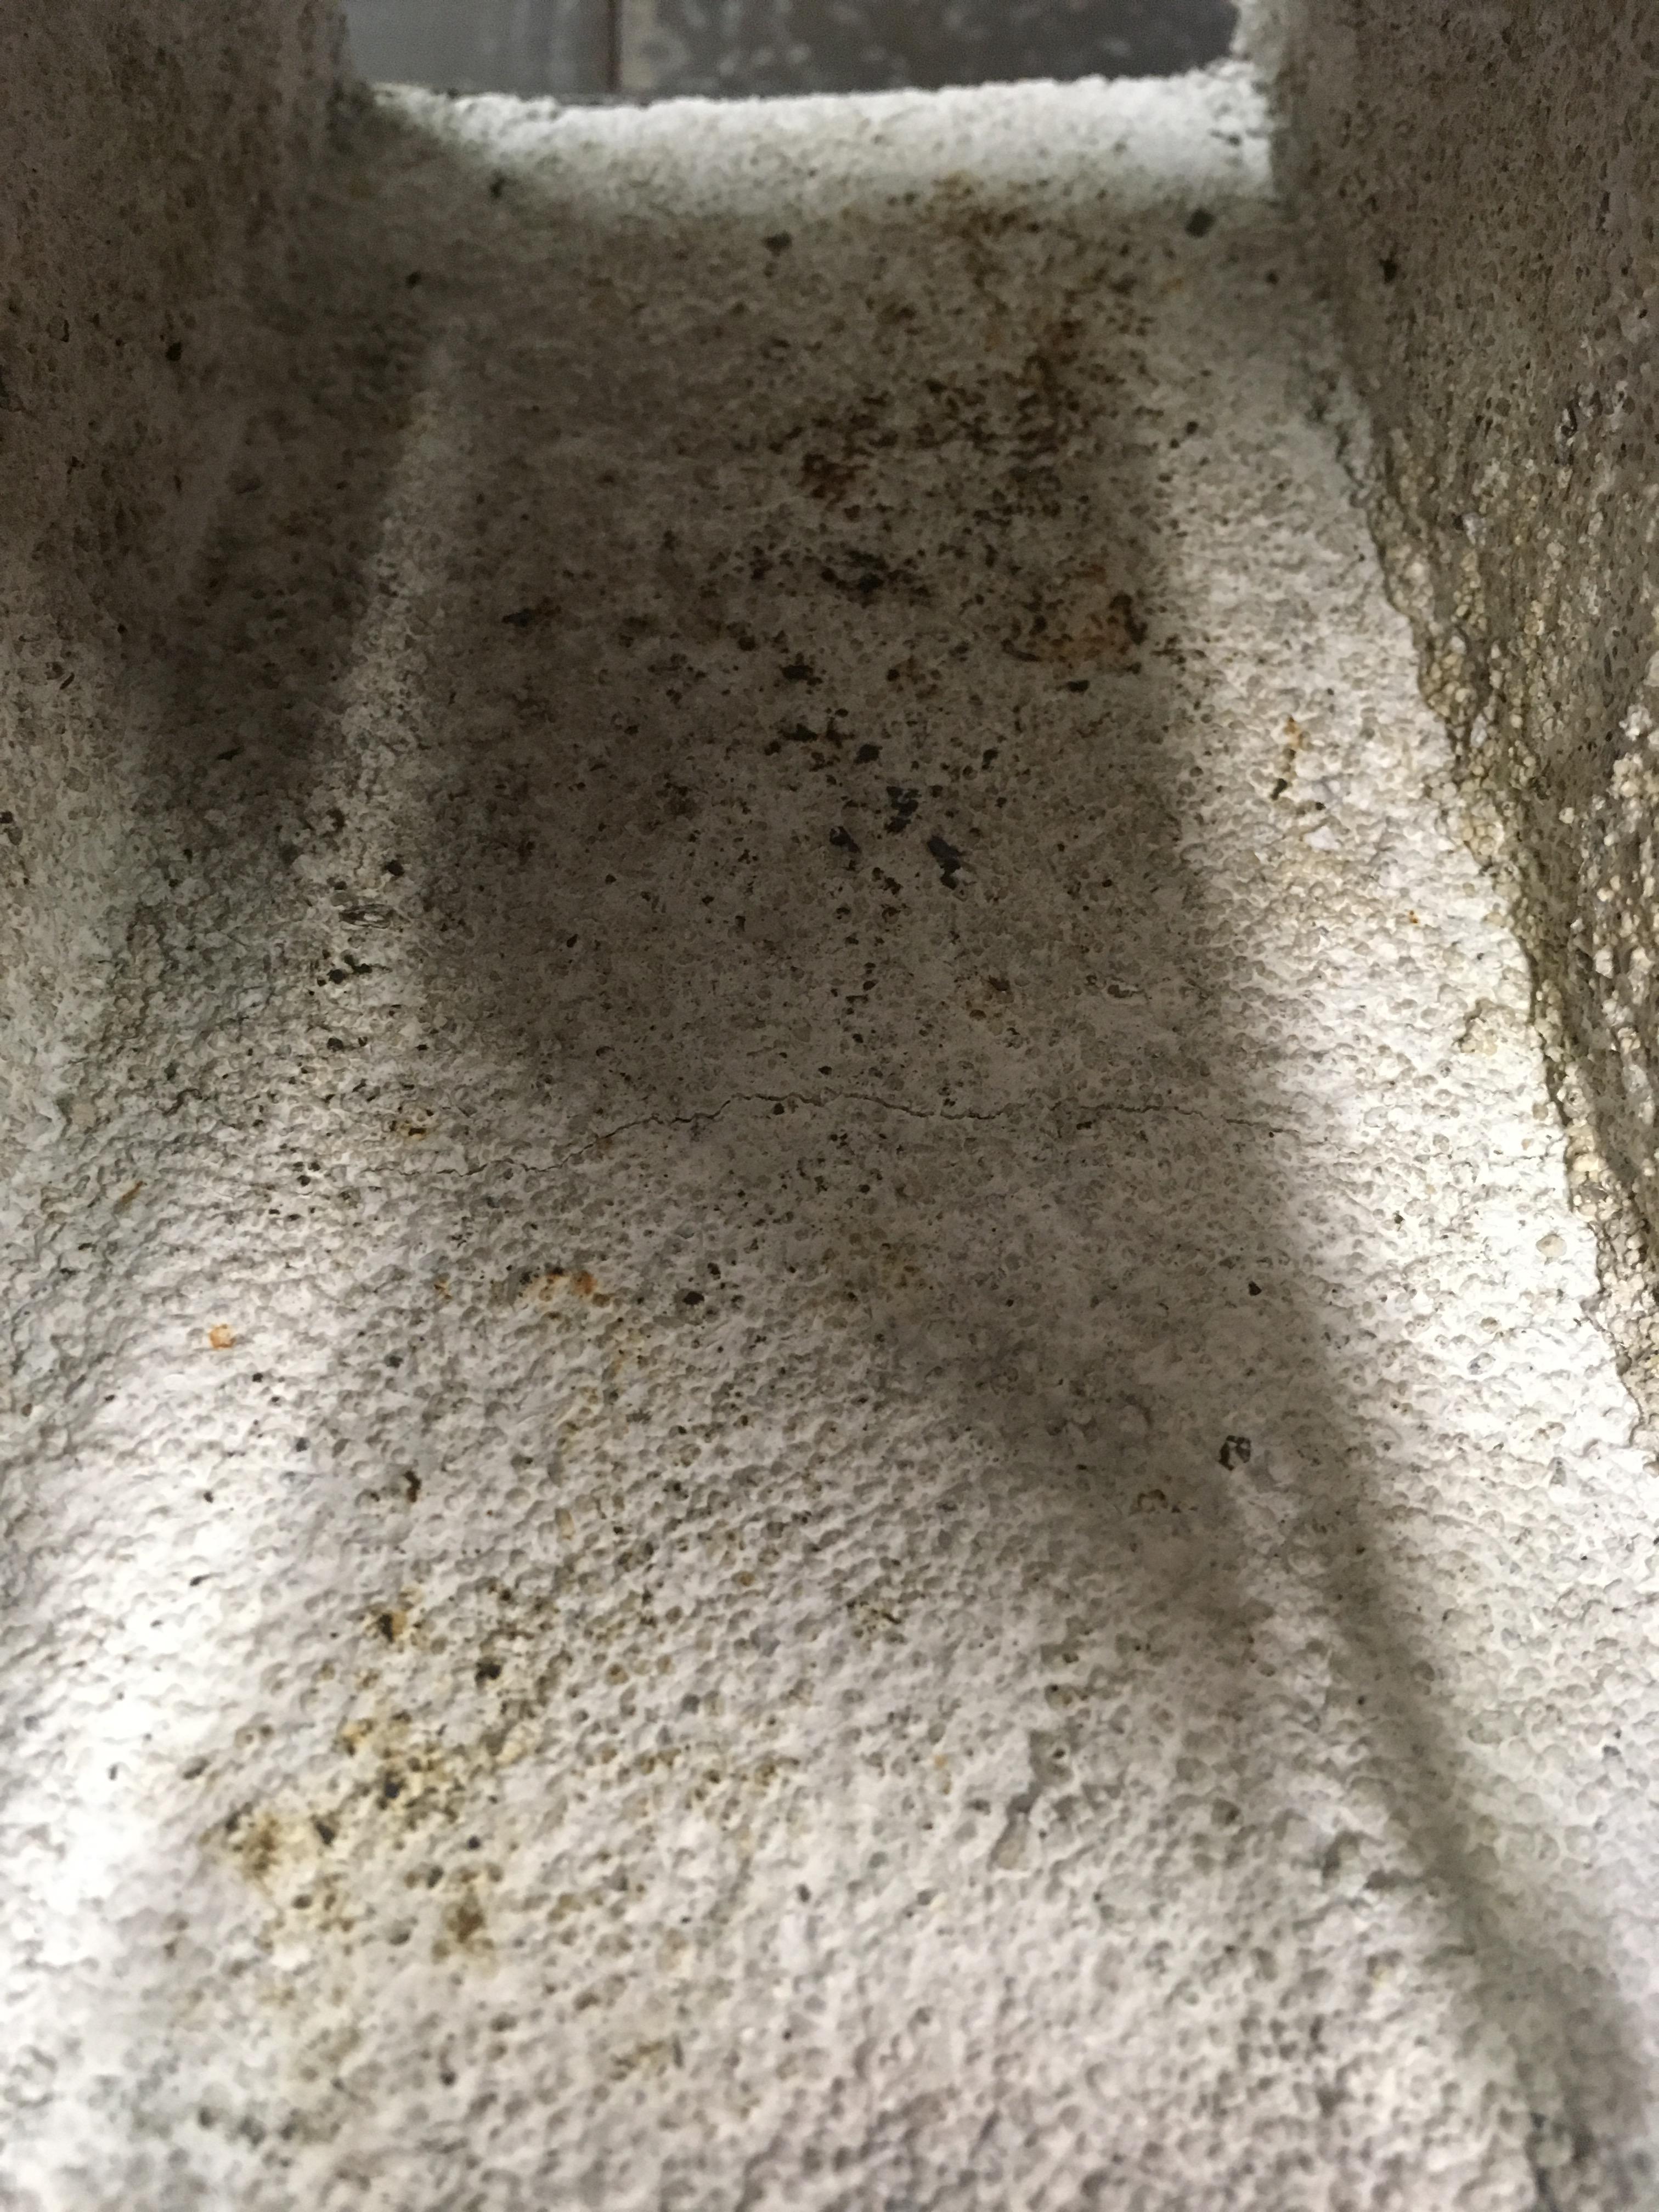
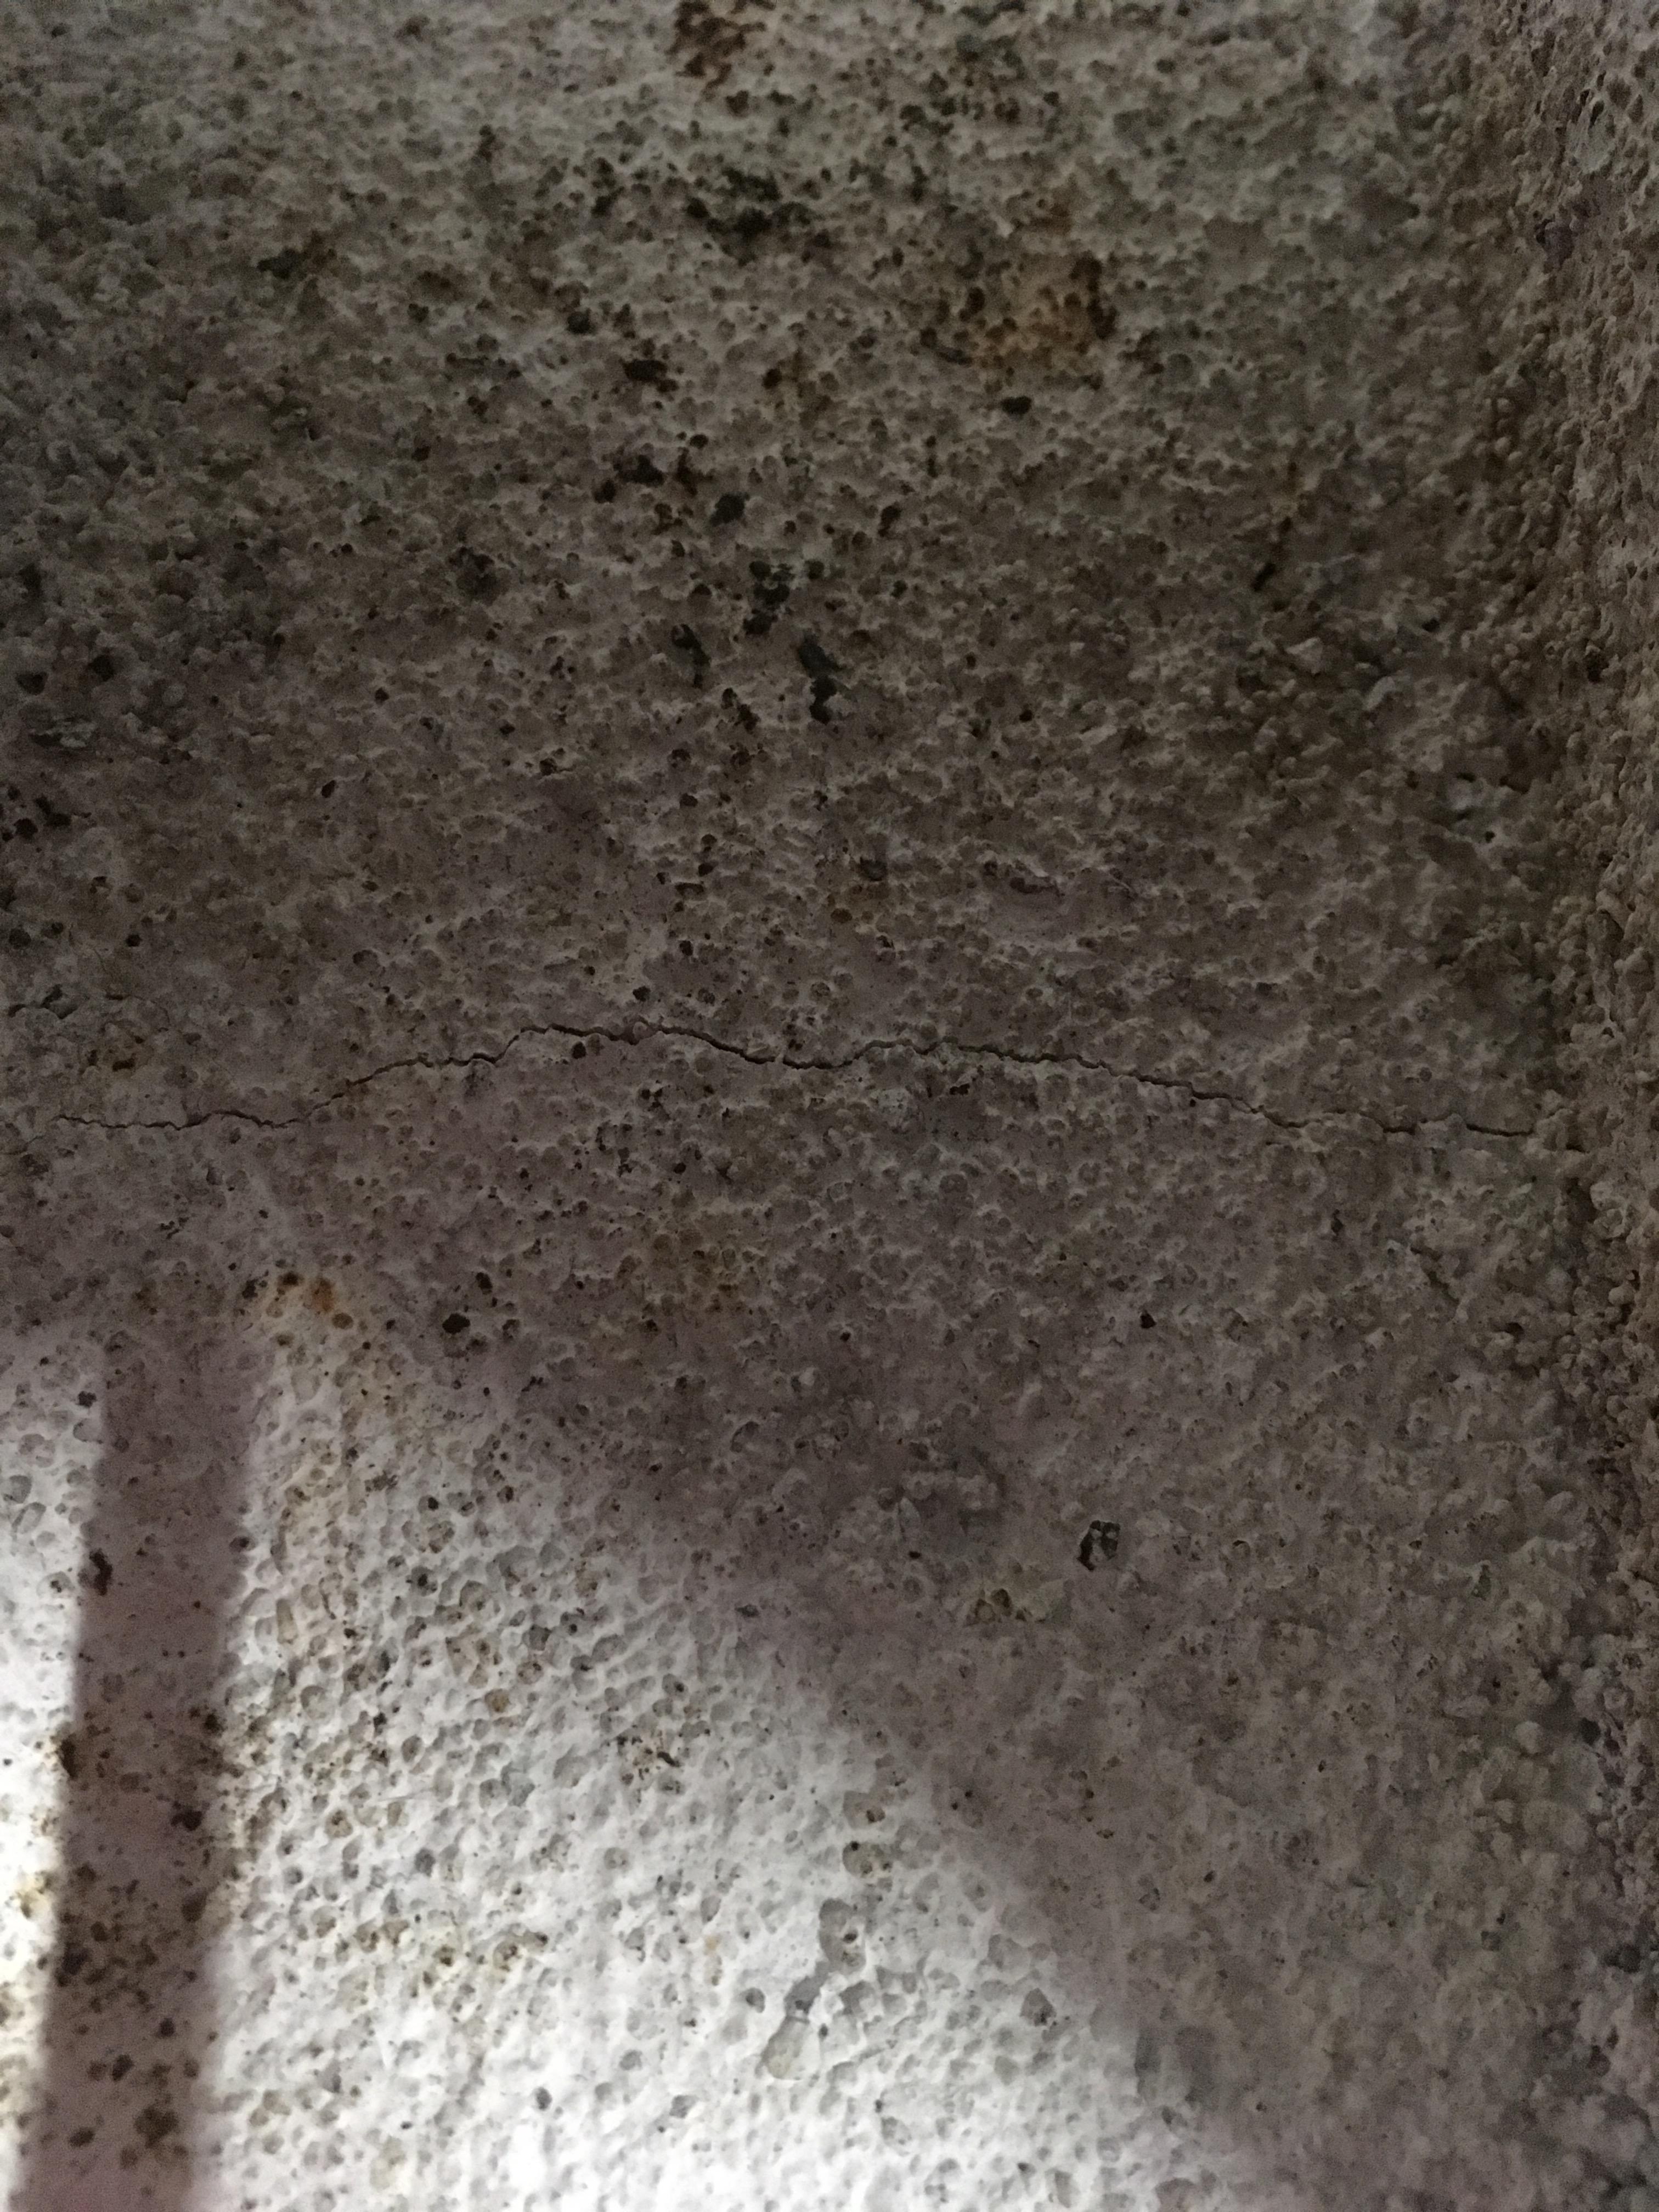
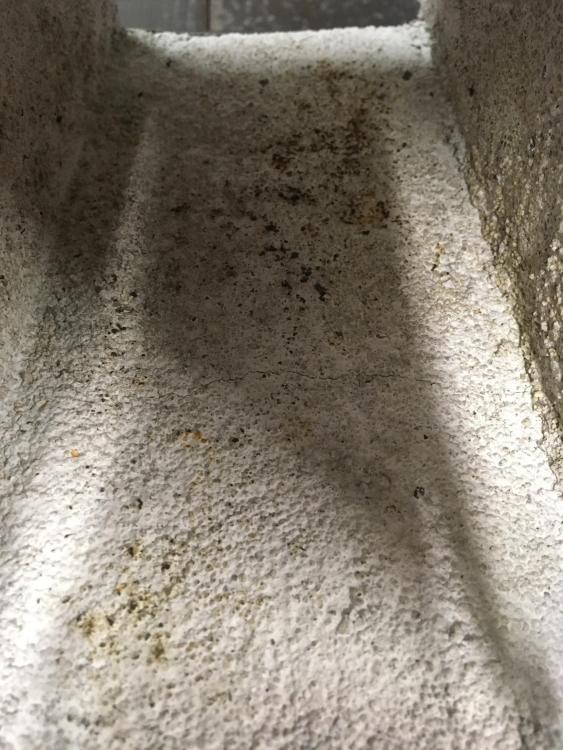
On the floor, from side to side, thin crack. 1/2” thick KOL, yes rigidized wool. Not sure why, I’m guessing cure process. I applied the KOL, bagged it with wet towels for about 40 hours. Then let it air dry over night. Did a low burn for about 5 minutes, let it cool over night. Ran it for about an hour an a half forging temp went fine. Next use about 45 minutes forging temp and noticed the crack. Never had this before with roughly same application process?? Kinda stumped on what to do? Thanks for any help
-
What is the best way to repair/fix a crack in 1/2” kast o lite 30 over 2” of kaowool?
-
Sorry Mikey, I didn’t word my question all that well. I was trying to ask about the hole in the forge where the burner it self enters into the forge. Latticino, cool thank you. My last forge I did a step opening like what your explaining but it was sharp not gradual. The first inch was the diameter of the O.D of the flare. Then I made a sharp step the the burner could rest on like a ledge. The rest of the holes diameter was a hair smaller than the I.D of the flare. It actually worked better than any other forge burner hole I had made (straight same size as the O.D of the burner) But I just came across the shape accidentally due to experimenting. The forge was 181 cubic inches, a 1/2 burner just didn’t seem enough so I opened the beginning of the hole (outer most of forger) to fit a 3/4 burner and surprisingly it worked pretty good even down to 2psi. Again not knowing what I was doing I had to many variables to know why it seemed better. I’ll try your advice!
-
Hi all, after 2 years of reading on this forum I actually made an account. The main reason is, I have always been able to find all answers to questions just by searching and reading except for 1. For forge building the standard has been discussed and set a whole bunch of times, size, shape, angles, what linings to use, how thick, how to cure the linings, etc. The 1 area I seem to not be able to find much of any information on is the topic of burner to hole in forge, size/ratio. This question specifically relates to venture burners (T-Burner) in a standard forge of 2" Kaowool, Kastolite 30, and plistix. What is the correct ratio? what diameter hole size in the forge to the relationship of the burner/flare size, is there any considerations to the OD vs ID of the burner/flare. Please educate me on this, I feel totally clueless in this area of design for a gas forge.