streetcore
Members
-
Joined
-
Last visited
-
Thanks for all the feedback. I've already built a brick pile propane forge that works pretty good for a beginner like me, but I am curious about coal and would like to learn more and experiment a bit with it. I also enjoy rebuilding old machines, so that's part of the reason I was attracted to this old forge. I don't think replacing the flat belt and making a small gear is beyond the realm of possibility, but I could be wrong. If it was closer I'd definitely grab it, but I'm not sure it's worth a four or five hour round trip in the middle of winter. I'll have to give it some more thought. Thanks again.
-
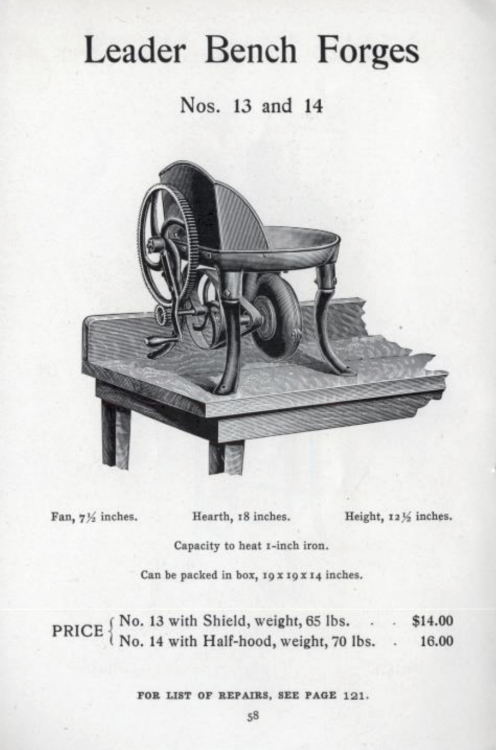
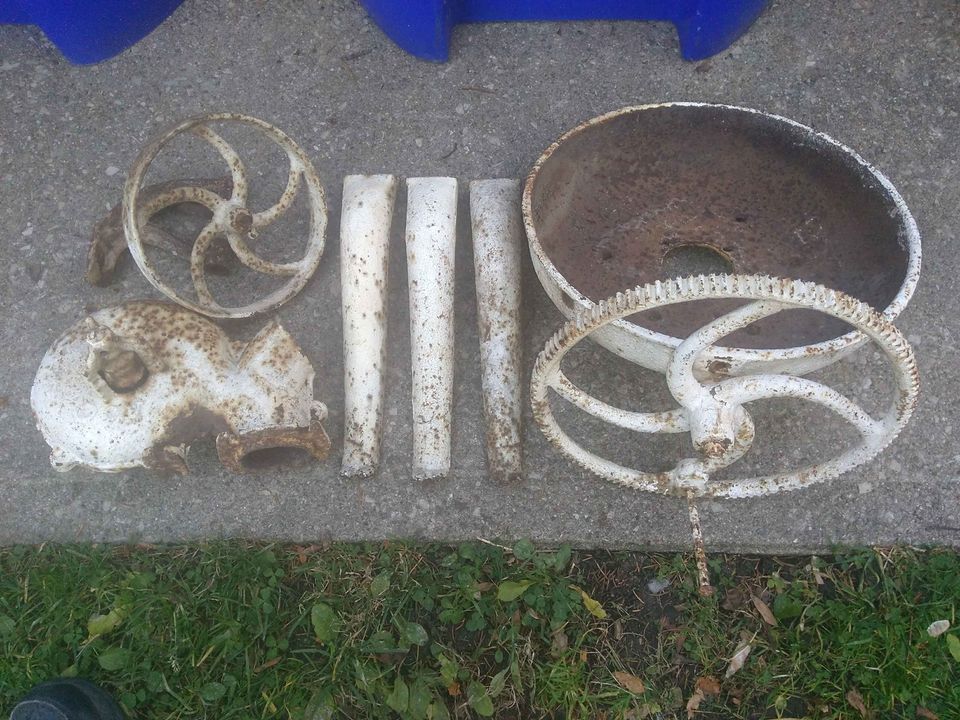
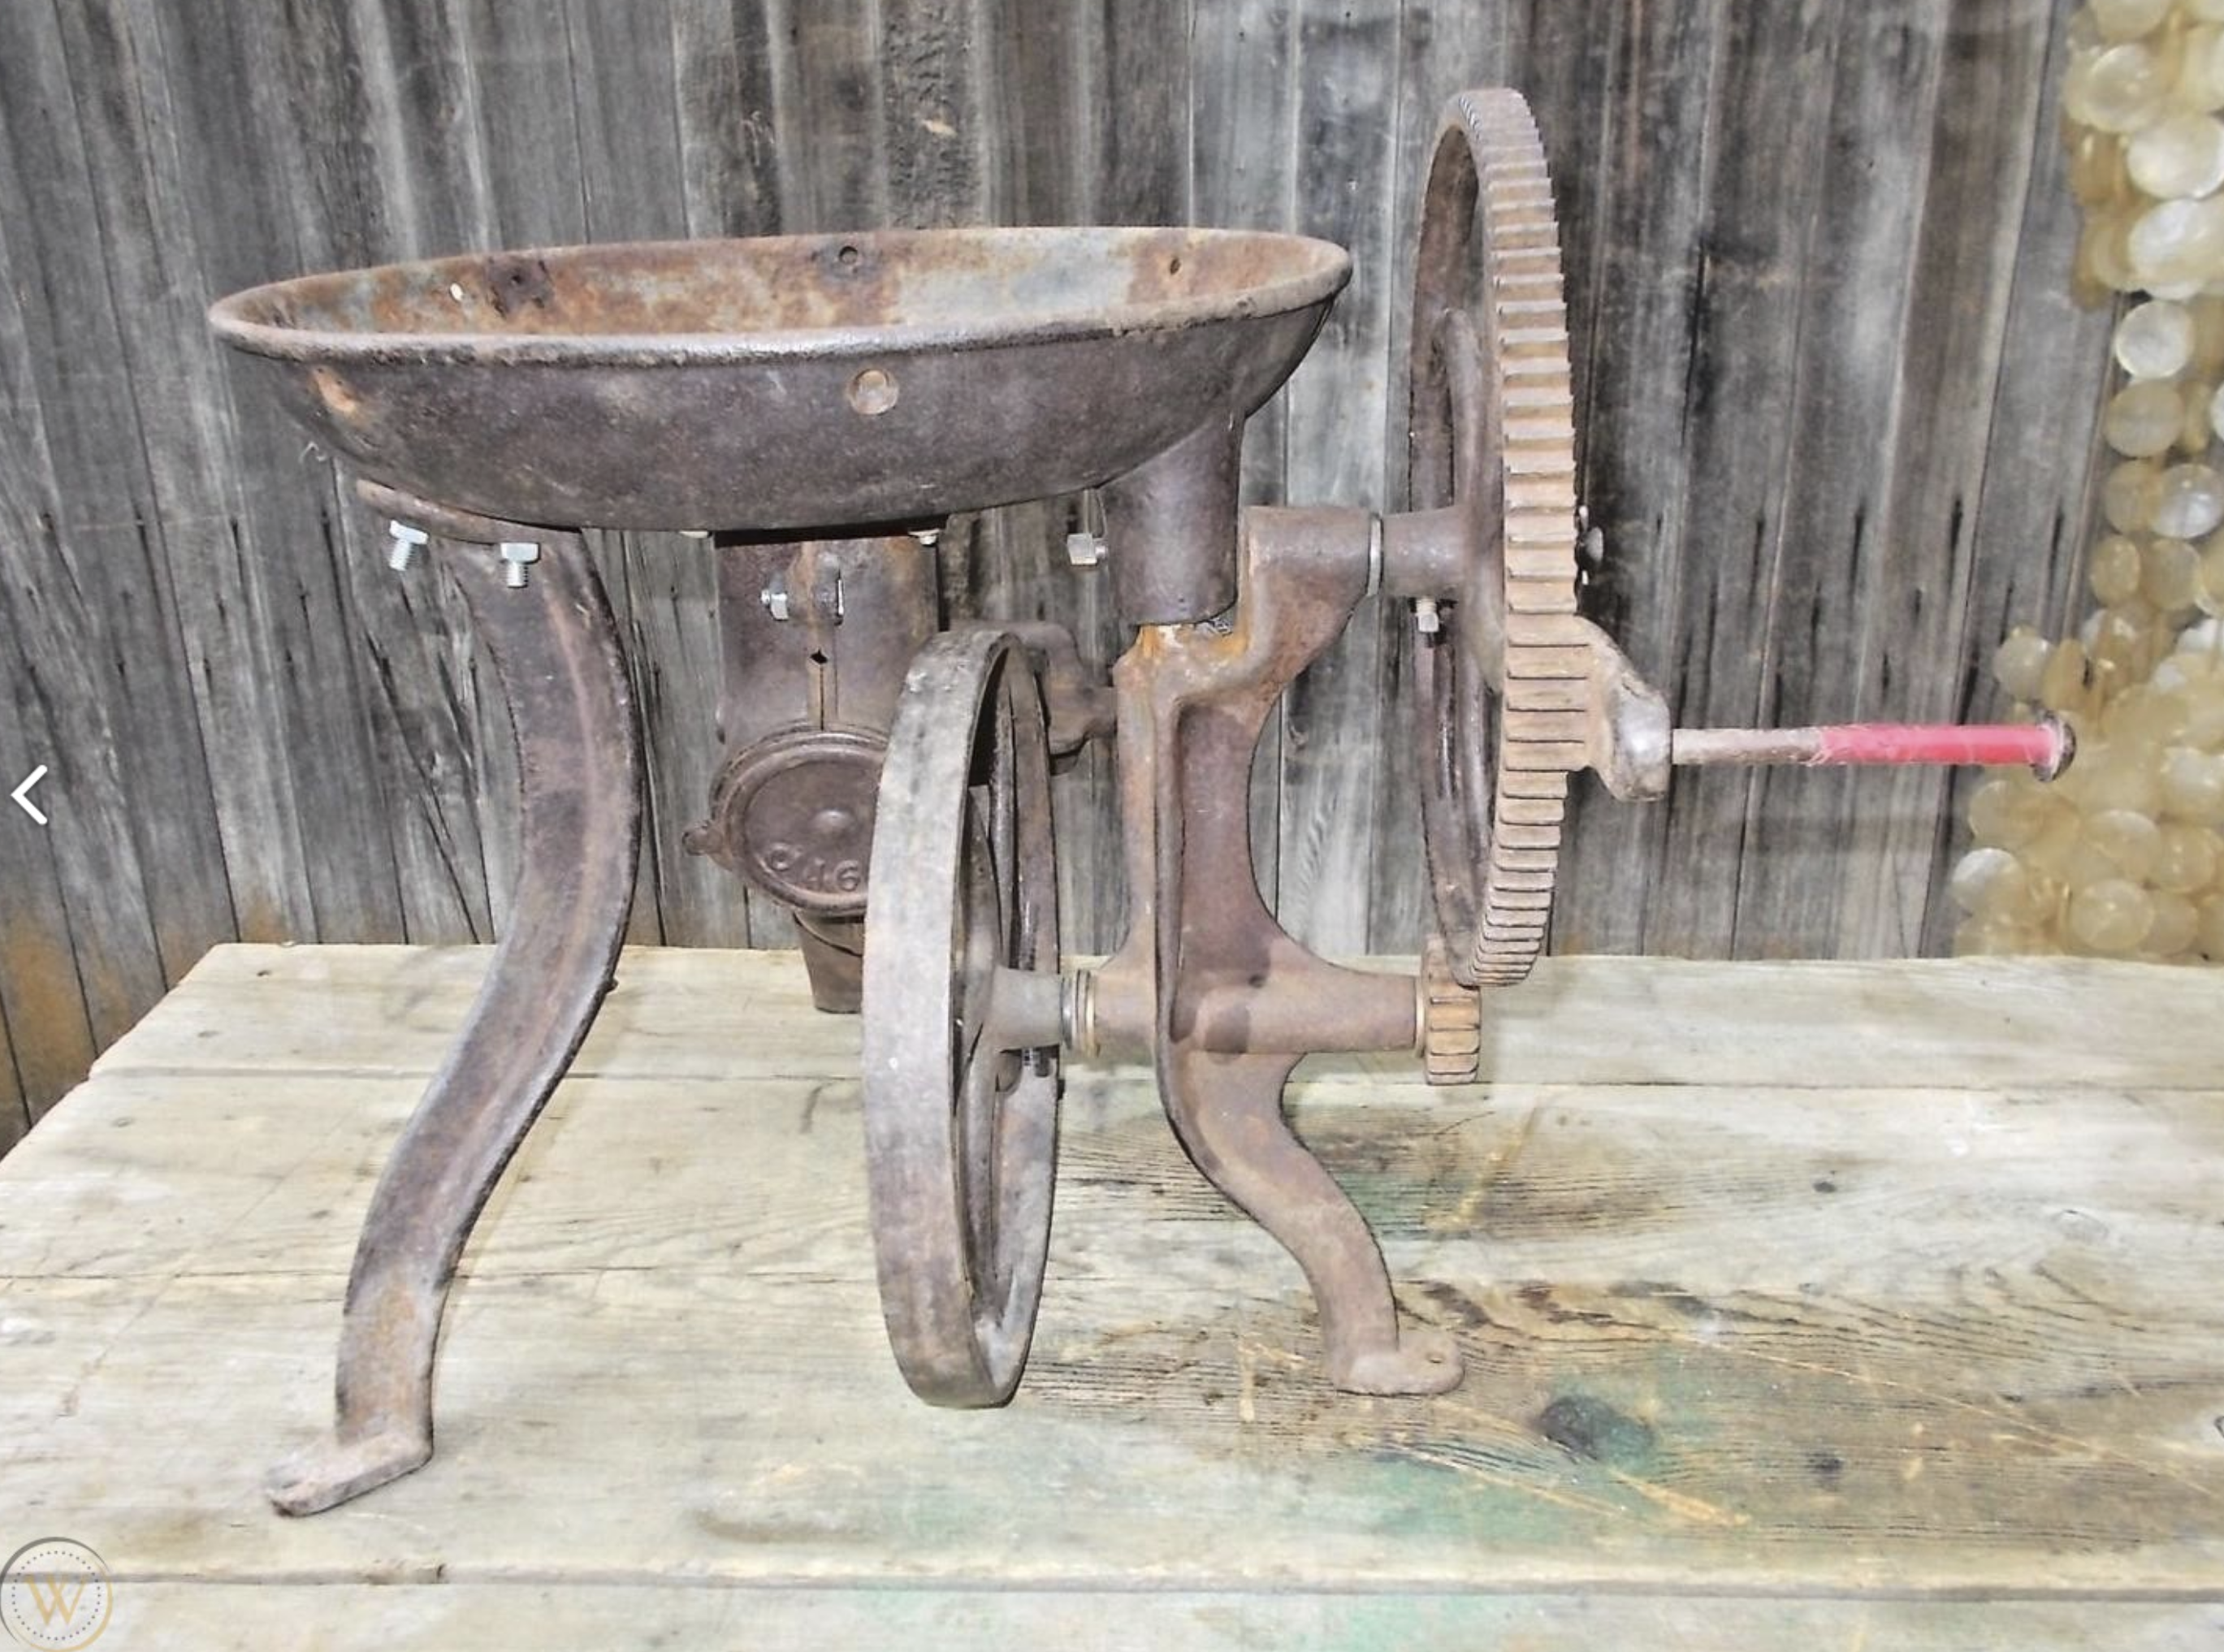
Hey everyone. I'm wondering if anyone here can help me identify this old antique forge. It's for sale a couple hours from me at what appears to be a pretty reasonable price and I'm trying to decide it it would be worthwhile trying to rebuild it or not. It's in pieces now and the seller says it's missing a small gear and the flat belt. The seller says the pot is 13-1/2" and the legs look to be about the same size. So it might be pretty short. I've been doing image searches on google and haven't seen anything exactly the same, but I found a thread here that included a link to an old Canedy catalog with this image. That got me searching for bench top coal forges and I found this one (picture below) that is similar, but still not the same. If it is a small bench top forge, would it be more of a novelty item than a functional forging tool? Any thoughts would be much appreciated. I'm hoping to speak with the seller after Christmas for more info, but wanted to do my homework first. Thanks.

-
Hey everyone. I put the guides back in service and they seem to be holding up all right so far. First big test was pressing the pins back in that hold the back bearings in place. I was half expecting the pins to not go back in or the welds to blow apart. So it was a big relief when they went in smooth and snug. I know this started as a welding question, but I'm wondering if someone could tell me about the proper orientation of the side bearings that are on eccentric bushings on these 4x6 bandsaws? Are they both on the outside of the blade? That's where they are now, but this machine was poorly repaired in the past and I don't know if they were put back correctly. Thanks.
-
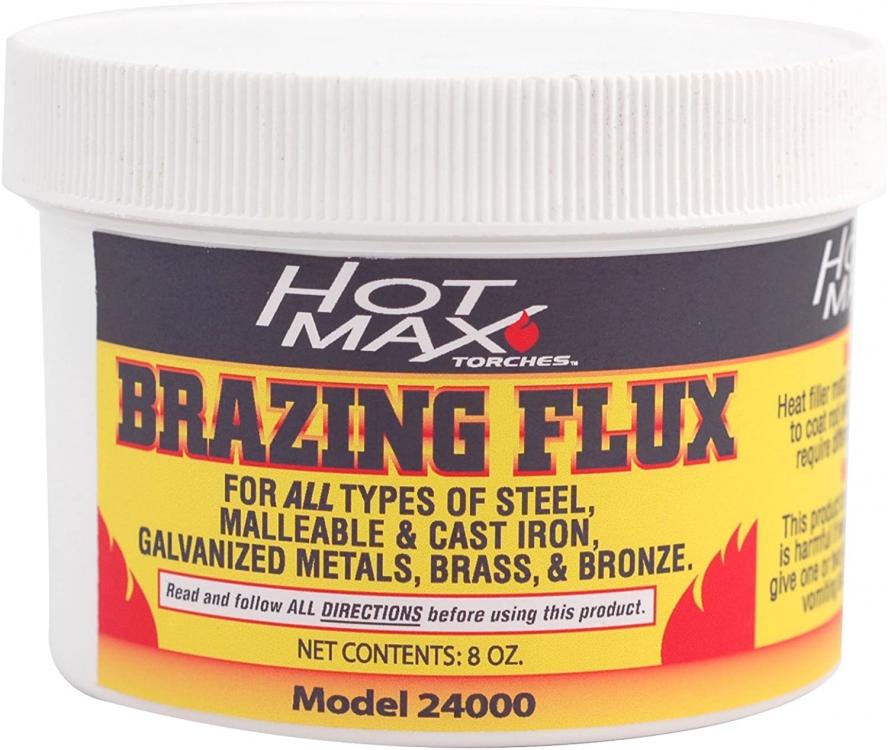
didn't work for me either, but I found it here: https://www.hotmaxtorches.com/download/msds/24000 Brazing Flux Powder MSDS.pdf
-
Thanks for the tips. I was looking for some flux before I did this job, but there was nothing available locally. Is powered flux the way to go? I've seen both powder and paste on Amazon. Below is an example of the powder flux. Would it be a good choice? I've got a broken Langdon Mitre Box from the 1800's that I'd like to try repairing next and will try and follow your suggestions for that one. Remove commercial link per TOS.
-
I honestly don't know if it's iron or steel, but it's definitely cast. I'm a total noob when it comes to this stuff, but I thought I read that it can be difficult to tell the difference with metal like this of Chinese origin.
-
Thanks Frosty. I'll take your advice and leave this piece alone unless it breaks again. I was just wondering what I might do if it was an item where appearance was more important. I also wondered if I bevelled the edges of the crack too much? Maybe with a smaller bevel it would have been easier to fill that gap without the bronze running out. p.s. My apologies for the inappropriate language in my original post.
-
Hi everyone, I made my first attempt at brazing some cast steel today. It's a blade guide off a horizontal bandsaw made in Taiwan, so I'm not really sure what type of metal it is. The part was broken in three places and I think the brazing was reasonably successful, but it was a bit sloppy with too much bronze puddled in some spots and not enough in others. In the pic below you can still see part of the crack at the top of the part and a partially filled hole drilled by the previous owner as part of a xxxx poor repair with a corner bracket. I'm not too worried about this piece, but if I wanted a better looking job would it be ok to reheat the part and add some more bronze to fill that crack and hole better? Or could reheating potential weaken all the joints on this piece? Thanks.

.thumb.jpg.322a1d9a90ba412c49f1831a6b904b0e.jpg)
-
Thanks! I'll give it shot.
-
Thanks for the suggestion. Does my chalk line in the attached pic look about right? Unfortunately, a lot of the damage on my anvil is over the sweet spot. So I've been doing most of my hammering in front or behind the damaged area.
-
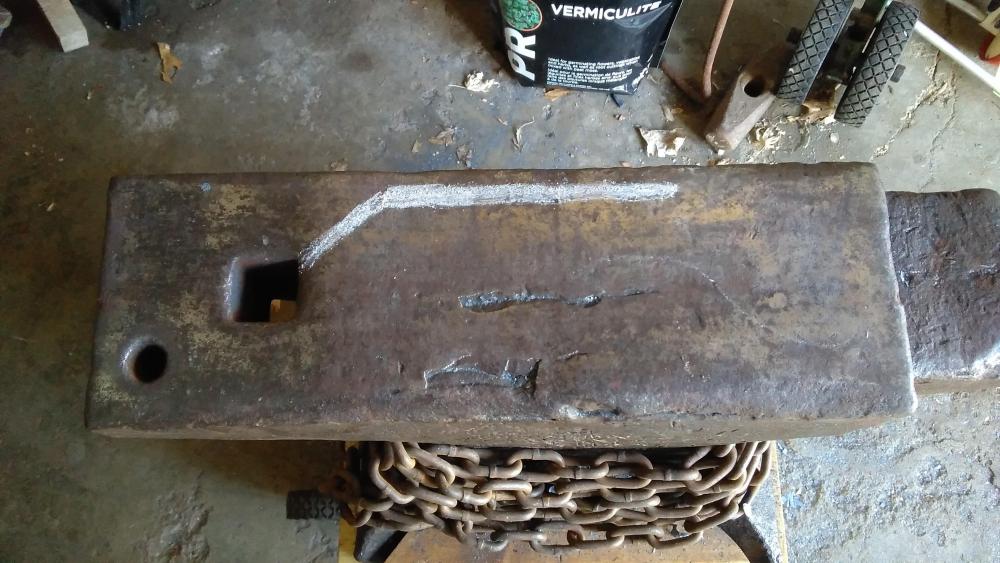
Some of you guys are having too much pun here... Thanks for staying on topic Thomas I get what you're saying about the fuller now and will give it some thought. I'm just getting started with this stuff and have been practicing drawing out steel for tongs and things. The edges or my anvil are pretty round, so I thought this might make a more effective fuller for drawing out. If I cut it down I will make sure it doesn't wedge the hardy. My anvil has some cracks and delamination already, so I definitely don't want to break the heel off! Cheers and thanks again for all the input. I have a much fuller understanding now
-
Please forgive my ignorance, I'm new to this stuff, but if I cut the stake to fit the hardy why wouldn't it work as a bottom fuller?
-
Doesn't sound like it would be useful as a scythe sharpener either. I guess that brings me back to the previous question, could it be modified to be something useful for blacksmithing? The upper portion does look a bit like some of the bottom fullers I've seen online.
-
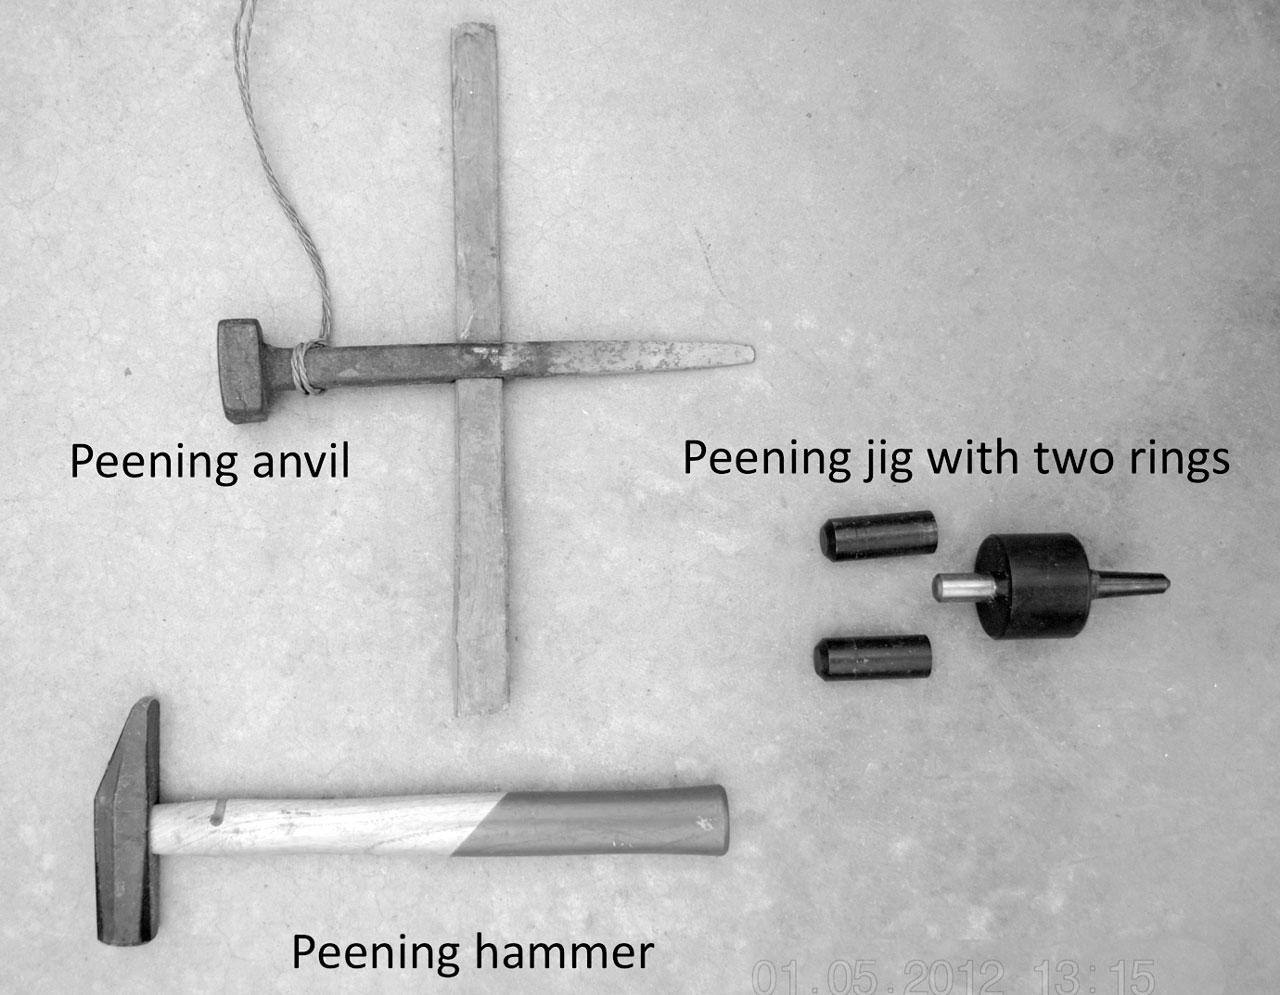
I just found commercial link removed and they sell wide and narrow peening anvils. "The Wide Anvil is used with a cross peen hammer with the blade held concave side up. The Narrow Anvil is used with a flat hammer with the blade concave side down." You're right about the hardened steel bit not being common, but the one I found is obviously homemade. So could have been someone's experiment, but I'm guessing.

-
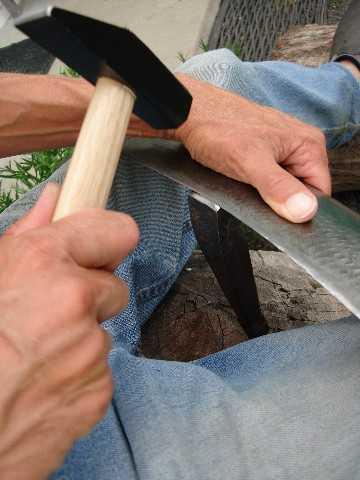
And we have a winner! After a bit of searching it does appear to be what's called a "field peening anvil" for scythe sharpening. Below is a pic of one in use and a couple other examples I found. So now as Thomas suggested "can we dream up to use it for"? I had a quick look on eBay and I don't think it has much value, maybe $20, so could it be modified to be something useful for a beginner blacksmith like myself, or should I try and find a scythe owner who would appreciate having it?


.jpg.2576ee7ff5729ee22a823e19e9e562ca.jpg)