mechelement
Members
-
Joined
-
Last visited
Everything posted by mechelement
-
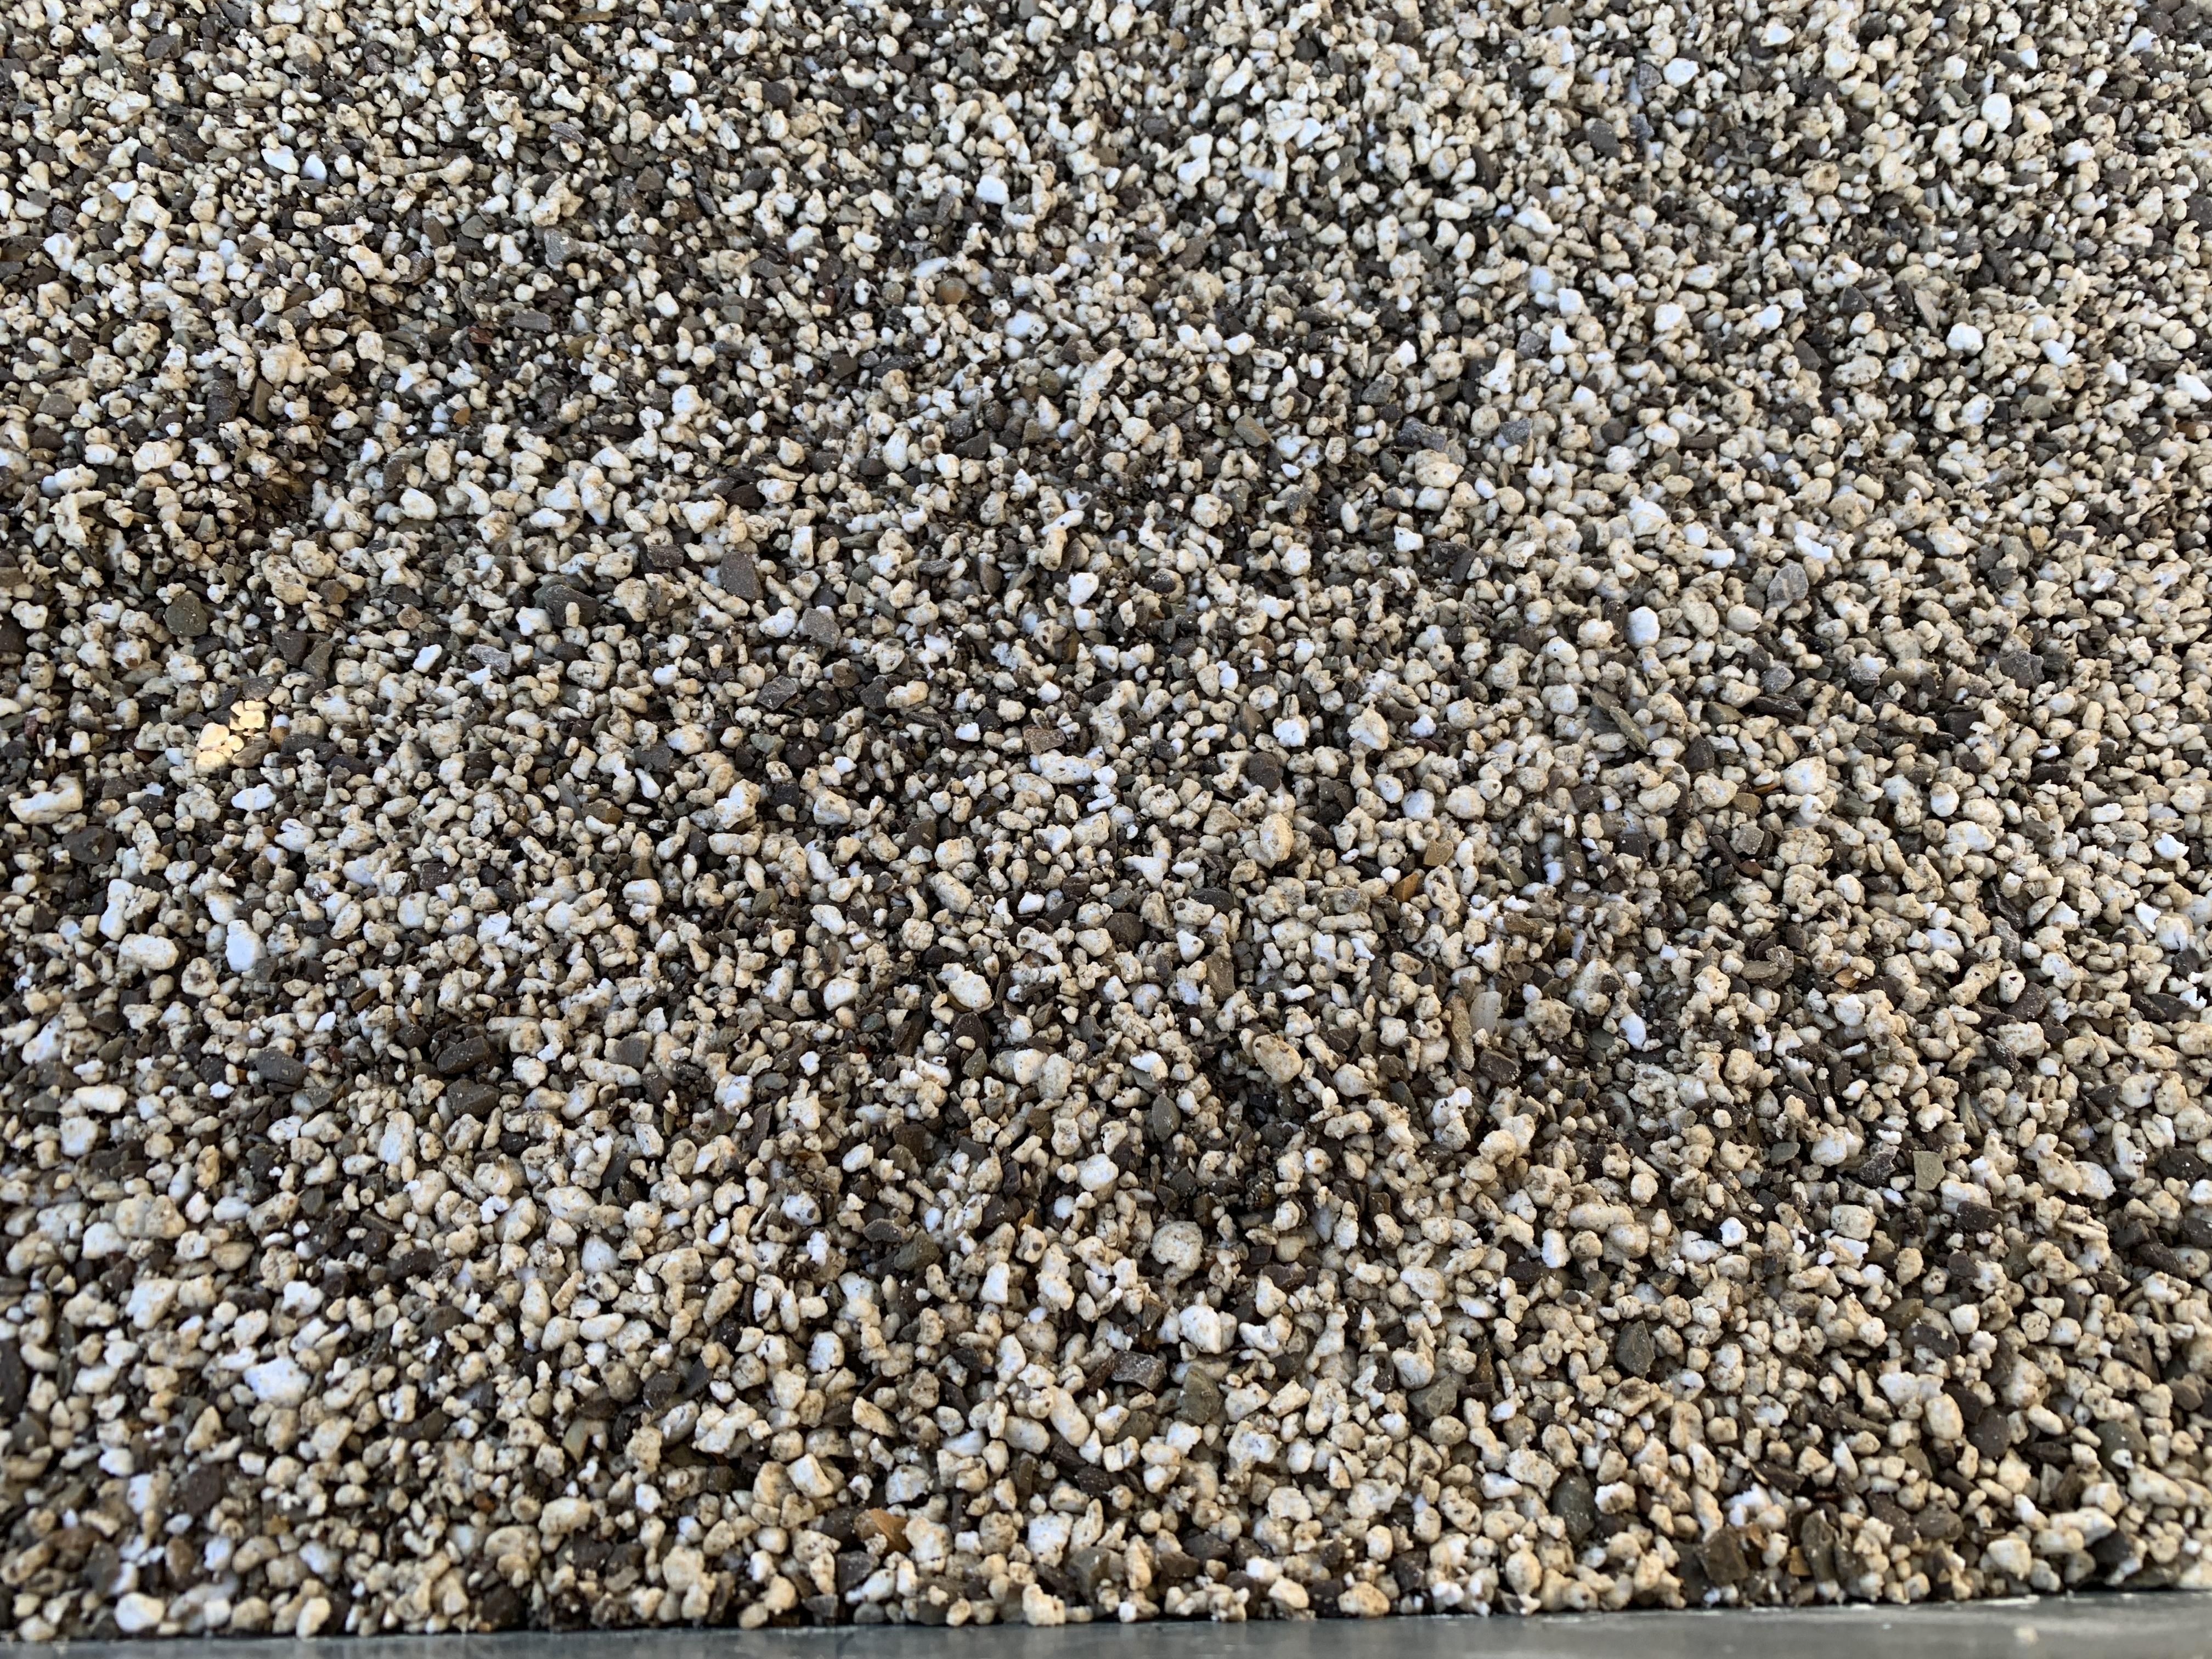
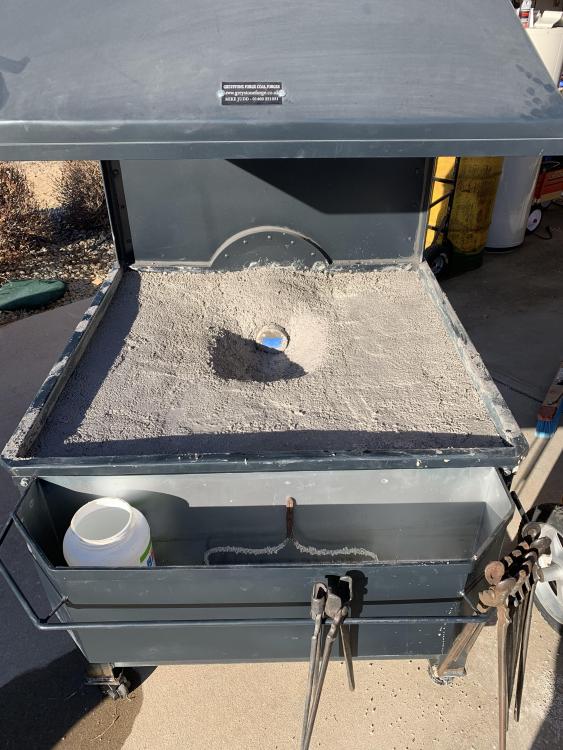
Frosty, the cat litter claimed 100% clay. It’s the Special Kitty brand. Perlite was used more for weight reduction. The forge is currently portable. I modified the legs and installed equipment leveling casters with ratcheting levelers. When I had sand in it, the forge was very heavy. This is much lighter and I am fairly confident it won’t transfer heat nearly as much as sand turning to glass. I have have some projects that have high clayey soils which require removal and export prior to building. Some are moderate to highly expansive, some aren’t. Do you think this type of clayey soil would be a good hearth lining material? Perhaps as a binder with the silica free sand you mentioned? Is the silica free sand a fine sand or a bit more coarse? I’m relatively pleased with how this thing is curing. I’ve kept a radiant heater under the forge to keep the hearth bottom warm. Very minimal shrinking and I’m going to put the final high temp mortar coating on the fire pot after more cure time - no perlite in it though. Probably another week of curing before doing this.
-
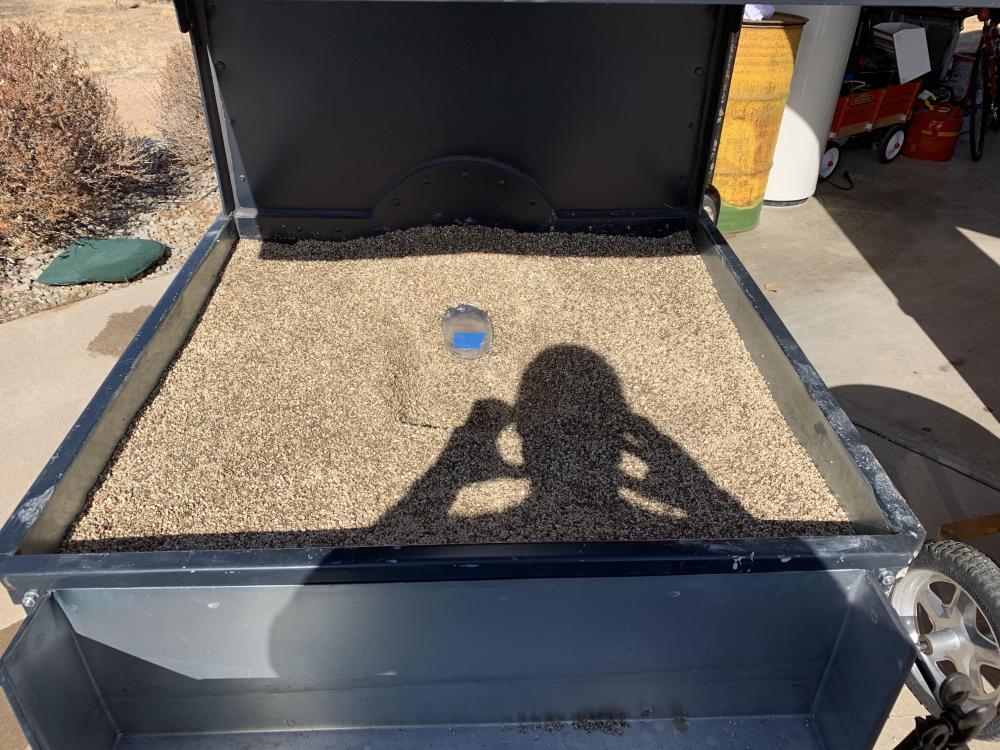
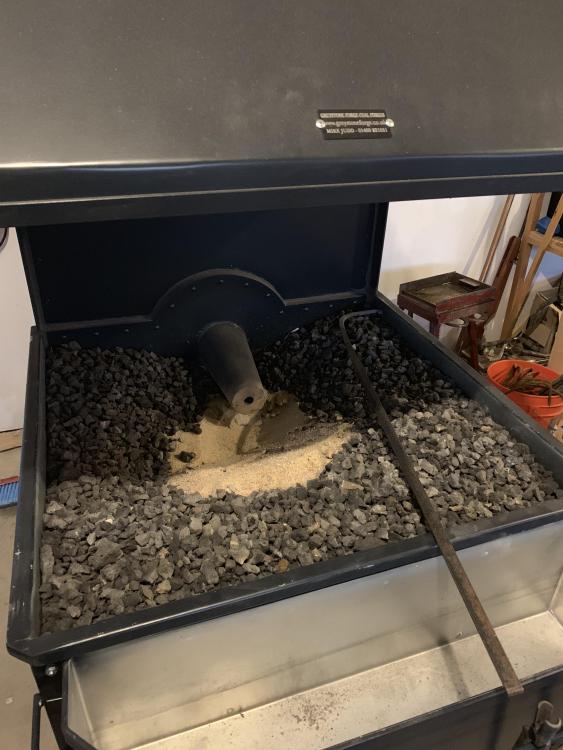
I tried sand before and it turned to glass. The bottom of the forge got very, very hot with with sand, hence the start of this thread. I did what was advised and it dried as pictured, loose. I could not get the cat litter clay to bind. I soaked the litter in a wheelbarrow with water in it. There’s no mud.
-
Cat litter was 100% clay. I pulled it all out and mixed the perlite/cat litter mix with some high temp cement as a binder. What you see on the top is the high temp with perlite in it.
-
Done...
-
Here is where we wound up when we ran out of cat litter. I don’t see how the cat litter provides much binding, even when wet. I’m half tempted to finish all of this off (cap this) with the high temp cement mixed with perlite. Or, I’ll pull out half of what we just did, mix in cement, form, then mix cement into what I pulled out and put it back in, then final form. I guarantee that will bind.
-
I’m not following you... I was going to do the clay/perlite slurry mix and form the hearth, but in the fire pot, leave it 2” lower than desired and place high temp concrete 2” thick for the bottom of the firepot.
-
Finally received all of the perlite, got the all clay cat litter, got cast in place 3,000°F concrete and emptied the forge. Tackling the perlite clay fill today.
-
Finally got a return phone call from the nursery. Perlite should be here tomorrow or Monday. It’s 1/4 the cost buying in bulk. Worth the wait! JHCC, I’ve moved it as full as pictured.
-
I struck out today as far as perlite. The guy who had the most had some on reserve for another customer. He did tell me he'd get 4 cubic feet of it at a time from a wholesaler in Denver, so he's calling them Monday for pricing and getting back in touch with me. I'm talking to another guy about pure bubble alumina in bulk and mixing it with the clay cat litter you mentioned. He said that's doable and recommends mixing in 1" long wavy stainless steel "needles" because they'll create a binding matrix within the clay. I'm sourcing some 3,200°F fire brick and might consider coating that with that bubble alumina coating I mentioned earlier. They recommend a 3/8" thick coating over the fire brick and around the inside of the fire pot. I didn't really think I had to line the hearth with much of anything beyond a thin layer of dirt or sand. I wish I had been on here planning this out before the forge arrived, or right after it arrived and while modifying it for casters. JHCC, that's an interesting setup you have there. The chimney ring on the forge I have is at 6'-9" AFF and my garage door is 6'-11.5". With the casters I installed, it rolls like it's on glass. Hitting the joints between the concrete slabs on the driveway is a bit jarring, but other than that, extremely solid.
-
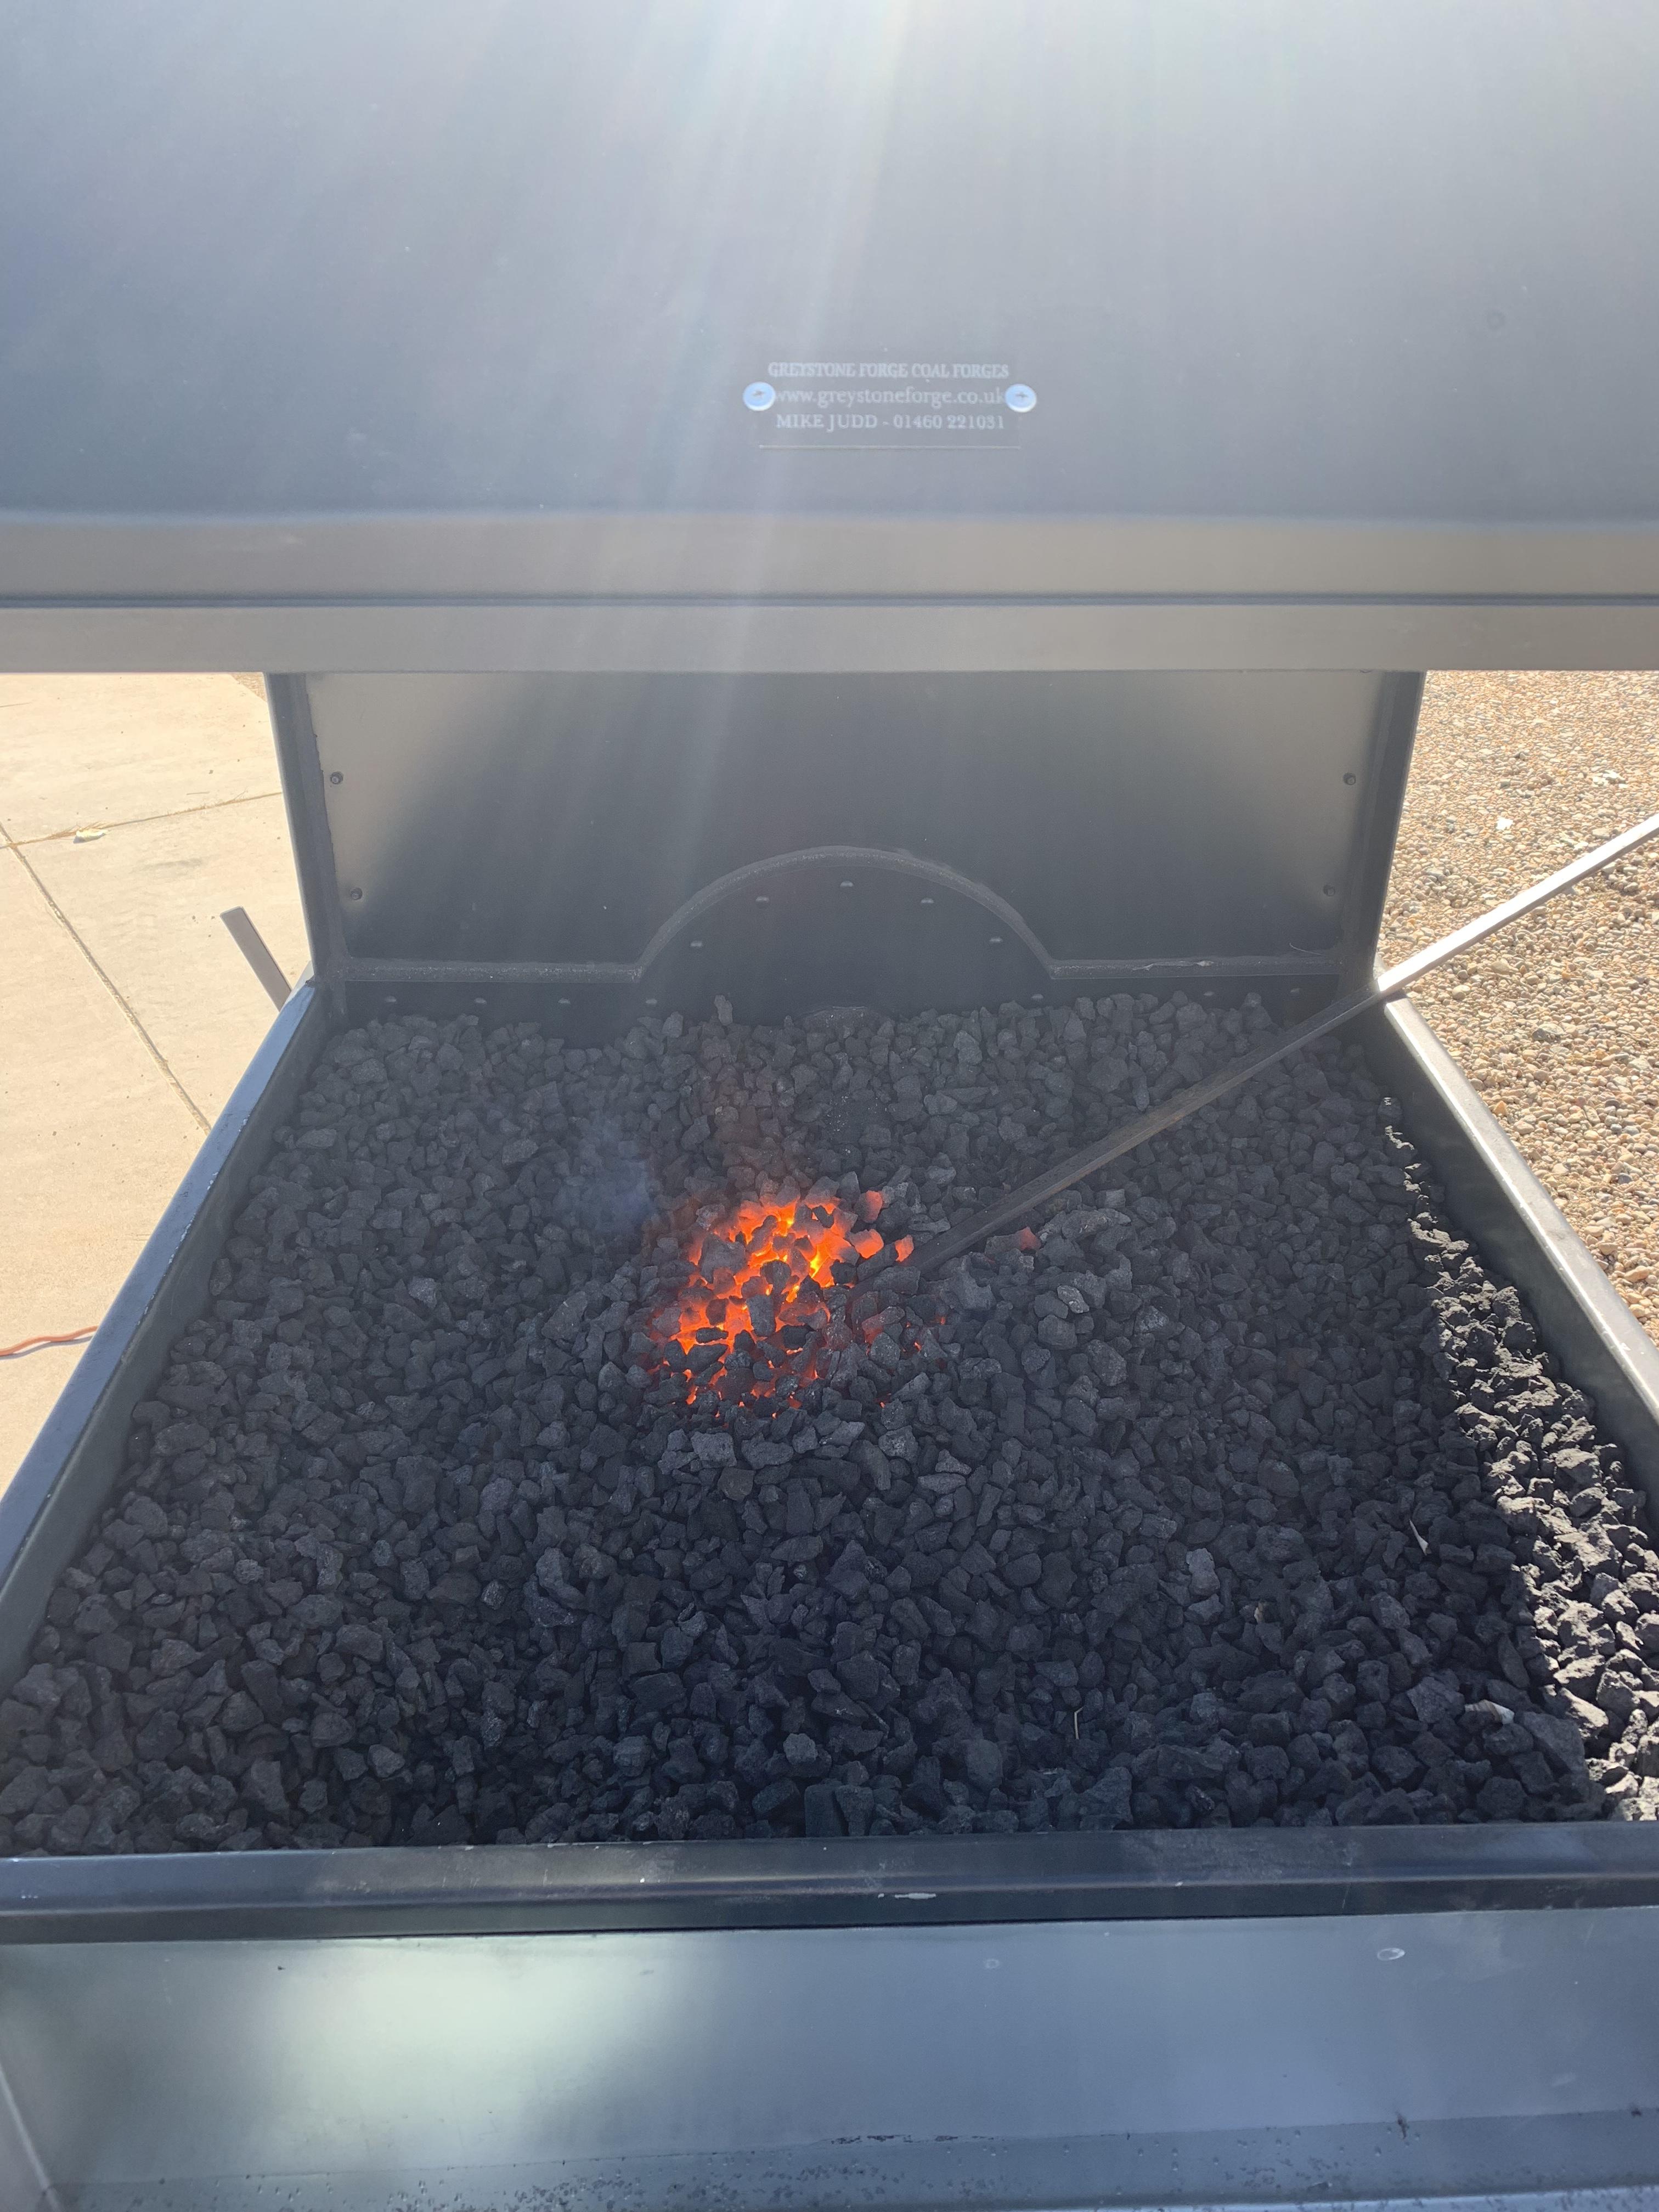
Found the perlite, but it is horticulture grade. Everything I’ve read, the horticulture grade is much more available and folks use it in their refractories and furnaces anyway. I’m going to go grab around 8-10 cubic feet of this stuff, along with some fire brick and clay cat litter and get this thing tuned up finally.
-
Now we’re cooking with... coke?! This sounds great. I’m going to call around this morning and try to source perlite. Is perlite somewhat similar to lava rock? I think I’m following you here... The adobe mix should be 1/3 perlite and 2/3 clay and wet down then mixed to bind, then cap the loose perlite in the hearth to within 1” of the top of the hearth with a layer of this mix and slope at the fire bowl, which will slope down to a couple of fire bricks 1” below the bottom of the blast hole in the tuyere. Bottom of the fire bowl should be ~8” in diameter or 8”x8” and slope up at around 45*. This will be the adobe cap as well. What about the vertical face of the tuyere at the backside of the fire bowl, make it vertical and nearly flush with the face of the tuyere?
-
10-4. Thanks.
-
Is there a rules page here that explains this? Can I post manufacturers names? Imagine a 3,200*F rated insulated (lightweight) brick I guess. Anyone running this type of brick?
-
Understood. You can’t post a link to a website here?
-
What about the lightweight insulating bricks? Anyone run those? I’m trying to keep the weight down.
-
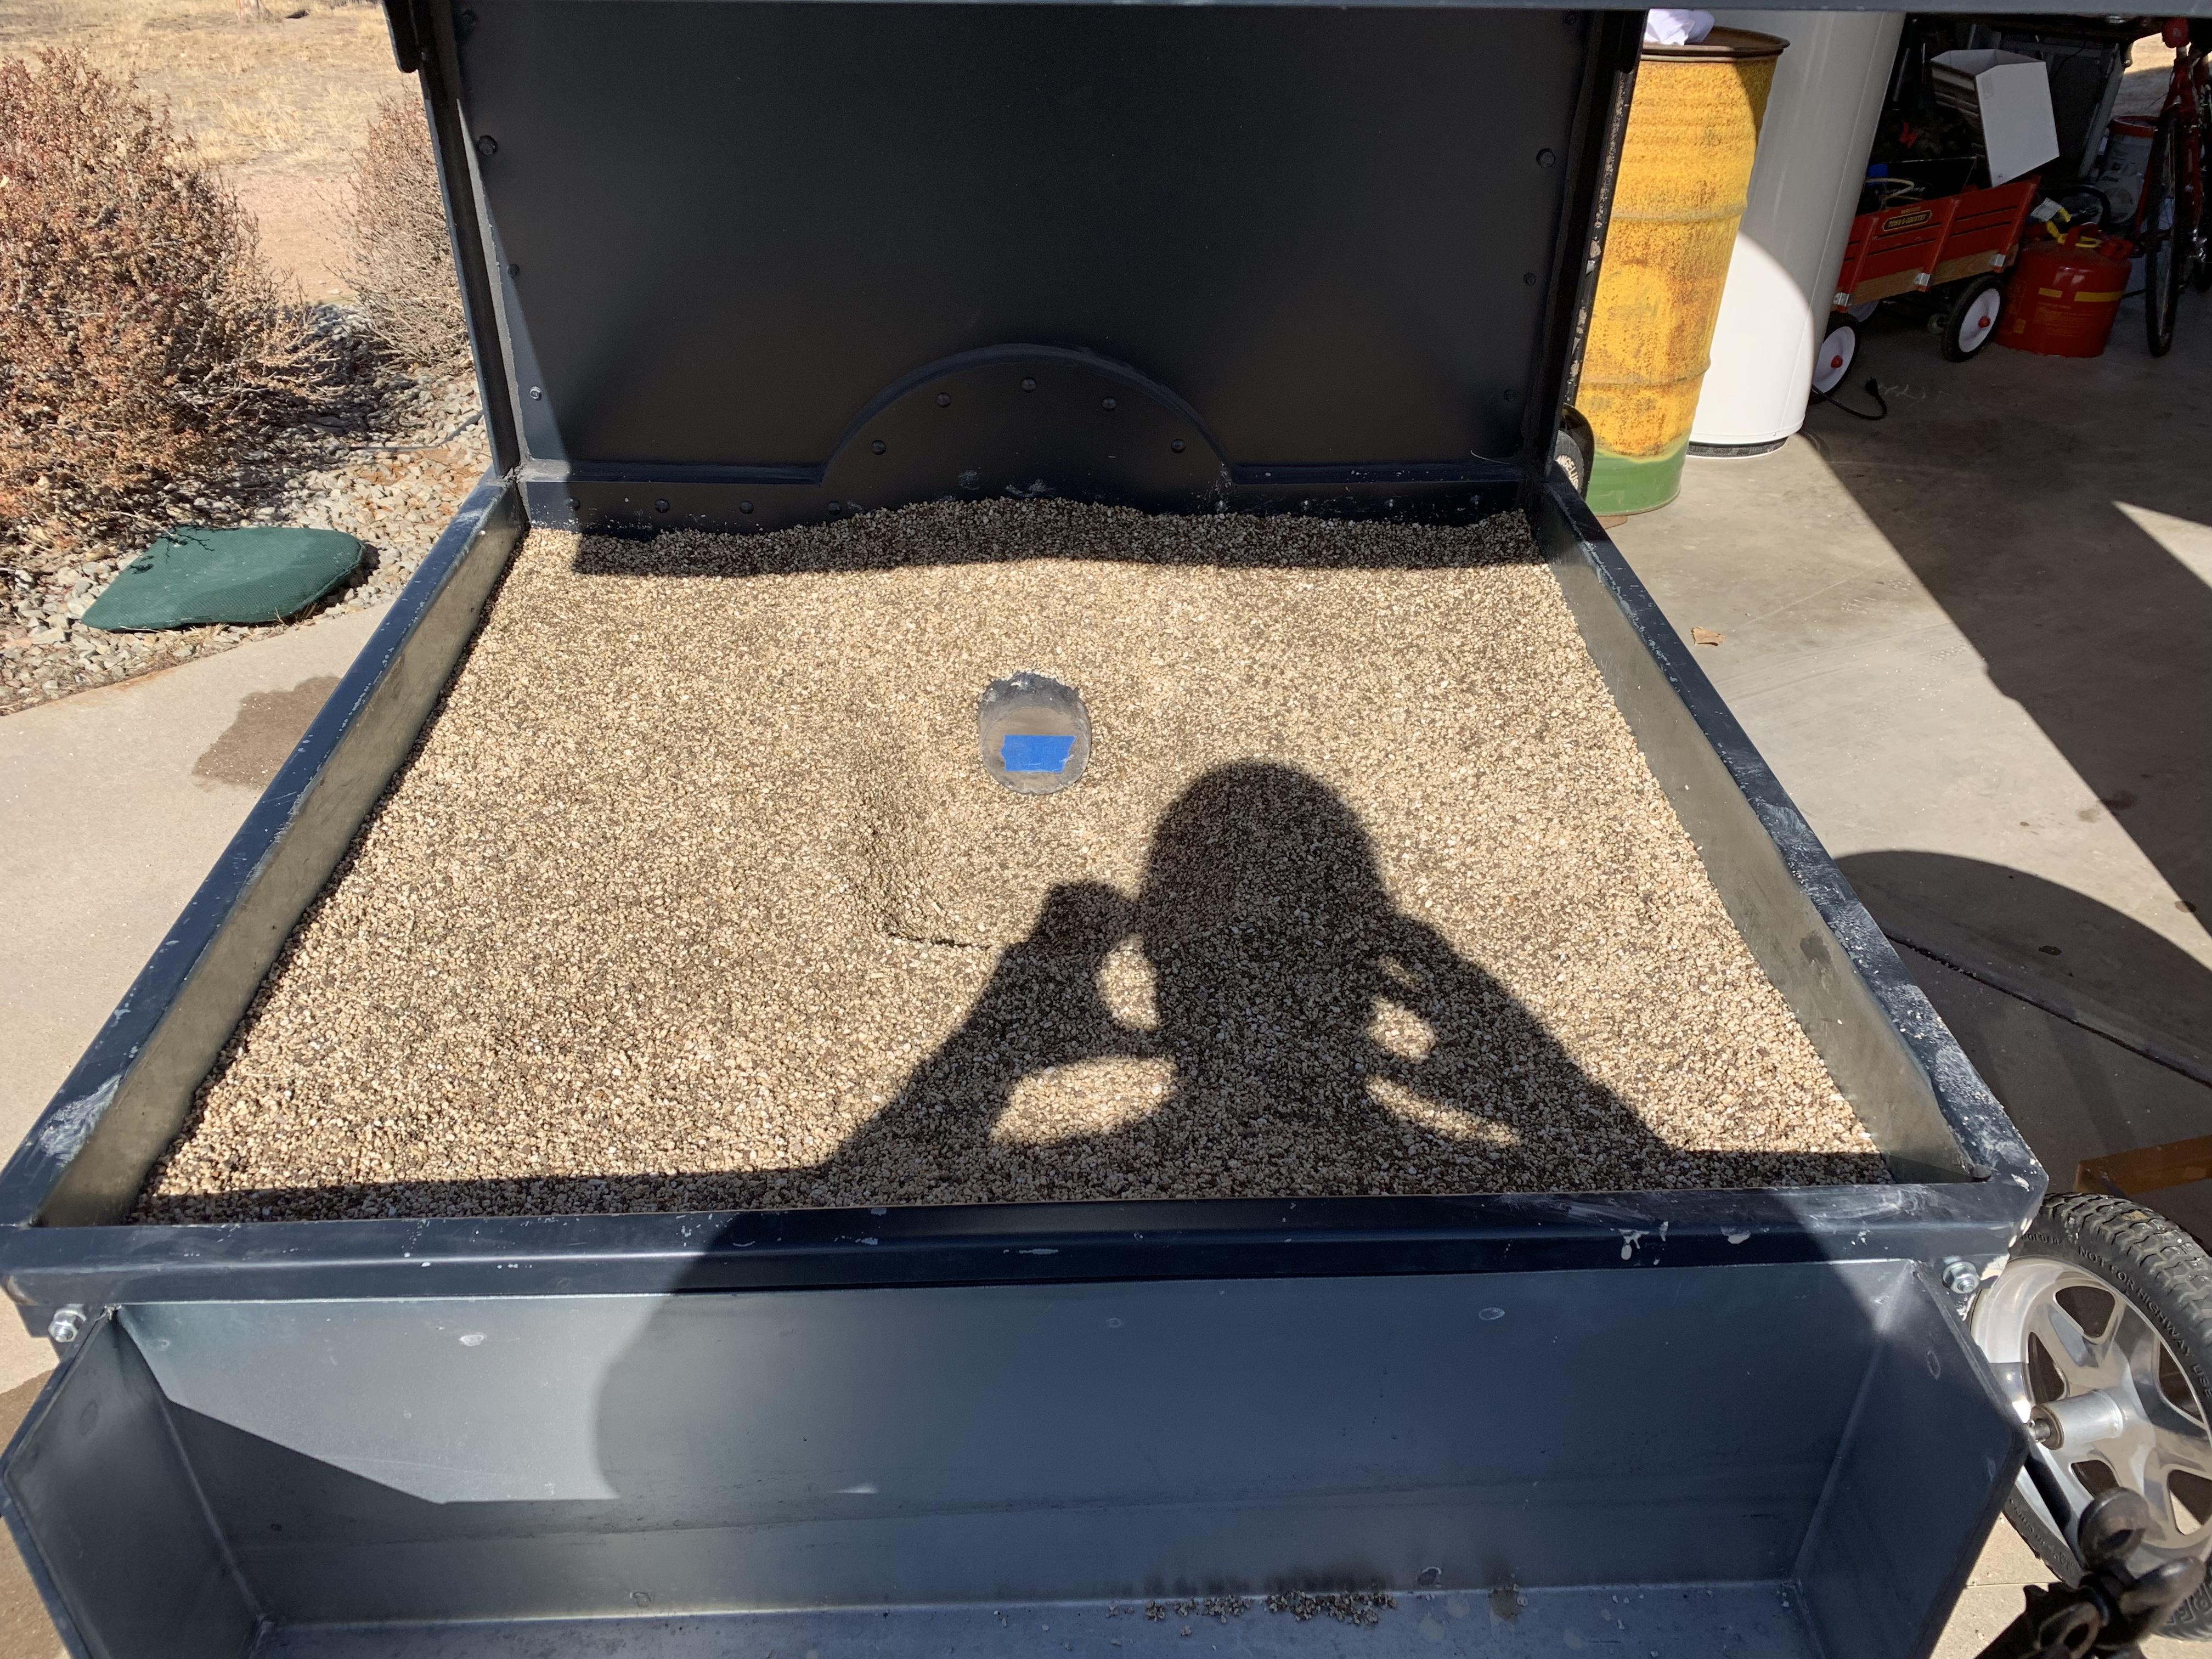
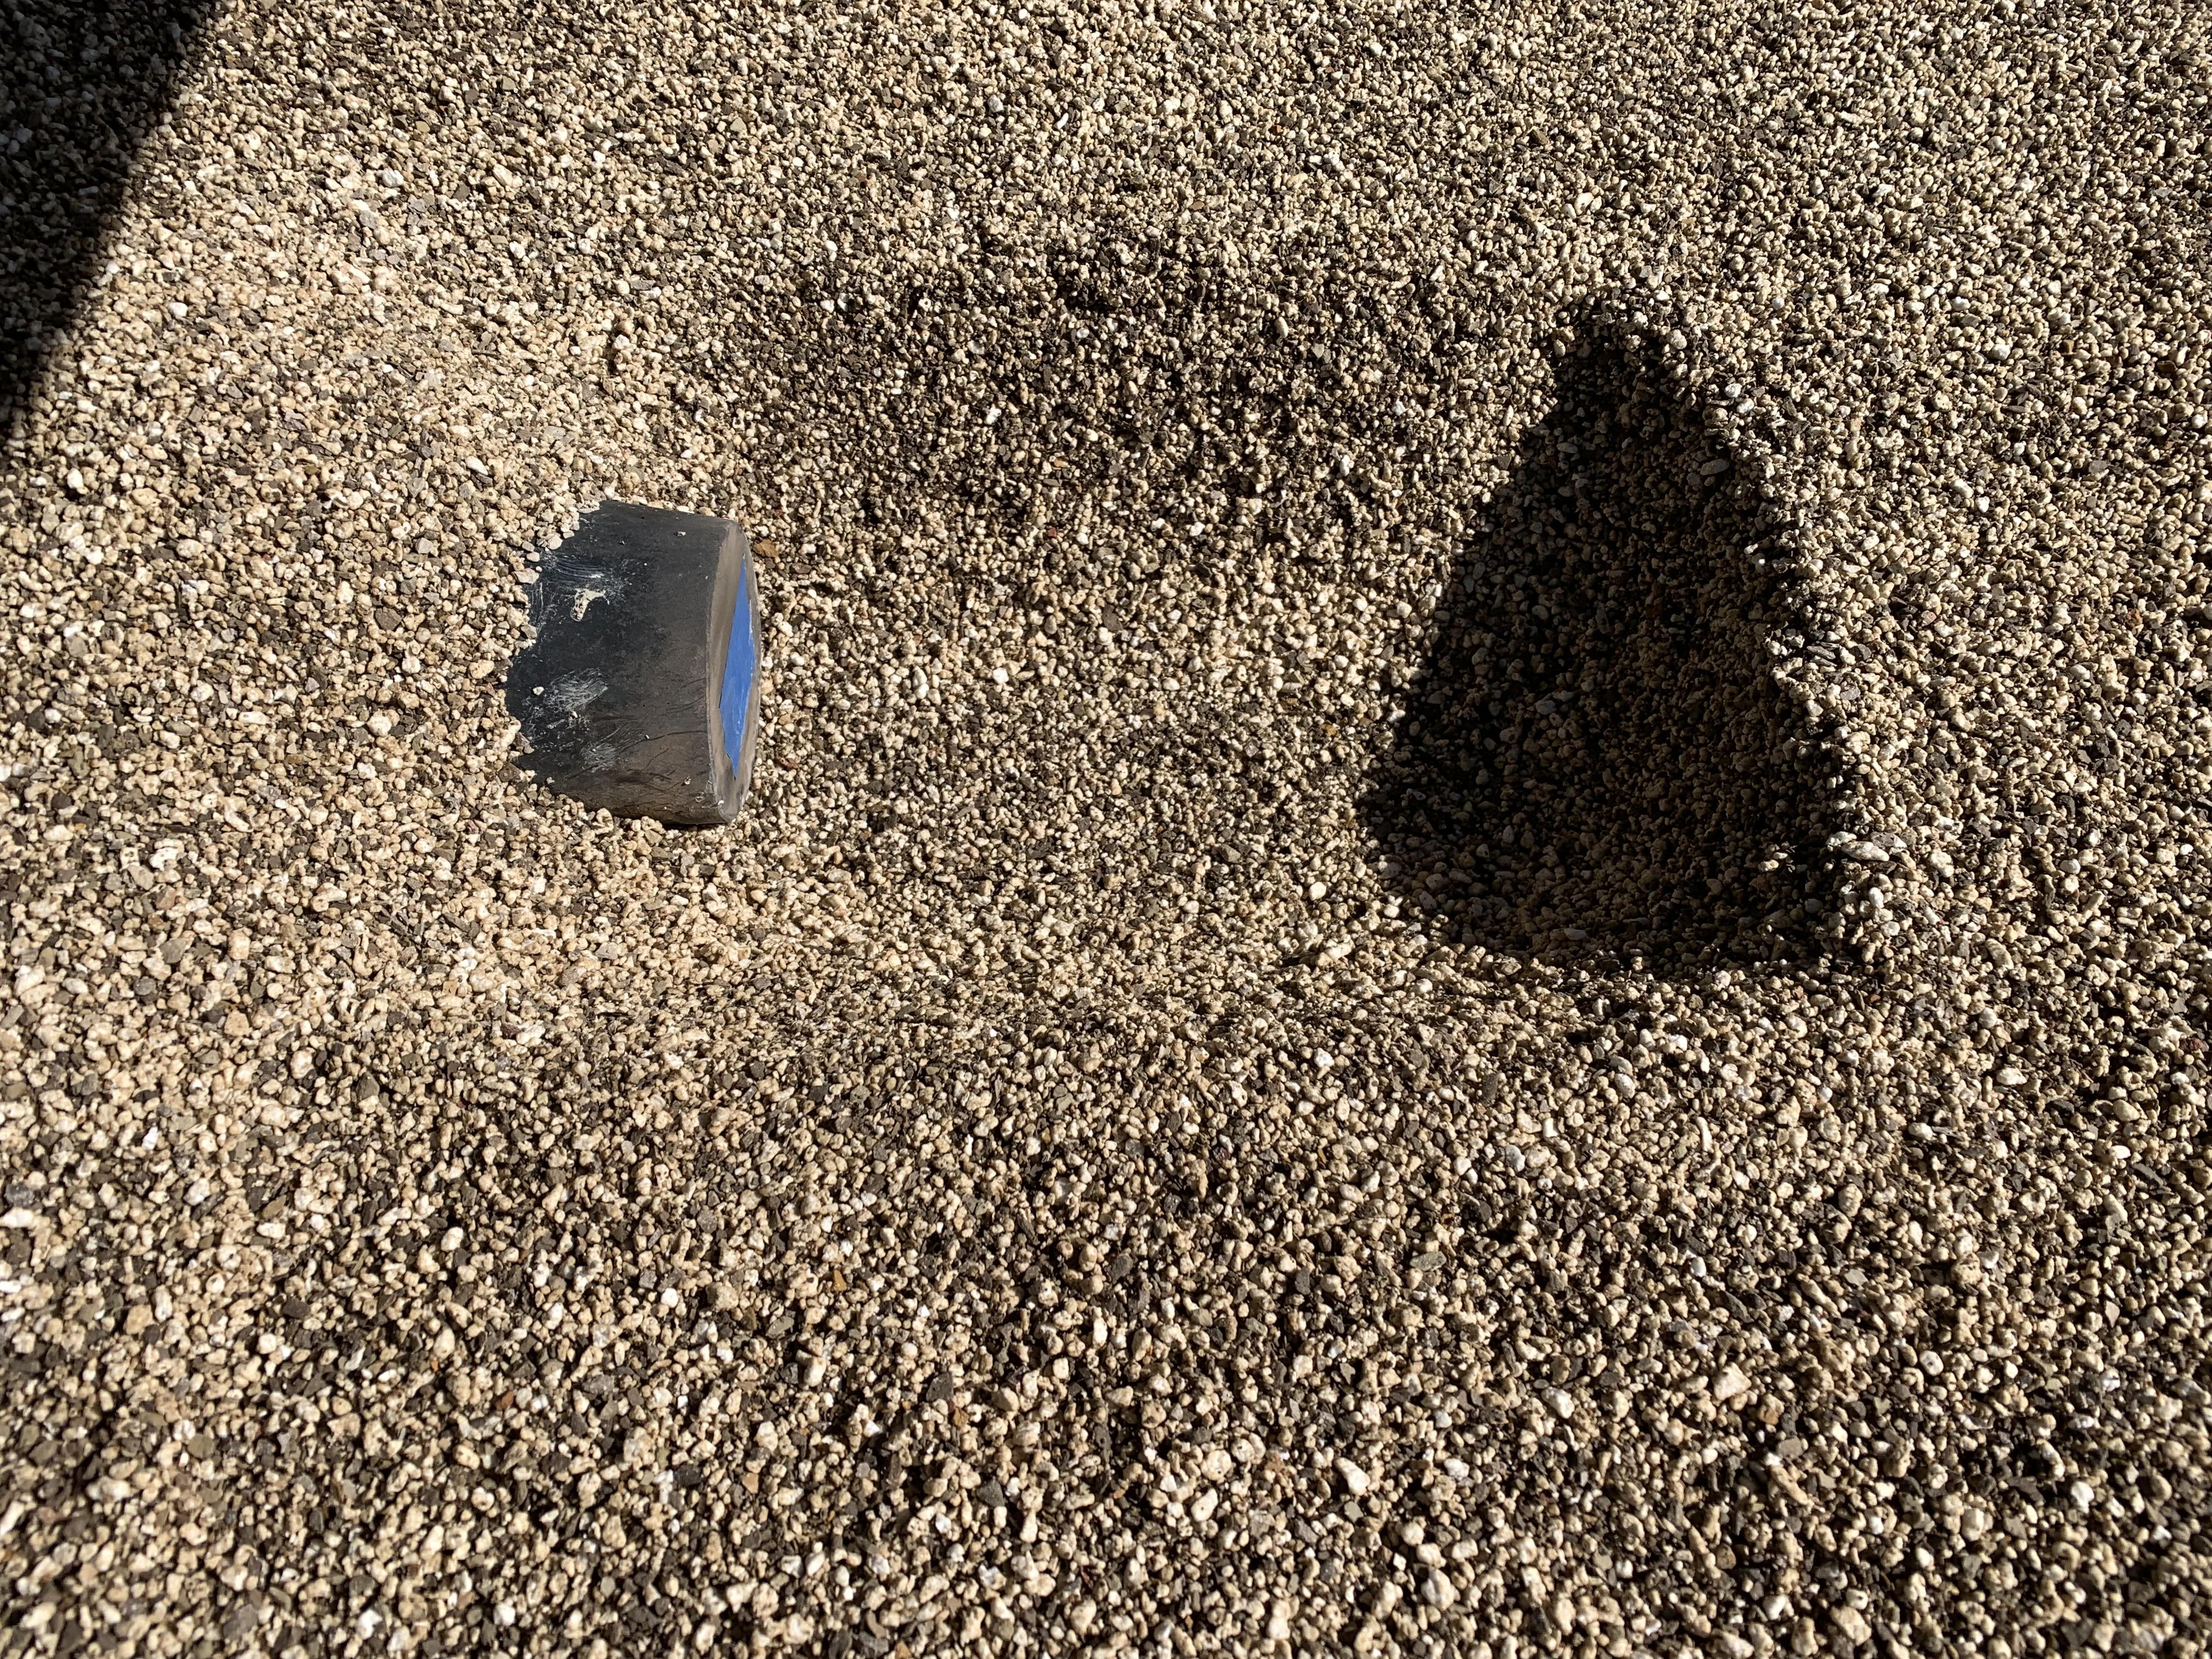
Pardon my ignorance, but I’m not following you with the water use. What catches on fire beyond the coke getting hot I had a feeling this is what he was getting at. So, is the recessed area where the fire happens more gradually graded as drawn or with vertical walls like the guy in the video makes? What’s the purple scribble in the bottom of the firepot? So... even layer of cat litter on the bottom, pack the litter under the tuyere, then a layer of brick, the top of the brick in front of the tuyere will be the bottom of the firepot, stagger layer brick and fill with cat litter to within an inch of the top lip of the hearth pan. Do I install all of this clay cat litter dry or wet it down? If the latter, is that why you recommend water? The vertical sides of the hearth are not solid welded to the receiving angle. It had white silicone caulking (kind of) sealing it up, but it was just flopping around. So I pulled it all out of there and installed that refractory caulking. I caulked all seams within the hood and coated all of the TEK screws too.
-
So sand should be touching / enveloping the tuyere? Is firebrick relatively light compared to sand? I’m thinking it would be close to 800# of sand if I used it exclusively to fill the hearth. Clay cat litter sounds interesting... will it turn to glass like sand? I’m short on ash right now because I dumped it all into the current conglomeration I have going on there. The hearth is approximately 10” +/- 1/4” deep. I’m measuring on the outside of the hearth because it’s full of sand and coke and there’s a lip on three sides. Top of hole in tuyere to top of hearth edge is 5”. Bottom of hole in tuyere to top of hearth edge is 6”. If I'm reading your charts correctly, it appears as though it conforms to the second column from the left. I really appreciate all of this info. I hope to be able to contribute in return one day.
-
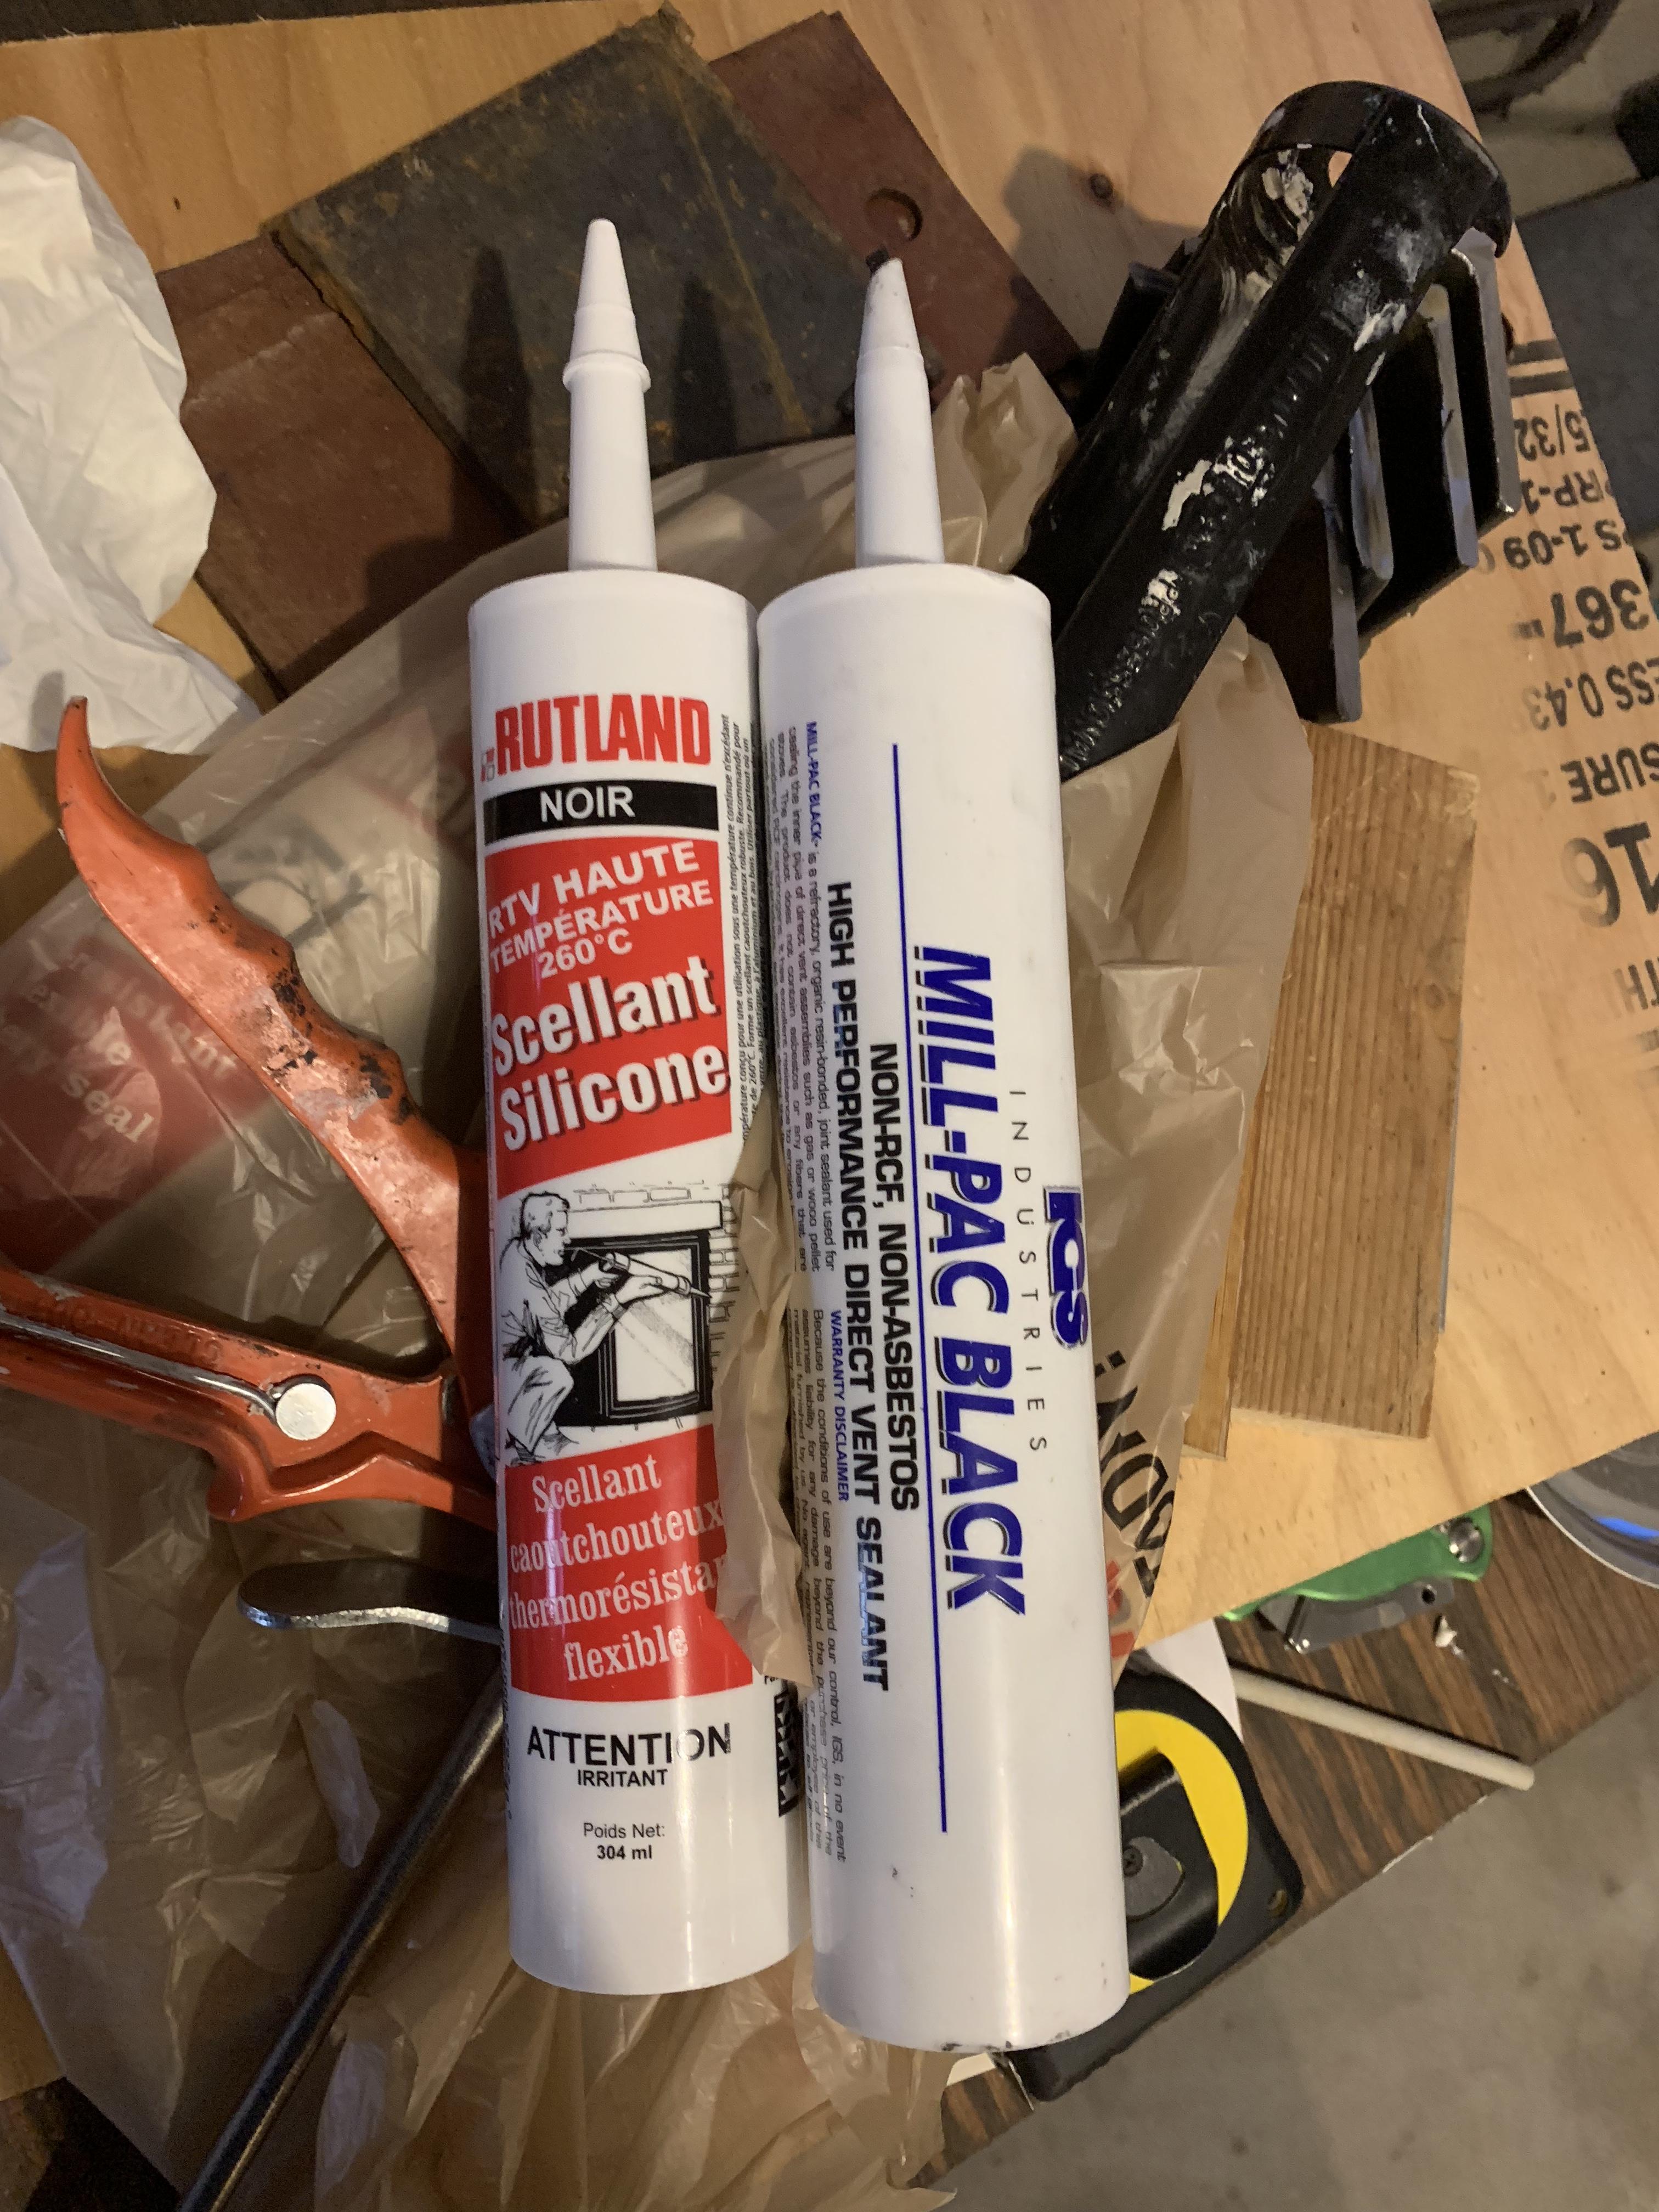
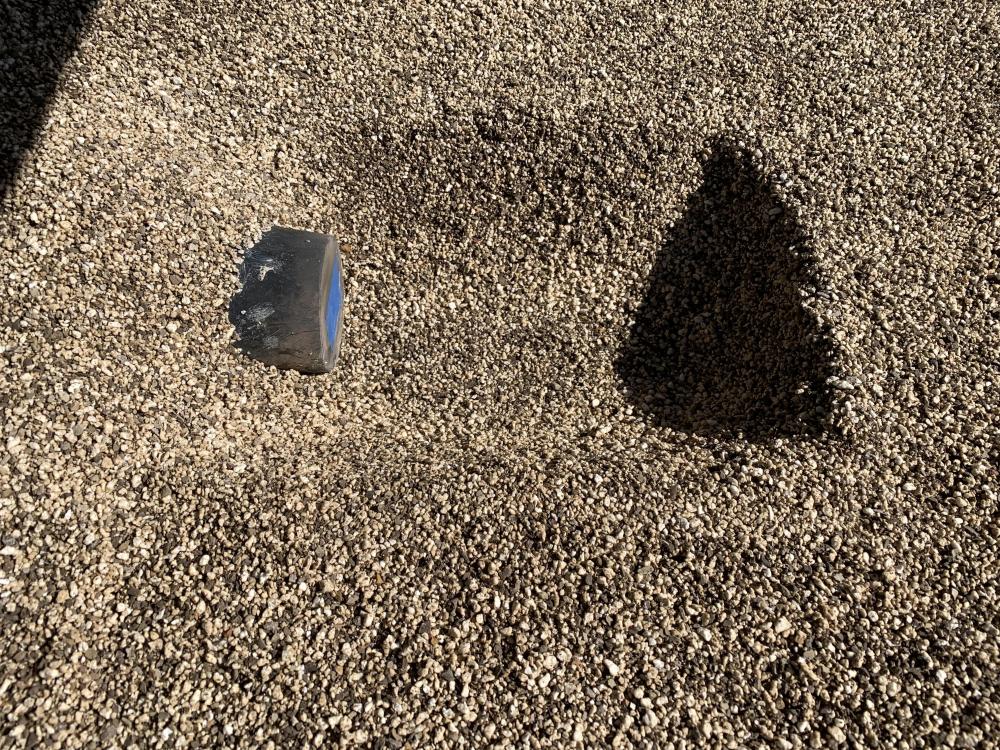
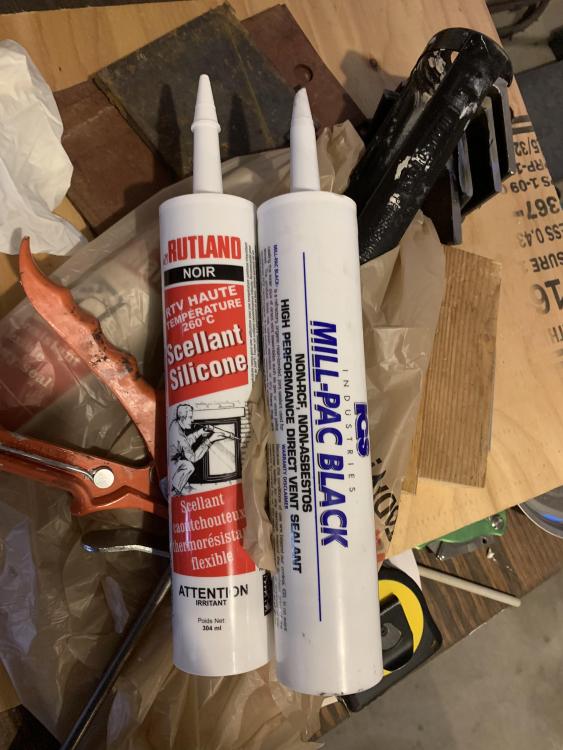
3.5” from bottom of tuyere to the steel pan. 4.75” from the bottom of the hole in the tuyere to the steel pan. The hole is 1” in diameter. Not to sound like a complete donkey here, but there is a 0.00% chance of relocating the tuyere. There’s 1.5” between the underside of the pan and the blower motor housing. Here’s a pic of the sand moved away. (Please ignore the fail of a coal rake that burned up a bit.) It’s “tube sand” not “building sand.” By building sand, do you mean fill dirt? I posted a pic of some caulking I used on this thing. I pulled out the junk white silicone that wasn’t doing anything and used that Mill-PAC Black instead. I’ve yet to refinish the outside part with the Rutland stuff. The white silicone that was painted black isn’t really doing anything there either. I figured properly applied high temp black silicone would be better. I’d like to make this lighter if at all possible. I have around 150# of sand and 150# of coke in there. If fire brick is the way to go, I’m game. Do I set it in a bed of sand as well as sand over the brick? Ditch the tube sand and go grab some fill dirt on one of my construction sites? Is the plate of glass normal? Do we just leave it in there and roll with it?
-
Forgot to mention. The picture with just sand in it, we actually took out around 100# of that sand and replaced it with a bunch of ash. It was quite a bit lower than what's pictured. We did that because of what Greystone Forge displays on their website. Basically it looks like he has only a couple of inches of sand in the box, then fills it with coke. EverythingMac mentioned something turning into glass, then ash? Is that refractory sand or cement he spread around there? Does anyone run Inswool then coat it with a refractory cement or the like?
-
The forge empty weighs in at around 450#. It looks like that guy used a bunch of fire brick and refractory cement?
-
These are the only pics I have:

-
It's getting hot enough to start sagging. There's only one small angle iron under the pan, centered. That angle looked like it was sagging when hot. I don't mind doing some structural reinforcing, but would like to reflect the heat upward if possible. I have a small fortune invested into this piece of equipment... Perhaps I'm overreacting because of it.
-
Yeah, the whole turning sand into glass thing really got me thinking this could actually melt through the pan unless I come up with something a bit more than just sand and ash. Perhaps Inswool coated with Bubble Alumina? Yes, bosh in lieu of tank.
-
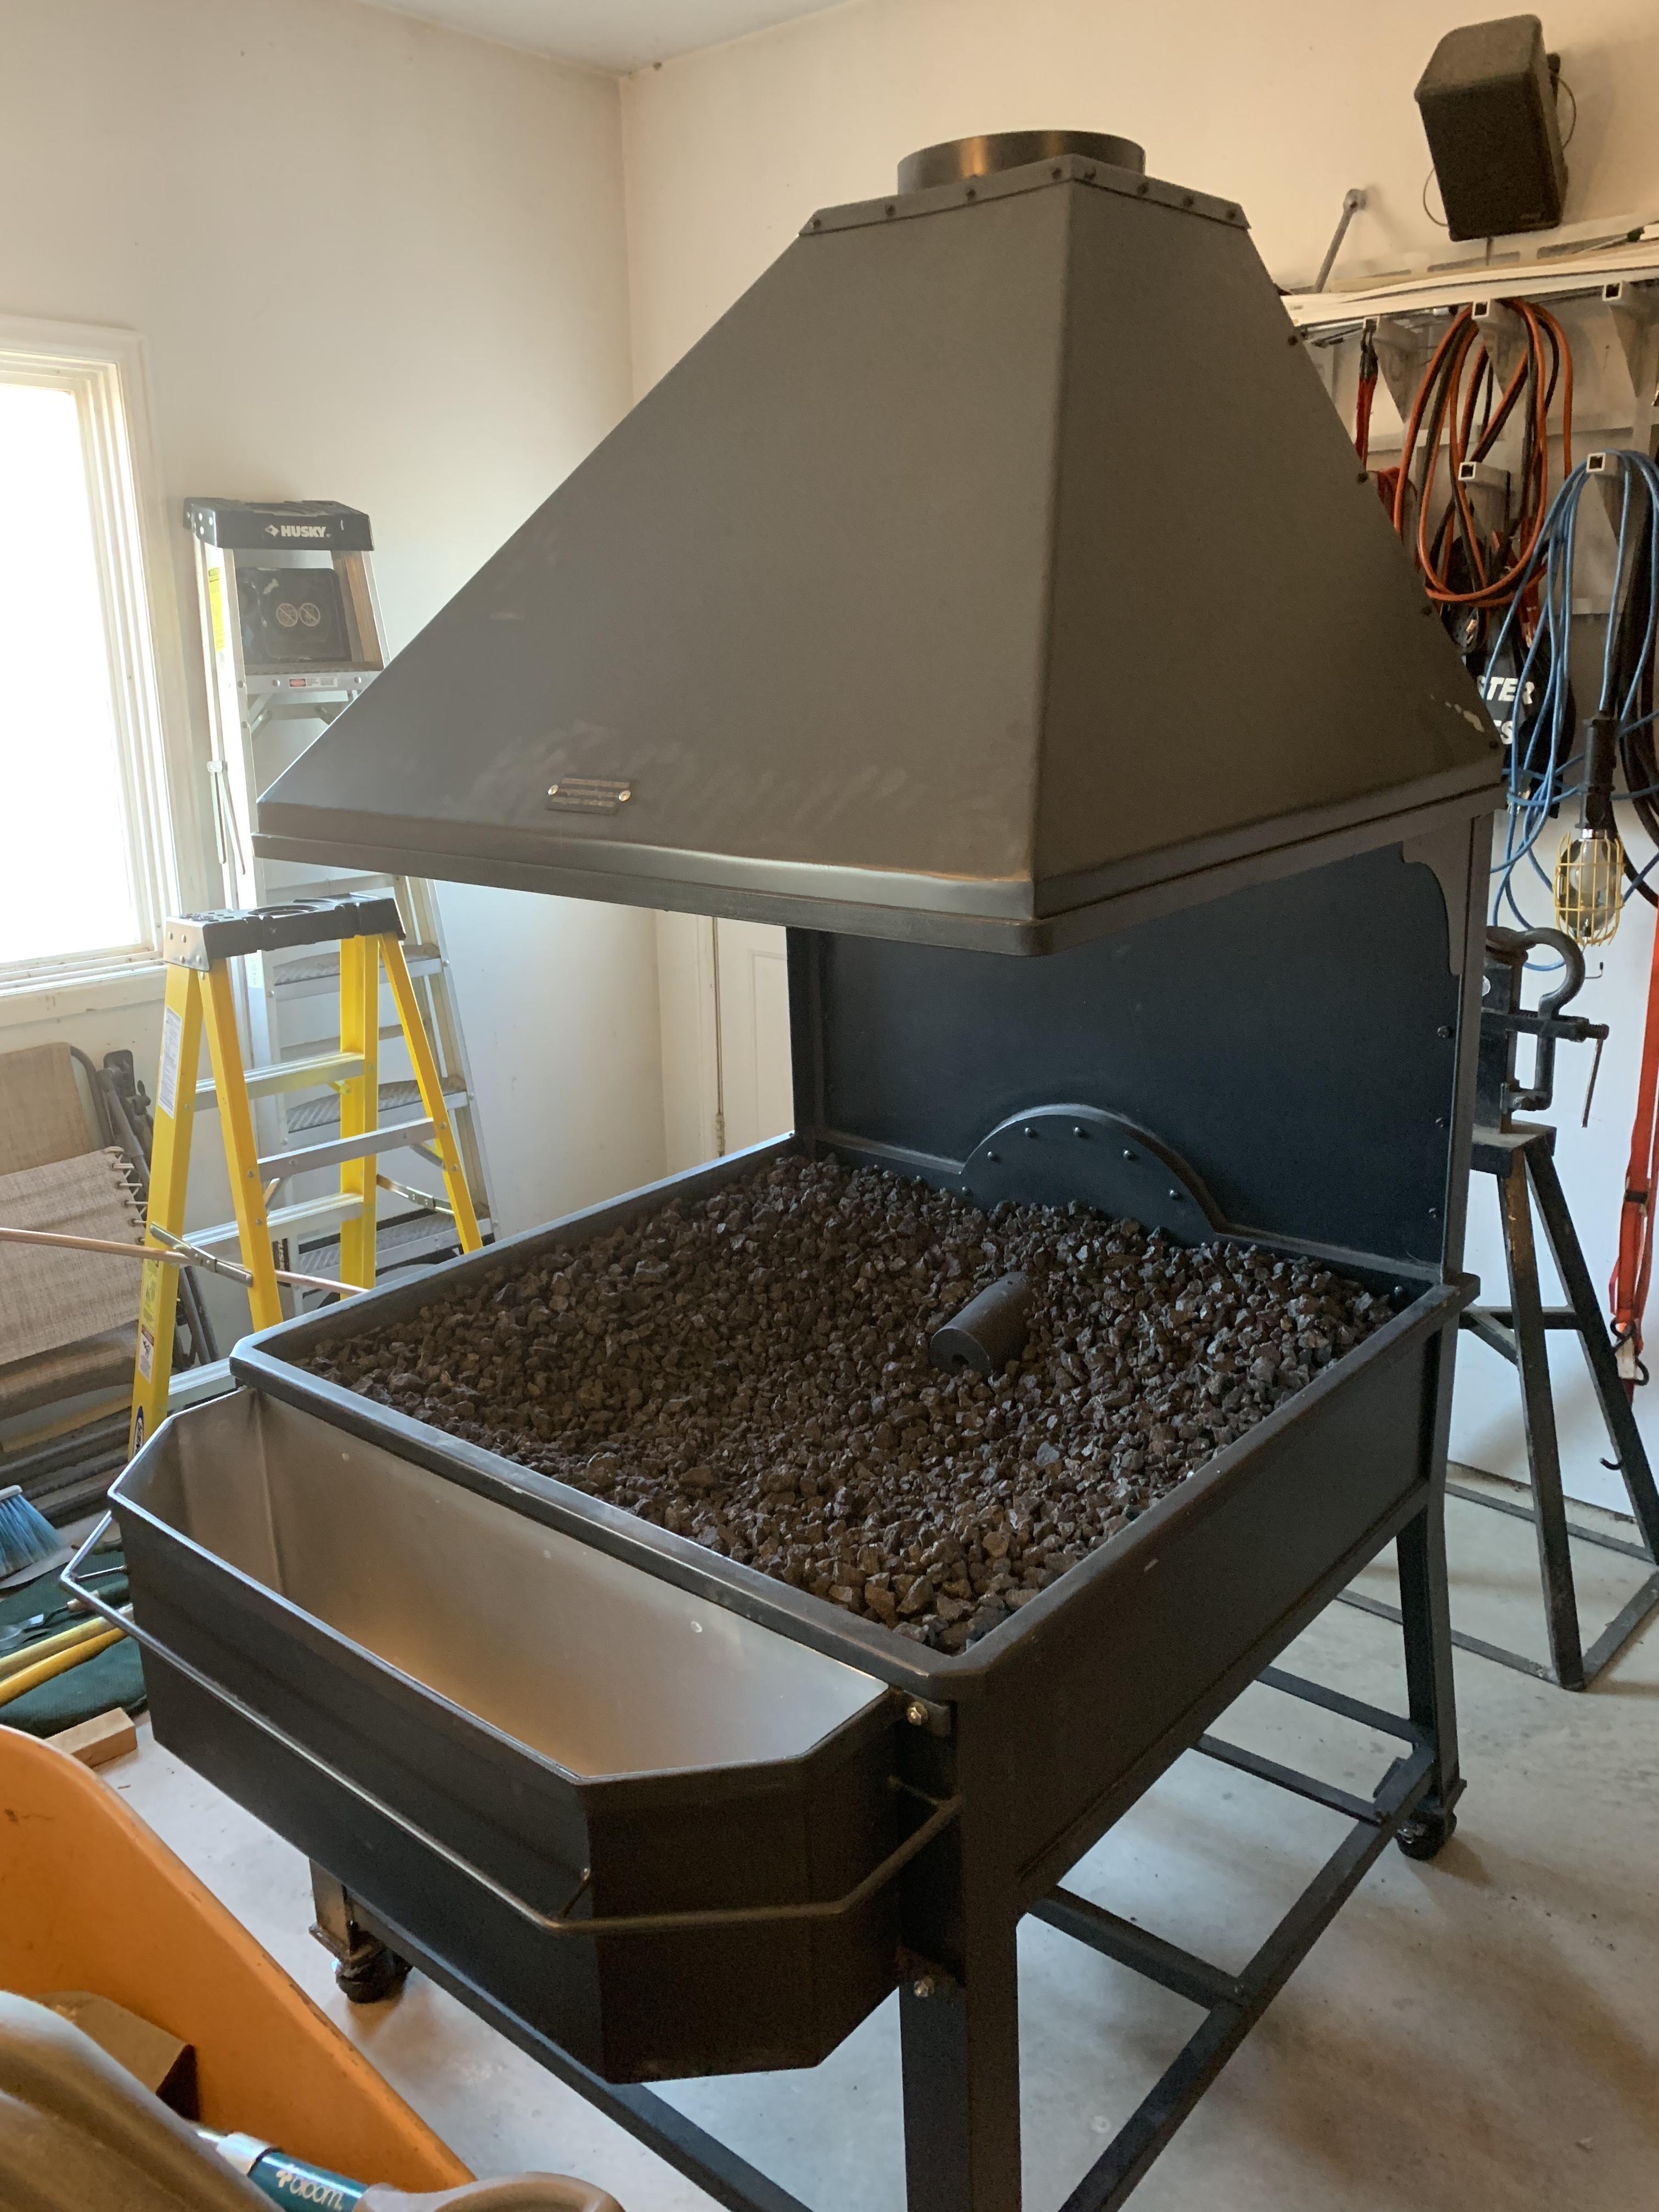
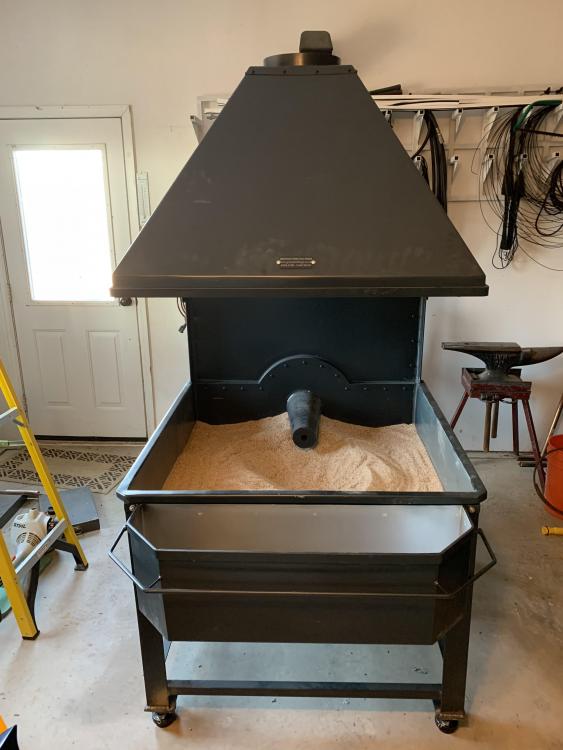
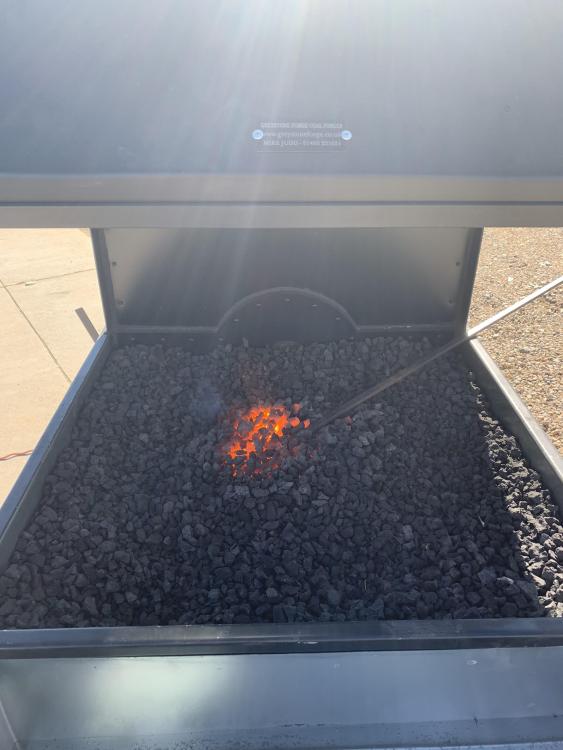
I finally got my wife a forge. It’s a 1m square Greystone Forge sideblast. We are running coke in it. I really had no clue what to expect. We are much more familiar with a gas forge, but my wife has wanted one of these coke forges as long as I’ve known her. These solid fuel forges heat steel FAST. Getting this thing and then modifying it to make it work with our setup was quite a task. First I tried to get the next size smaller, but the shipper absolutely destroyed it. Then the importer decided to stop importing these things, so he gave me a great deal on the 1m square one, the only one left. It arrived unscathed. I needed to have this thing mobile. I know that sounds crazy, but I am currently wheeling it in and out of our garage. It’s 6’-8” tall. I had to shave the legs down from the bottom 2” and re-weld the feet back. I installed stud mount ratcheting equipment moving leveling casters on the feet. It raised the forge 1” from where it originally was, so 6’-9” tall now! The equipment casters are awesome. It moves like butter. For lining the pan, I put a couple of inches of sand and ash in as an insulator. The bottom definitely got hot when running it today. I think the blower is so powerful, it creates a divot in the sand when blasting the coke. We pulled out a clinker the size of a small dinner plate that was as brittle as glass and a glob of a clinker over it. The water in the tank gets a lot hotter than I thought it would as well. It boiled slightly. What do you recommend lining the bottom of this forge with? Refractory cement or a combination of that and brick? How close to the conical tuyere should I get with the cement/bricks? Should I line the entire 1m square pan or just an area in front of the tuyere where the forging predominantly takes place? I have a bunch of questions, but I’ll search a bit more prior to asking.
-
Agreed. Agree with your CO monitor post as well. The plug-ins tend to accrue readings, which won’t work.